HOLIDAY DONATION DRIVE - SUPPORT MSW - DO YOUR PART TO KEEP THIS GREAT FORUM GOING! (89 donations so far out of 49,000 members - C'mon guys!)
×


Papa
-
Posts
1,305 -
Joined
-
Last visited
Content Type
Profiles
Forums
Gallery
Events
Everything posted by Papa
-
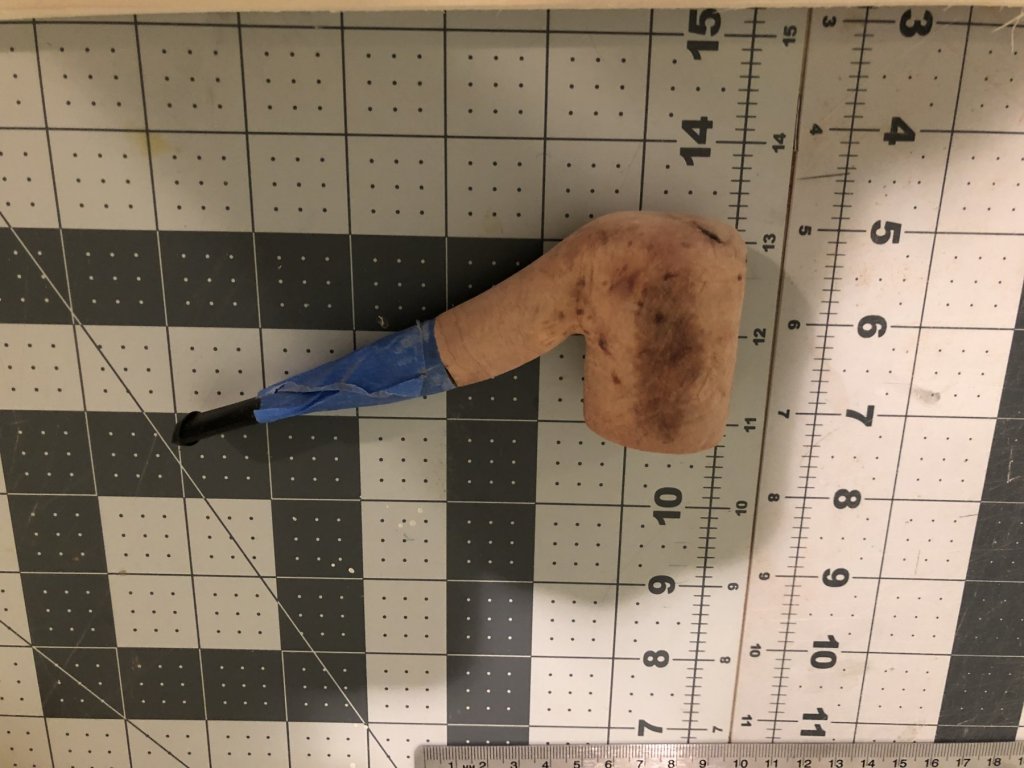
Yes! I was quite pleased with the grain pattern.
-
Black Sea by Captain Black. I ordered it online and it came today just in time for my first smoke. Captain Black Premium Edition introduces Black Sea. Mellow Burley tobaccos, combined with sweet Virginias and soft smooth Black Cavendish tobaccos makes for an excellent smoke. Yet Black Sea sets itself apart with the addition of smoky Latakia tobacco. A wonderful marriage of sweet and smoky. Captain Black, Black Sea is tin worthy and should be enjoyed often.

-
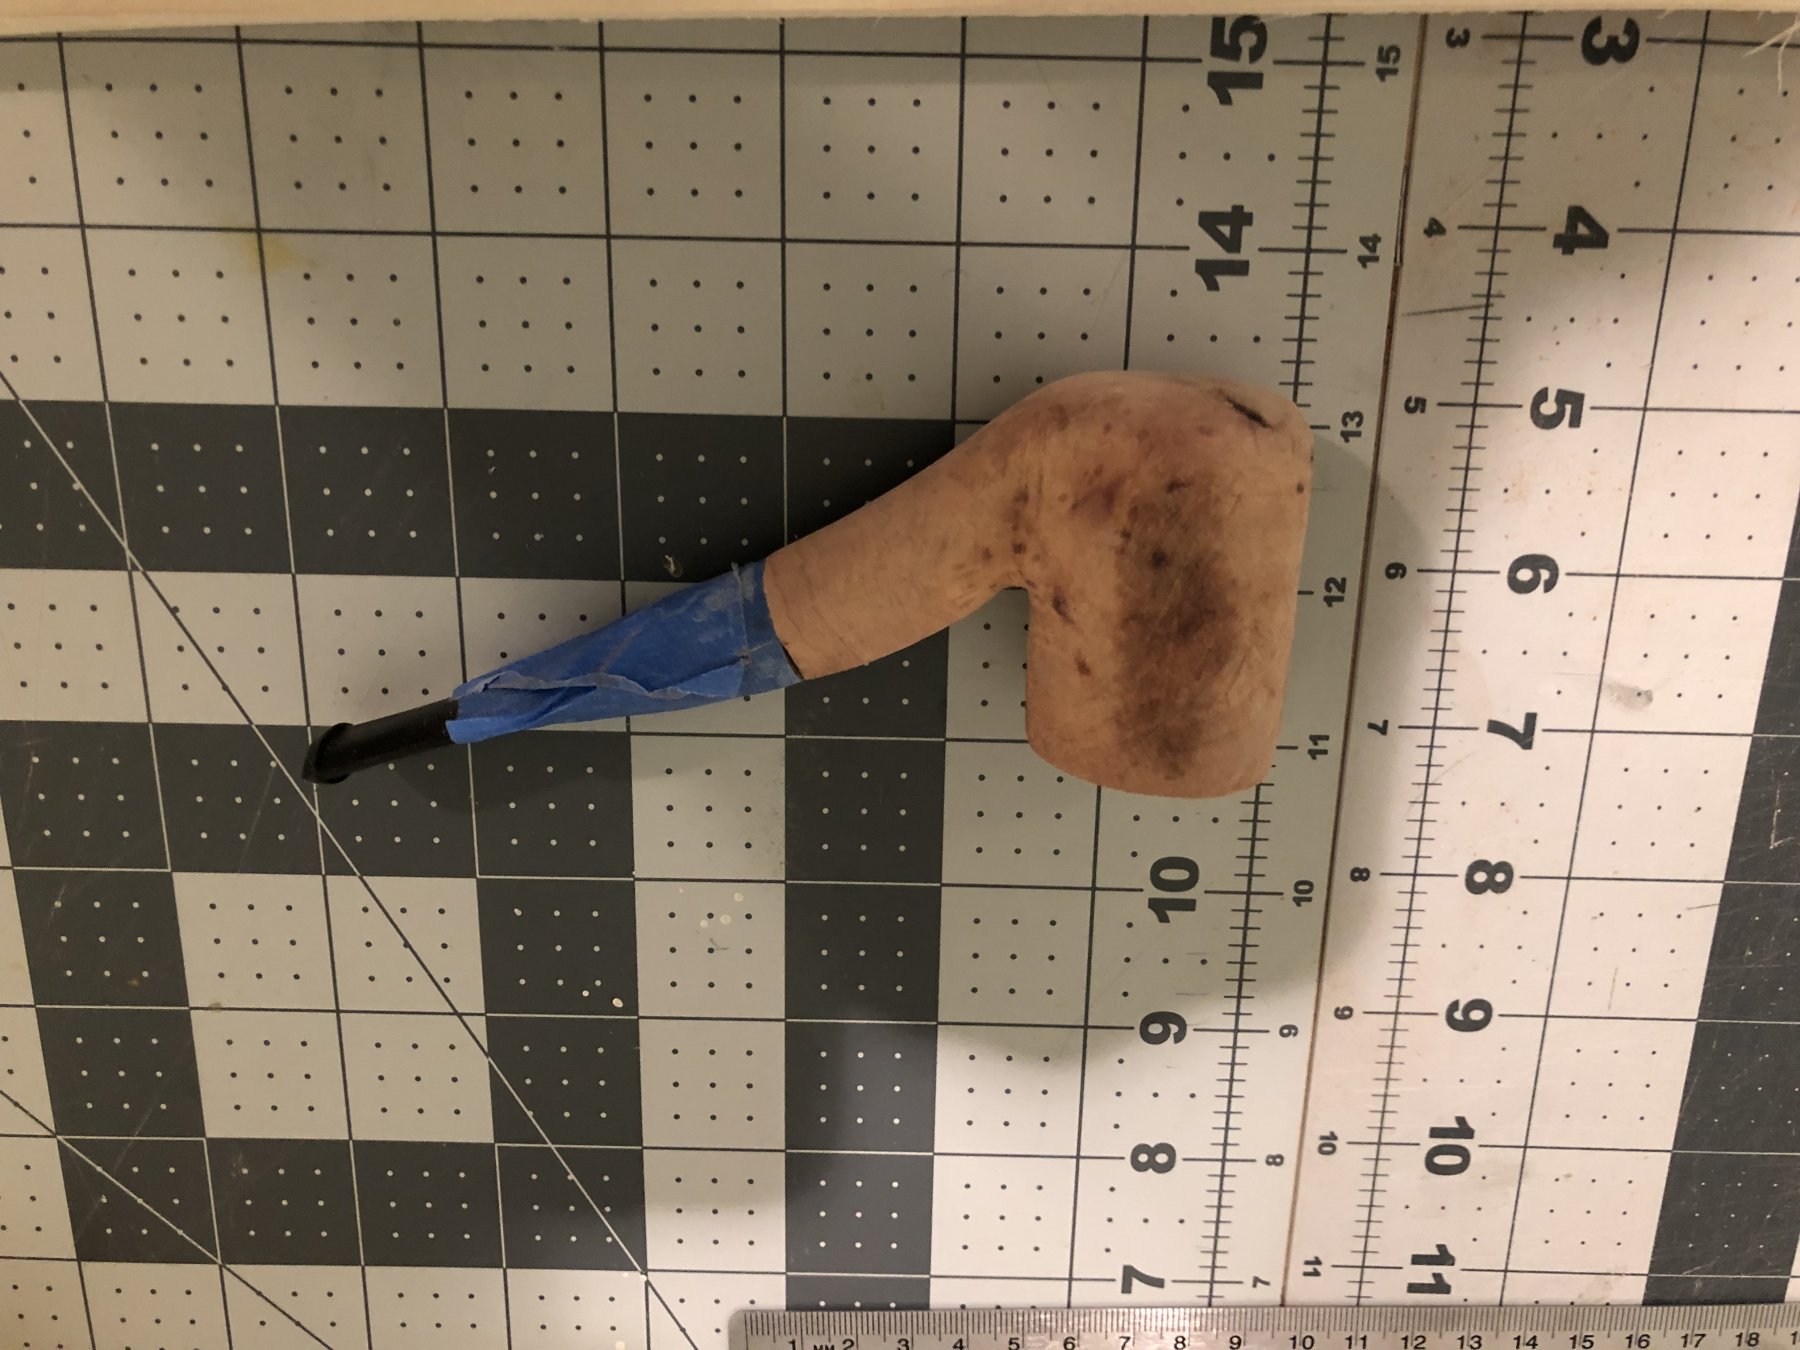
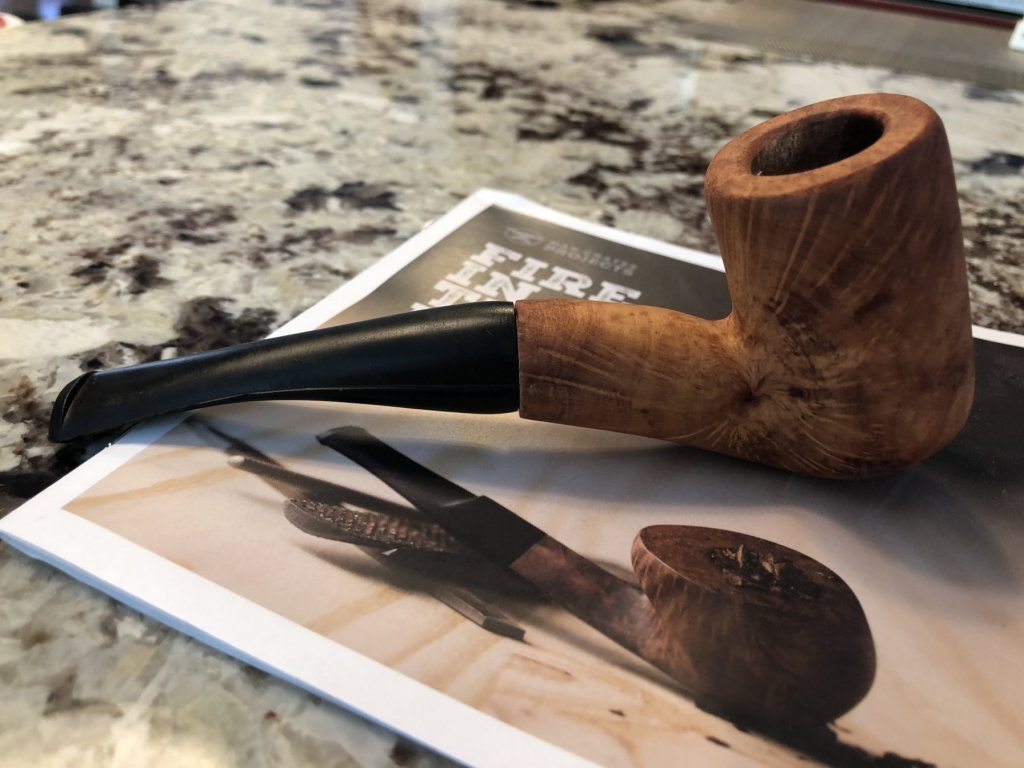
It’s finished. Far from perfect but I think it came out pretty good for my first attempt.
-
Thank you. It’s been a fun project and I will get to use it when I am finished. Unlike a square rigged ship LOL.
-
Trying to get the final shape symmetrical and smooth.
-
 Gorgeous workmanship. Wish I could do as nice a job.
- 242 replies
-
- 1
-

-
- syren
- model shipways
- (and 1 more)
-
That is a nice looking model, and I think a reasonable price. To preface my next statement: we used to have a Labrador retriever who would try to look out of all the windows of our Jeep at the same time which entailed some chaotic bouncing around. Now, when I look at model kit sites and catalogs I want to “build all the kits at the same time” planes, trains and automobiles! Once a model builder always a model builder. Ron Gove
-
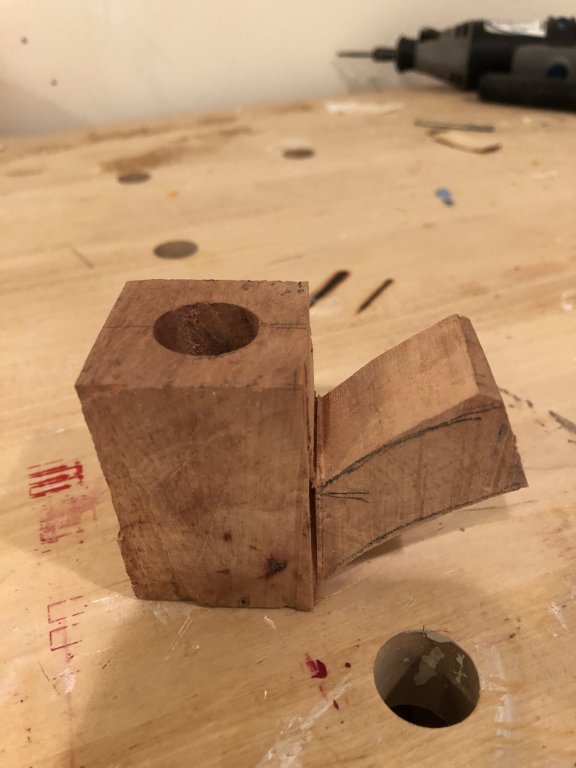
Pipe is shaping up. This is not easy. The wood is very hard and I am not an experienced carver

-
If you have an interest in pipes, these folks seem to have quite a selection: TobaccoPipes.com. I have not done business with them but I get frequent emails; I don’t know how I got on their mailing list.
-
Yes, it does. Even sand paper and a tape measure. It’s a “Man Crate”. Google them. They have tons of interesting DIY stuff.
-
I’ve done several POB models successfully without filler blocks. Seems just like a lot of extra work to me. To each his own.
- 294 replies
-
- 1
-
-
- charles w morgan
- model shipways
- (and 1 more)
-
Sorry for doing this twice. I don’t know how I did that. Moderator, please delete one.
-
My daughter and her husband got me a “Make Your Own Pipe Kit” for my birthday. Here I have rough cut the general shape.
-
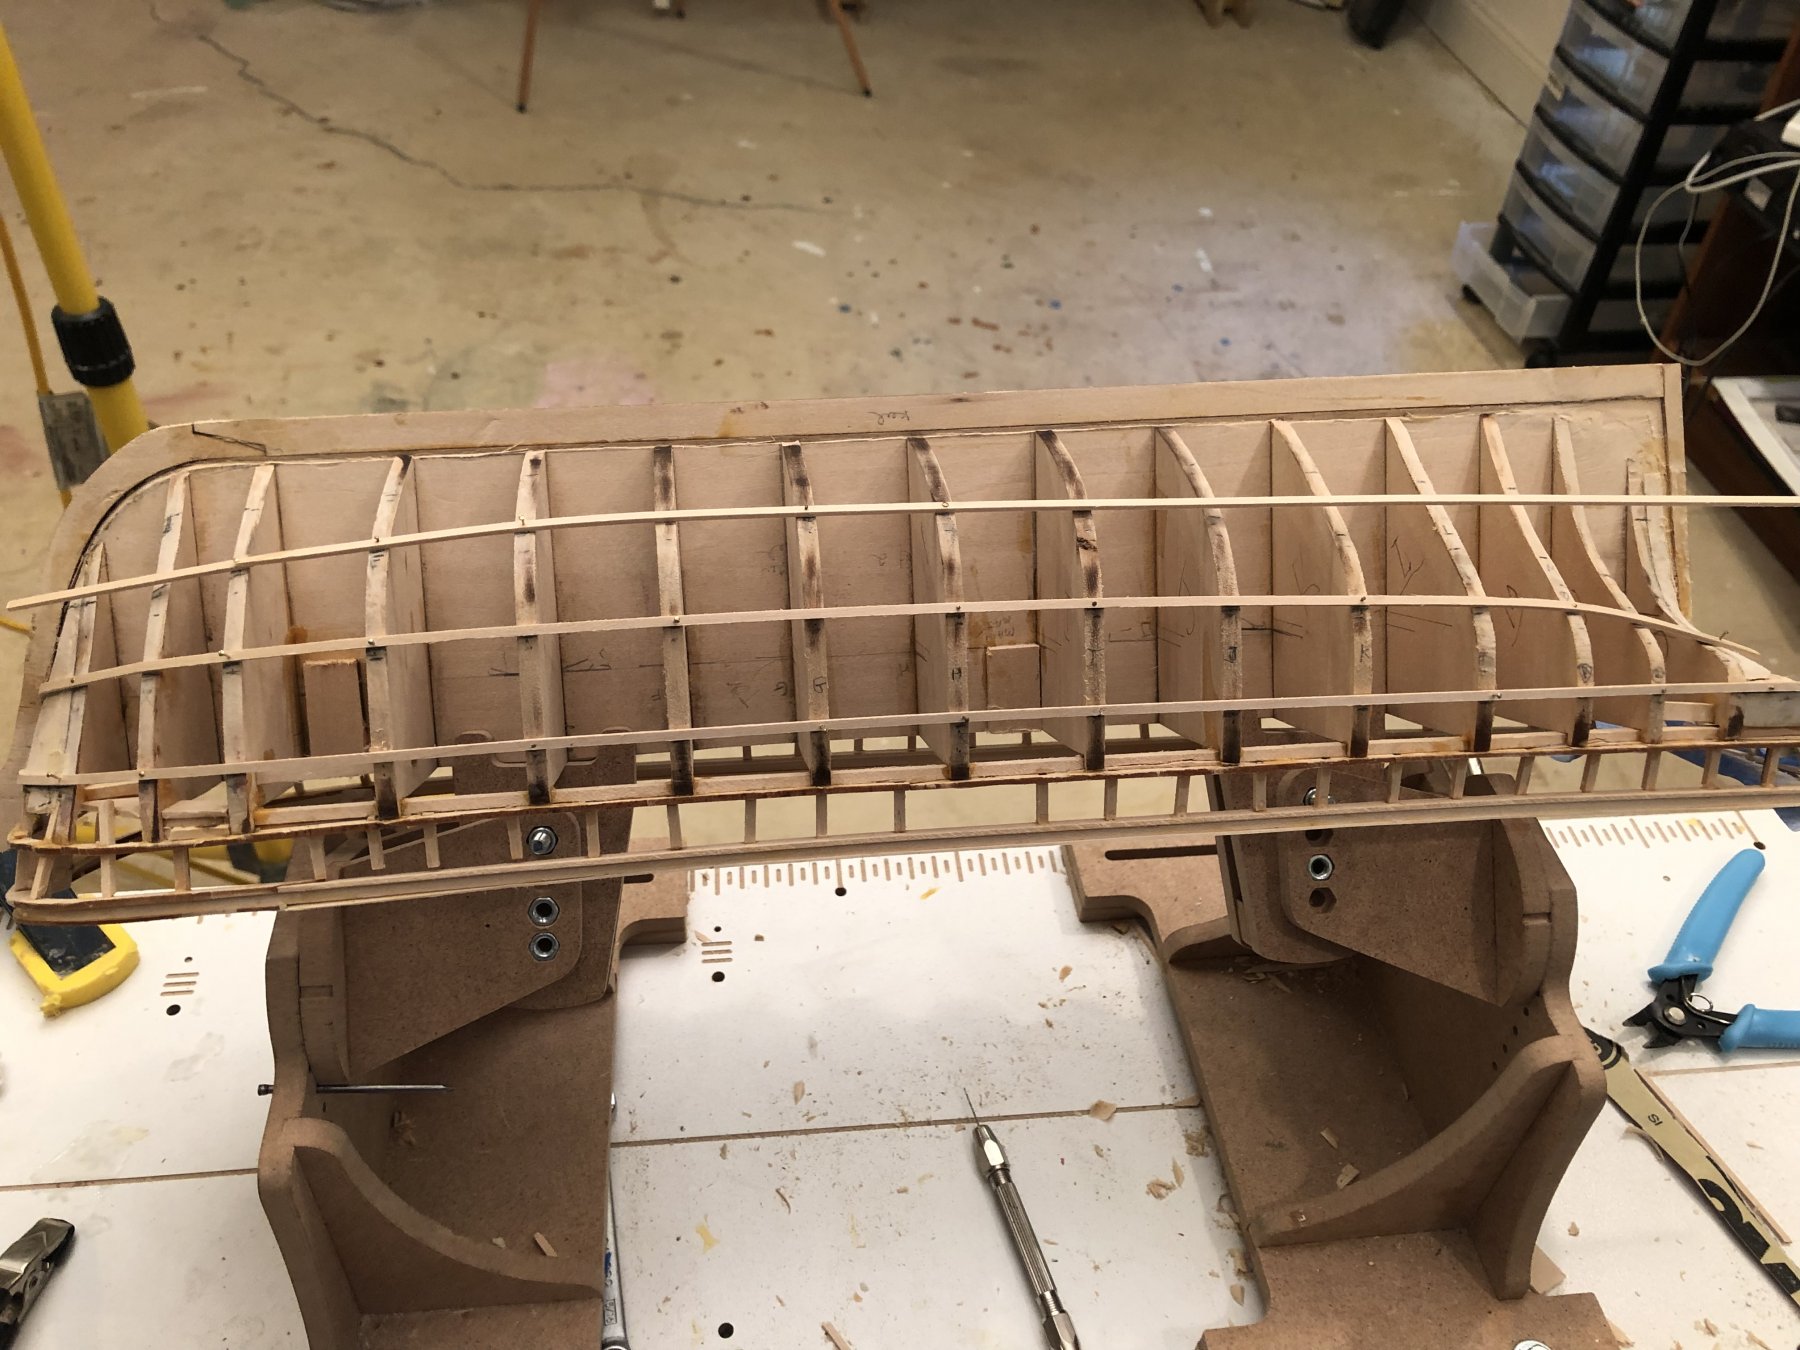
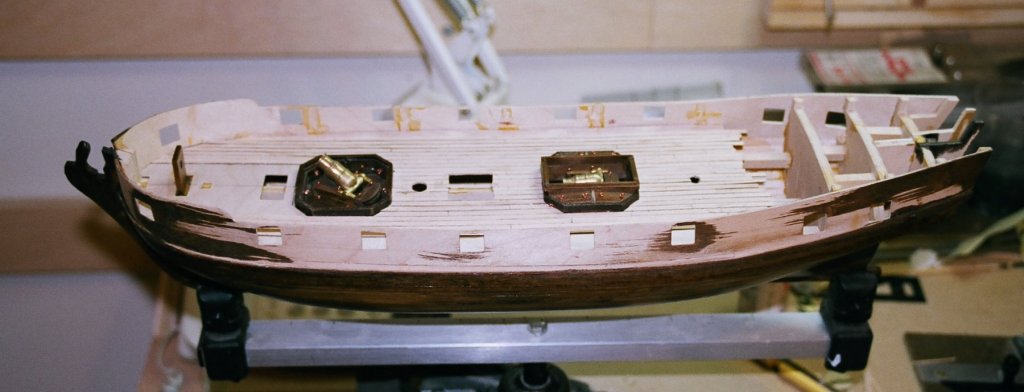
And today I marked of the locations for the planking bands and started attaching some battens.

- 294 replies
-
- 6
-
-
- charles w morgan
- model shipways
- (and 1 more)
-
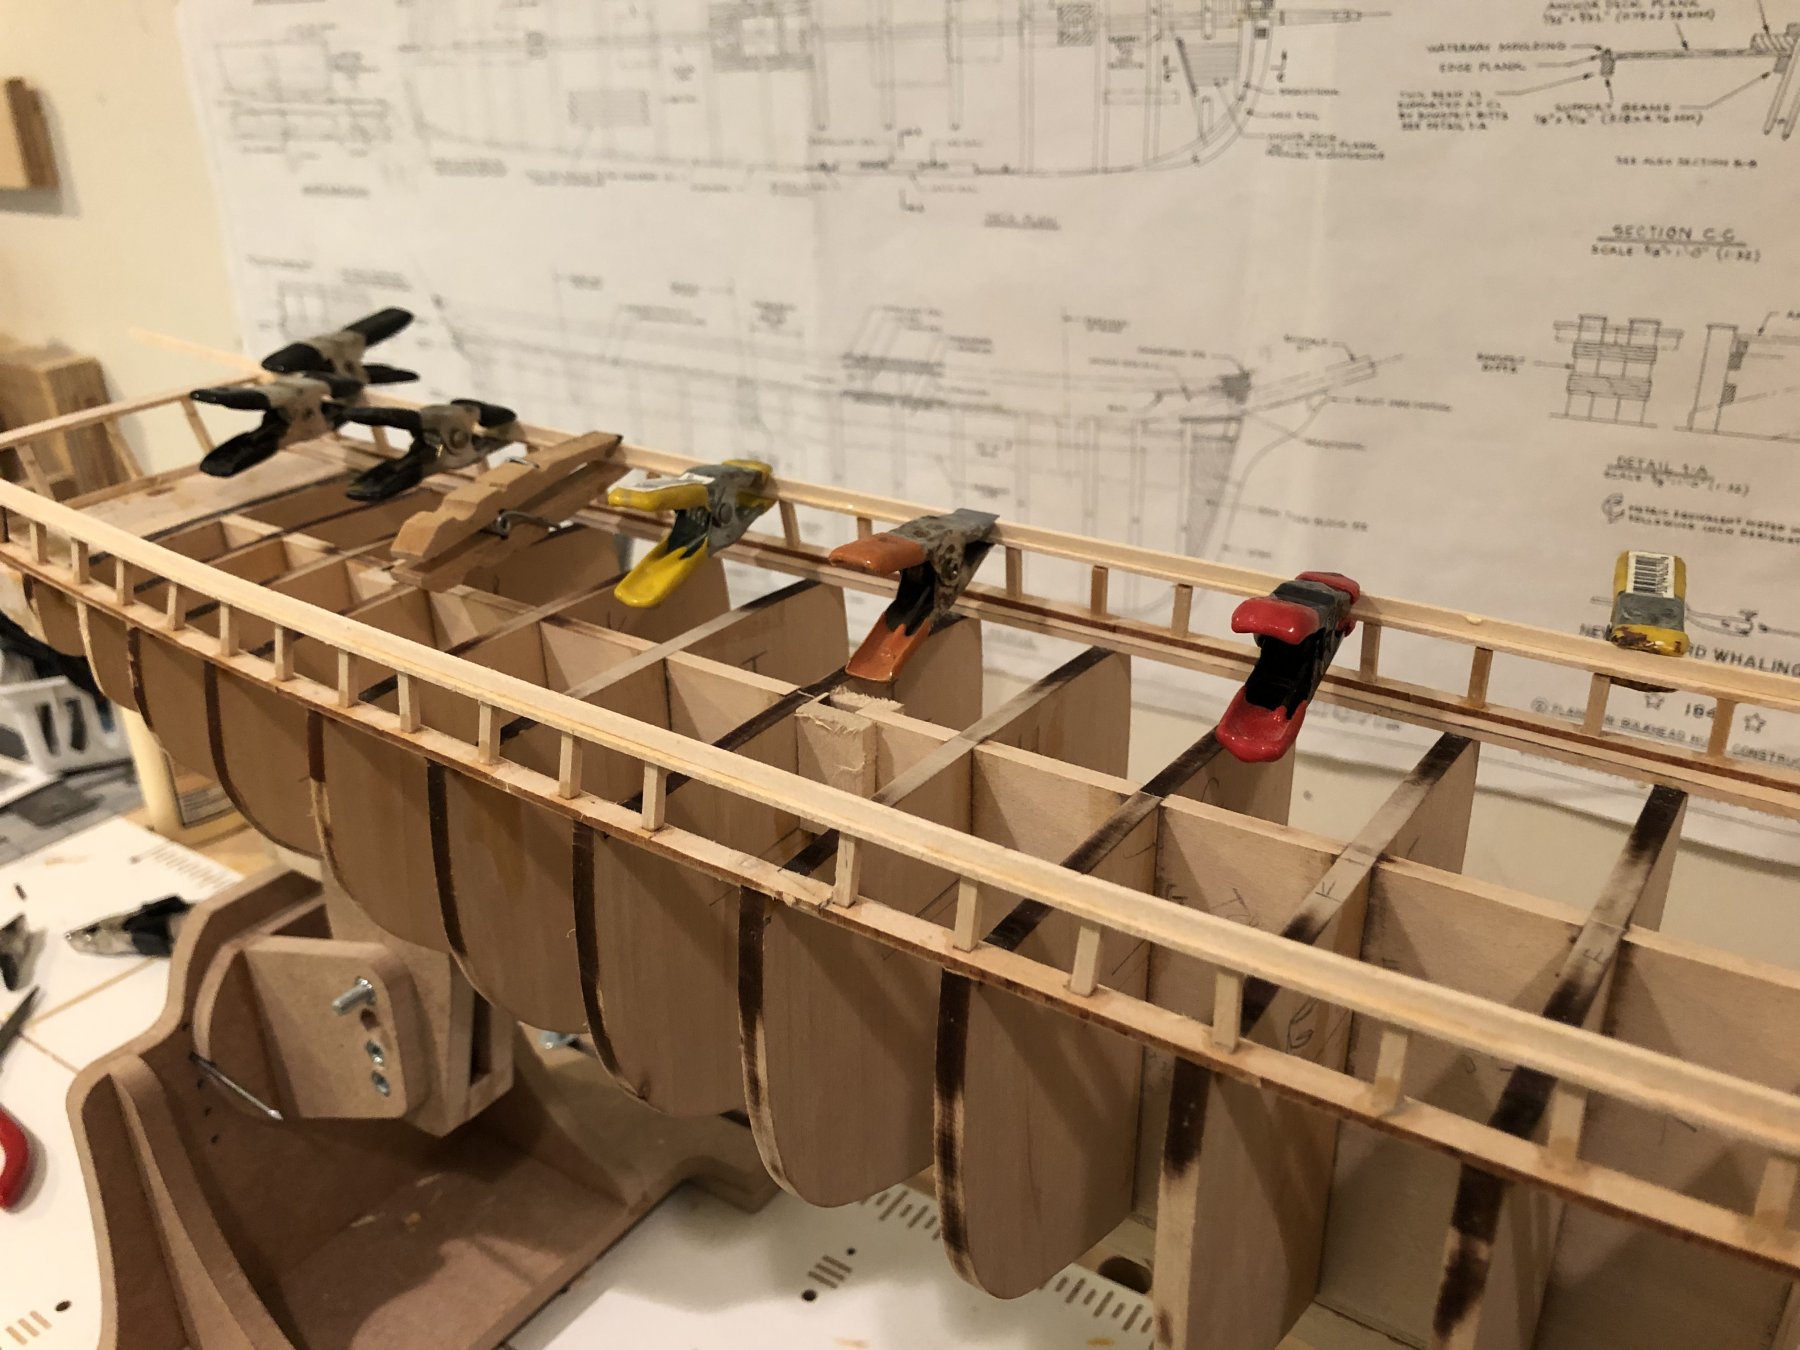
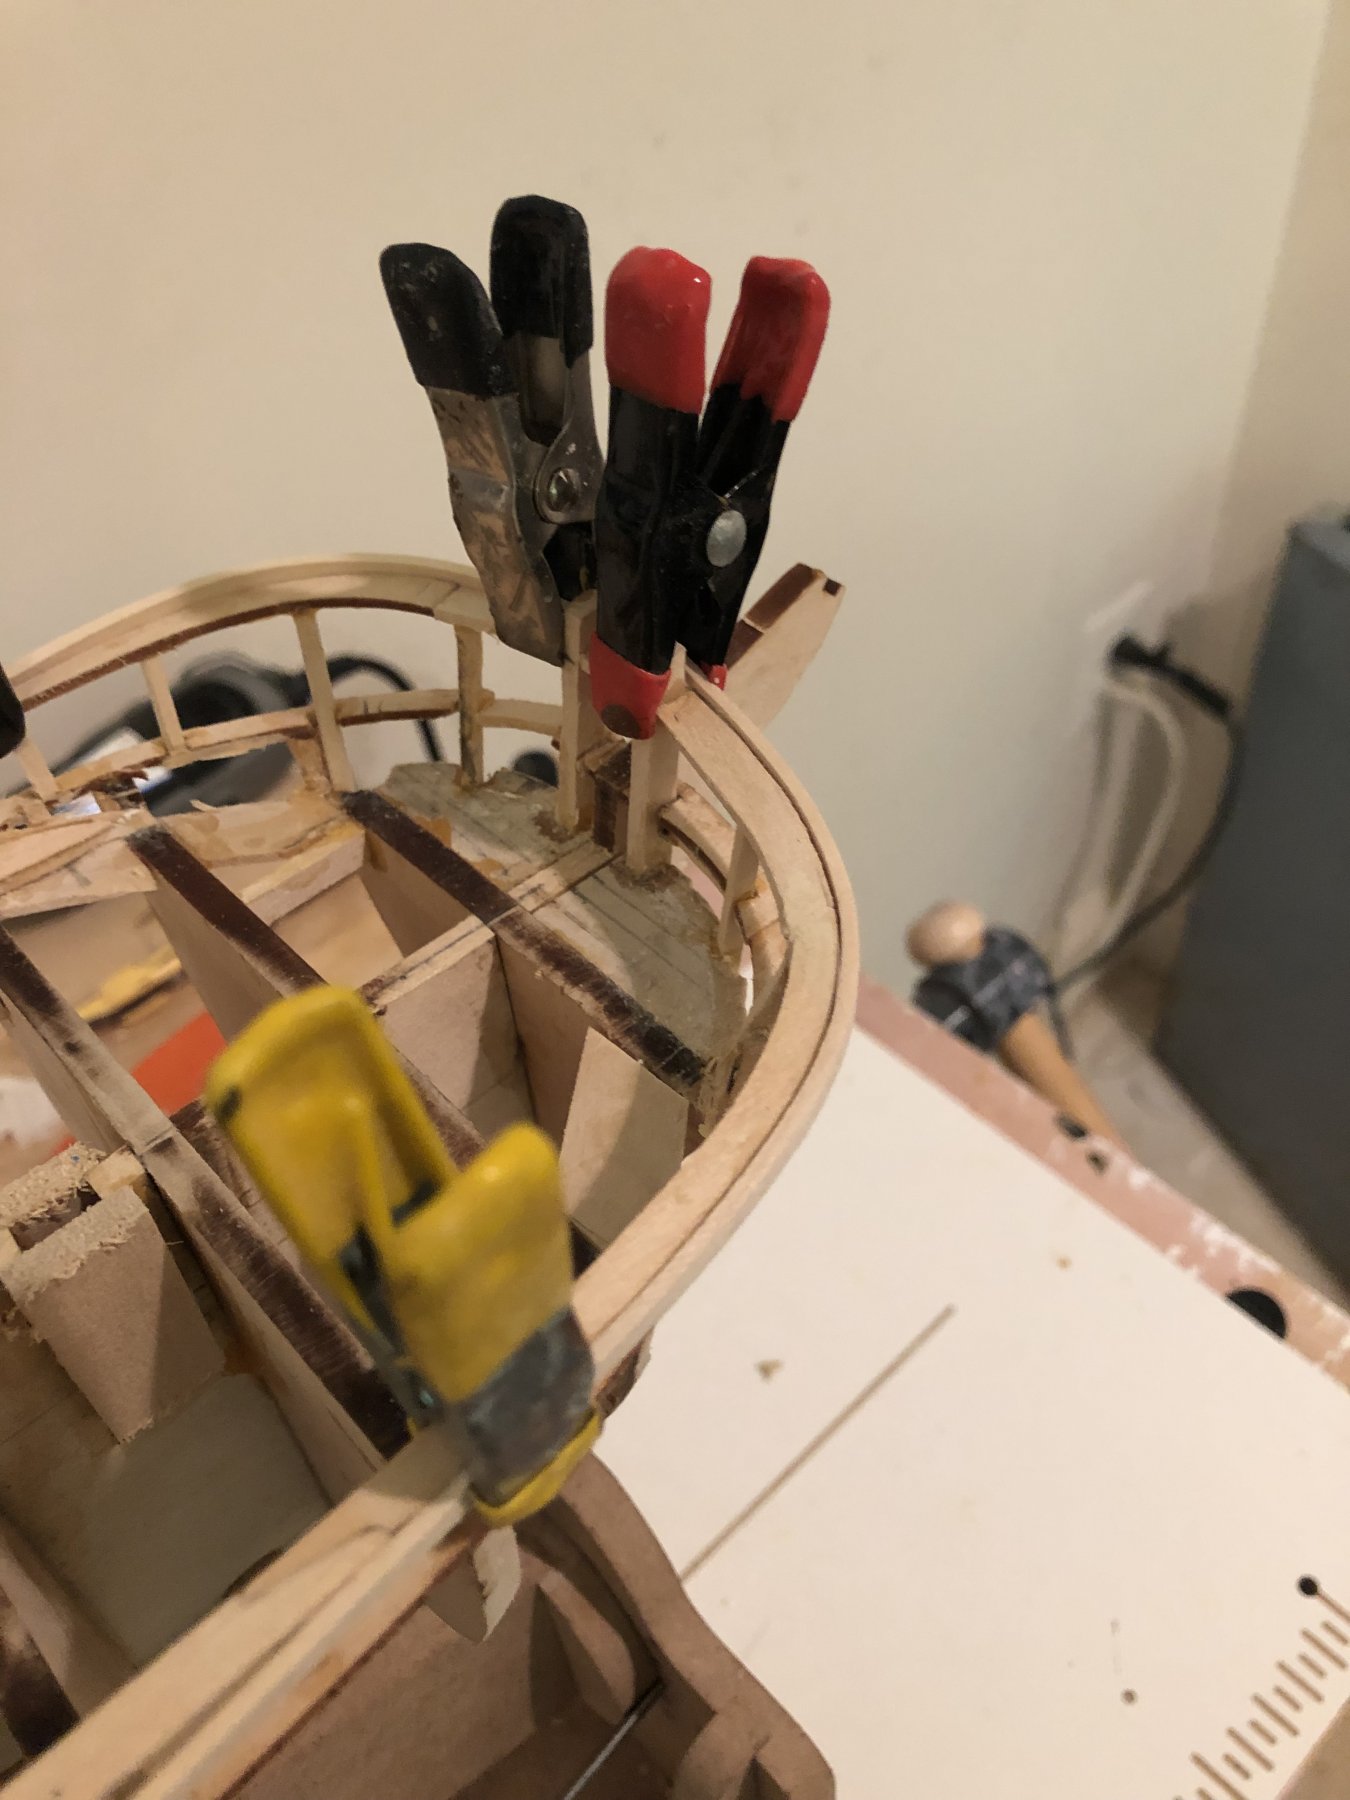
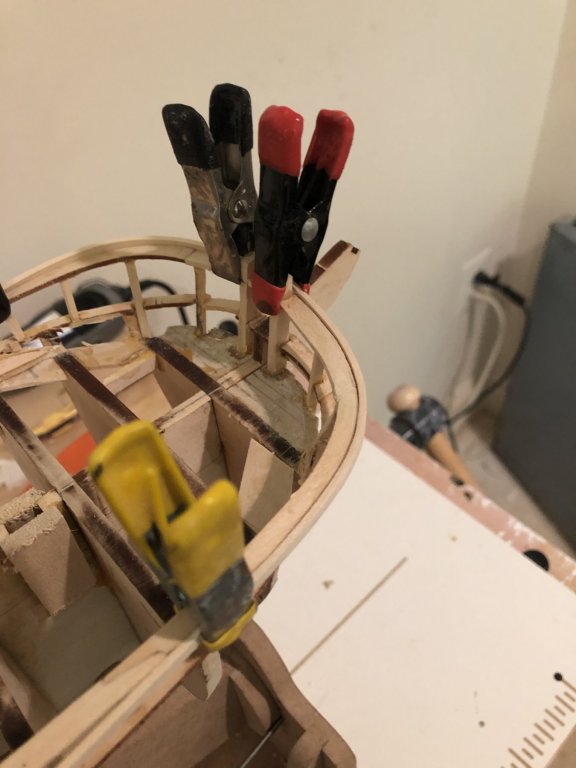
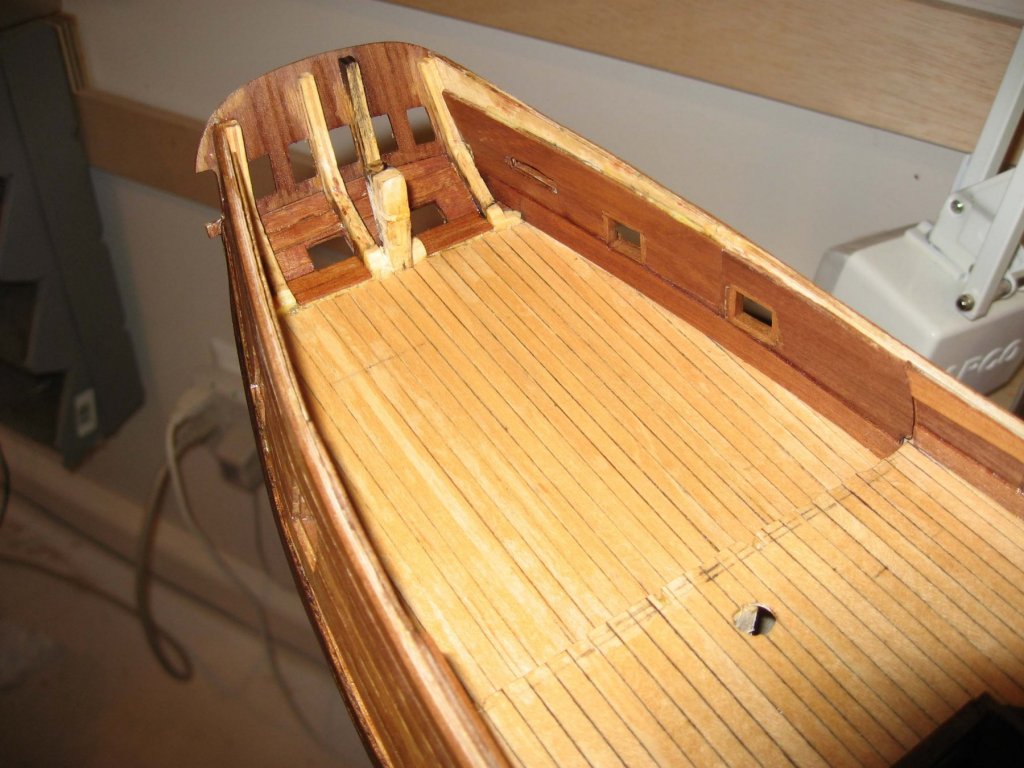
I had put the Morgan aside to focus on finishing the Granado. Now that she is done I got back to work on the Morgan. in the photo you can see how I shaped the log rail by soaking it in water and the clamping it against the plank shear in order to get the proper curve.
- 294 replies
-
- 3
-
-
- charles w morgan
- model shipways
- (and 1 more)
-
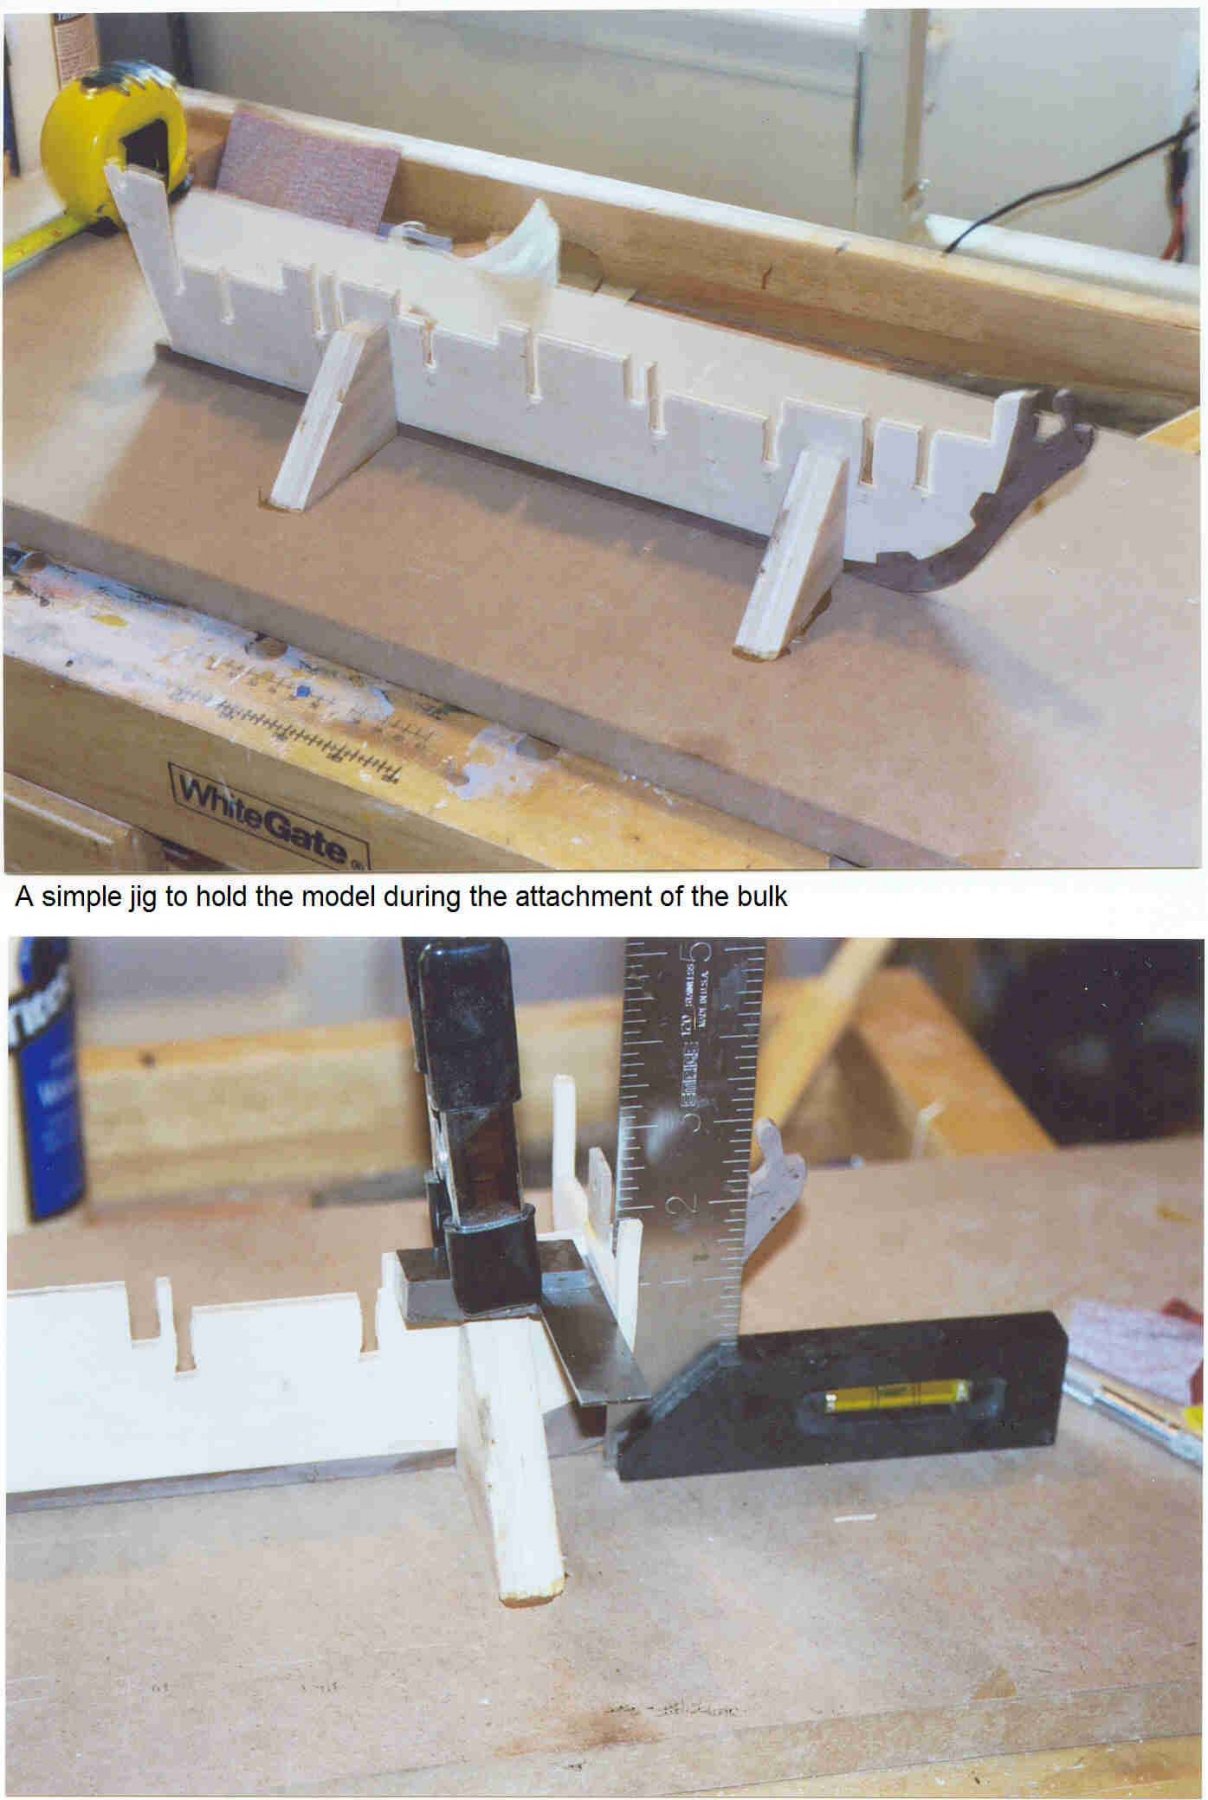
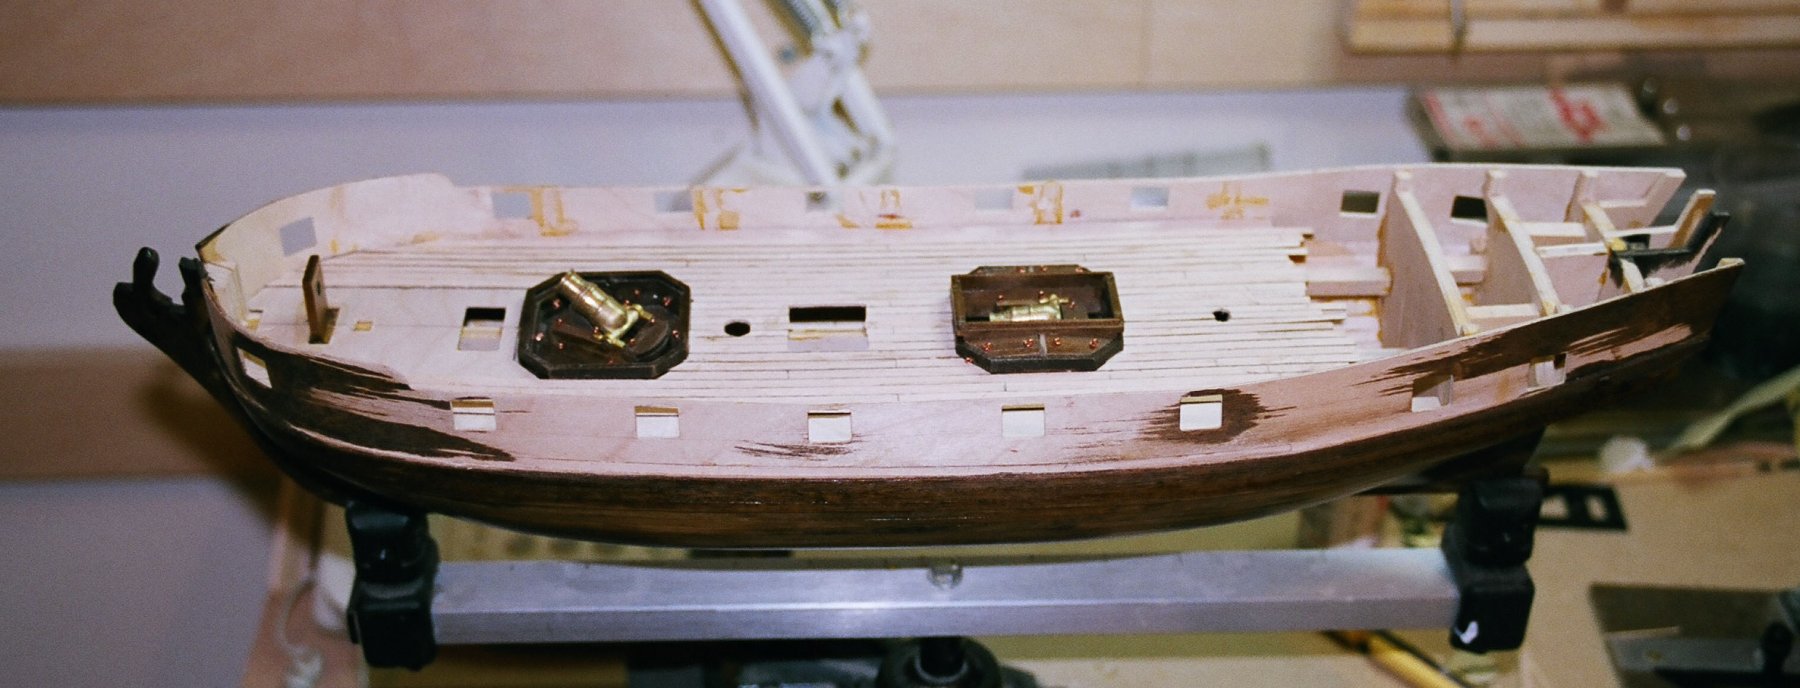
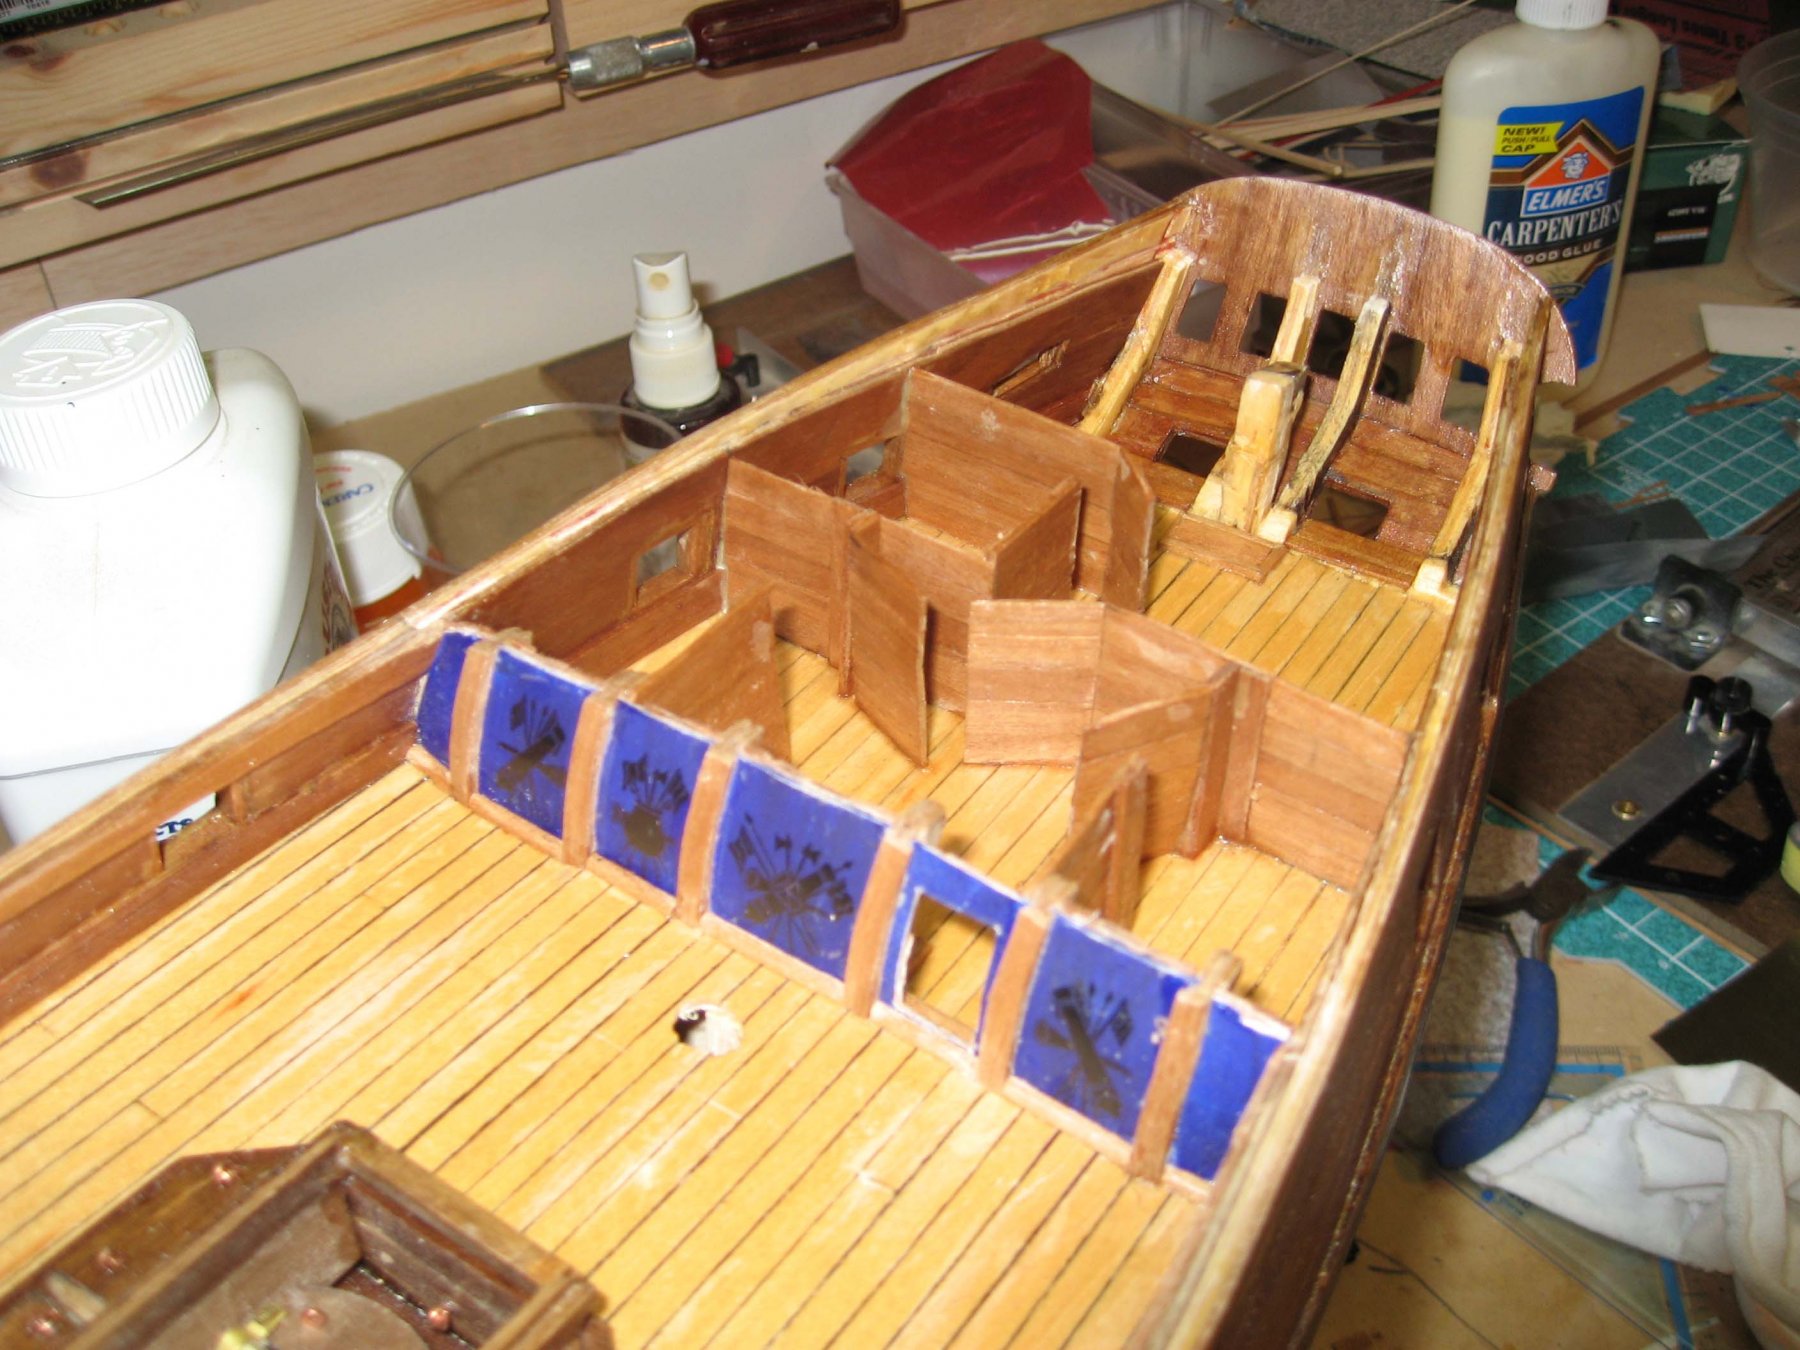
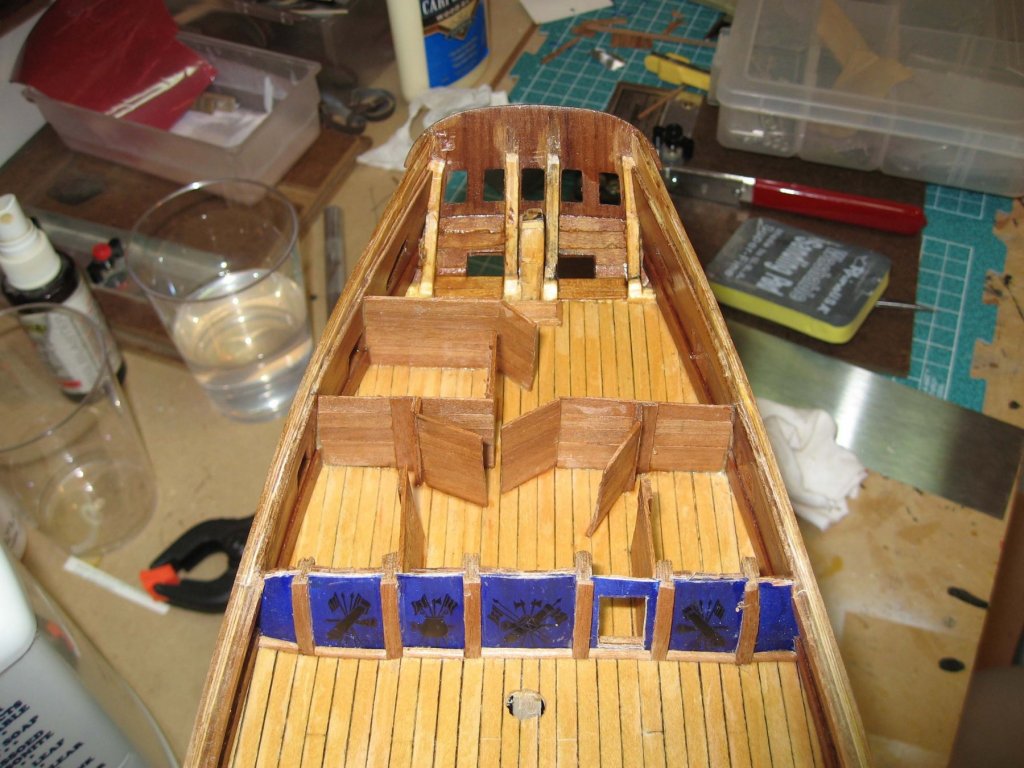
First up, I have to state this is not a complete log. I started the Granado in 2005 in a Group Build whose name I have since forgot. Unfortunately the group build web site was hacked into oblivion and all files lost. I have recently found some of my old photos of my progress and thought I would share them. Notice that well into the build, late in 2006, I caught the “bashing” bug from Steve “Stu” Hall of Ontario and decided to cut out some of the stern bulkheads and detail the after cabins. See photos. Shortly after I started the build, my wife and I acquired a travel trailer and I did much of the subsequent build on the road. That ended once I started the masts. In the next week or so she will finally be finished. So save a seat for the big reveal. Ron Gove, Leesburg, Virginia


-
Beautiful photo etched work. When I tried PE on a plastic ship model I made a bloody mess of it and threw the kit away. what is the secret?
-
I just found a good way to make rope coils for belaying pins, etc. I draw a bit of line through a glue stick and then wrap it around a suitable dowel. The glue stick provides enough tack to hold the coil together. Much easier and less messy than superglue or white glue. Ron Gove
- 1 reply
-
- 5
-
-
Nice planking and decking.
-
While I am at it ( clearing out books) I will give this book: The American-Built Clipper Ship, 1850-1856: Characteristics, Construction, and Details, Paperback version To whoever wants it for the price of postage.
- 1 reply
-
- 1
-
-
I have a copy of this book in excellent condition. Vasa I: The Archaeology of a Swedish Royal Ship of 1628 (Statens Maritima Museer (National Maritime Museum of Sweden)) (Hardcover) I am trying to reduce my library and will sell this for $100 plus shipping cost. Send me a private message if you are interested or want to make an offer. It lists at over $170 on Amazon.
- 1 reply
-
- 1
-
-
If you like the Stearman bi-plane you will enjoy “Cannibal Queen” by Stephen Coonts. The book relates Coonts’ travels around the USA in his Stearman, The Cannibal Queen; so named because she’d bite you in the *** if you weren’t careful. I found it amusing that Coonts, who flew A6 Intruders, kind of had to learn to fly all over again with a tail dragging bi-plane. Ron Gove