


Freebird
-
Posts
275 -
Joined
-
Last visited
Content Type
Profiles
Forums
Gallery
Events
Posts posted by Freebird
-
-
Chuck, quick question before you head out. The bolts for the box joints, are they in the same position on port/starboard of the keel? In other words, would drilling the holes completely through the keel and inserting the bolts be accurate? Or should the bolt pattern be shifted to match the joints on each side? TIA!
Best Regards .... Rick
-
-
Awesome! it's nice to have a few others building at the same stage.
Best Regards .... Rick
-
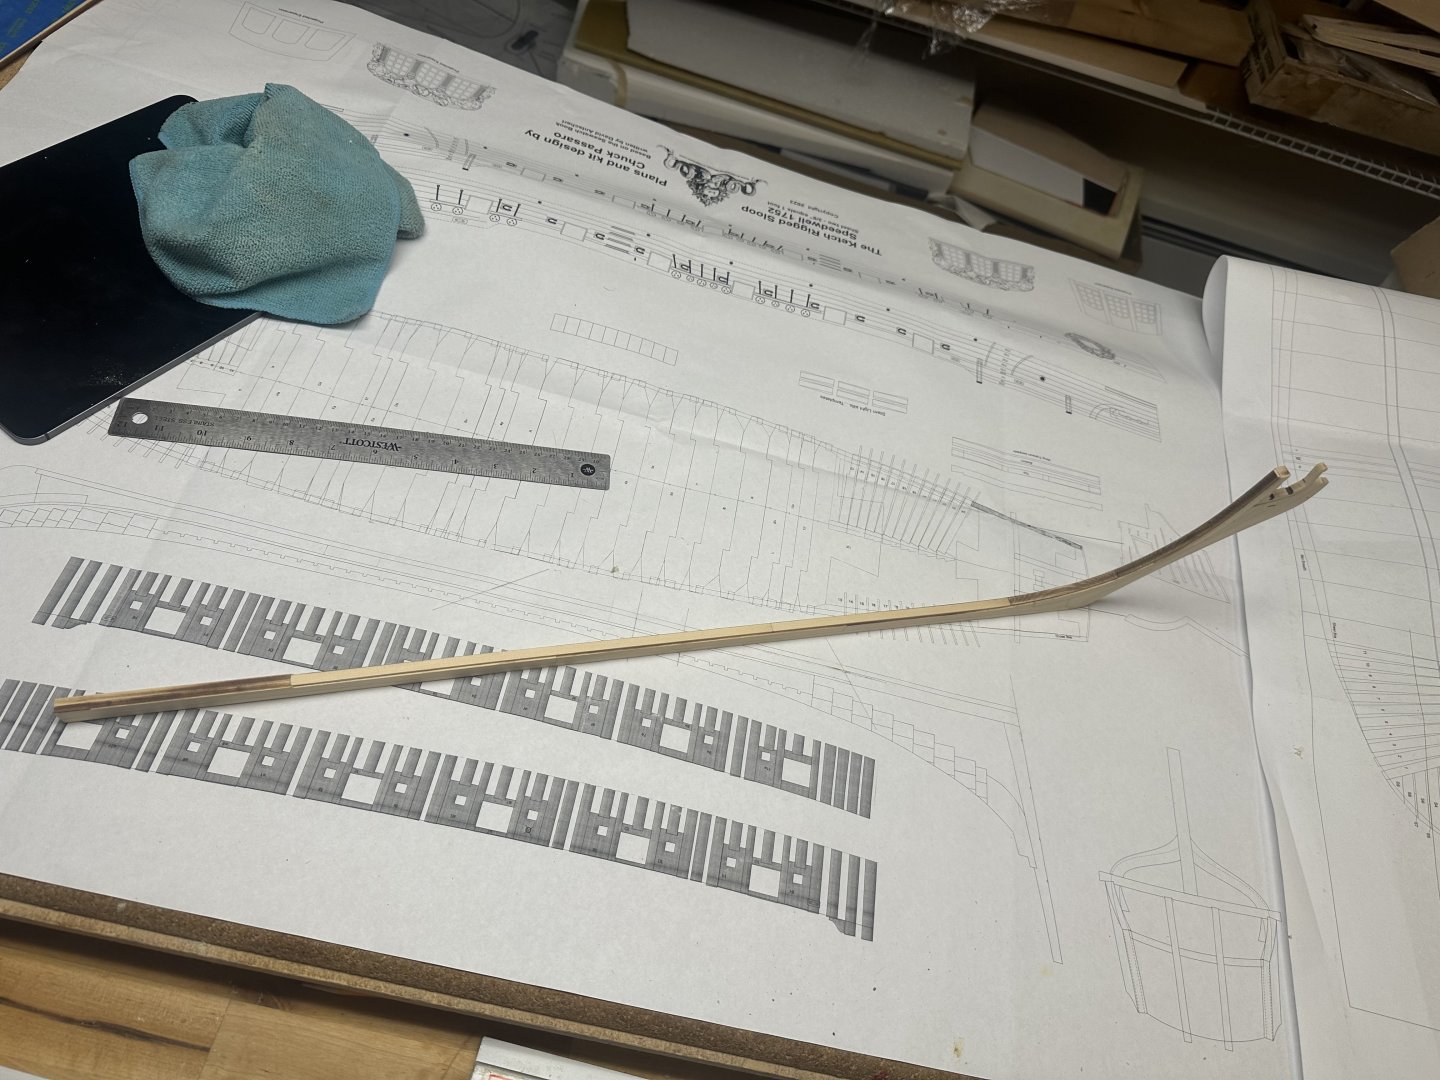
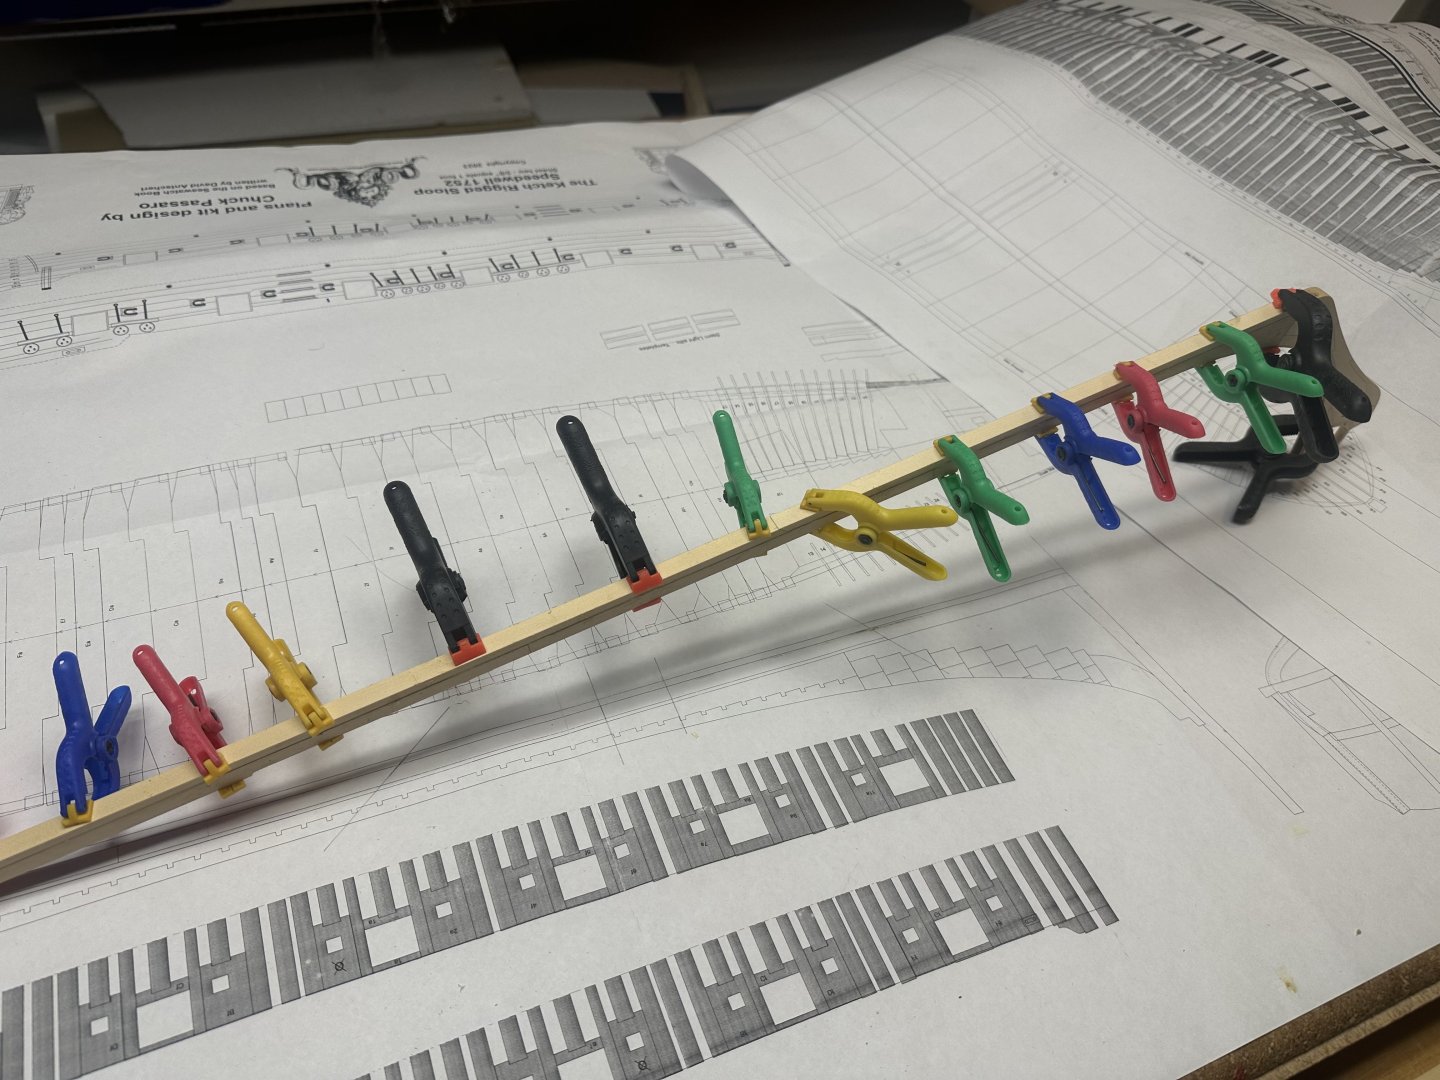
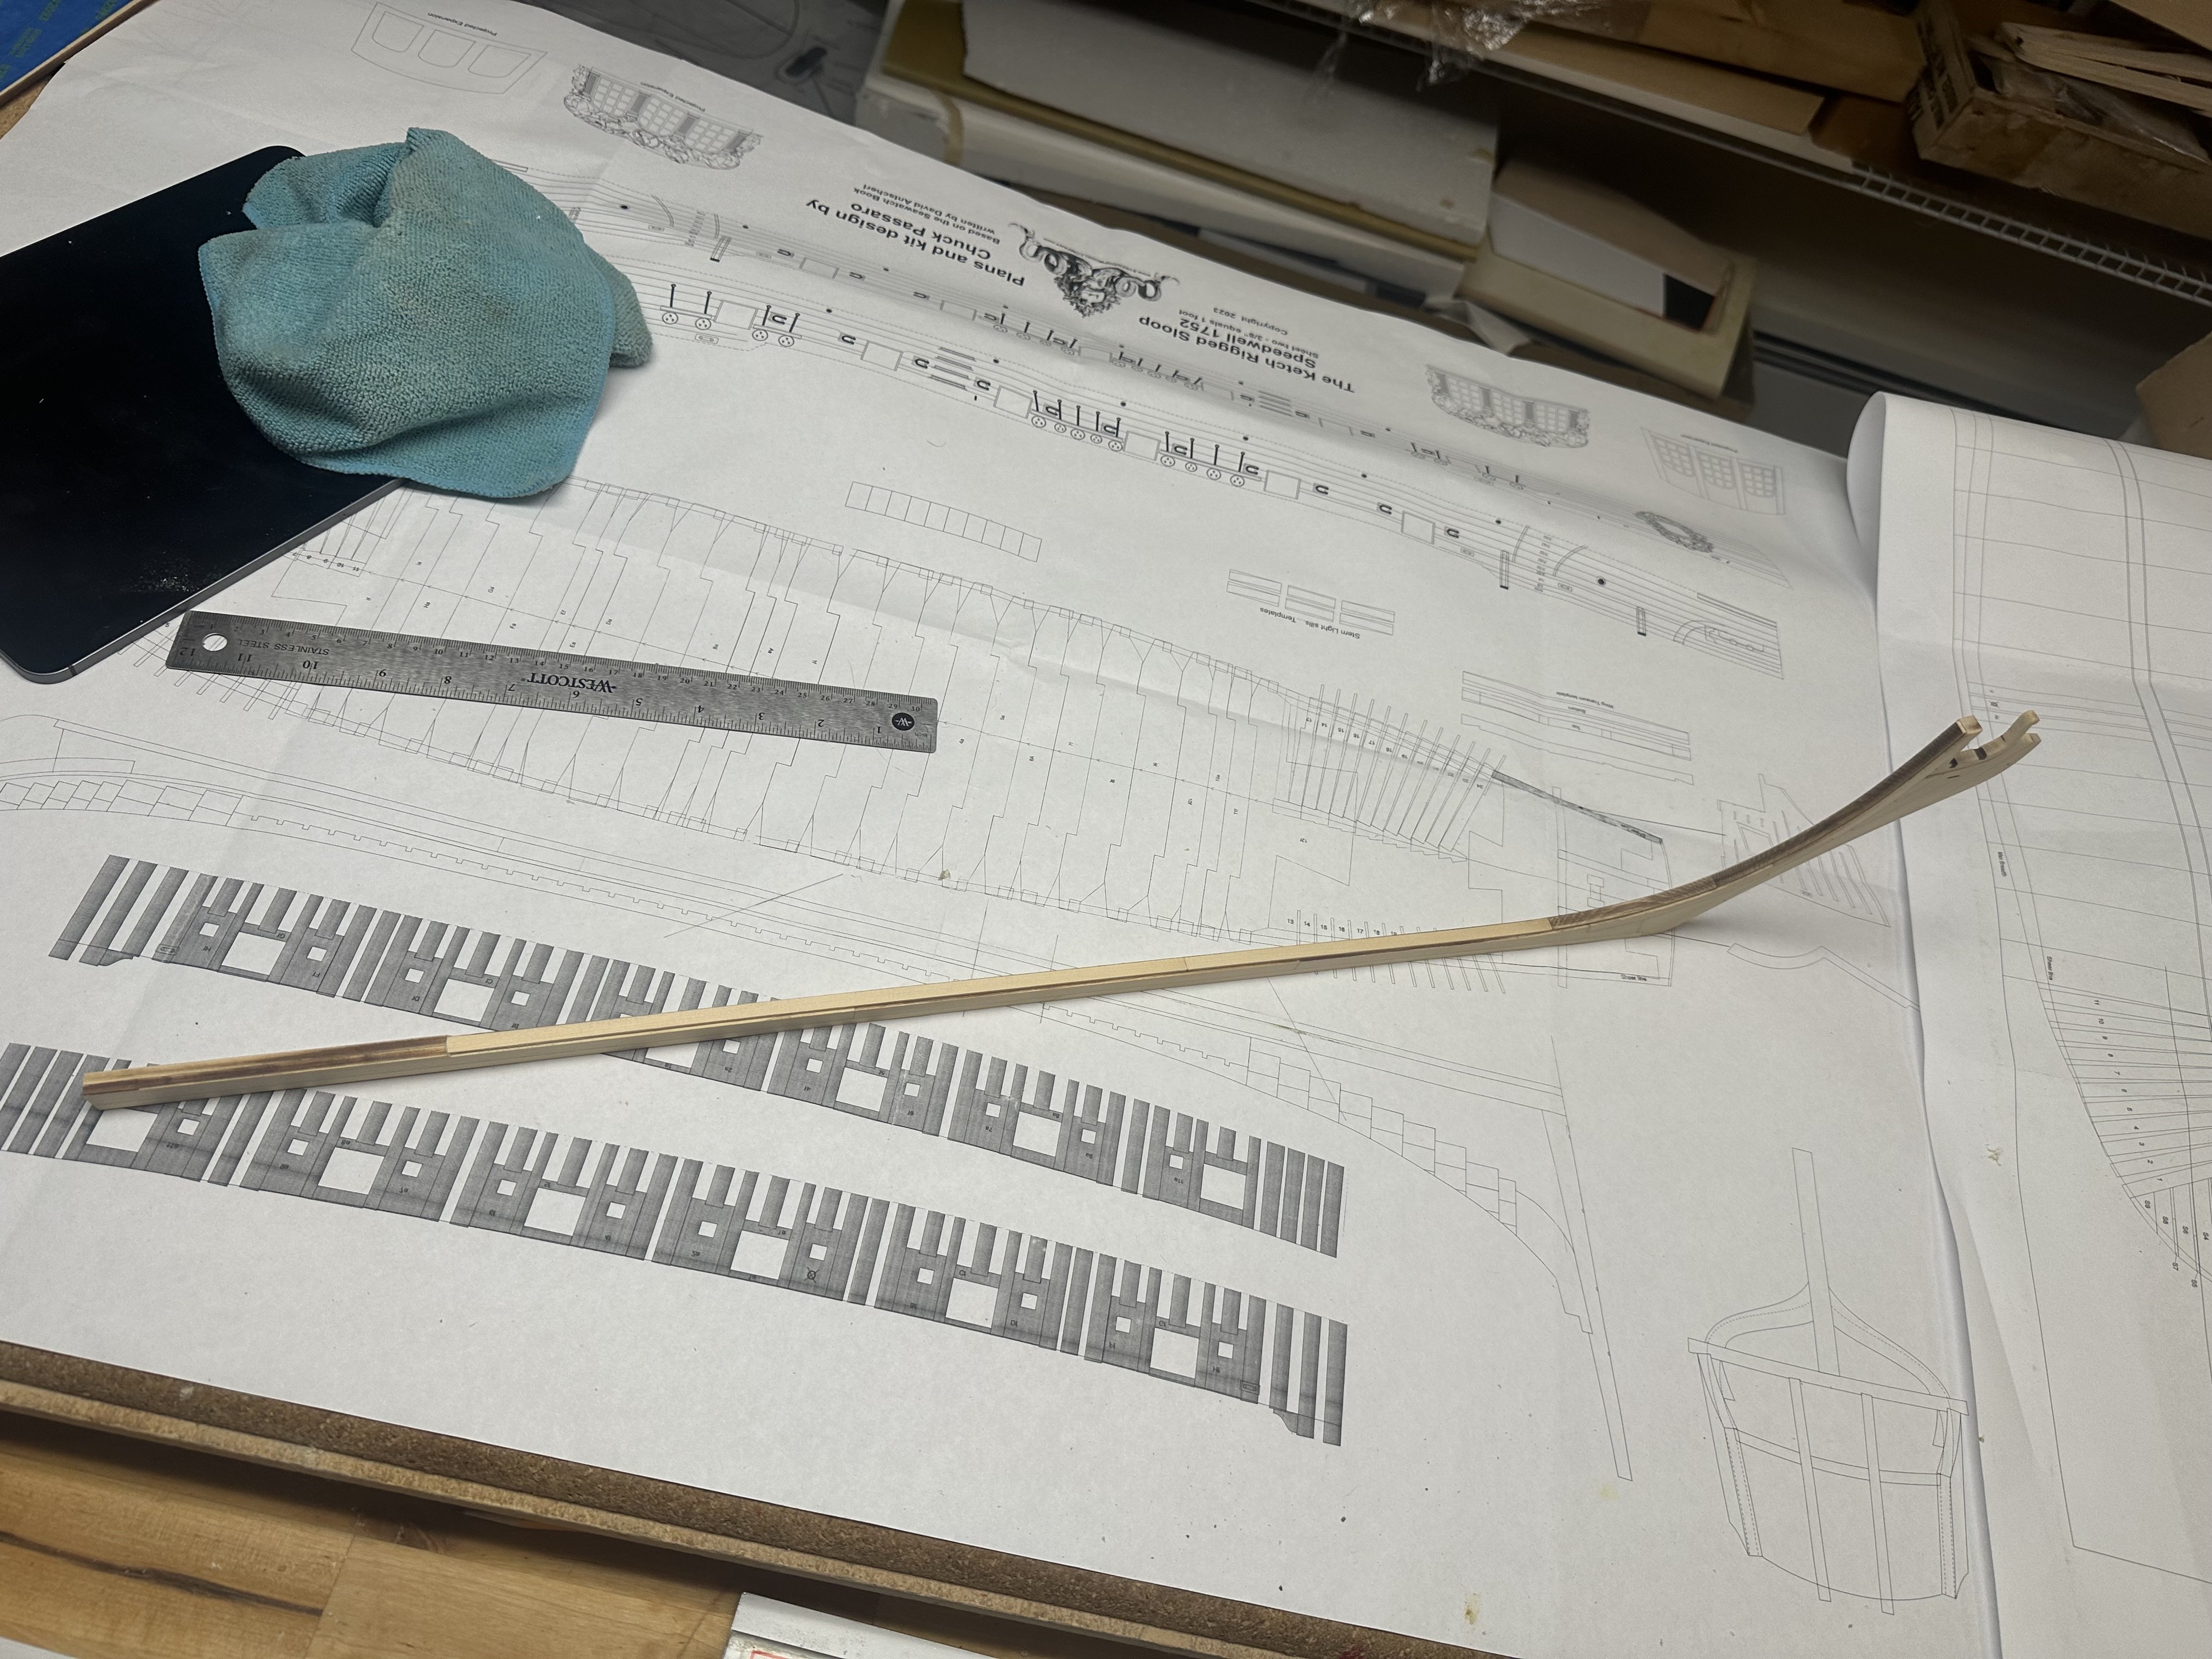
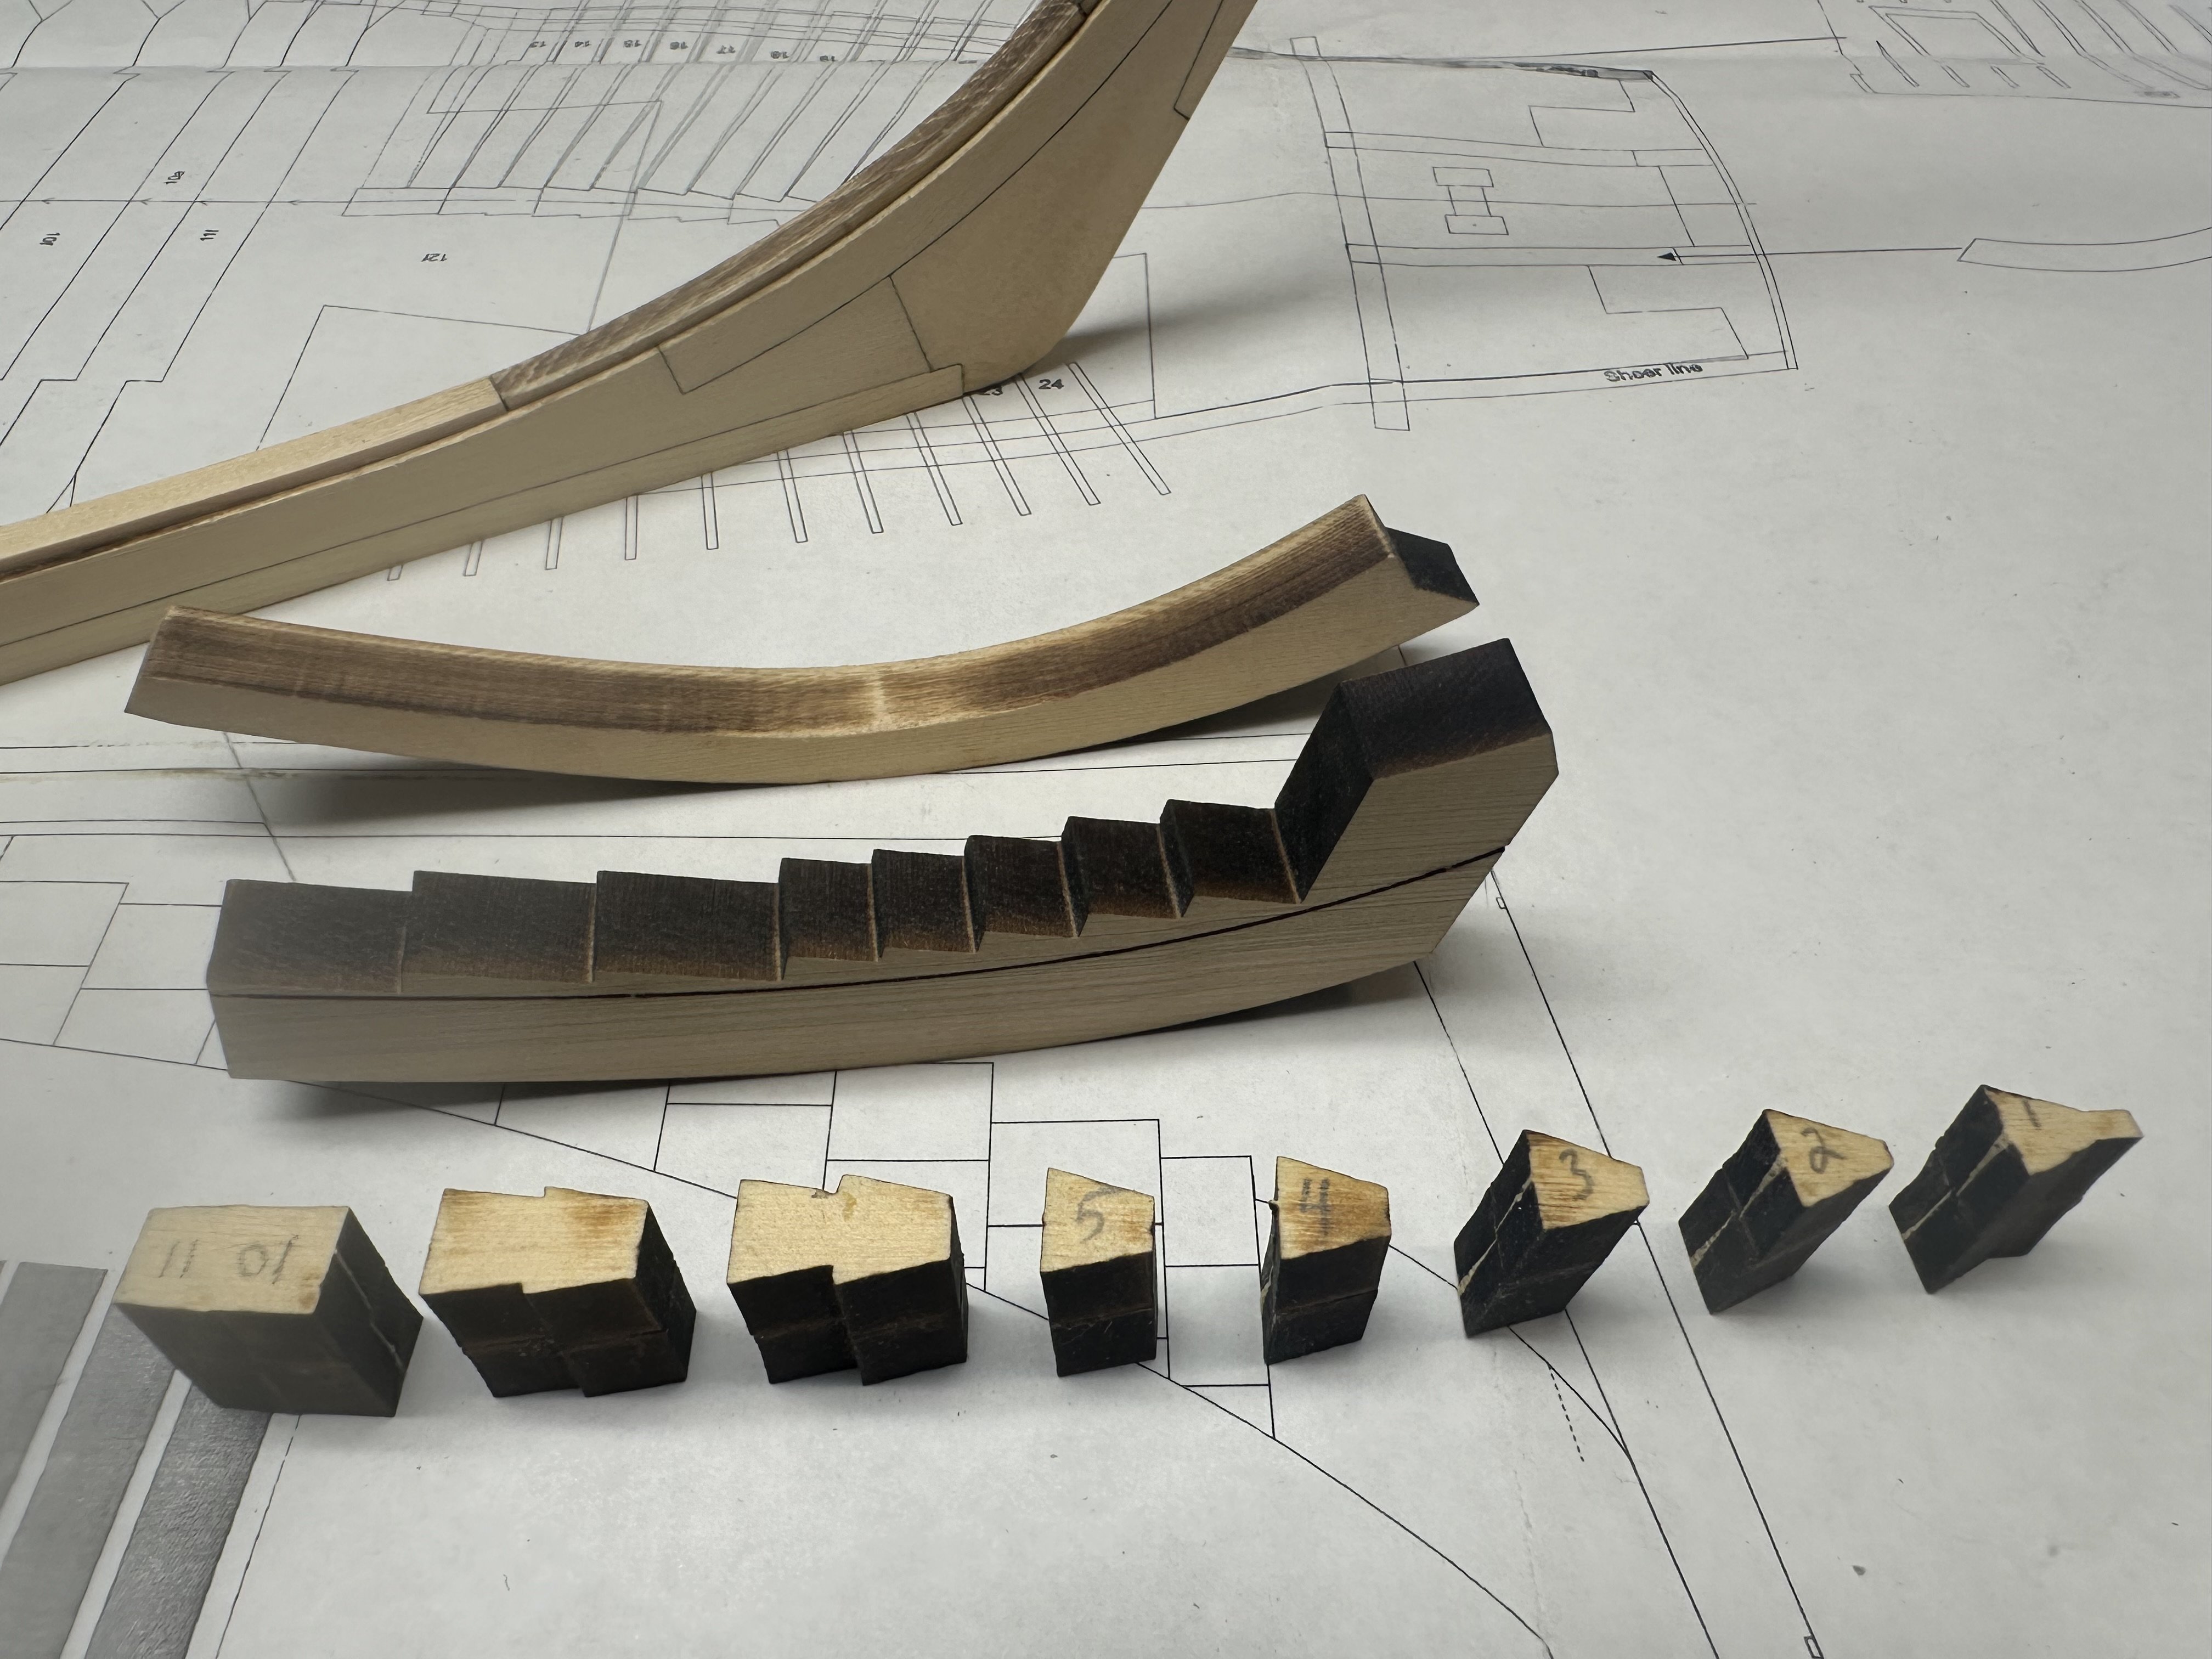
Thank you everyone for the likes, much appreciated and it keeps me motivated!
Here’s the completed keel, being on the long side, it’s hard to get decent pictures. I’ve also started on the forward apron, the wedges are glued together and ready to start fitting them.
Best Regards …. Rick

-
-
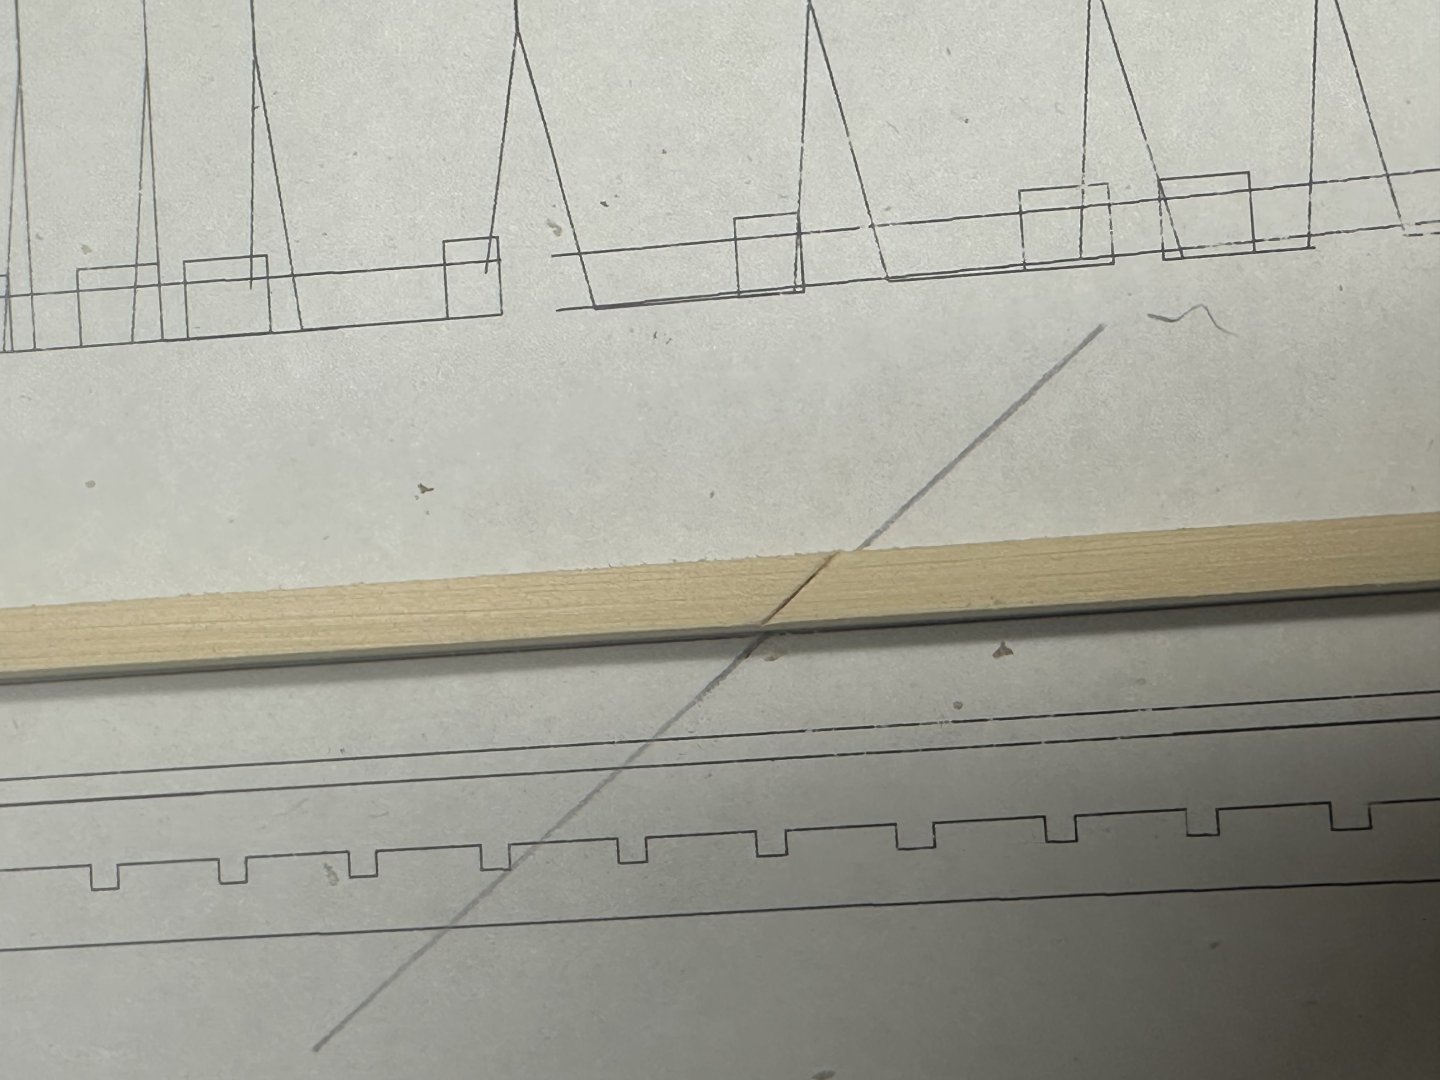
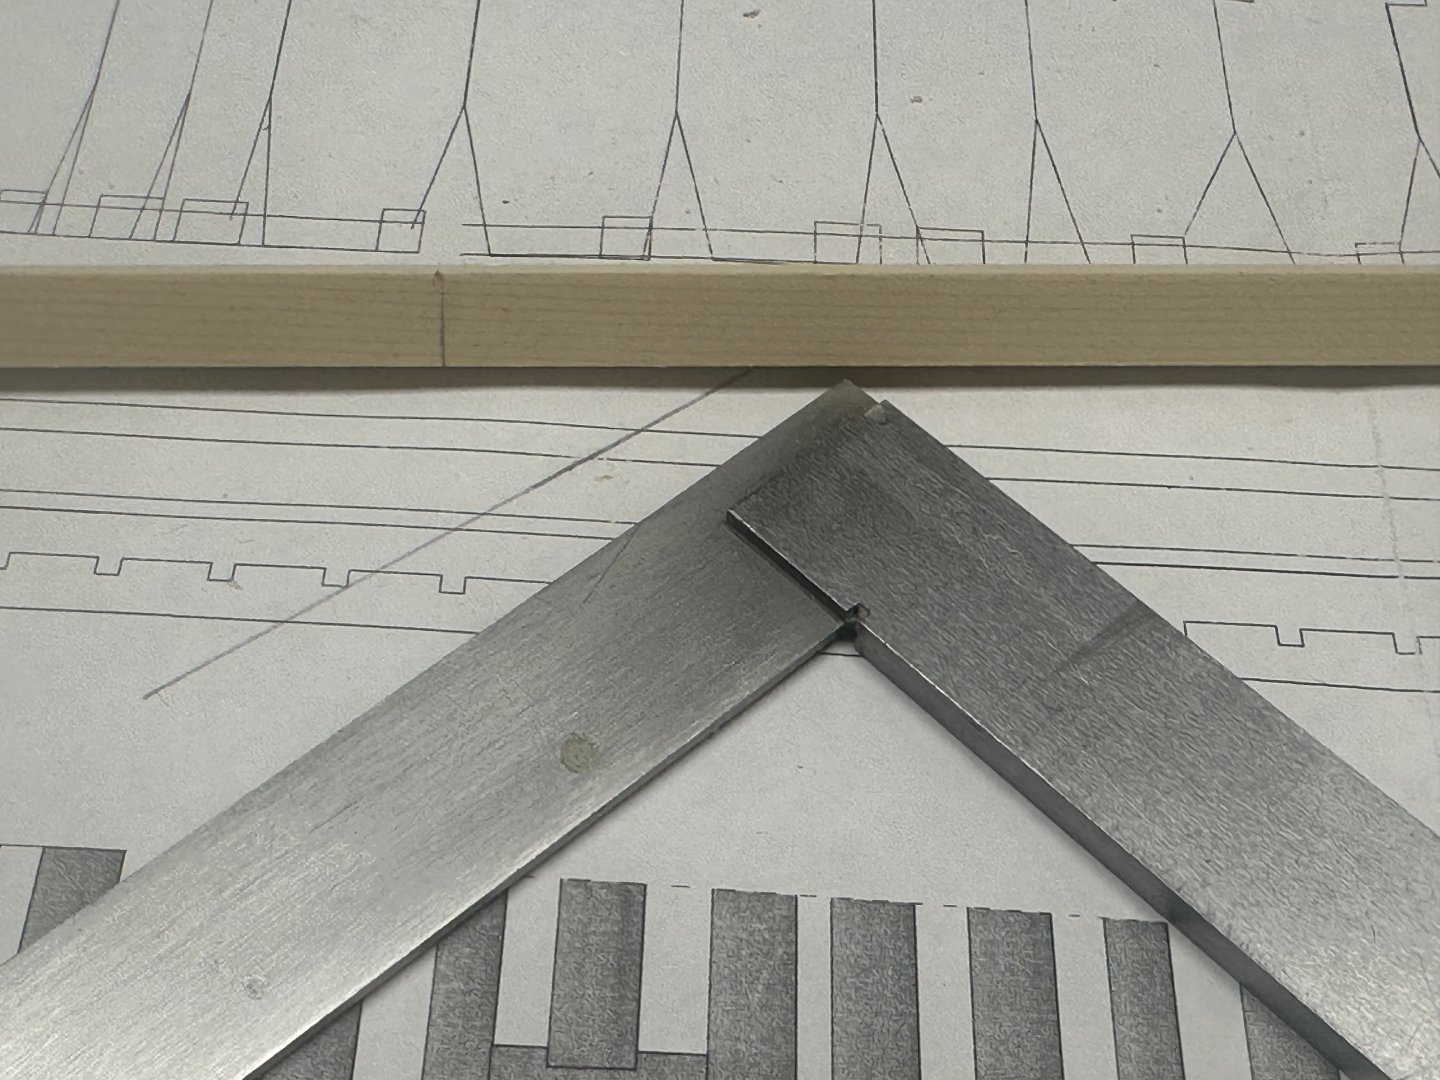
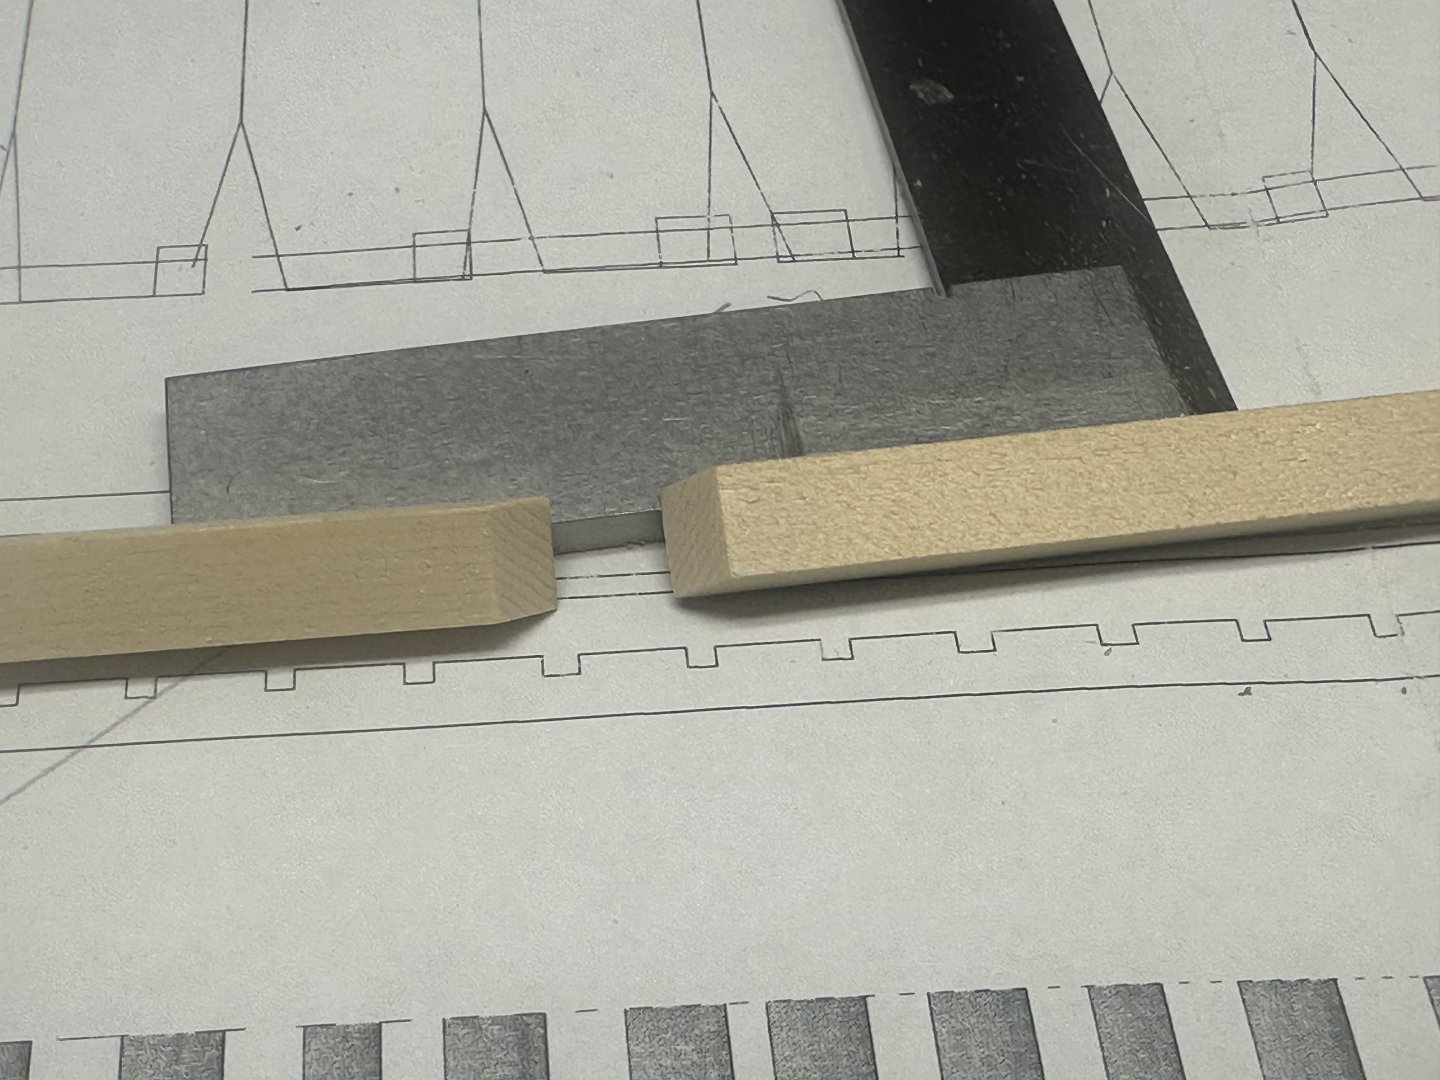
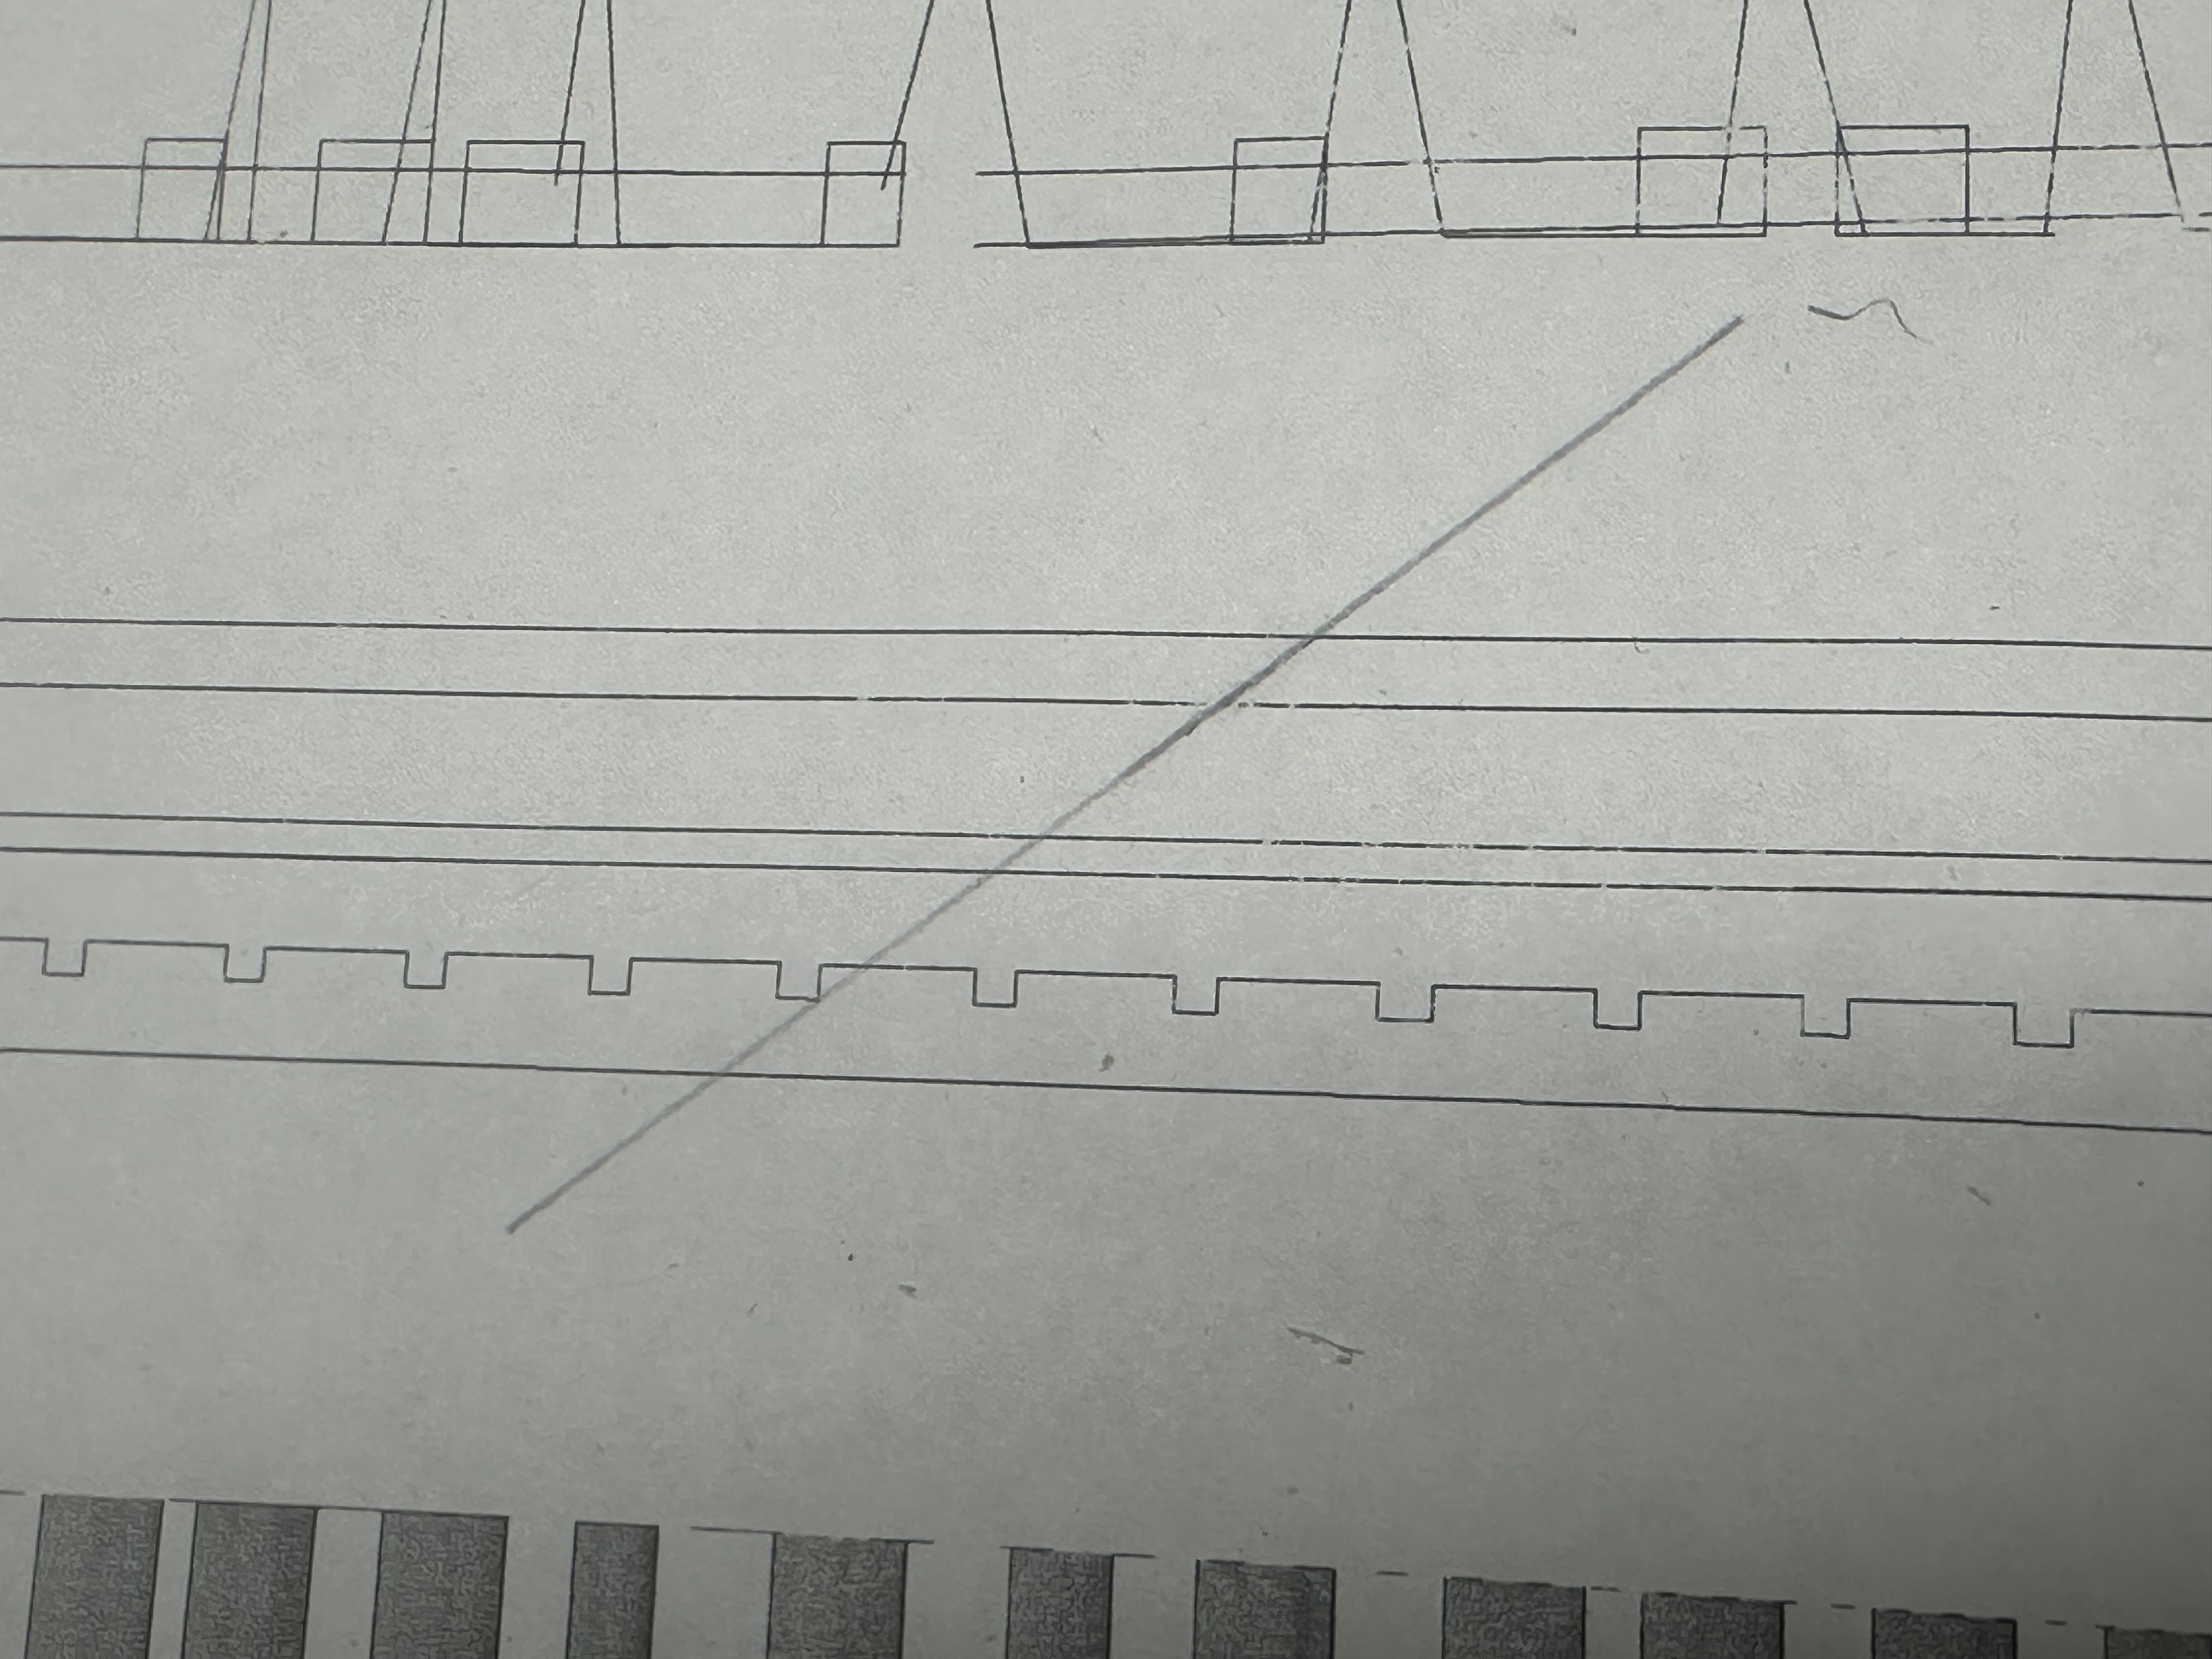
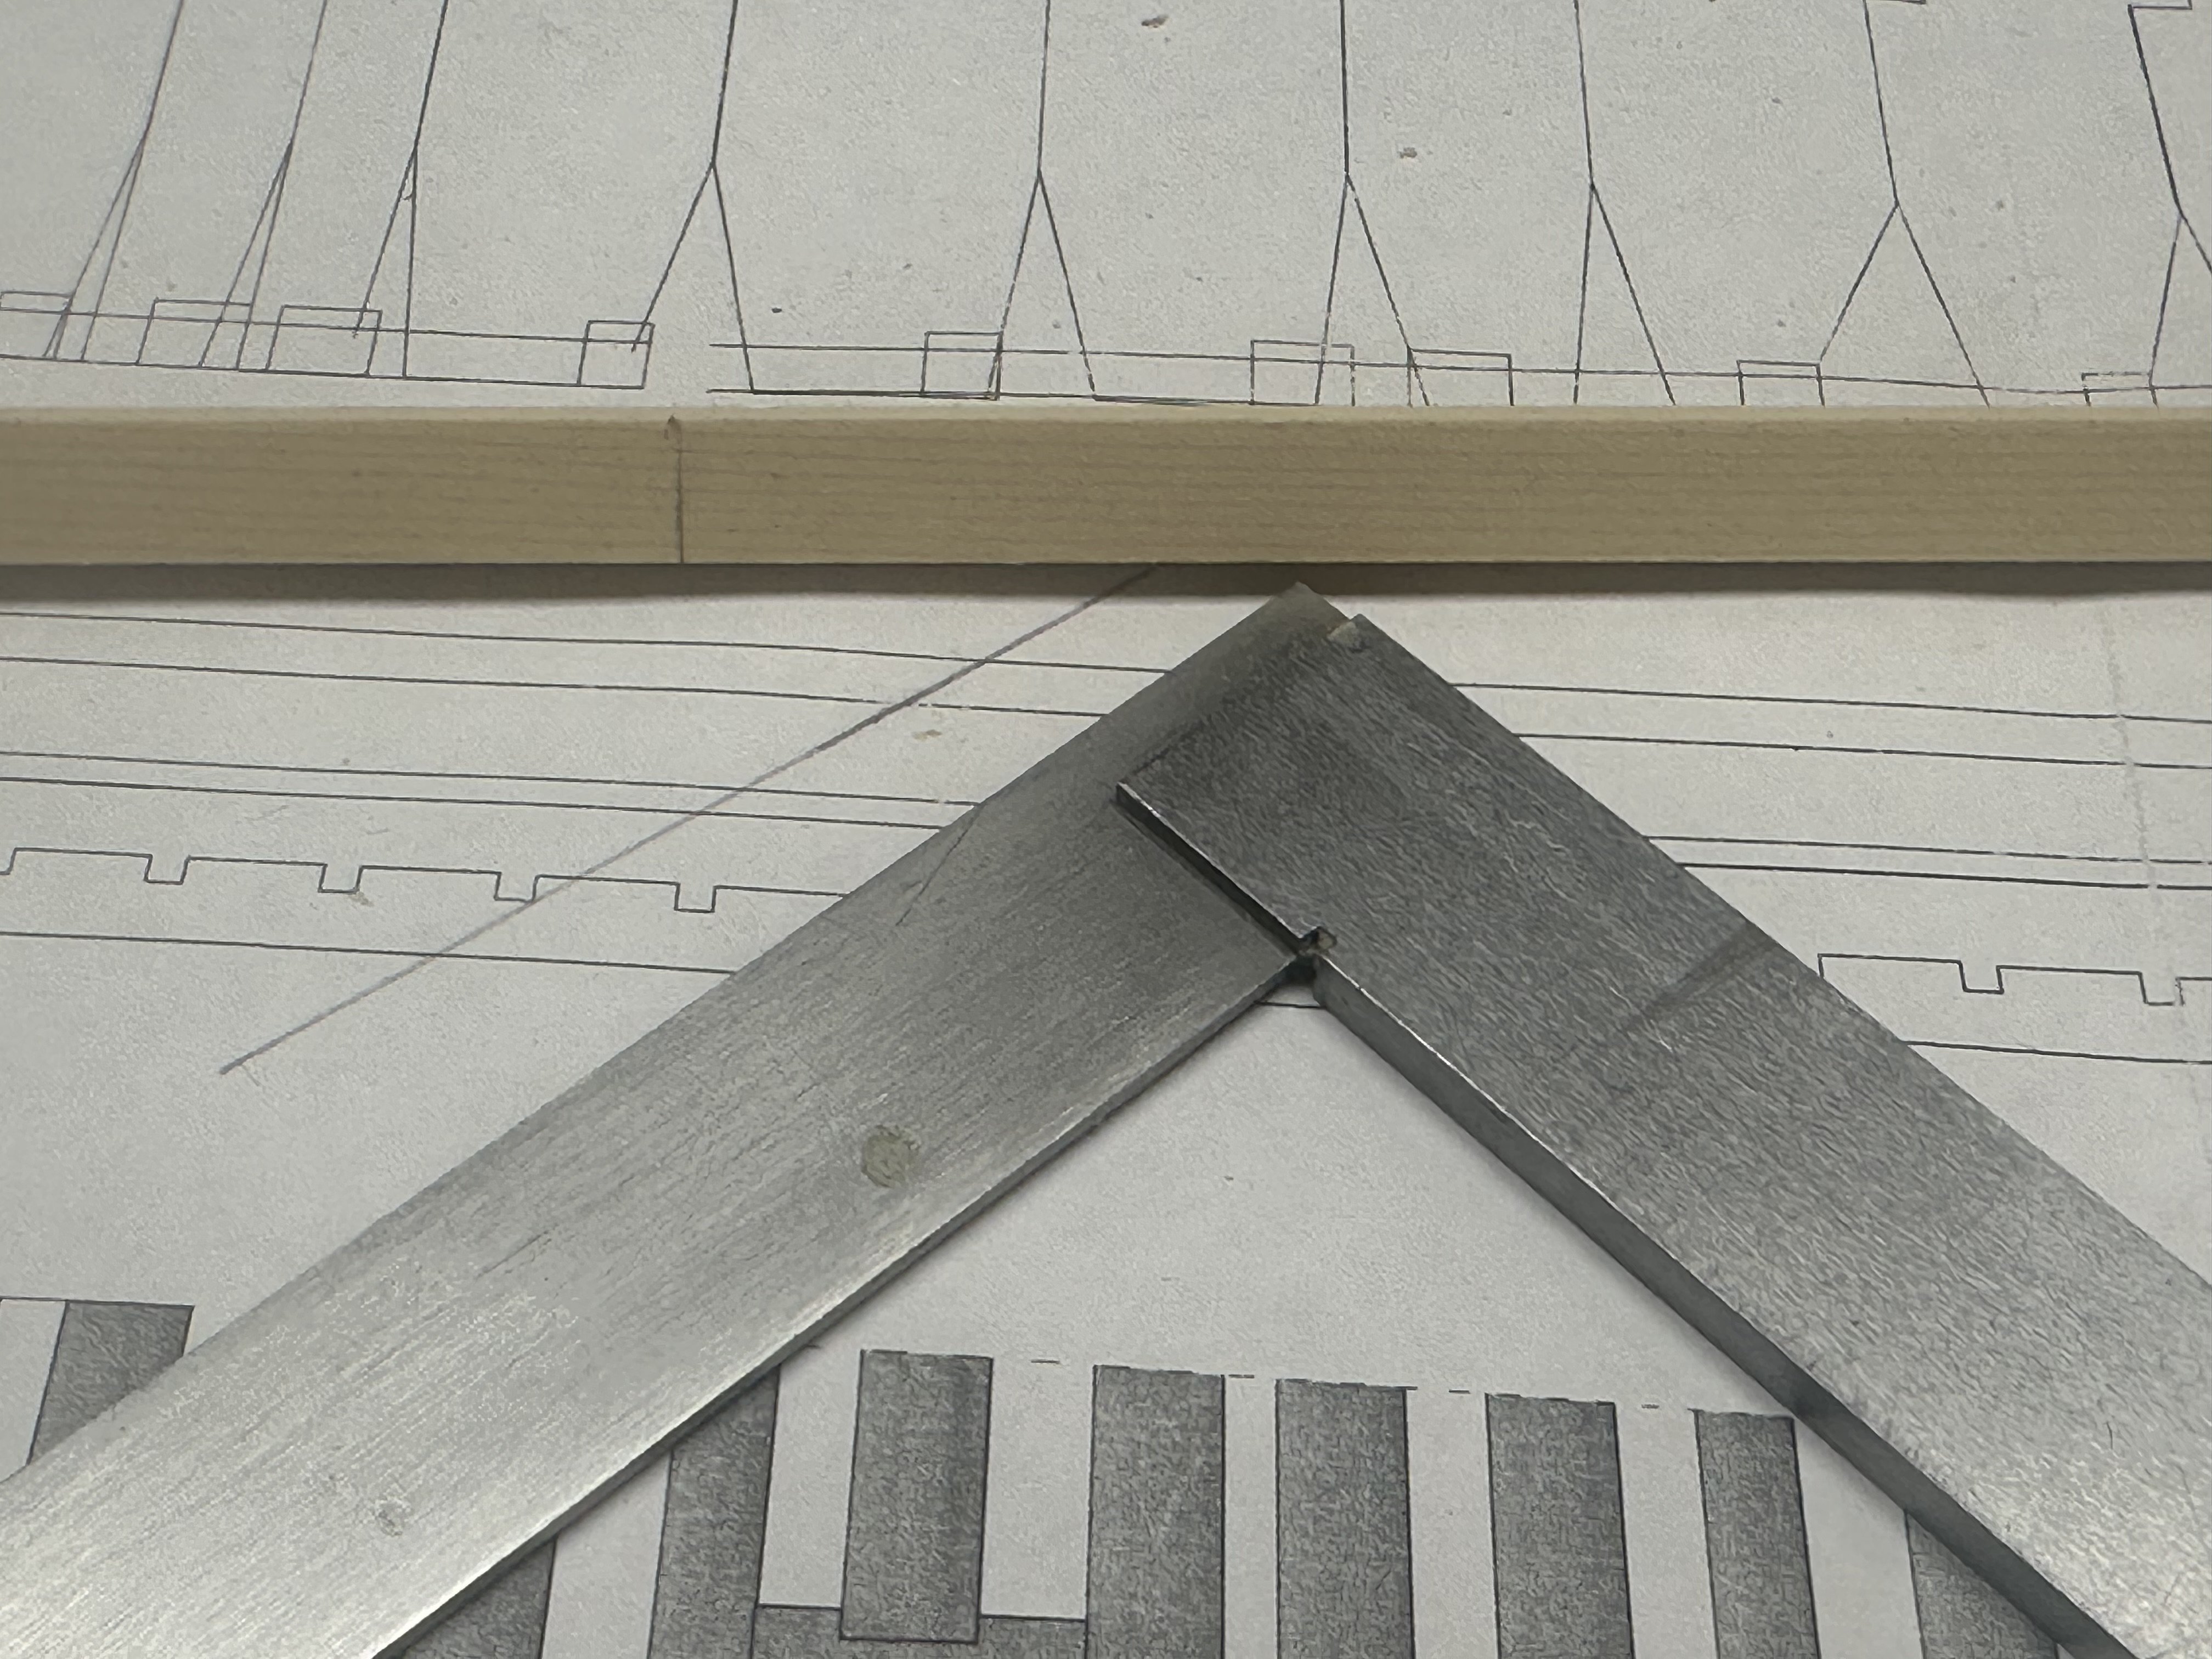
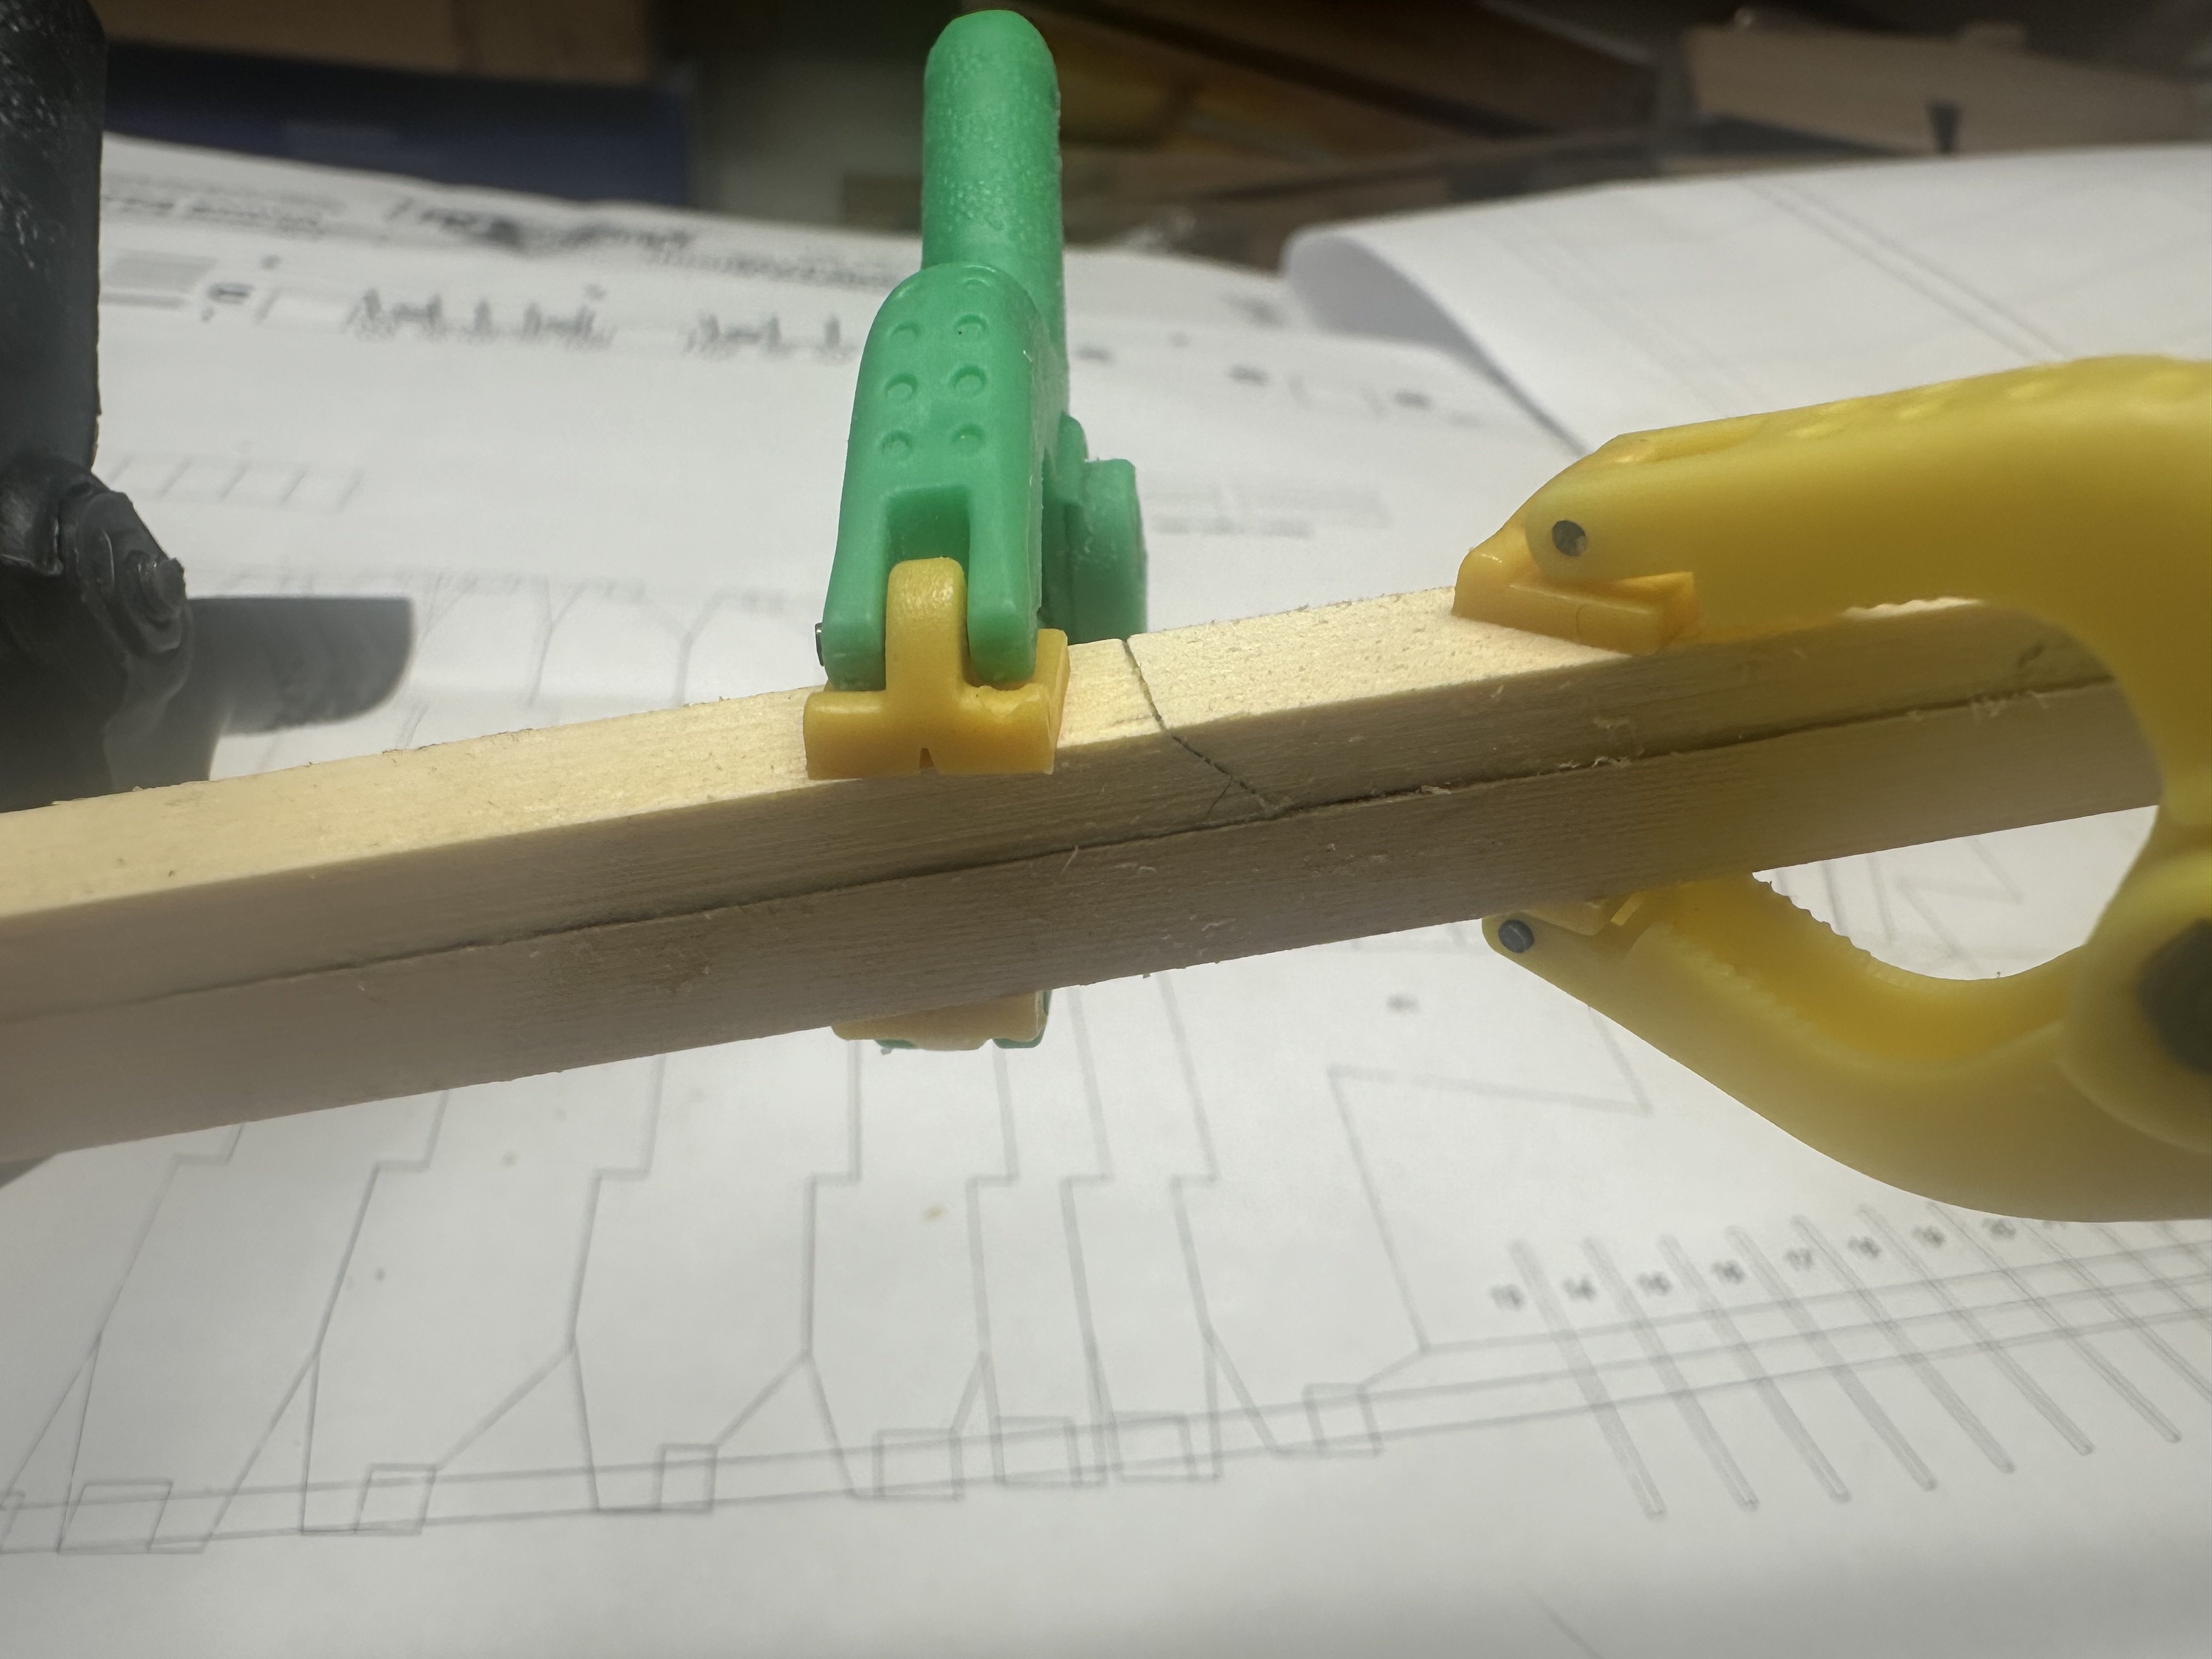
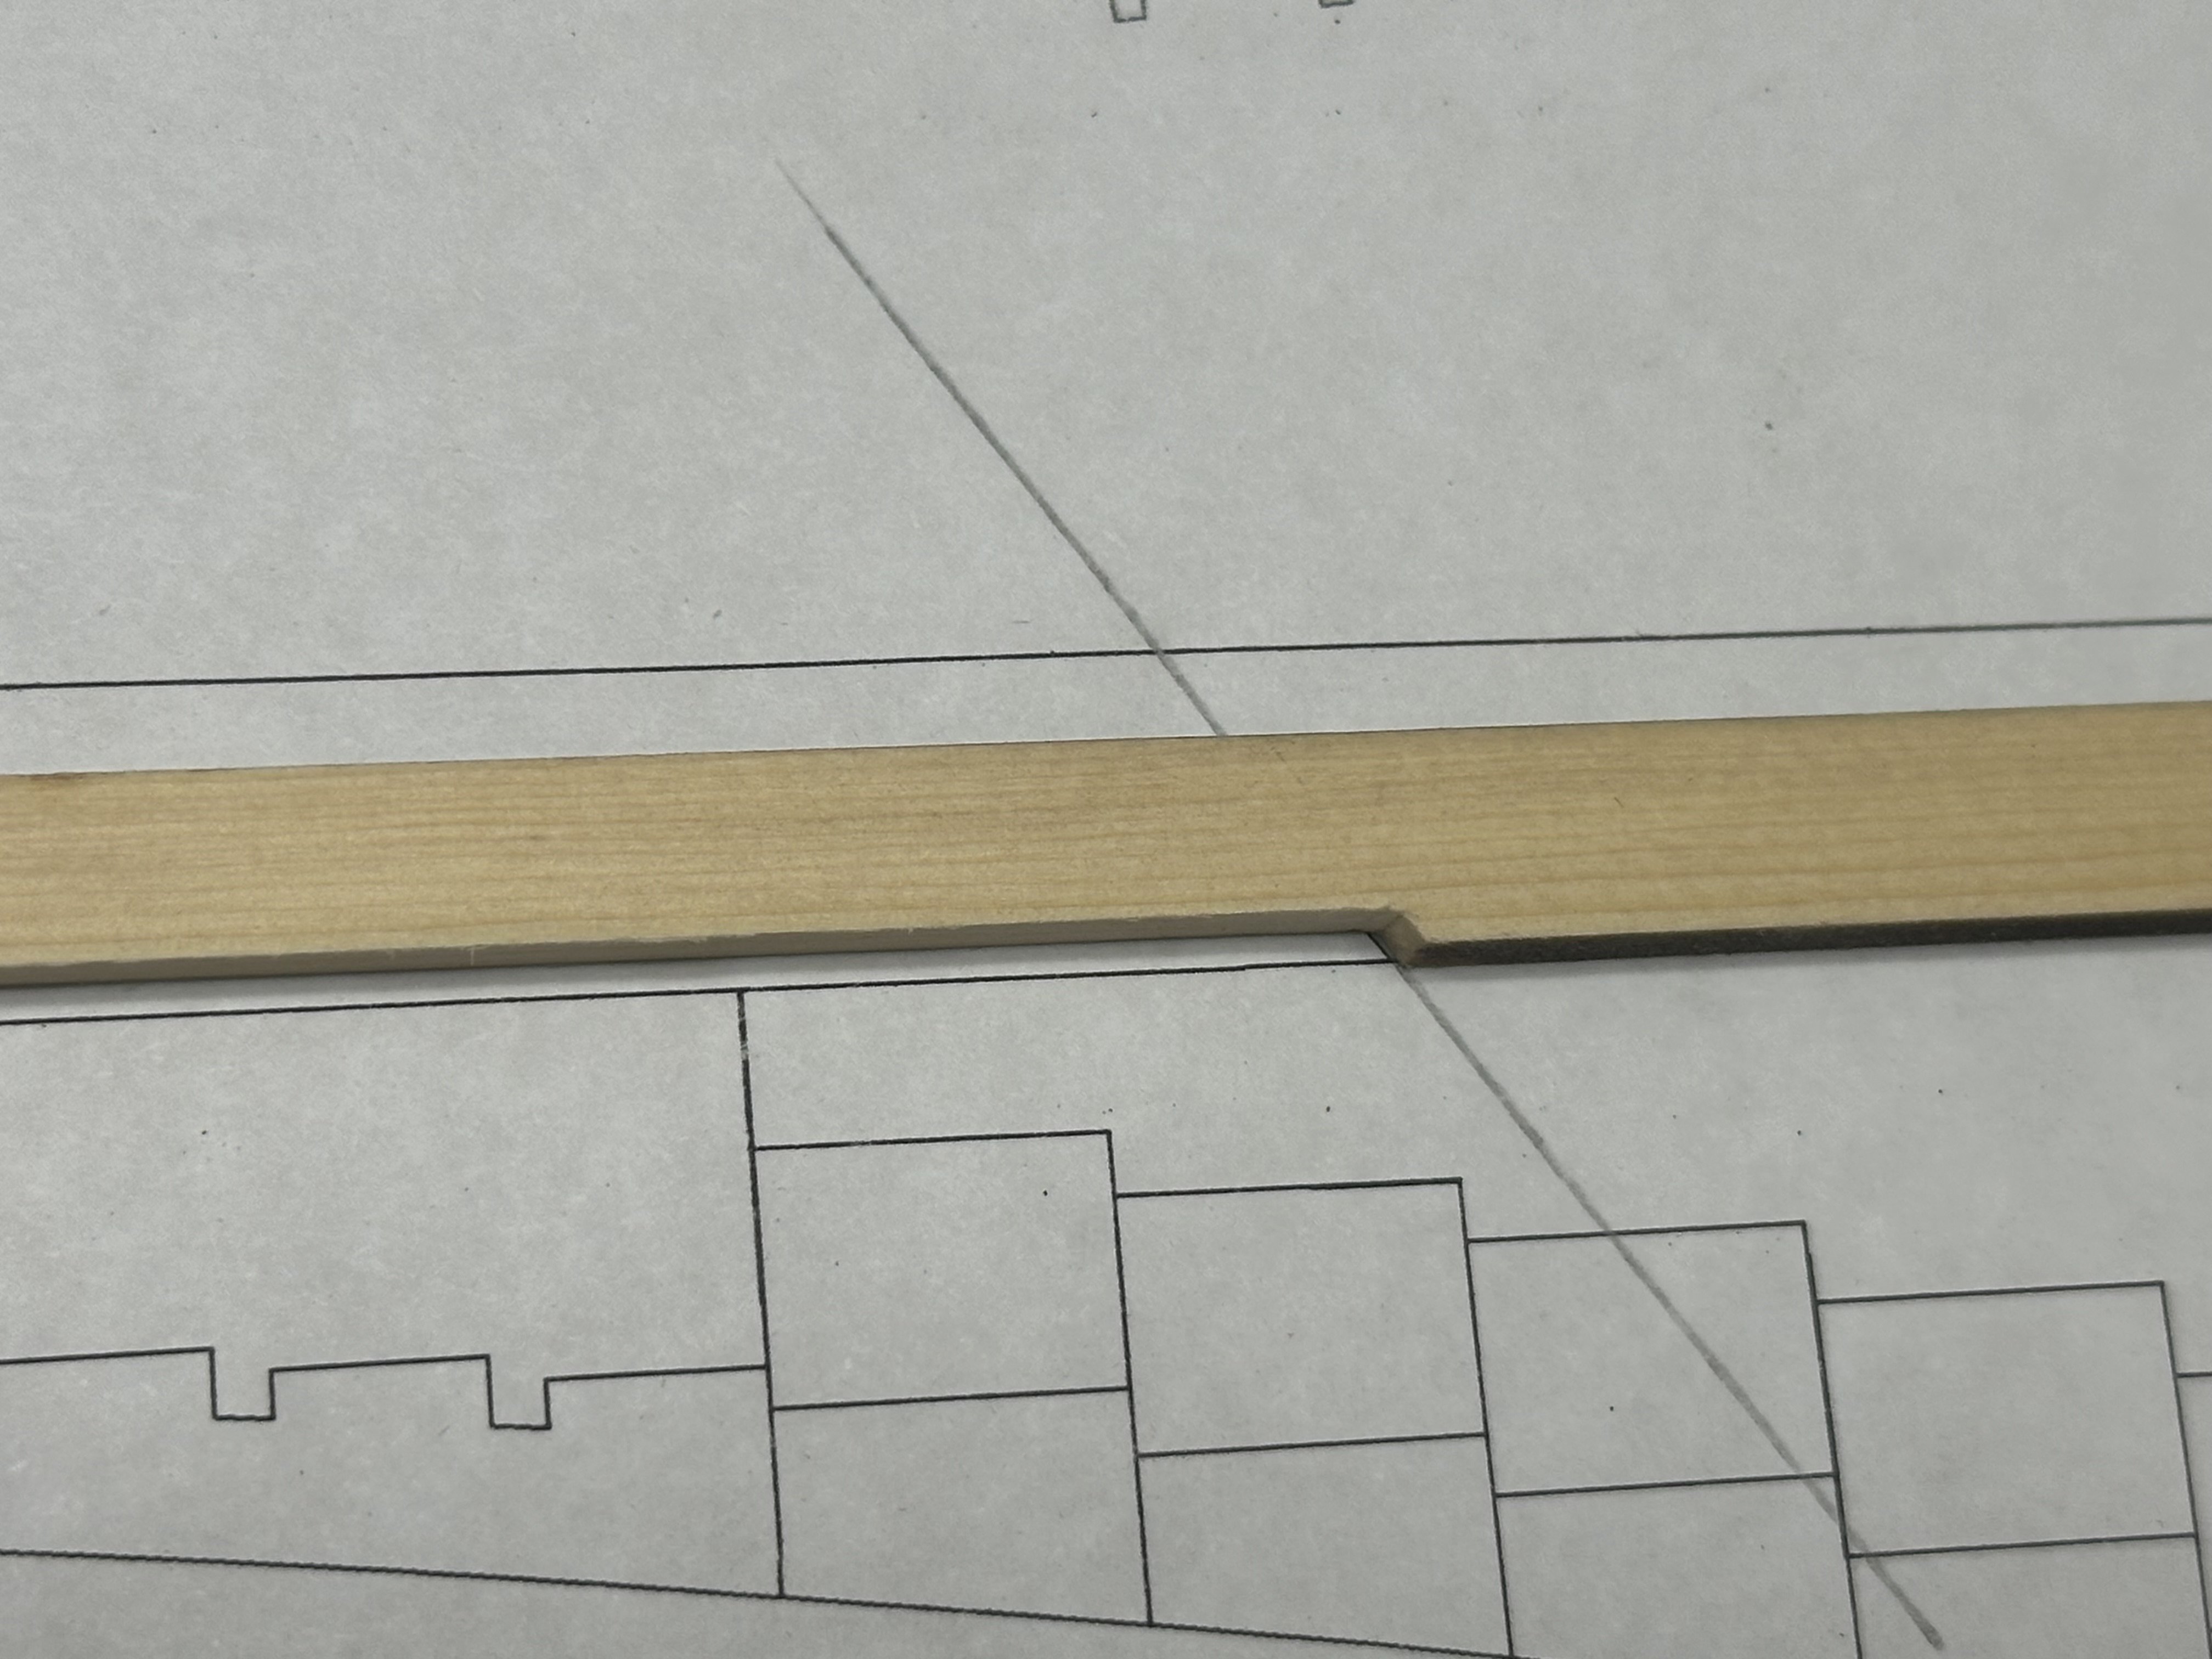
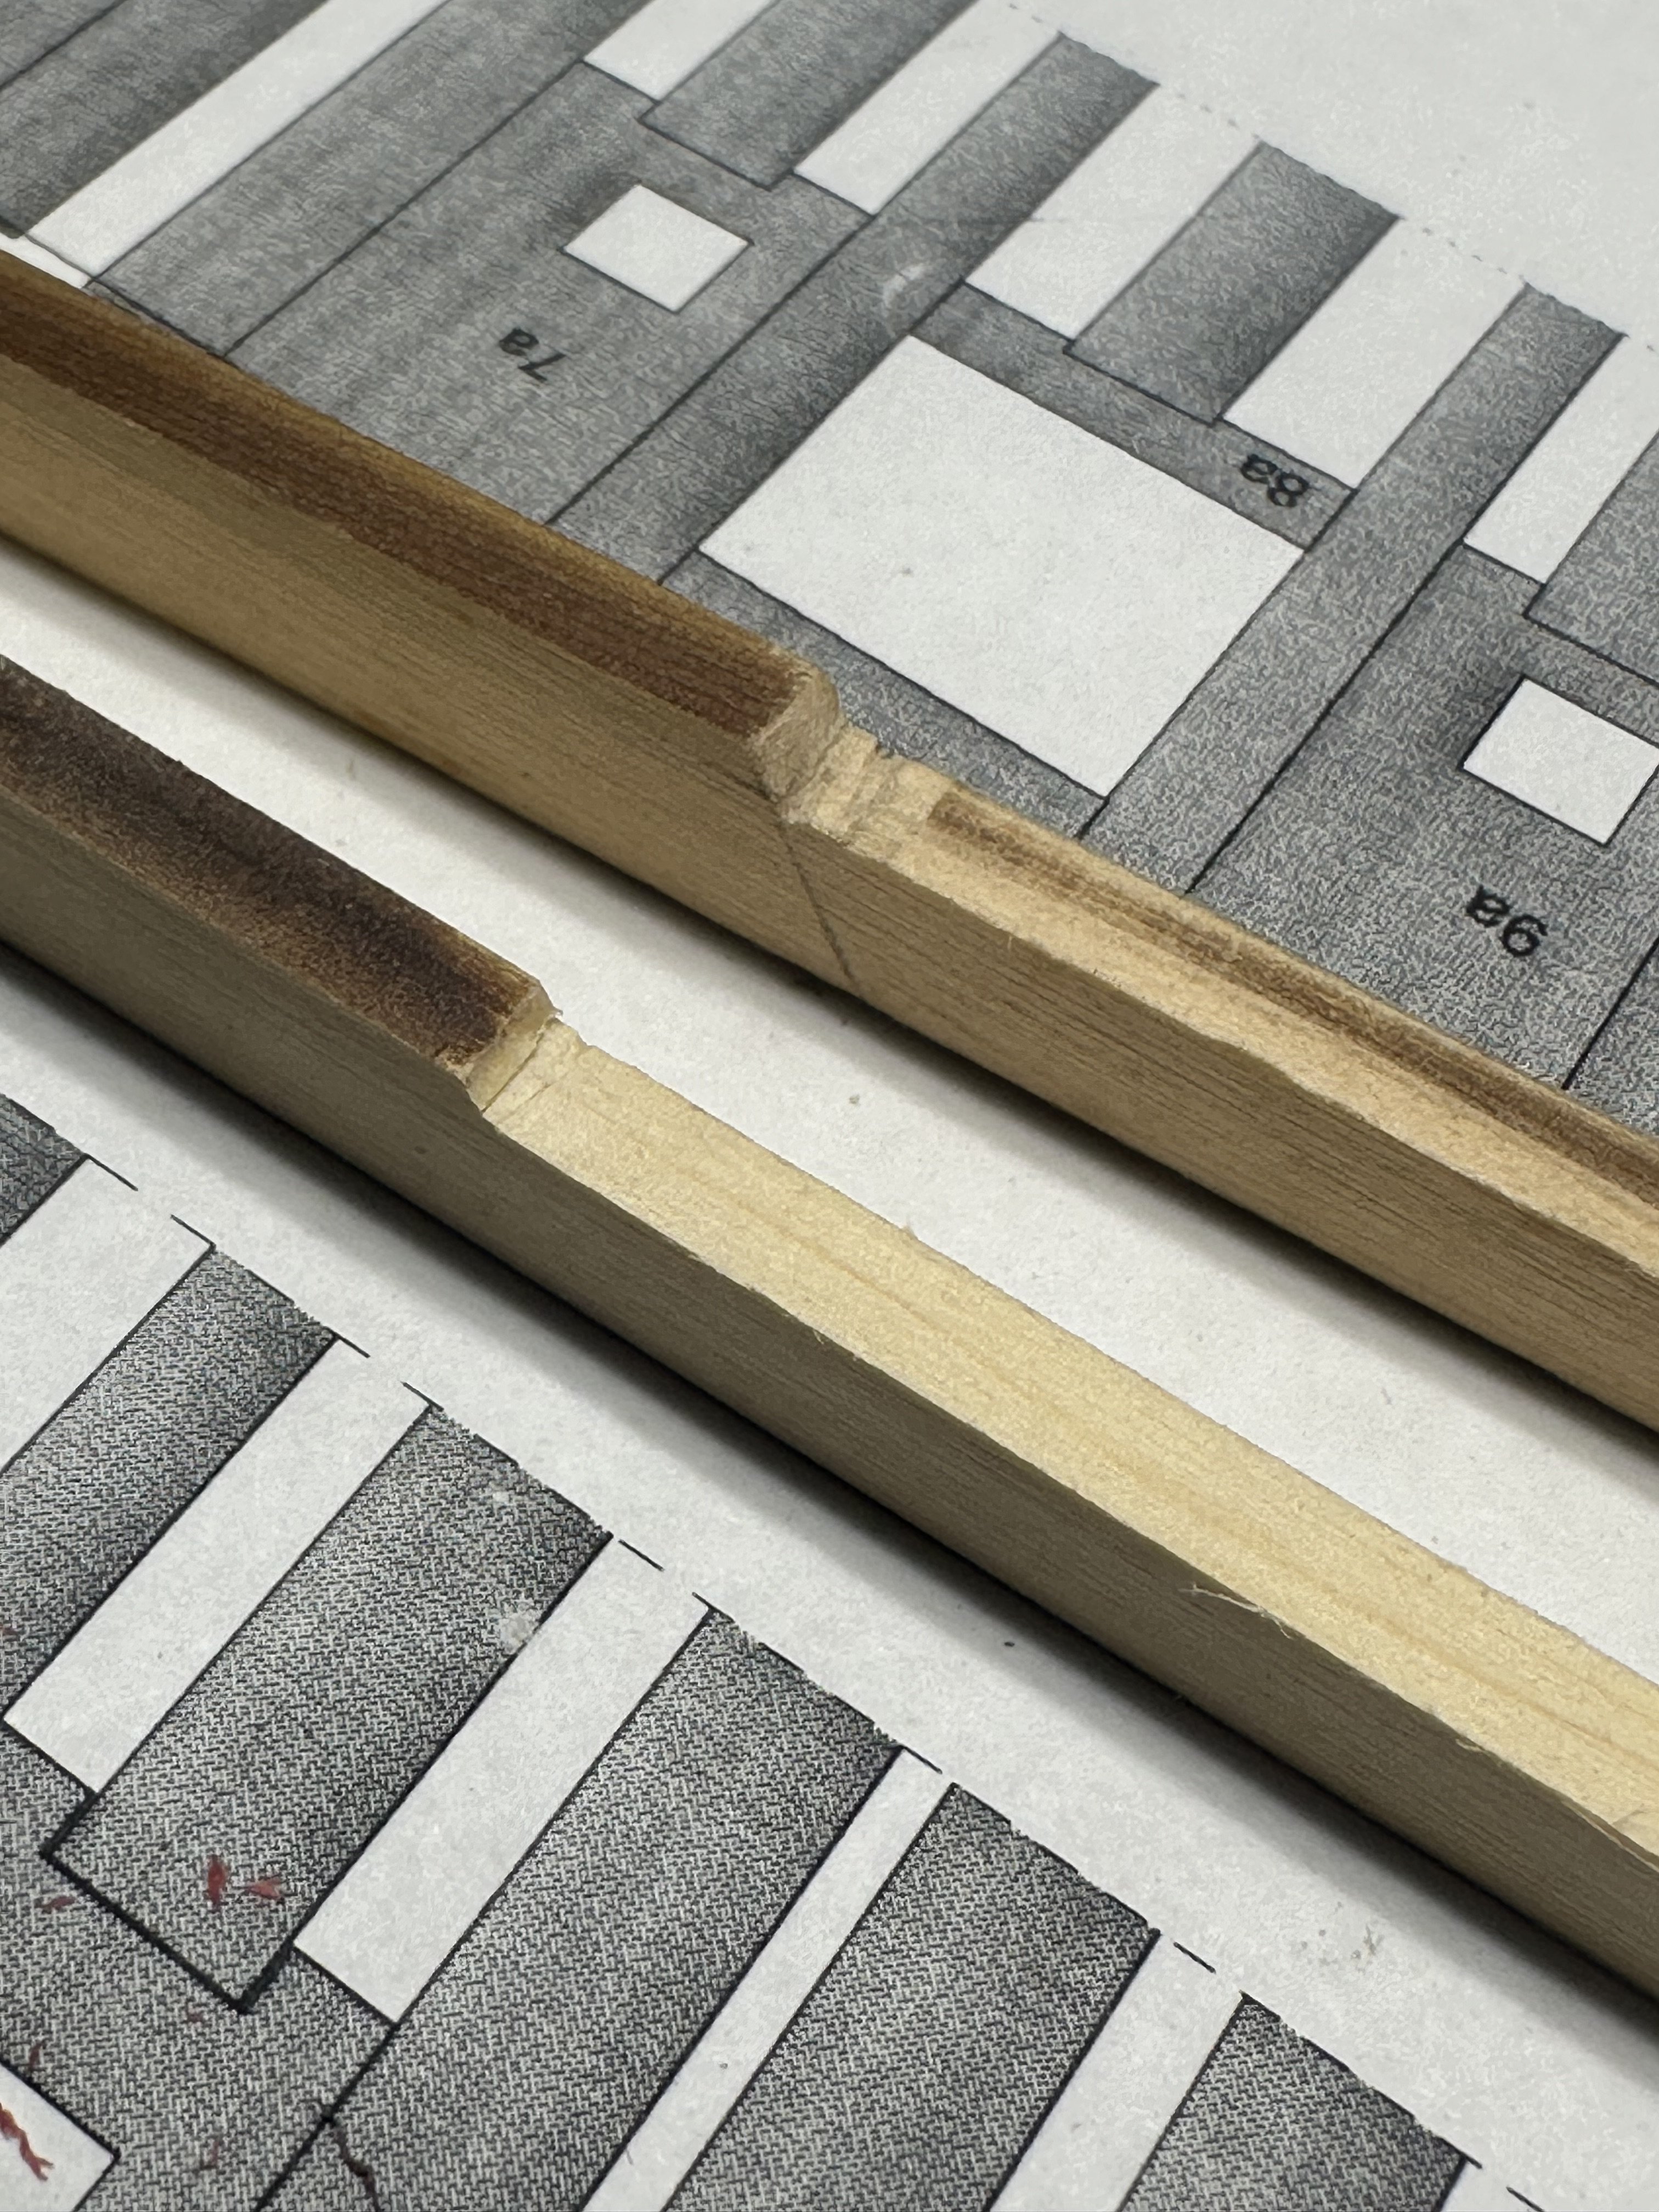
Here’s this morning’s efforts. I added the bottom of the keel, but first had to make the angle cut. To make the cut more accurate, I drew a line on the plan extending the required angle. Then placed the wood over the line. Next, using your favorite cutting utensil score the wood using the lines on each side as a guide. After that, use a machinist square to draw a line across the wood. Now you have a guide for a straight cut. I used a new razor blade to make the cut and only needed a quick touch with sandpaper to make a perfect cut. Next, I used that cut to set the angle on my Byrnes disk sander for the mating part. All parts lined up perfectly for gluing in place.
Best Regards …. Rick


- Seventynet, CiscoH, yvesvidal and 8 others
-
 11
11
-
Outstanding Nic! Building something that has special meaning for someone is very heartwarming!
Best Regards …. Rick
- Capt. Kelso and Ryland Craze
-
2
-
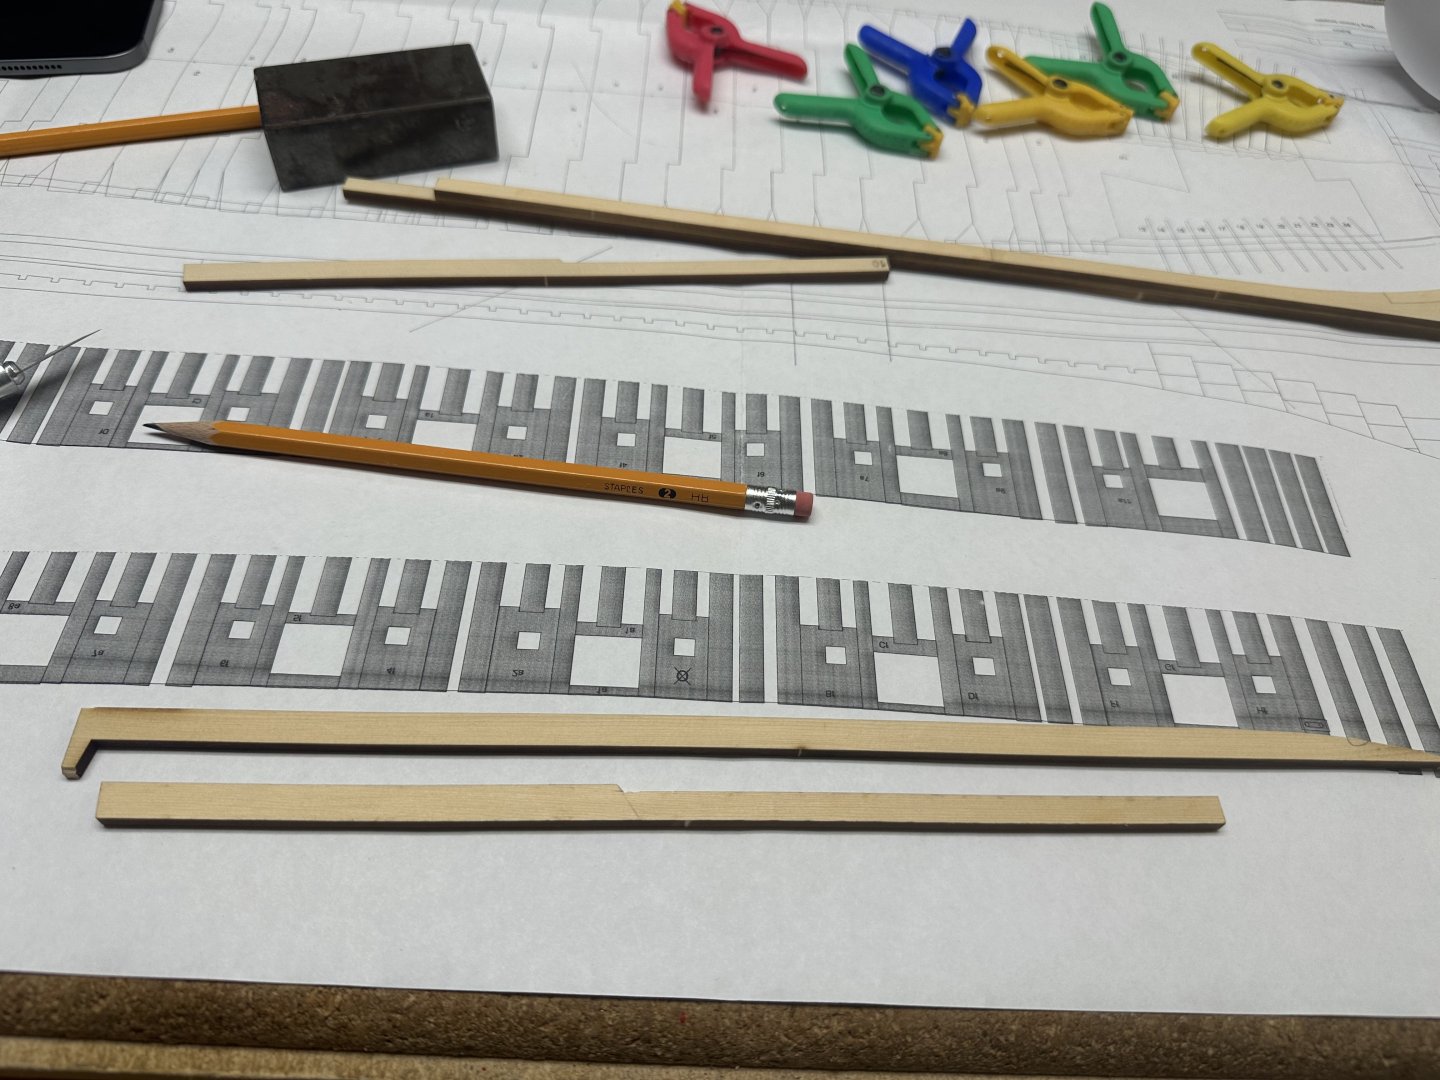
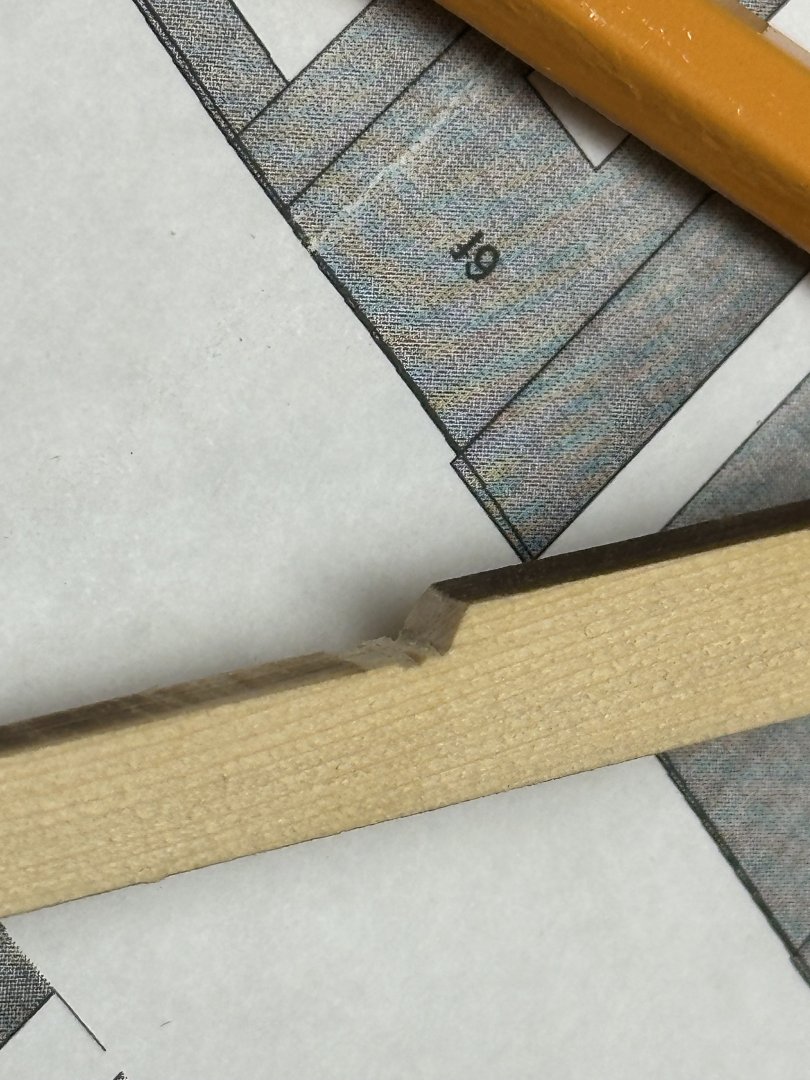
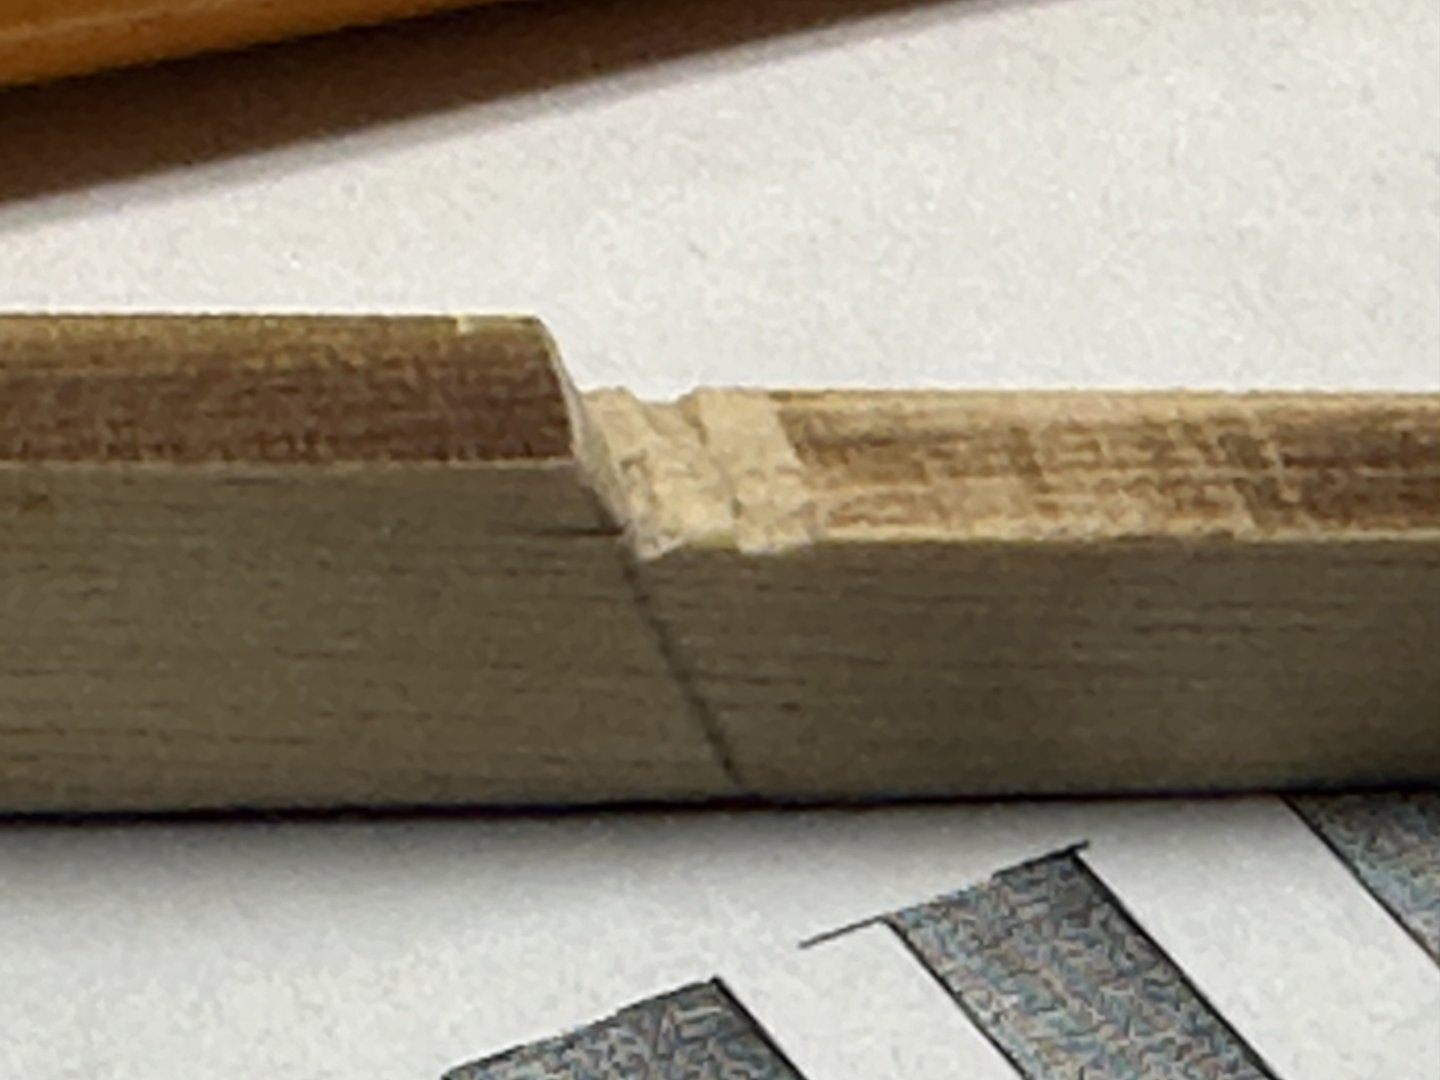
When it comes to scrap wood, I very rarely throw it away, especially AYC. Digging around in the scrap box I found a perfect piece. It only took about 1/2 hour to make a replacement, now to continue with the build. The swear jar is happy as is the scrap bin, it got the messed up part.
Best Regards …. Rick
- Ryland Craze, Matt D, JpR62 and 6 others
-
9
-
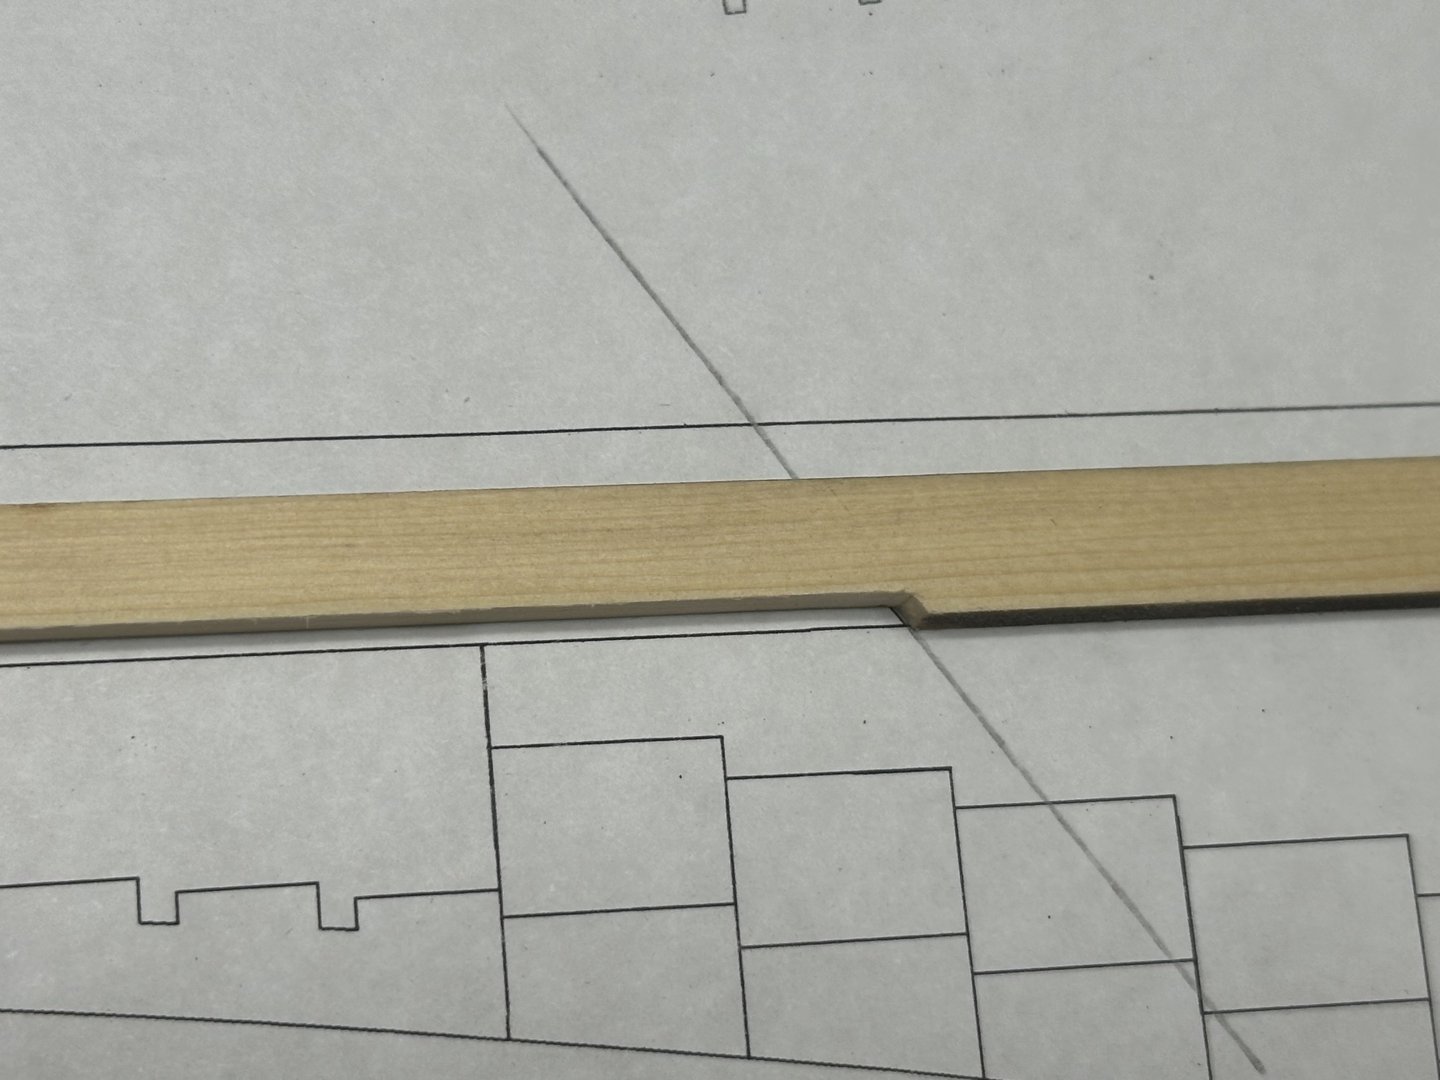
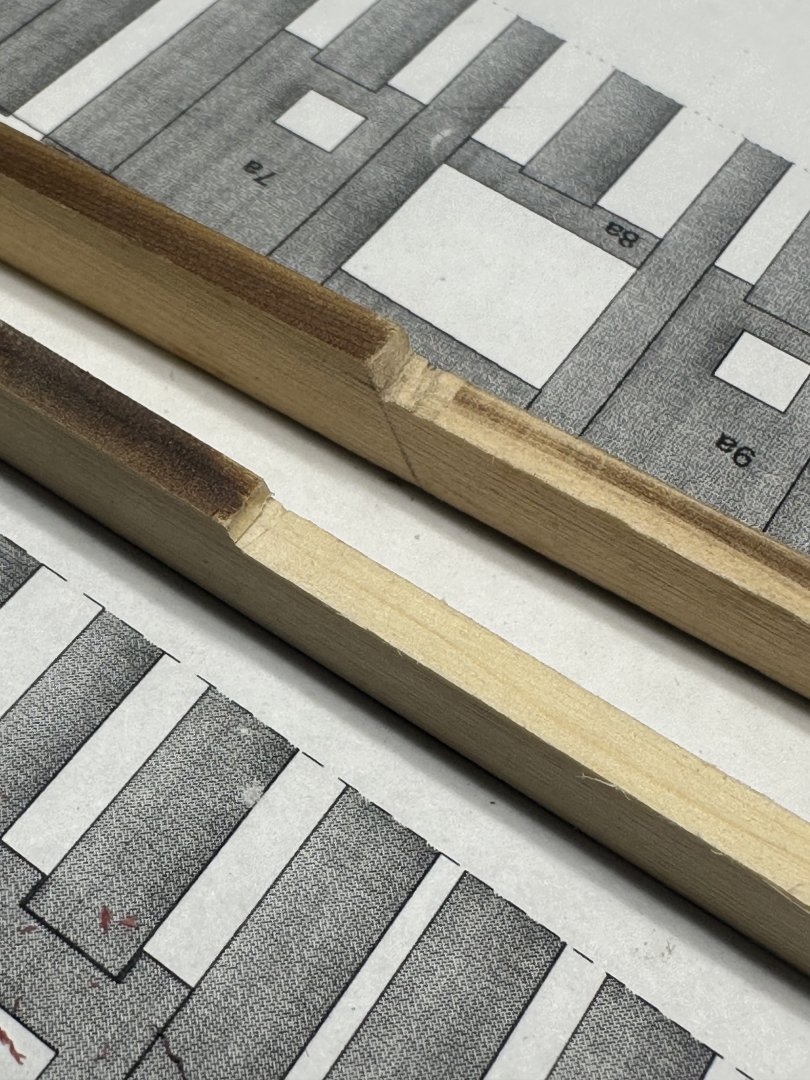
This morning marks my first contribution to the swear jar. I was trying to fit the stepped part of the keel and guess I didn’t have enough coffee or sleep and really butchered the part. Being this joint is visible, a new part will need to be made.
Best Regards …. Rick

-
Quote
What a nice beginning to a great model. It was great seeing you and your Medway Longboat at the Northeast Ship Model Conference. Based on the work you did with your Medway, your Speedwell will be a terrific model.
Ryland, thank you for the kind words! It was a pleasure for me meeting you as I've been a big fan of your builds. I just hope that I can do Speedwell justice!
Best Regards .... Rick
-
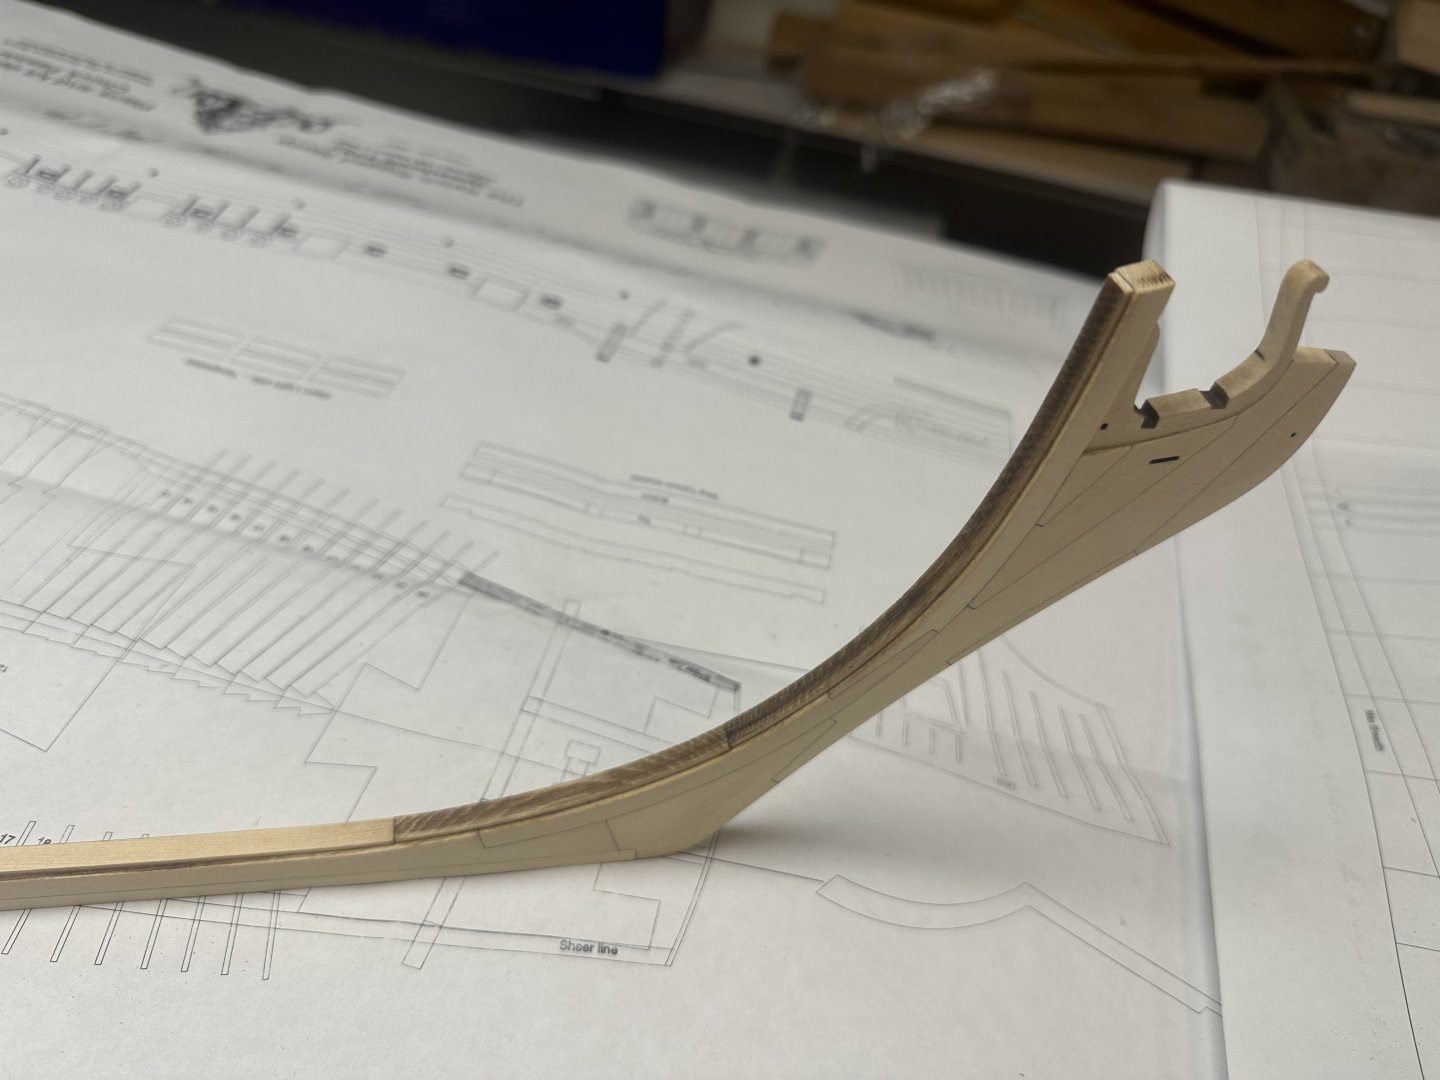
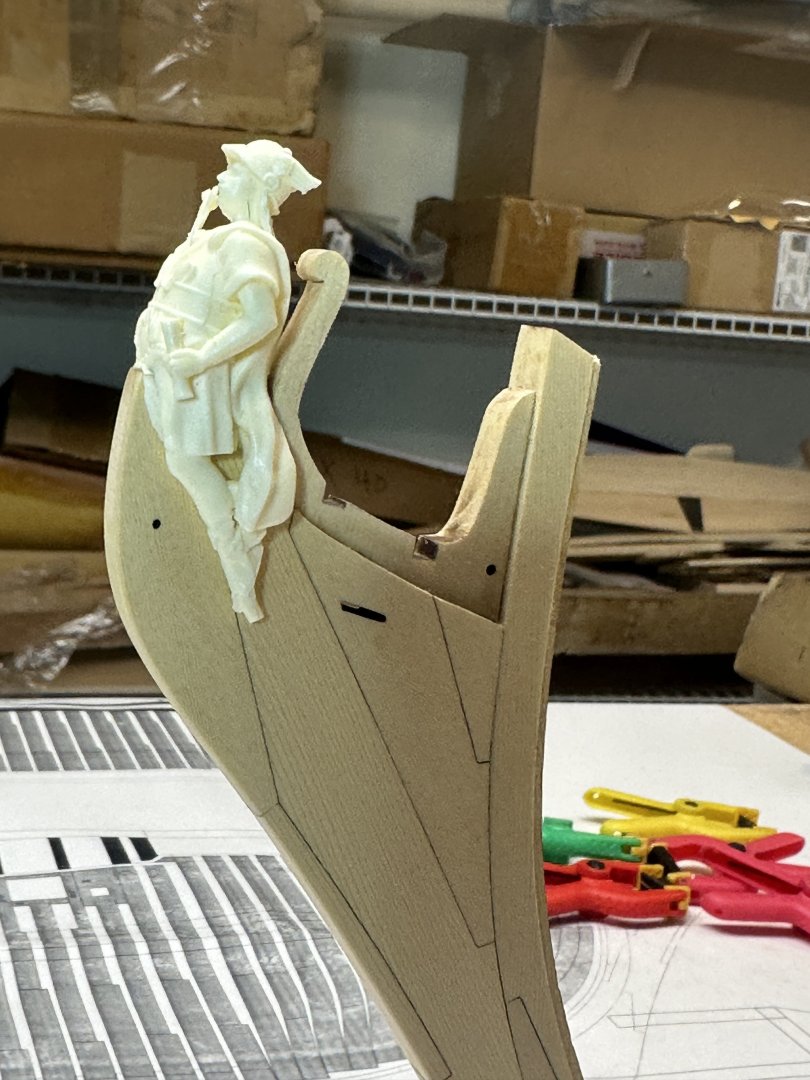
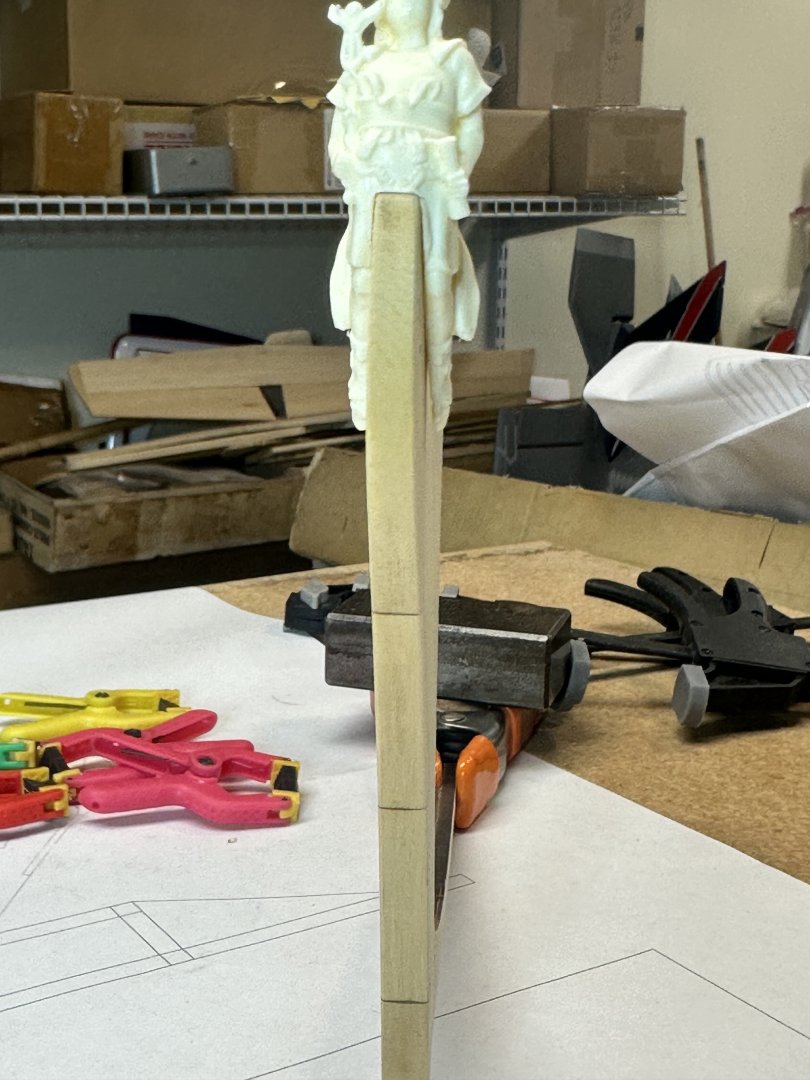
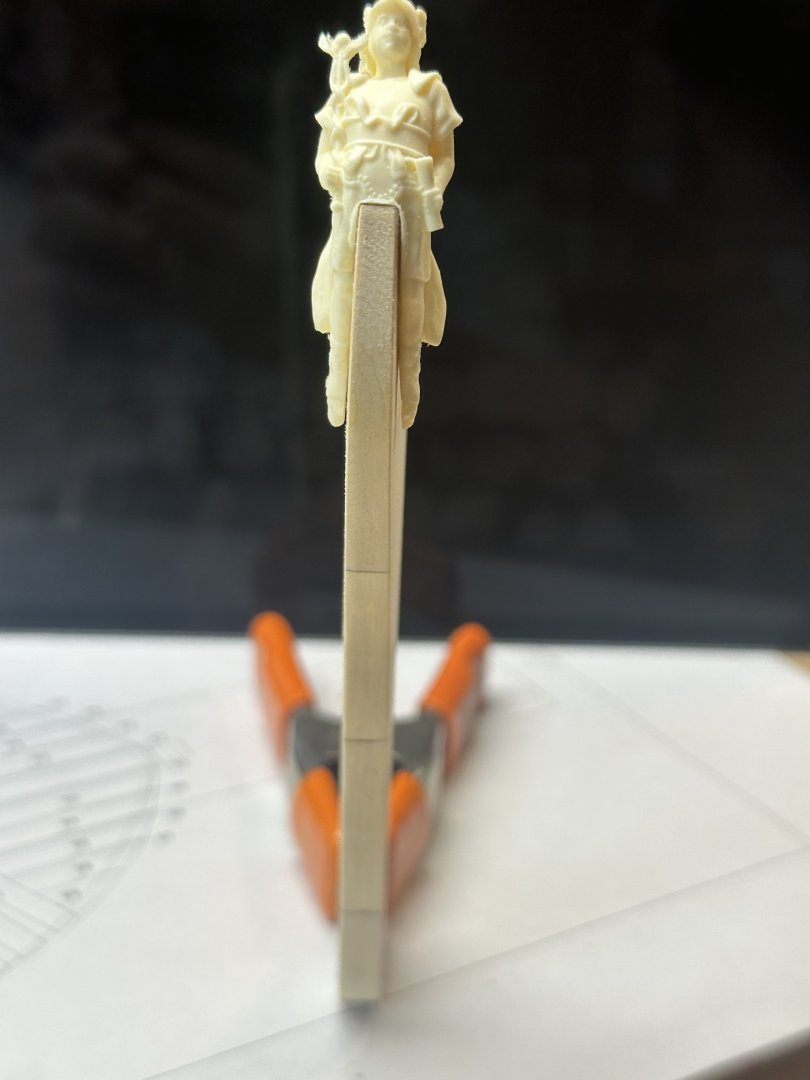
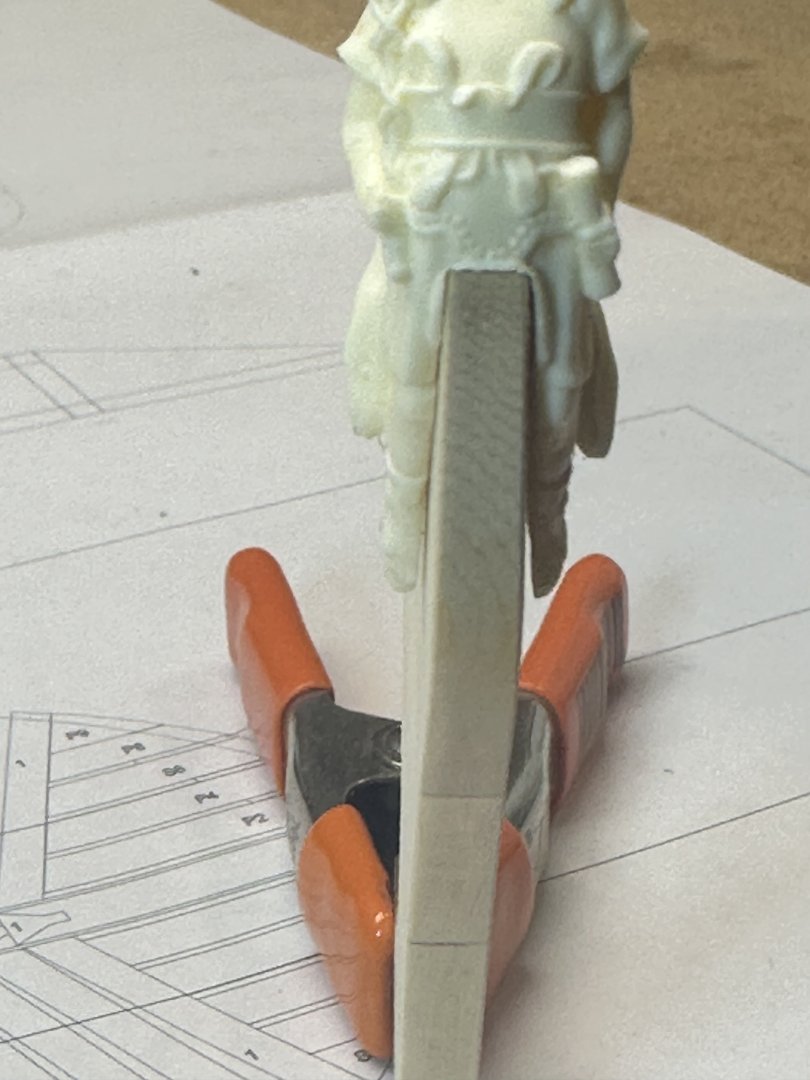
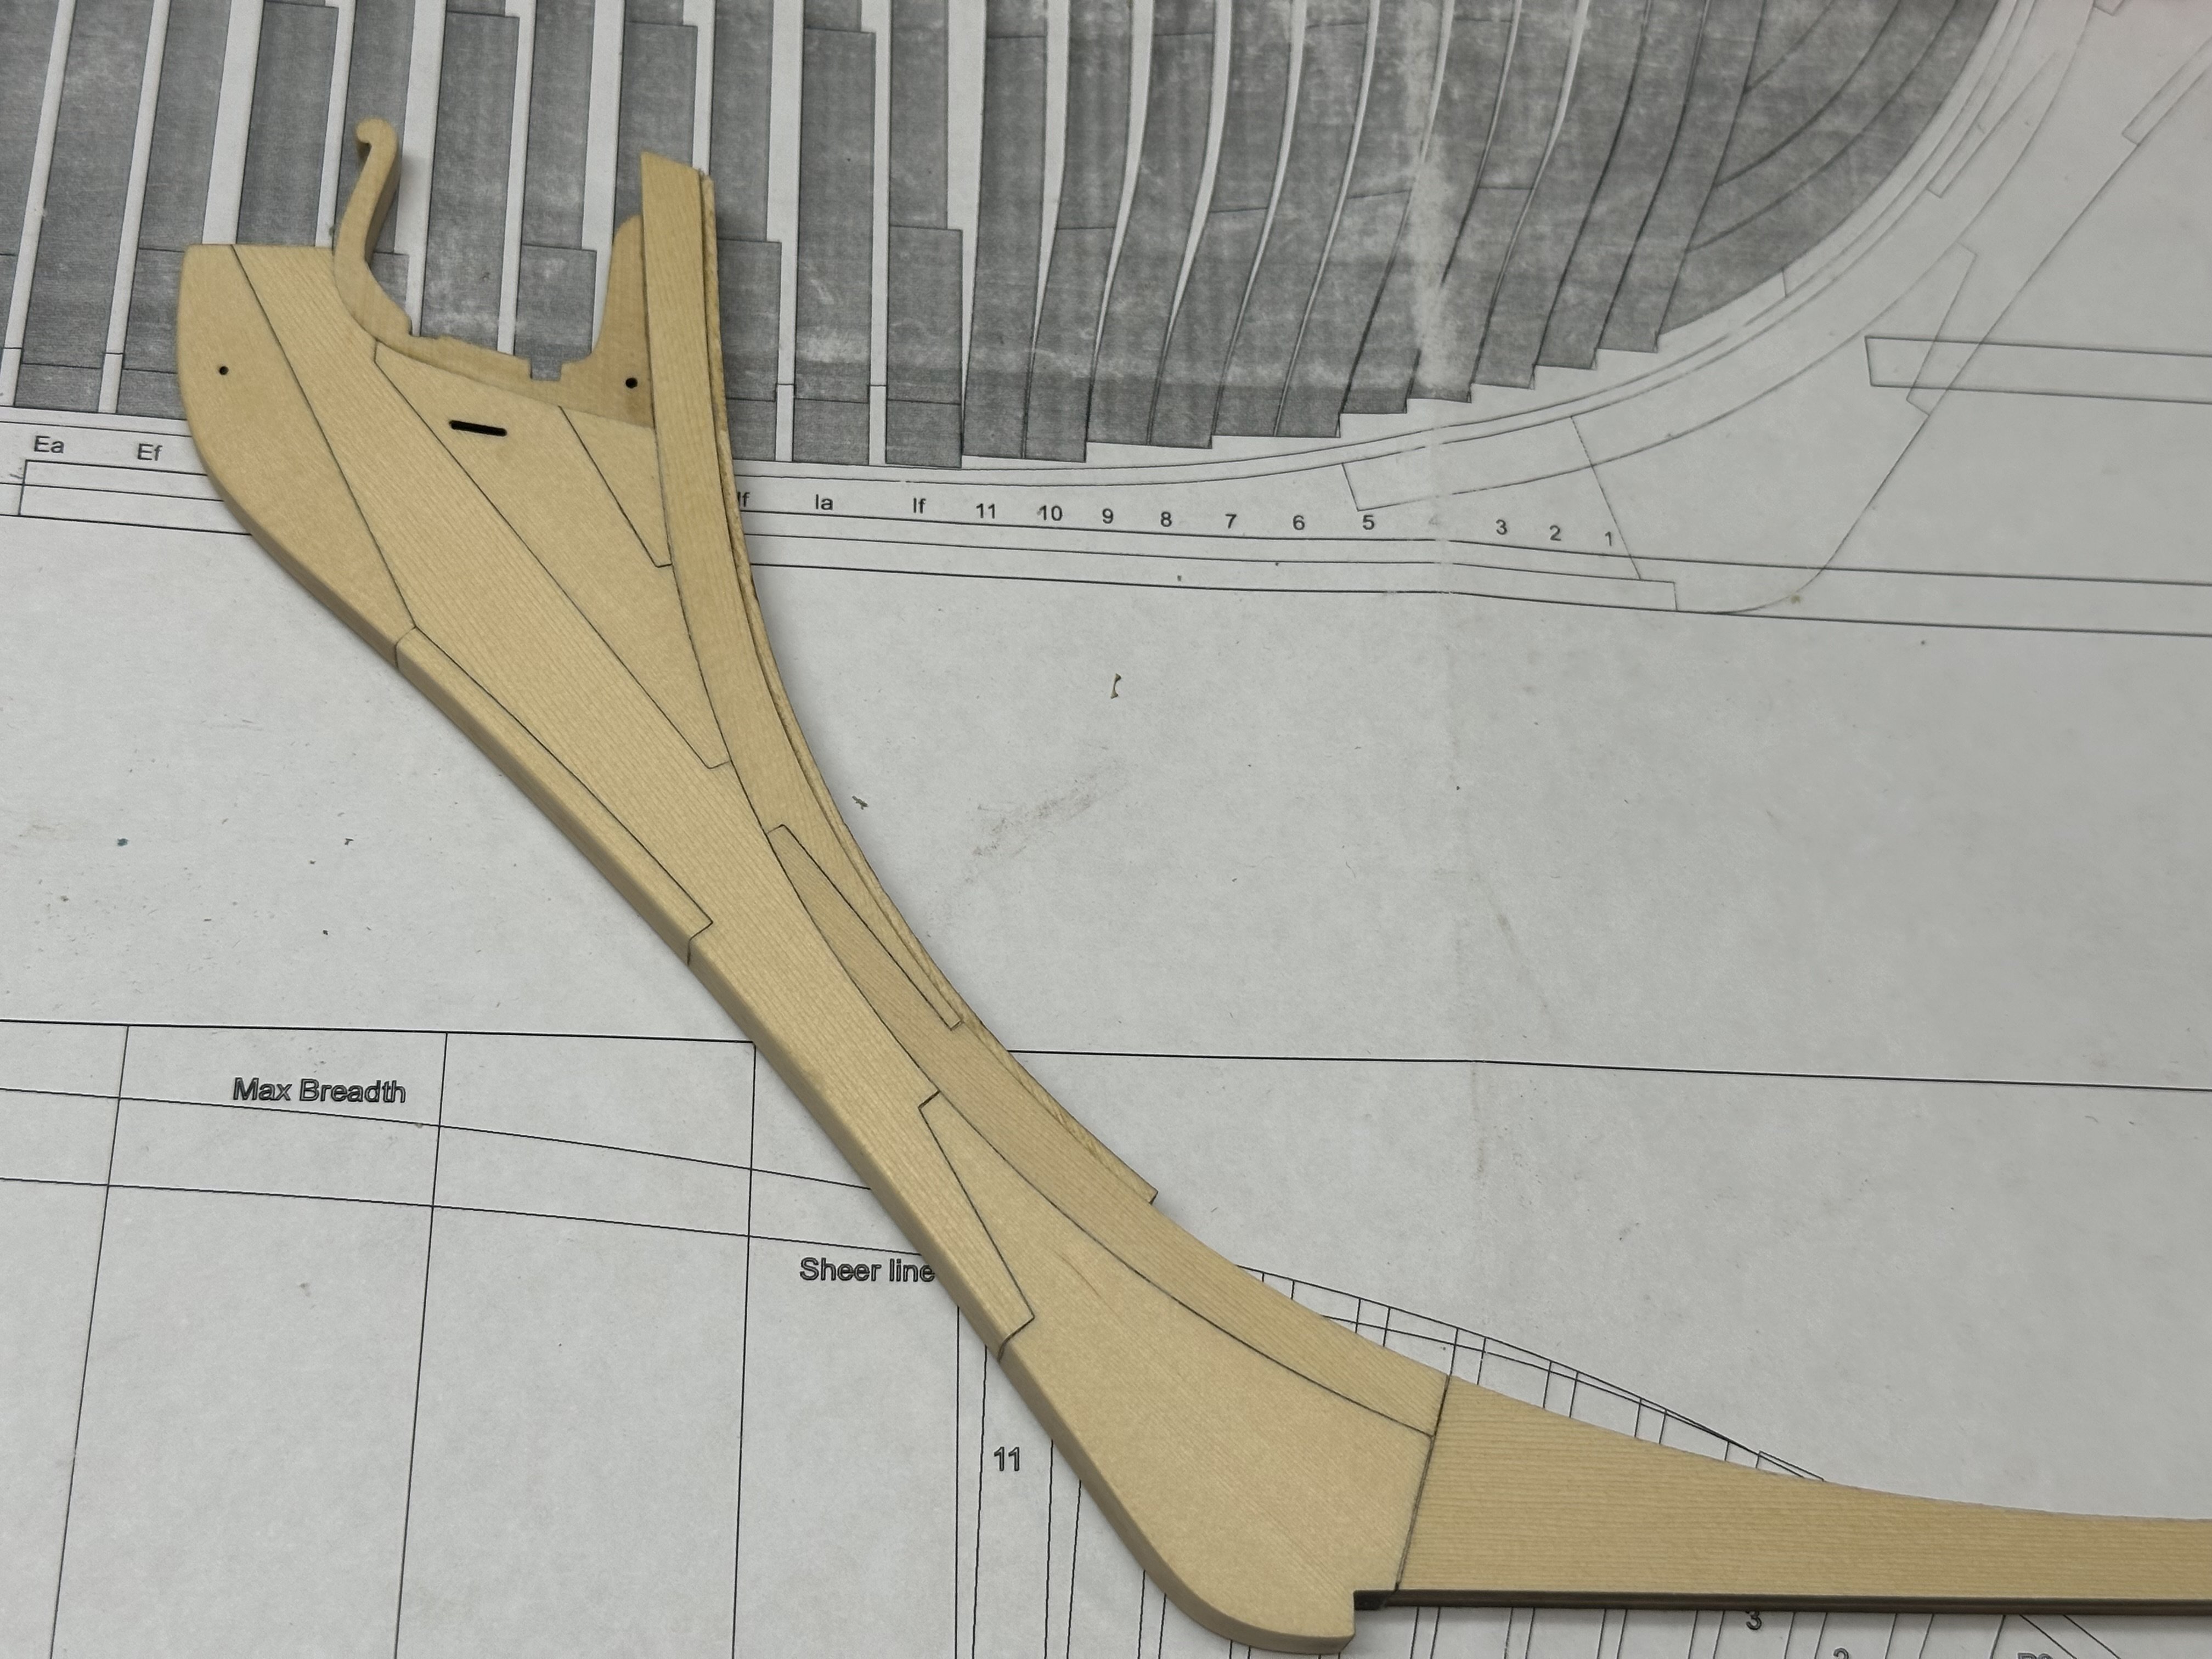
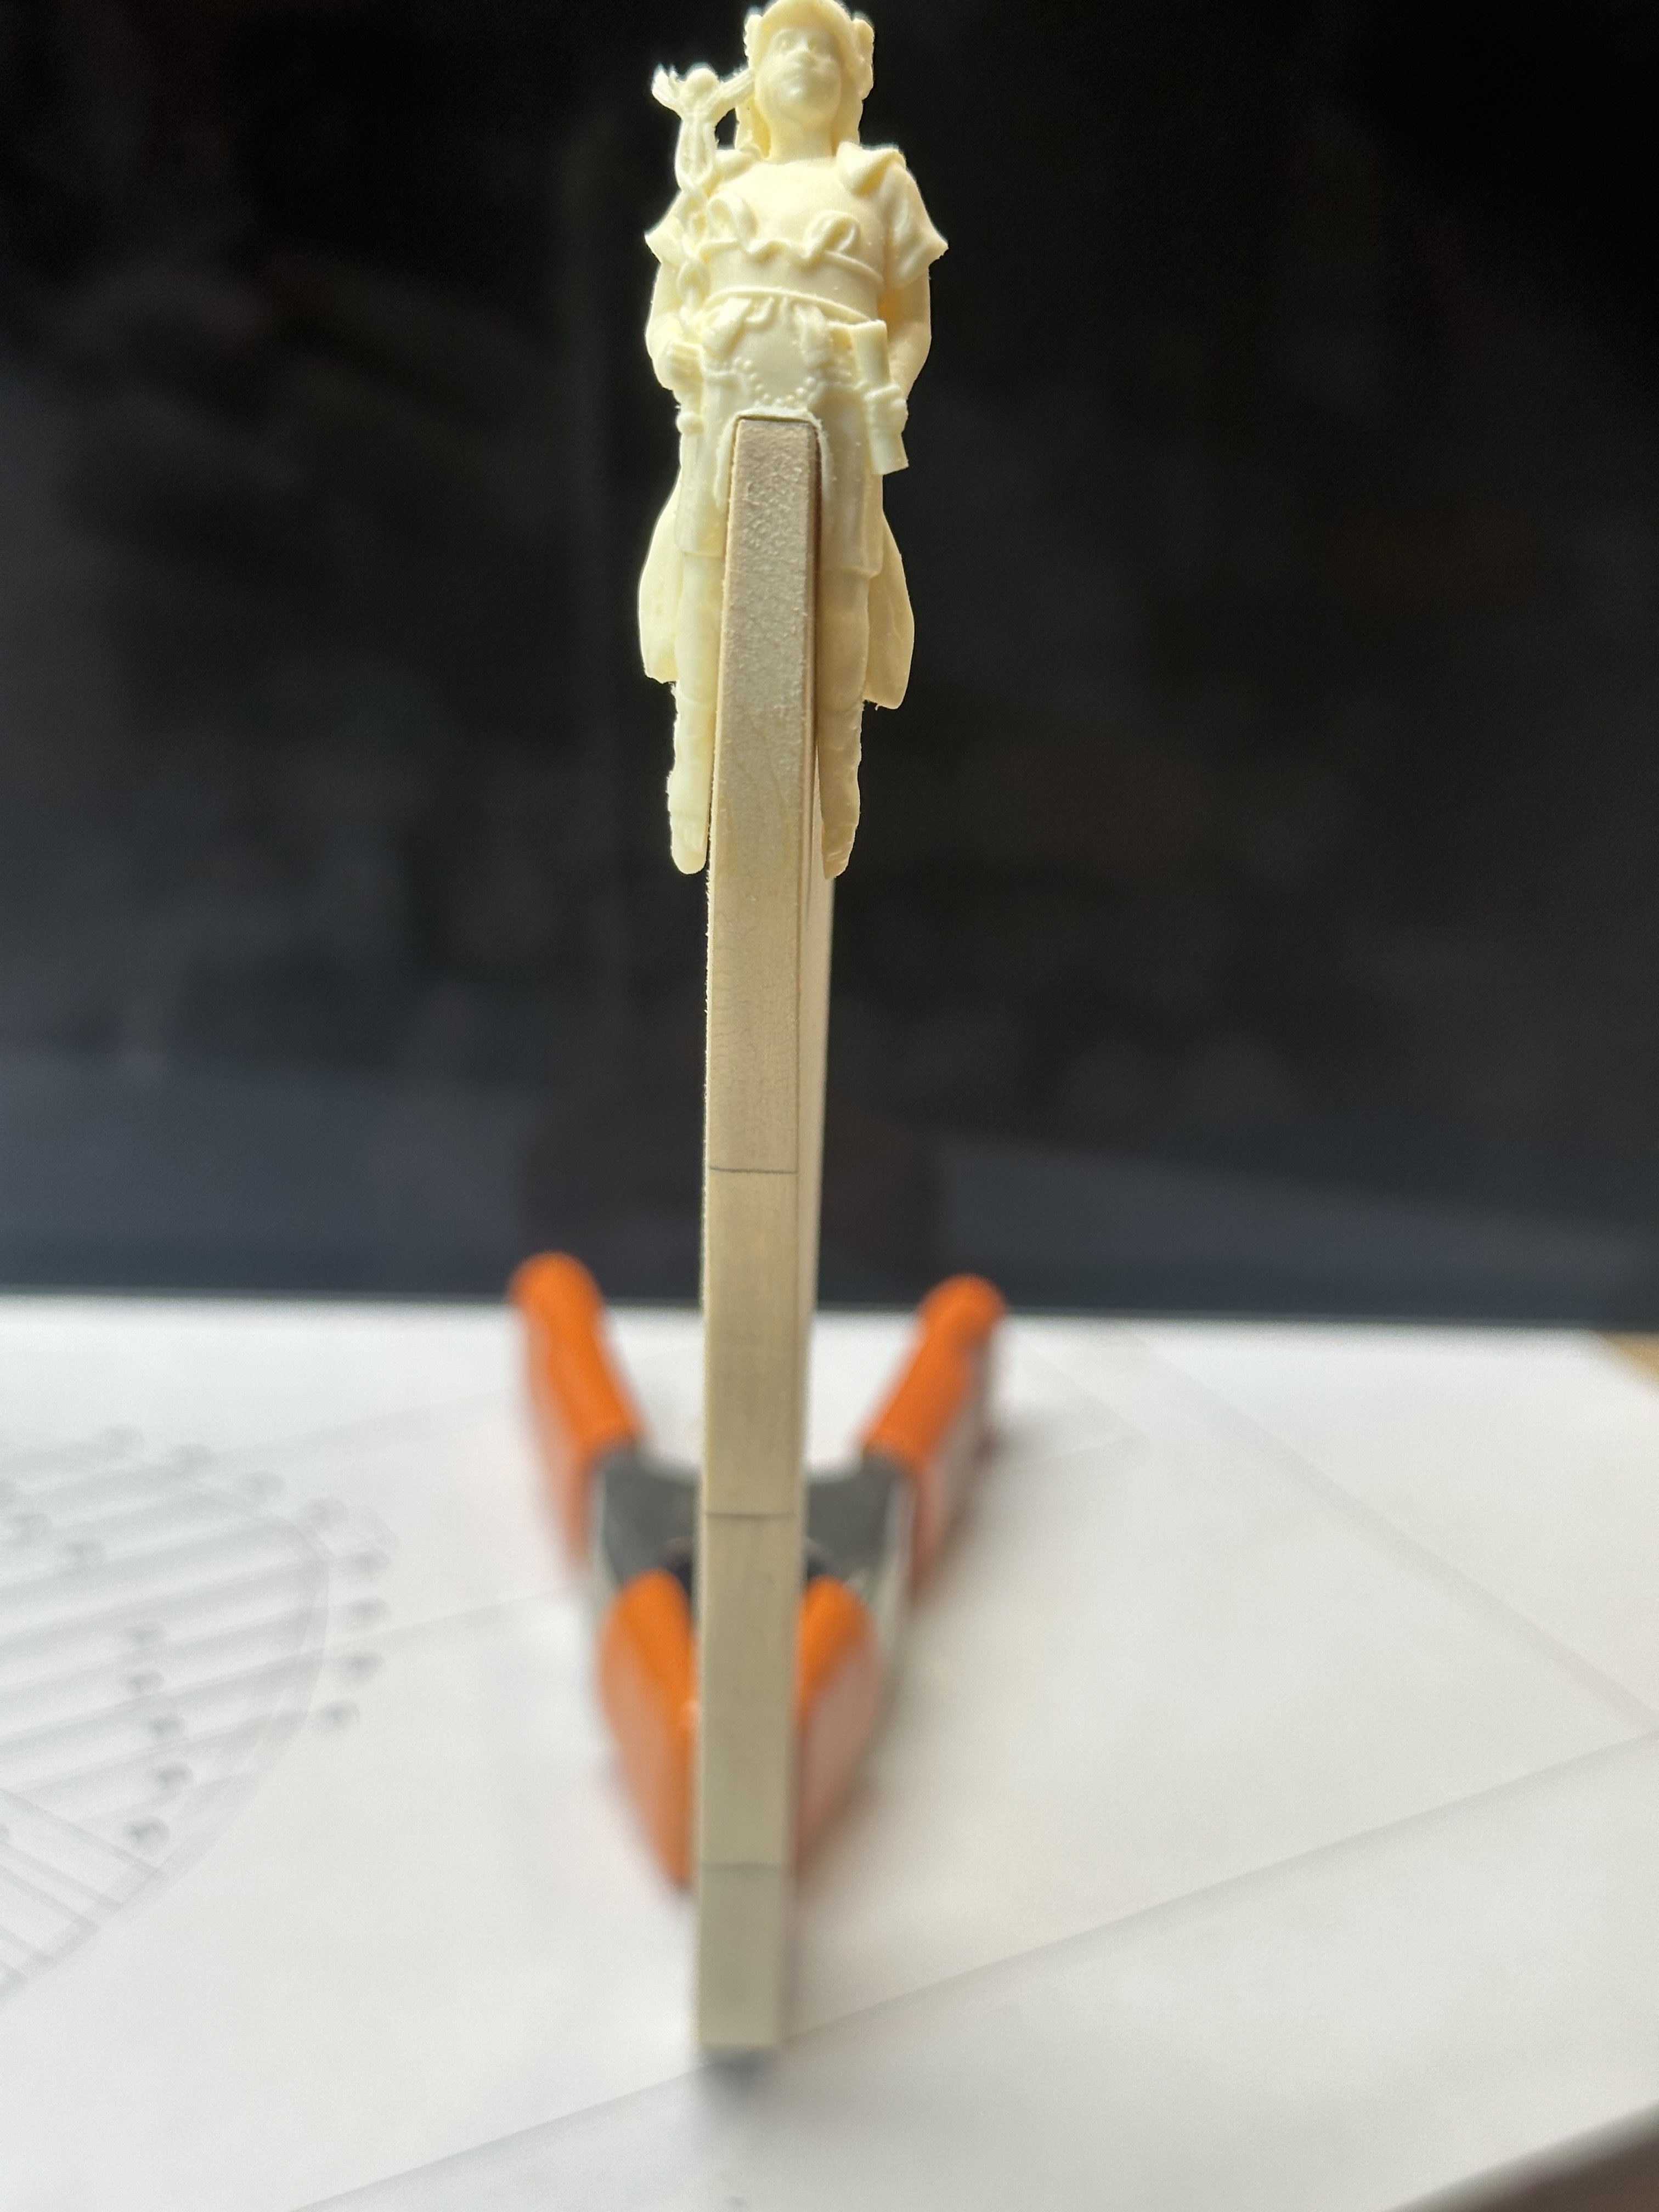
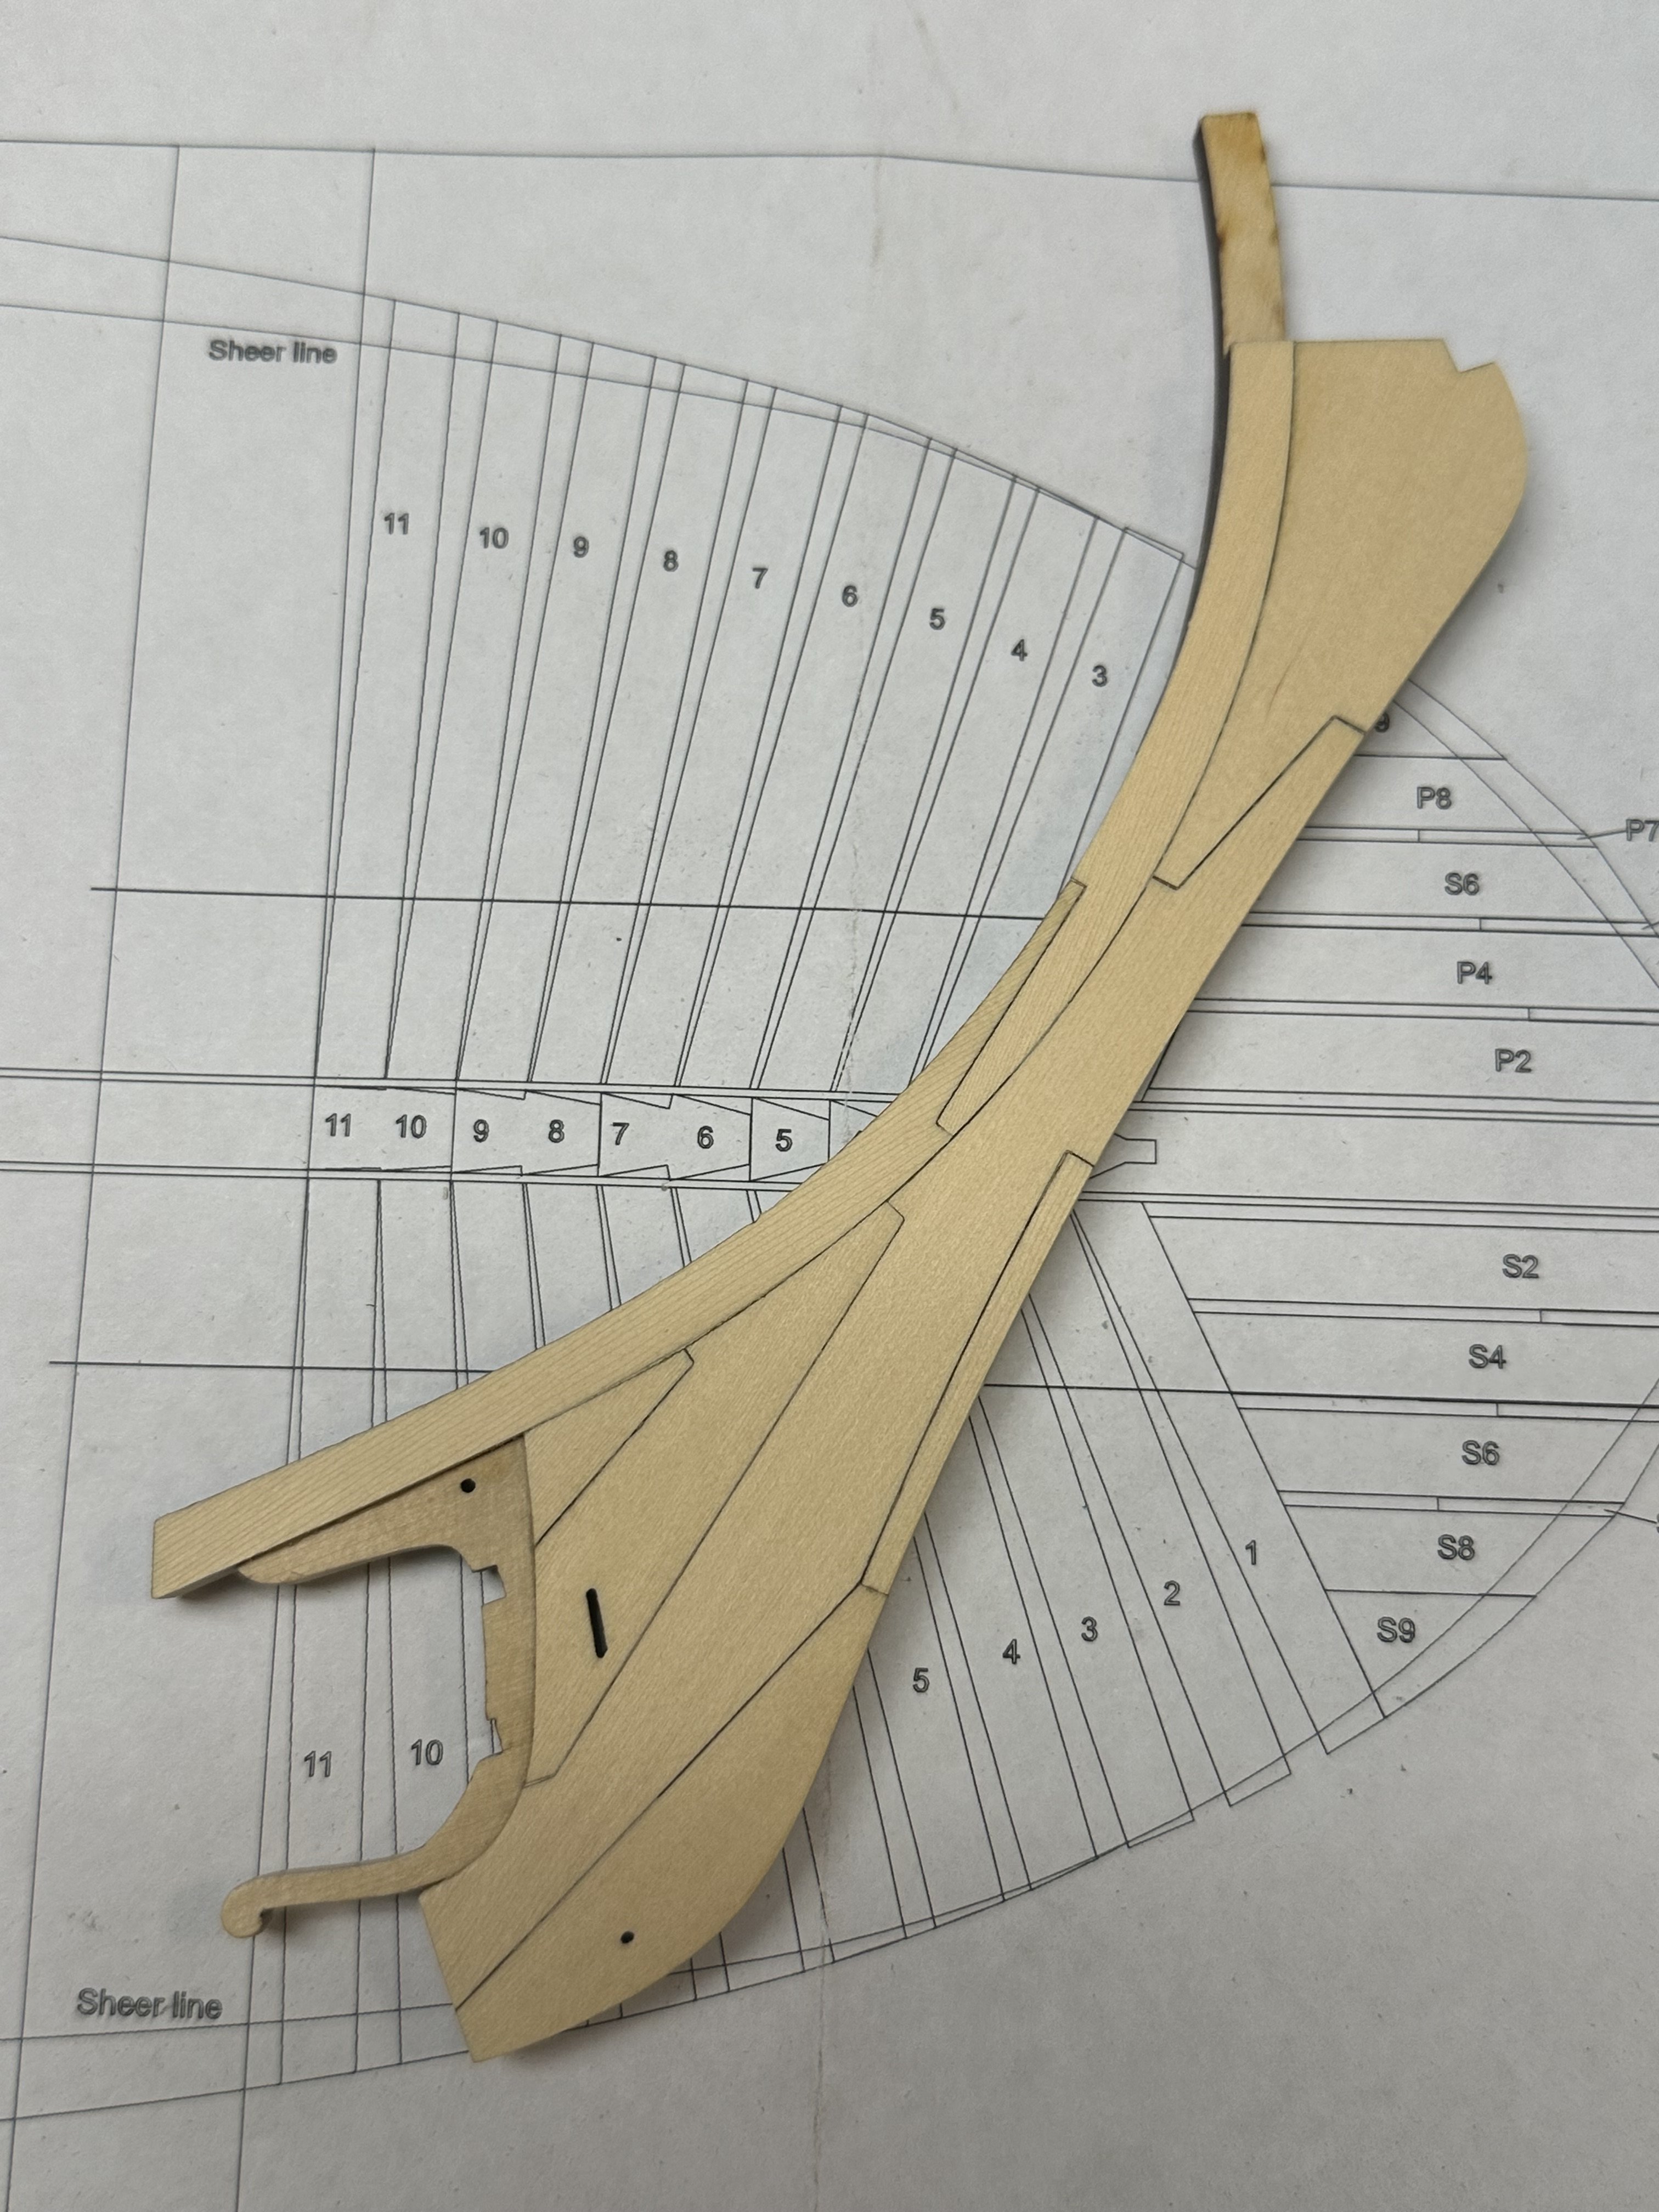
Here’s the final version of the stem. Still looking a little porky, Chuck?
Best Regards …. Rick

- Seventynet, yvesvidal, JeffT and 8 others
-
11
-
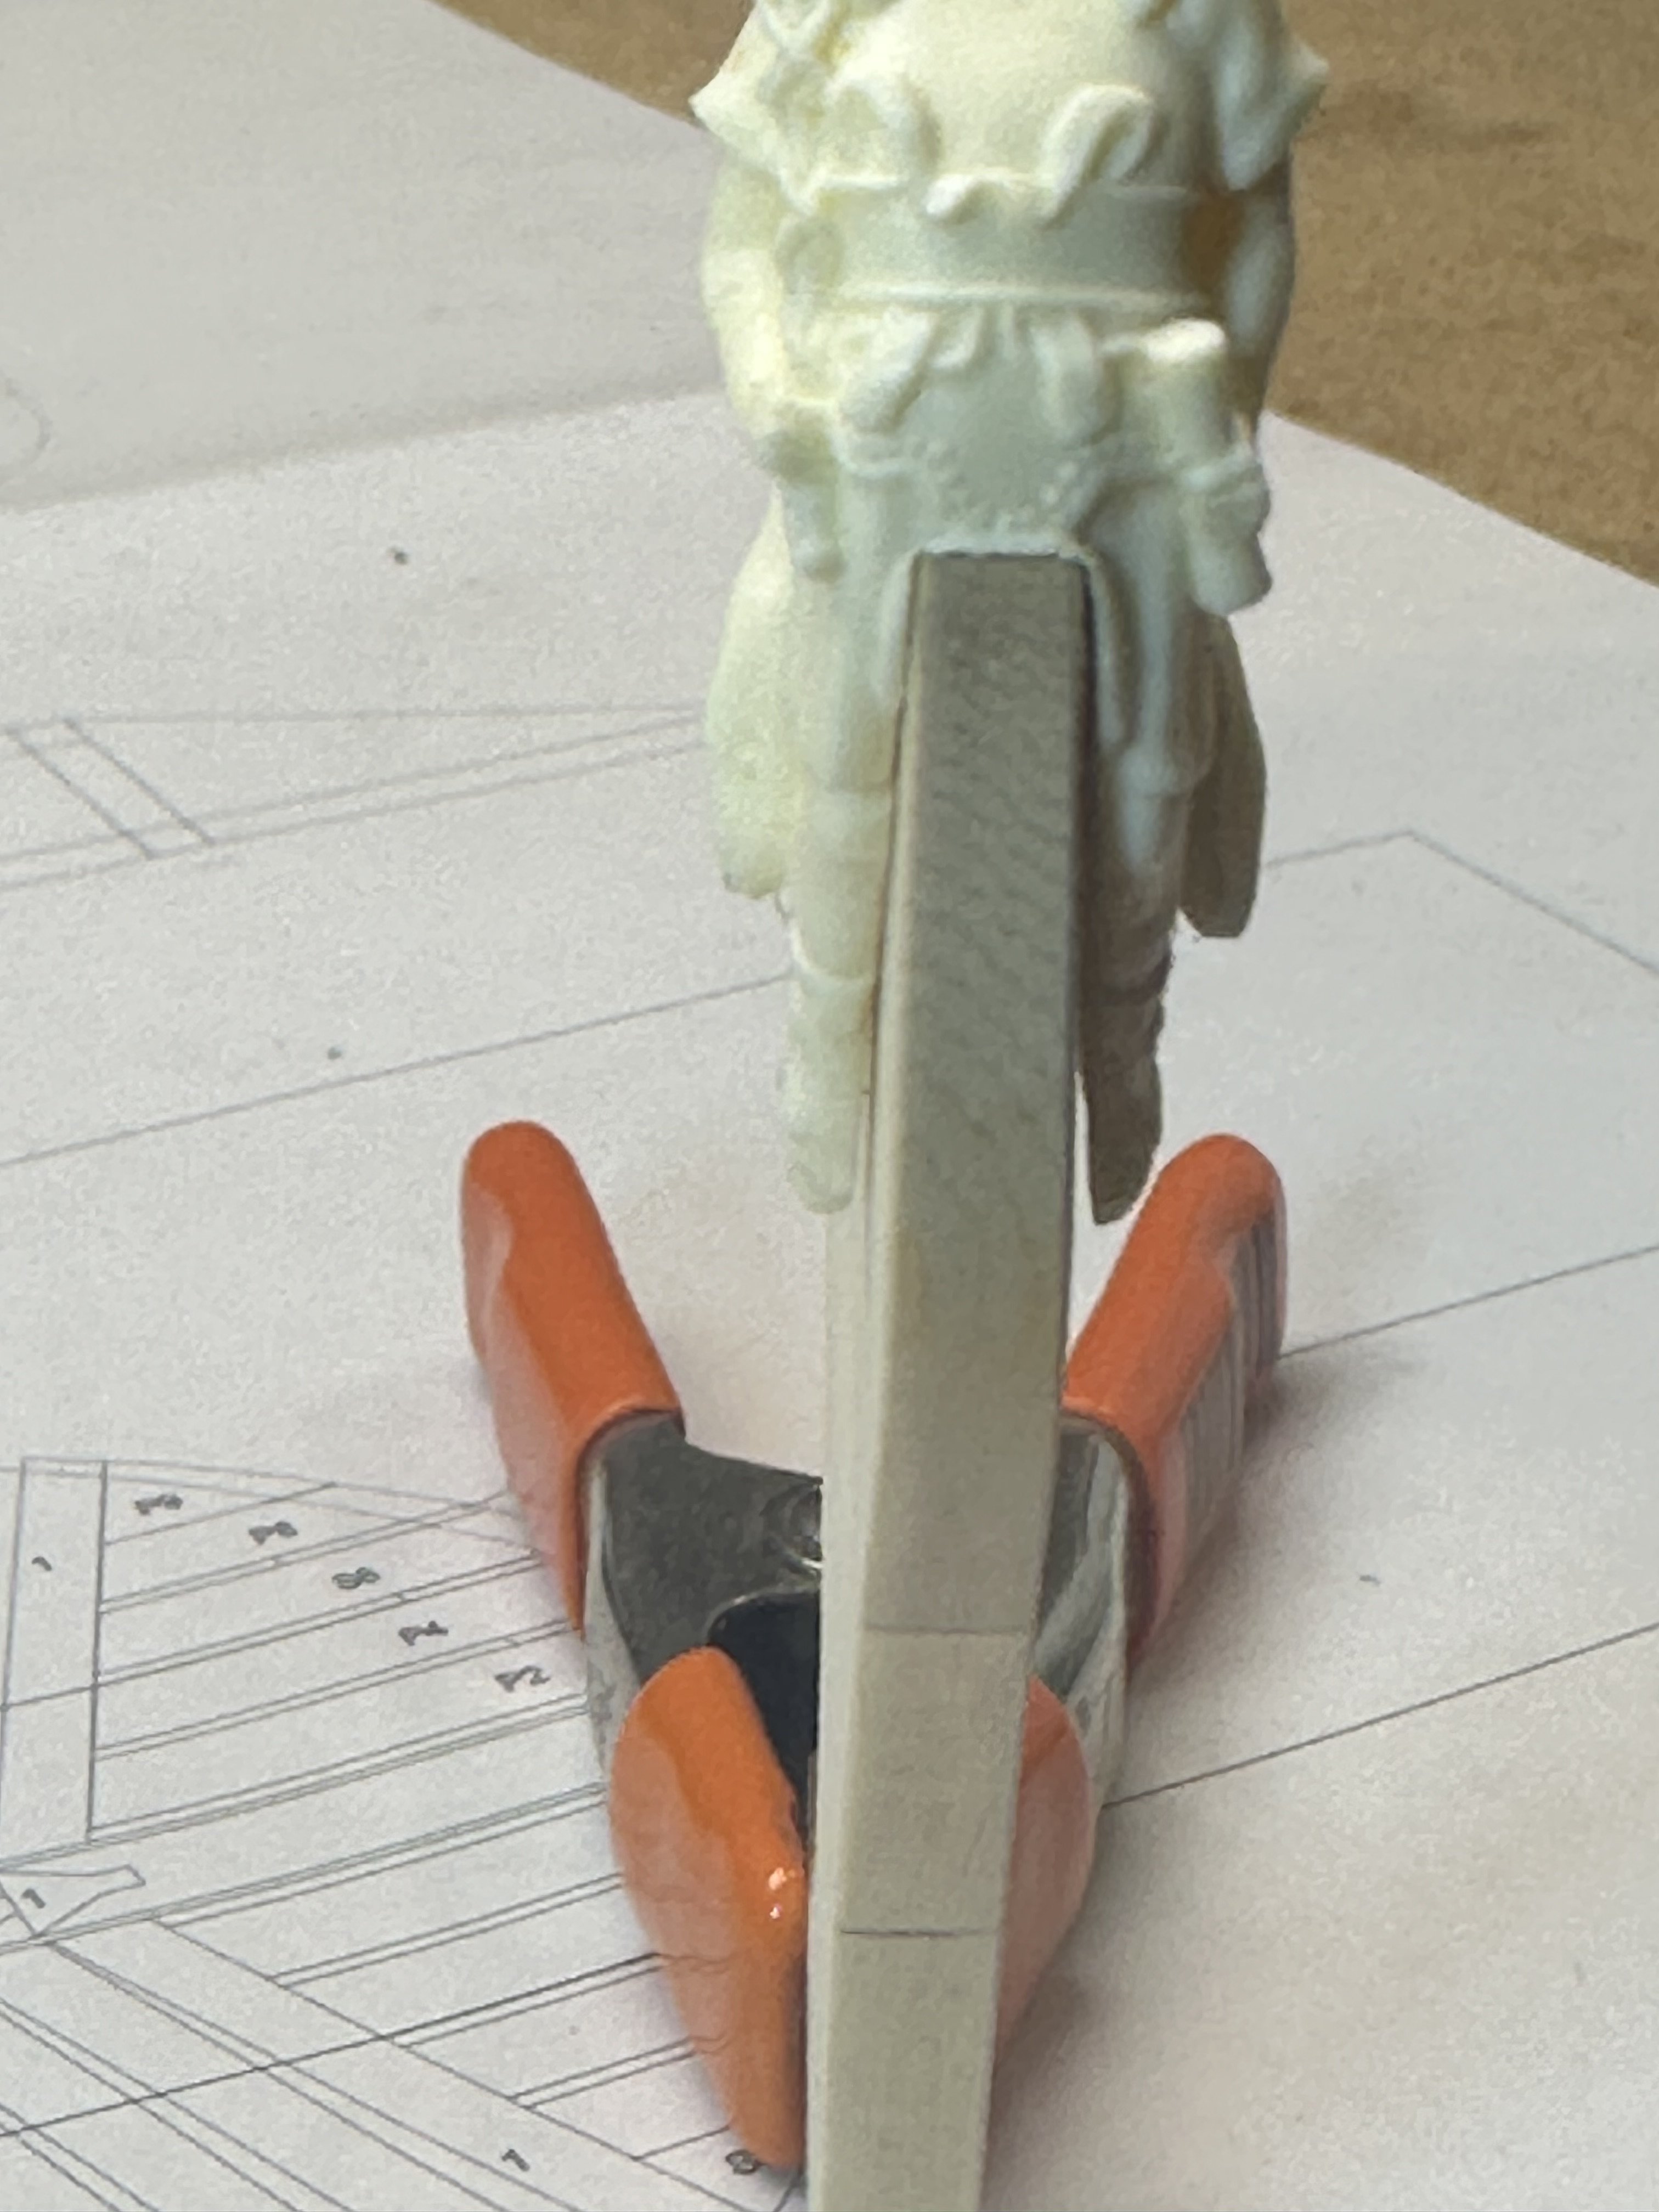
I thought it was still a little fat, but didn’t know how far down to go. Thanks for the eyeball Chuck!
Best Regards …. Rick
-
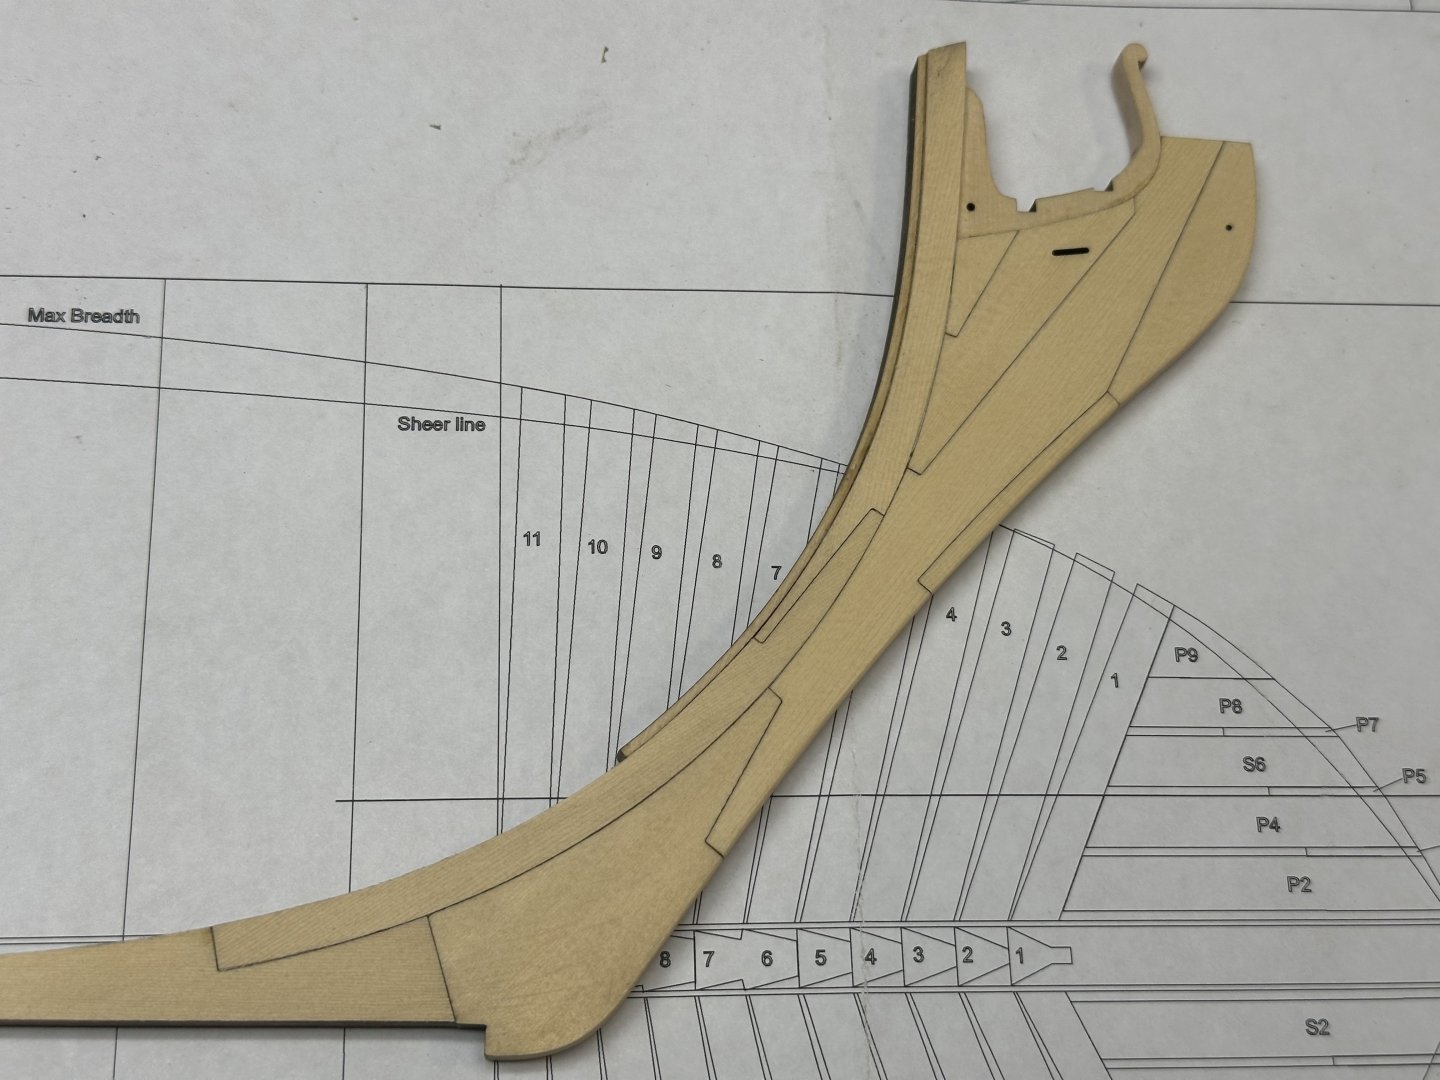
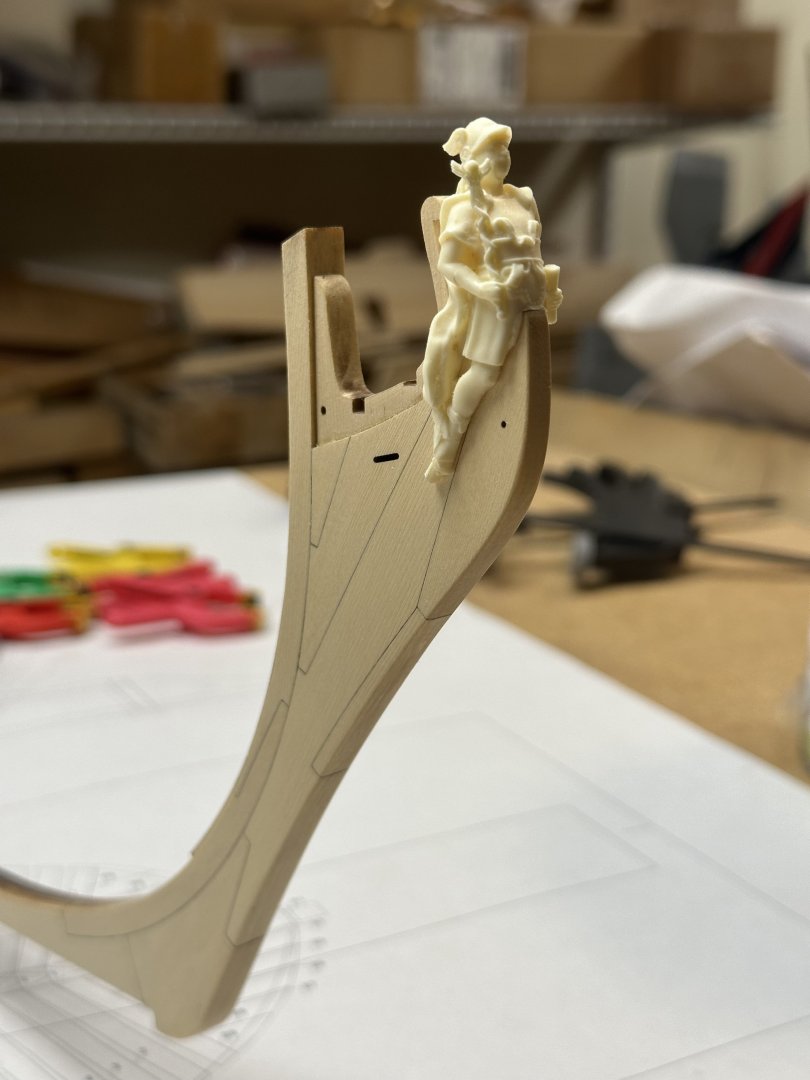
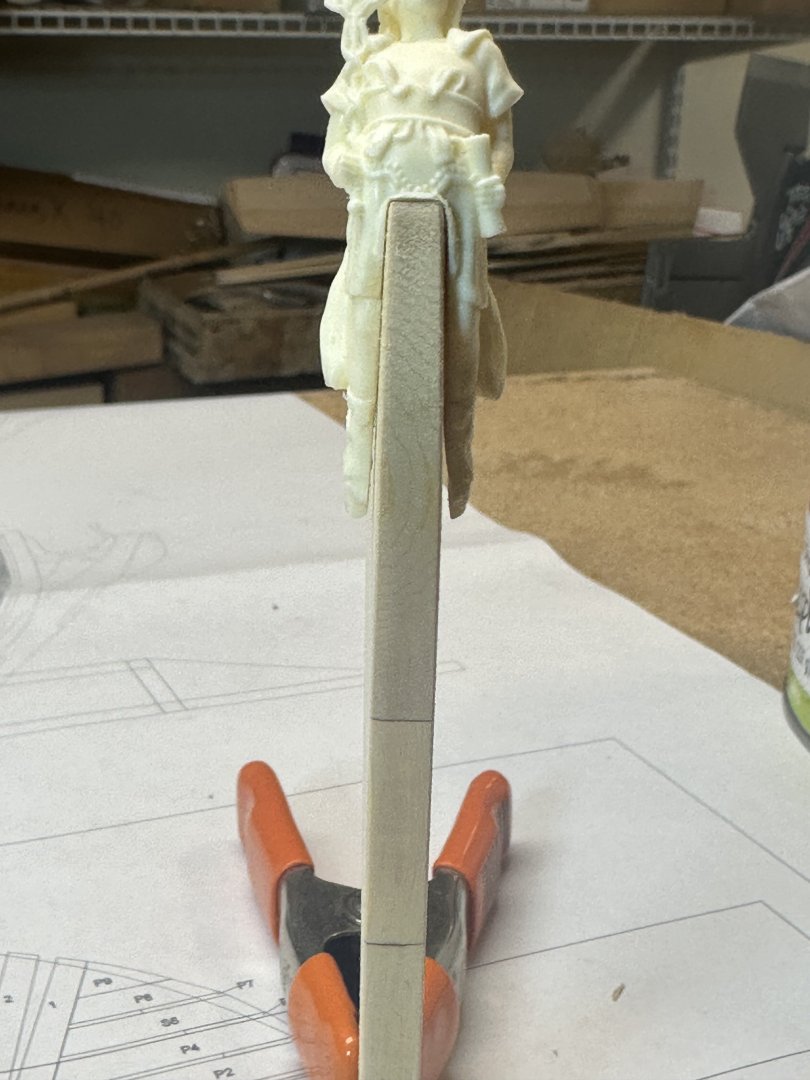
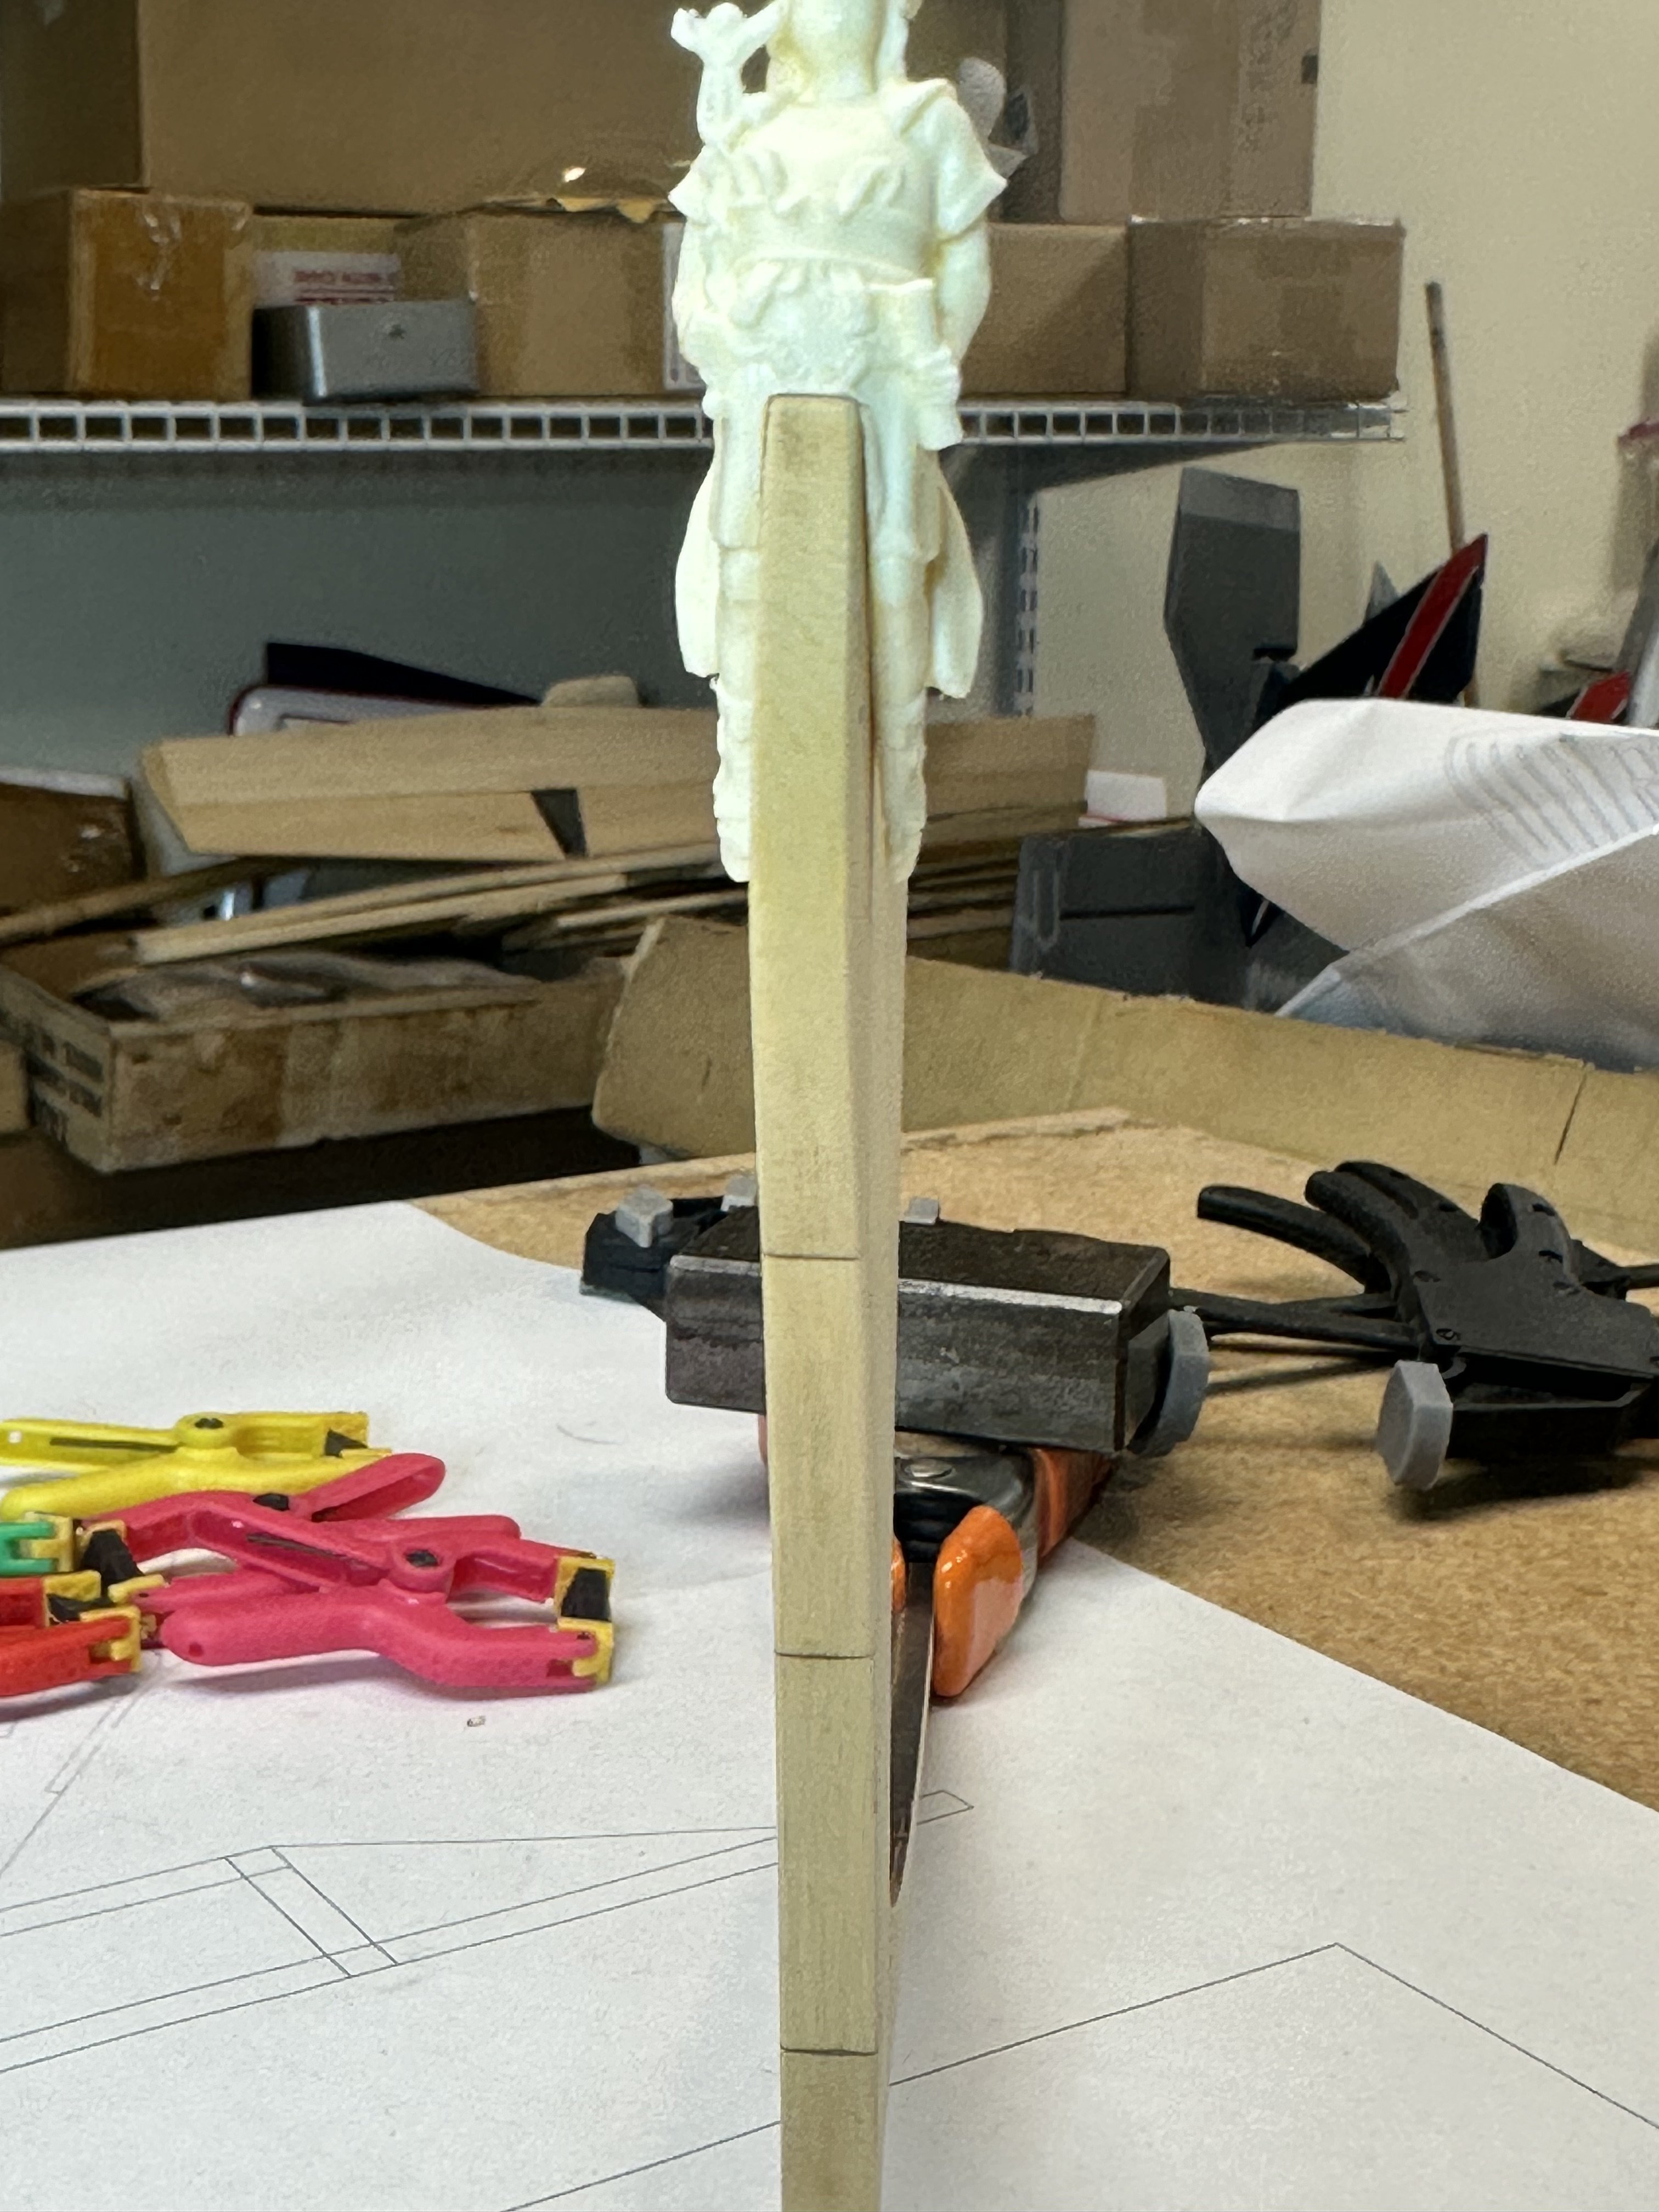
My first stem tapering with a figurehead. Thoughts? Also, how much of a radius should the stem have? I just knocked the corner off for now.
Best Regards …. Rick
- davyboy, Ryland Craze, GrandpaPhil and 6 others
-
8
-
 1
1
-
-
Very clean and neat!
Best Regards …. Rick
- Ryland Craze, Tossedman, mtaylor and 2 others
-
5
-
Thank you Rusty, it's been fun so far. Thanks to All for the Likes, much appreciated!
Best Regards .... Rick
-
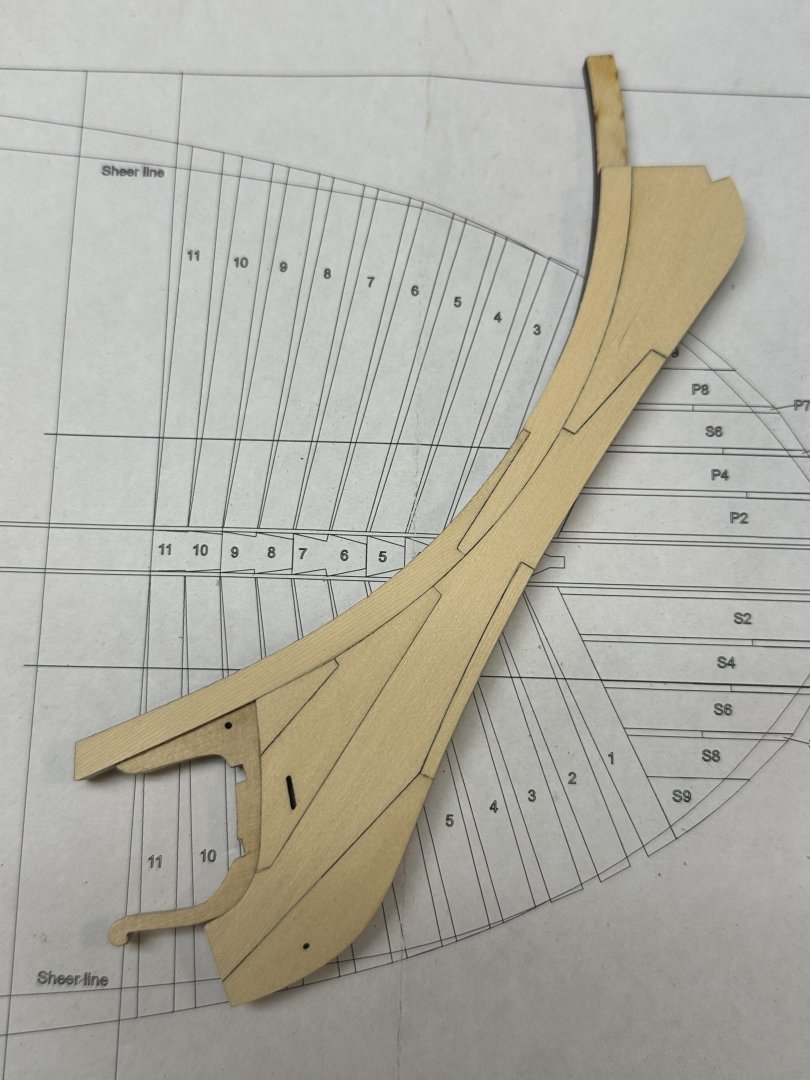
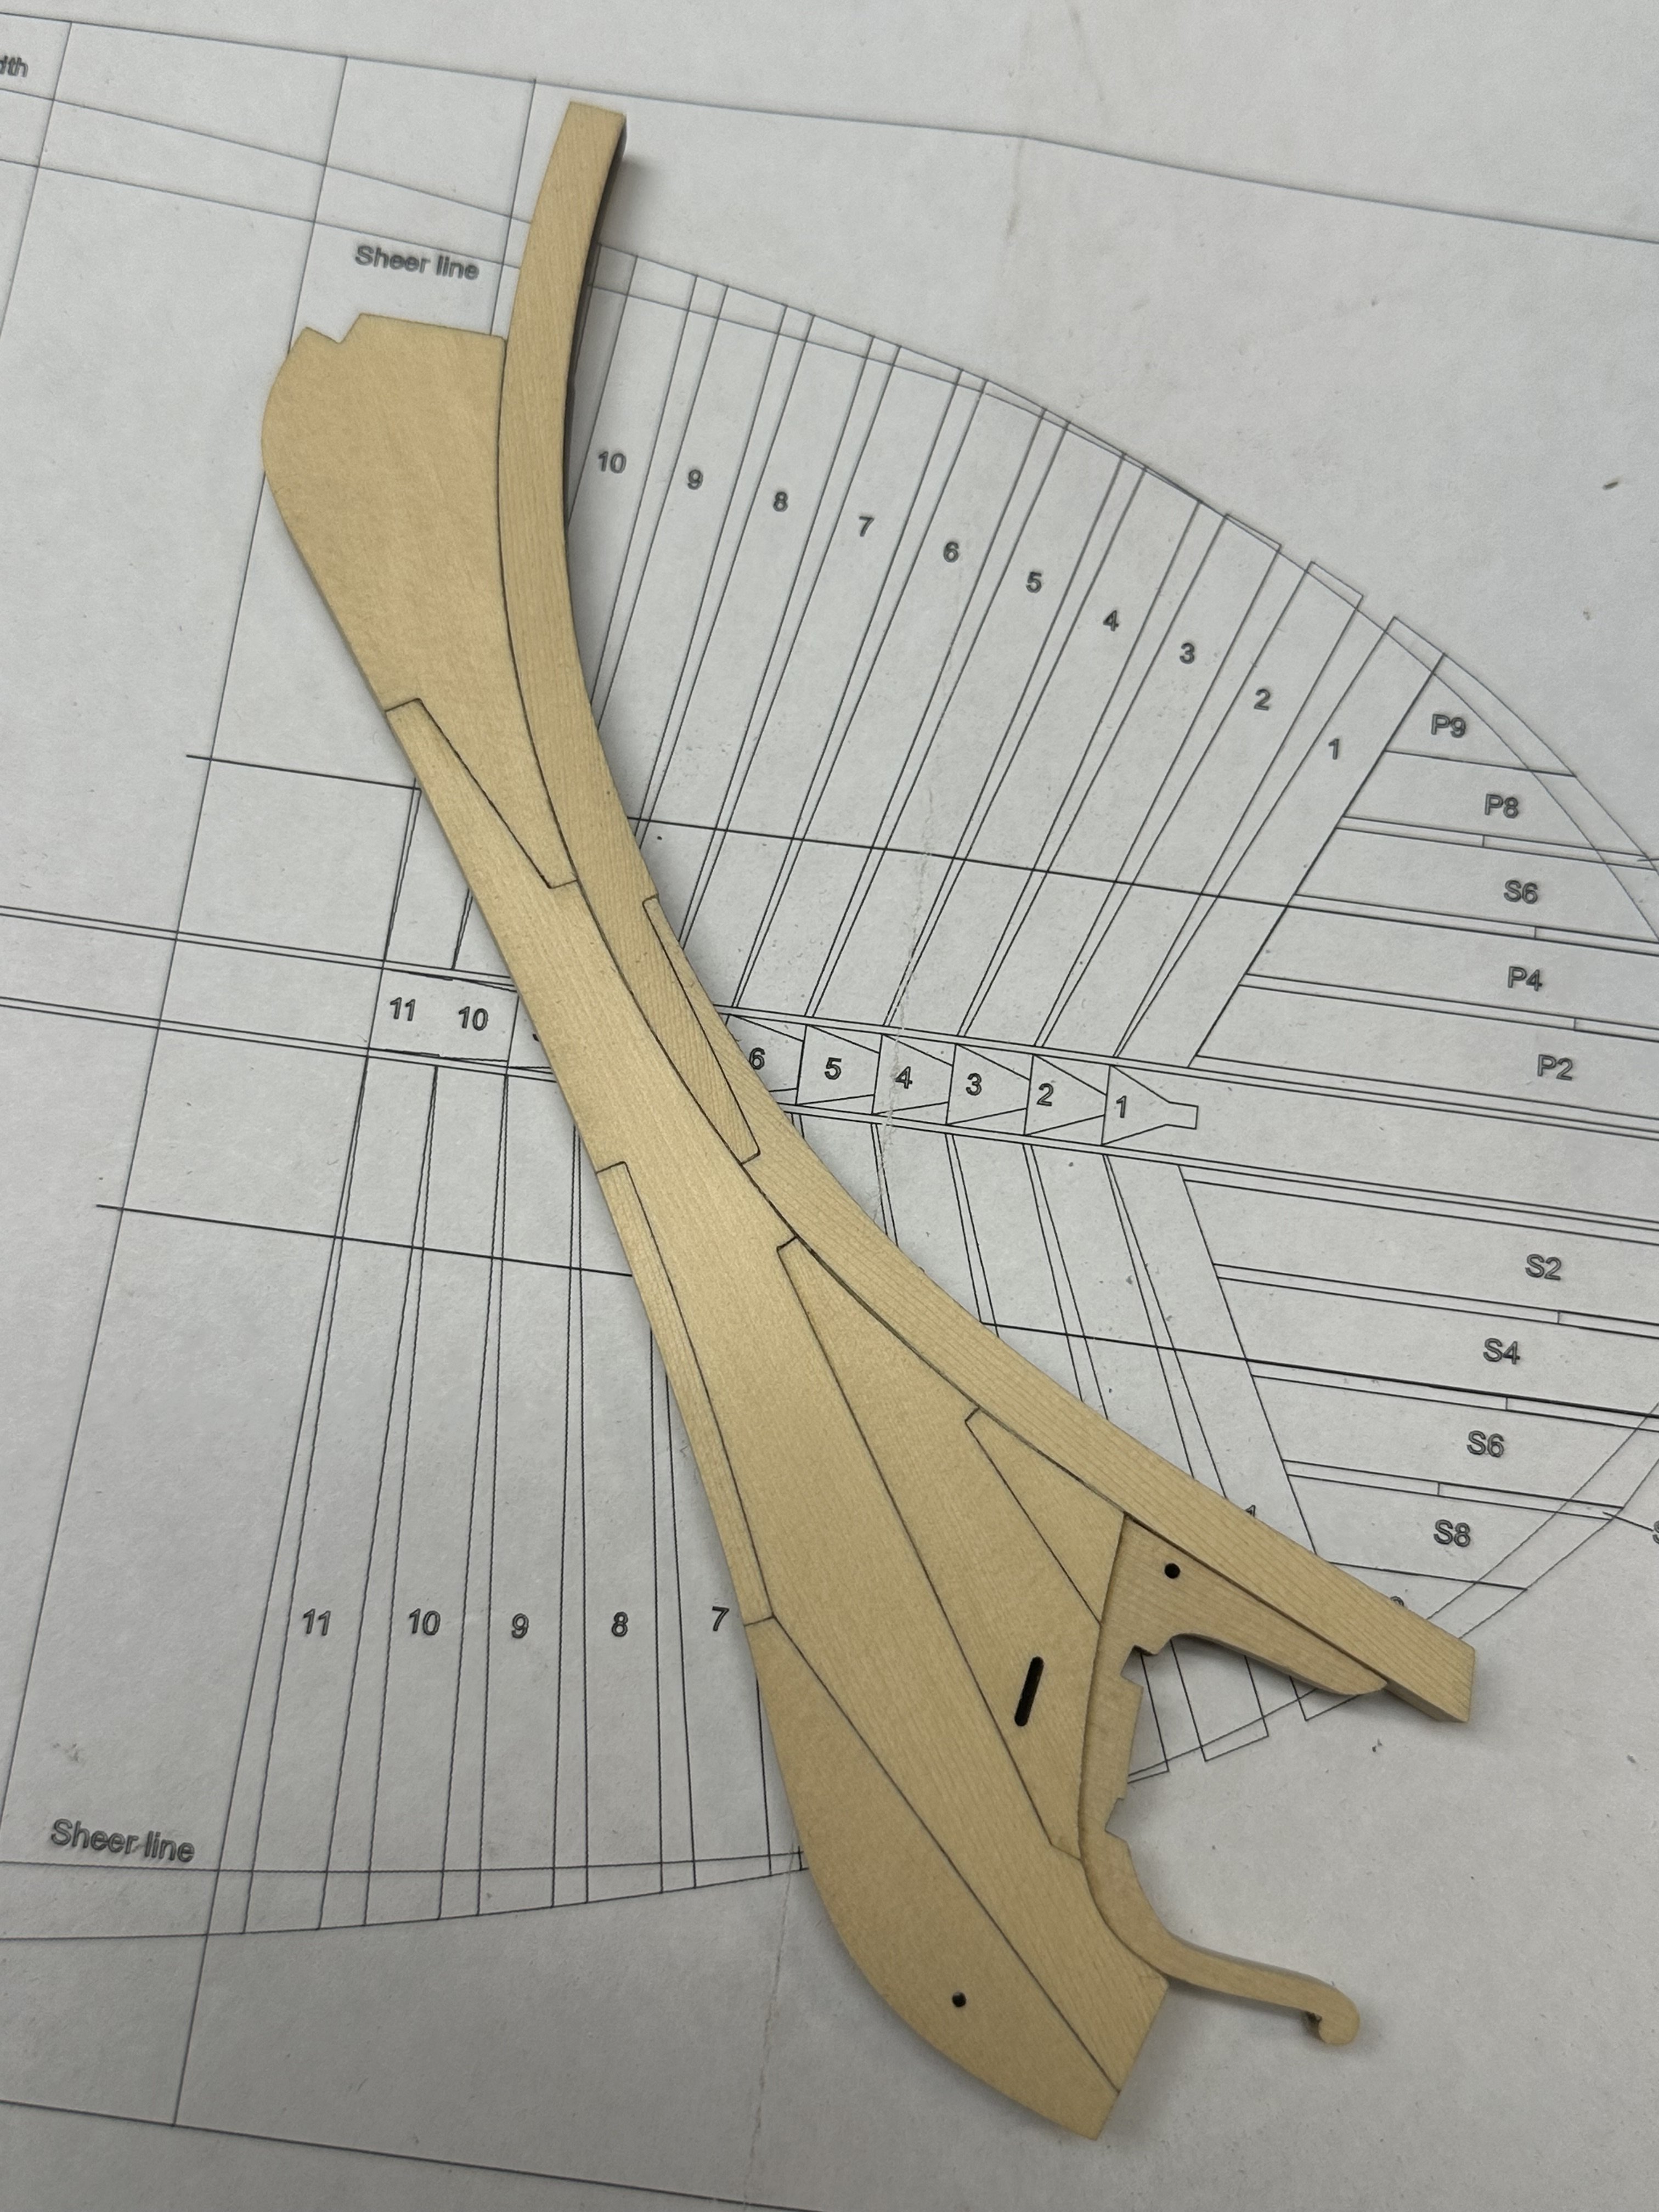
Here’s last night’s effort, the stem. It took a fair amount of time to get the parts to fit well, the angle cut of the laser is a bugger and careful sanding is required to get gap free joints. I mostly used a file and sanding sticks, I also used with excellent results my Byrnes 4” sander (RIP Jim, we miss you) for trimming down the joints that Chuck points out is his build. Overall it was a pleasant experience. Now to start the taper...
Best Regards …. Rick

- Matt D, jpalmer1970, Stuntflyer and 13 others
-
16
-
-
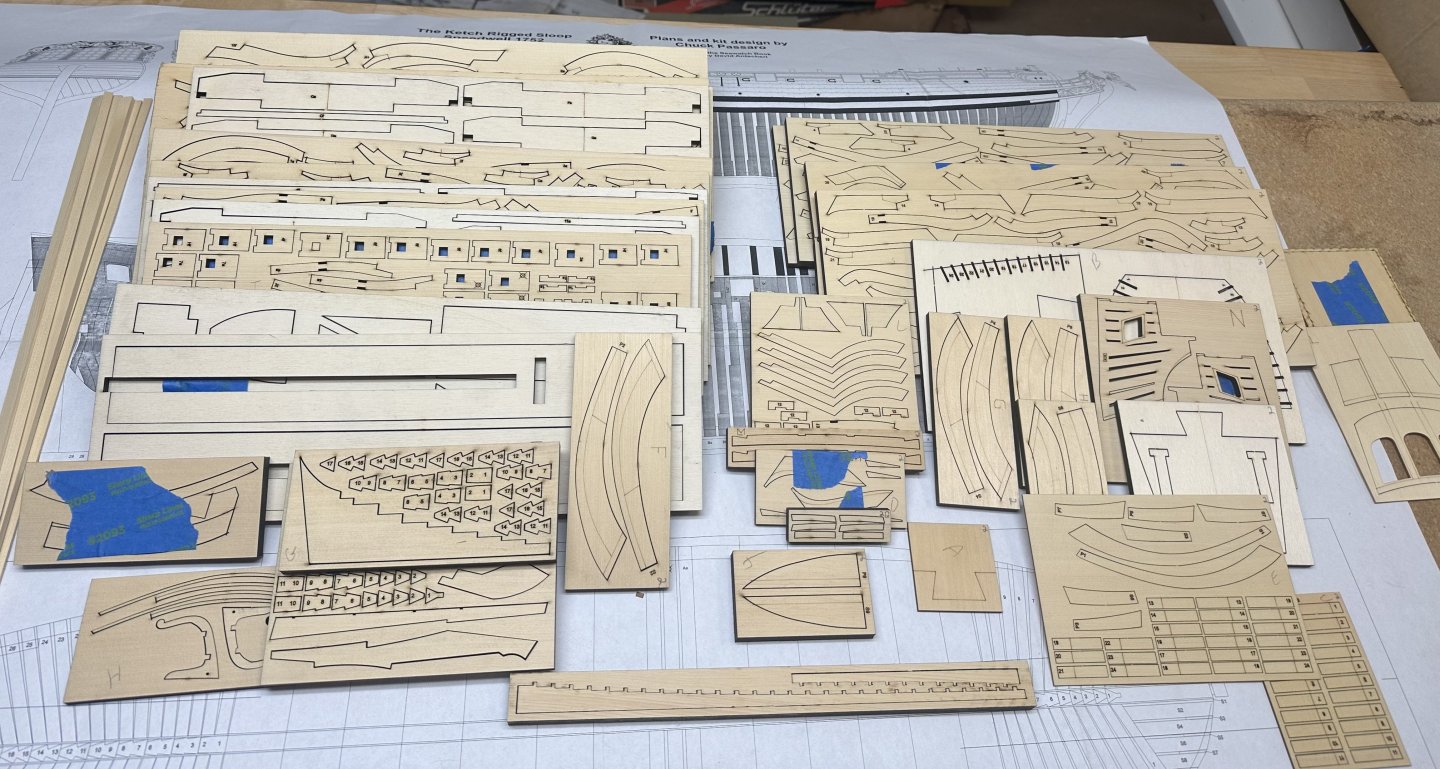
This marks the start of my Syren POF Speedwell! I’ve been dealing with some medical issues and am now close to being 100%, so here we go! A POF has been a bucket list build for a long time as I’ve admired this style of model. Most of the offerings out there just didn’t appeal to me with the scaffold type of construction. Enter Chuck with his Speedwell, Bingo! I’m a huge fan of Chuck’s designs and all the help he (and the other MSW modelers) provides, it gives guys like me a lot of hope. I’ve built Chuck’s Medway (my first wood build) and it came out awesome. Thanks Chuck! I’ve started Cheerful but a POF build has extreme attraction for me. I’ll probably work on Cheerful when a break is needed. Last month at the New London Conference I got to meet Chuck (and Rusty, Ryland and Olha and several others! Awesome to meet you guys!). Had some great conversations and it was nice putting a face to the name. Also, I got to eyeball Chuck’s Speedwell, pictures in the build thread don’t do it justice. A real beauty! Anyway, here we go! When Chuck said there was a lot of wood in the 1st 2 chapters, he wasn’t kidding! The laser cutting is the best I’ve ever seen in a model. A lot of the parts had fallen out of the billets, so I took some time to place them in their proper place and used some blue painters tape to hold them in place. Because the thickness of the wood, I see a lot of billet sanding to remove surface char in my future. Here’s a picture of the wood. Stem will be started tonight.
Best Regards …. Rick
-
Looks good Jean-Marc!
Should be starting my build this weekend.
Best Regards .... Rick
-
Don't forget that many of us don't have access to a mill, much less a CNC mill. So Chuck's offerings give us an opportunity to have the best results, despite not having a machine shop.
Best Regards .... Rick
QuoteI can prepare the gratings with my small CNC-mill and build the jig following your really good description.
- mtaylor, CiscoH, Ryland Craze and 5 others
-
8
-
If you really wanted to remove the sharpie, plain ‘ole rubbing alcohol will quickly and easily remove the ink.
Best Regards …. Rick
- Chuck, Nirvana, FrankWouts and 3 others
-
6
-
I love how you painted your initials on the hair bracket. Very clever!
Best Regards …. Rick
-


Sloop Speedwell 1752 by Chuck - Ketch Rigged Sloop - POF - prototype build
in - Build logs for subjects built 1751 - 1800
Posted
Wasn't planning on drilling through the keel, mostly wondering if the bolt pattern was the same on both sides. On Medway, I did shallow for the bolts and will be doing the same on Speedwell. Thanks for the reply. Enjoy your time off!
Best Regards .... Rick