

bobandlucy
-
Posts
494 -
Joined
-
Last visited
Content Type
Profiles
Forums
Gallery
Events
Posts posted by bobandlucy
-
-
-
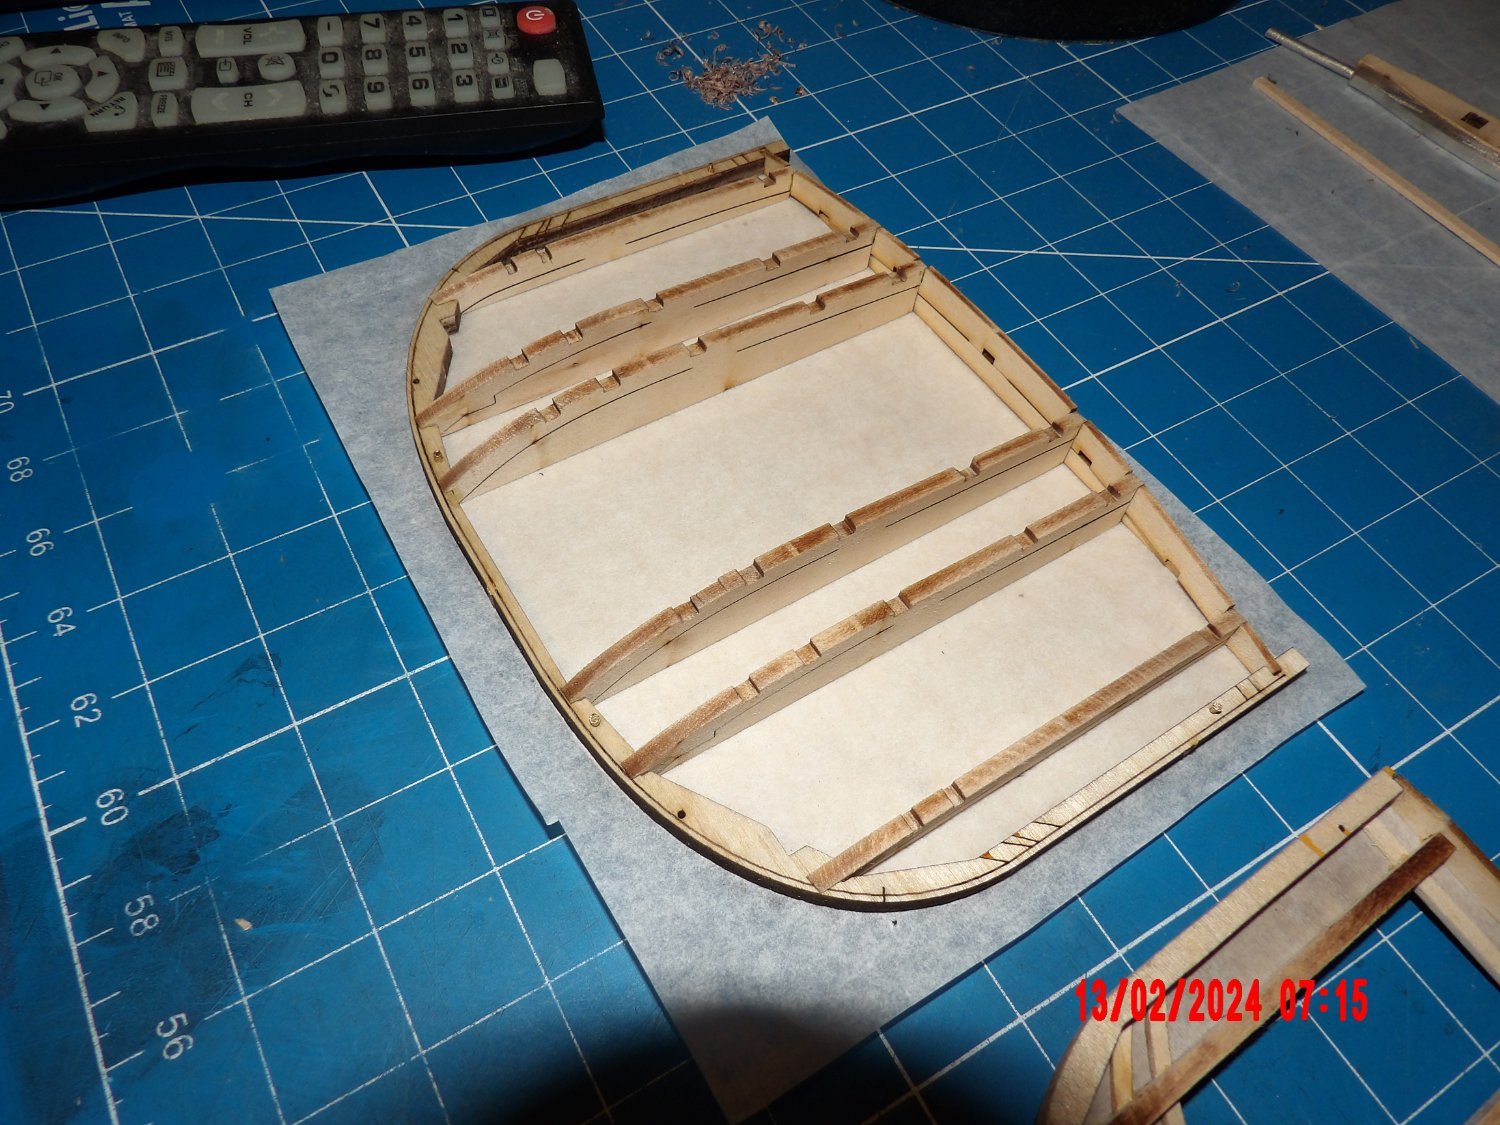
Leaving the undercarriage/running gear aside for awhile, I started constructing the coach body. The process is very similar to ship building; vertical pieces are added to outer framework, faired, then horizontal pieces added and faired:
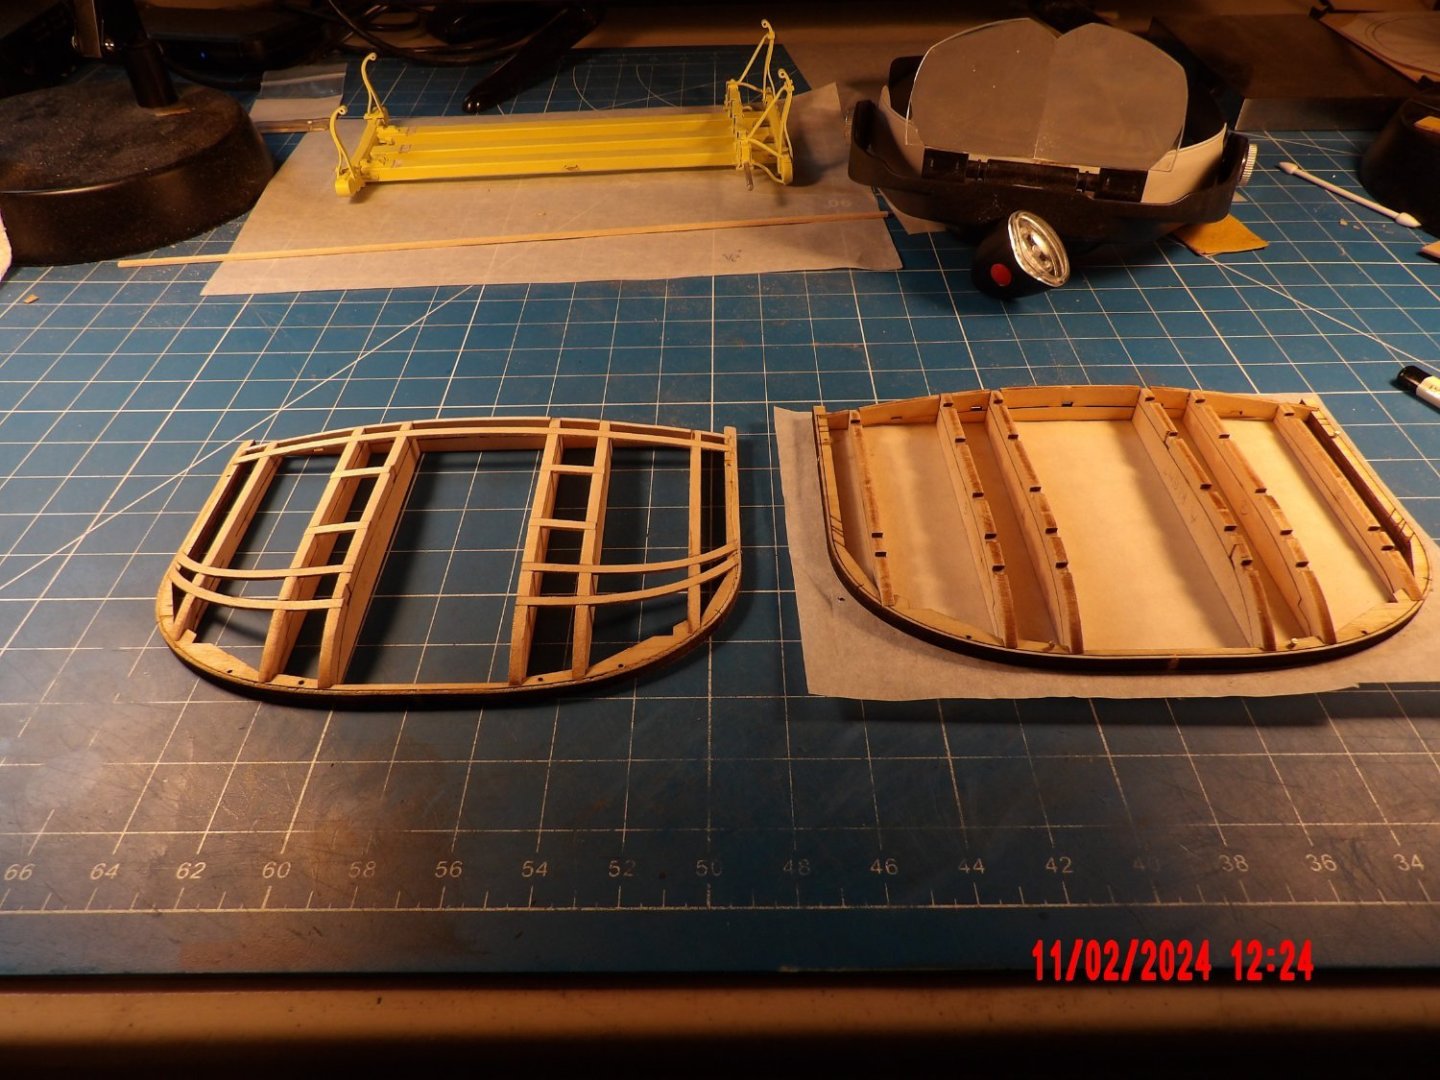
The vertical framing members are held at the proper height off the work surface by sacrificial extensions, which are later removed.
Very clever. Designer Bob Crane, who also designed the Doctor's Buggy completed earlier, has done good work on both models.

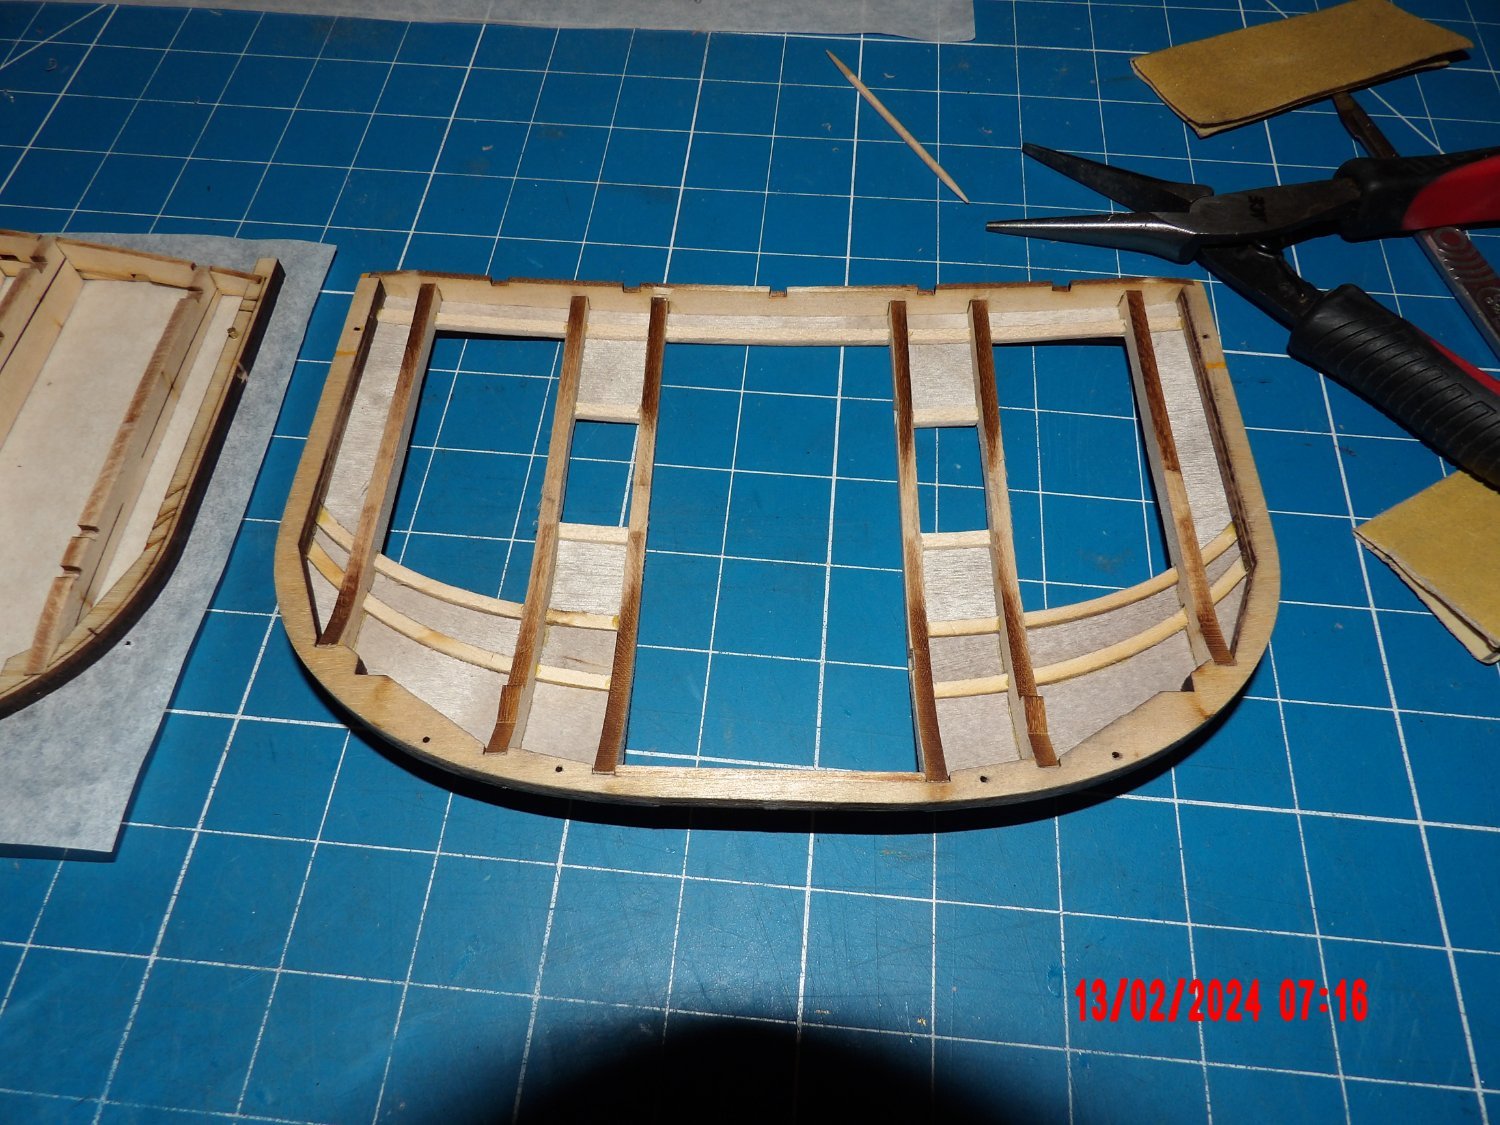
Exterior paneling added to one side, will need minor filling/sanding:
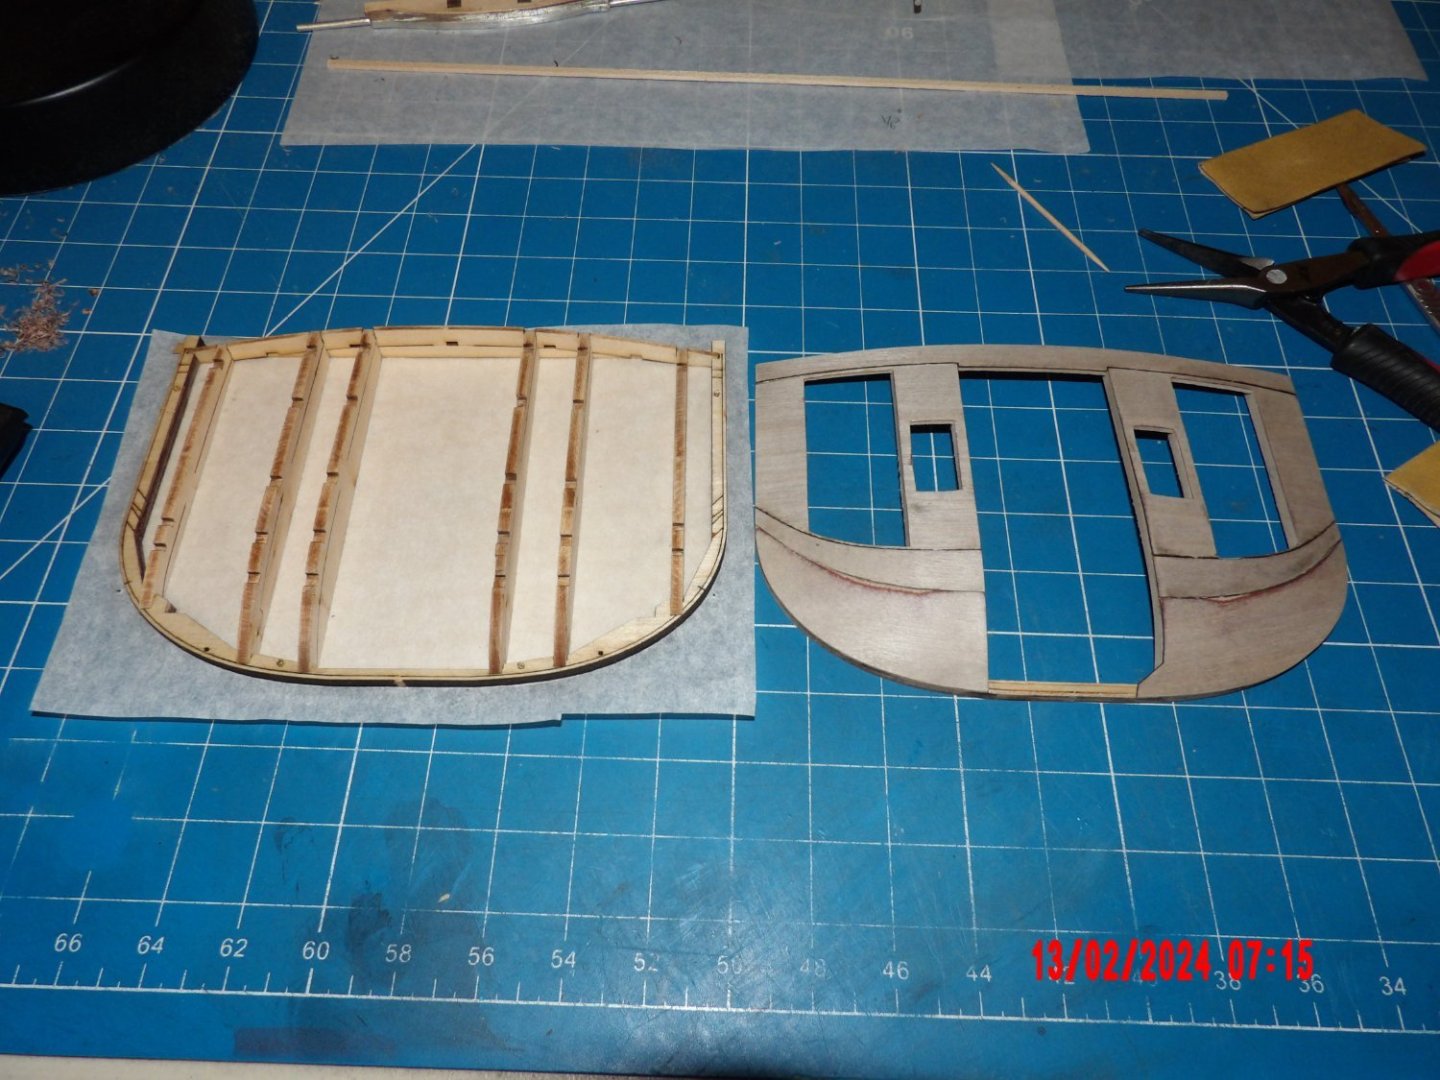
Extensions removed at interior:

Very enjoyable project thus far.
- Jack12477, Landlubber Mike, Egilman and 3 others
-
 6
6
-
I enjoyed building the Doctor's Buggy so much that I ordered the Concord Stagecoach and am well into it at this time.
Picture of finished model from the manual:
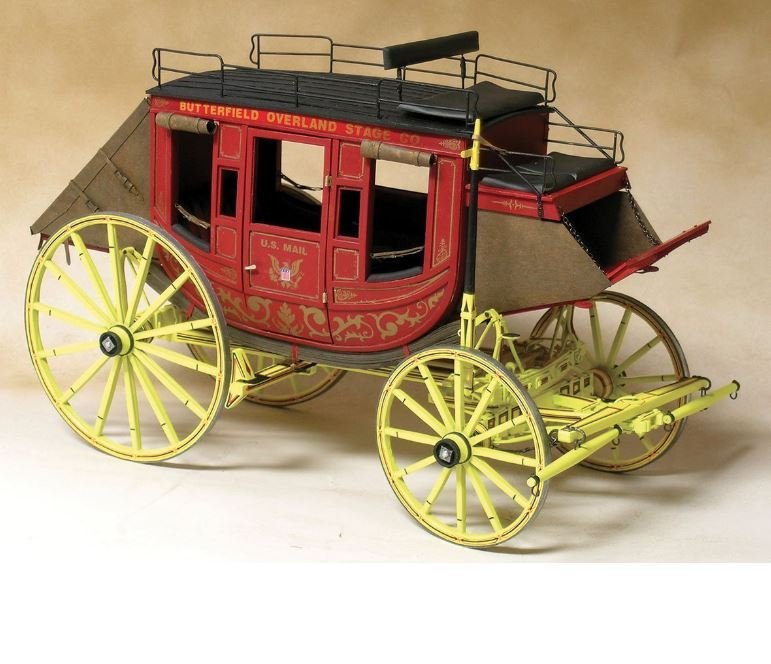
I see opportunity for lots of scratch-made doodads!
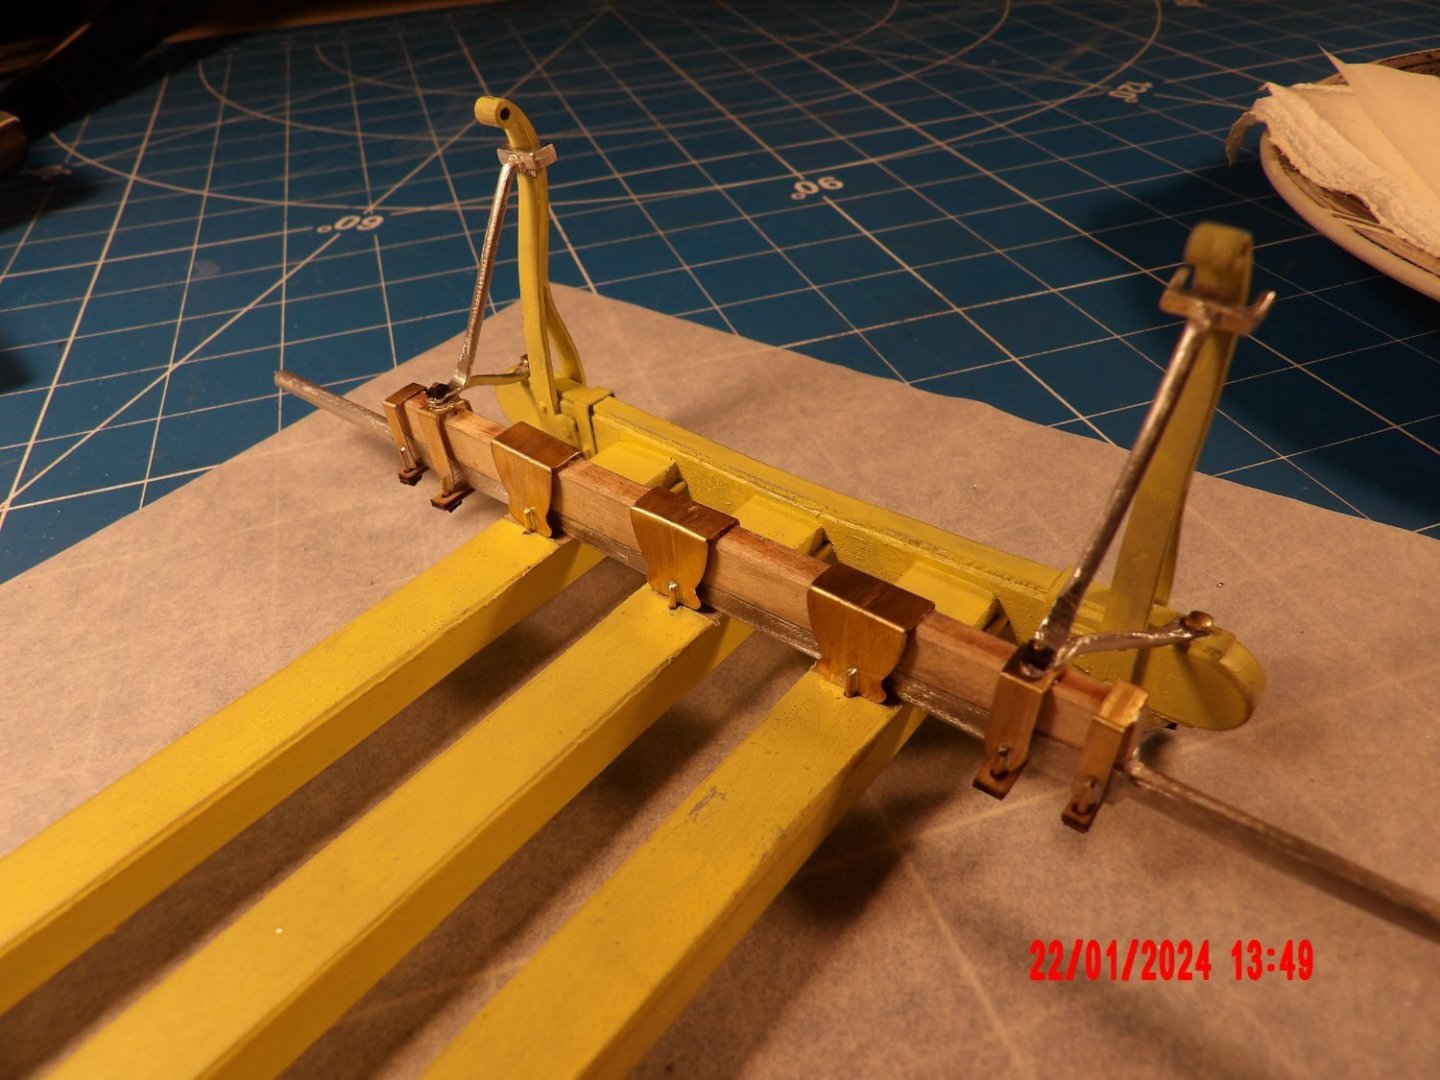
Starting the undercarriage:
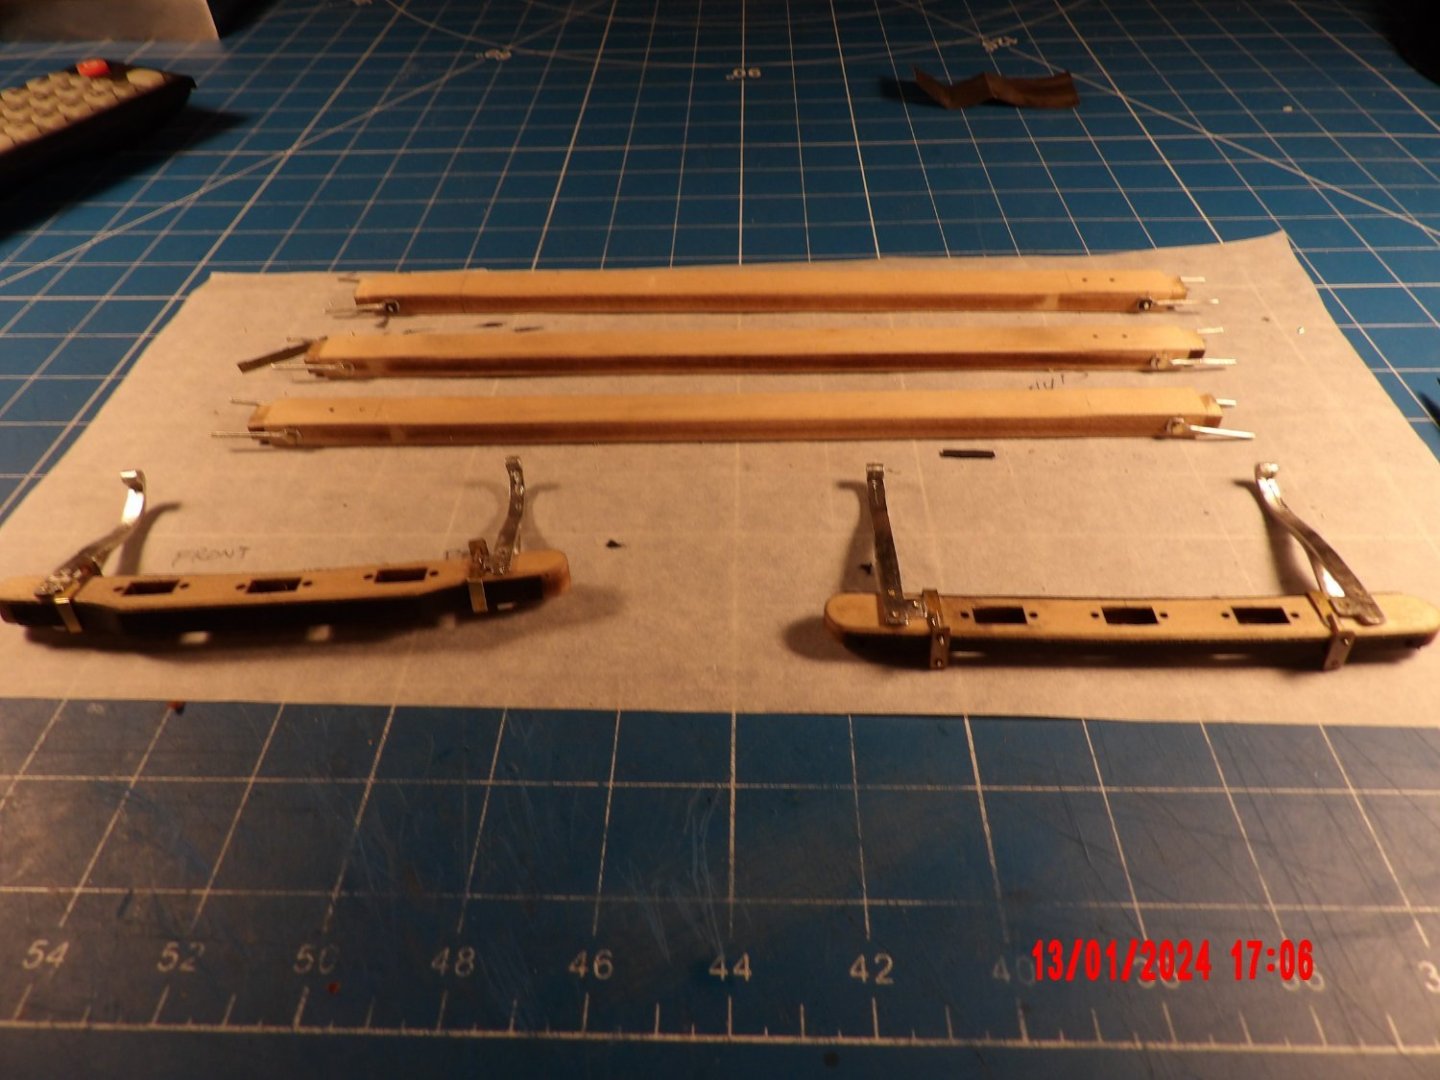
Pins are soldered to the U-straps to simulate bolts:

Made a mistake in reducing the width and length of the wooden part of this axle assembly because the drawings showed them as matching. . .
This resulted in a poor fit of the U-straps as well as not providing enough stand-off for the wheels; I'll need to add material somehow:
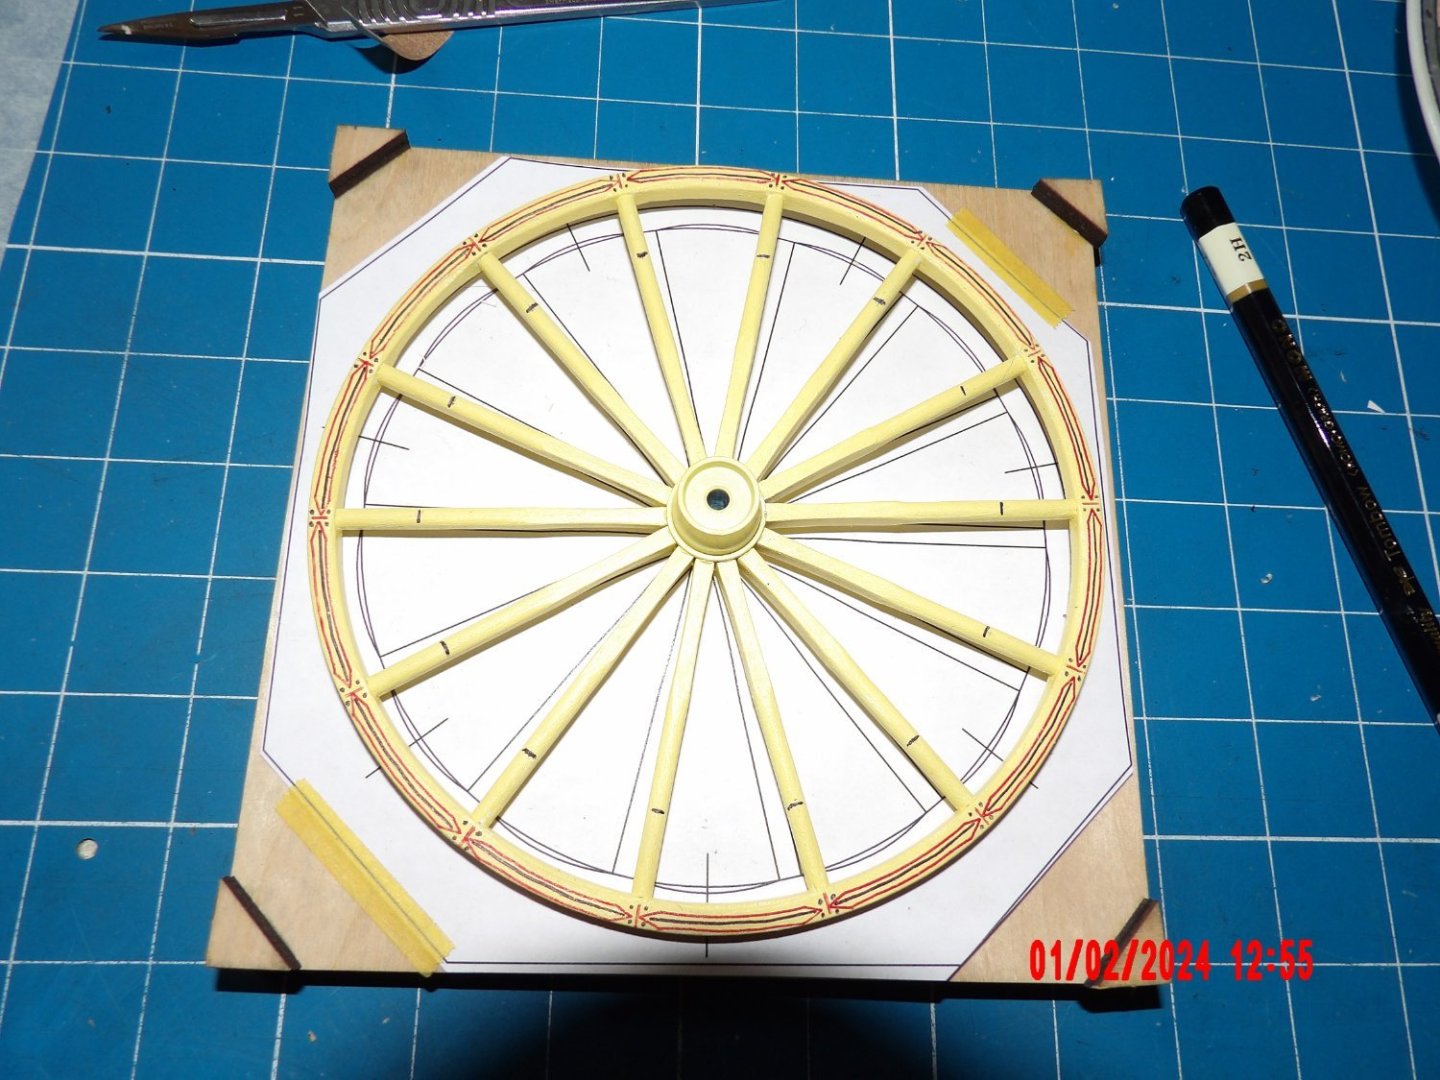
Waiting on a couple of missing parts to continue with the undercarriage. So I assembled the wheels.
The wheels have a carved scalloped design between the spokes. Not easy to make these uniform in plywood!

I finished painted one wheel. The red and black decoration is done with Sharpie pens, which quickly stopped flowing
when used on painted wood. The decorations also came out somewhat wobbly. If I can do better on the other wheels,
I may re-do this one. The decorations are supposed to be on both sides of the wheel, but I may decide not to do them inboard. . .
-
12 hours ago, kgstakes said:
Are your hubs brass? Wood? Did you make up the wheels or did you buy them?
The Hubs are aluminum, furnished with the kit. I made the wheels using kit-supplied materials.
- Old Collingwood, Egilman, kgstakes and 4 others
-
7
-
18 hours ago, Landlubber Mike said:
That came out great! Nice job!
Thank you!
- mtaylor, Old Collingwood, Egilman and 1 other
-
4
-
18 hours ago, kgstakes said:
Very nice great job!!
Thanks!
- Egilman, Canute, Old Collingwood and 1 other
-
4
-
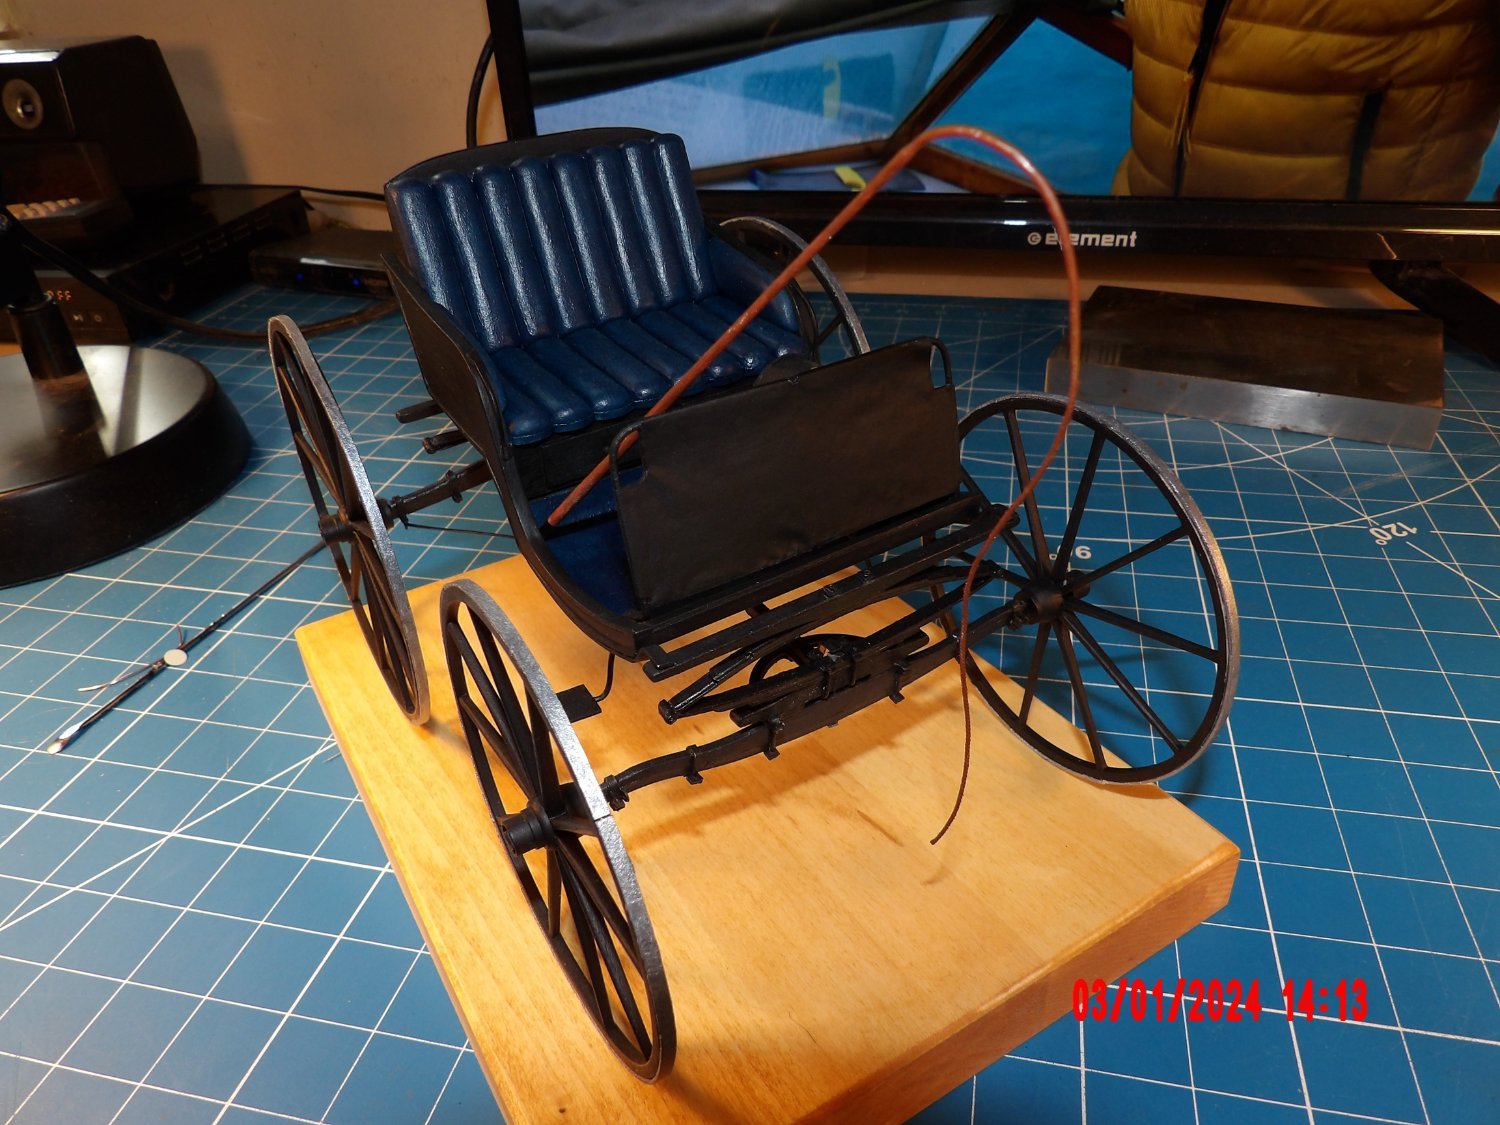
I've kind of drifted away from the Syren model for a while. . . I have always been attracted by the Doctor's Buggy from Model Expo, and decided to build it. I'm glad I did- it was a lot of fun.
I'm done with the model and really did not take very many photographs. Hoping that one or two progress pics qualifies this as a "log."
Body under construction:
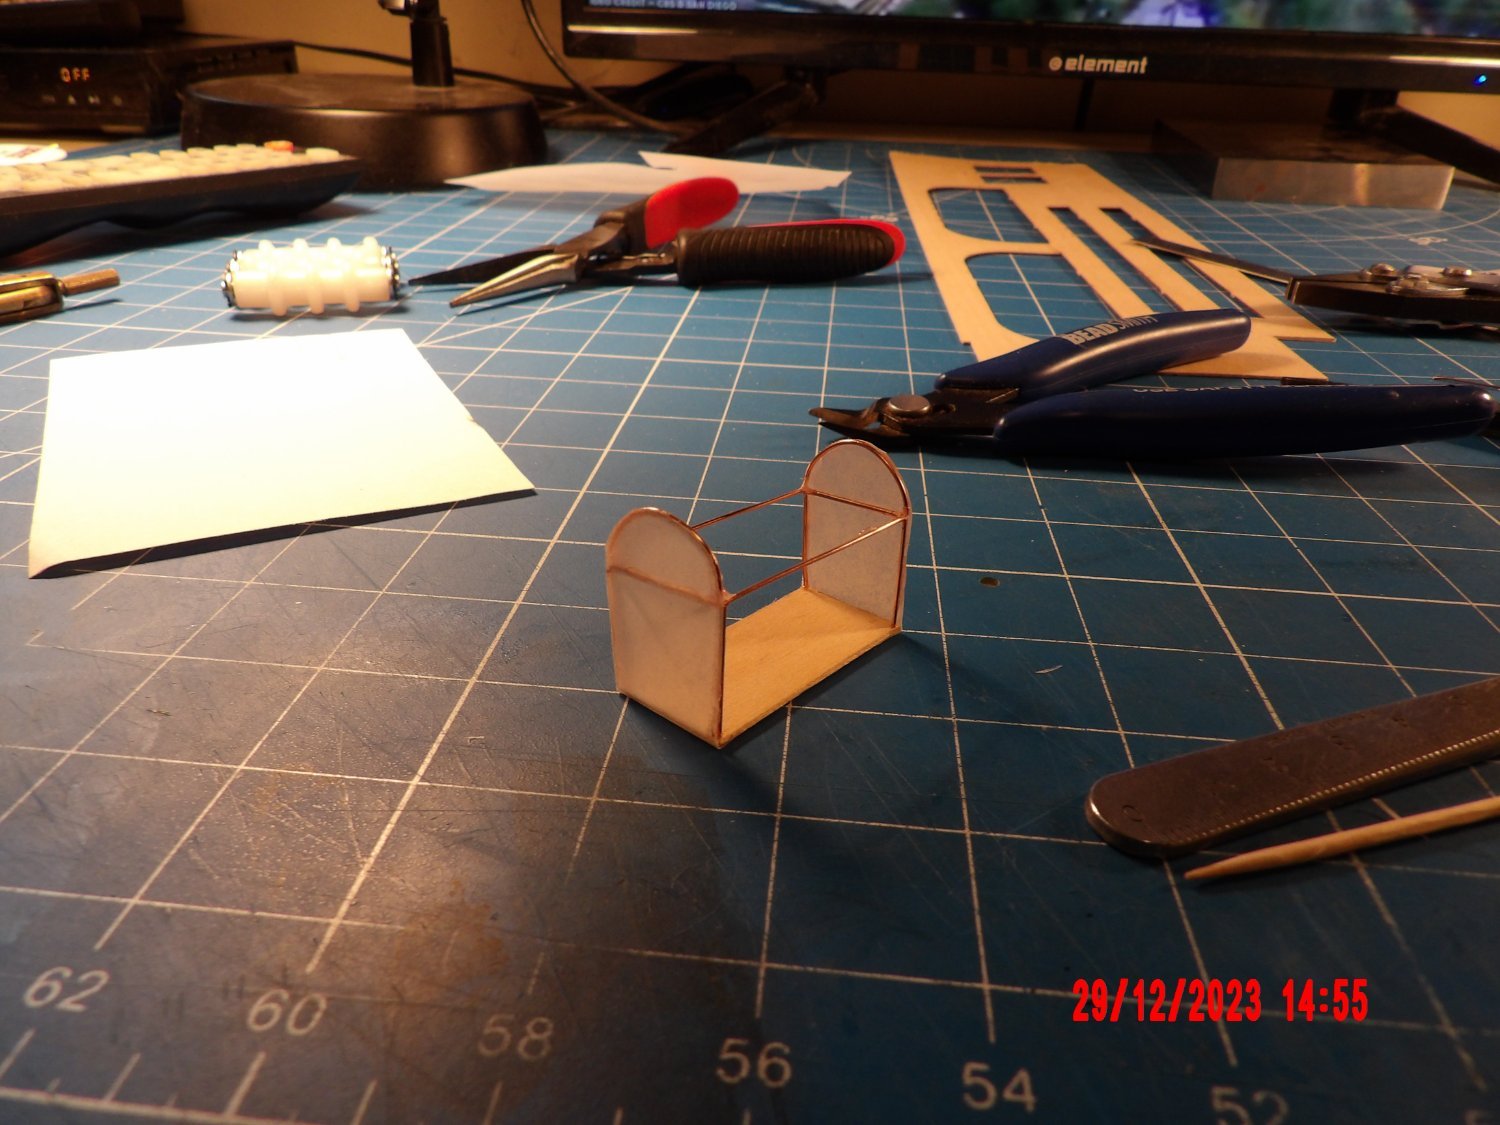
First attempt scratch-built Doctor's Bag, abandoned. The third attempt was successful, and consists of wood and wire frame and silkspan fabric:

Body mounted on undercarriage assembly (tricky) and Doctor's Bag installed:

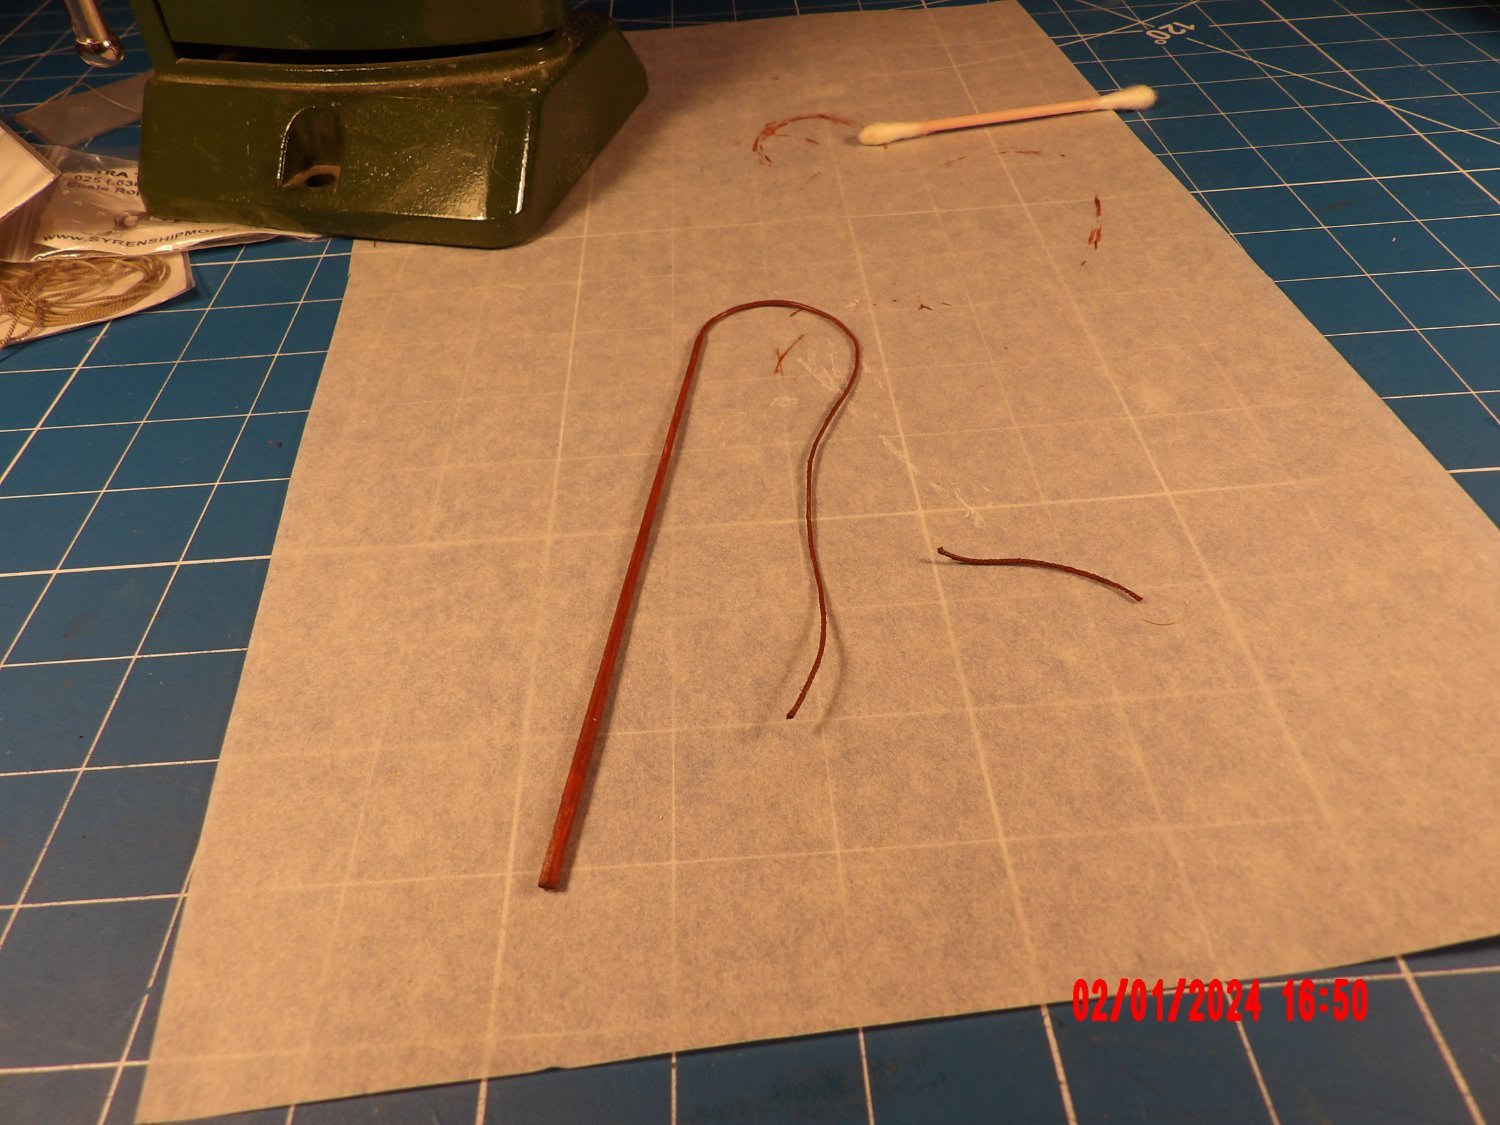
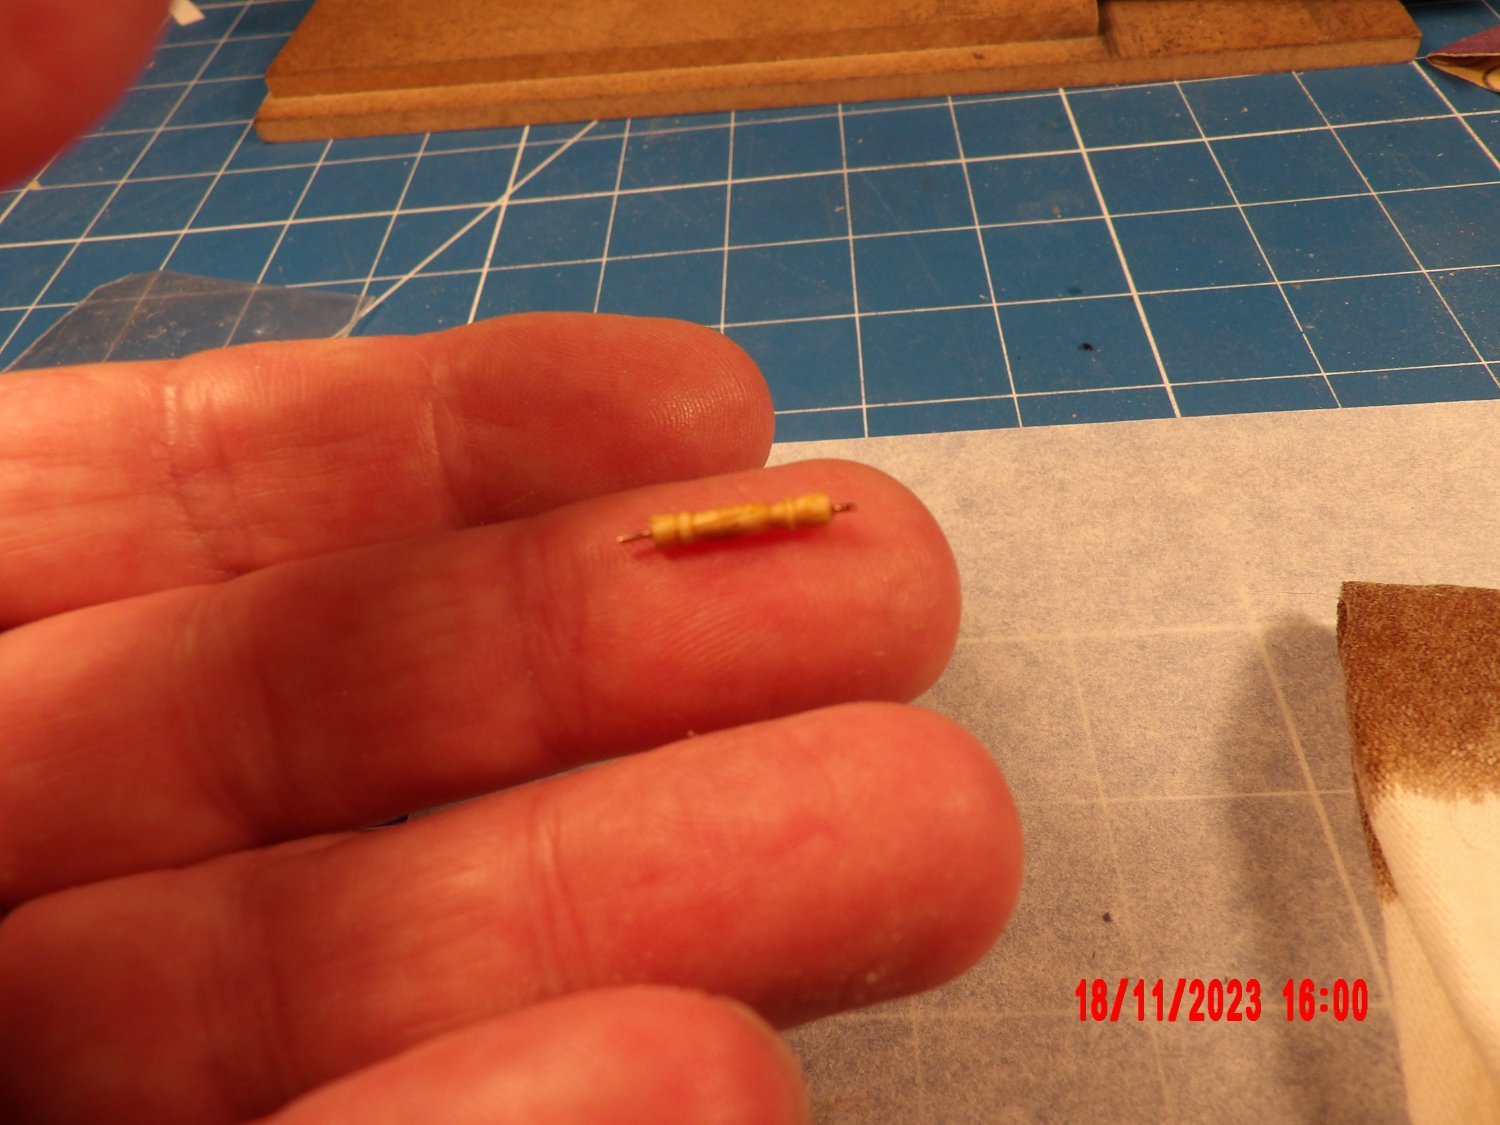
Scratch-built Horse Whip under construction:

Finished Buggy, mounted on display board:

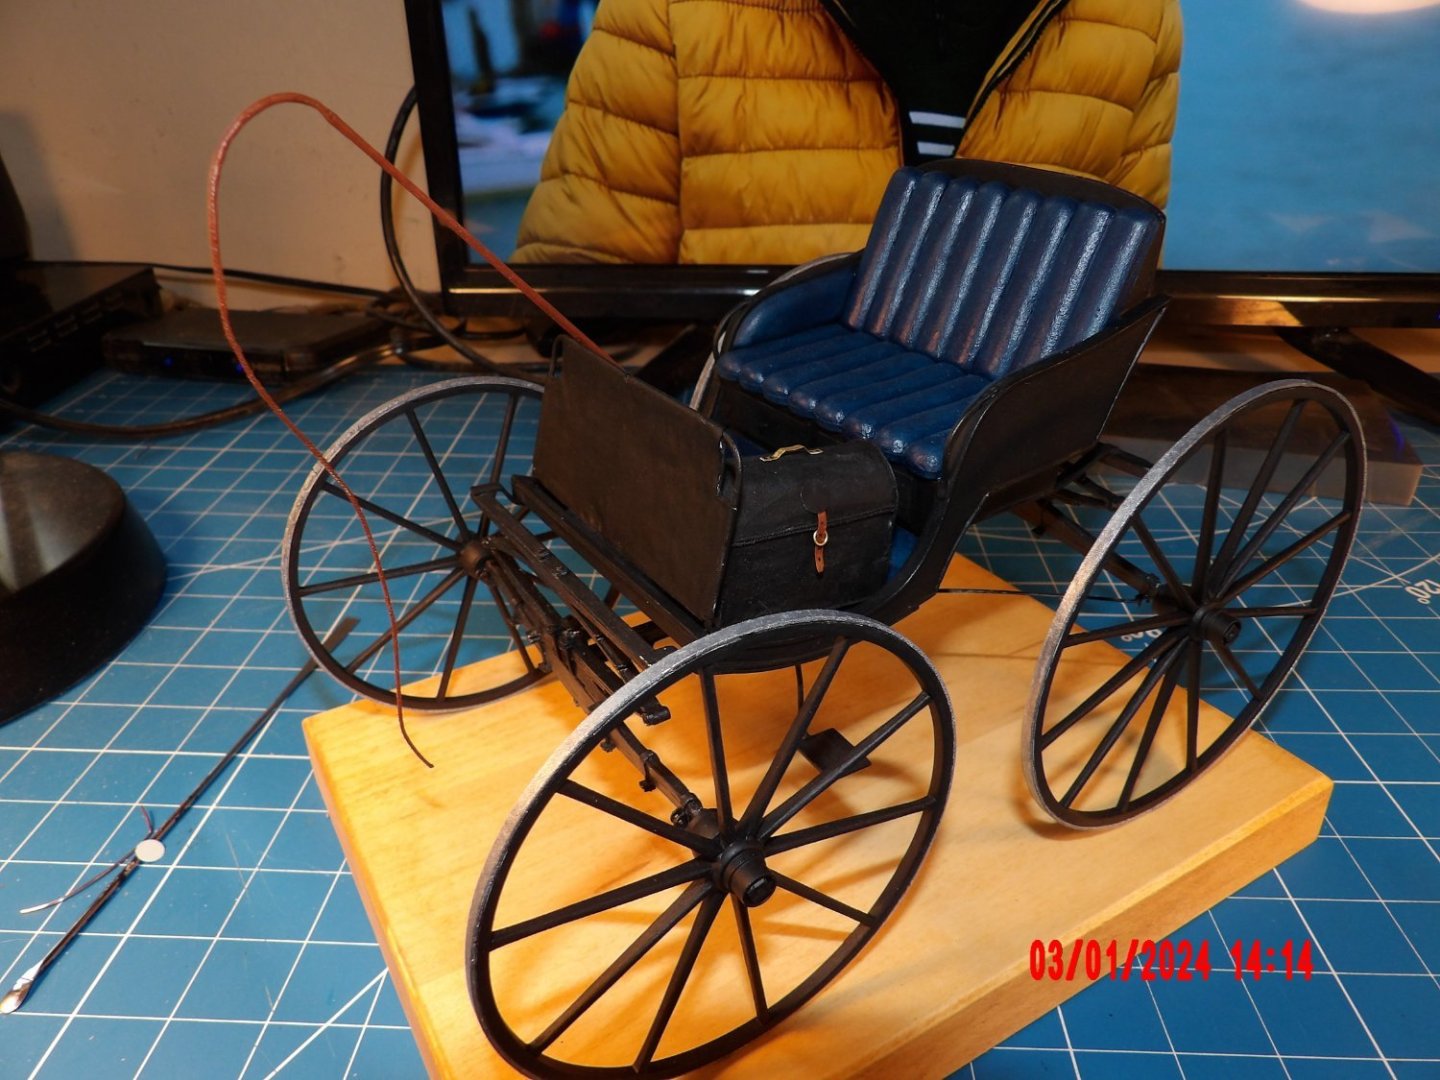
I did not get the wheels canted exactly right, but it seems stable and uniform, and will keep as is.
This is not an entry-level model, but I was well-served by the education I received in the progressive Shipwright's series, and I was able to rise to the challenge.
I have begun the Concord Stagecoach, also from Model Expo, and will try to do a more detailed log for that one. Hope you enjoy. . .
Bob
- Baker, Egilman, Old Collingwood and 11 others
-
14
-
Sorry Capt. Joe- too much time has passed for me to give any meaningful advice here. . . I'll look at your log.
Bob
-
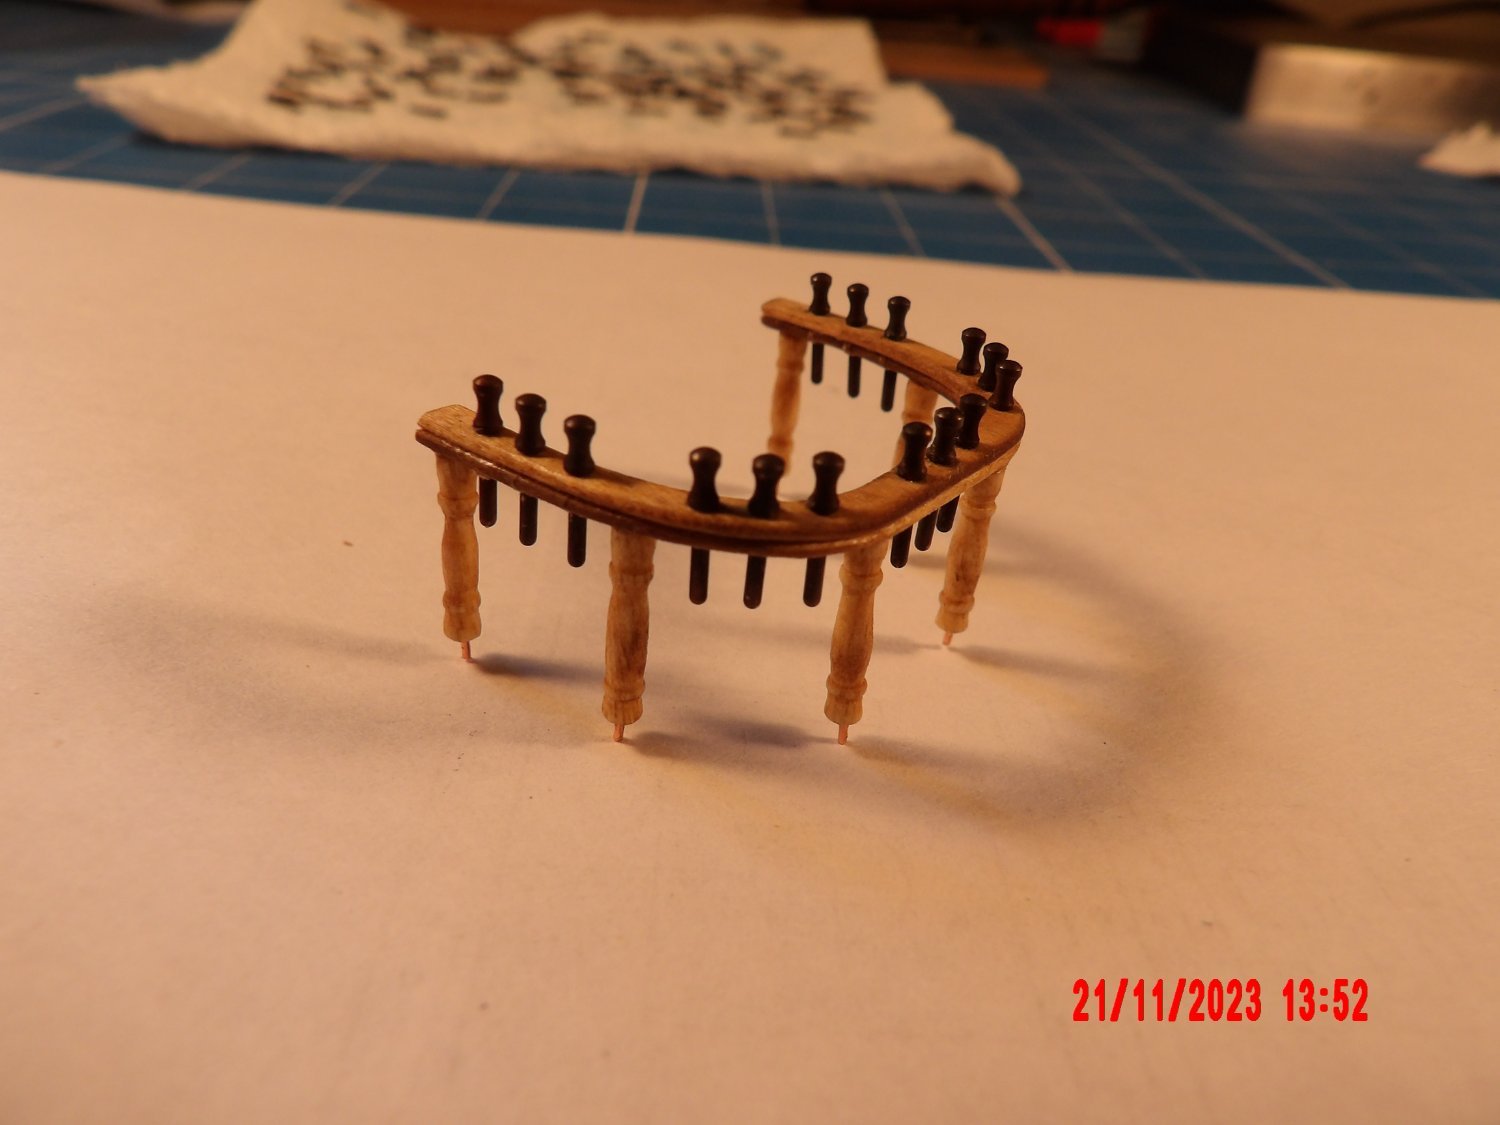
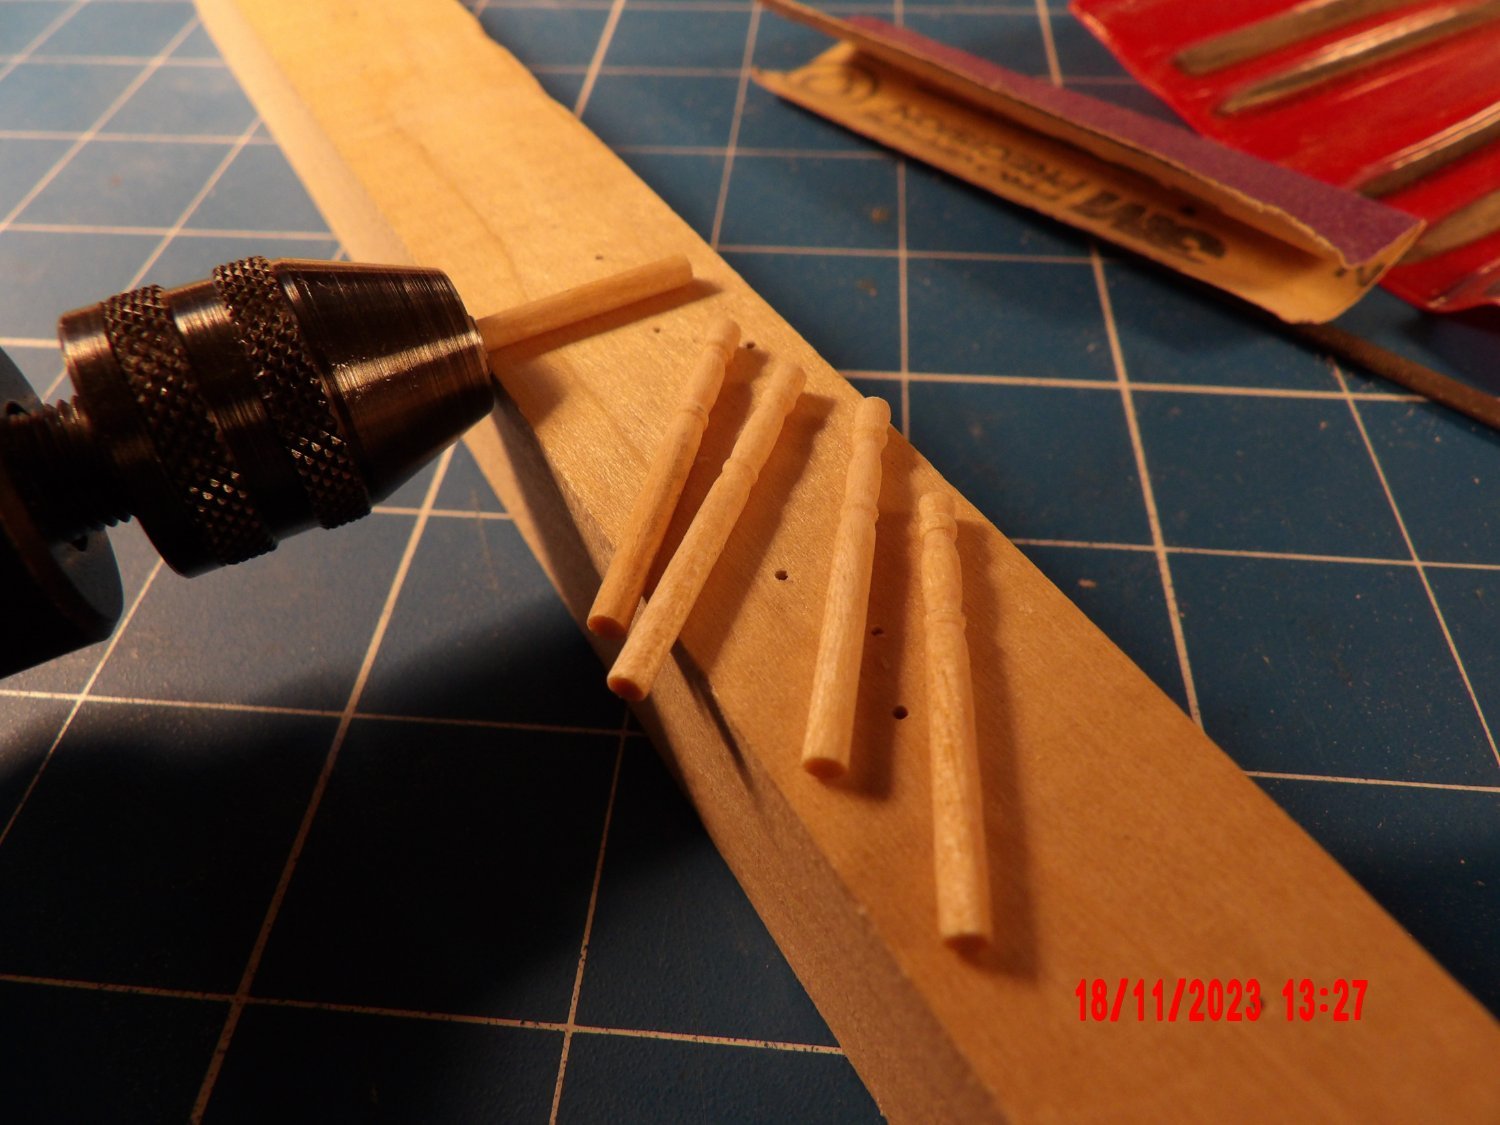
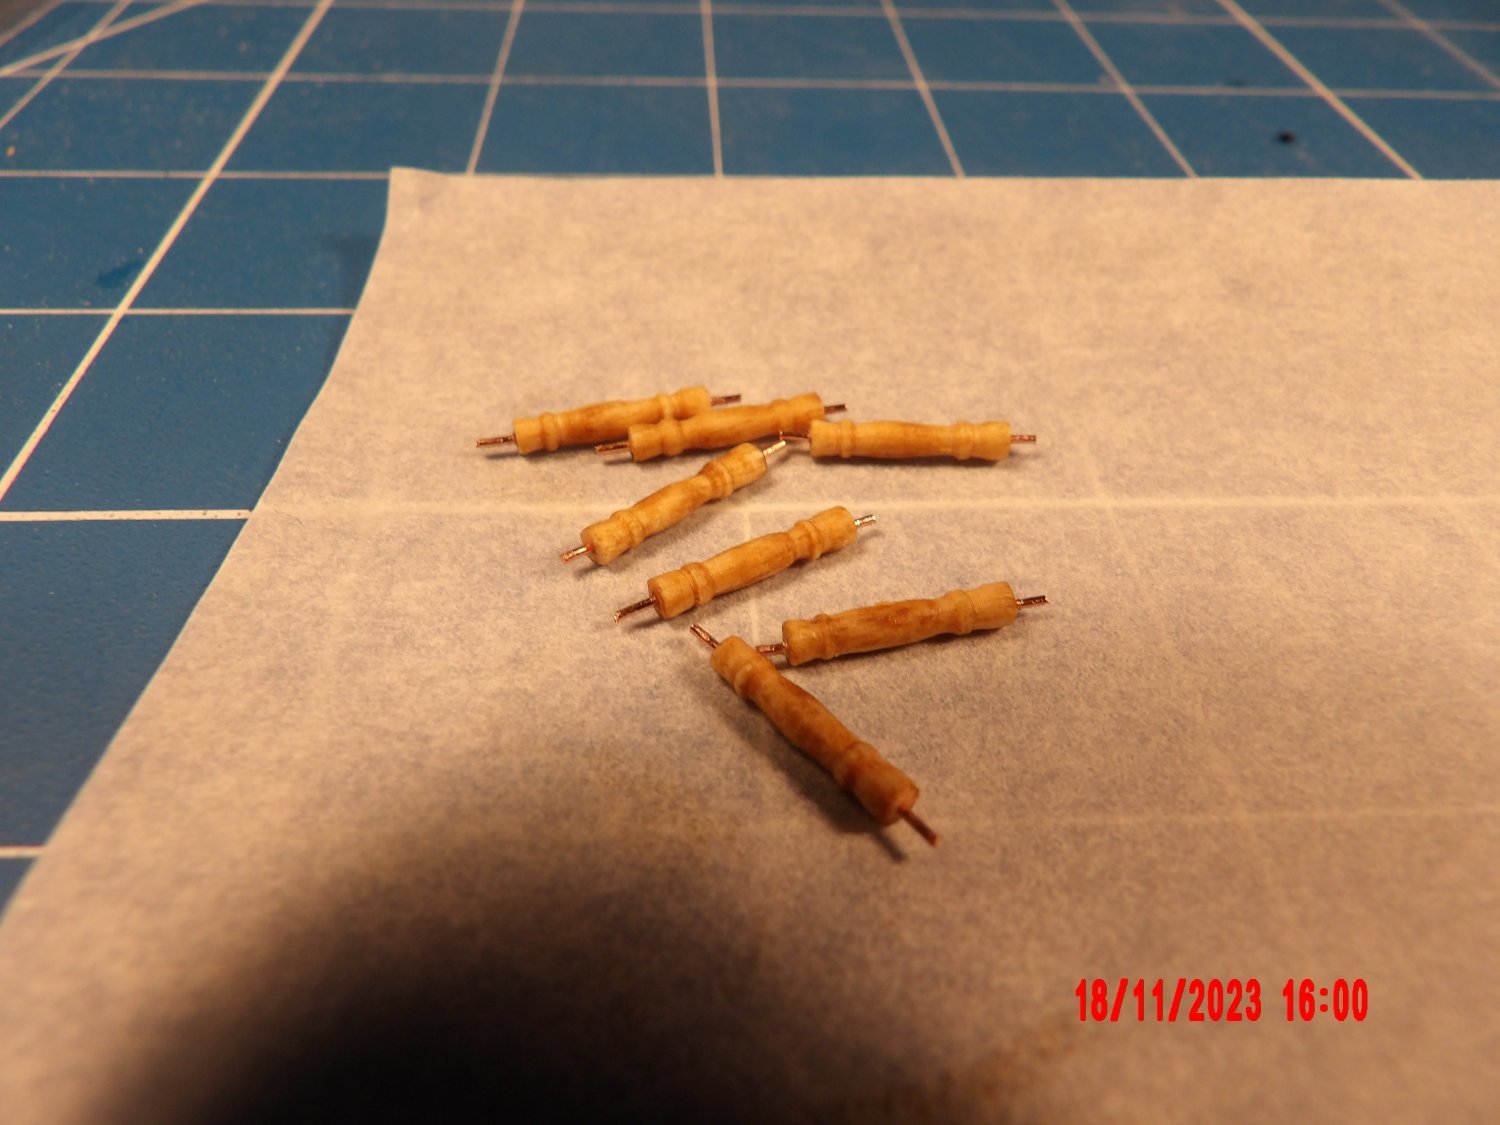
13 hours ago, GGibson said:
Great stanchion work, Bob! What tool are you using to create? Awesome job!
Thanks, Gregg, I used a drill motor, file, and sandpaper.
- Knocklouder, Ryland Craze and CiscoH
-
3
-
-
-
-
Nice work! Cockpit is looking great.
b
-
Nice painting!
The mast is fun, isn't it? As is the wishbone.
-
Such great work to date and the latest eye-bands are something to be proud of.
b
- Glen McGuire and John Ruy
-
1
-
 1
1
-
2 hours ago, allanyed said:
Bob/Lucy
Have you looked at any planking expansion drawings? The strakes widen at the stern towards the keel and in the following cases they narrow closer to the wales. https://www.rmg.co.uk/collections/objects/rmgc-object-83709 and https://www.rmg.co.uk/collections/objects/rmgc-object-83495 show two examples. They show outboard planking as well as inboard planking.
Allan
Thanks very much. I take it that what I am seeing isn't necessarily wrong. . . this is a new process for me.
-
-
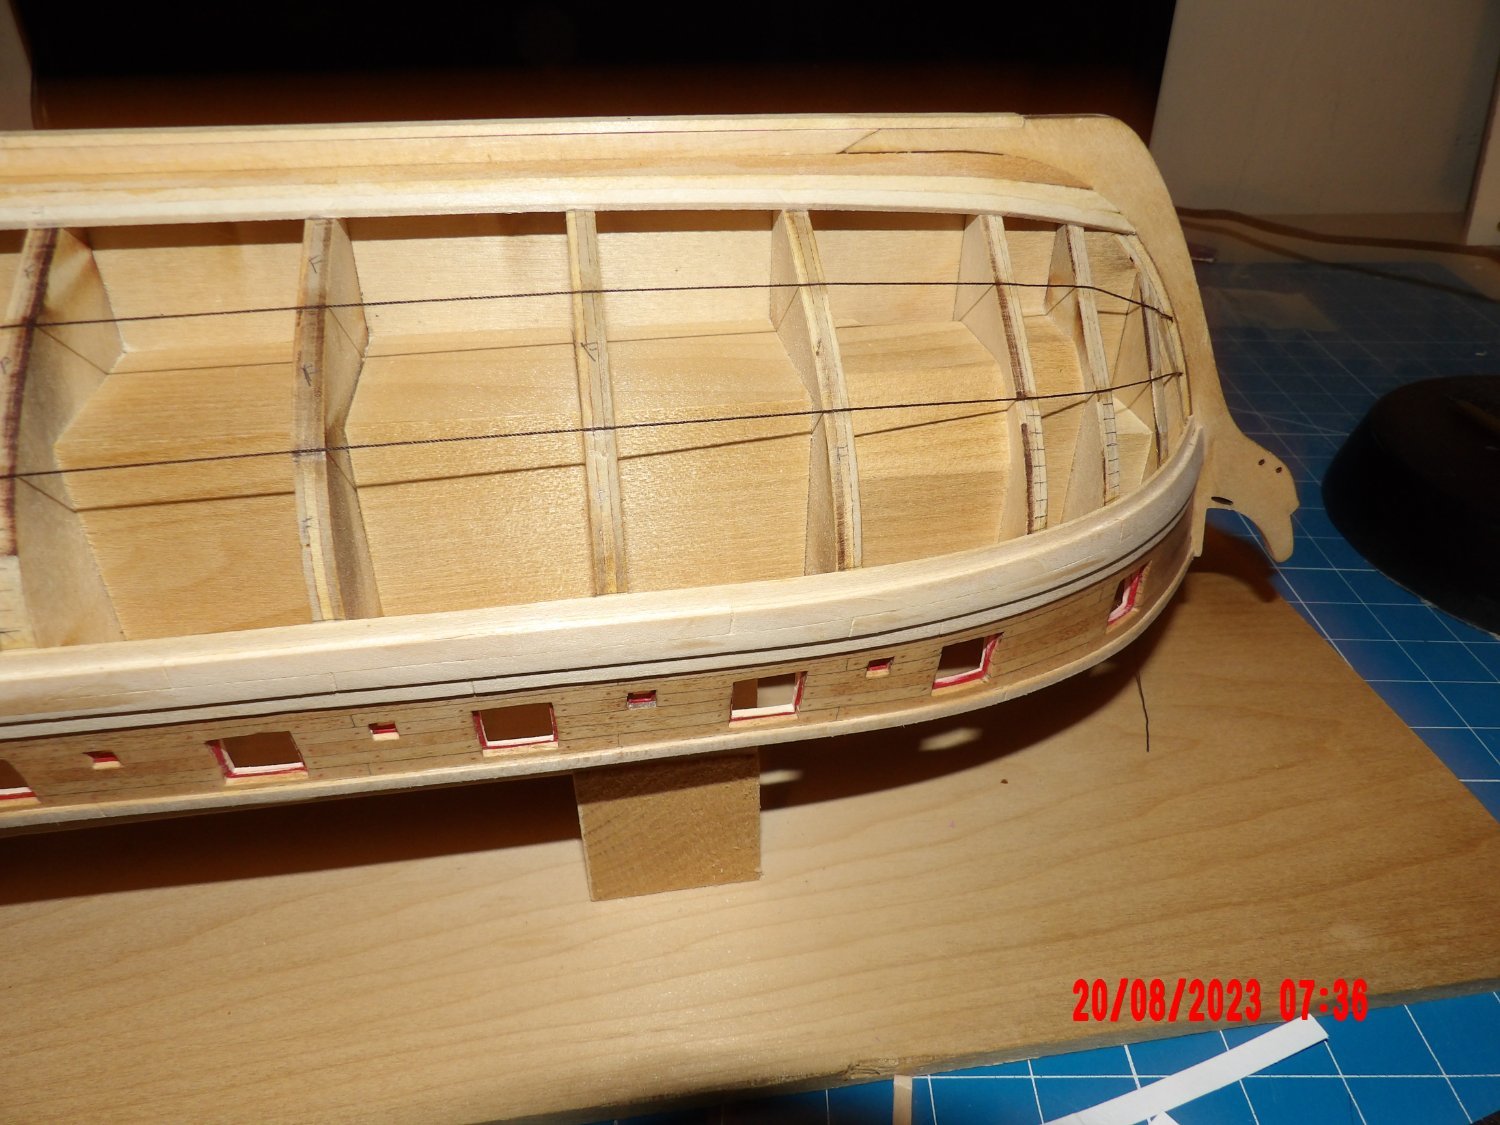
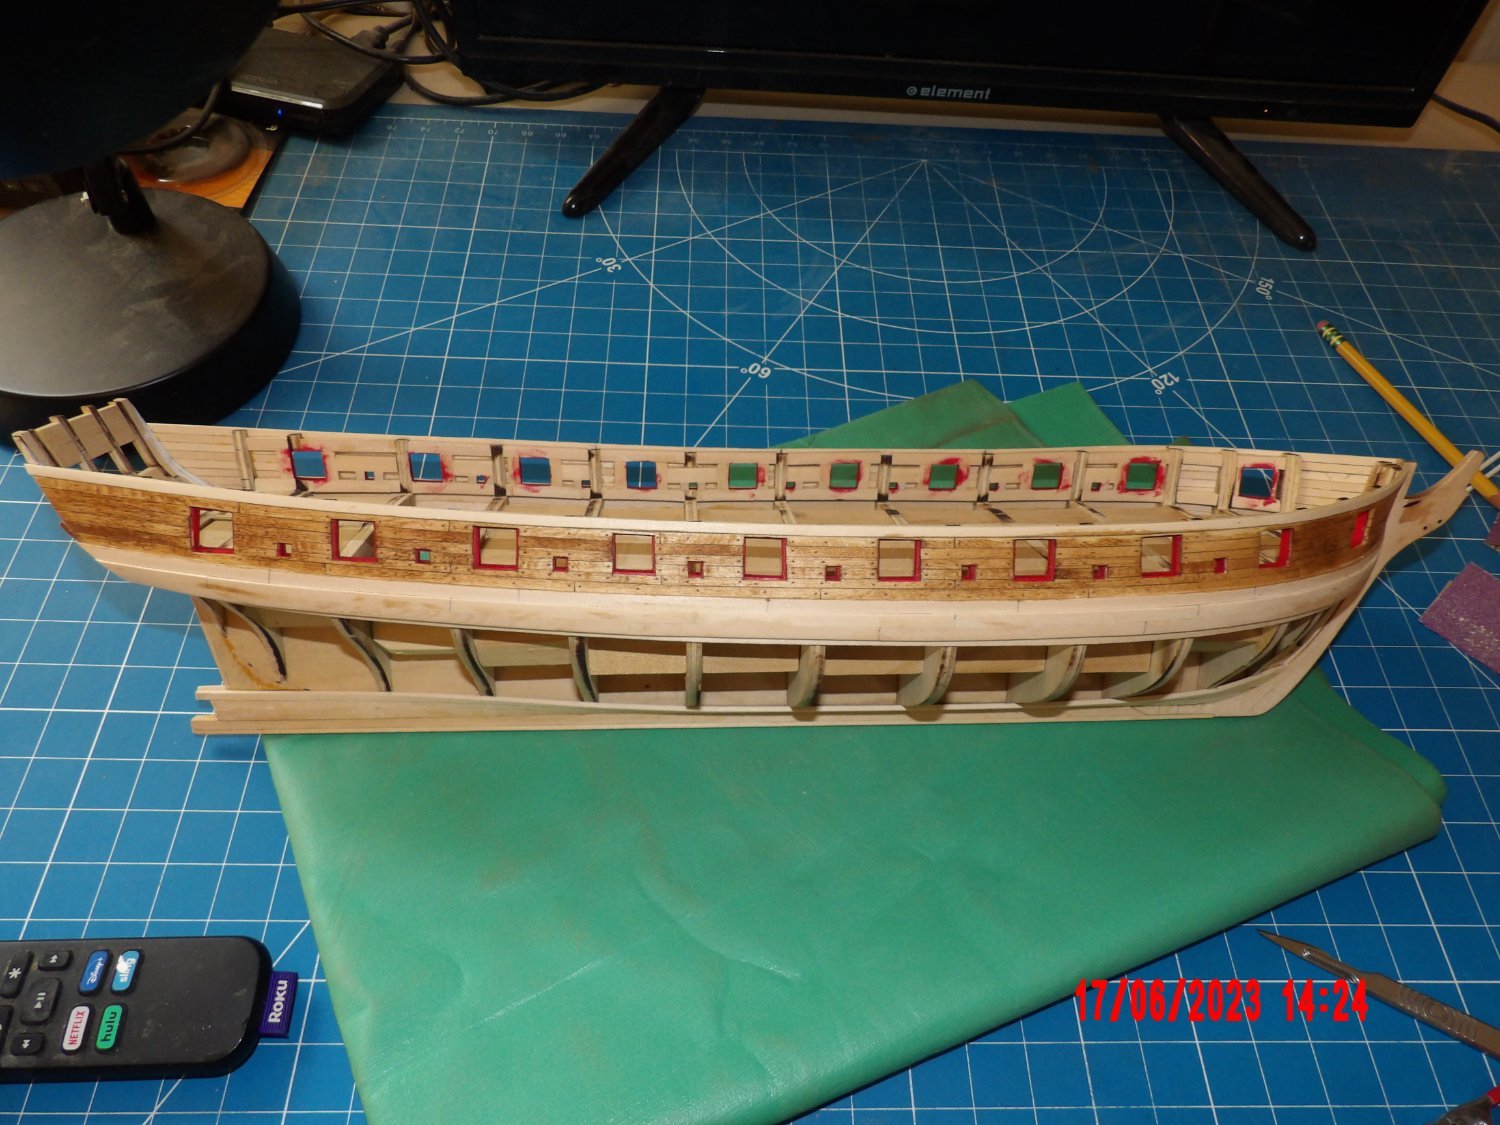
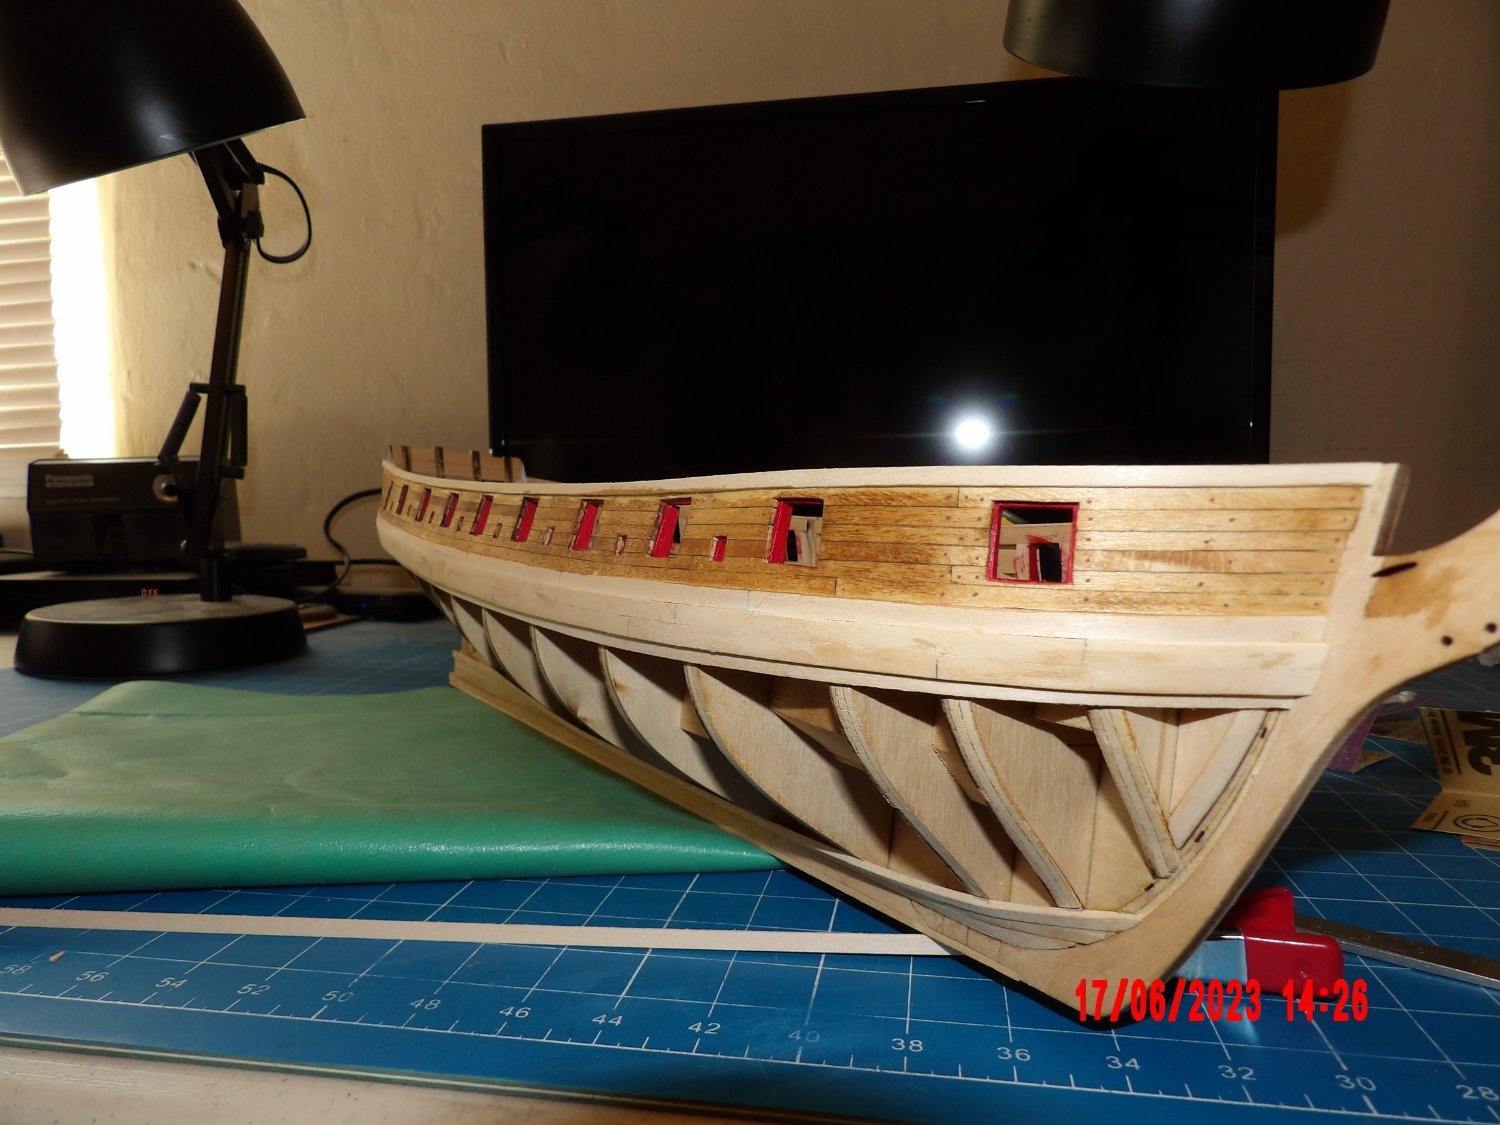
Took forever to sand down the bulwarks to a thickness that would provide an overhang of the cap rail at the rails' specified finished width of 1/4".
One side nearing completion:

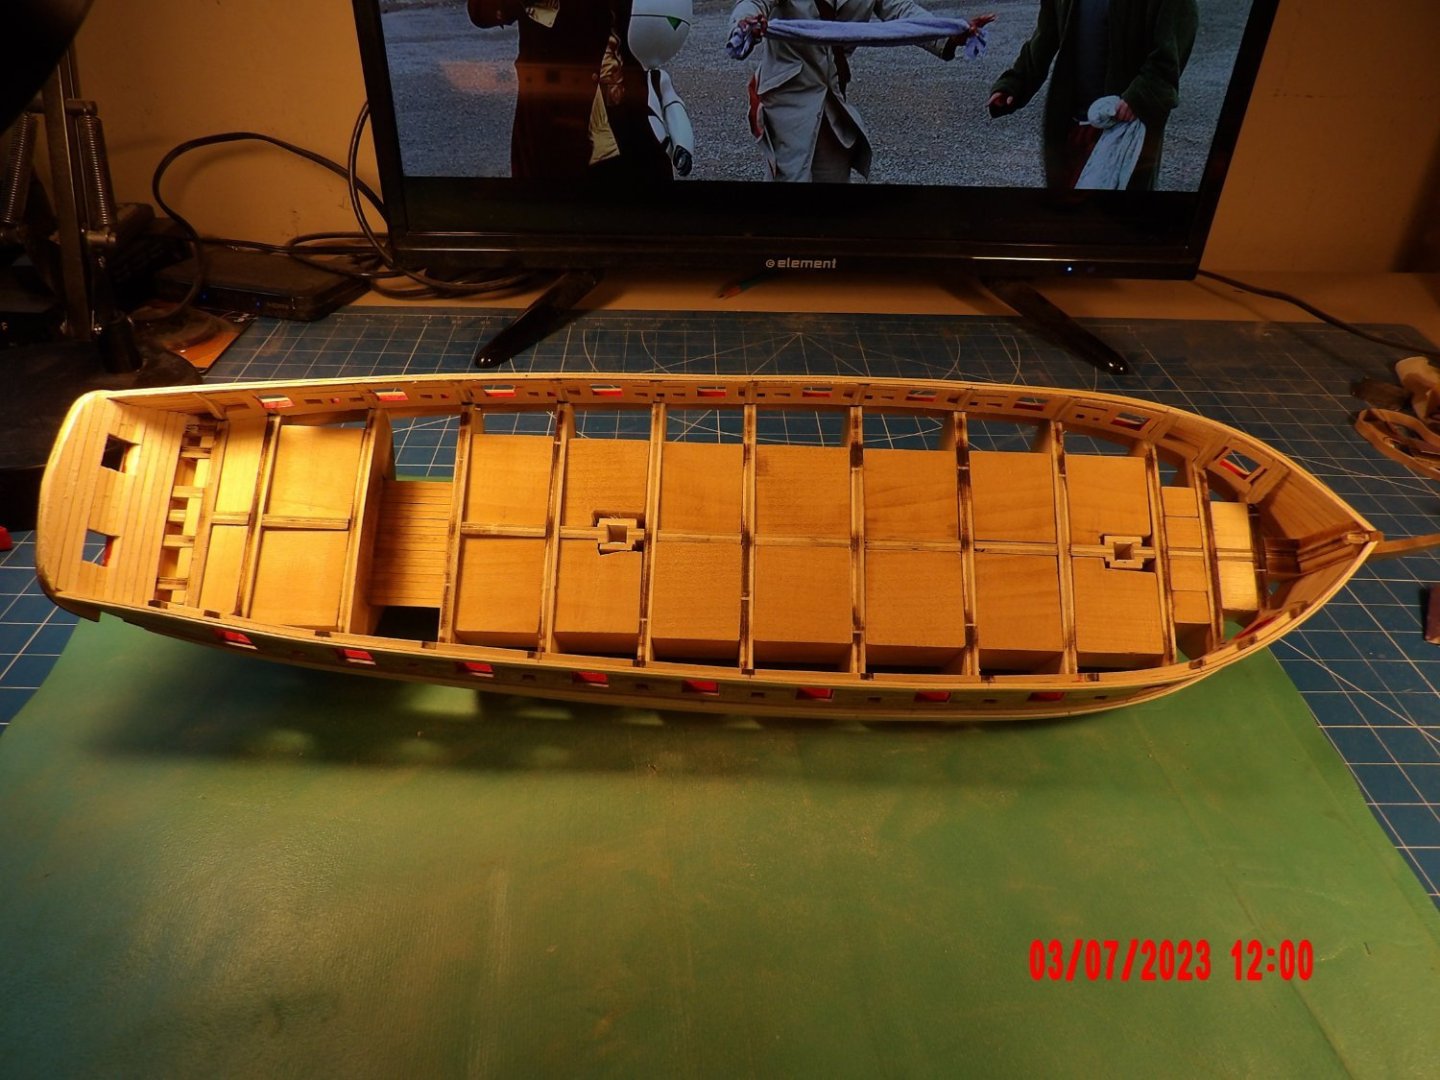
I had put off finishing the planking by building the wheel assembly, galley stack, and other fun stuff. Now its time to plank. . .
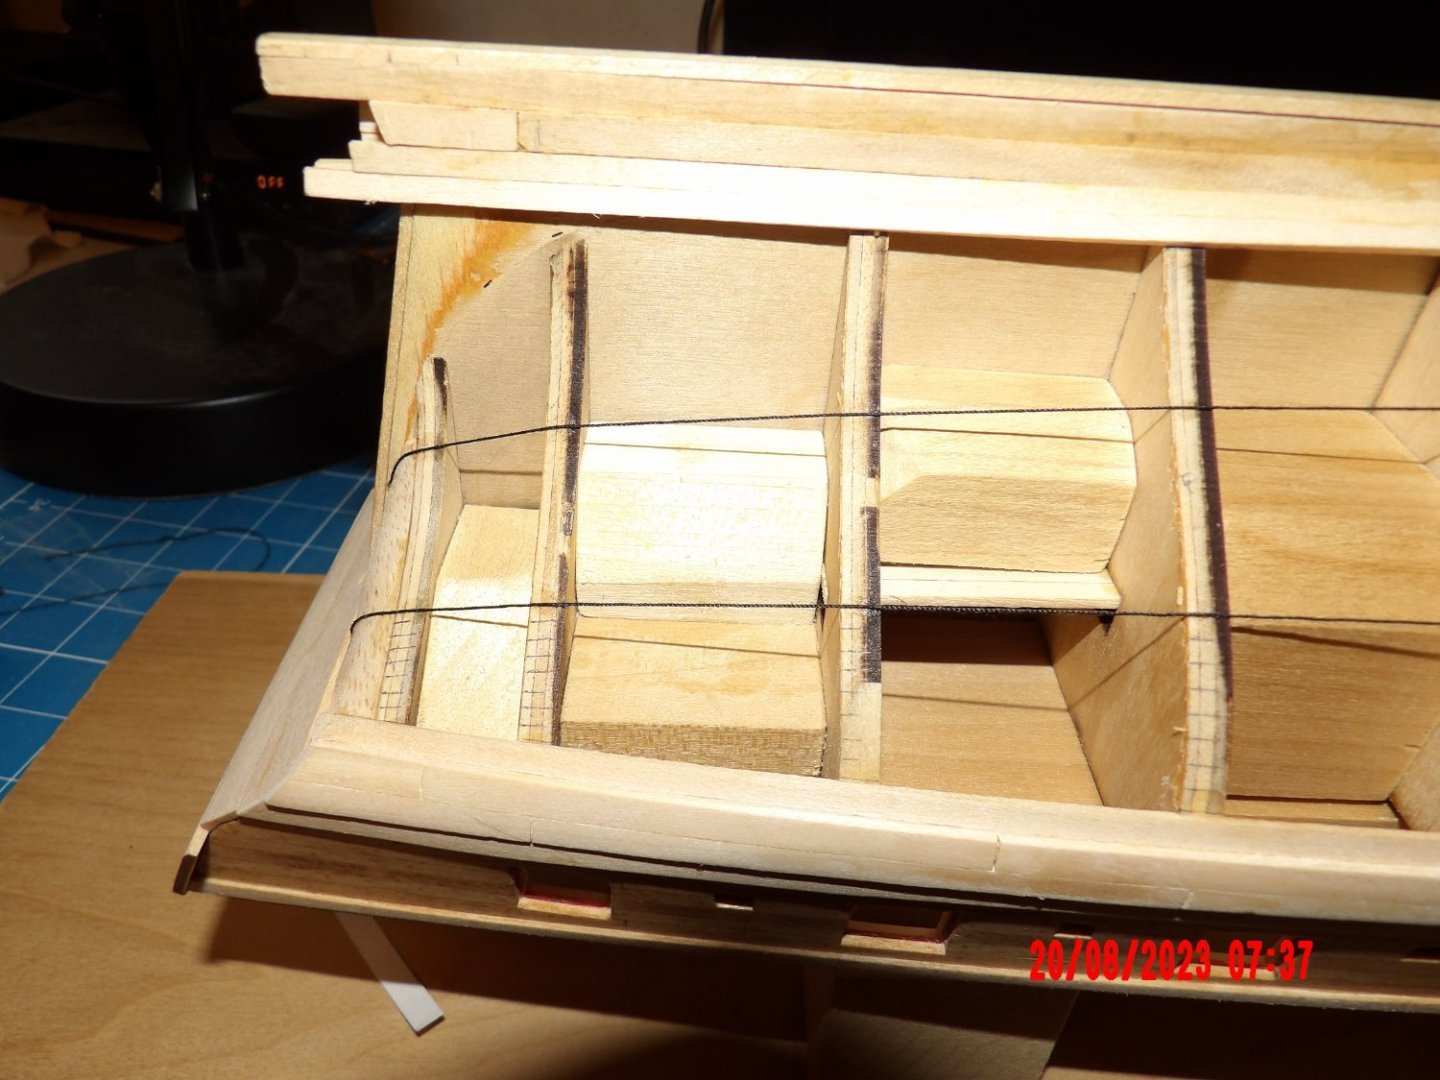
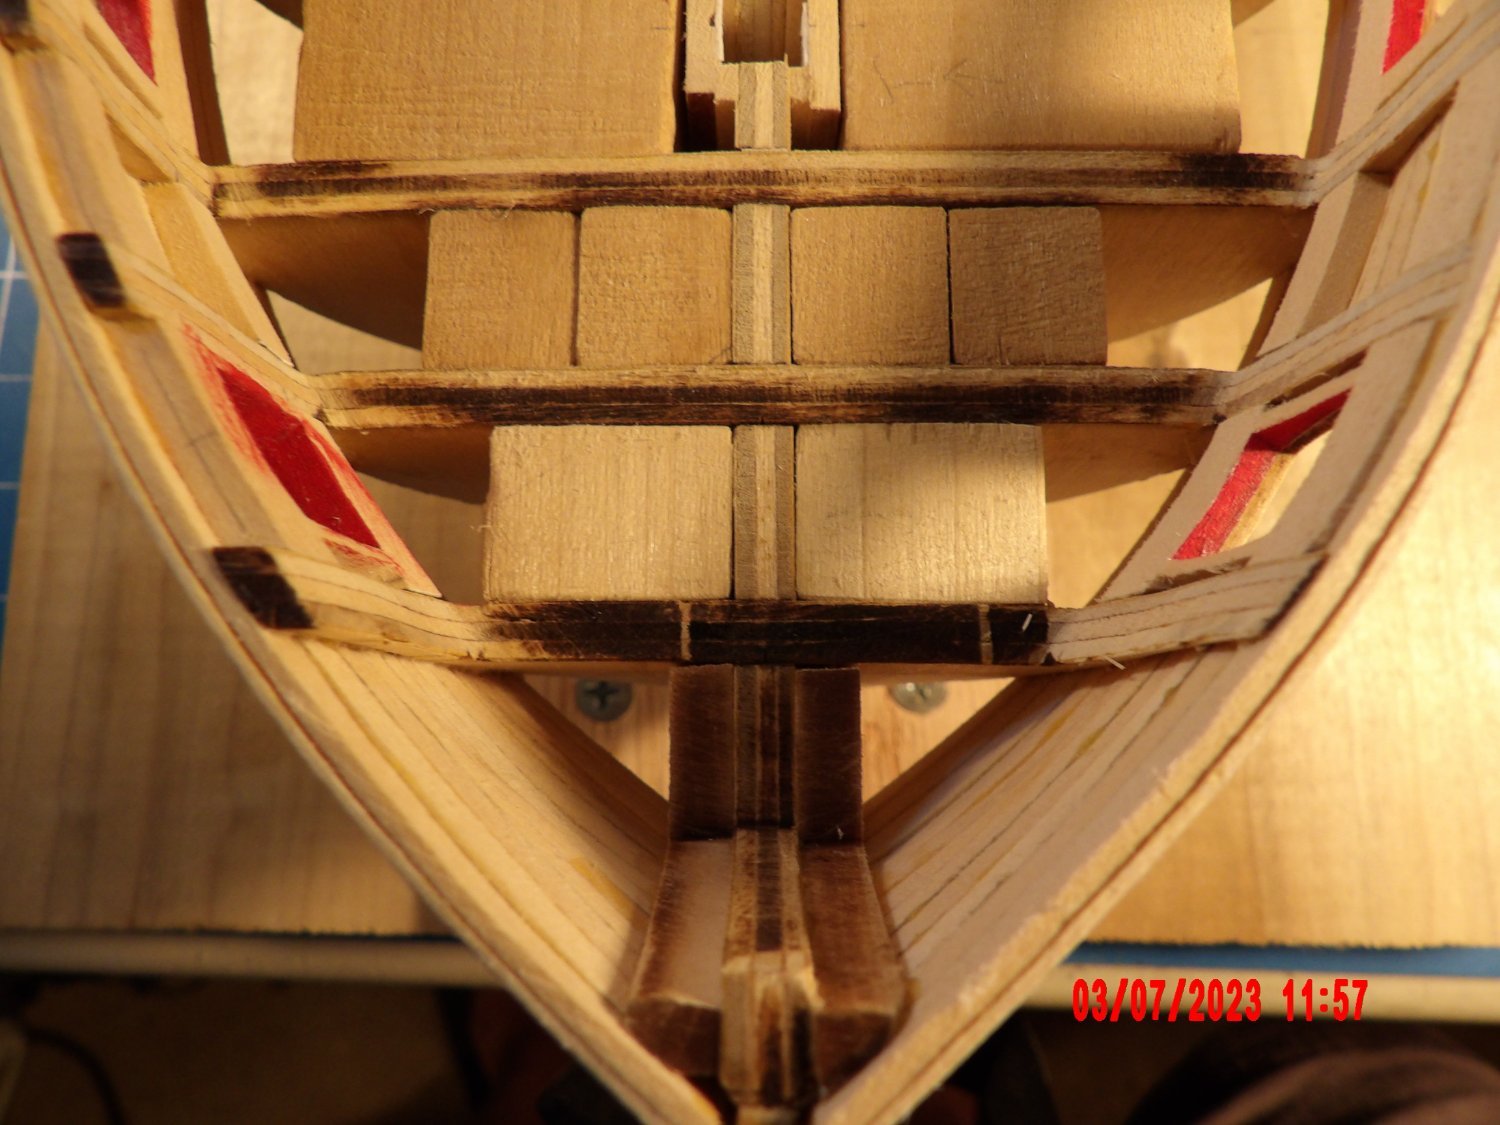
I decided to try lining off 3 bands of planking. First I tried 1/16" art tape, which failed to adhere to the bulkheads when repositioned. I then tried black thread:
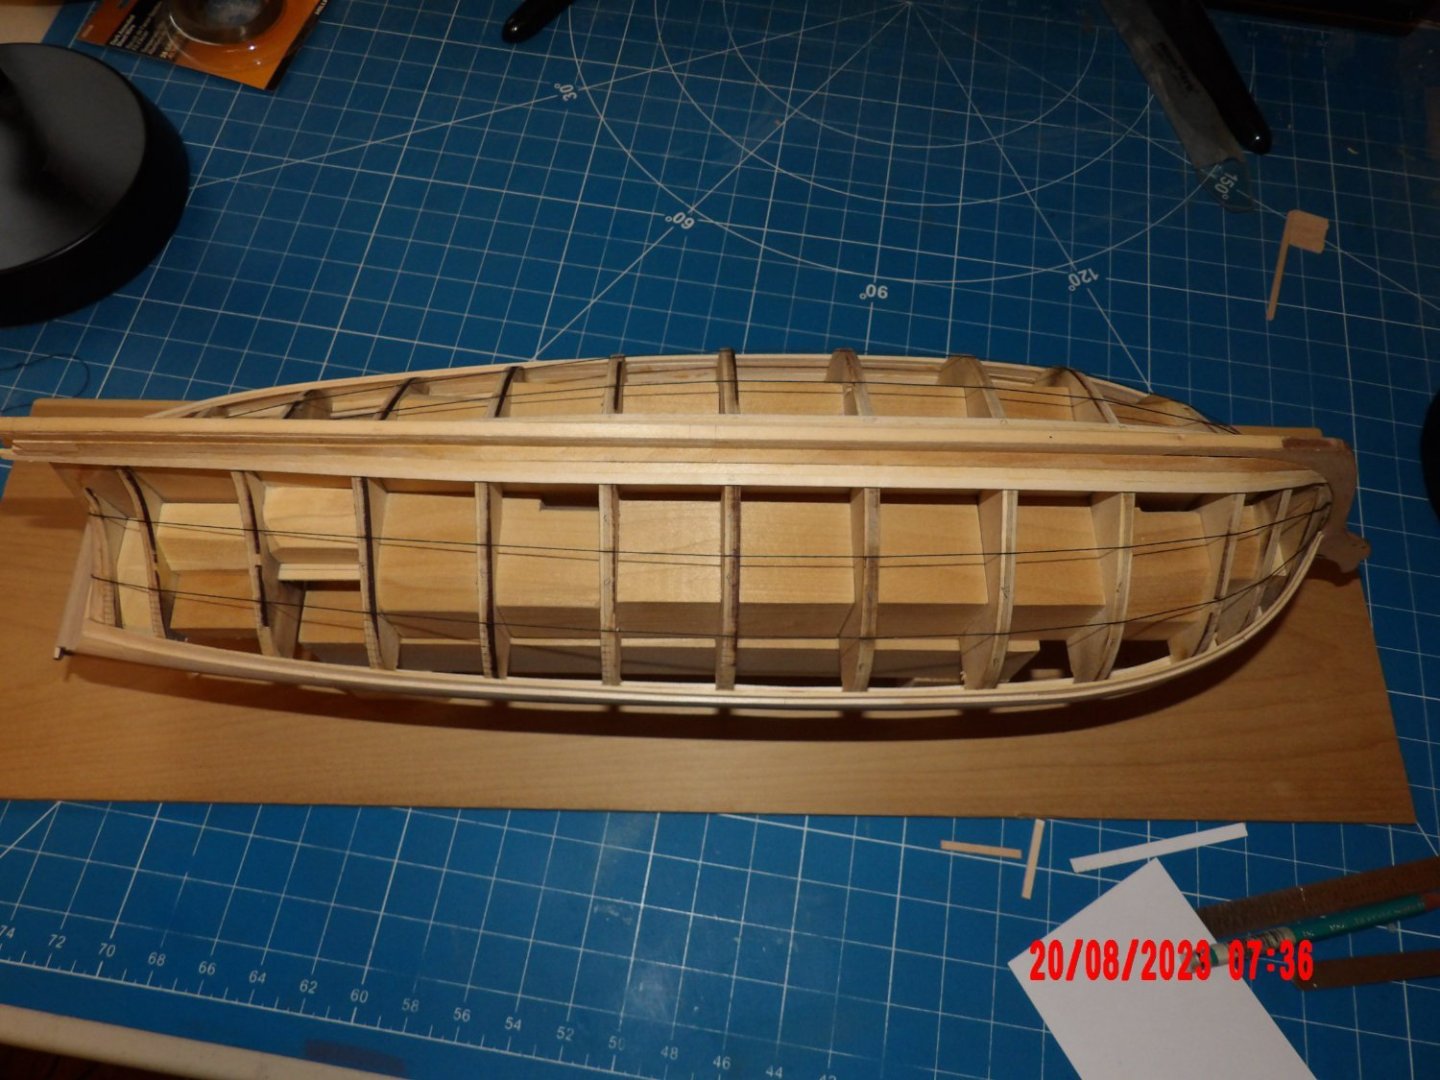

I overlaid a wood plank against the thread to verify I was creating a similar line to how a plank would lay and it looks OK. I then started to mark plank widths using tic strips and a planking fan.
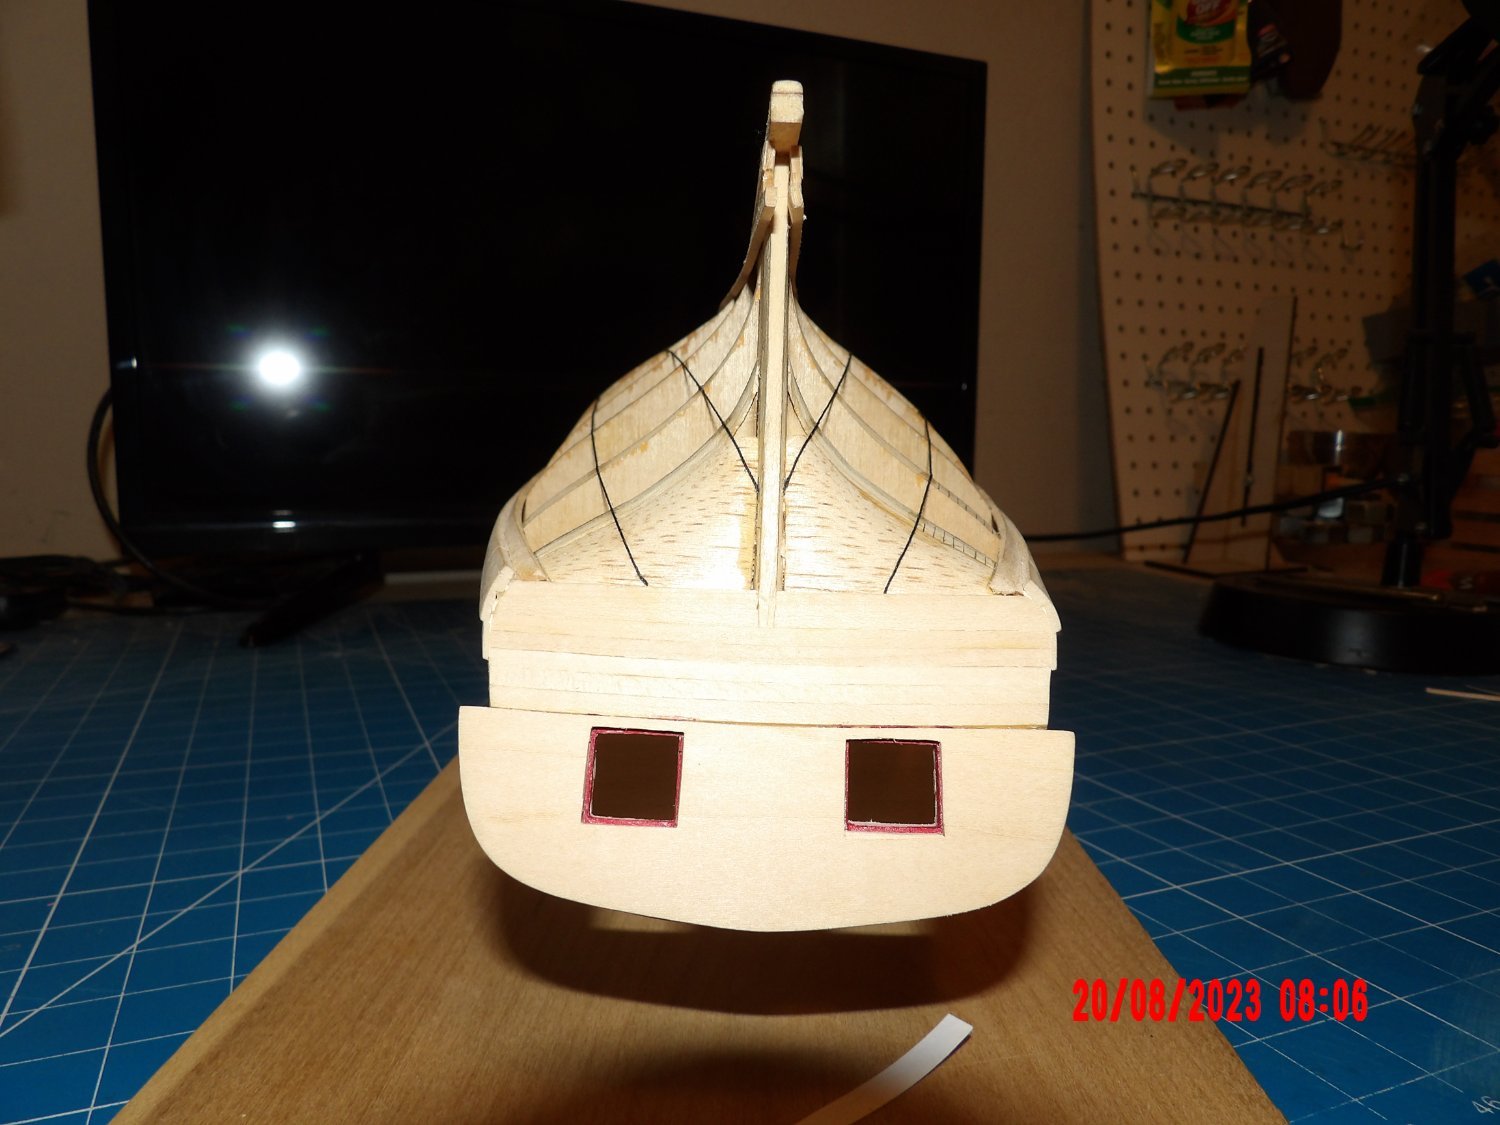
What troubles me is that the top band (below the wales, bottom band in picture) wants tapering at the stern, yet the bottom band (nearest the keel) will require stealers:
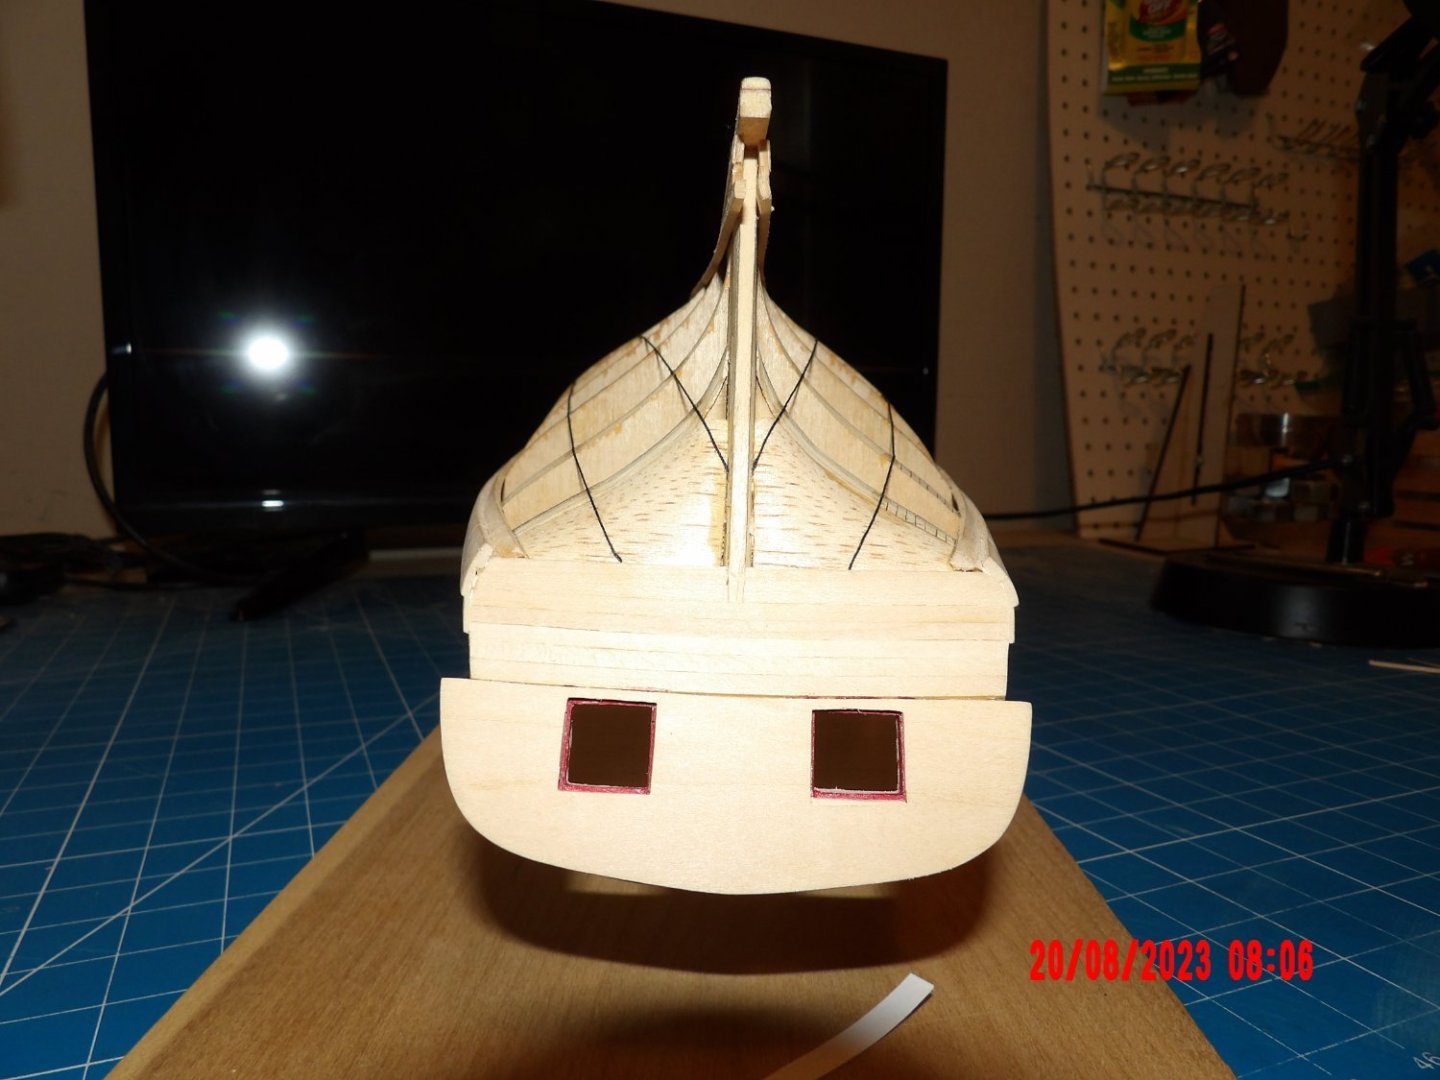
The instruction manual only speaks of tapering planks at the bow, not the stern. And looking at other build logs I see no mention of any tapering needed.
Hmmm. . . If anyone has some insight into this question, please chime in!
- Paul Le Wol, Patrick B, GGibson and 4 others
-
7
-
-
On 7/2/2023 at 8:31 PM, Snug Harbor Johnny said:
. . . Now giving you square stock (which must even be cut out) to make round masts (and yards too?) just isn't first rate, mate ... and basswood, no less. I think you can get better round stock in various sizes of better woods (oak, maple, walnut, etc.) in many hobby stores and even in 'big box' hardware stores. There are a number of ways to taper round stock as needed shown in several threads on MSW.
Shaping masts from rectangular is the way it was done in actual ship construction, according to the designer. I have come to prefer this method over shaping dowels, as it is far easier to control the taper along the length of the mast. It is even possible to shape a curved mast this way. Just a matter of preference, I suppose.
Model is looking good!
-
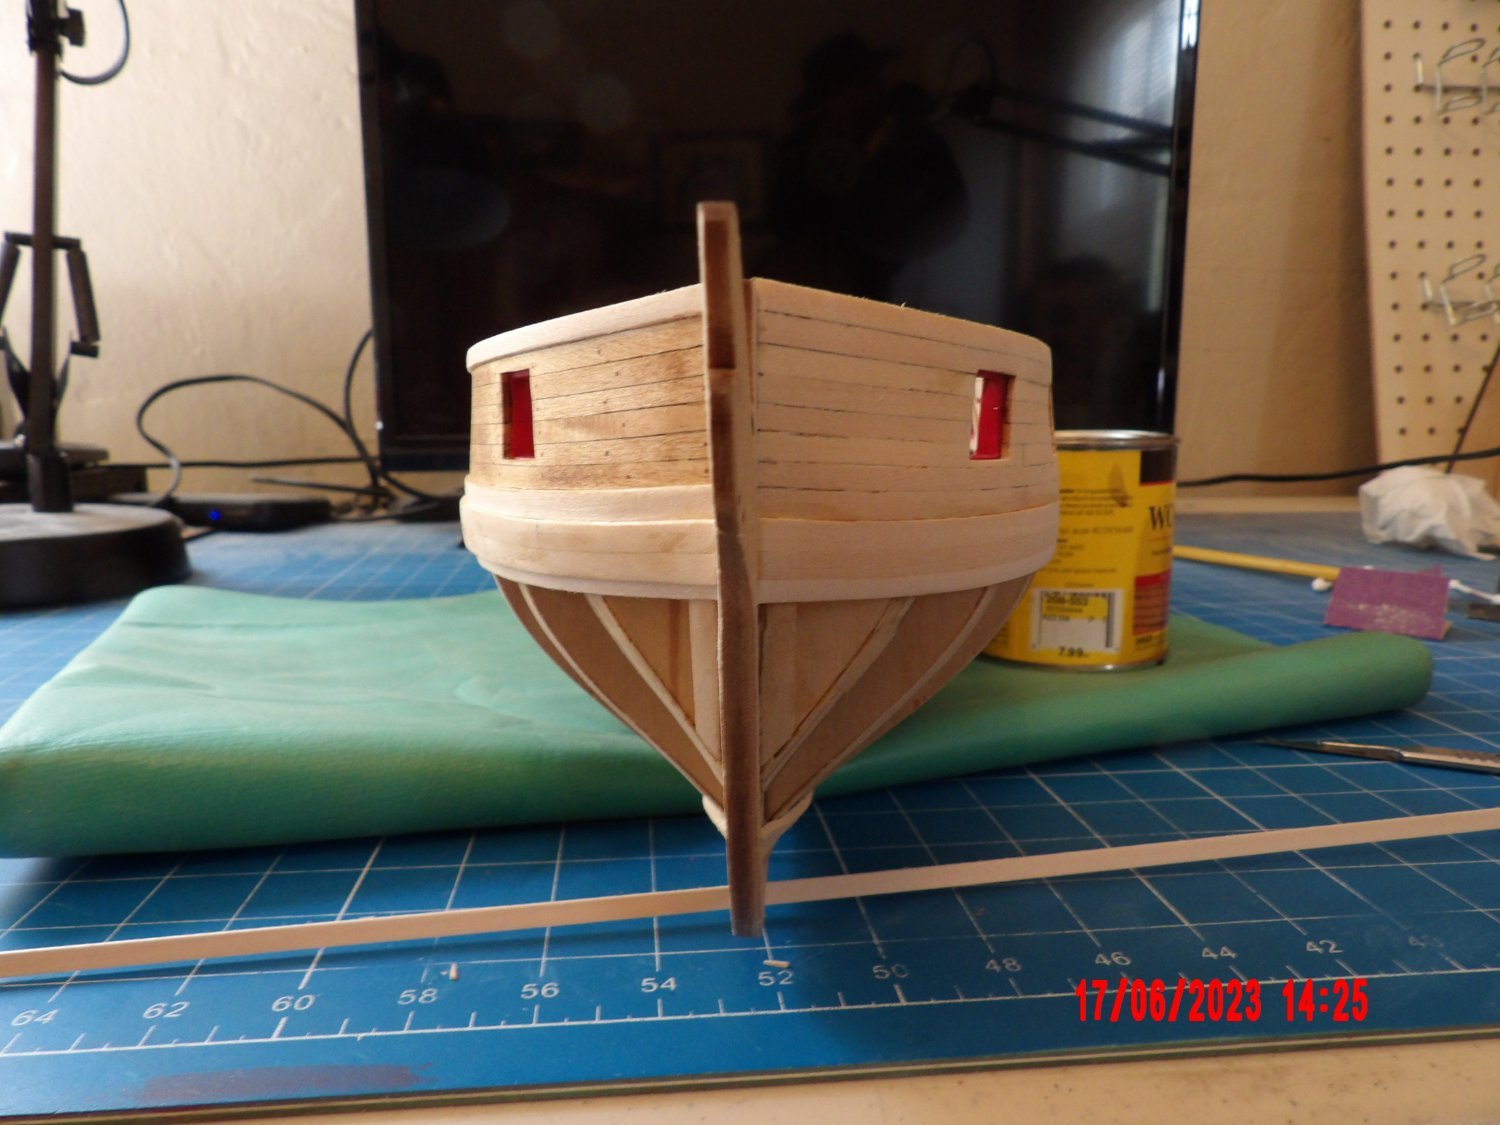
Going very slow with the planking. So far I've been able to smooth out the area above the wales without excessive thinning of the planks, except near the bow, as would be common for a novice. This is my first traditional type planking effort. I installed the second layer of the wales on one side. It was looking pretty good until I decided to stain the same area on one side, as was done on the prototype.
Forgot to hit this area with pre-stain conditioner first, and it came out quite uneven/blotchy. I don't know if it could be corrected, or if I even want to try. I read that the designer re-stained two or three times, but I'm afraid of it getting too dark. I may just do the other side using the conditioner, and if it comes out better, make that the display side. . . or if not- claim it is intentional weathering!

This is not a dead front-on pic and so looks a little funky, but trust me- things are symmetrical. Still need to add the second layer for wales on one side:


I'm reasonably happy with the "treenails" (drilled holes with filler, then stained). I used Red Oak filler, because when using Natural on a test piece, I could hardly see them at all.
They may seem a bit dark to some, but I'm not going to sweat it. After all, most of the time, I'll be the only viewer!
- tlee01, Bob Fraser, Coyote_6 and 3 others
-
6
-
-
Man, that pilothouse is sharp! Love it.
- mtaylor, Cathead, Keith Black and 1 other
-
4
-


Bluenose 1921 by GGibson - Model Shipways - 1:64
in - Kit build logs for subjects built from 1901 - Present Day
Posted
Awesome, you've come far, skills-wise, Gregg!
Bob