


DocBlake
-
Posts
1,811 -
Joined
-
Last visited
Content Type
Profiles
Forums
Gallery
Events
Posts posted by DocBlake
-
-
Hi Elijah! Great progress. I've also got the gunboat Philadelphia in my queue.
- mrshanks, Gerhardvienna, cobra1951 and 3 others
-
 6
6
-
-
-
Great job on that stern,Joe. Try Crown Timberyard for wood: http://www.crowntimberyard.com
-
I'm not sure how I missed this log, but I just pulled up a chair, Charlie. Most interesting. I may have to learn CAD to run with the crowd you've recently joined!
- dgbot, CharlieZardoz and mtaylor
-
3
-
Go for it, Joe! It's what makes this hobby fun!
-
-
Nice job on the transom lights and planking, Joe! With Zoltan: plank with walnut first, then set the stern lights flush with the walnut.
- Hill202 and Ryland Craze
-
2
-
-
Don: Let me see how the fairing of the hull goes before I answer!
- Landlubber Mike, Canute and mtaylor
-
3
-
Yep, Don! The difference is that with the Hahn jig, the hull is constructed upside down, and the long extensions of the tops of the frames are cut to free the hull from the jig after fairing. With the Patrick henry, the hull is constructed right side up (as a real ship would be) and there is no cutting to free the hull. Each frames is held in place by a tight stretched rubber band. Both jigs get pitched after one use.
- Canute, Ryland Craze and mtaylor
-
3
-
Thanks for looking in, Don! The frames are glued to the jig as well as the keel. The practicum suggests 5 minute epoxy as the glue of choice. The reason is to give the hull a rock-hard solidness it needs to survive the sanding when fairing the outside. The inside will be partially smoothed before glue up so there will be less stress in sanding once the model is freed from the jig and inboard fairing begins.
-
Hi Ryland! I can't wait to see you back at it. You have a beautiful start....now it's time to finish!
- davec, Jack12477, Ryland Craze and 1 other
-
4
-
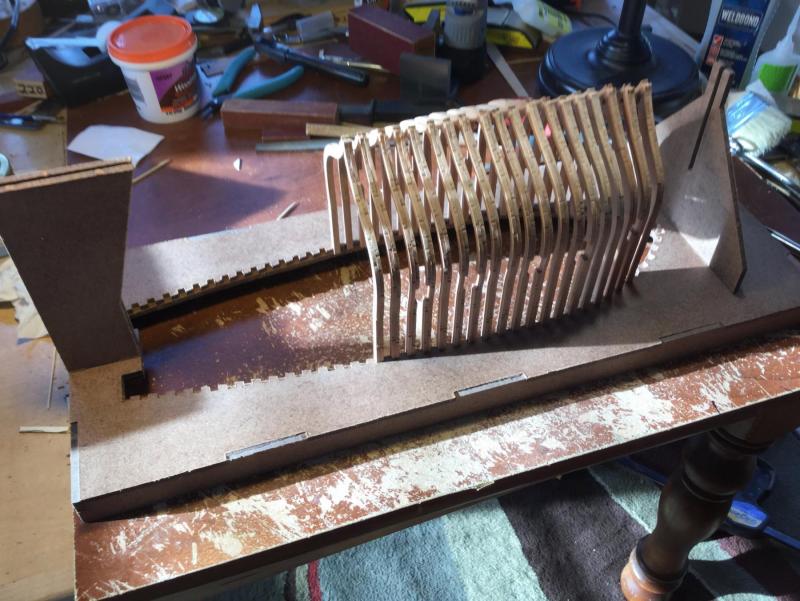
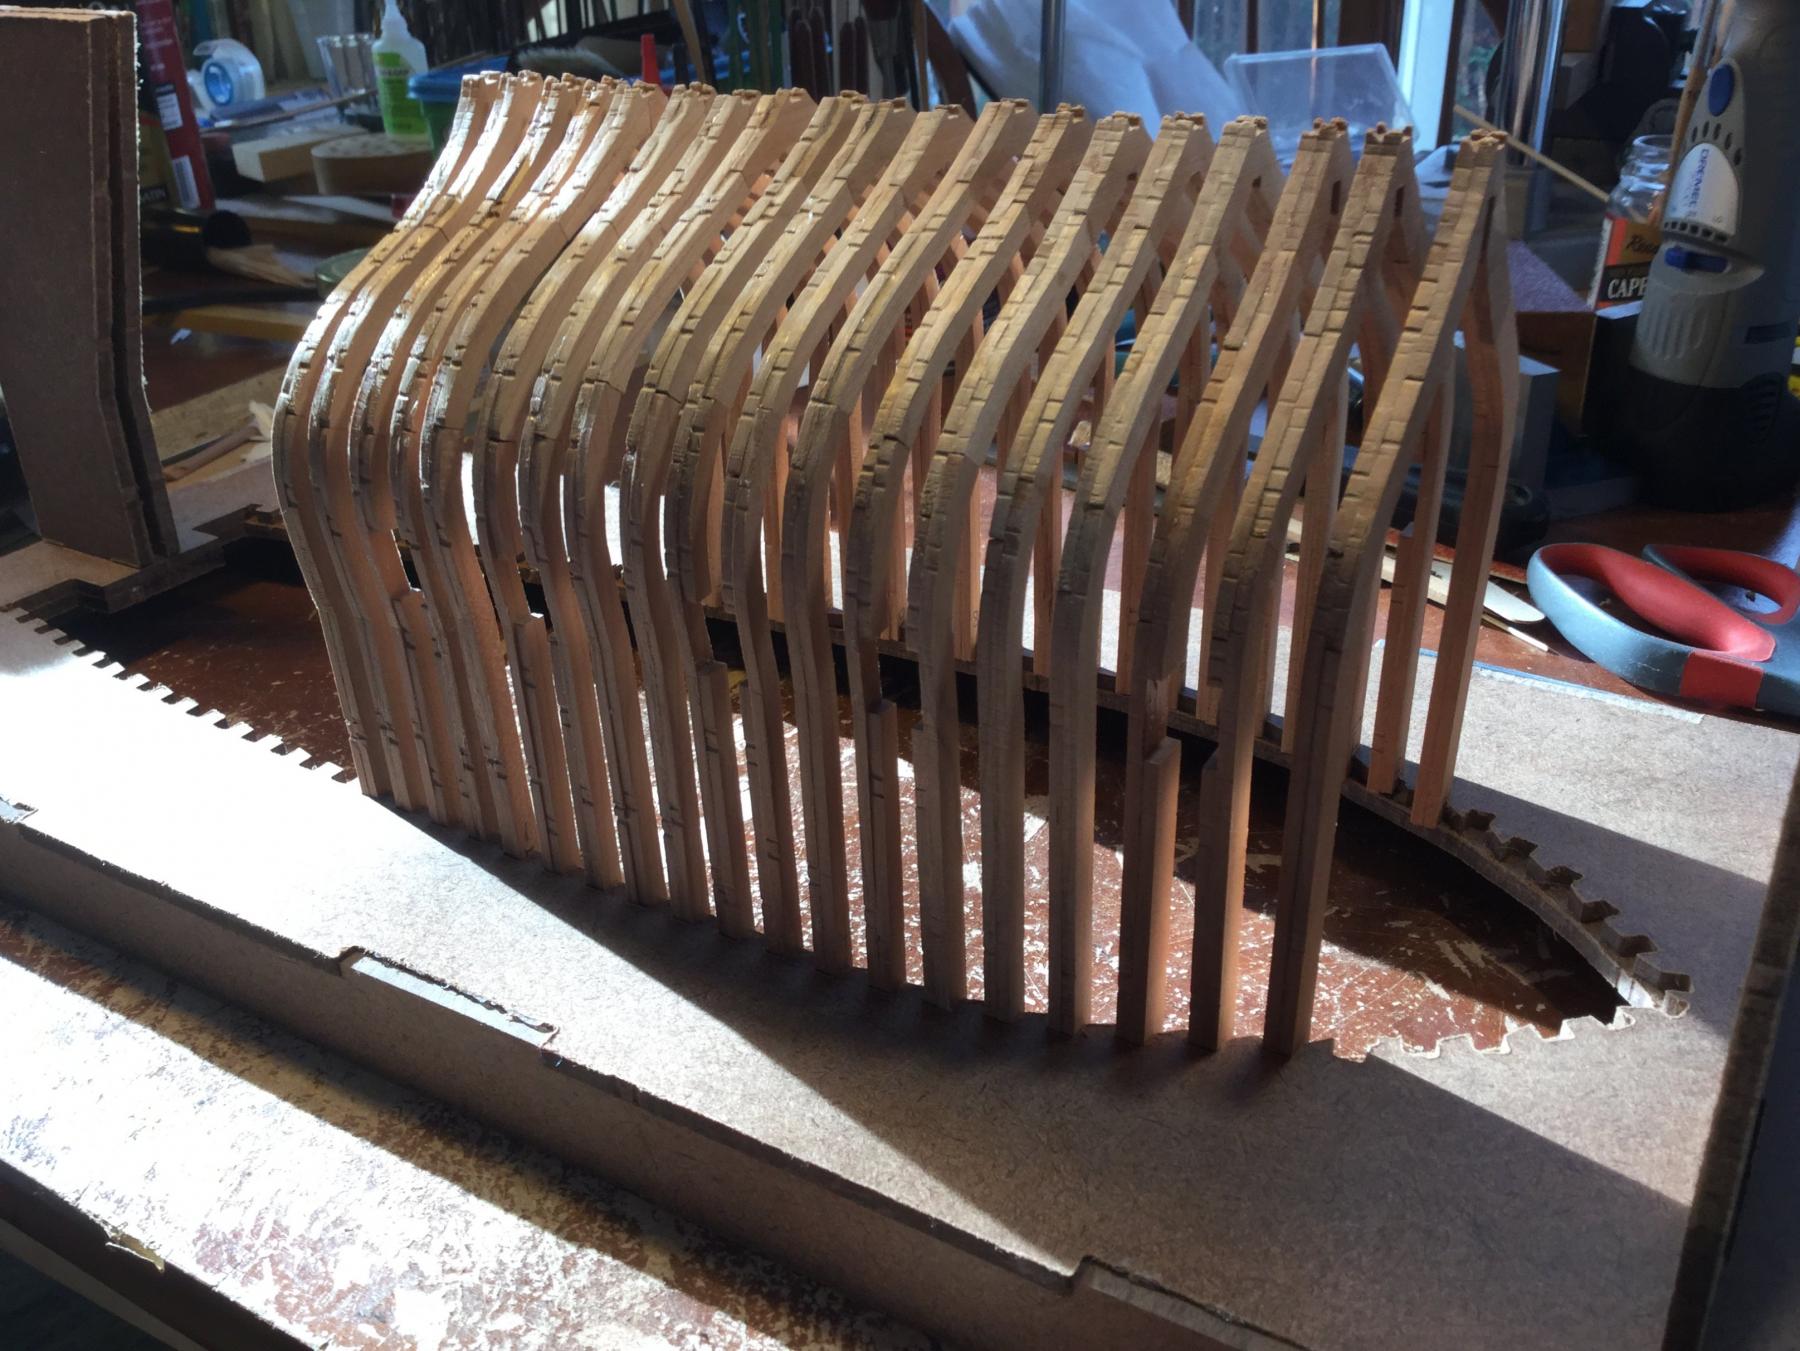
Lots going on in our life, so slow progress on my projects. I'm just finishing the last of the frames, and completed the Hahn-style jig last night. The frames have not been faired or sanded in any way. Just to test the fit, I set the whole frames in the jig. i was surprised that the tops of the frames fit snugly and accurately into the notches on the jig with no trimming or adjusting! Very well designed. Once I finish the last frames I'll need to check them against the plans and trim/shim so they match exactly. If that part isn't done right, fitting the keel on the frames will be impossible.


- coxswain, Canute, Ryland Craze and 8 others
-
11
-
You're making great progress, Joe. It doesn't matter too much whether you cover the side planking with the transom planking or butt up against them. The final planking and placement of the fashion piece will sort that all out! It's easiest to plank over the ends of the side planking...that's why I did it that way!

-
-
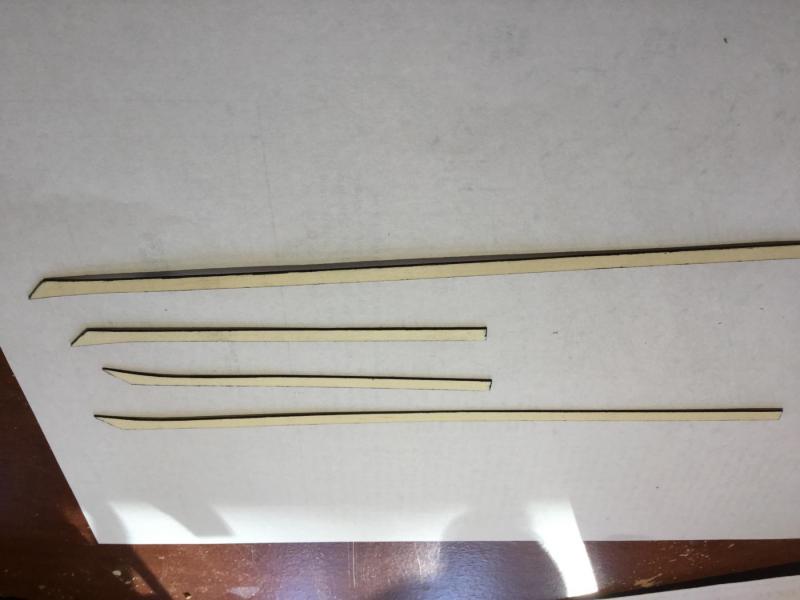
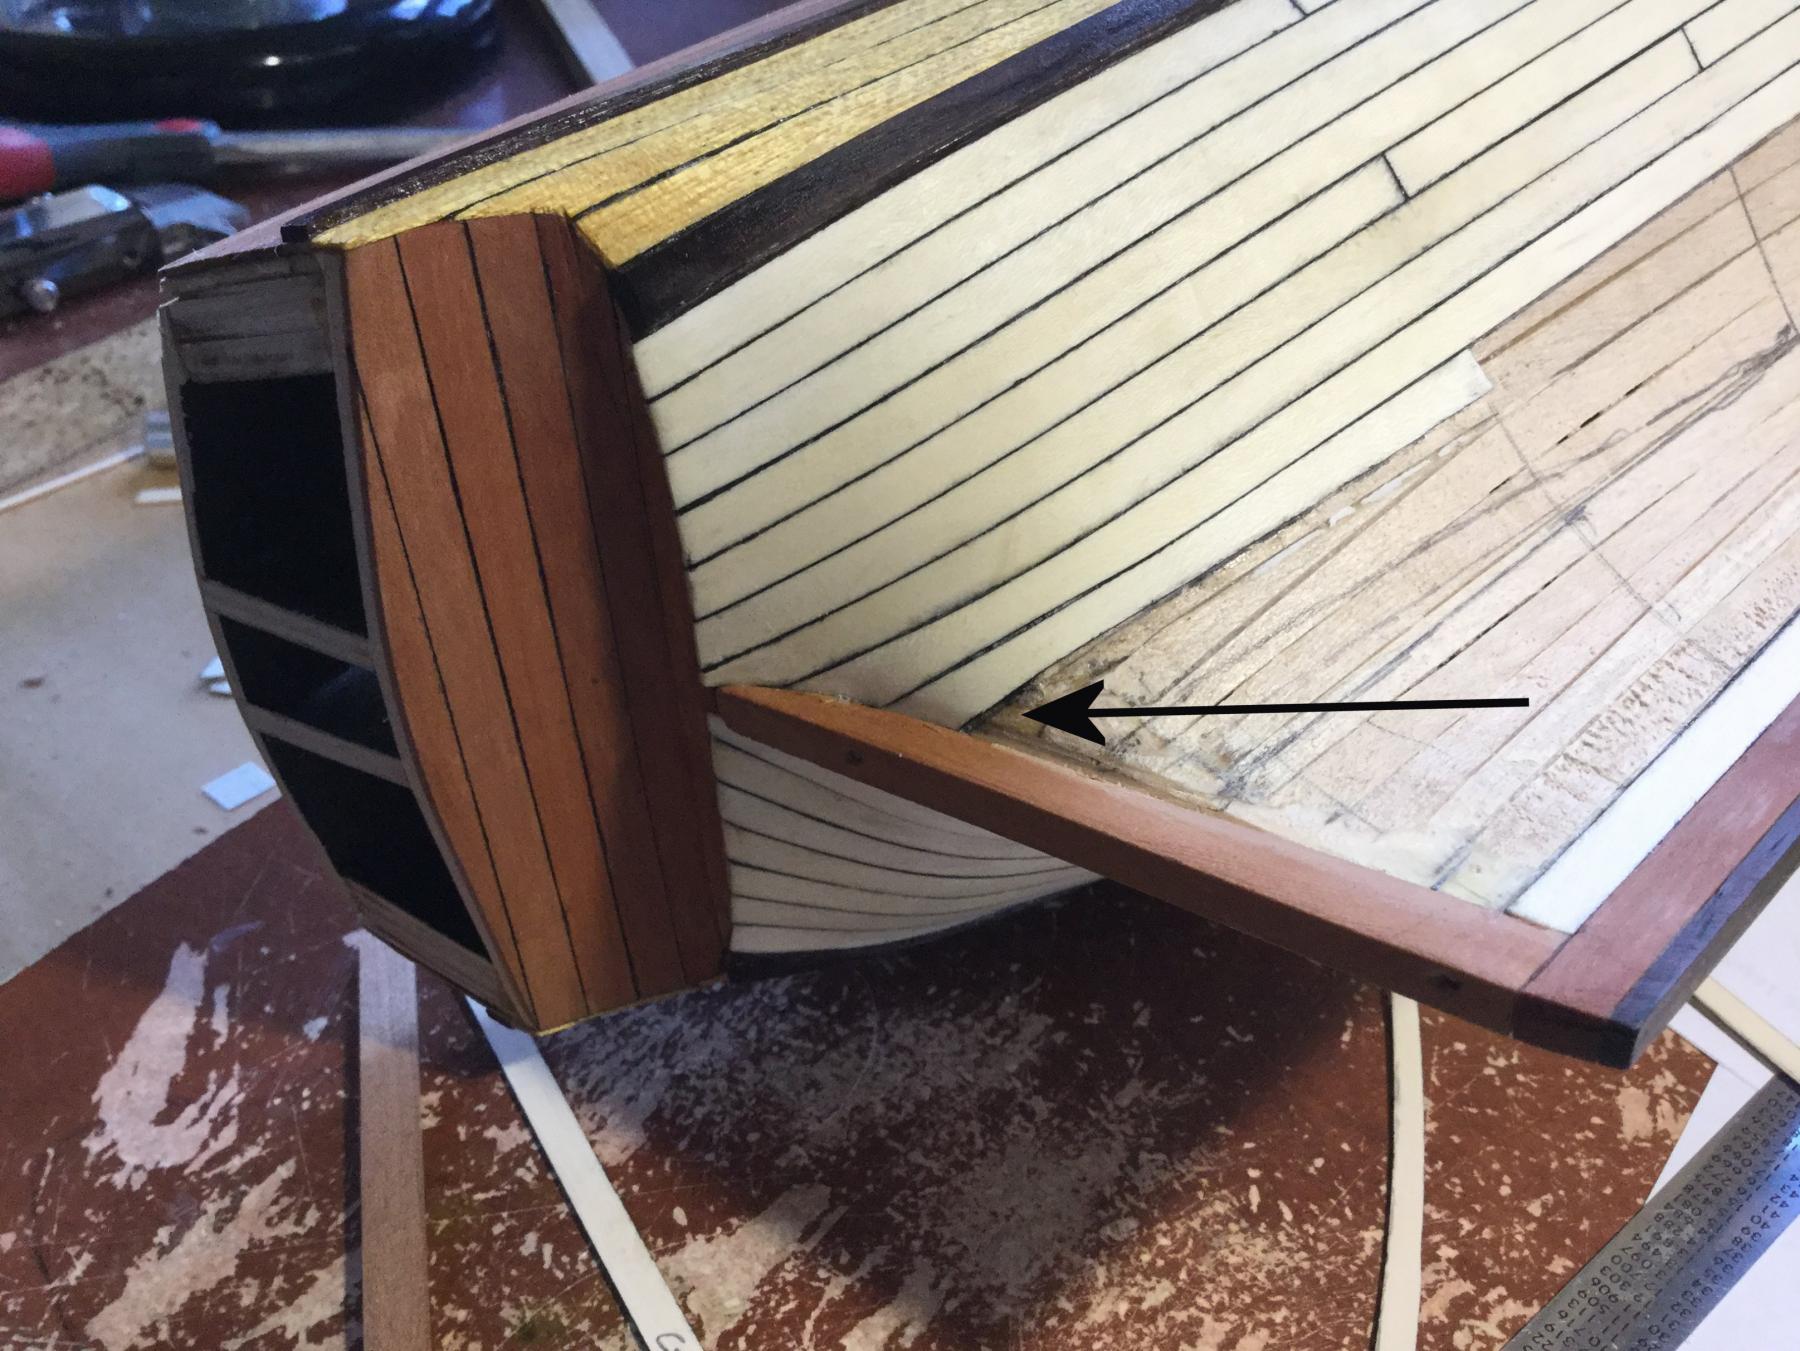
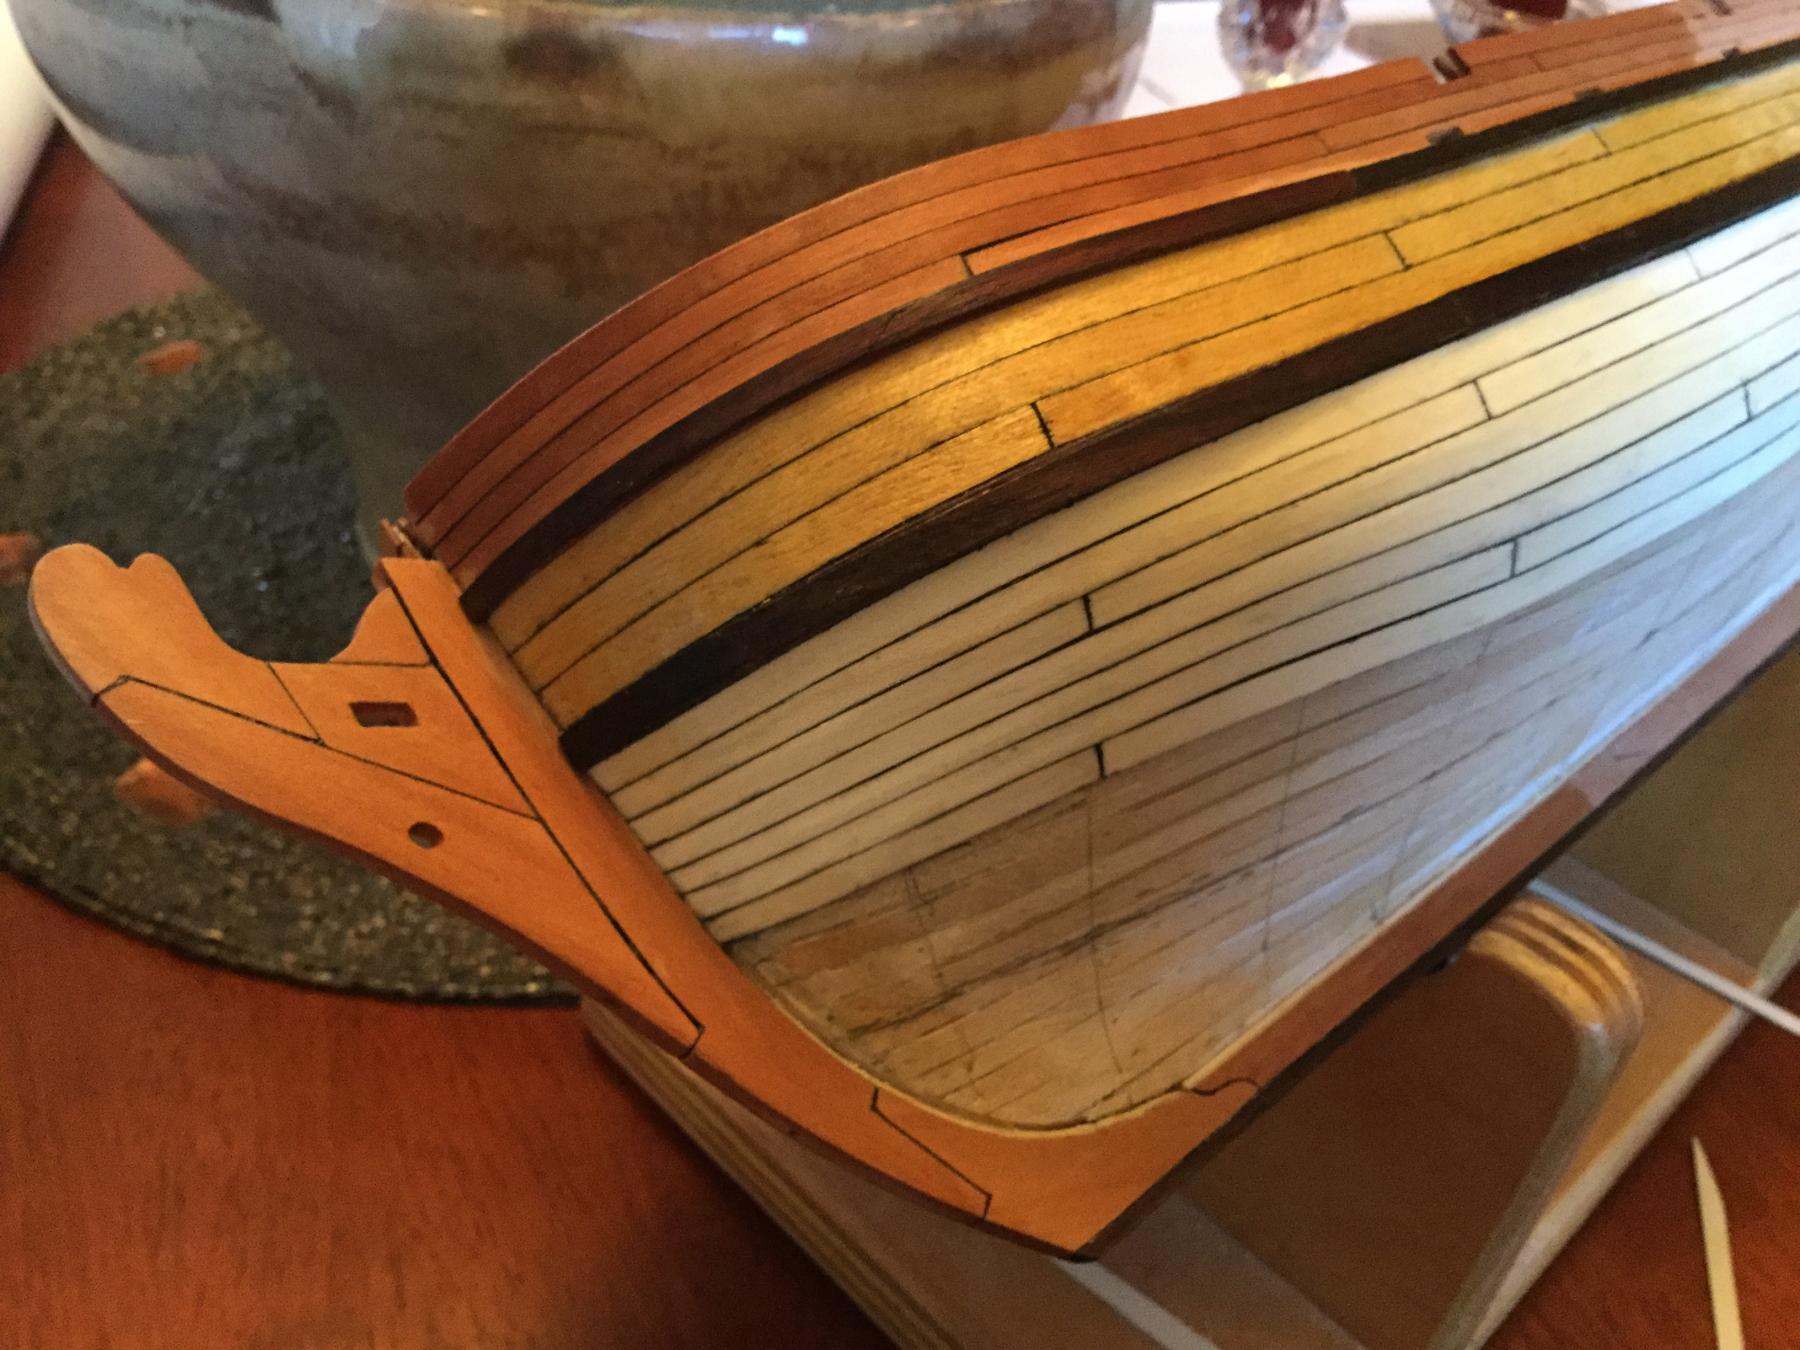
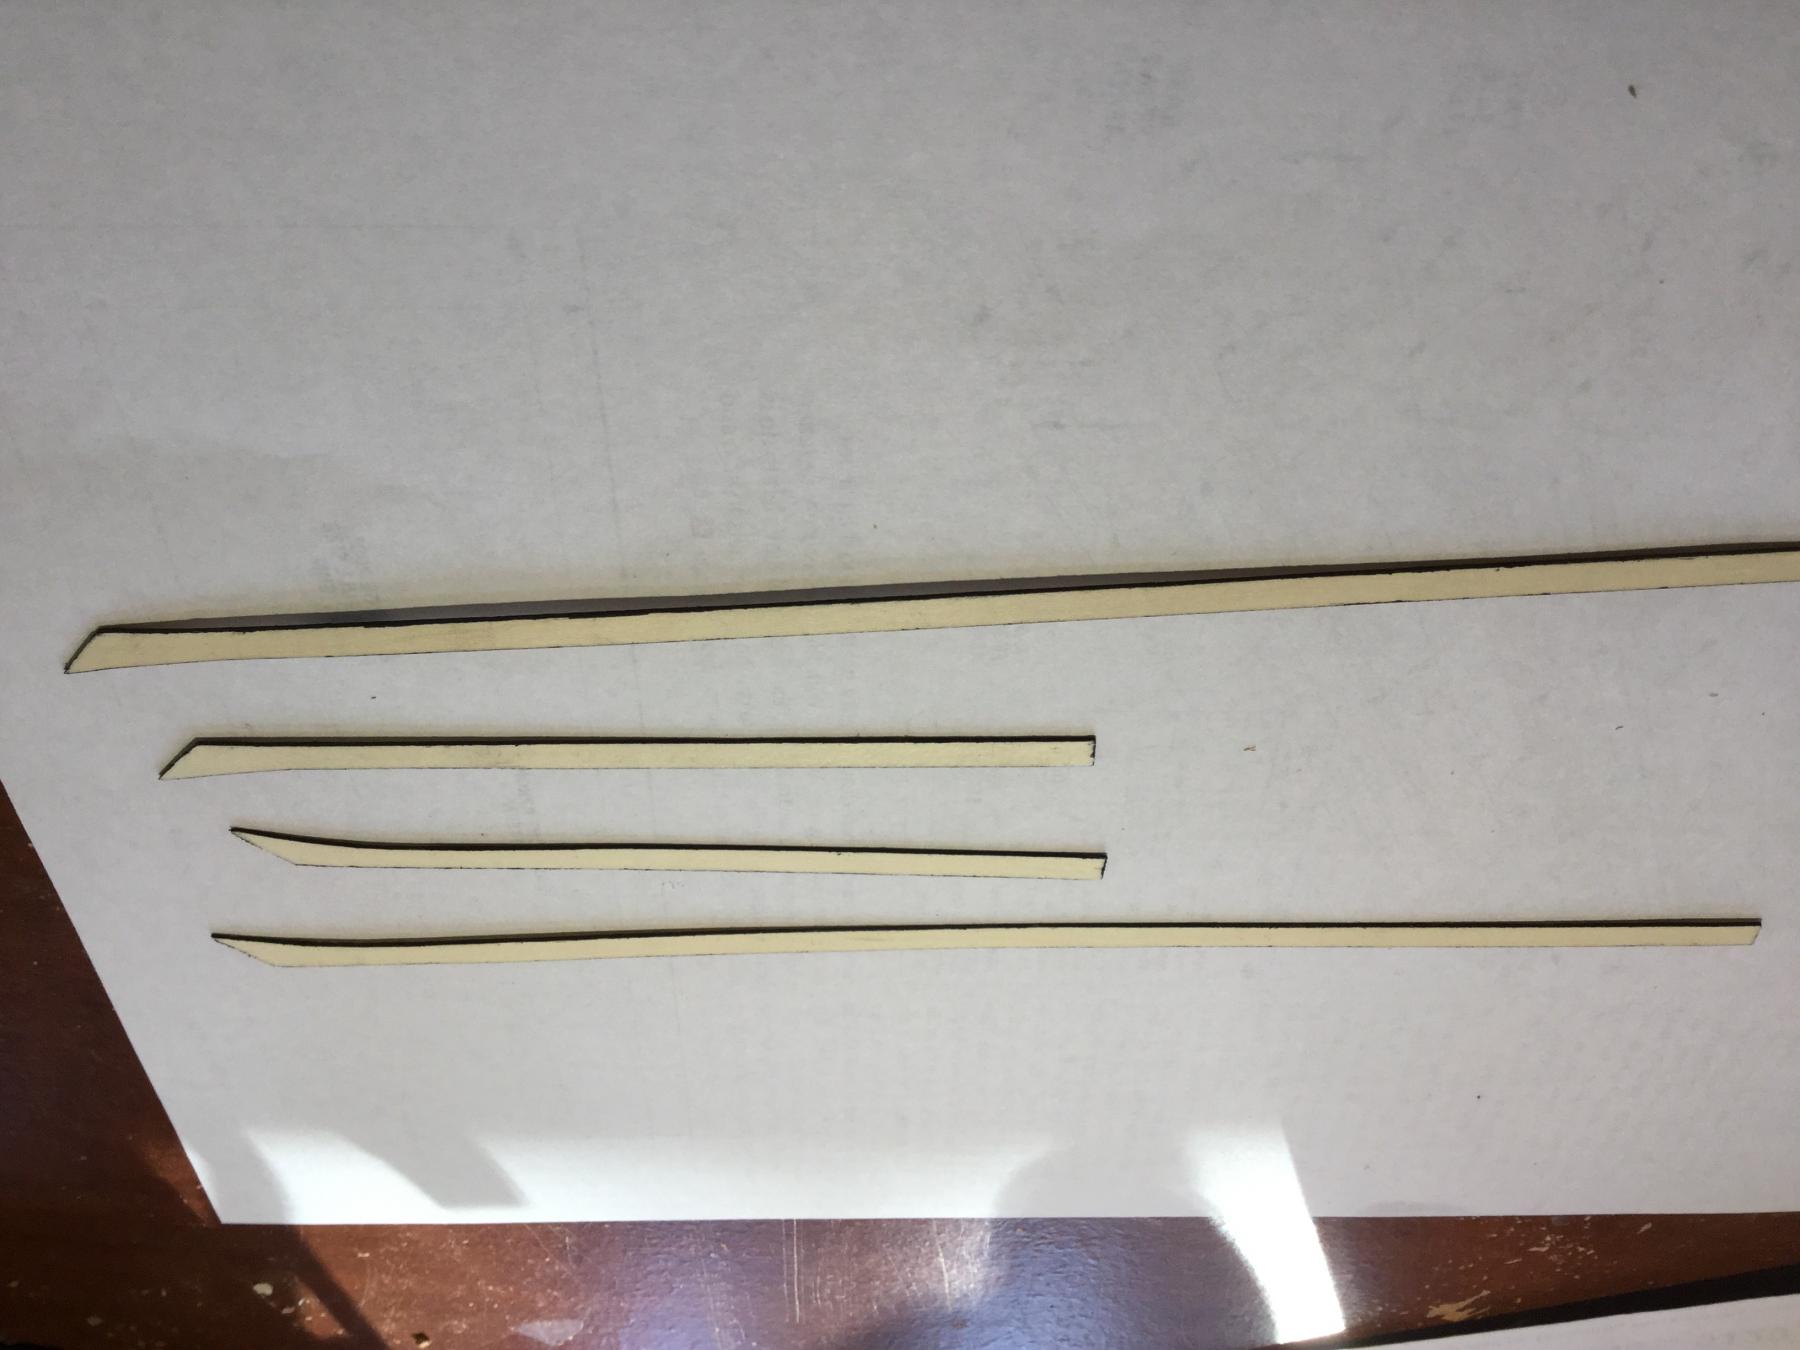
I installed the two custom fitted strakes at the stern to eliminate the "tail" that stuck up there. It turned out OK, and restores a better sheer line to the aft planking.


-
Slow going on the planking. The hull dimensions are weird. Rather than be significantly wider at he stern, I'll actually have to taper some planks after adding a stealer to start an upward run of the planks. There is also a little "tail" that points upward at the sternpost. I custom cut some planks to eliminate it. So at the stern I have to add a stealer, and then taper planks to make up for it so the planking matches the sheer of the wales. UGH! Not my favorite part.


-
I agree with Brian. For the sprit hole I started with a very undersized drill bit and "worked my way up" to near final size, using a series of progressively larger bits. This limits tear out around the hole. Leave the hole smaller than needed and adjust the final fit with a rat tail file.
-
-
-
You'll be surprised! The plank will hold it's shape nicely tomorrow after it's dried.
There is really no reason you can't soak all the planking to coax it into place. People will say that it will shrink and small gaps will appear between the strakes...and they might, But so what? This is the first layer of planking, and gaps at the seams can be filled with wood filler. the only purpose of the first layer of planking is to provide a smooth, stable base for the second layer. It is good practice, though!
- Hill202, zoly99sask, dgbot and 1 other
-
4
-
Joe: That plank is the most important plank in the entire process. You have to get it right, because it defines the sheer profile of the wales (and the subsequent planking). With your remarking it looks like you nailed it. Great job! If you want to see how this plank can be installed incorrectly, read my log over at the Lauck Street forum and see how I screwed it up!
-
Joe: Read ahead a bit and the practicum will explain each of the terms. There is also a cross section drawing through the bulwarks showing the location and sizes of the bulwark planking, the waterways, the spirketing plank, the black starke, the wale and the hull planking! The scuppers are holes through the bulwark that allow water that has found it's way on deck to drain overboard. The scuppers on the AVS are through the waterways, and exit the bulwark through the black strake.


Armed Virginia Sloop Patrick Henry by DocBlake - FINISHED - Lauck Street Shipyard - Scale = 1/32 - POF Admiralty Style
in - Kit build logs for subjects built from 1751 - 1800
Posted · Edited by DocBlake
Hi, Dave!
Thanks for your kind comments out my AVS. Very much appreciated.
The answer to your question is yes, the plans for the Patrick Henry can be used for a scratchbuild. If you check my log you'll see that I rebuilt many parts for technical reasons as well as personal preference using the plans. Everything is pretty well designed and turned out well. Realize, however, that not including any of the strip wood used for planking, etc. that there are over 700 parts to the kit!. Not easy, but doable. Bob Hunt is a bit of a fanatic (rightly so) regarding copyright issues, so I wouldn't sell you my copy of the plans. I am sure Bob will provide them to you, and probably at nominal cost. You'll likely have to enlarge them to full size at FedEx or some such. The cost would be around $40. Hope this helps!