


DocBlake
-
Posts
1,811 -
Joined
-
Last visited
Content Type
Profiles
Forums
Gallery
Events
Posts posted by DocBlake
-
-
-
I freely substituted woods in all my builds...Only the second hull planking on Swift and the MS AVS are stock. Take a look at my logs to get an idea of how some of these woods look together.
- mtaylor, Canute and rdestefano01
-
 3
3
-
Thanks, Ken...I'm learning. I used silver soldering with paste solder in a syringe to prepare the yokes. I have a Bernzomatic hand torch that was able to get the solder to flow, but it took FOREVER to get it up to temperature. A more permanent setup using oxygen and a propane tank, with a regulator will get the higher temperatures need much more quickly. The solder paste is nice, though, in that you don't have to mess with flux and little chunks of silver. It is kind of pricey. There is definitely a learning curve here!
-
-
Bruce: I was on the Morgan in June, and yes, the harpoons etc. were stored under the shelter roof.
-
-
I noticed the Byrnes ropewalk is labeled "call for availability" on the website. I sent Jim an email, and he responded that they have suspended production, apparently due to lack of interest, but was willing to put my name on a list in case some demand develops and he starts making them again. If anyone is interested in a Byrnes Ropewalk, contact Jim, and maybe we can get him to do a production run now. Winter is coming! What better way to spend it than creating high quality rope! Give Jim a call or send an email if interested.
-
Good job on the deck furniture. I love the Syren gun carriages. I'm using them on my Lauck Street AVS.
-
-
-
-
-
About 25 years ago, I bought a Dremel table saw, model 580-2. It largely saw in my basement gathering dust. I now own a Byrnes saw, but having the Dremel operating in addition could be very helpful. The saw runs great, but has 3 huge drawbacks. The fence is pure crap - hard to adjust, lots of wobble, totally unacceptable. Likewise, the miter gauge is cheap and inaccurate. Lastly, the blade plate has a huge opening, limiting the width of cuts that can be easily made. I found a source on Ebay to buy an upgraded fence and miter gauge. I also purchased a sled that's dedicated to the saw. Serious upgrades for about $70 total! What I don't have is a close clearance blade plate (zero clearance insert), because they are sold out!
My question is, does anyone have access to a close clearance blade plate, or plans to make one ? It would complete my refurbishing of what is still a pretty good saw. Here's a link to a website that shows the upgrades I purchased:
http://www.theaerosmith.com/catalog_3.html
-
I just purchased one! Delivery next week.
- Haliburton, mtaylor, Canute and 1 other
-
4
-
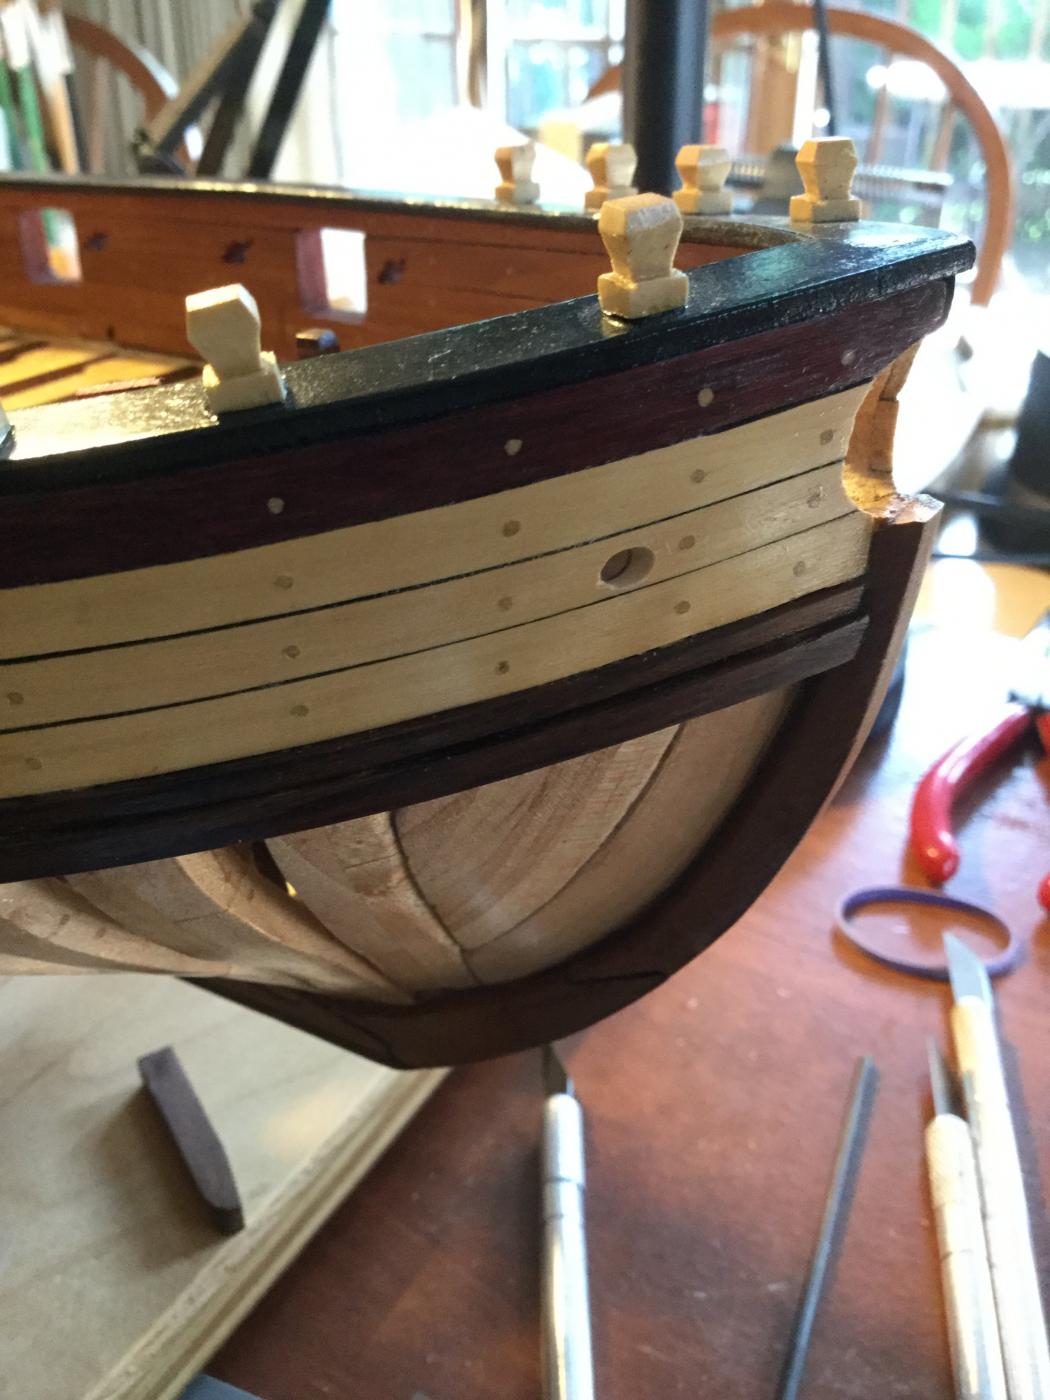
Nice job on the wale, black strake and fashion piece. The relationships are spot on. Keep it up!
- zoly99sask, Elijah and captgino
-
3
-
-
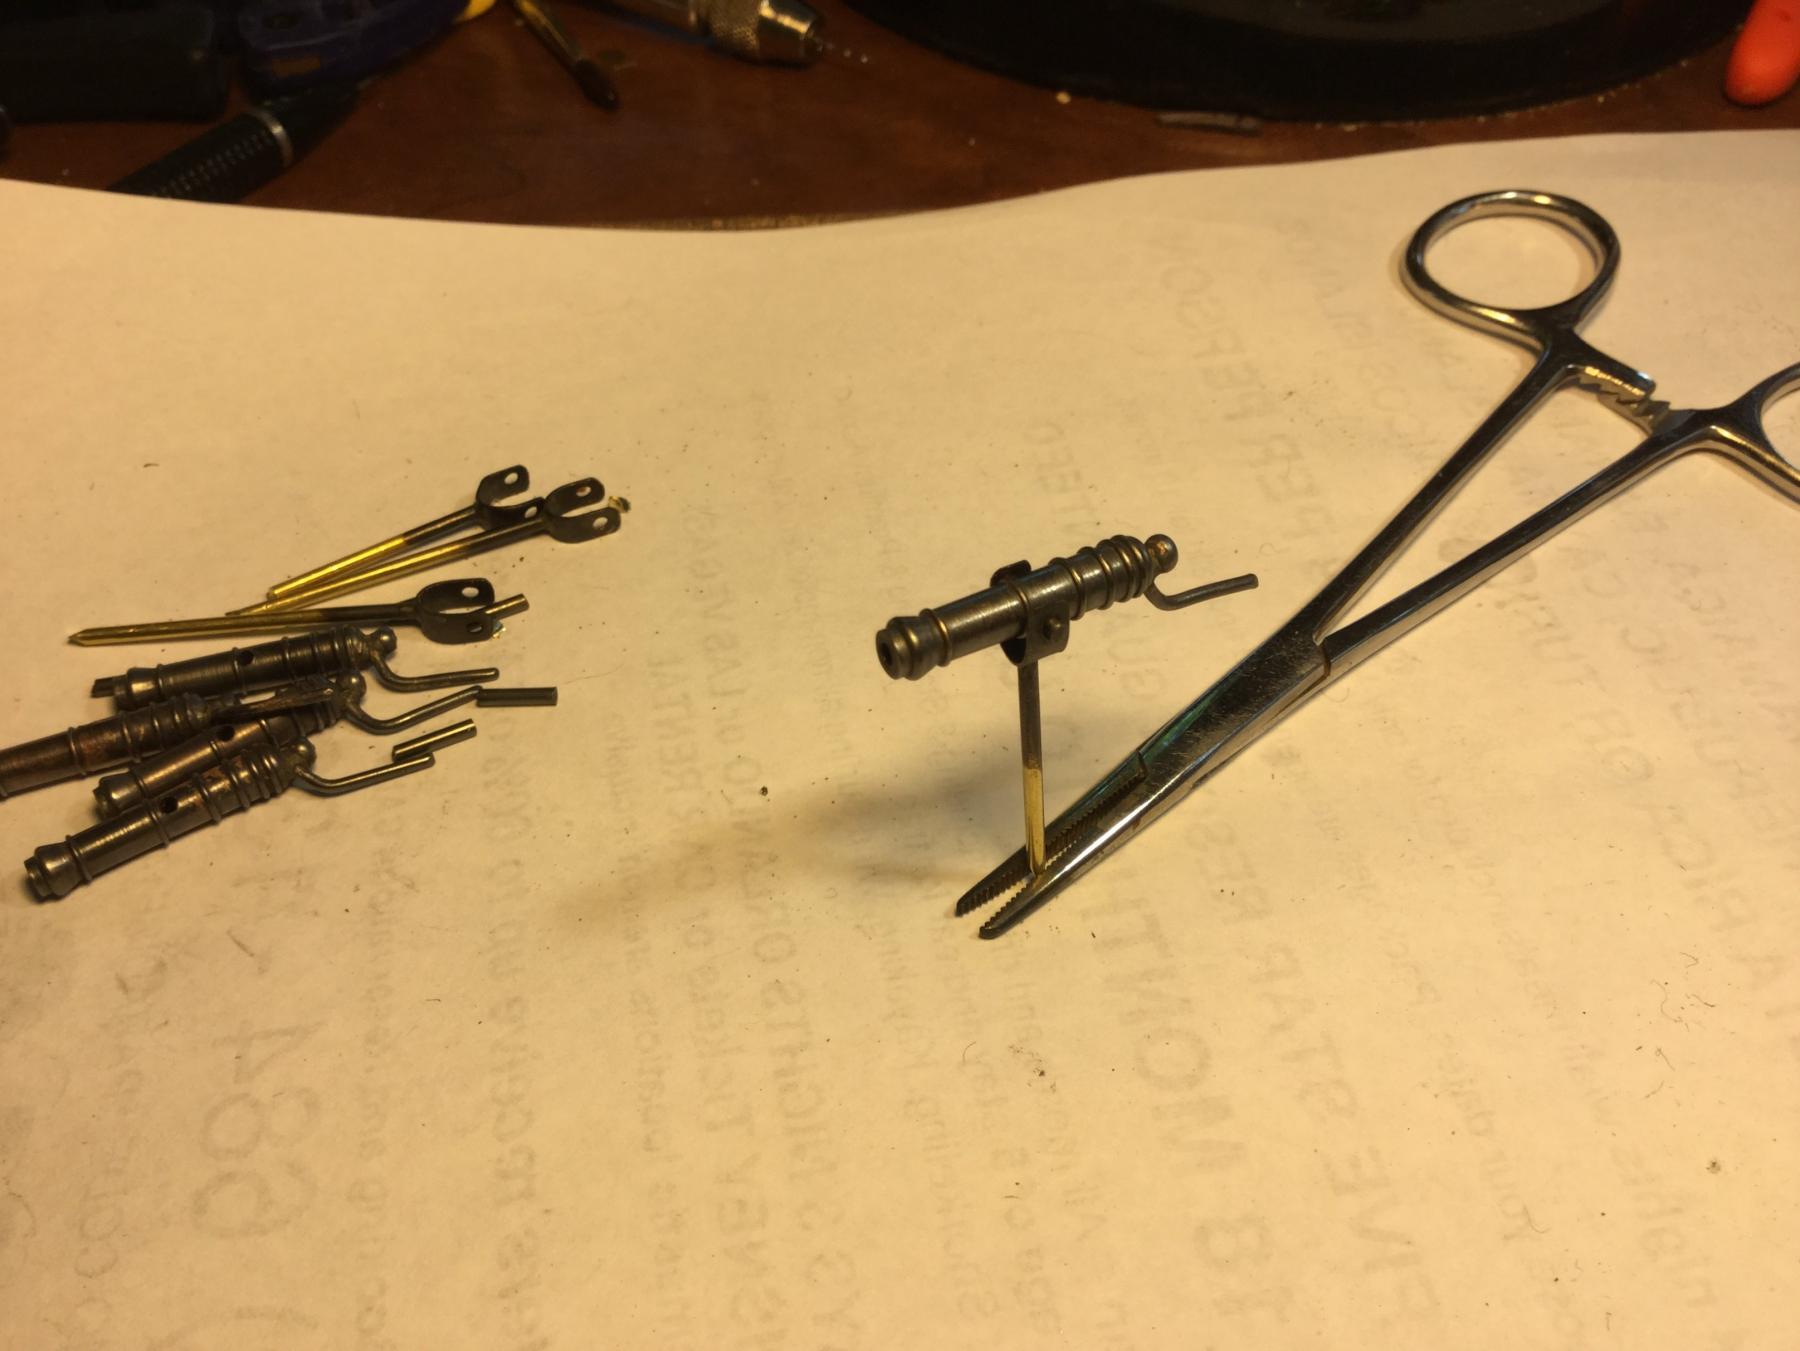
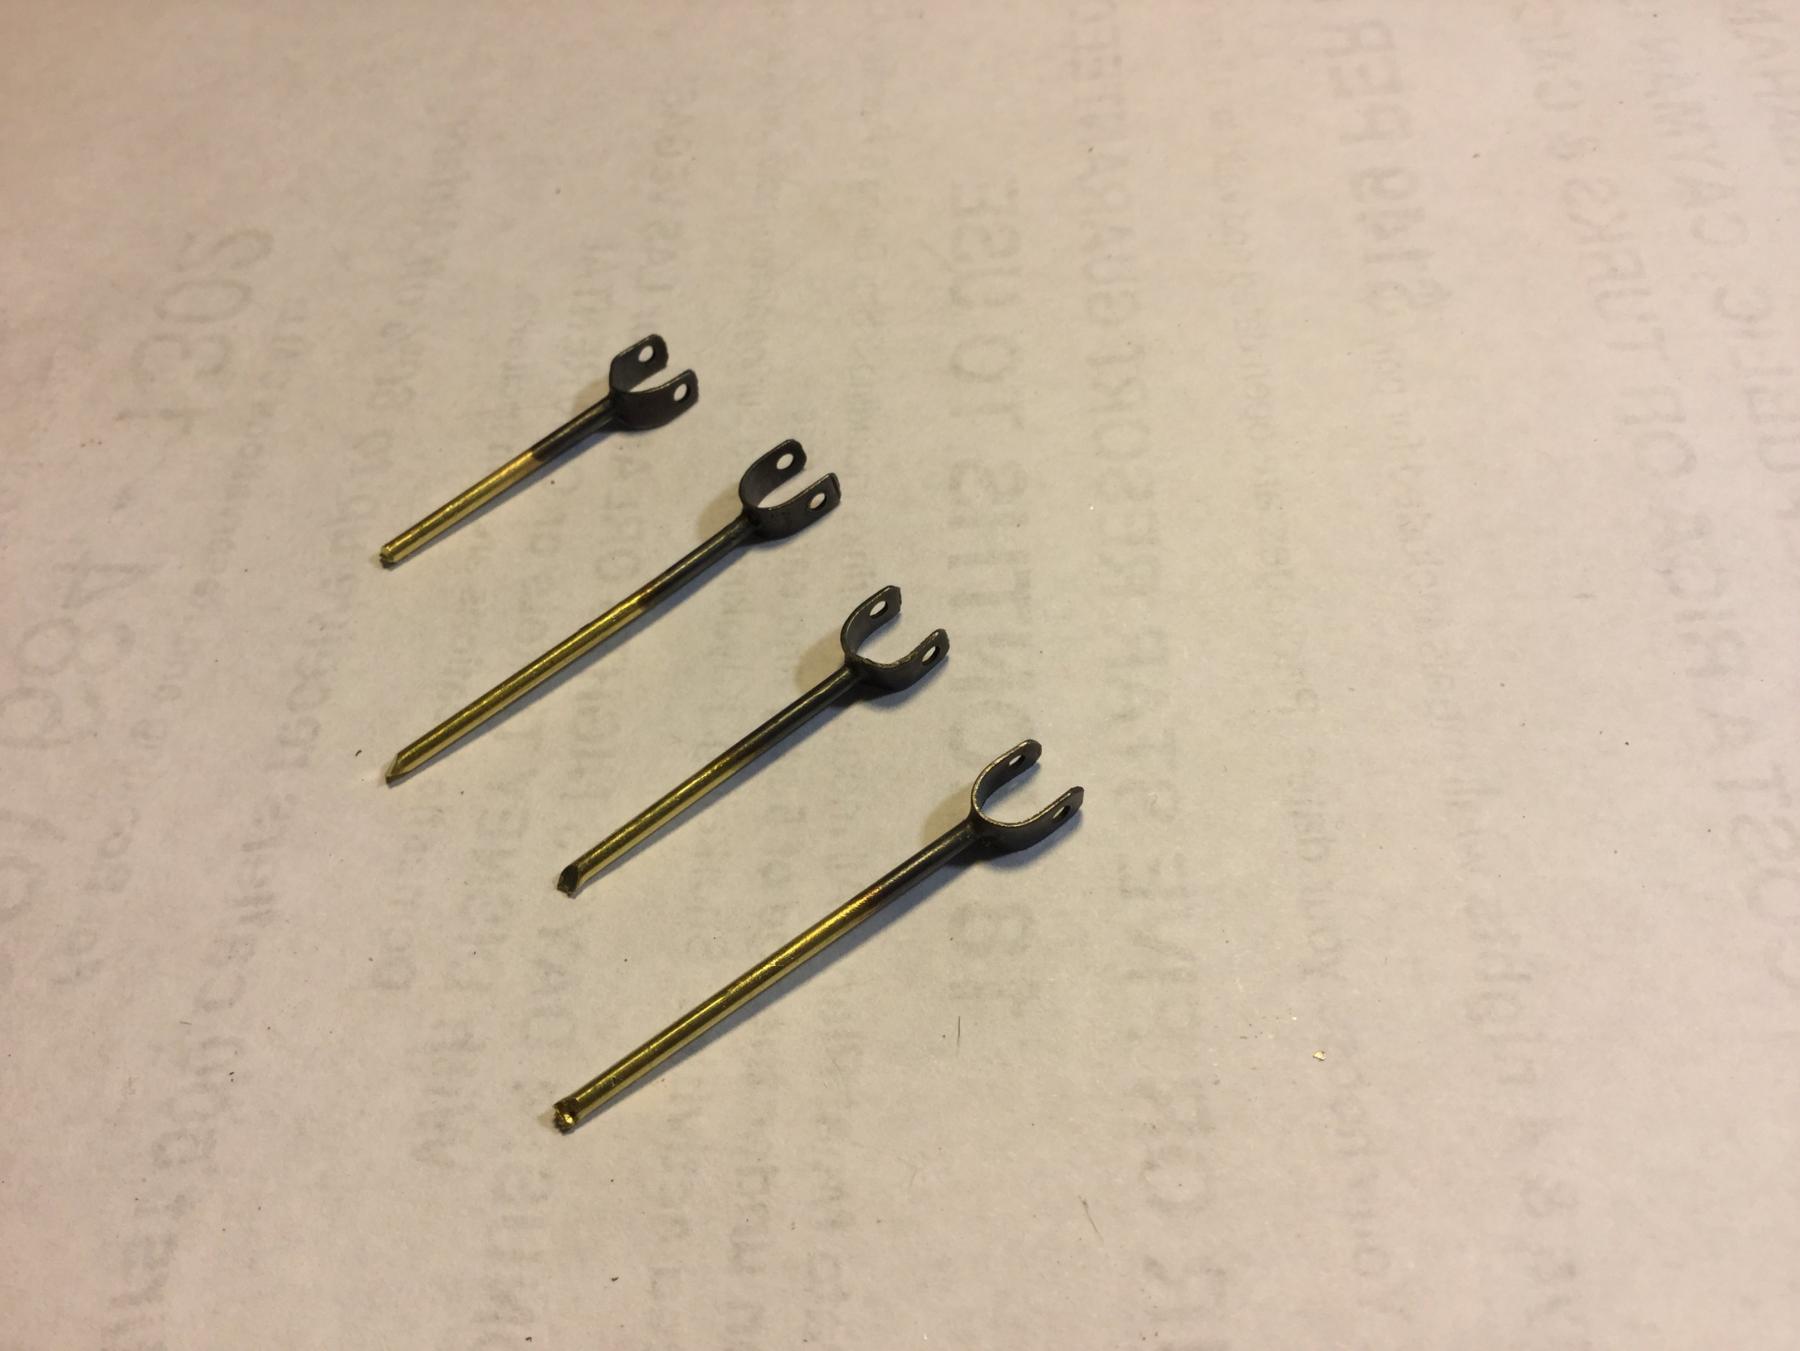
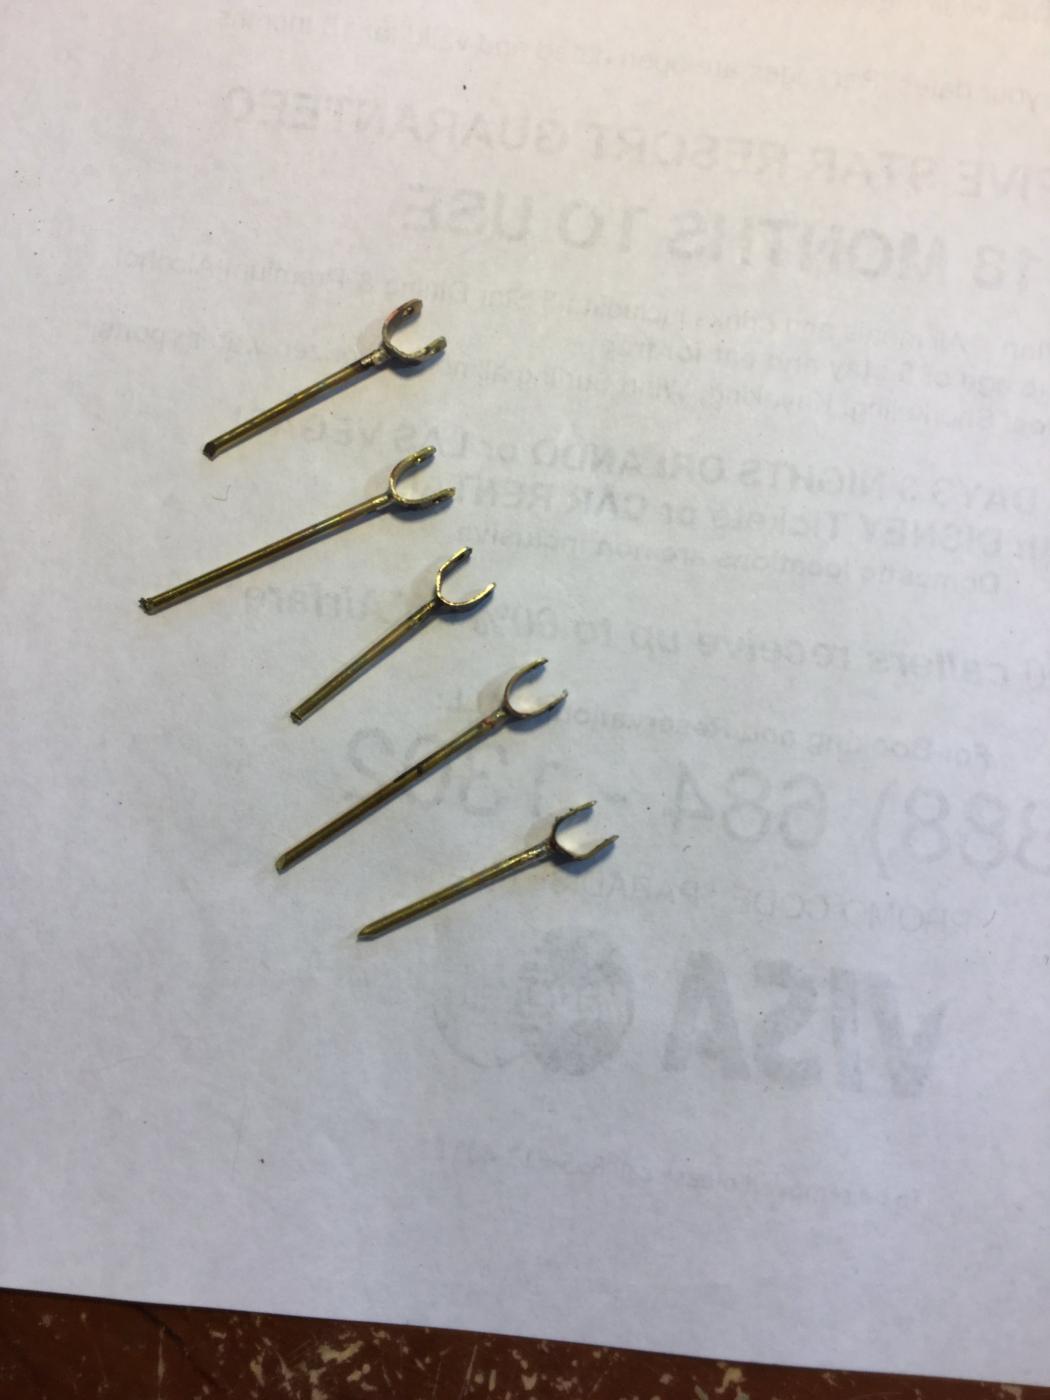
Here is a photo of the blackened yokes. The yokes themselves were silver soldered using Fire Mountain medium flow silver solder paste. For cleanup I used a fine bristled brass brush chucked into my drill press. It buffed up the heat discolored brass and the silver solder nicely. 15 minutes in acetone, rinse, then 15 minutes in muriatic (HCl) acid and rinse. The blackening was Jax Pewter Black which I painted on with a small brush. 2 coats and no flaking off or crusting. The process worked very neatly.
-
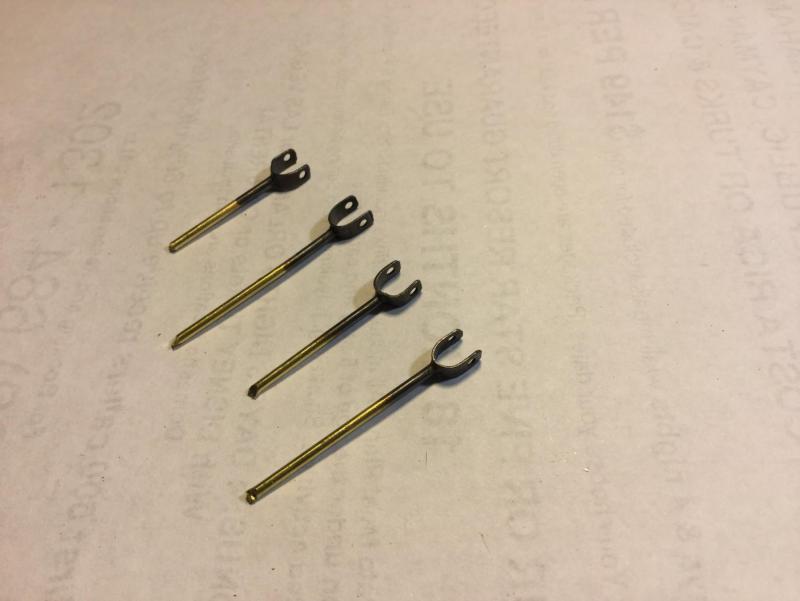
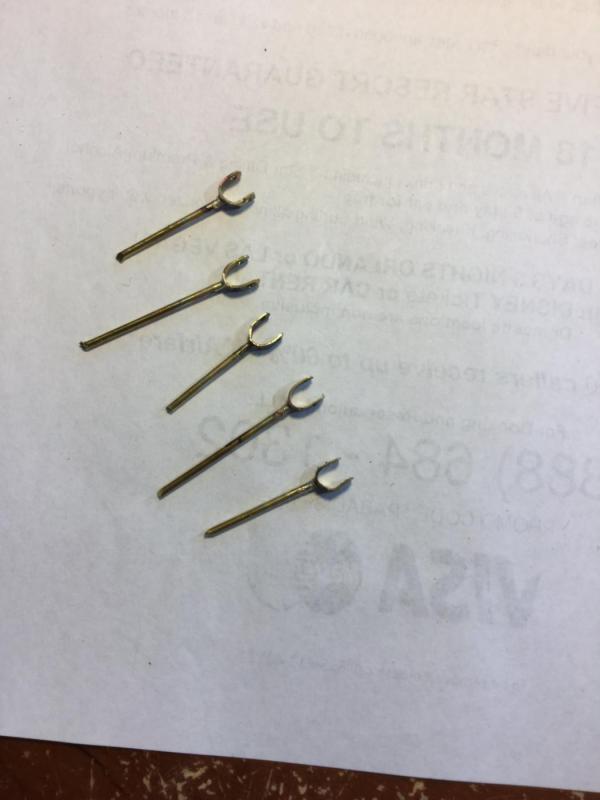
I finally am getting to the swivel gums. I made up 5 yokes to mount the guns (one spare). I used the technique Brian Weikert described in building his MS AVS. They need to be cleaned up and blackened. Here's a link: http://modelshipworld.com/index.php/topic/8085-armed-virginia-sloop-by-gunthermt-finished-model-shipways-scale-148/page-29
The following page describes the jig to build the yokes.
-
Your stanchions look great, Elijah. I'll be interested in how your rudder mounting turns out. I hate metal work, so the method used to mount my AVS rudder is interesting in that there is no soldering involved in forming the gudgeons and pintles. Here's a link:
-
-
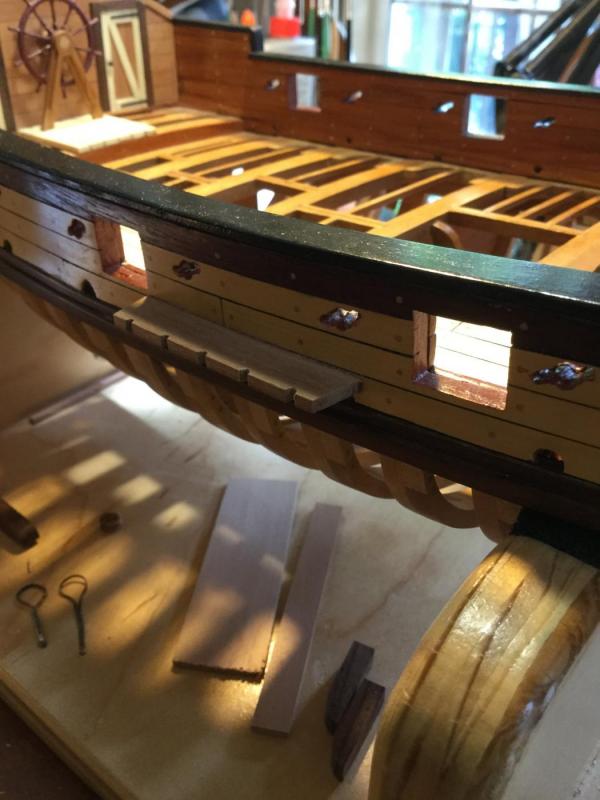
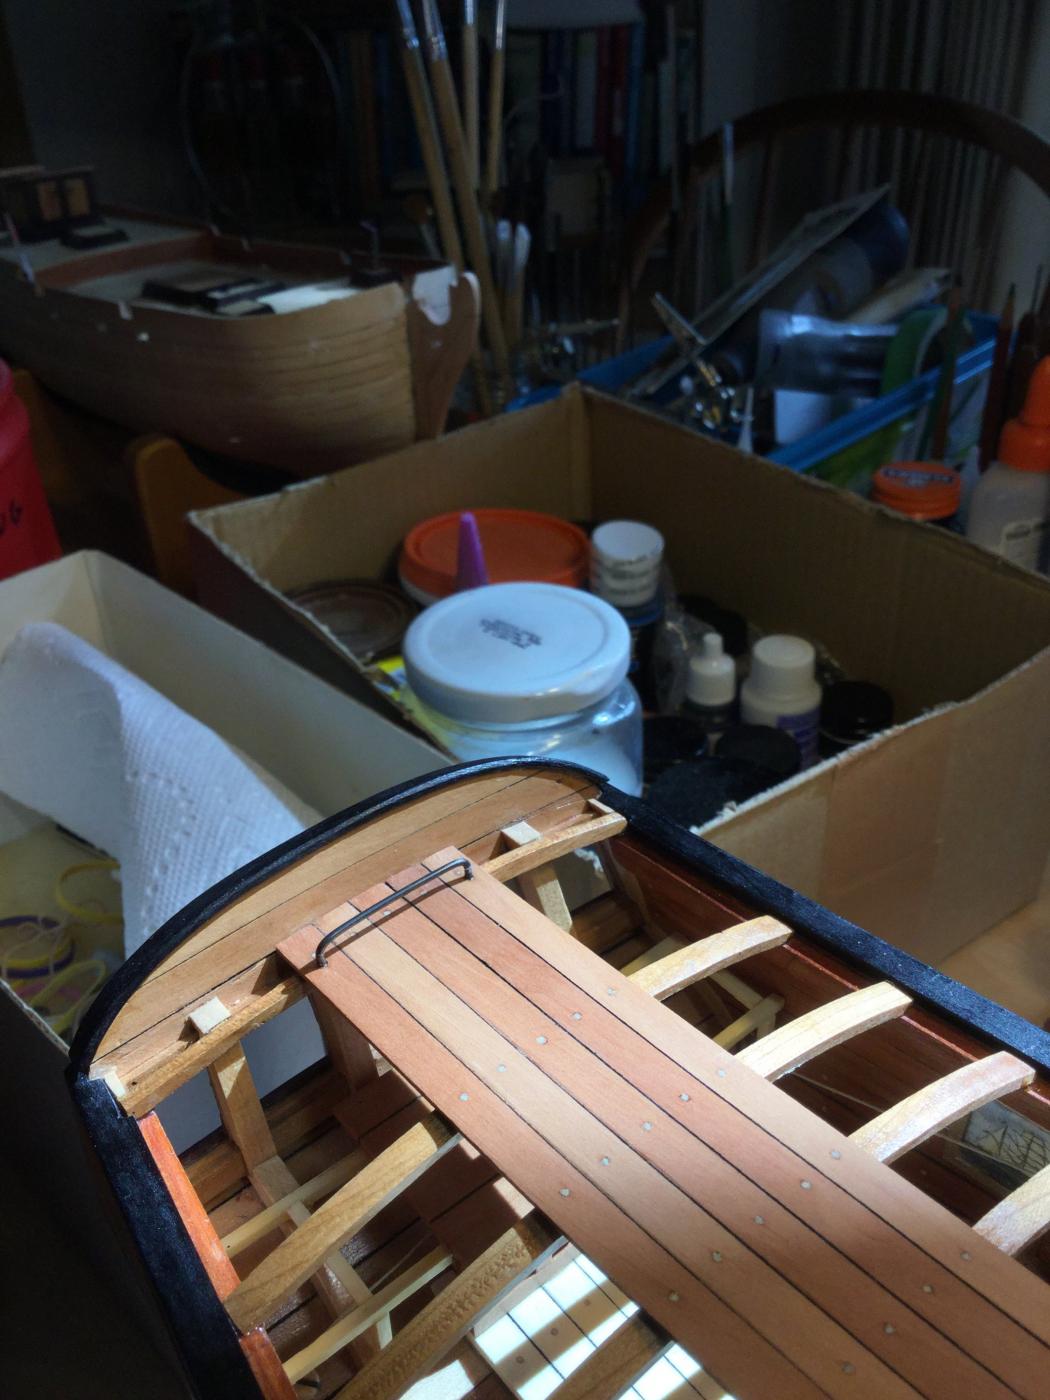
The shipyard is reopening! I attached the channels, although they have no finish yet. As I hate metalwork, I've yet to complete the chainplates. I drilled the hawse holes and formed the parts for the catheads. They are next up to be installed. Last, I wanted to add a mainsheet horse, but wasn't sure the size. In the end I just made it as long as the partial planking on the cabin roof is wide. I'm still procrastinating with the swivel guns.


-
I want to add a mainsheet horse to my POF AVS model. I'm curious, though. Is there a rule of thumb as to how long the horse should be? "Fair American:, a brig, has a short horse mounted just below the taffrail, but the MS AVS, a sloop, has a very long horse mounted on the cabin roof/poop deck. Any thoughts?
-
-
Guys: The bleeding problem from inks (like Sharpie ink) is mostly a function of what you coat it with. If you stain the wale black, glue it in place and then finish it in poly, the poly will redissolve the Sharpie ink, and bleeding will occur. A trick to prevent this is to use a solvent for that first finish coat that can't redissolve the ink : Water! Use a coat of water-based polyurethane as your first finish coat. It will seal the wood, and conventional poly can be used after that coat with no bleeding. In general I try to avoid water-based polys for furniture work because I think they make the wood look "cold". They work in this context, though! Minwax makes a water-based poly that comes in small cans.
- Elijah, GrantGoodale, GuntherMT and 1 other
-
4

Dremel saw refit
in Modeling tools and Workshop Equipment
Posted
I got the last close tolerance blade plate they had. $10!.