Dan Vadas
-
Posts
3,261 -
Joined
-
Last visited
Content Type
Profiles
Forums
Gallery
Events
Everything posted by Dan Vadas
-
Thanks Richard, I wish you well on your first visit to the "dark side" . The thickest timber is 18 scale inches for the Hawse Pieces which have multiple curves that need shaping. The rest are 12 scale inches or less, mostly around 9 scale inches. Danny
-
Craigie65 - I was editing my previous post as you sent the above reply. My sentiments exactly . Danny
-
I won't be finished for a while yet , but here's a couple of pics of the "current state of play". I'll do a full set of progress pics when I get home next week - it's too hard to do with the laptop I'm using at the moment. Craigb - sure, the old guy had a go to the best of his abilities on a very poor kit. The more I read the "destructions" the more I realise why he did it the way he did - they even confuse ME . If he'd have been on MSW from the start we'd have helped him through and I'd have had a much easier task now. Or we'd have talked him out of attempting the kit in the first place and gone with something a lot easier which he probably would have finished before he passed away. Danny


- 137 replies
-
- 10
-

-
All good - I'm away on holidays at the moment - doing a side project Restoring and Finishing a very rough Del Prado Victory. Normal service will resume next week . Danny
-
Thanks for that Keith. It actually measures at 28 degrees - your guess was pretty good . Thanks Craig and Scott. Actually, I keep reminding her that it was her idea in the first place . cheers: Danny
-
Thank you Craig and Tom - no timeframe other than what I limit myself to . A quick question for anyone following this log who has built a Victory, or has plans for one (I don't currently have access to mine) : What is the angle of the Bowsprit from the horizontal? Del Prado's looks way too steep to my eye. Danny
-
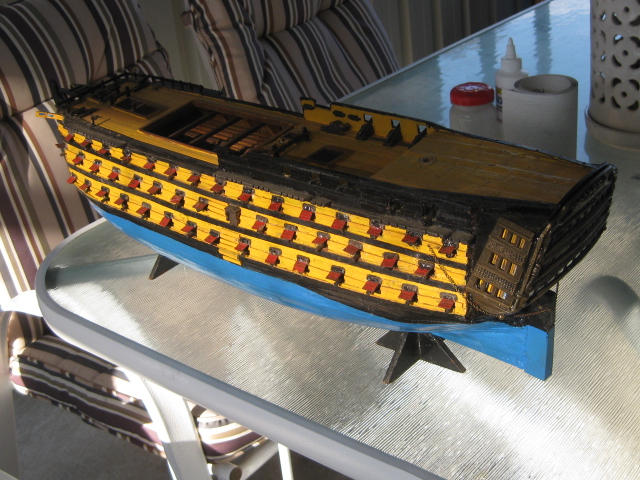
That was my first thought too Brian . No great surprise there Nick . Harvey and others who were wondering - yes, I'm going to do a simplified rigging. All Standing Rigging, and Braces and Lifts for the Running Rigging. Yards but no sails. My intention is to finish this as a purely "decorative" model which will look OK on the mantelpiece of someone who knows nothing about how the ship actually looks (which describes the owner ). Anthony - I have no intention of building it with the same quality as my past and current build, but it's difficult at times not to do so. I'm very limited with the poor state of the original, the materials and tools I have on hand at the moment, and the amount of time I want to spend on it - I'll be getting straight back to Vulture when I get home again. This project will stay at my van for the next time I come up here - it gives me something to do instead of sitting in front of the TV all day . No, not particularly Grant . Thanks to all the others who commented. Danny
-
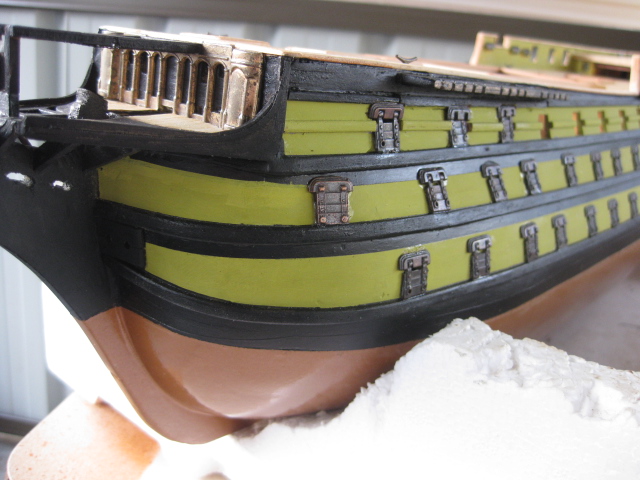
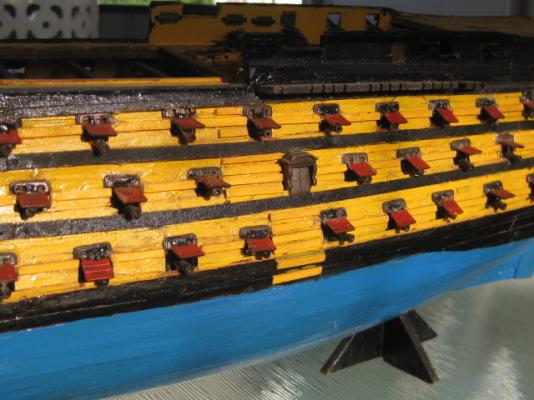
No way Brian - I've used Copper Hammertone paint below the waterline to simulate the plating. There is a limit to how far I'm going as regards authenticity and even usual model ship building practice. The Hammertone hides some of the imperfections . I'm doing this project at my holiday van at Tuncurry - no power tools apart from a Dremel, and any extra bits and pieces I didn't bring with me I have to purchase from either Bunnings or the local Hobby Shop which both have a very limited range of suitable products. According to the Del Prado instructions Navy Blue was used instead of Black - go figure. Old Mate probably used the closest colour he could find, and got considerably confused into the bargain. Nigel - do what you will . Danny
-
Oops - quite right Nigel ...... it IS a Del Prado partwork kit . There was not much of an indication of the brand in the instructions until I looked a lot closer. My apologies to DeAgostini . I have edited the Title. Ron - your comments are spot-on. Working out where to stop IS one of the hardest parts of the project . Thanks to all the others who offered their sympathies . Danny
-
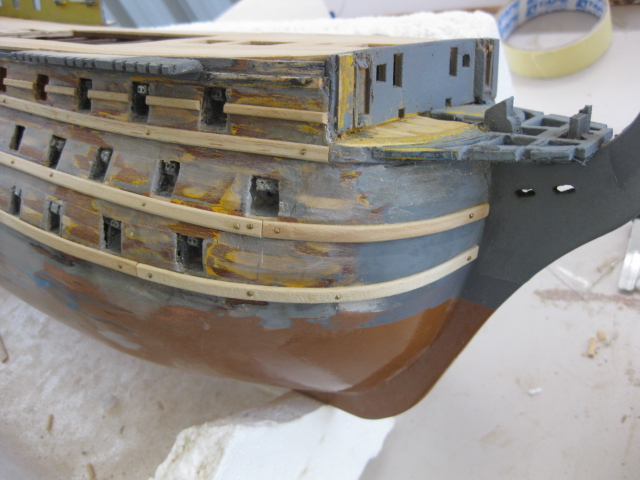
I sure have Nigel, but the worst is over. Here's a pic from two days ago : At least I haven't been suffering withdrawl symptoms while I'm on holiday, although I've missed my Byrnes Saw a lot (would have come in very handy .) Danny
-
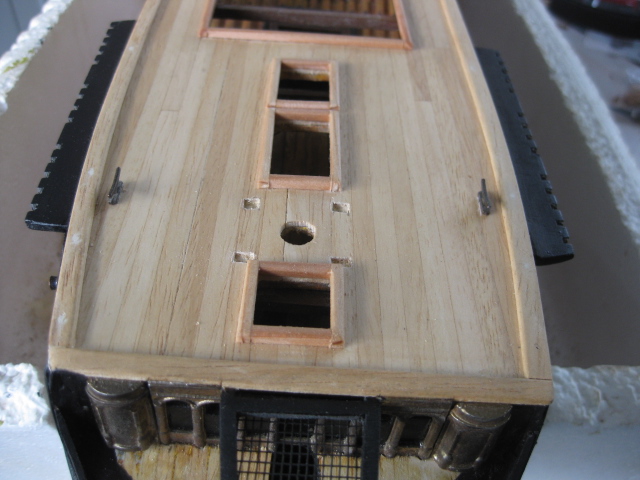
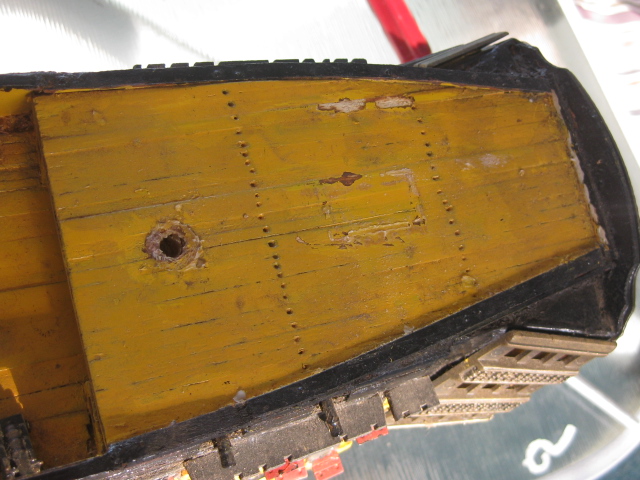
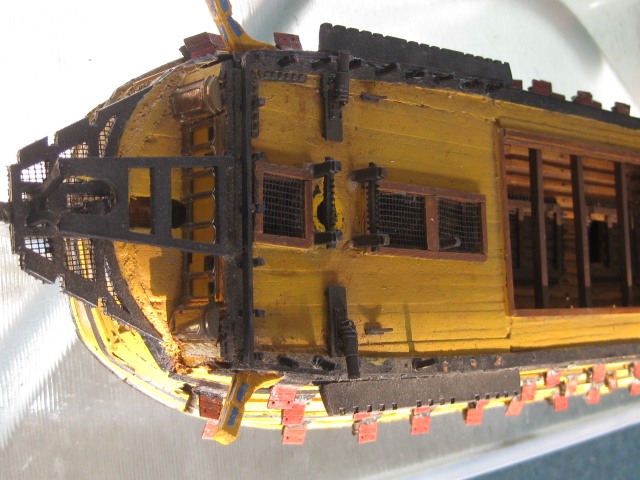
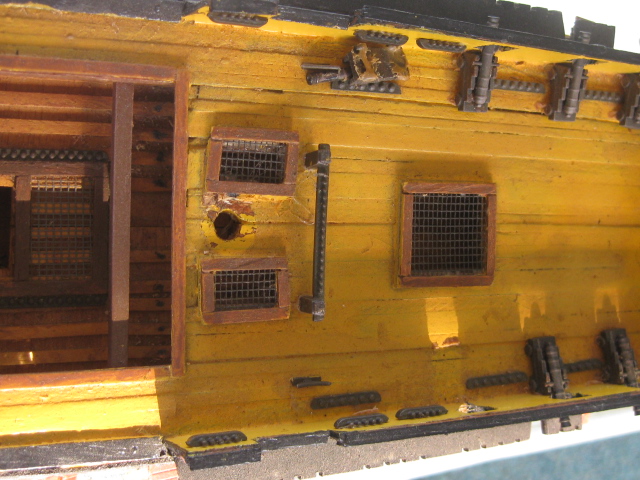
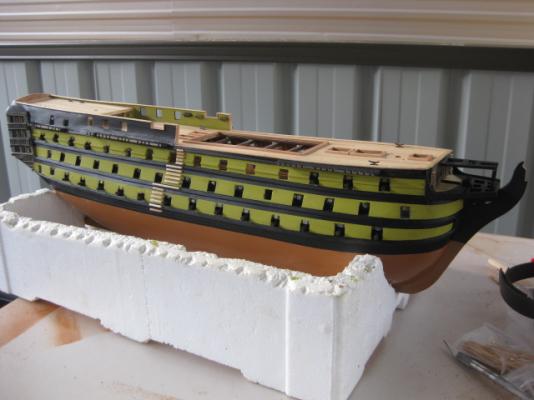
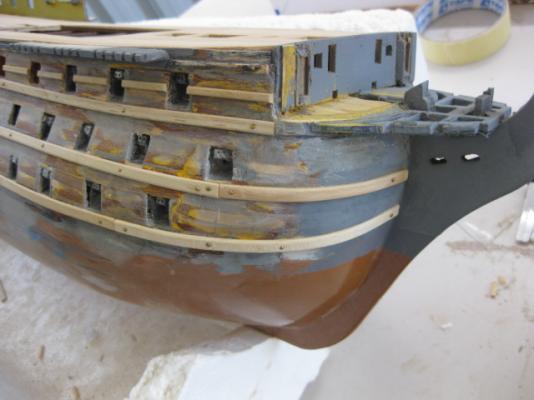
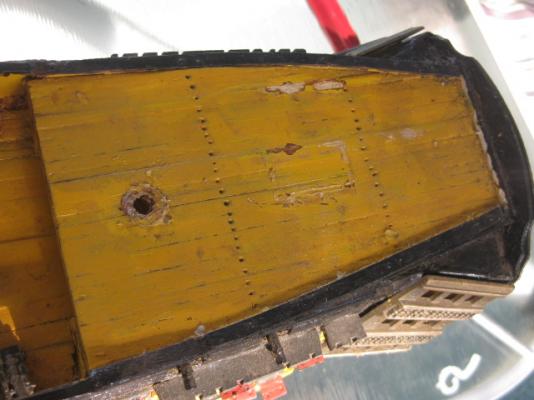
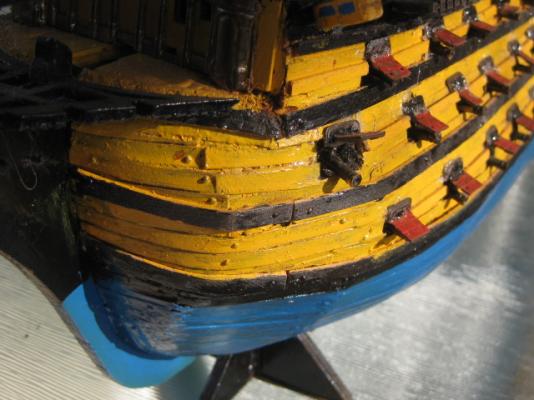
About six months ago a friend of my girlfriend's asked me if I could finish off a model ship which her father was building before he passed away. Being the sucker I am, I said yes before I'd even laid eyes on it, or even before I knew which ship it was - MISTAKE. It turned out to be one of the worst constructed models of HMS Victory I've ever seen - only the one I'd previously restored for a friend (similar circumstances) was worse, but at least he didn't want me to spend too much time on that one. As I'd already promised both my girlfriend and her friend that I'd do the job I was stuck with it . This was the old guy's first ever attempt at building a wooden ship, and he couldn't have picked a worse kit for his debut - a Victory, and a Del Prado part-work kit to boot. I doubt I've seen another kit with worse materials and instructions, at least the timber on my AL HMS Suppy wasn't too bad for an experienced builder to make something of it even though the rest of the kit was rubbish. A novice attempting this Victory kit was never going to get far (bloody thing should have been banned on it's release . Here are a few of pics of what I faced when I first saw it : I have spent the last 18 days stripping and re-planking the decks, ripping out and replacing a lot of hull planks, bogging the entire hull and replacing wales and deck furniture. I am currently re-painting the hull. I will update this log when I get home from my holidays in a week or two - the internet connection I am using at the moment is as slow as a wet week and it takes me forever to try to send anything. Danny


-
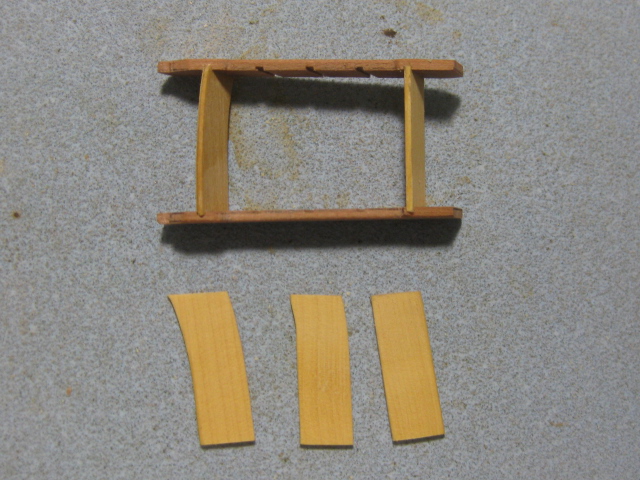
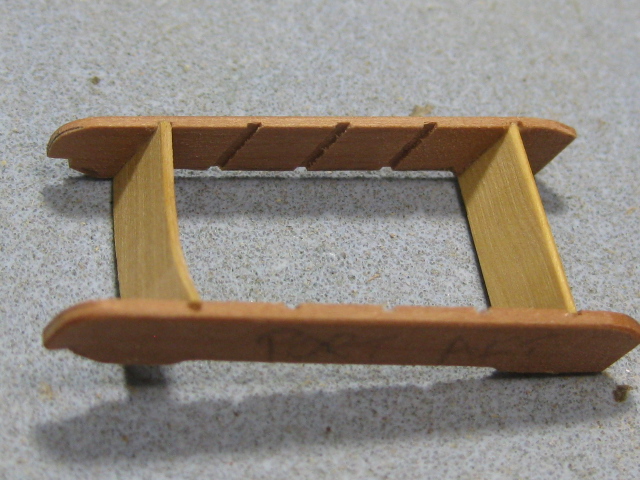
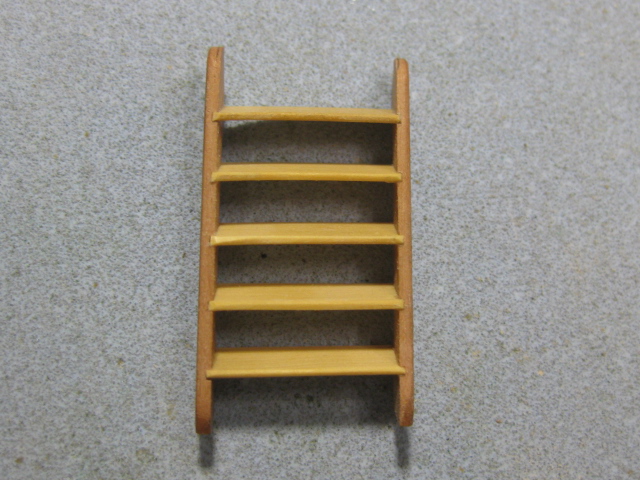
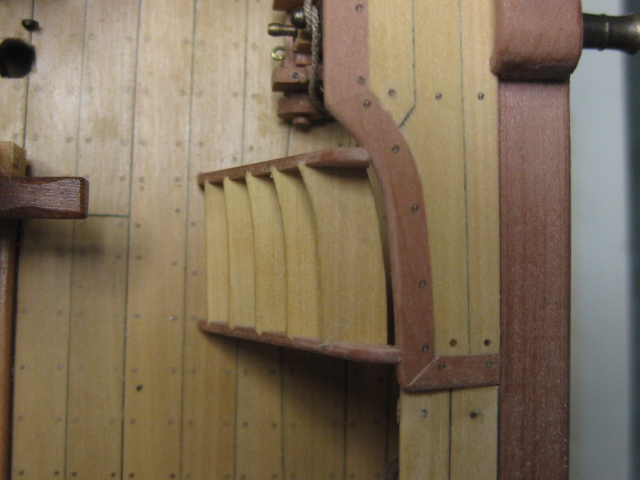
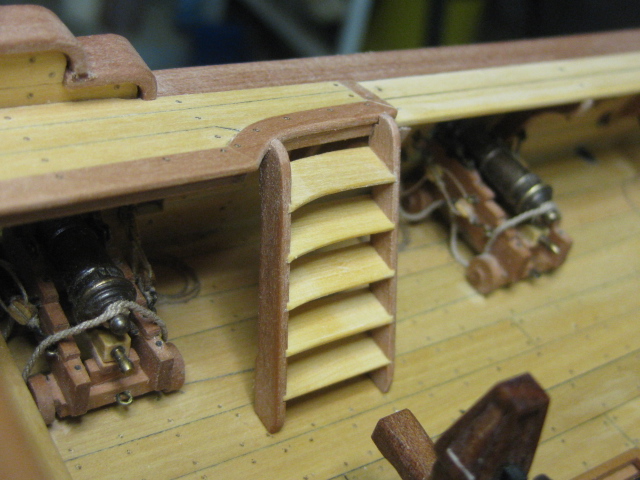
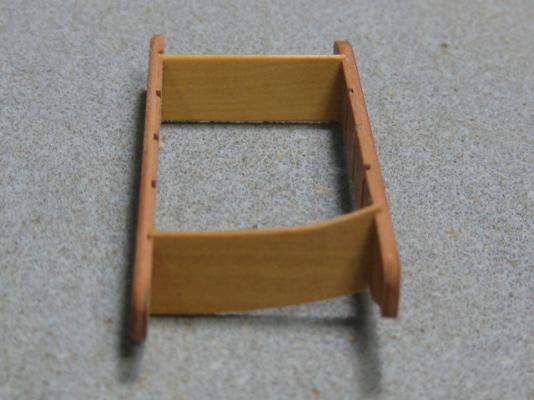
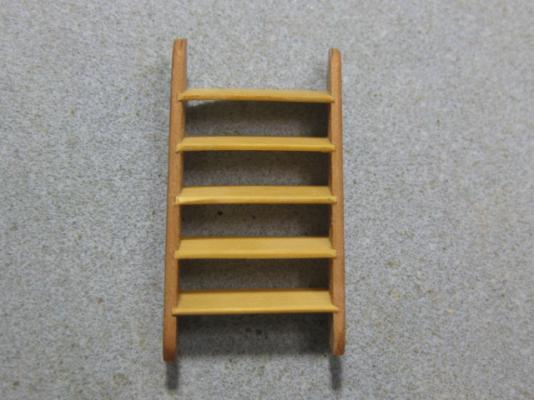
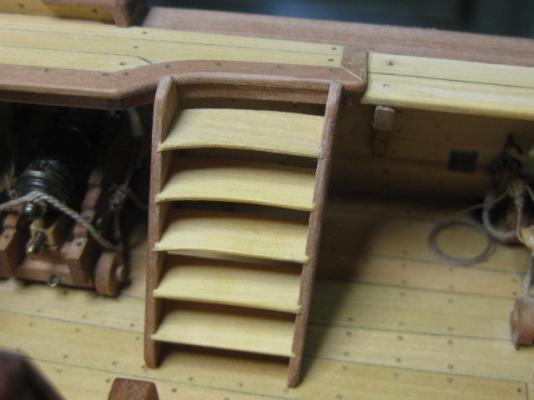
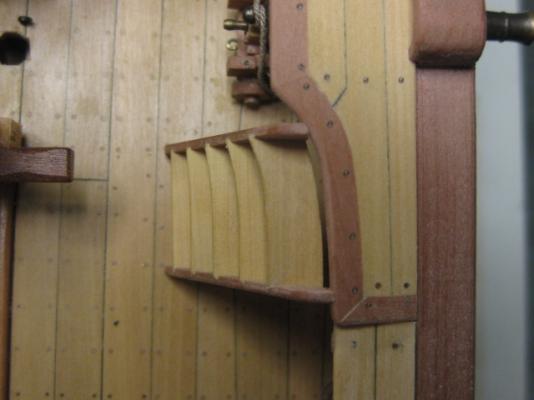
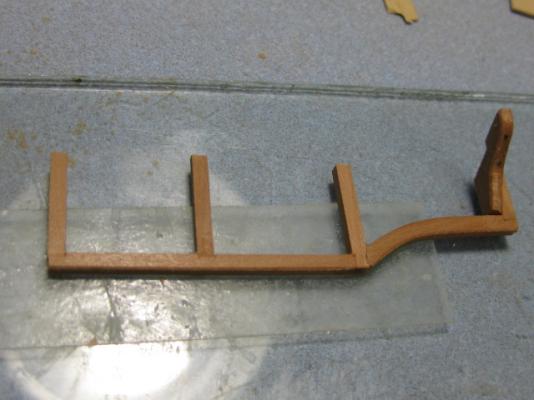
Thank you Mark, overdale, Grant, John, Duff and Richard. Entry Steps to the Waist There are two sets of Entry Steps attached to the fixed gangways, one either side. These have "Winding" treads to transition from the curve in the gangways - quite tricky things to get right as the angles for the slots in the fore stiles are different to the aft ones. I cut the fore slots at 30 degrees, and the aft ones at 27.5 degrees. This gave the required "twist" in the steps. The pics will tell the story of how I made them : Danny


-
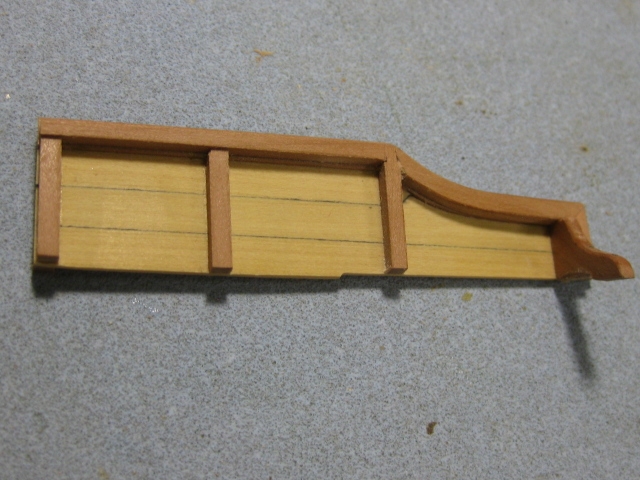
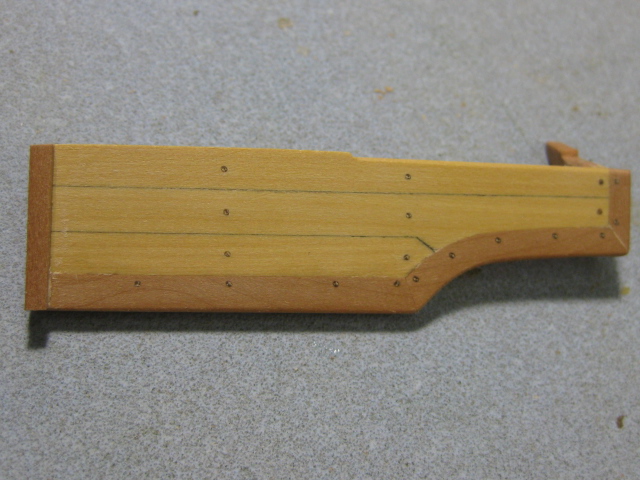
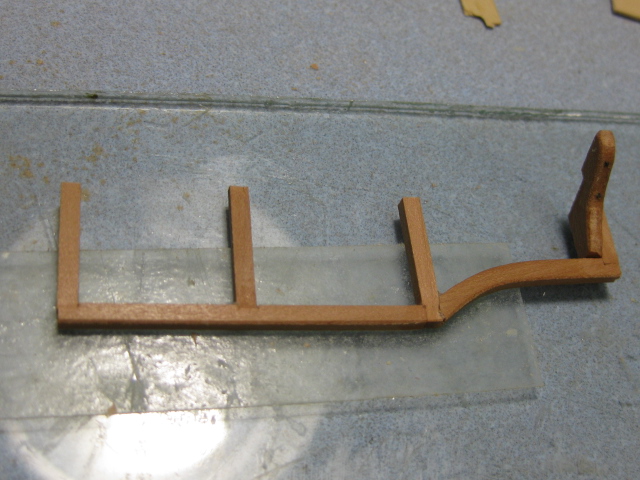
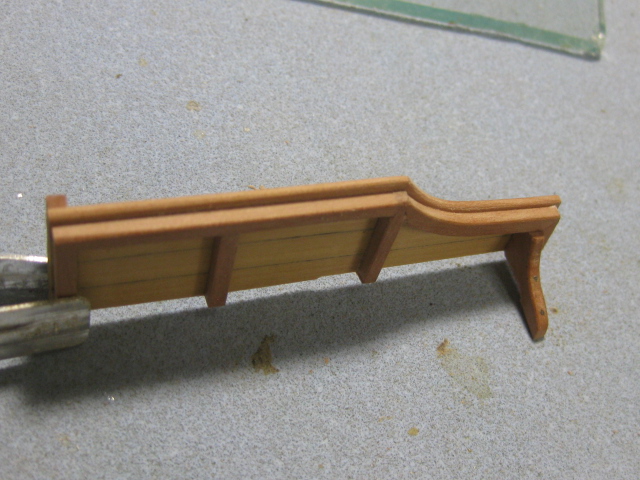
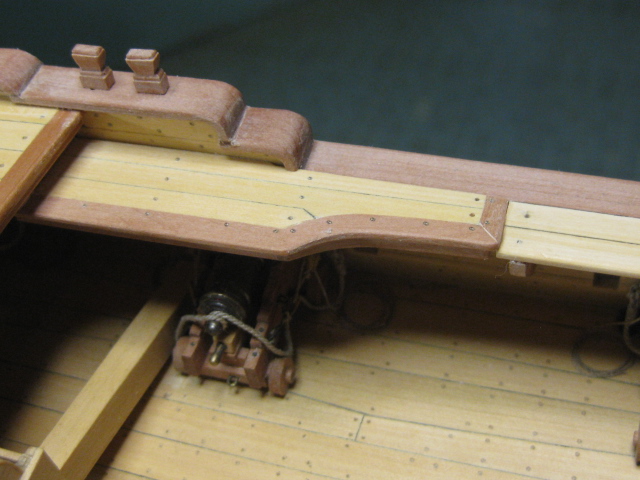
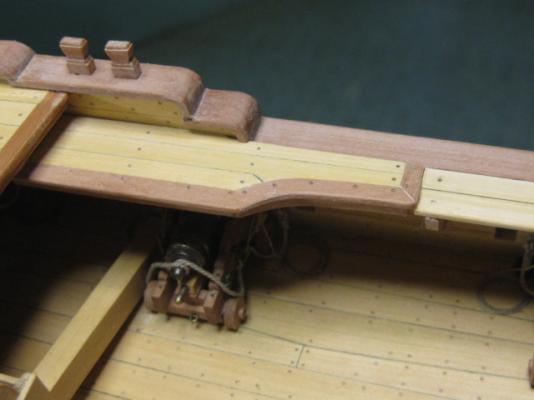
Thanks once again to John, Brian, Jeff, Pat, Tony and Sailor1234567890 . Gangways and Gangboards There is a Fixed Gangway either side of the break for the Quarterdeck to provide access to the quarterdeck from the upper deck and also to allow for boarding, and a Gangboard either side in the Waist to provide a walkway between the forecastle and quarterdeck. The easiest solution to making the framing for the fixed gangway I could think of was to first edge glue the planking together, shape it correctly, and then build the framing onto it. I used Pear for the edging plank for a decorative contrast. The second framing for the unplanked starboard side was copied from the resulting pieces : The Gangboards are a simpler affair, consisting of two 9" boards which are affixed to the knees : The installed assemblies : Danny


-
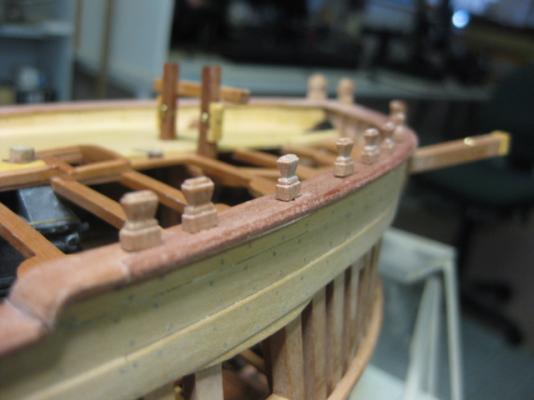
Thanks John, it would have been a LOT more difficult without the jig . All the timberheads are finished and installed. The pic below shows how much difference there was in the longitudinal angles, remember that the ones near the waist were straight : Danny


-
That's exactly right Michael. Danny
-
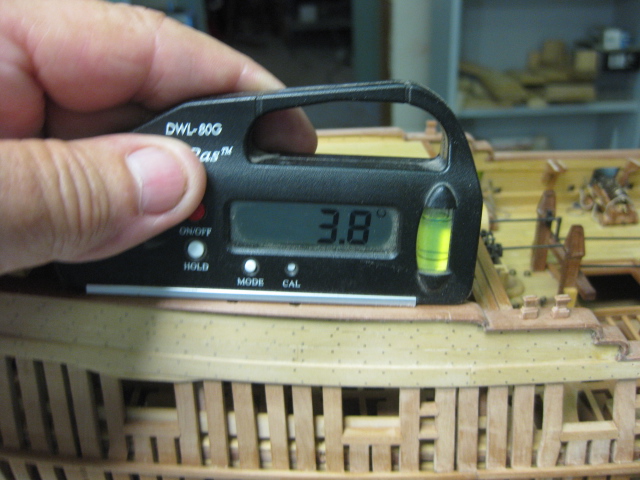
Thanks Maury and Bill - I'll get around to doing that. Quarterdeck Timberheads I've finished making all the straight timberheads and now I need to make the angled ones for the quarterdeck. First thing to do was determine the angles. I'm starting with the shallowest near the fore of the deck. I've used my digital level to get the first angle : Then I marked the angle on my jig on both sides of the wider slot, and cut the sides of the slot : Then I filed and cut the steps etc as before. A wedge holds the piece in place while I cut or file it : As I progress aft the angle will increase. Each needs to be measured, and the jig re-cut to suit. Danny


-
That is correct Adeline. Danny
-
BE - I agree with that, but the Swans have both open ports and closed ones on the same deck. As there is no way to stow the guns in the "run out" position on the closed ports (it would of course negate the use of port lids) they'd have to be stowed in the "run in" position unless they were stowed in the fore-aft position. TFFM shows them all as stowed in the "run in" position. Danny
- 1,215 replies
-
- 1
-
-
- sloop
- kingfisher
- (and 1 more)
-
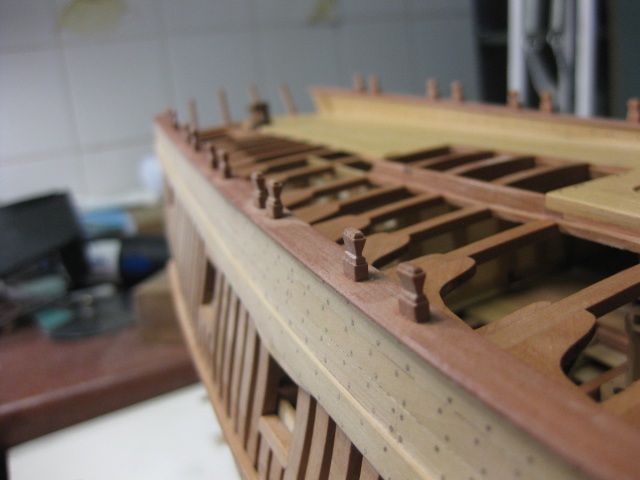
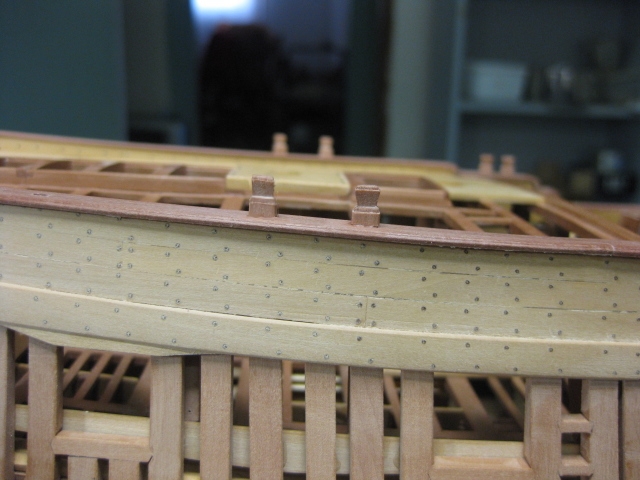
Thank you to all the guys who hit the "Like" button for my last post . Forecastle Timberheads I've marked and drilled the slots for the Timberheads, and also made and dry-fitted 8 more of them to check if the angles were going to need changing yet. Fortunately all the Forecastle ones are straight, so I can make 8 more before I have to adjust my jig. The bad news is that all the quarterdeck ones will need to be cut on at least four different angles - it could have been worse . Danny

-
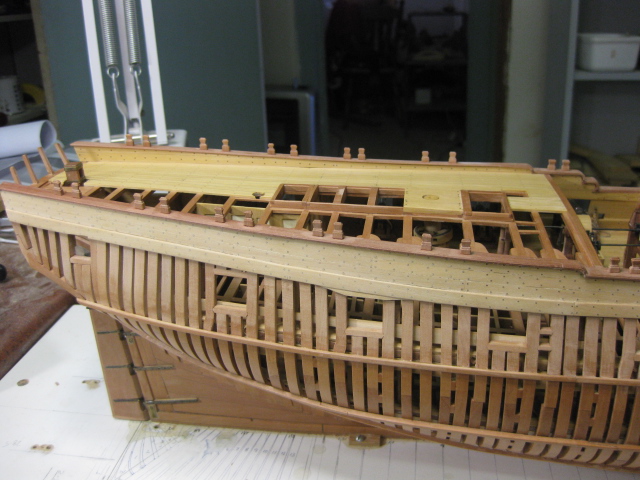
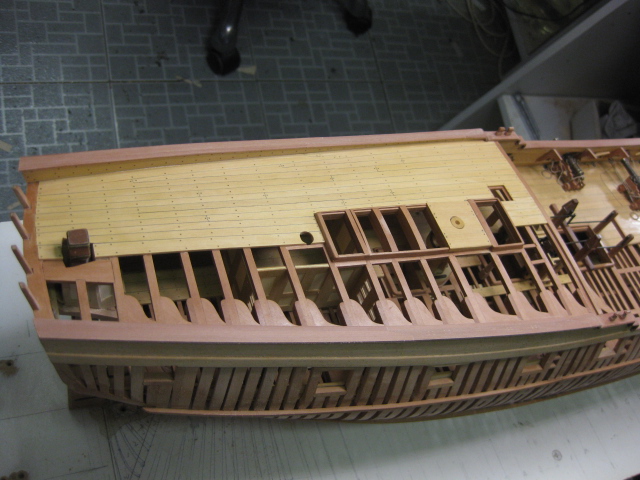
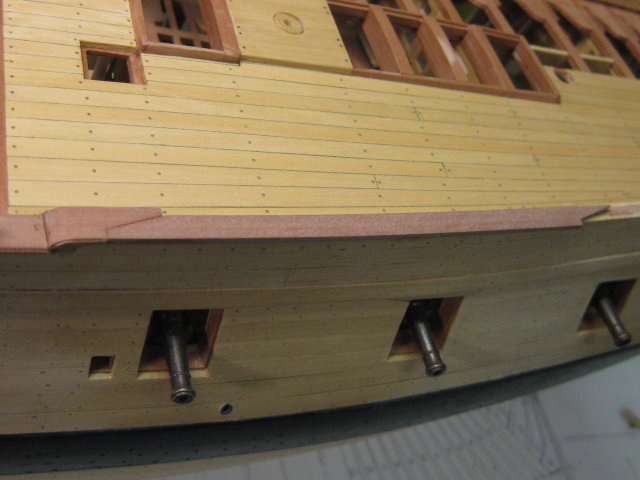
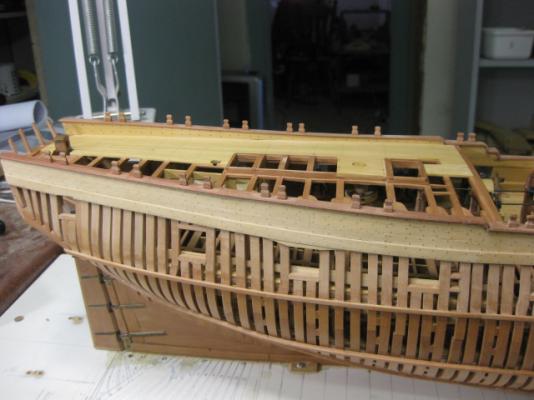
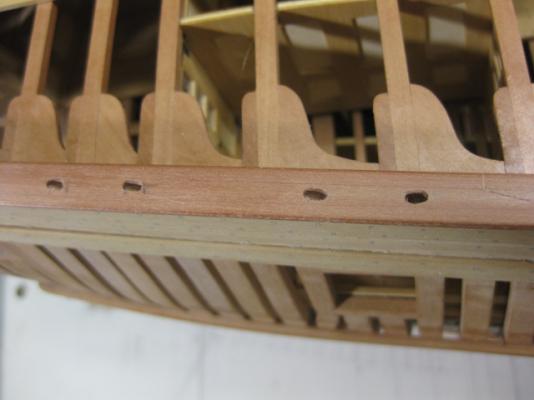
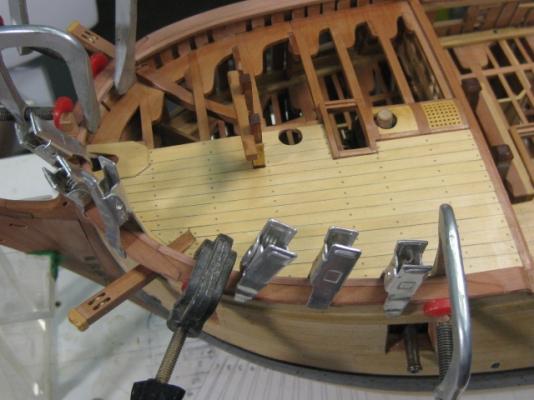
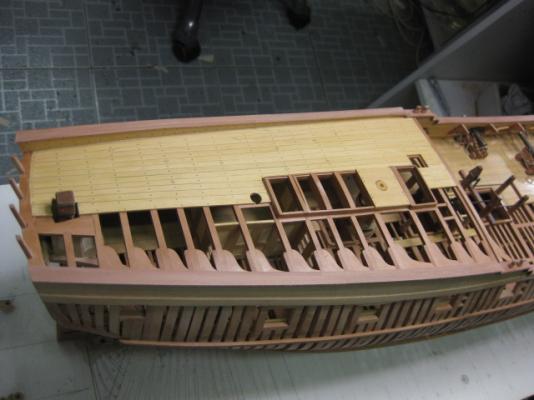
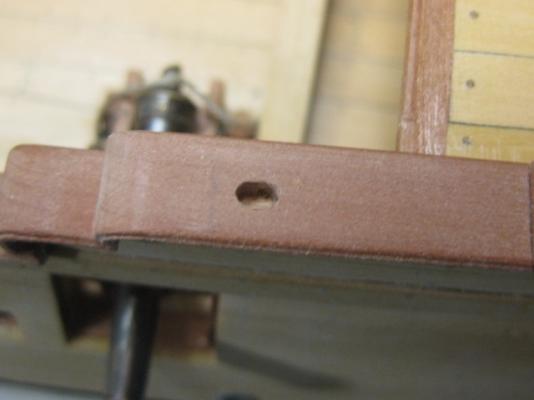
No worries Elmer - plenty more where that came from . I've finished fitting all the Planksheers. The port quarterdeck one is completely finished, others are in various stages. You can clearly see the two-piece construction on the forecastle ones. This is necessary (even on the real ship) as it is impossible to fit the planksheer over the timberheads owing to the changing angles of the latter. Don't forget, I'm "cheating" here - I'm not making the timberheads as part of the top timbers. I find it much easier to cut the moldings into their tops on the bench rather than on the ship . Danny
-
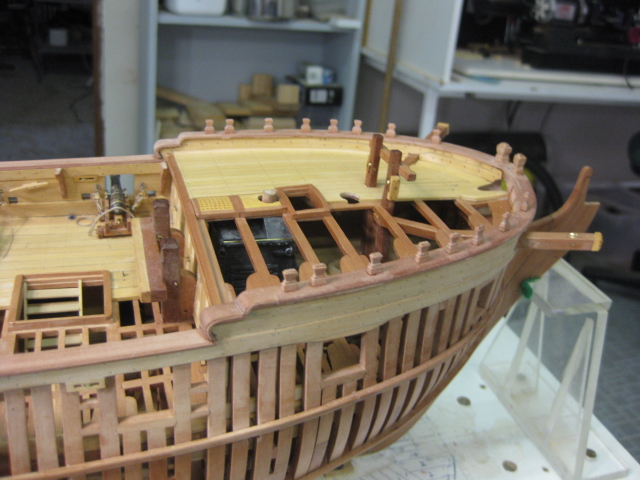
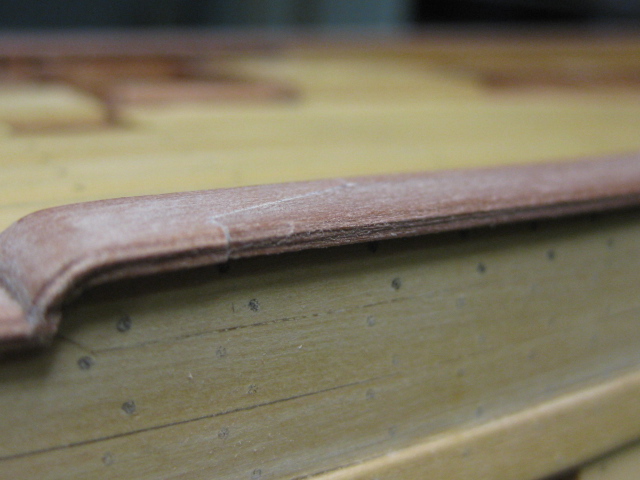
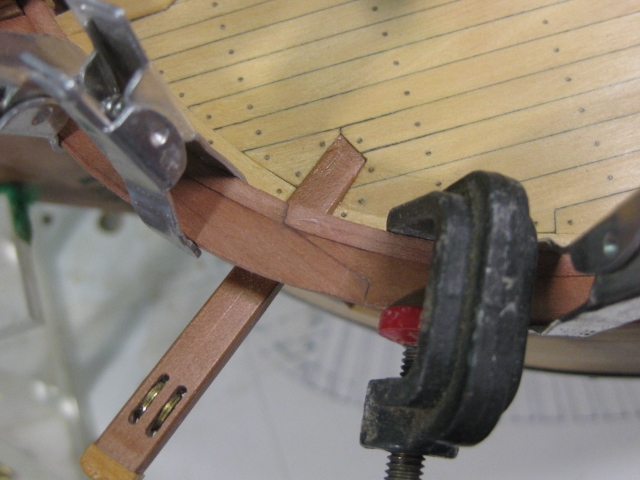
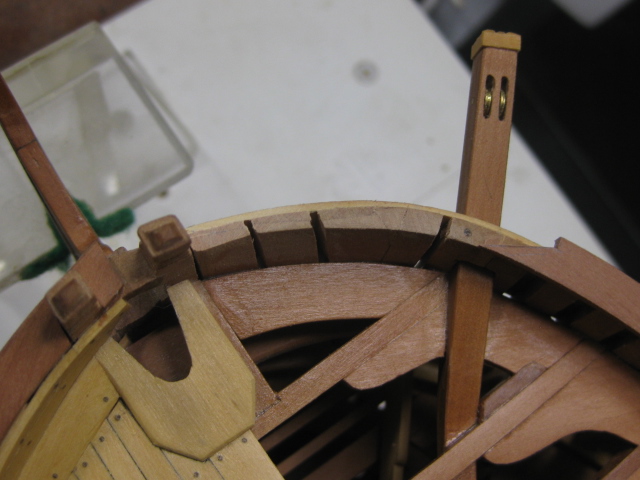
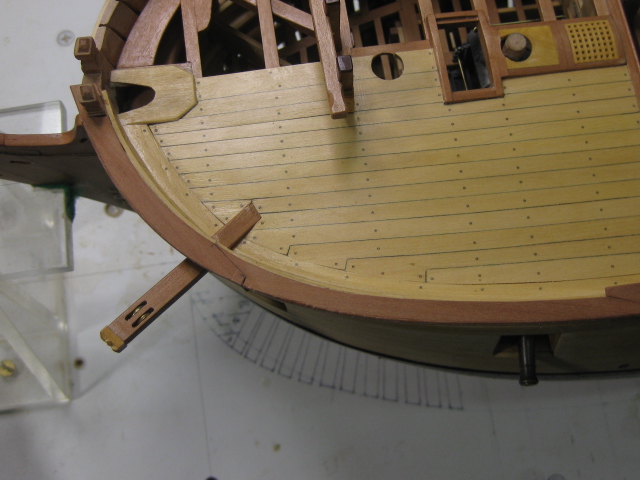
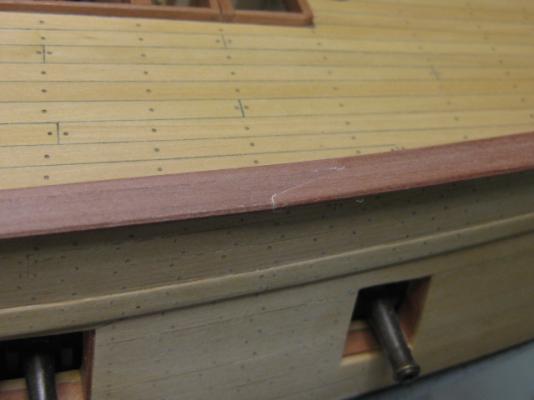
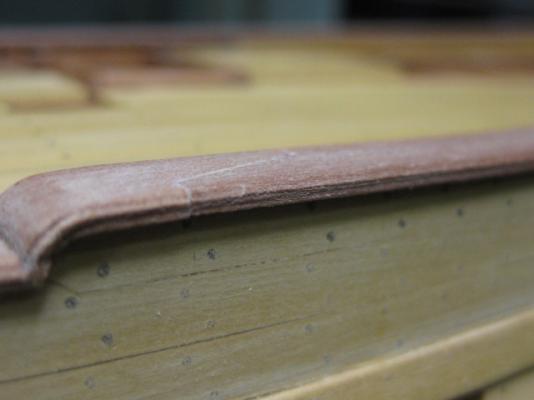
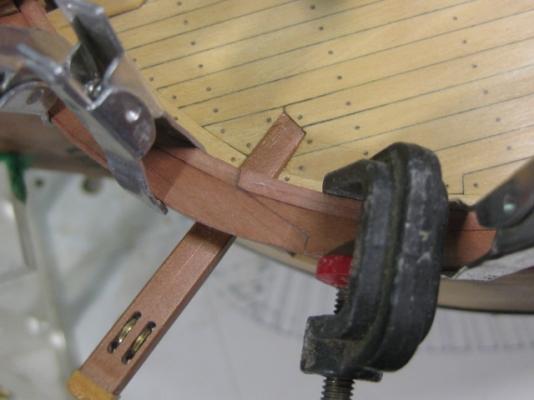
Thank you, and you're most welcome Mark, Remco, Christian, Grant, Jeff, Maury and Neal . Forecastle Planksheers The Planksheers for the Forecastle and Quarterdeck need to be fitted before I can continue with the Timberheads. For the quarterdeck I could soak and laterally bend the four required as they only have a shallow bend. Here's the first one fitted - there is a smaller piece still to be fitted on the inboard side : The four on the forecastle are a bit trickier. I cut these from wide stock. Fitting the forward one around the Knightheads was quite a task - I had one reject, and used at least 30 "dry fits" on each before I was happy with the result : Danny


-
Hi Grant, I'm sure the Byrnes Thicknesser will get a good workout . I wouldn't be without mine - it's nearly a "must have" tool for any scratchbuilder. Here's a tip - when you start making sawdust don't throw it away. Stick it in a jar, label it, and use it for filler (mixed with PVA when you need it). Do the same for all the types of wood you sand and you'll never run out . BTW - do you have a Byrnes Disc Sander? Another extremely valuable asset - or was that what you were hinting at ? Danny
-
Oops . And yet ..... your's STILL came out better than mine - and I DIDN'T forget to cut them first . Well done. Danny
- 1,215 replies
-
- 1
-
-
- sloop
- kingfisher
- (and 1 more)
-
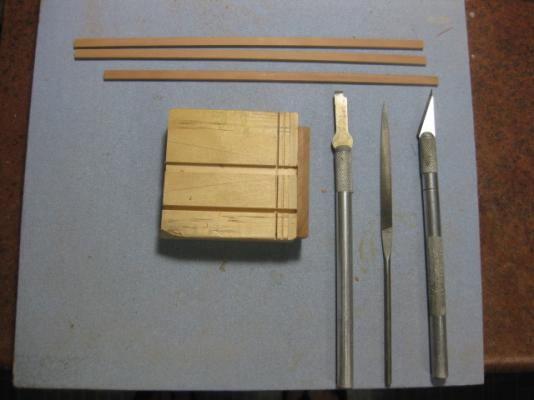
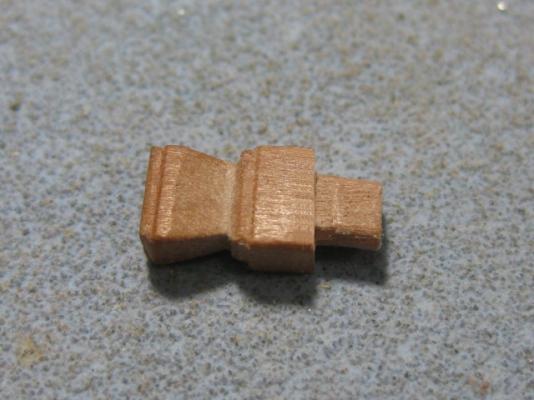
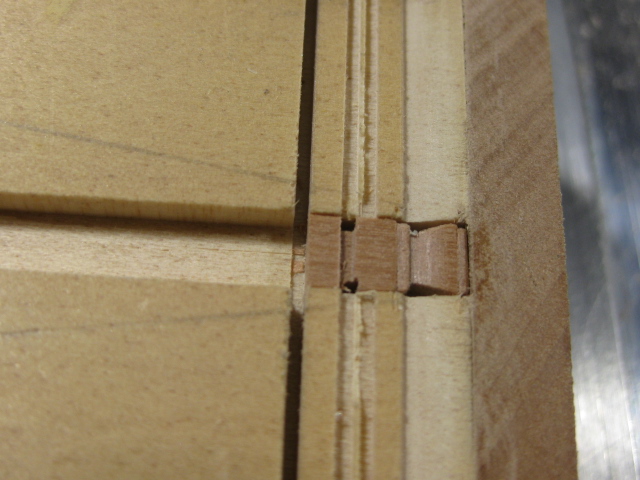
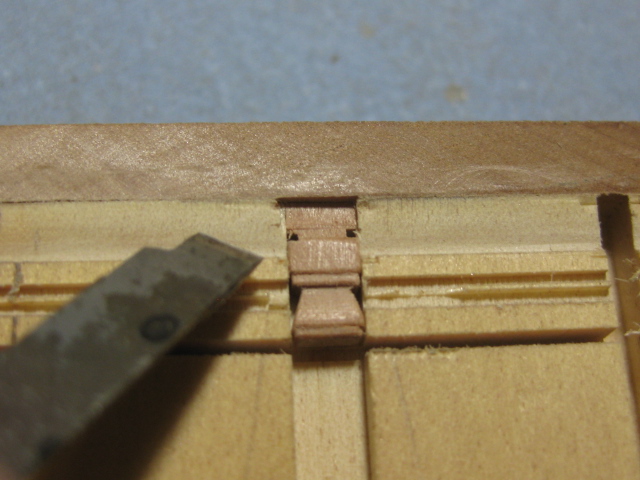
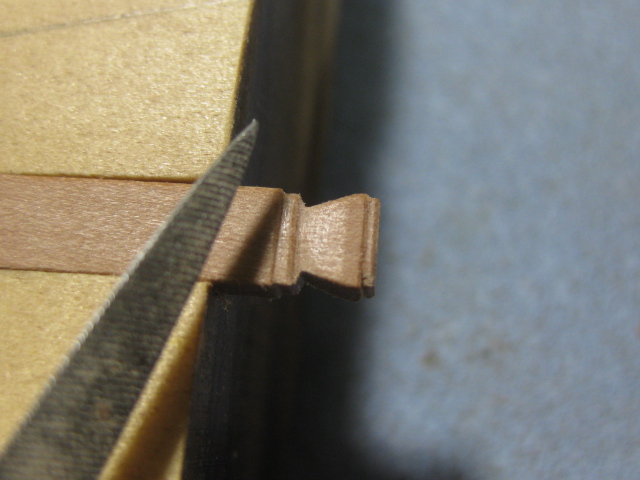
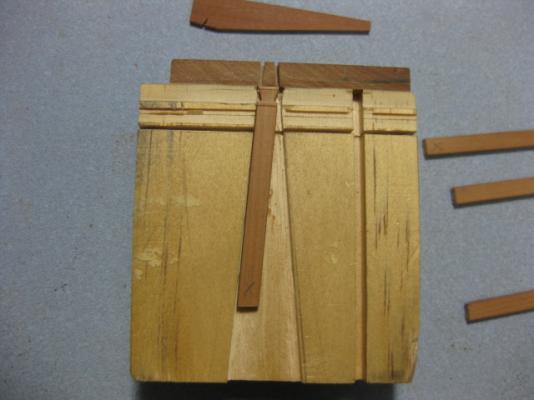
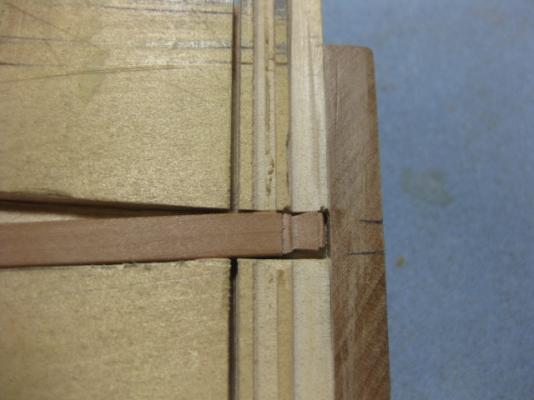
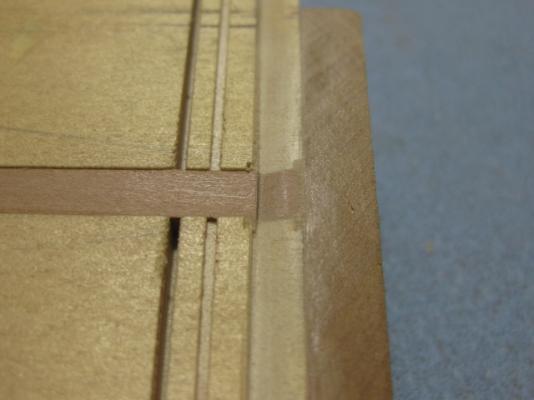
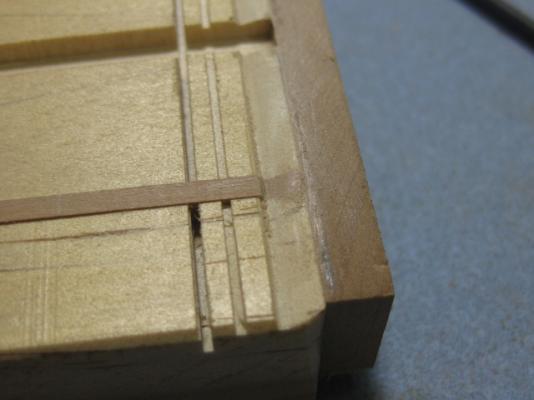
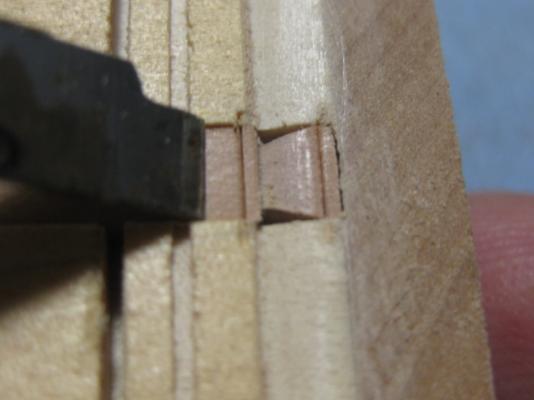
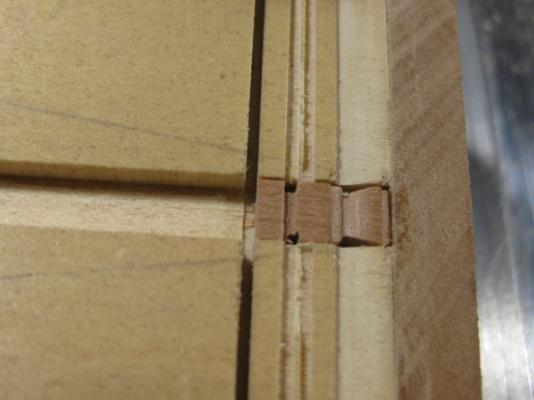
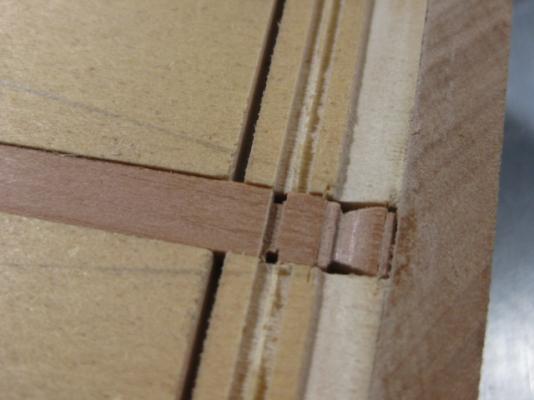
Yeah Greg - although as I mentioned before they are all different . Maury - I'm using the Byrnes Saw instead of the Mill. Using the Timberhead Jig Before the questions are asked about how I use the Timberhead Jig - here's how. 1. I file the two inboard and outboard tapers using the wide slot : 2. I transfer the piece to the narrow slot and file the fore and aft tapers : 3. I cut the shoulders for the moldings using a sharp flat Xacto chisel : 4. The shoulders are rounded off with a needle file : 5. Using the jig I cut the top of the lower step all around on the Byrnes table saw : 6. I cut the piece to length : 7. Using the chisel I cut the lower step to size : 8. Finally I round off the corners of the step to fit the oval hole cut through the planksheer : Danny


-
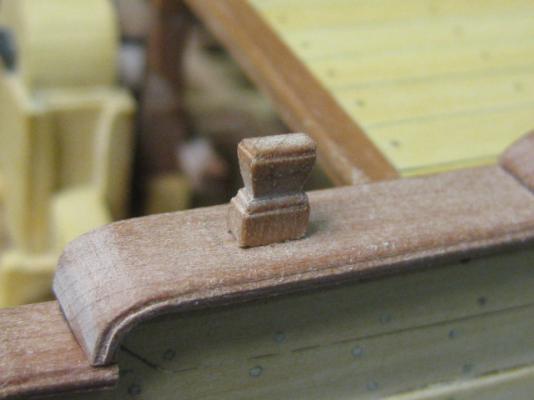
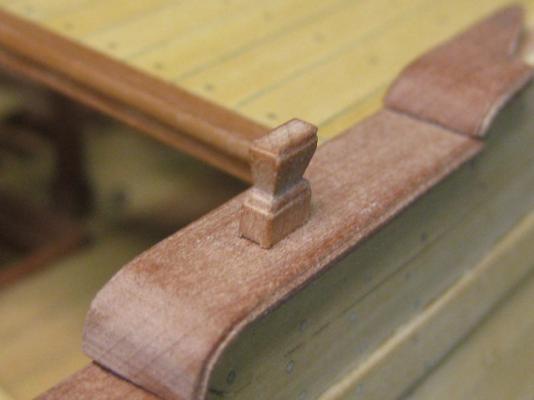
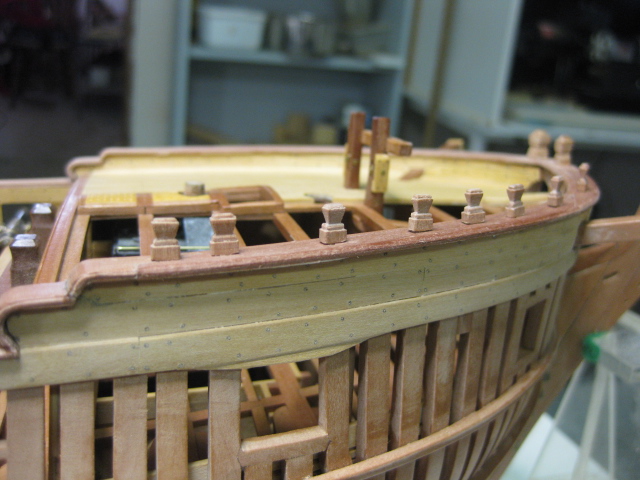
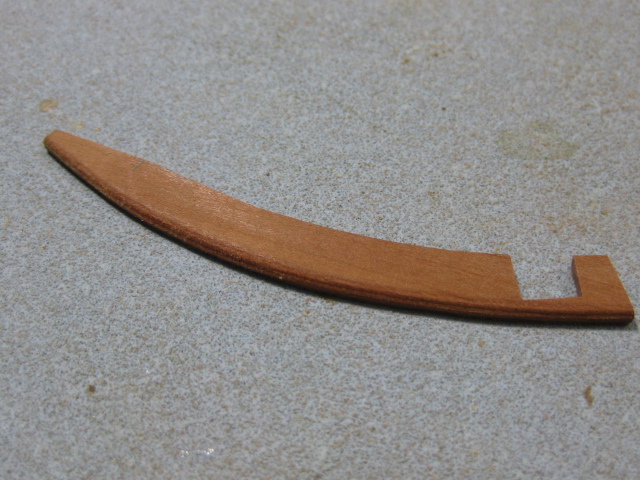
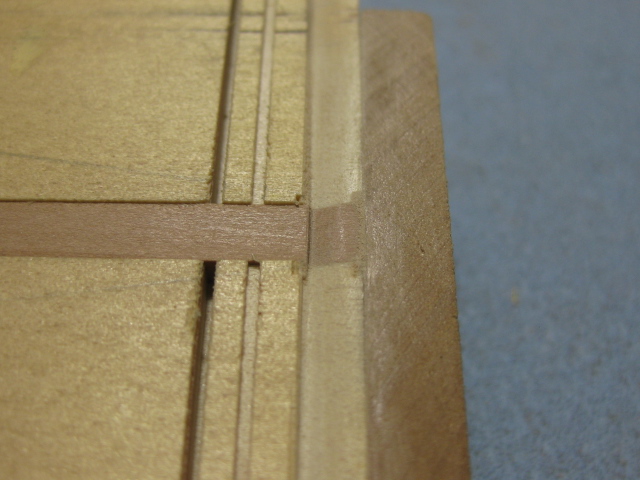
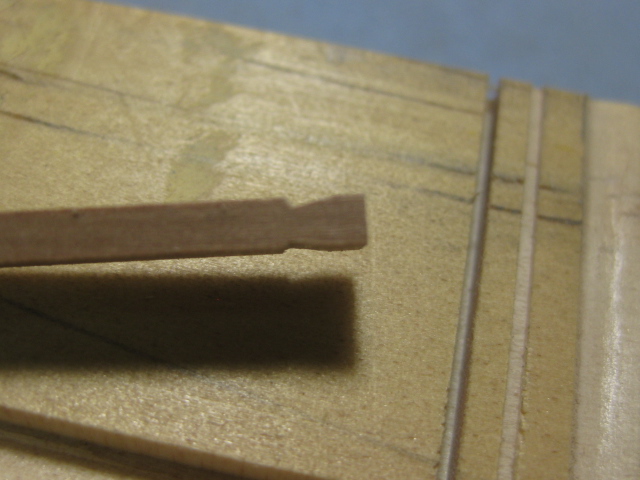
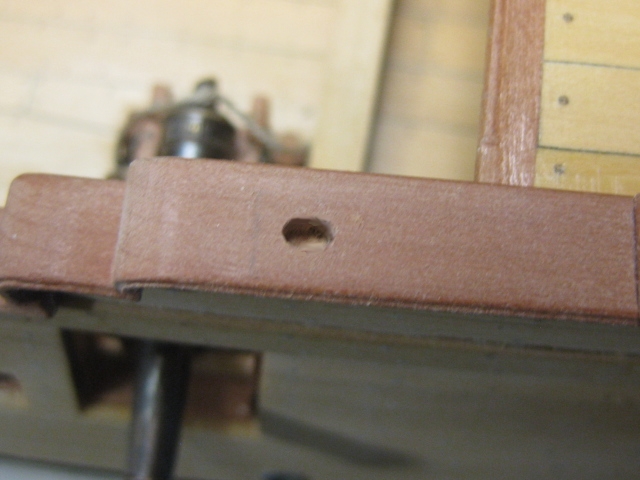
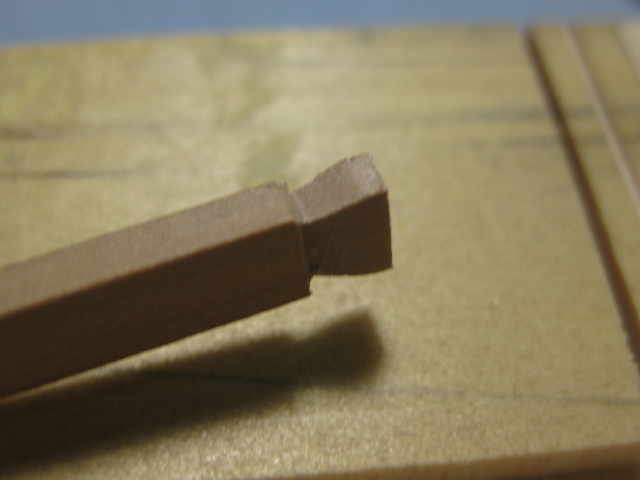
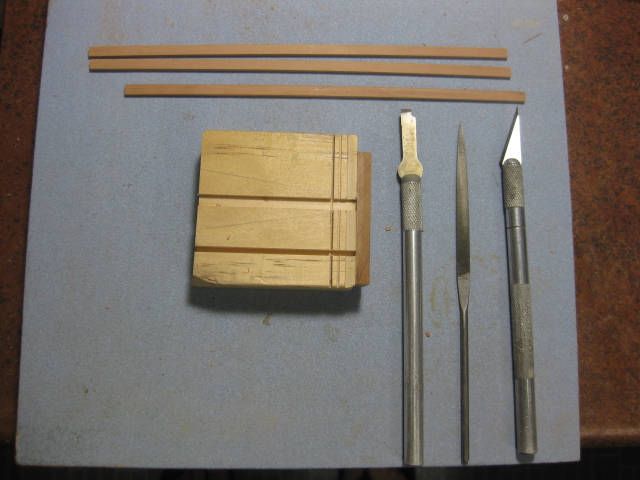
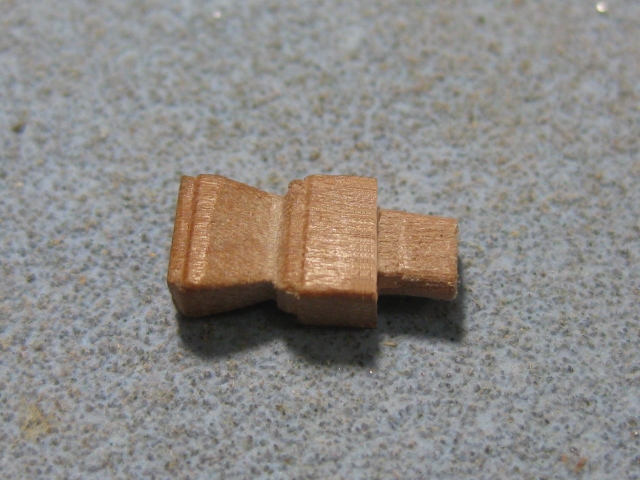
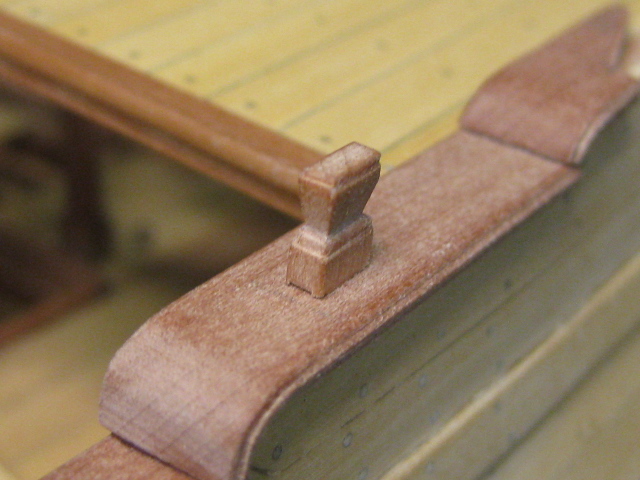
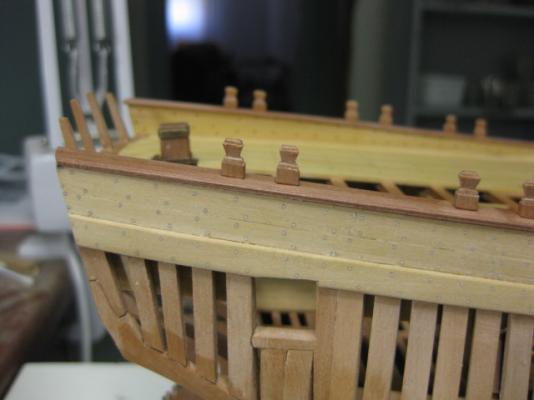
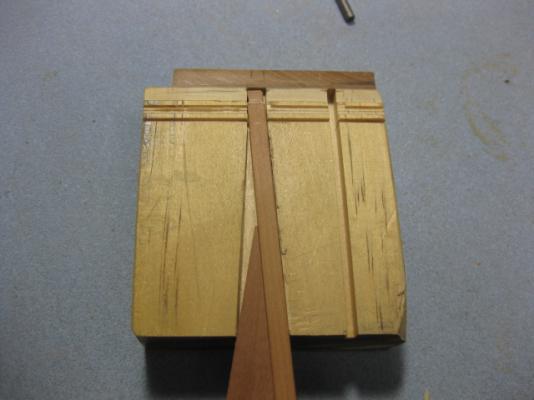
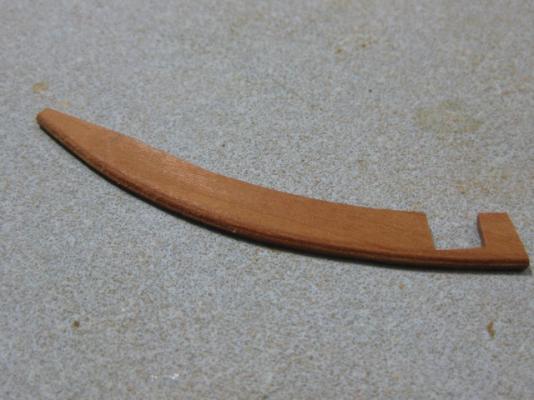
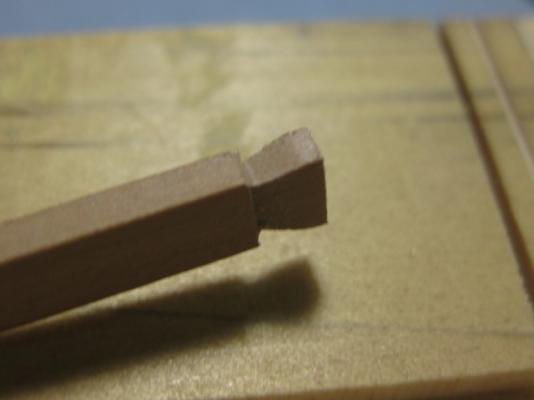
Thanks for checking in again Michael, Jeff and Brian. Making the Timberheads There are 40 Timberheads to fit on Vulture - 16 on the forecastle and 24 on the quarterdeck. Almost every one has different angles cut into them, as they are vertical to the frames but are also following the sheer of the decks in the longitudinal direction. I made a jig to hold the pieces while I cut and file them to shape. The jig's angles will be recut as I progress along each deck - it remains to be seen whether this idea will work, but I'm fairly confident it will. I've cut a shoulder into the bottom of them to give them added strength where they go through the planksheers. They also fit into the top of each frame by 1.5mm : The first one fitted - only 39 to go : Danny