Dan Vadas
-
Posts
3,261 -
Joined
-
Last visited
Content Type
Profiles
Forums
Gallery
Events
Everything posted by Dan Vadas
-
Nice work on both types of cleat Grant . Your method of making the brass ones looks a bit easier than the one I used on my Norfolk Sloop - I cut and filed them from 1mm thick brass strip : BTW - did you use English Box for the wooden cleats or Castello? The English is probably twice as close-grained and can be cut and shaped to TINY sizes without falling apart . Danny


-
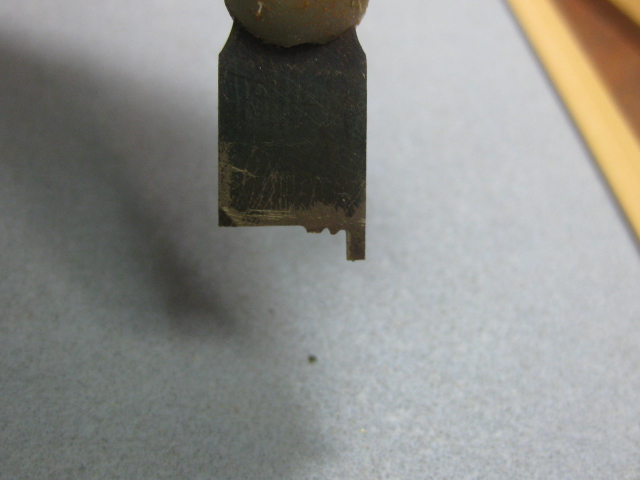
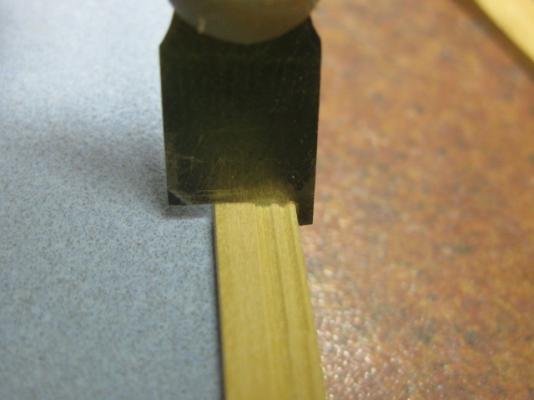
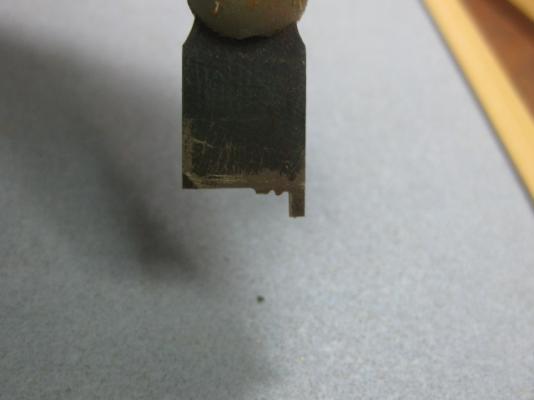
Thank you Aussie and John . Richard, I'm not great at making Scrapers either - for me it's a matter of trial and error before I achieve anything that looks reasonably like the right shape . I use a flat Xacto blade with a heavy-duty handle. First I anneal the steel by holding over a gas flame until red hot, and allow to cool without quenching. This softens the steel sufficiently to allow a file to work. Then I cut a "negative" of the required shape using a thin cutting disc in my Dremel, finishing off with needle files. I angle one side of the cuts to sharpen them - they work best if you pull from the flat side. Some sections of the profile aren't sharpened but rather rounded off to avoid cutting into the timber. These act as guides to follow the edge of the timber or stop the cut at the required depth. Finally I re-heat the blade and harden it by quenching in oil to cool it quickly. Another tip - I cut the molding into a wider piece of stock first, then trim it to width on my Byrnes saw. This allows me to hold the otherwise very thin piece firmly without it wanting to wander all over the place. Danny
-
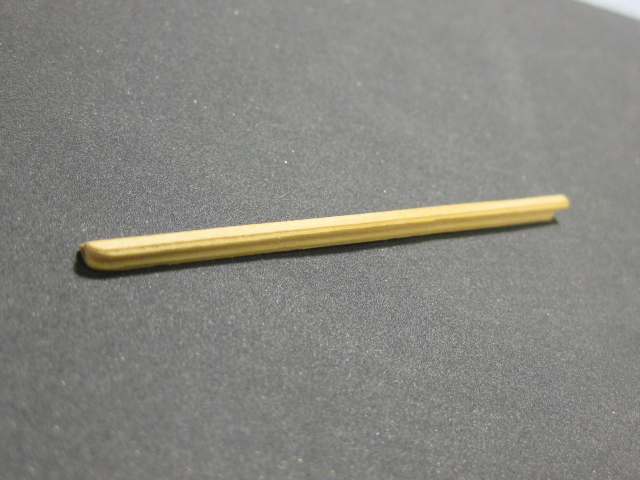
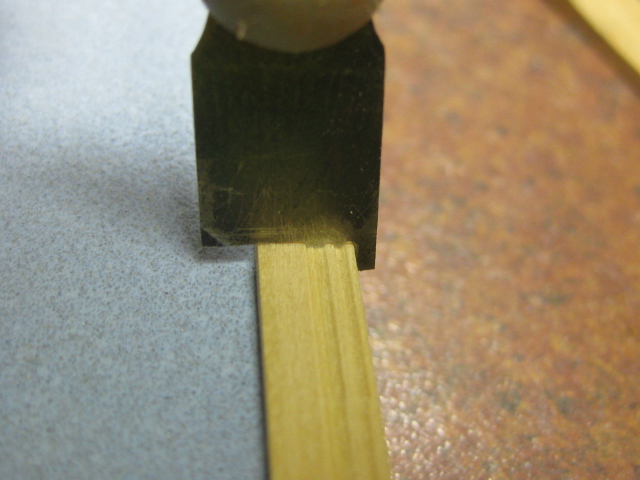
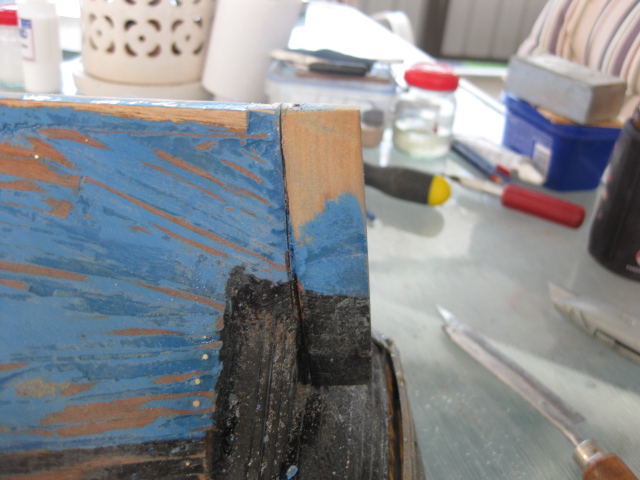
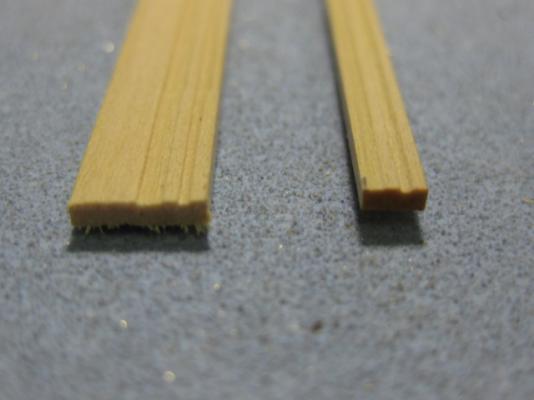
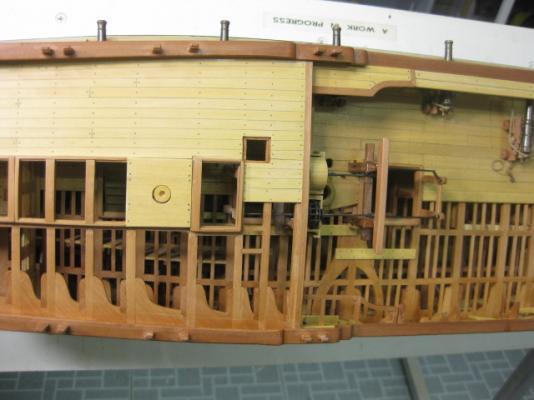
Preparing Tuck Molding and Waist Rails The Tuck Molding covers the join between the Lower Counter and the Hull Planking that meets it. I'm only fitting the Port side. The outer end of the molding needed shaping to return to the Wales. The inner face needed bevelling to match the angle of the Counter : The same molding scraper was used for both the tuck molding and the Waist Rail. There is a slight difference in the actual molding, but it wasn't enough to warrant making a new scraper (which is quite a job - I'm using the same scraper for most of my moldings, the difference can't really be seen by eye). I've prepared a couple of strips of Waist Raiing, which won't be fitted until after the Quarter Badges are installed. The one on the left has it's molding scraped in ready for final trimming to width : The Scraper : Danny

-
No. "Trim" came with the kit. He was Matthew Flinders' famous cat. Danny
-
That's about the only way I can see it working too John. Thanks for the comment Grant . I'm going back through Volume 2 to make sure I haven't forgotten anything - I skipped a few steps every now and then as I thought it easier or better to do some things "out of sequence". I've made and fitted the Upper Capstan Pawls, which are the same as those for the Lower Capstan detailed earlier in the build. Danny

-
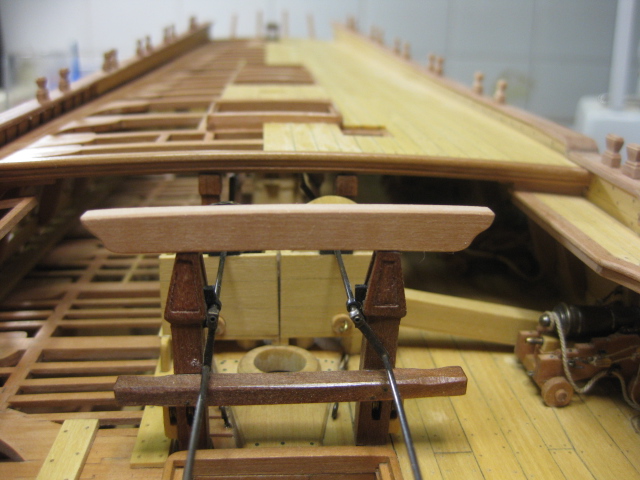
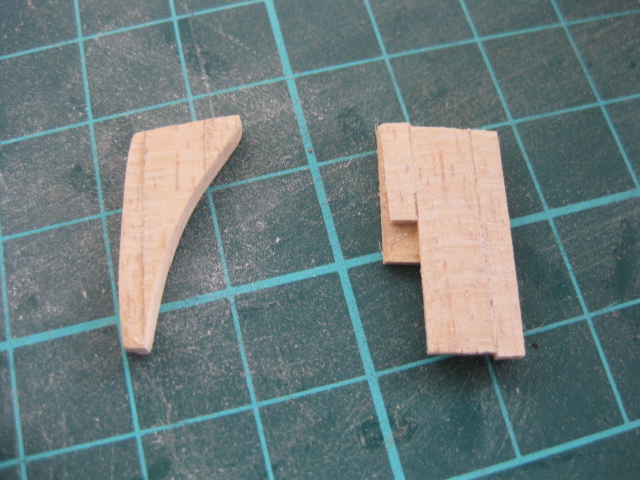
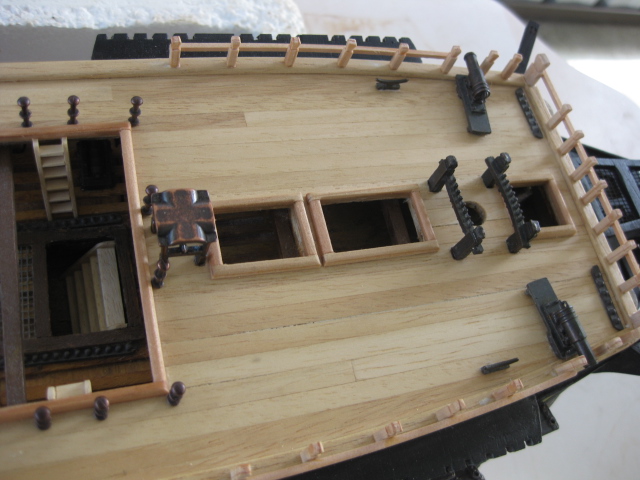
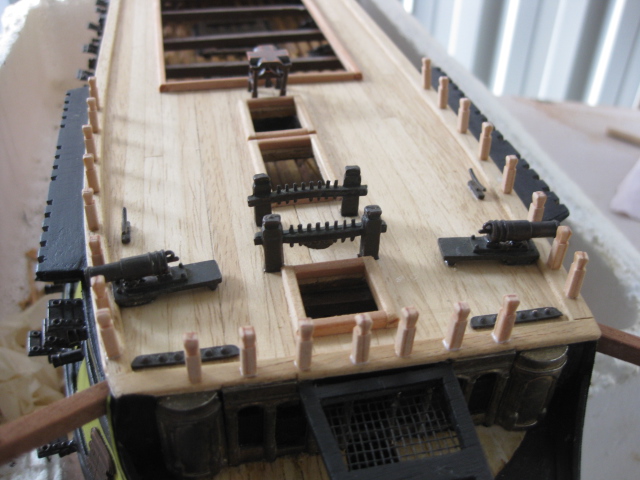
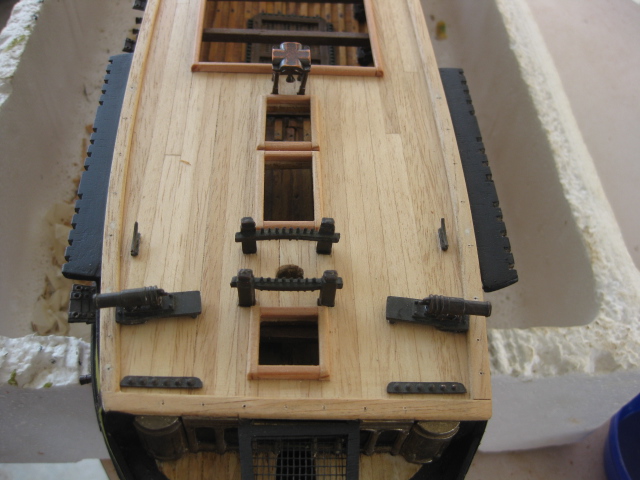
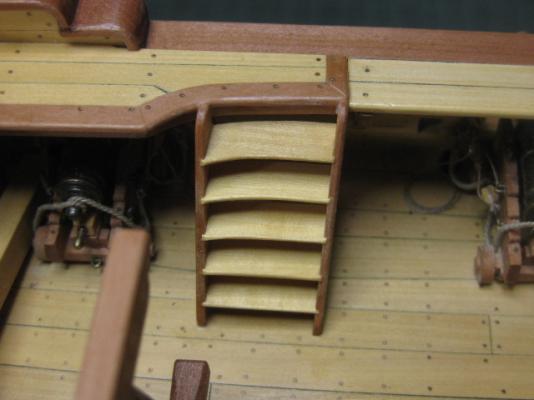
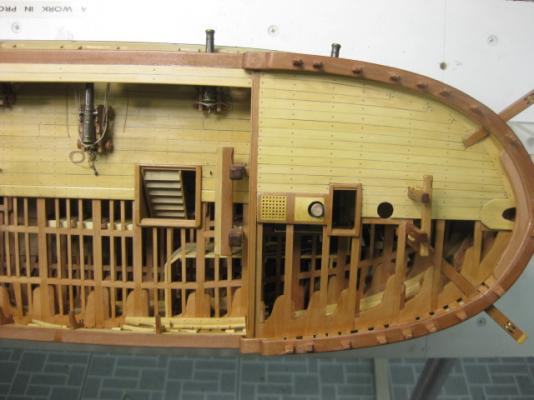
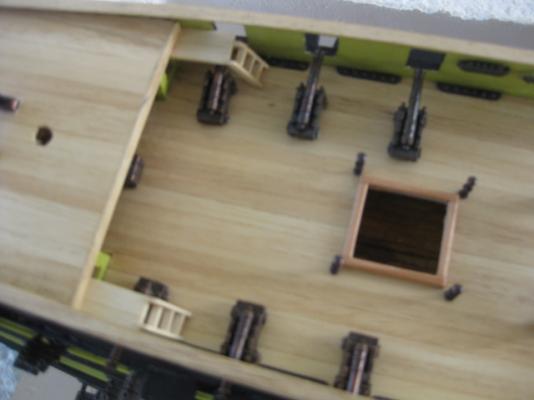
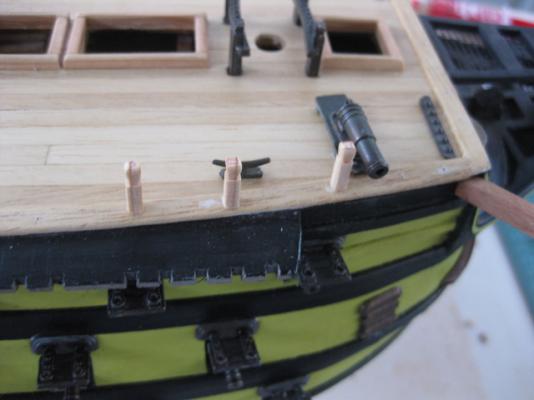
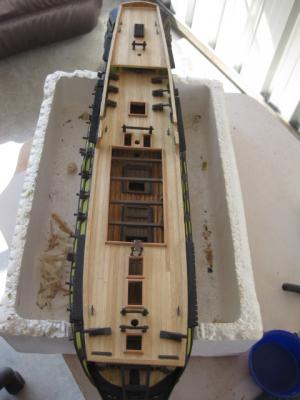
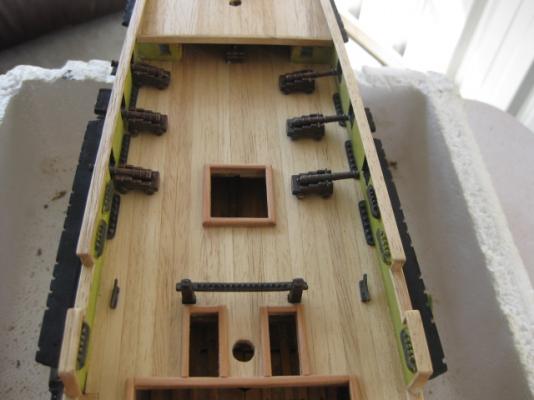
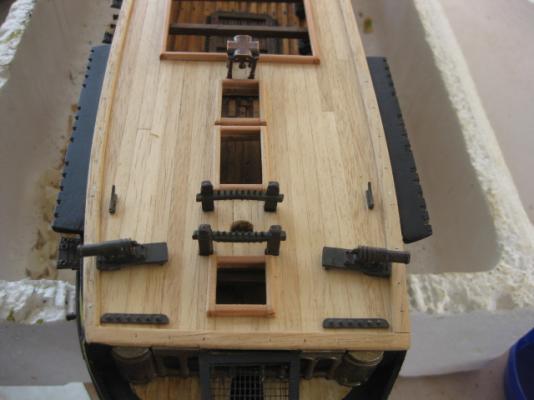
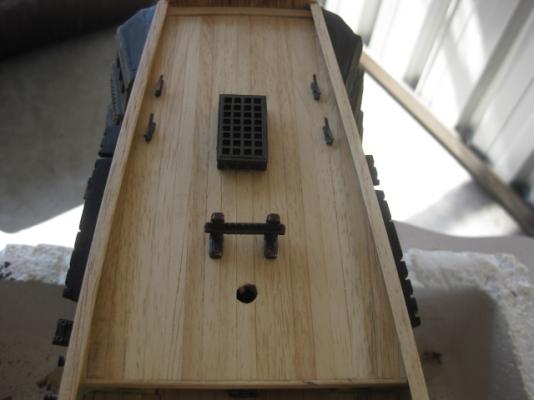
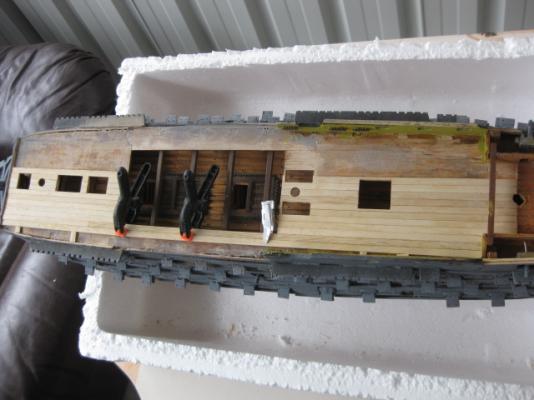
Gallows Crosspiece I've made and fitted the Gallows Crosspiece. This is used, not as a Gallows (they used a Yardarm for that ), but as the aft support for the Ship's Boat and spare spars etc. This pic was taken before a finish was applied. I'm at a bit of a loss to see how the fore end of the boat and spars is supported. There is nothing in TFFM that I can find which is used as a fore support . Any suggestions? I've also fitted the two half-curved entry steps to the waist which I'd made before I went on holidays. A couple of progress pics of the decks. I've applied Minwax Wipe-on Poly to all the areas that I hadn't finished beforehand. Danny

-
Hi Brett, Sorry, forgot to mention a little tip about using Alcohol on large/difficult joints like you had. Some Stretch Wrap put around the joint after applying the alcohol will slow down the evaporation rate. Several applications may be necessary on some joints. Something to remember if you need to do so again in the future. Danny
-
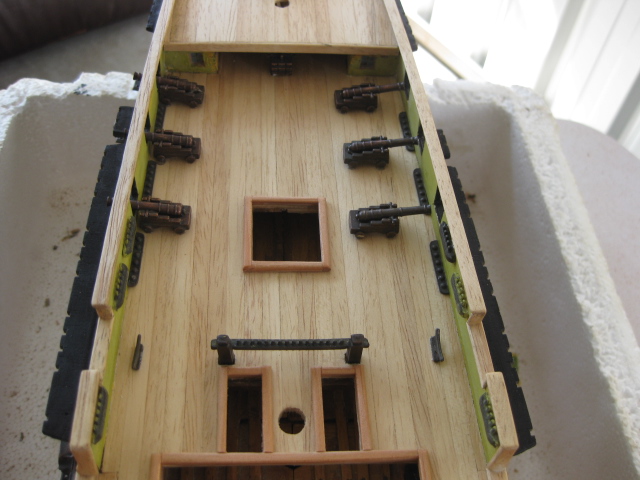
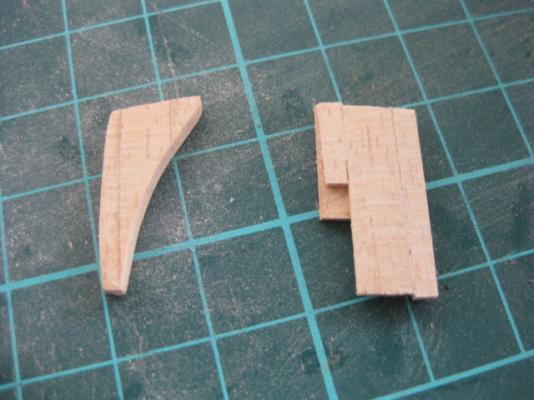
The last BEFORE pic : This is almost where I am up to (a couple of pics still to come on my next visit to my van). All the hull is finished except for the Stanchion rigging and Gratings, and the next job will be the masts (a total re-make). Not having any stock of sufficient thickness, I laminated some pieces together to make the Cathead Knees : This concludes my Update for now. Danny


-
I made all new Timberheads. I used 0.5mm brass wire to ensure a good bond. Yeah, I KNOW they aren't accurate : Continued in next Post .....


-
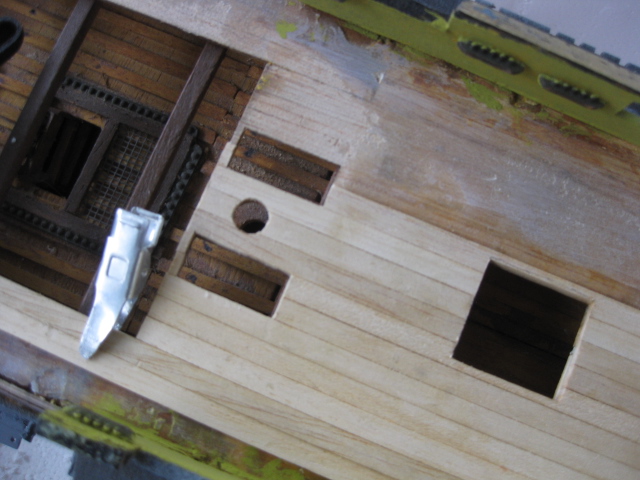
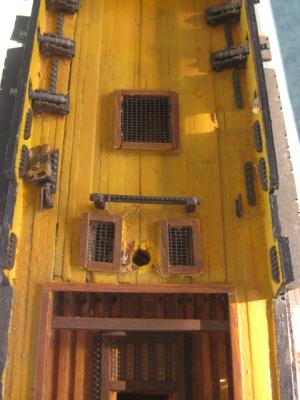
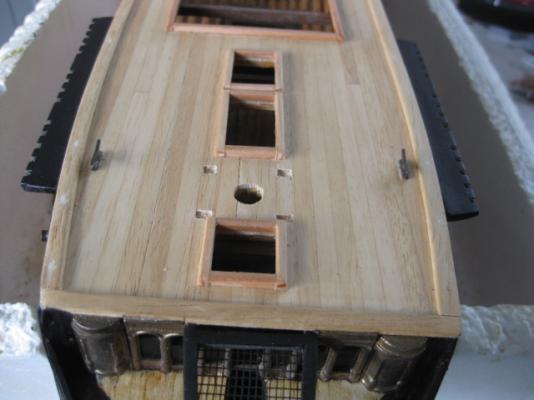
First, a pic from BEFORE : Some progress pics of the hatch coamings and deck furniture. I re-made all the coamings from new stock. I'll fit some aftermarket wooden Gratings to several of the hatches later on (naturally, the local Hobby Shop doesn't carry them - they mostly do all R/C stuff) : Continued in next Post
-
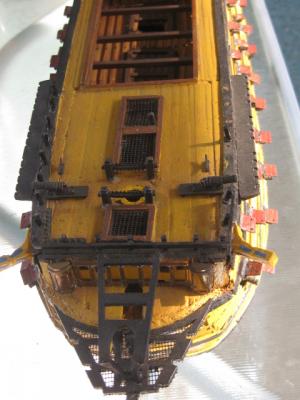
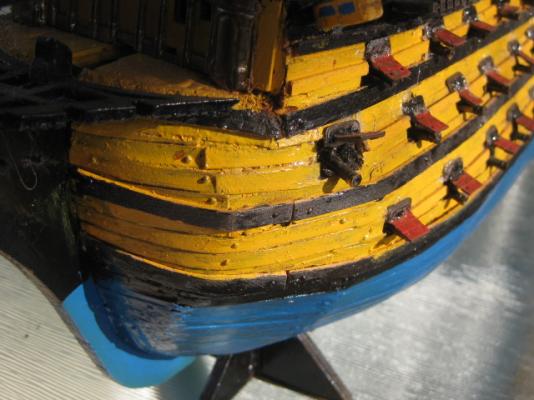
The re-built and mostly finished off Headworks : I also re-made the Rudder, but unfortunately forgot to take a pic of the finished result. My attempt turned out fairly rough historically speaking, but it was a bit better than what I had to start with : I'll post pics of the rudder on my next visit to my caravan in two weeks. The model has been left there so I'm not tempted to work on it at home instead of on Vulture - a huge temptation I'm sure you will agree . Continued in next Post
-
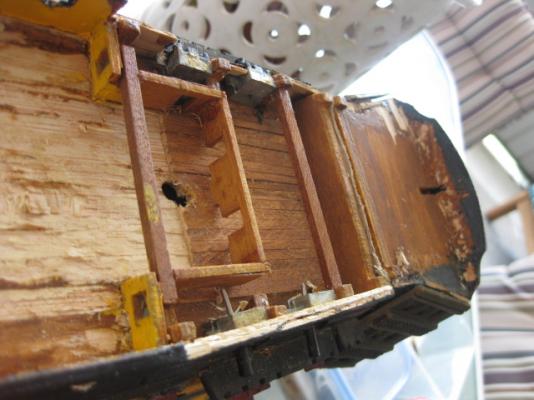
I made and fitted a new Companion to the lower deck. Old mate must have attempted to make one in-situ (I wish I'd taken a pic of it). The treads were roughly VERTICAL and as rough as guts : Note the planking on the lower deck - I couldn't really do anything about it without ripping up the entire forecastle deck/gangways. This was another result of confusing kit instructions . Most of the lower deck will be hidden anyway when I fit a couple of Longboats to the beams. Continued in next Post

-
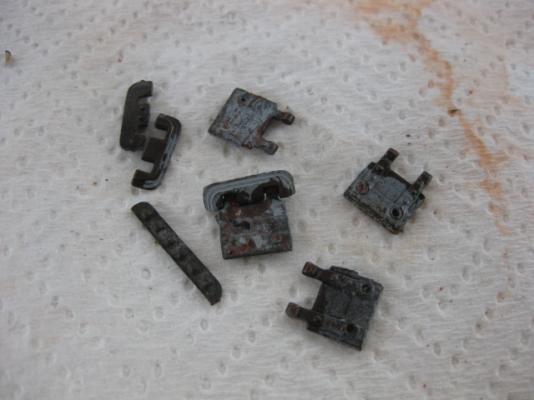
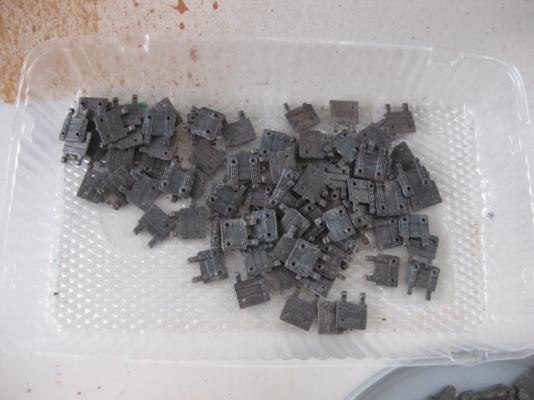
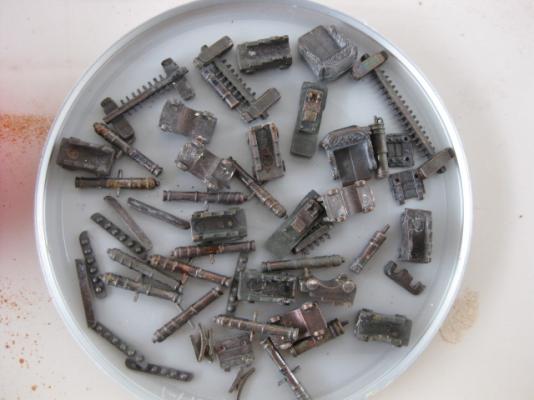
Before I could fit any of the poorly cast (why was that no surprise?) fittings they all needed a thorough soaking in Acetone, followed by half a day's worth of scrubbing with a toothbrush to remove all the glue and paint. This was a REAL mission : Then I spent the rest of the day cleaning up casting flash and filing. Continued in next Post

-
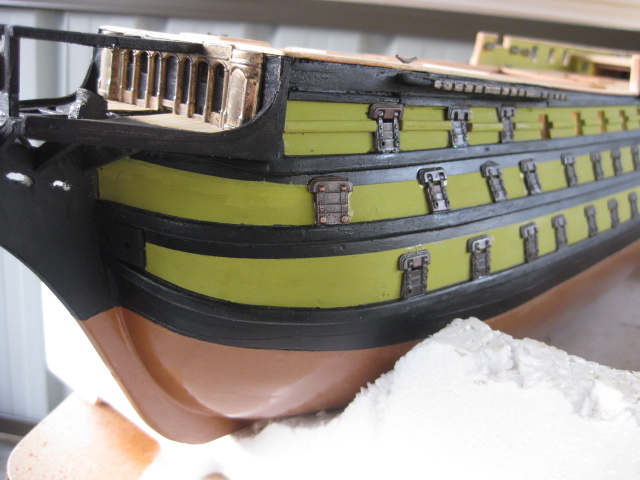
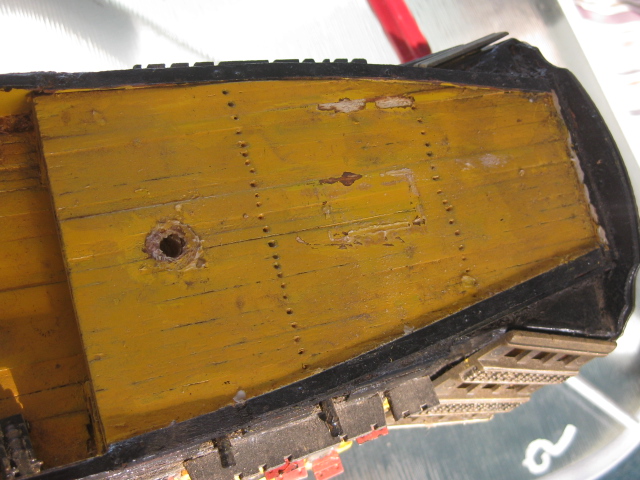
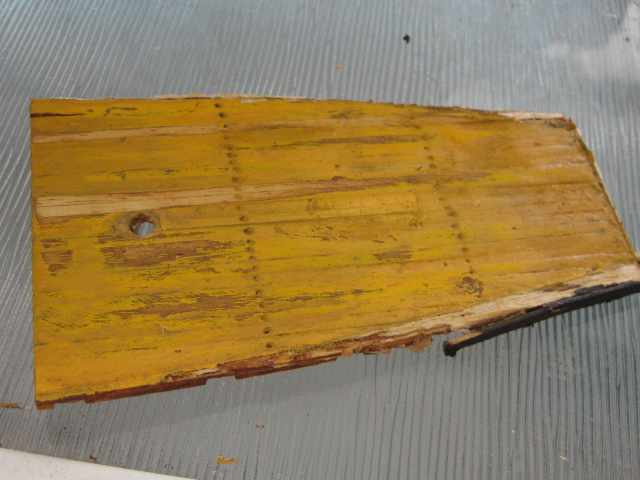
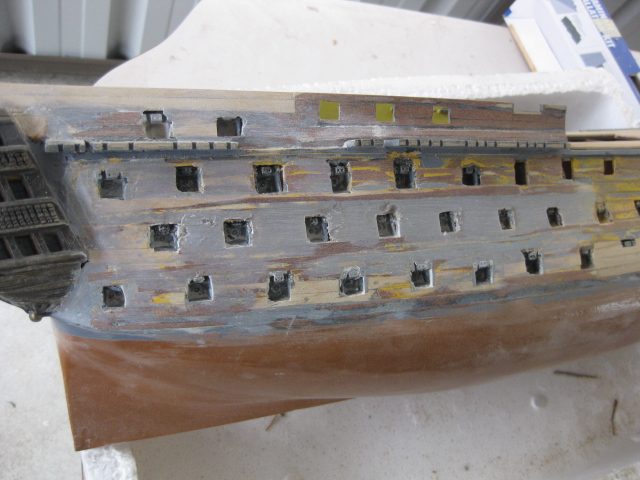
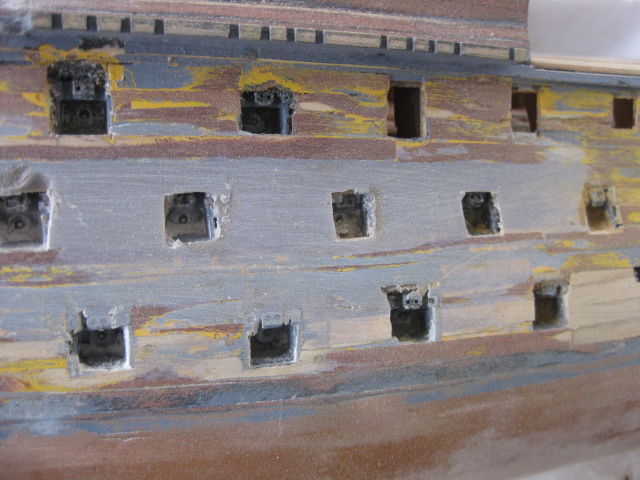
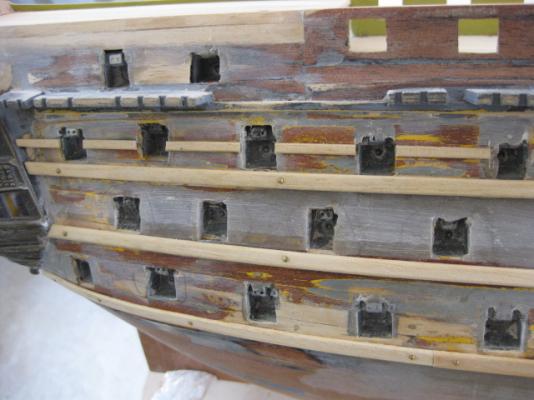
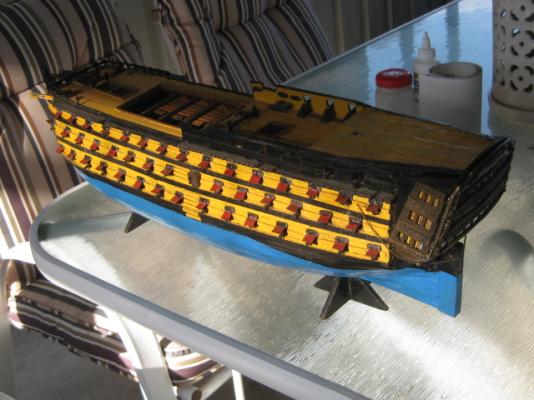
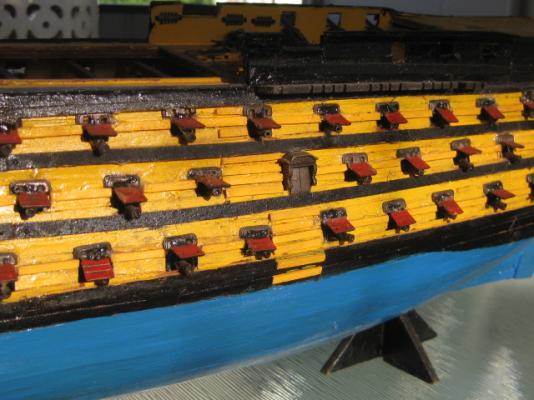
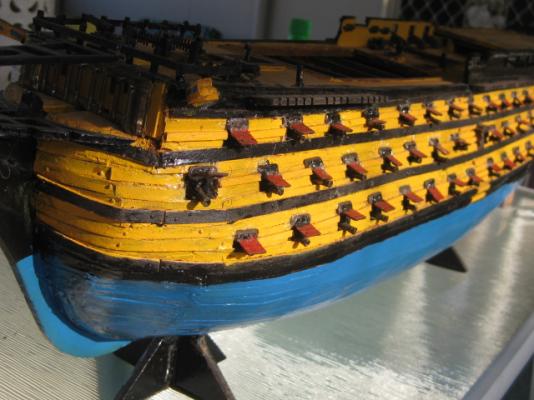
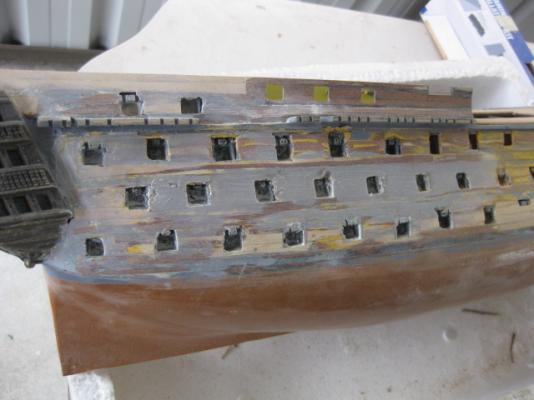
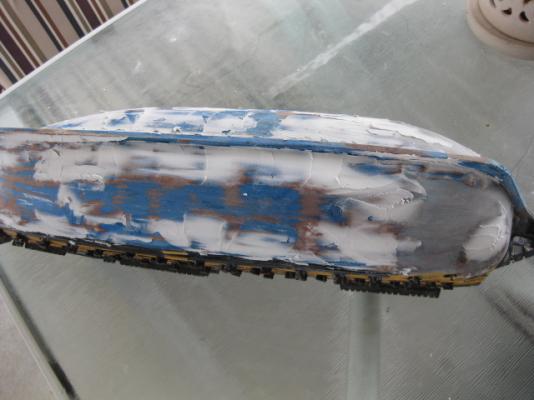
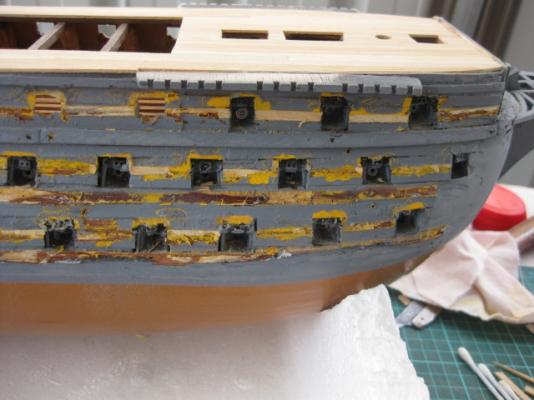
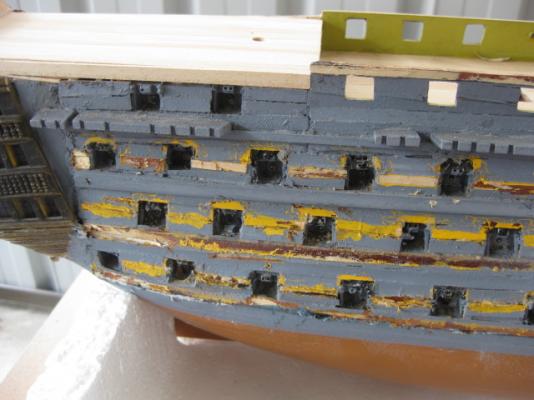
The hull was painted (I remembered why I do all my models in lacquered raw wood - I HATE painting ). I used Tamiya Acrylic in Satin Black and a Yellow that was somewhere near Ochre but had a bit too much green in it - it was all I could get from the local Hobby Shop but it looks a lot better than the Gloss Yellow of the original. Tamiya Masking Tape was my friend here - excellent sharp lines and it didn't pull up any paint when removed. It was my first experience using this tape and I can highly recommend it : Guns were fitted to the poorly mounted cast ports by re-drilling the holes for the pins. I taped a couple of strips underneath the barrels to support them in approximately the right position while the slow-setting Epoxy dried : I opted to leave the Port side guns in the closed position - I'd already spent too long fitting the Starboard (better) side, and most of the ports on the Port side were too far out of position to make a half-way decent job of them. Some of the worst ones on the Starboard side are also in the closed position for the same reason : BTW - compare the above pic with the one taken from the same angle in the BEFORE pics . To be Continued in next Post .....


-
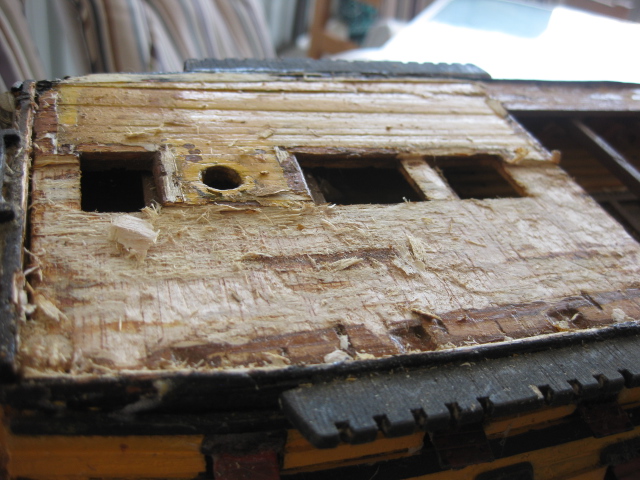
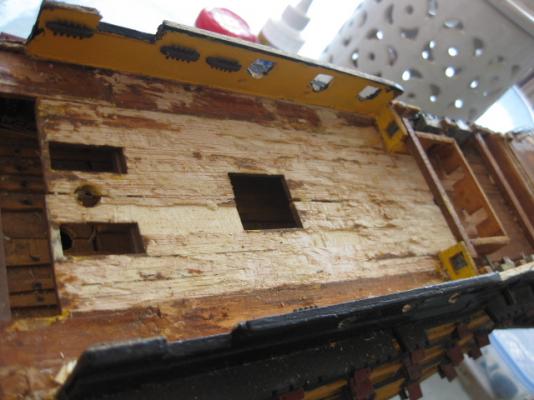
The first part of the model I tore out and replaced were the Decks - the hull actually came after when I saw that I'd done TOO good a job on them . Here are a couple of pics from BEFORE : The decks were ripped out using a flat chisel-point Xacto. I removed the whole quarterdeck as it was badly out of position : Some pics of the decks after sanding smooth, filling and re-planking : To be Continued in next Post


-
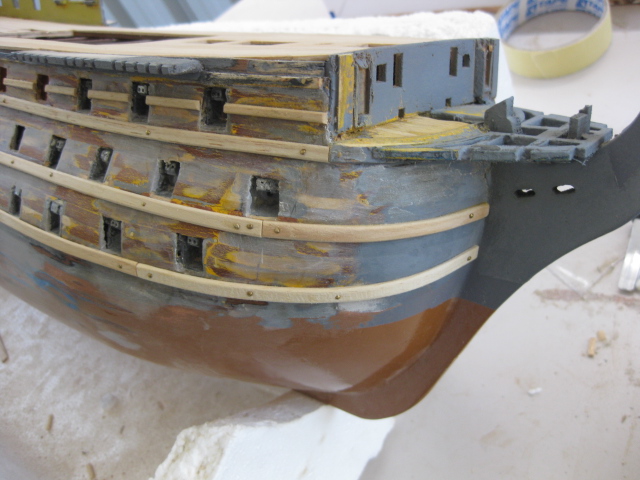
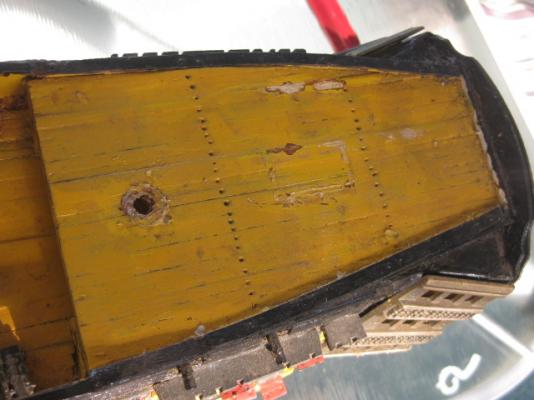
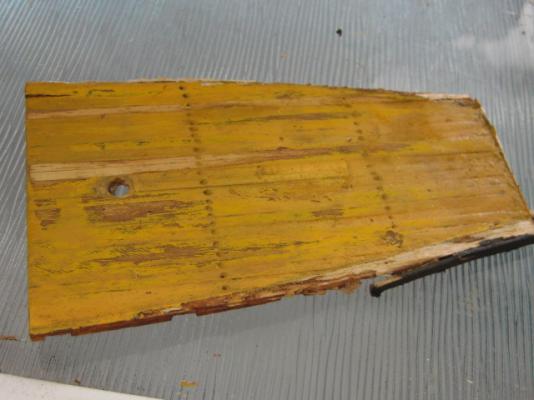
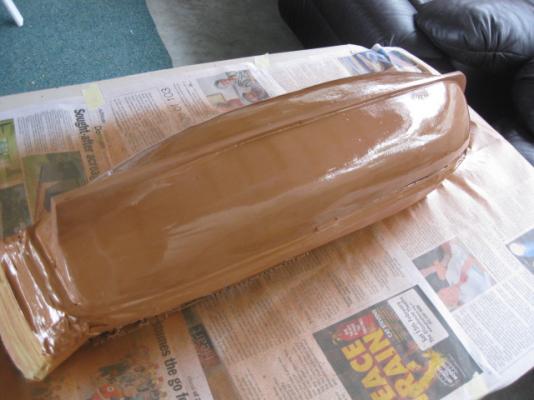
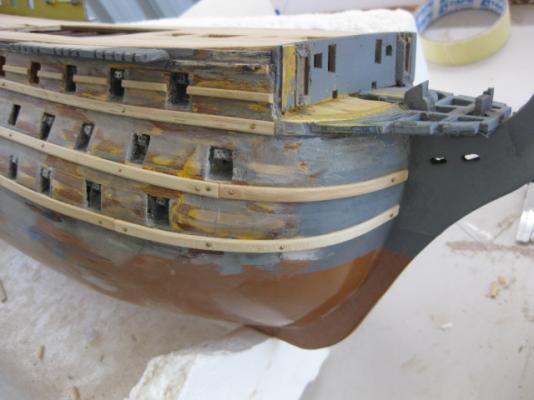
The hull after painting with Hammertone Copper. The particular paint I used didn't come out as a real hammertone, more like a very light ripple : Wales and other strakes were made from new stock and re-fitted : Some more particularly bad work around the Quarters. The kit instructions were to blame for a large part of this - no mention made of Fairing the frames at all : Wood Filler was used below the waterline. I laid new planking forward of the quarters themselves, and later fitted a roof over them (also not mentioned in the instructions). To be Continued in next Post .....


-
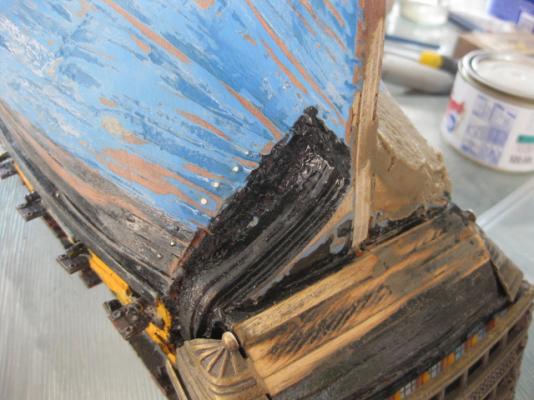
Thanks for the comments Philo, demonborger, Michael, Ed, Nigel and Bug . Now that I'm back home again I'll post all the progress pics I took (a couple might be repeats, but they are there for a reason). From the start, and a couple of real nasty ones : Work in progress on the Hull. Guns, Port Lids and Wales etc have been removed : Wood Filler has been applied and sanded. The Ports are later trimmed to shape : Note that I changed my mind several times in the early parts of this Reconstruction as to how far I was going to go with it. To be Continued in next Post .....
-
My apologies to those who commented on this log earlier when I was away - I'd have replied sooner, but the WiFi connection in the caravan park was a real "hit and miss" affair and very unreliable. Thanks to all who posted . Steve - the Planksheers are a scale 14" wide for the full length from bow to stern (7.41 mm in 1:48 scale). Danny
-
Funny you should post that just now - I've only just now walked in the door at home and turned on the 'puta . Updates will be forthcoming when I actually get to making something . Danny
-
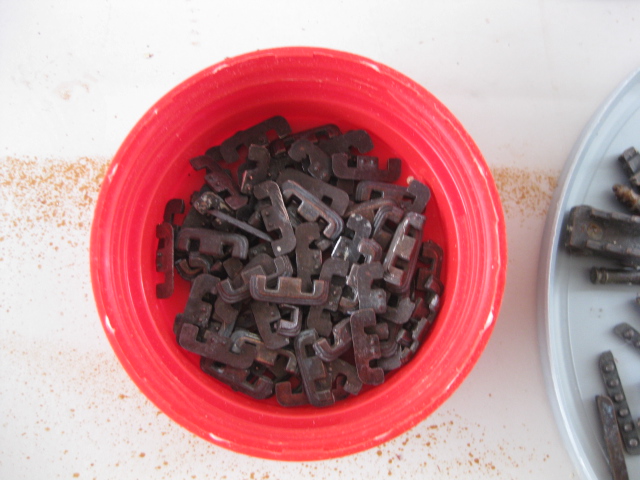
Traincat also have a 72 link/inch chain. They claim it to be the finest PE chain available. I can't vouch for it's quality as I only just found it using Google. Danny
-
Hi Al, First, please read my reply to the question you asked in Framing and Planking a Ship"s Hull by clicking HERE . That will save me repeating myself . When doing an Open Side hull it's a good idea to glue some temporary battens, say four spaced about an inch apart, to the full length of the open side first using PVA glue. This will ensure that the frames won't pull the keel out of alignment. You can easily remove the battens when the Planked Side is finished by simply cutting them off the frames, but some Isopropyl Alcohol will soften the glue and you will be able to re-use them if necessary. JeffE also gave some very good advice in an earlier post - I'd take it all if I were you. The Sapelli planking strips supplied with the kit are not the easiest timber to use for planking, but with care you can still achieve a good result. Soaking them first, clamping to the hull or around a Former to dry, and then gluing them on after final tapering/bevelling is the best method as the inside of some will be visible. I used a home-made "crimping" type tool on my AL Bounty, which was a lot quicker (I was on a deadline to finish her) but the commercial types (Amati etc) will work with a bit of modification if you wish to go down that road. Remember to Dry Fit every plank, and sand the edge until you get a really good fit. You may have to repeat this step a number of times, but it's worth it. Try and get the plank to sit on each frame without any more pressure than simply stopping it from moving while the glue dries. Danny
- 265 replies
-
- 2
-

-
- finished
- artesania latina
- (and 1 more)
-
Al, I built the same model several years ago and had the same issue with a few of the frames. They aren't cut as accurately as they could be, there are slight variations in the centre notches and some are not quite the correct shape. It's no big deal, once you fit the upper deck "stringers" (I suggest you do this temporarily now - see below) you can align them a bit better. Once you are satisfied that the frames are as close to aligned as they are going to get you can then fair the hull. This will remove any high points - sand them down to the lowest points. You can glue the stringers in temporarily using white PVA glue. If they need to be removed again (for some reason that I can't remember) you can de-bond them using Isopropyl Alcohol (aka "Rubbing Alcohol", available at pharmacies or some supermarkets). Another tip for the open side of this model - use some walnut veneer (thin planking strips) to line the edges of the frames to hide the unsightly plywood edge. I wish I'd done that with mine instead of trying to just stain the edge - it would have improved it greatly. Soak the veneer in water for a couple of minutes, clamp to the frames and allow it to dry thoroughly, remove the clamps and glue the strip on with PVA, allow to dry and then trim it to shape by sanding the edges of the veneer. Danny
-
Al, your estimate is exactly right. I treenailed the entire planked port side of my HMS Vulture, inside and out including three decks, using bamboo pulled through a Drawplate - a total of around 15,000 "nails". Danny