


Oldsalt1950
-
Posts
496 -
Joined
-
Last visited
Content Type
Profiles
Forums
Gallery
Events
Posts posted by Oldsalt1950
-
-
She is really starting to take shape.
- Dave_E, thibaultron, BenD and 1 other
-
 4
4
-
-
-
Mark, if it was me I'd sand by hand. Those beams are pretty delicate. How are you storing your kit wood once you open the box? Does in remain in the bag or is in left in the open. Vertical or horizontal storage and is there air circulation around it? All those factors come into play to affect what happens to the wood.
-
-
Welcome Andrew. Be sure and poke around the site a bit. You will find a trove of great info here in both the build logs and the articles database. I find if I'm stumped it is best to step back and do a search here for the info or technique. If it needs reinforcement, then YouTube.
-
-
-
Looks real sharp Bob. Take your time getting back in harness so to speak.
-
The kit bass wood will work fine for the cross arms of the anchors. Some form of building board or a good panning vise would come in handy for setting up the bulkheads on the frame. Once the bulkheads are squared up and glued in place you really only need something soft to place the assembled skeleton on.
-
-
Glad you are feeling better James. That is a lot of progress for still not feeling up to par. Stashing money away in anticipation of Indies release to the public.
-
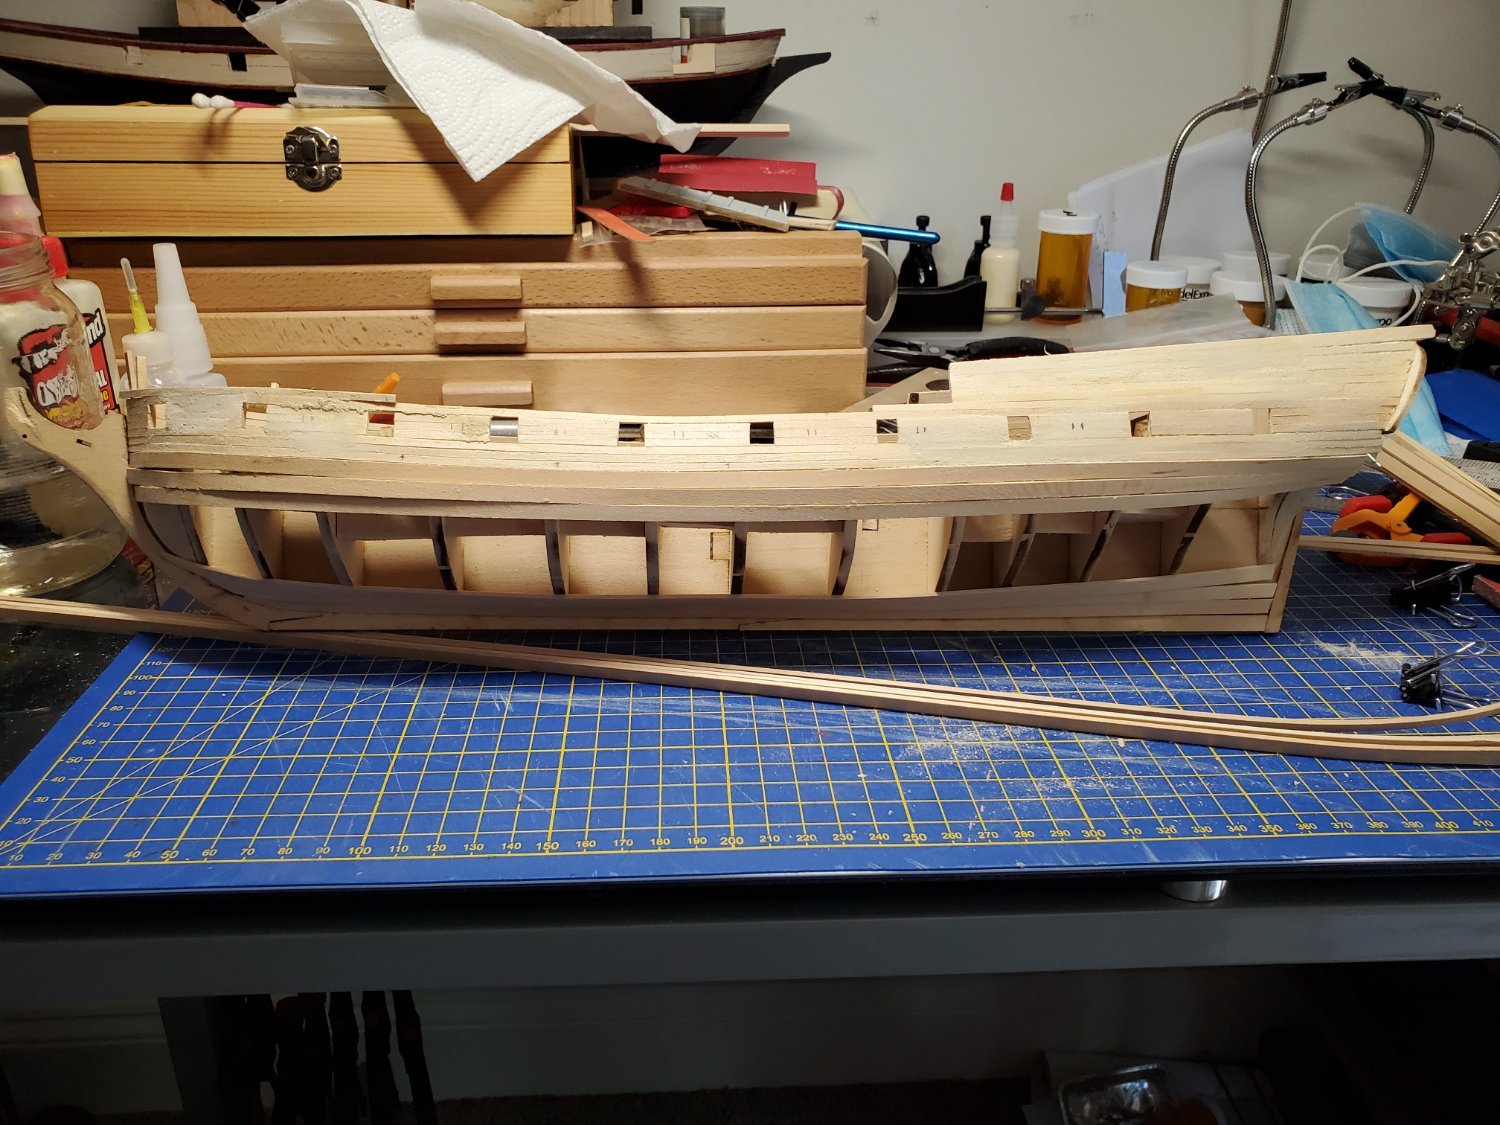
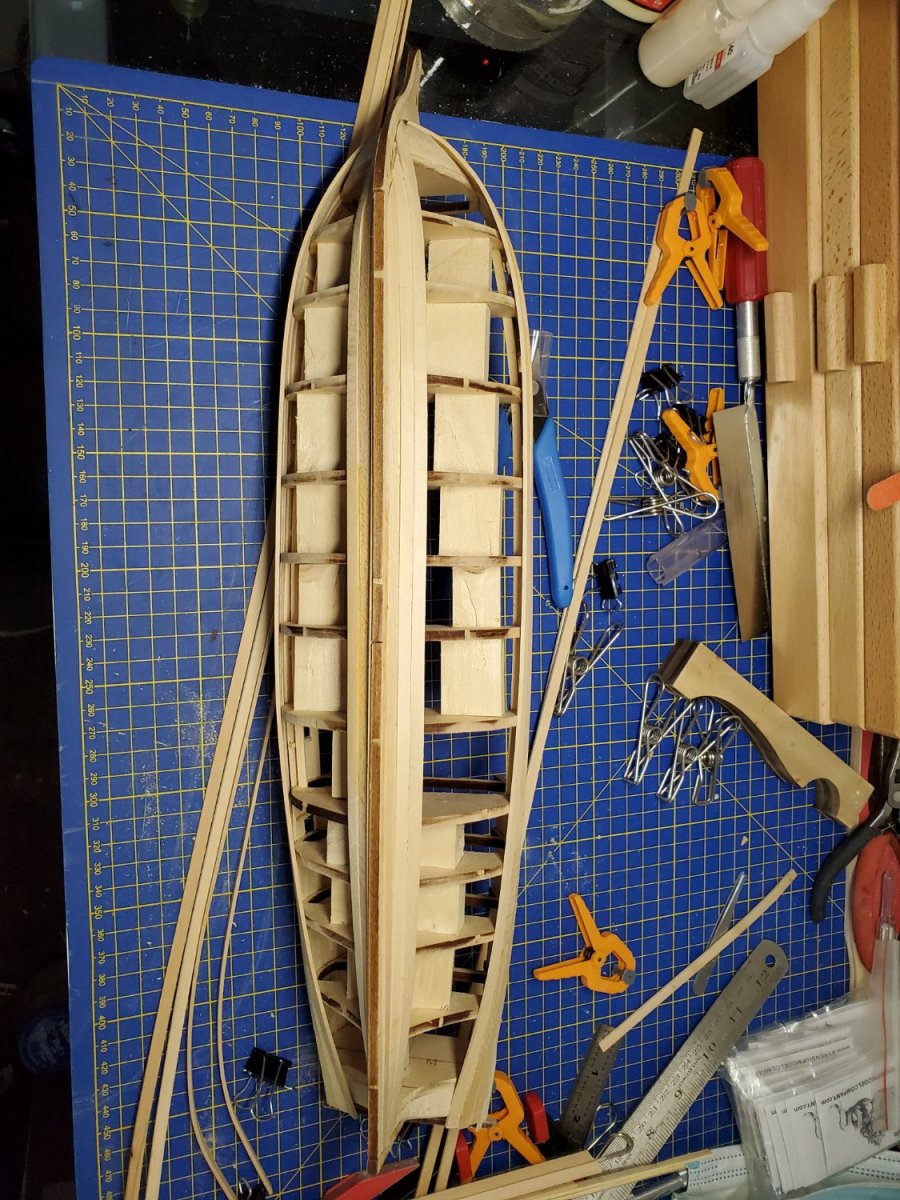
The one step forward two steps back dance is in full swing. I wasn't happy with the way the hull planking was laying, so off came the strakes. A bit more sanding on the bow fillers, and a bit of sanding along the rabbet and bearding line. Because I use PVA glue, removal wasn't hard and I just have to clean up the residual glue on everything and it is back to planking the hull. I may take another look at plank layout and see if by shaving just a bit off each plank I can get away without adding any stealers into the hull. It is a good thing that wood is forgiving.
-
-
-
Every build is a learning process. The Swift is a great project and has been around for more years than I wish to think about. This is a testament to not only its timelessness, but its popularity as a learning vessel and just plain fun build. It isn't over complicated but allows you to learn a little about everything concerning ship building and it can be detailed really well. Enjoy.
-
For those that object to the base, in addition to either using pins or pegs to keep your figure upright, why not use a piece of acetate as a base it is clear and unobtrusive. Then you don't have to drill holes in the decking.
- mtaylor, Old Collingwood and thibaultron
-
2
-
 1
1
-
Go over every piece carefully and double check your replacement part list Dave. It will be a long one. Be sure and make templates for the bow and stern blocks and try to keep the knockouts in frames A-C and I-L you will be breaking off the cross pieces otherwise. You already know about the mainframe issue so make that shim piece and reenforce it when you glue it in to obtain the matching length. Also make sure the rabbet is at the depth specified in the plans (trust me on this). Before you start building determine if you are going to put cannons in all the ports it will affect how a lot of the build goes. Read and re-read the instructions and the build logs , depending on how you like to build you will find there are many steps you will take out of sequence. Plan carefully for the removeable bulkhead at frame L . Best of luck on your new build, the adventure begins.
Jim
-
-
Follow your gut. Just make sure that you measure and set both the rake and plumb side to side. Use a slow setting wood glue so you have time to make adjustments. You have plenty of room to use a small machinists square(s) to set the mast square along the center line. You can make a small jig to set the rake out of scrap wood. If you were building a ship with more complicated rigging , that is when I would wait to fix the mast in place. Also make sure any holes that need to be drilled in the mast are done before you glue it in place.
-
Congratulations Dave on a fine build.
-
Very nice work. She looks sharp.
-
All of us Rattlesnake builder have a growing scrap pile. 🤣
- Kenneth Powell, Gregory and Dave_E
-
3
-
The issue started with the planks either side of the king plank. The two planks are not identical for where the butts are cut.
Air Compresser
in Painting, finishing and weathering products and techniques
Posted
I have this one and it is very quiet. Amazon.com: VIVOHOME 110-120V Professional Airbrushing Paint System with 1/5 HP Air Compressor and 3 Airbrush Kits for Tattoo Makeup Shoes Cake Decoration Black : Beauty & Personal Care