Rustyj
-
Posts
2,535 -
Joined
-
Last visited
Content Type
Profiles
Forums
Gallery
Events
Everything posted by Rustyj
-
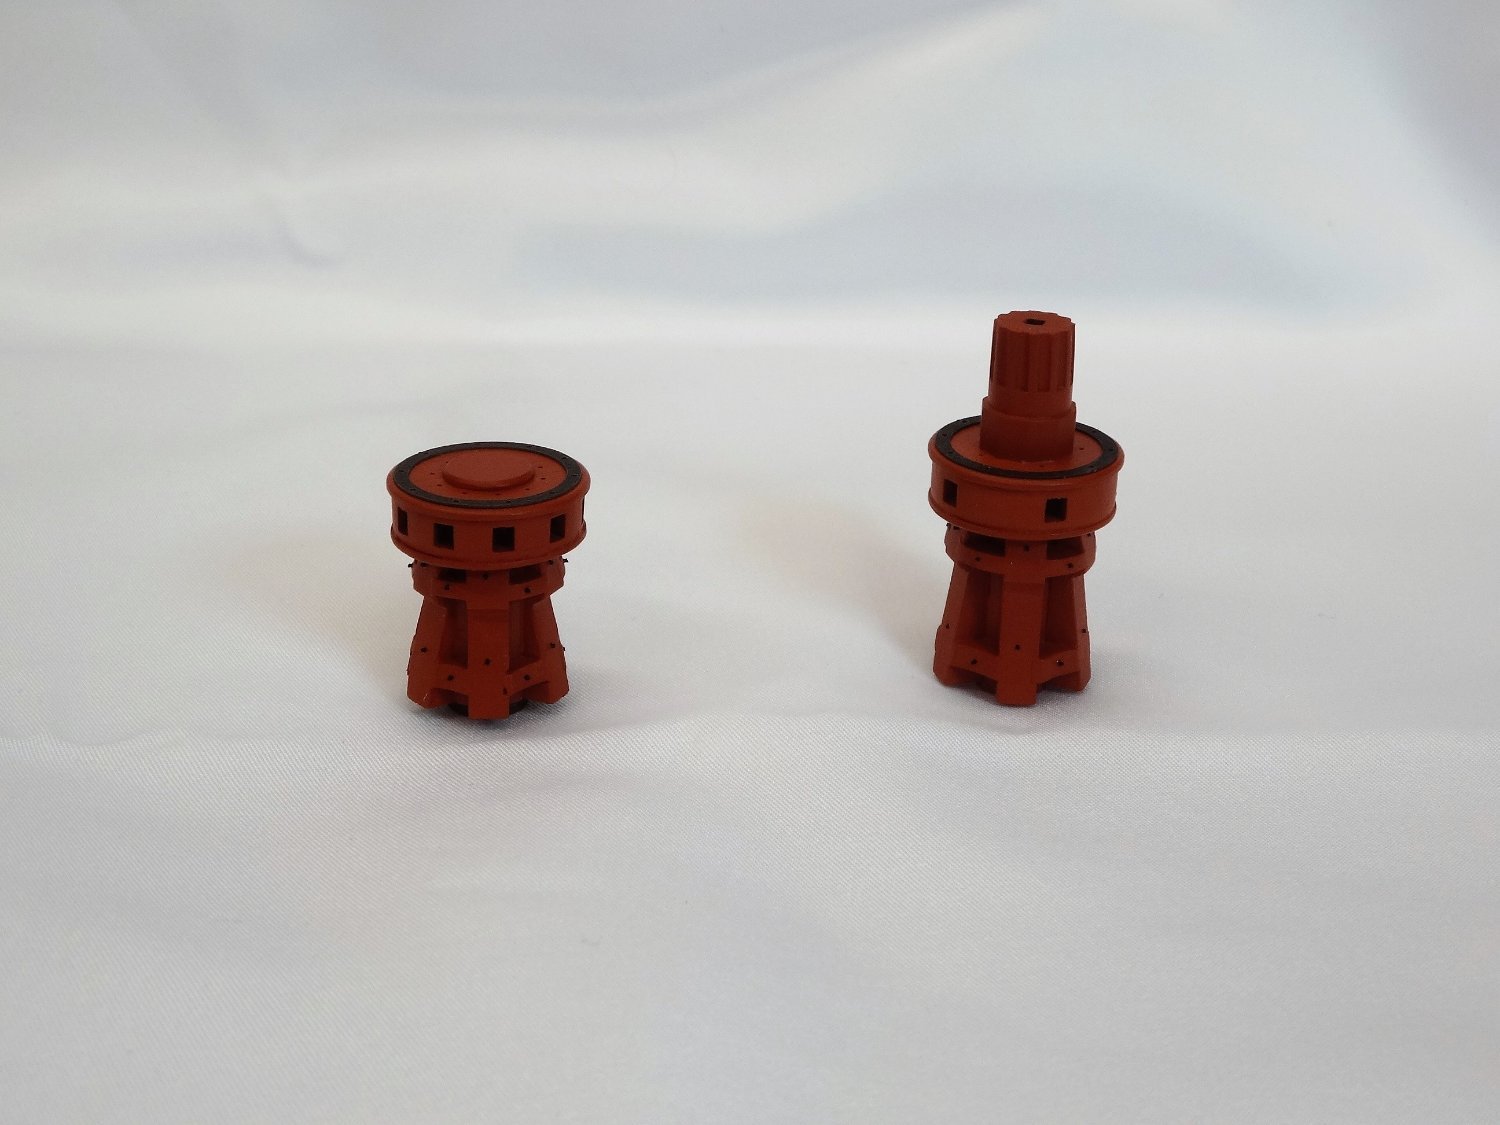
 I spent the last three days completing the capstan. It was a lot of fun! Now back to the beams and knees!
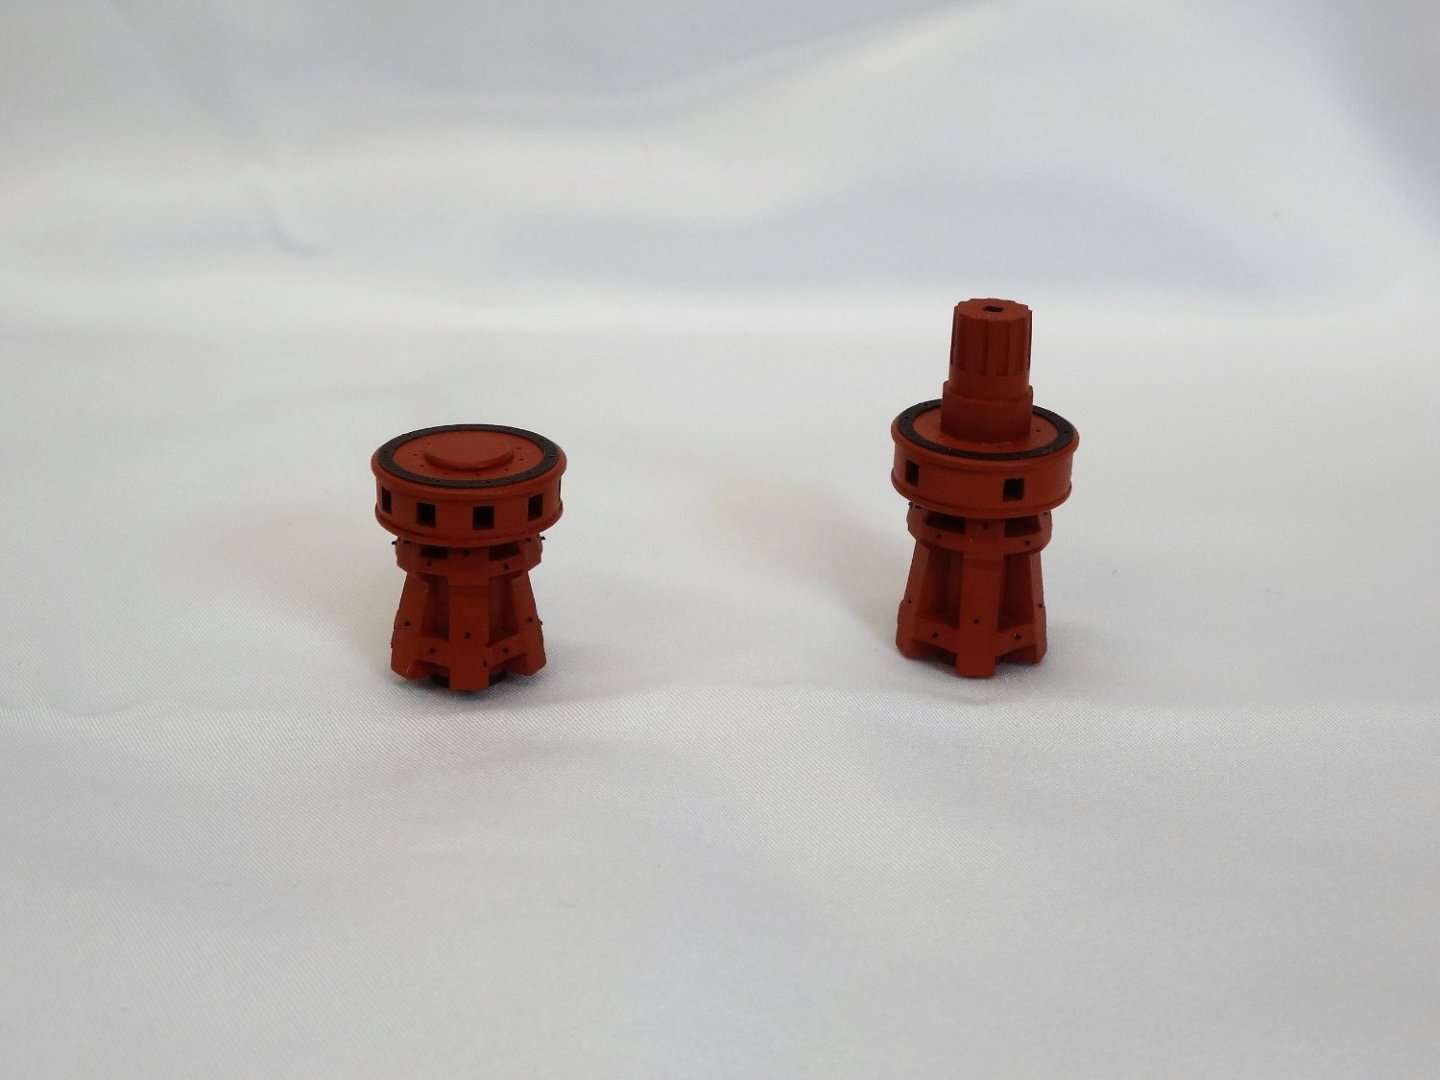
- 642 replies
-
- 21
-

-
- winchelsea
- Syren Ship Model Company
- (and 1 more)
-
Very nice work Bob!
-
Thanks Greg. Thrust me it is much more to Chucks design and instructions! Thanks JJ. I have nice models in AYC and Boxwood so I wanted to try something different and I am pleased with the look. Can't wait to see you back at it too! Also thanks for stopping by and all for all the likes!
- 642 replies
-
- 2
-
-
- winchelsea
- Syren Ship Model Company
- (and 1 more)
-
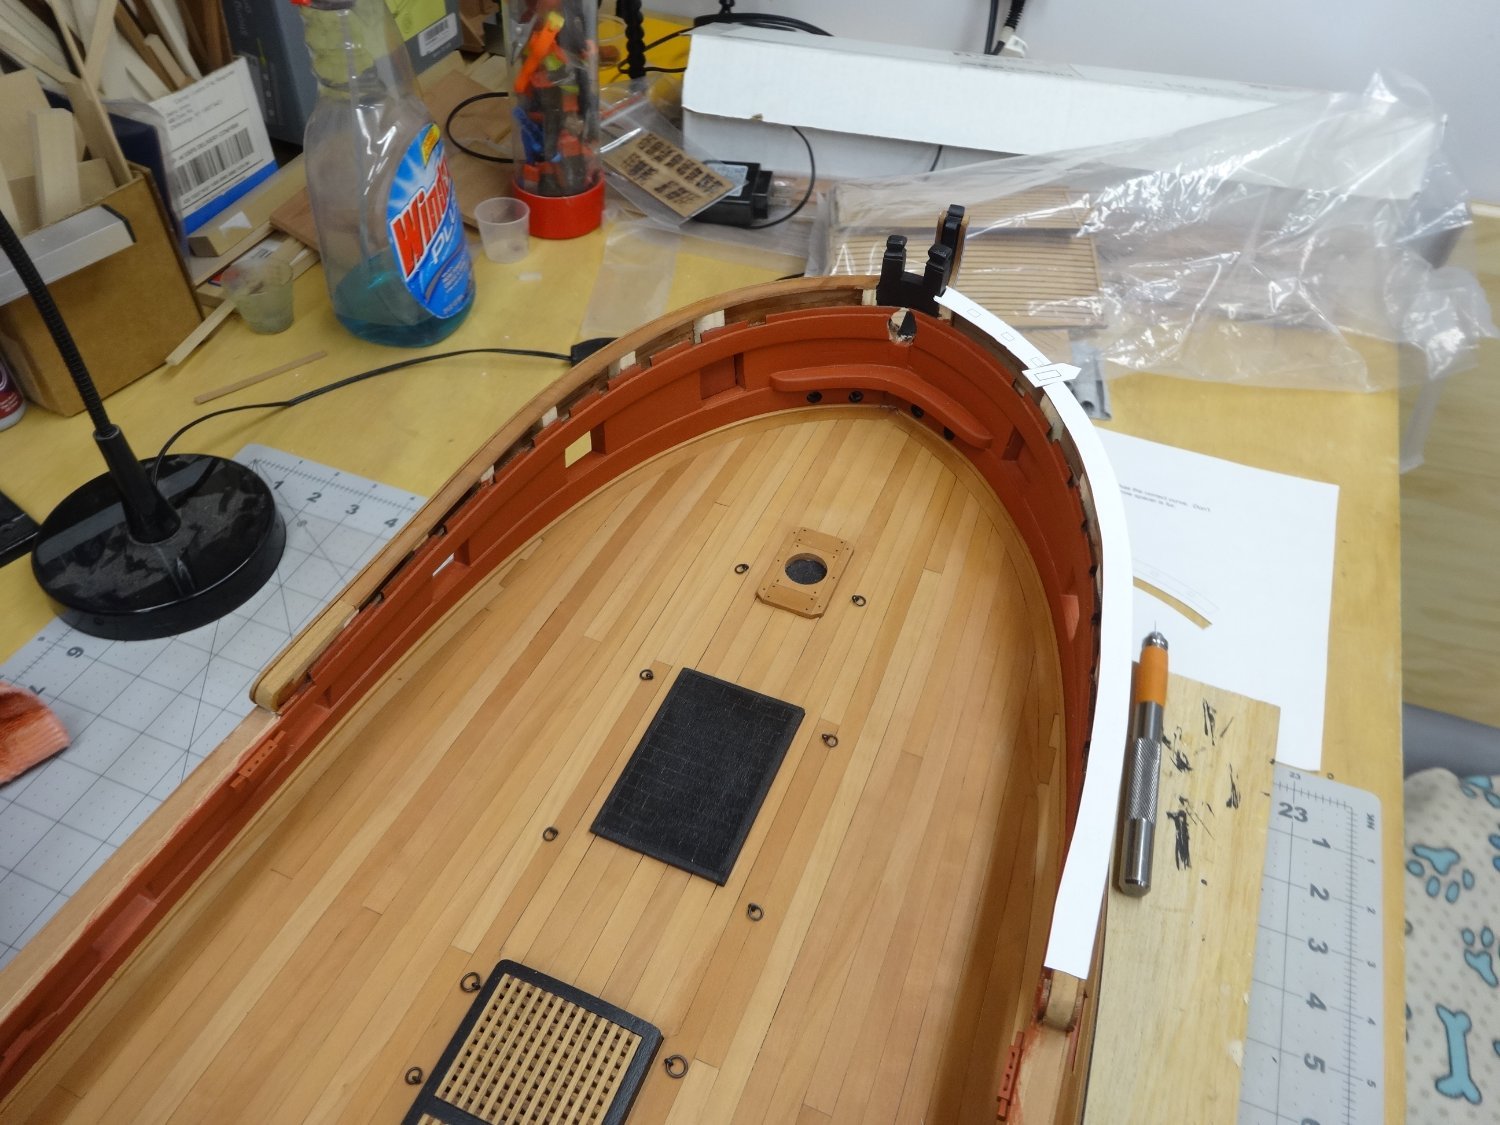
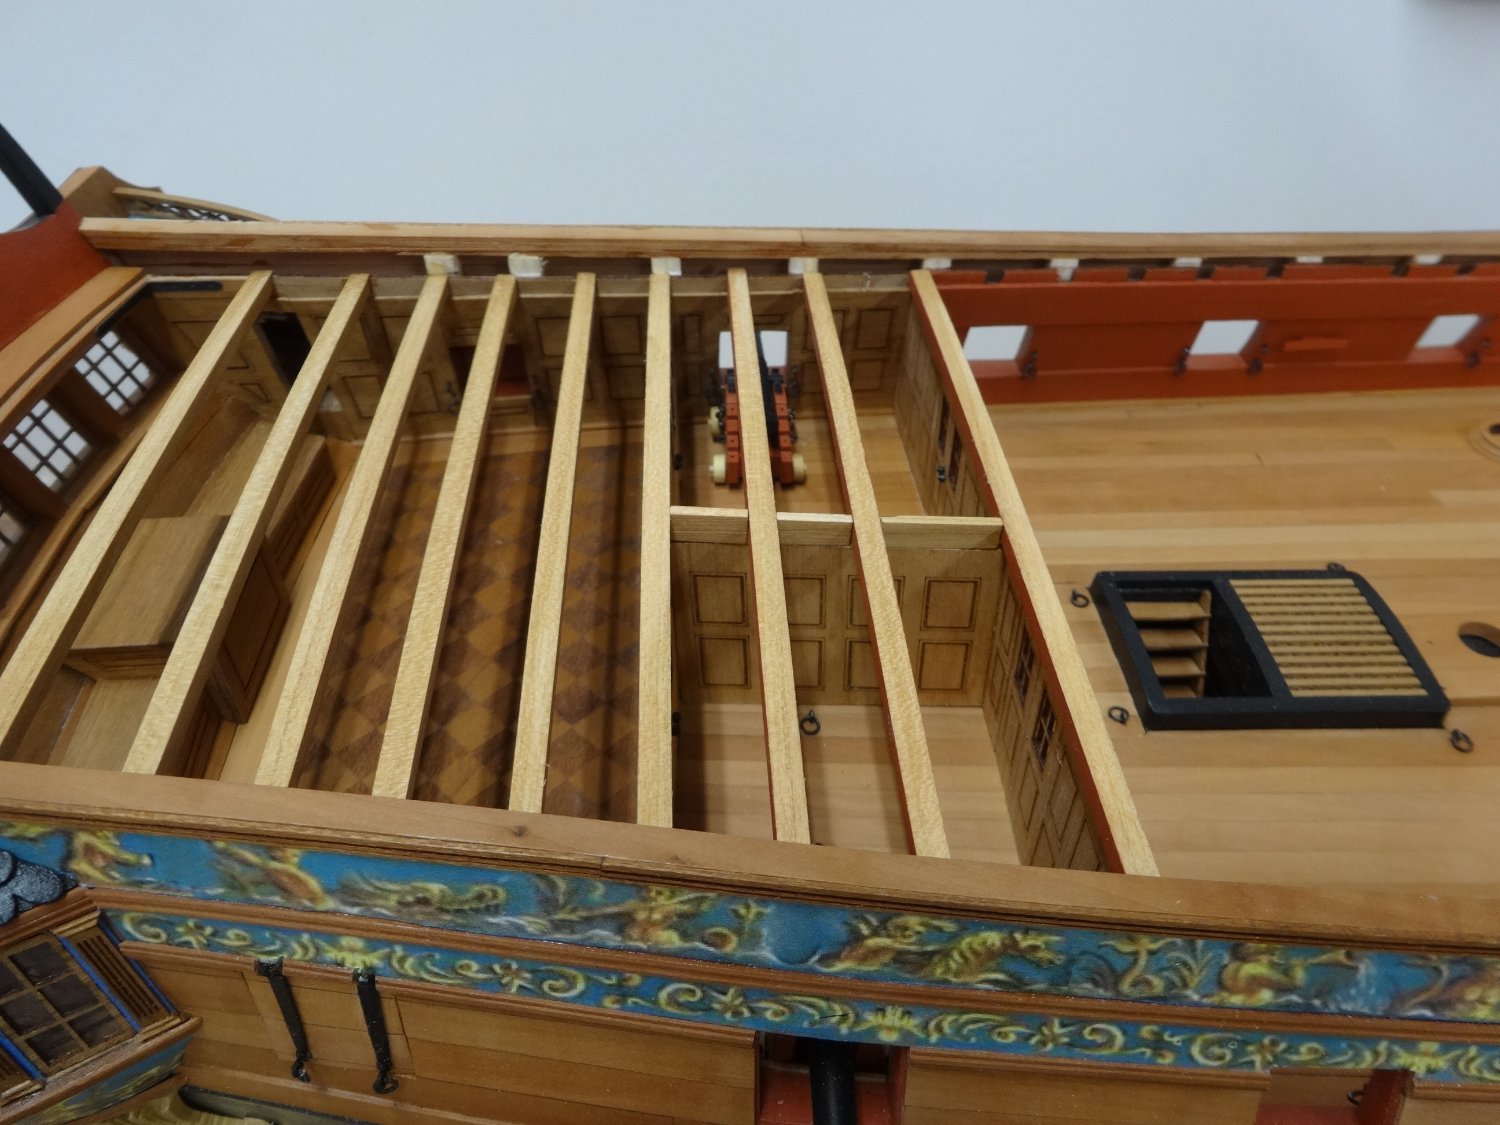
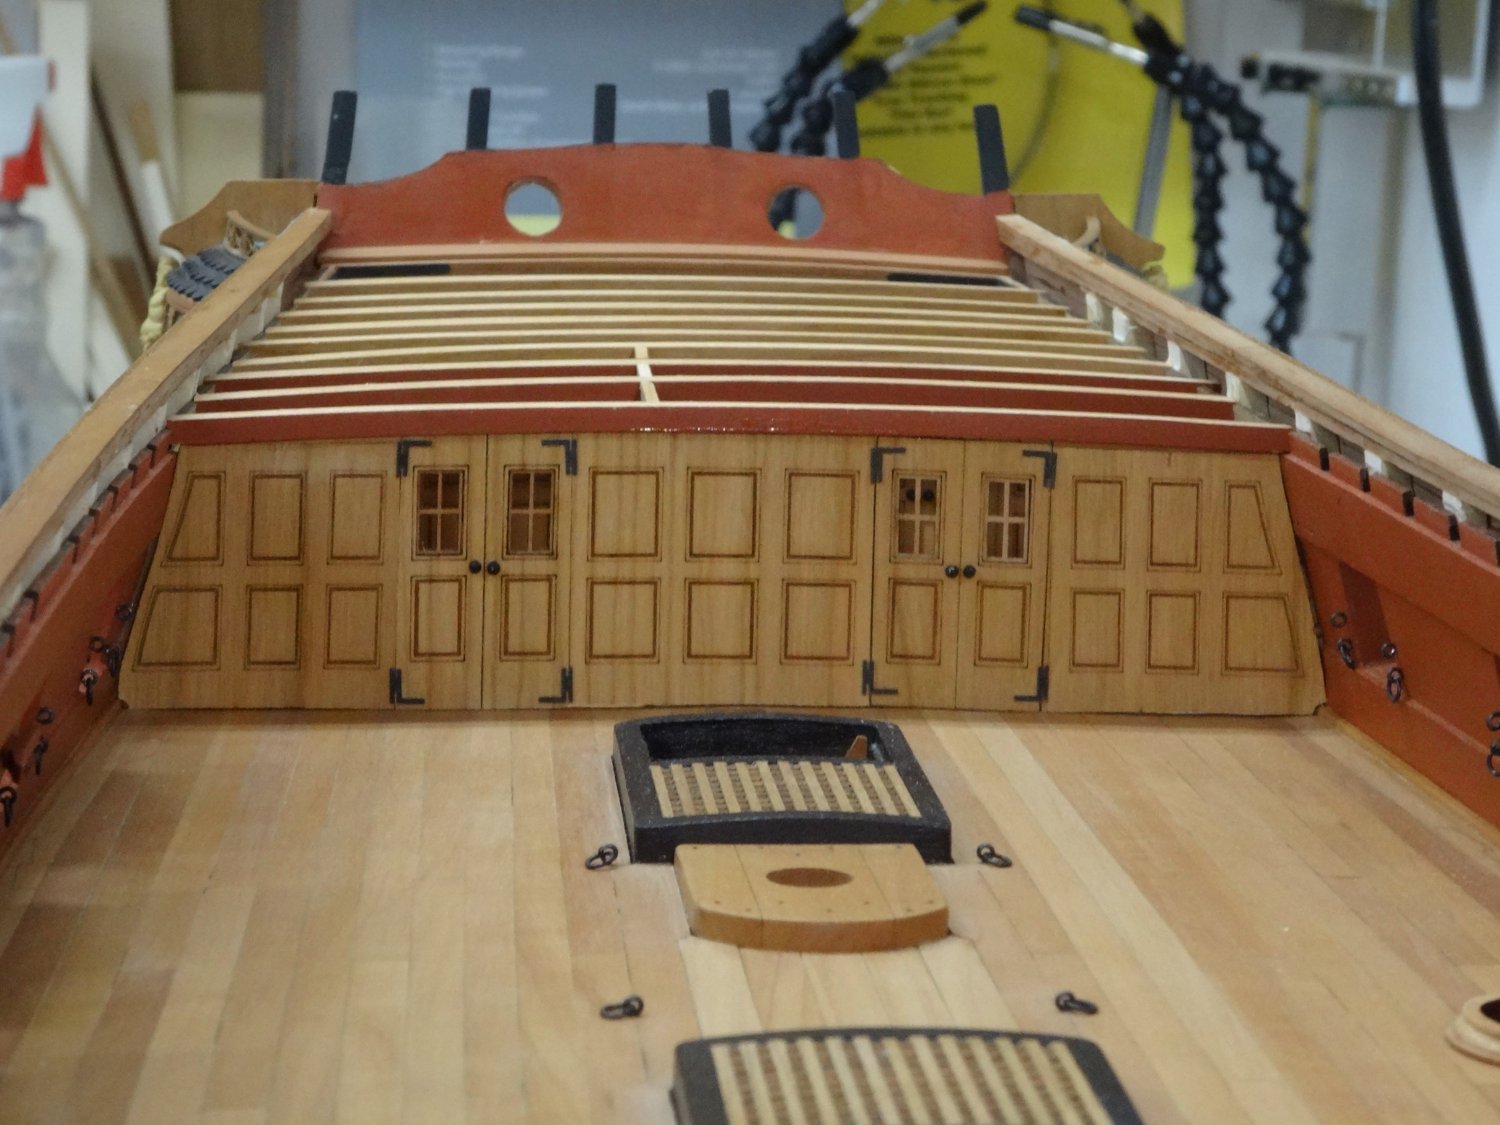
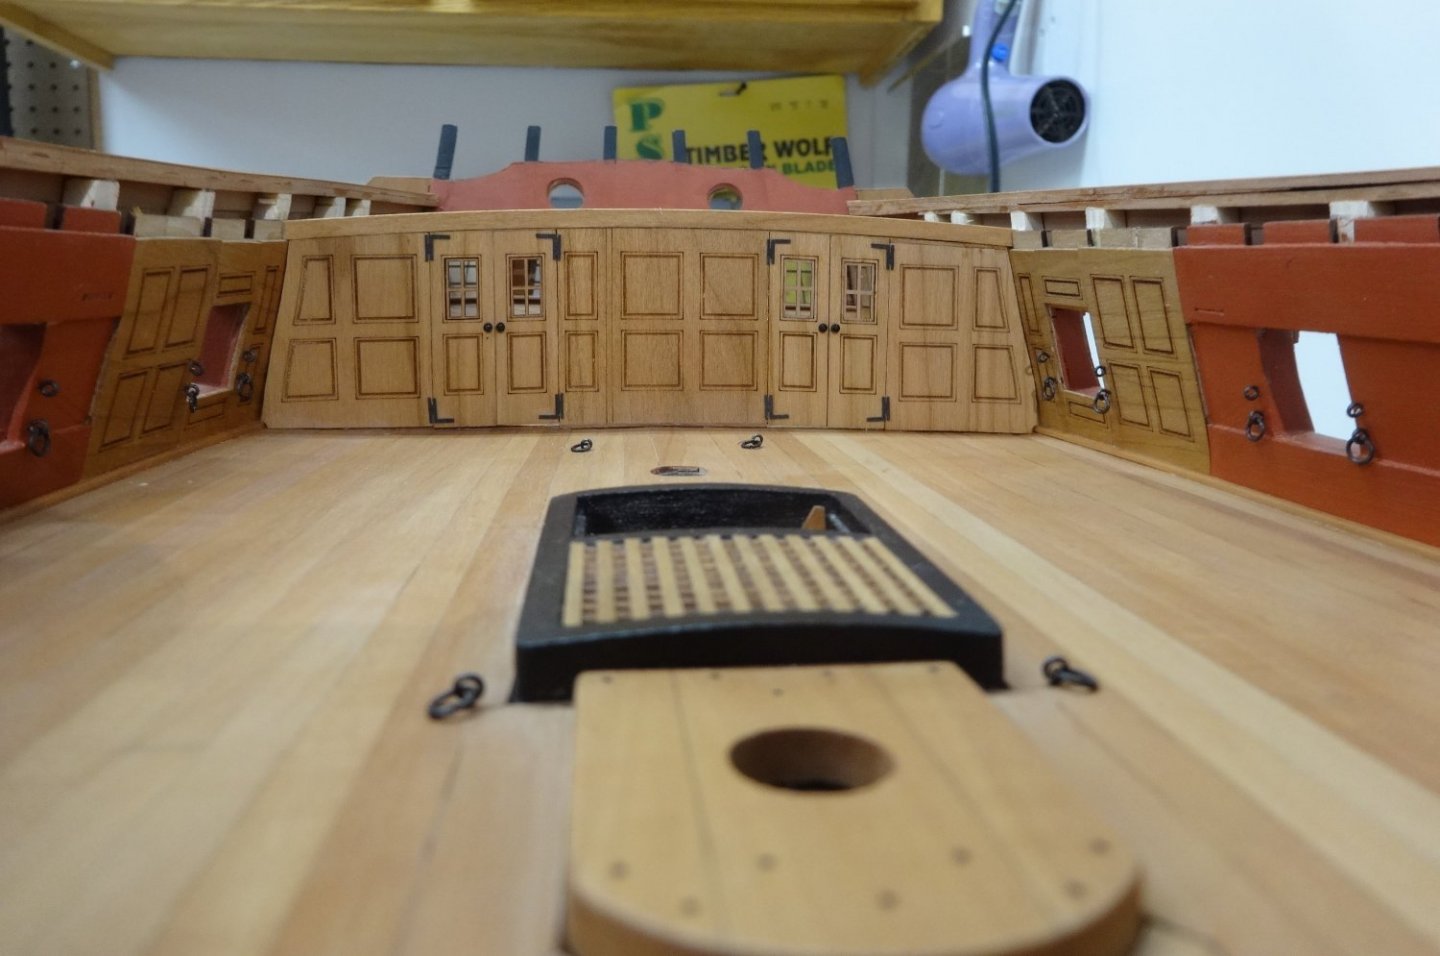
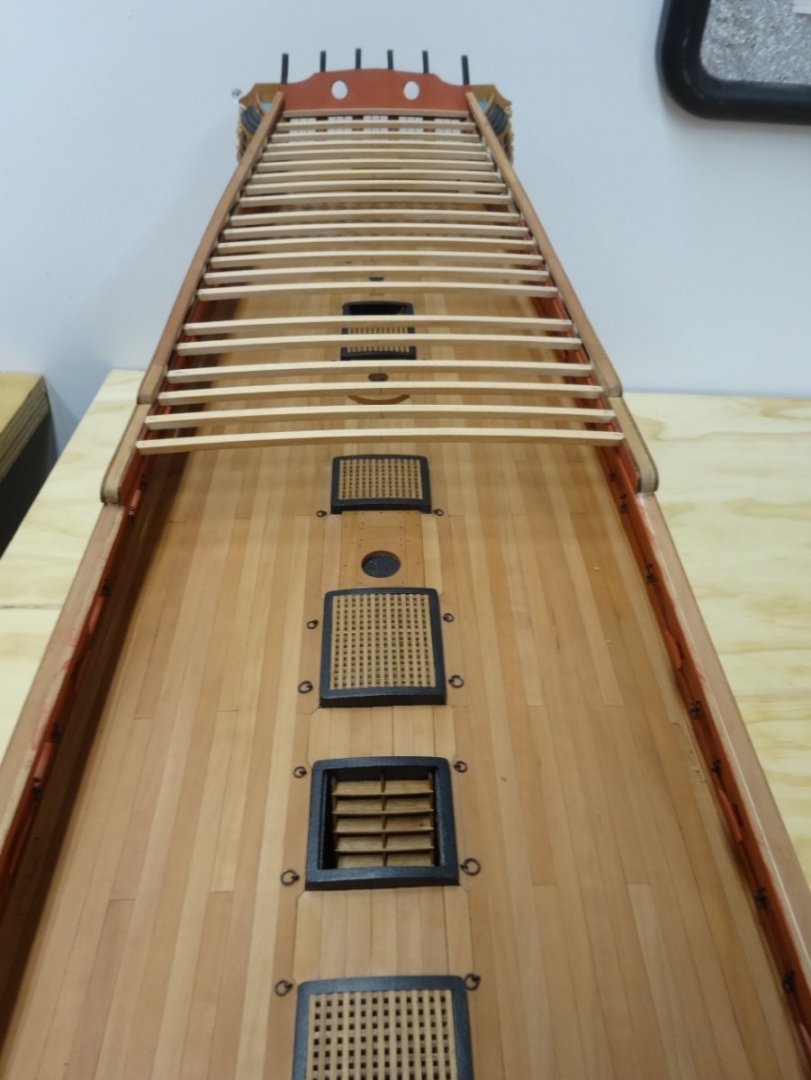
First off curiosity got the best of me so I printed the template for the bow cap rail. I was afraid to see if my curvature of the bow was correct. To my relief it was very close to the cap rail template. Whew. Those of you building now be sure to check when you fair the bow area. After test fitting the deck beams I moved on to bulkhead wall for the great cabin. It consists of some very nice laser cut panels. They were sanded to fit and glued in place. Two cannon were added as well as the mast coat. Then the forward bulkhead wall was sanded to fit as well as the center panel between the two bulkheads. I will soon have to build the capstan. I've been looking forward to doing this for some time now!


- 642 replies
-
- 21
-
-

-
- winchelsea
- Syren Ship Model Company
- (and 1 more)
-
That floor is a beauty!
-
That looks great Chuck. Your ability to design and manufacture such complex parts for us is amazing. Thanks!
- 1,784 replies
-
- 3
-
-
- winchelsea
- Syren Ship Model Company
- (and 1 more)
-
I know just how you feel Bob. I'm usually with you on this but fortunately life forced a slow down on me. Now I'm learning from your fine work.
-
Hi Kurt. They are just temporarily in place right now. They will be taken in and out as the cabin panels and doors are fitted. Just before the beams are permanently placed the canon well be set. Thanks for stopping by and for the likes.
- 642 replies
-
- 3
-
-
- winchelsea
- Syren Ship Model Company
- (and 1 more)
-
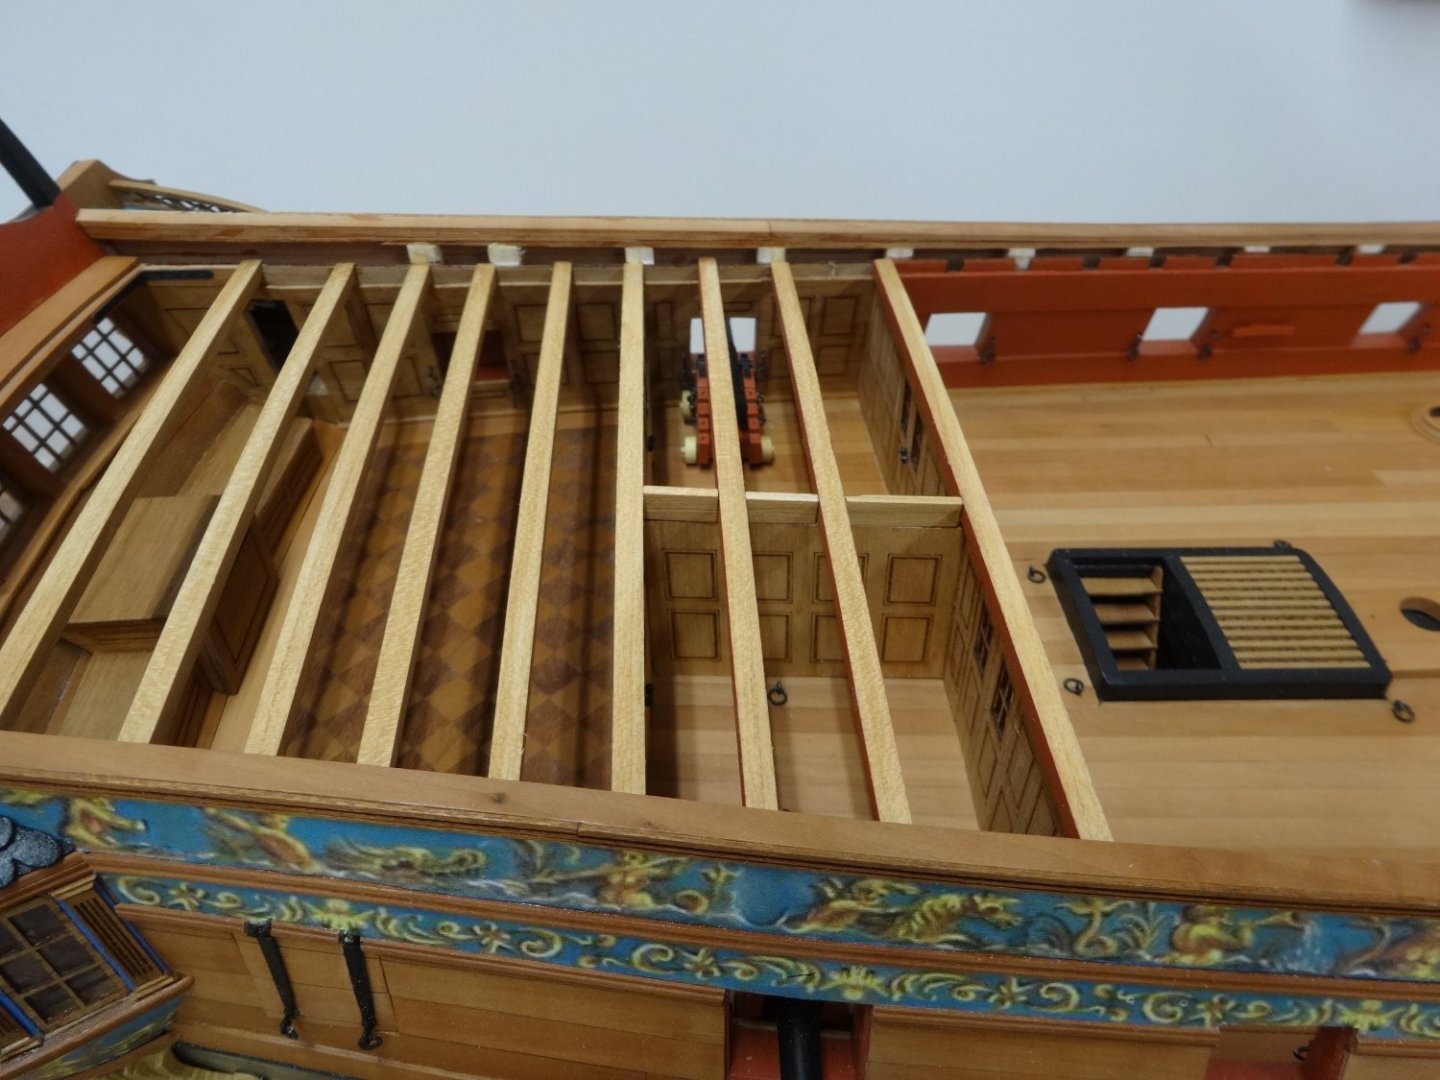
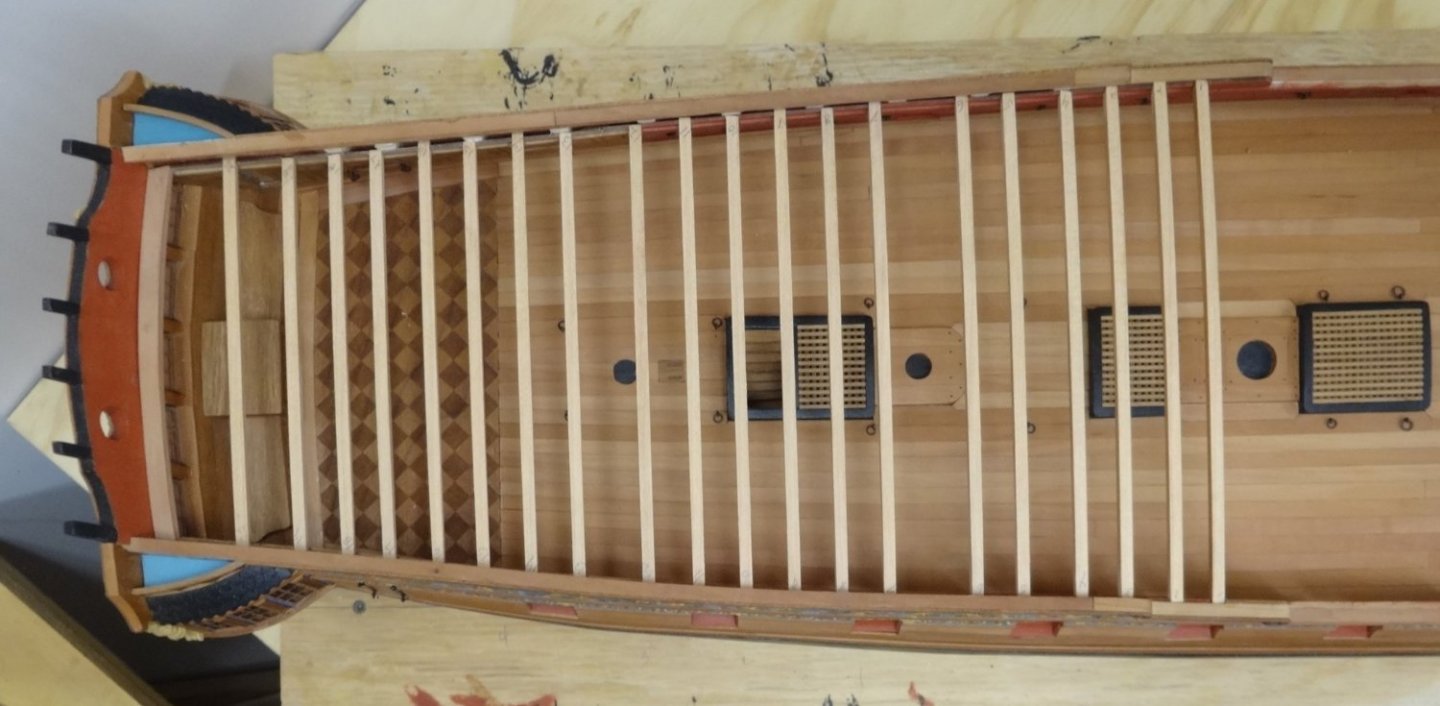
Hi All, Well I've finally completed all the eye bolts and split rings!!!! They have all been added to the bulwarks except where the hanging knees go. That completes chapter 6 and on to chapter 7. Whew, I have sanded the char off all the cherry quarter deck beams. Then cut them and temporarily set them in place. It feels good to cut and sand wood again!
- 642 replies
-
- 20
-
-
-
- winchelsea
- Syren Ship Model Company
- (and 1 more)
-
Wow Bob that looks so nice!
-
That looks great Matt!
-
Great job so far! The deck and hatches look really good to me!
- 857 replies
-
- 3
-
-

-
- Sphinx
- Vanguard Models
- (and 1 more)
-
Very nice Vladimir! It's fun to see how everyone puts their own special touches on her.
-
That's a very nice planking job Frank!
-
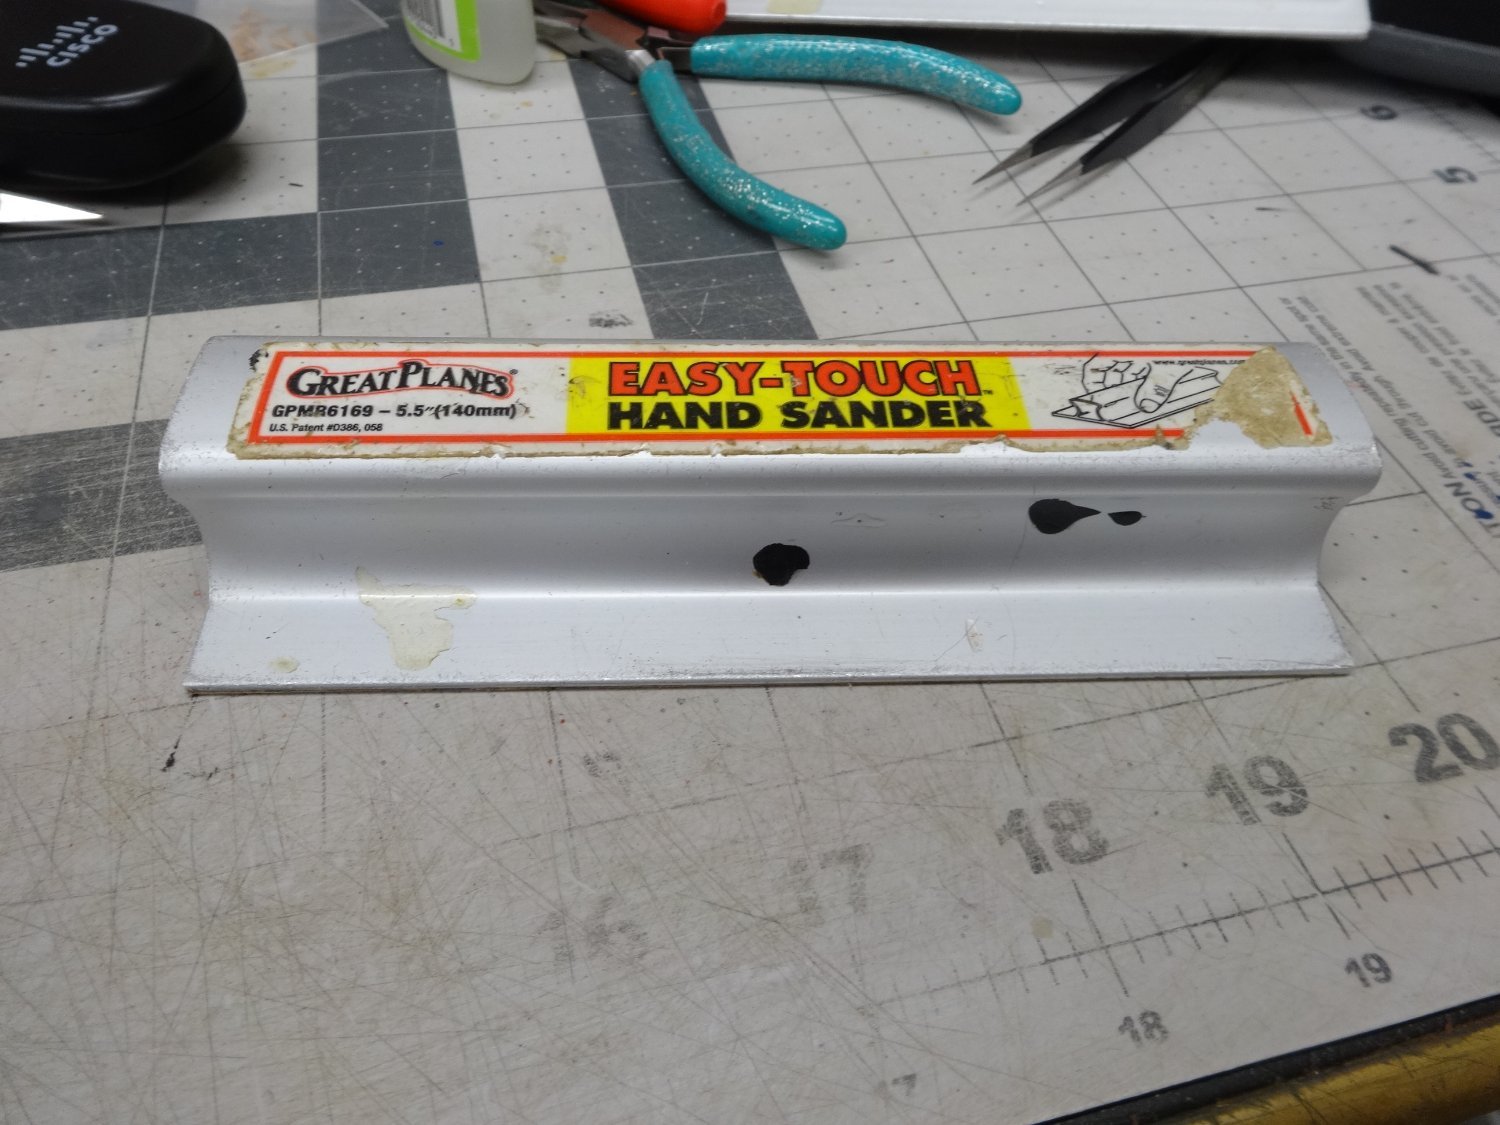
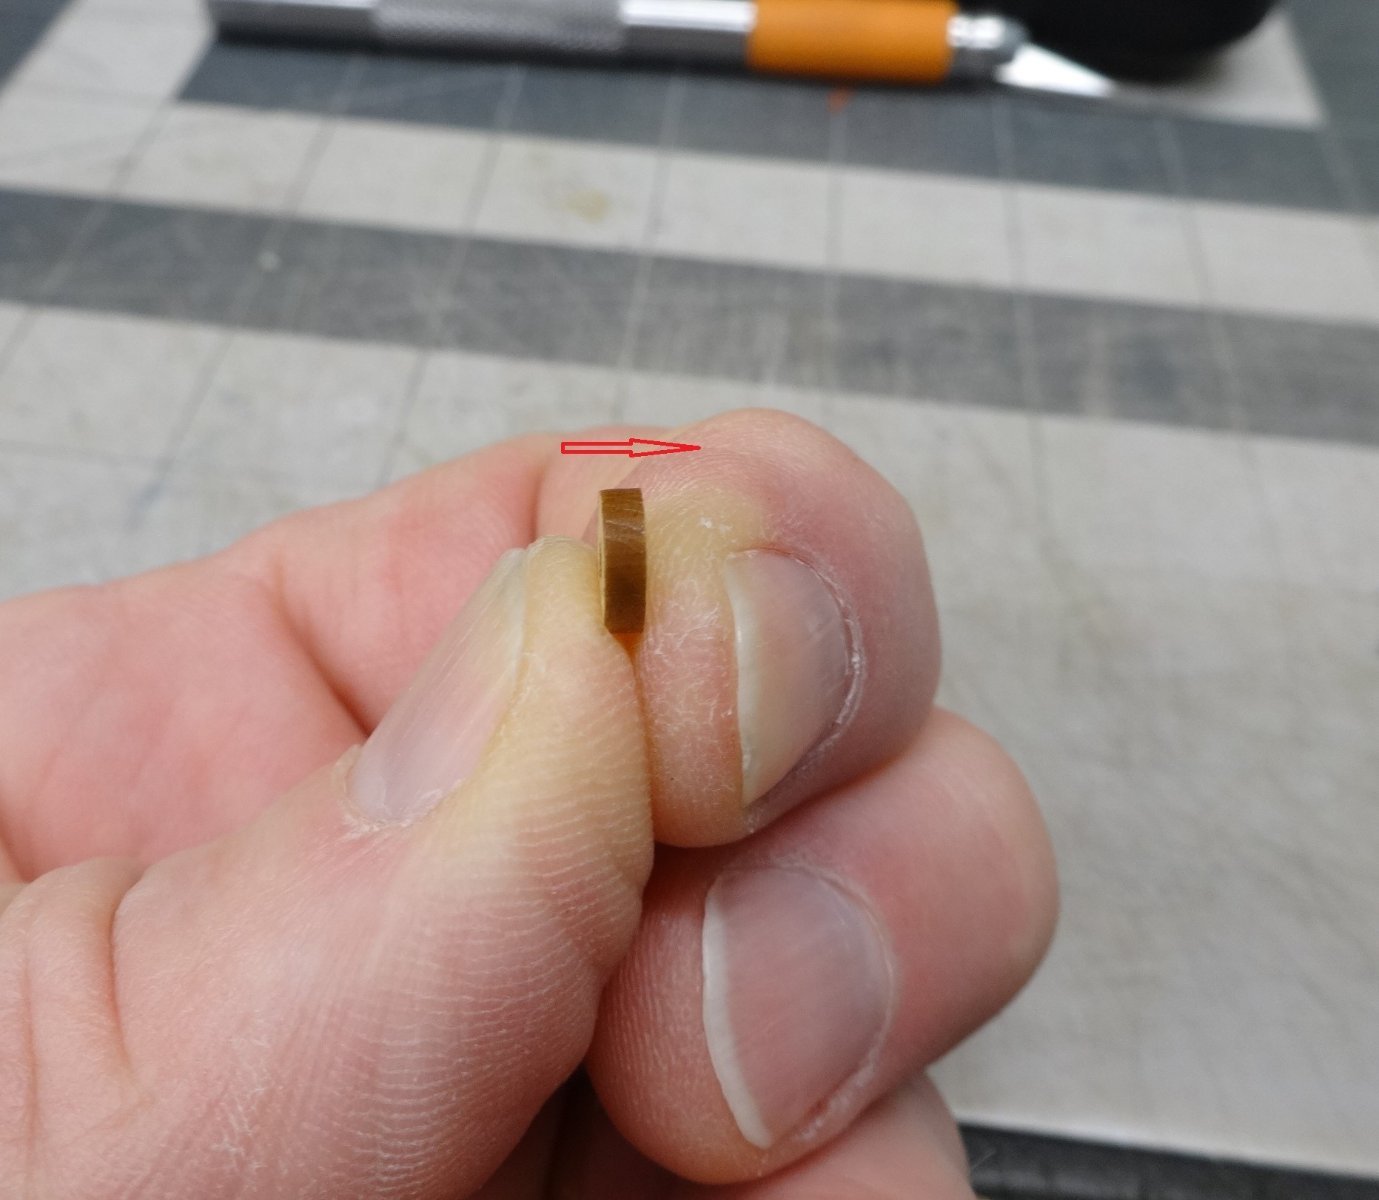
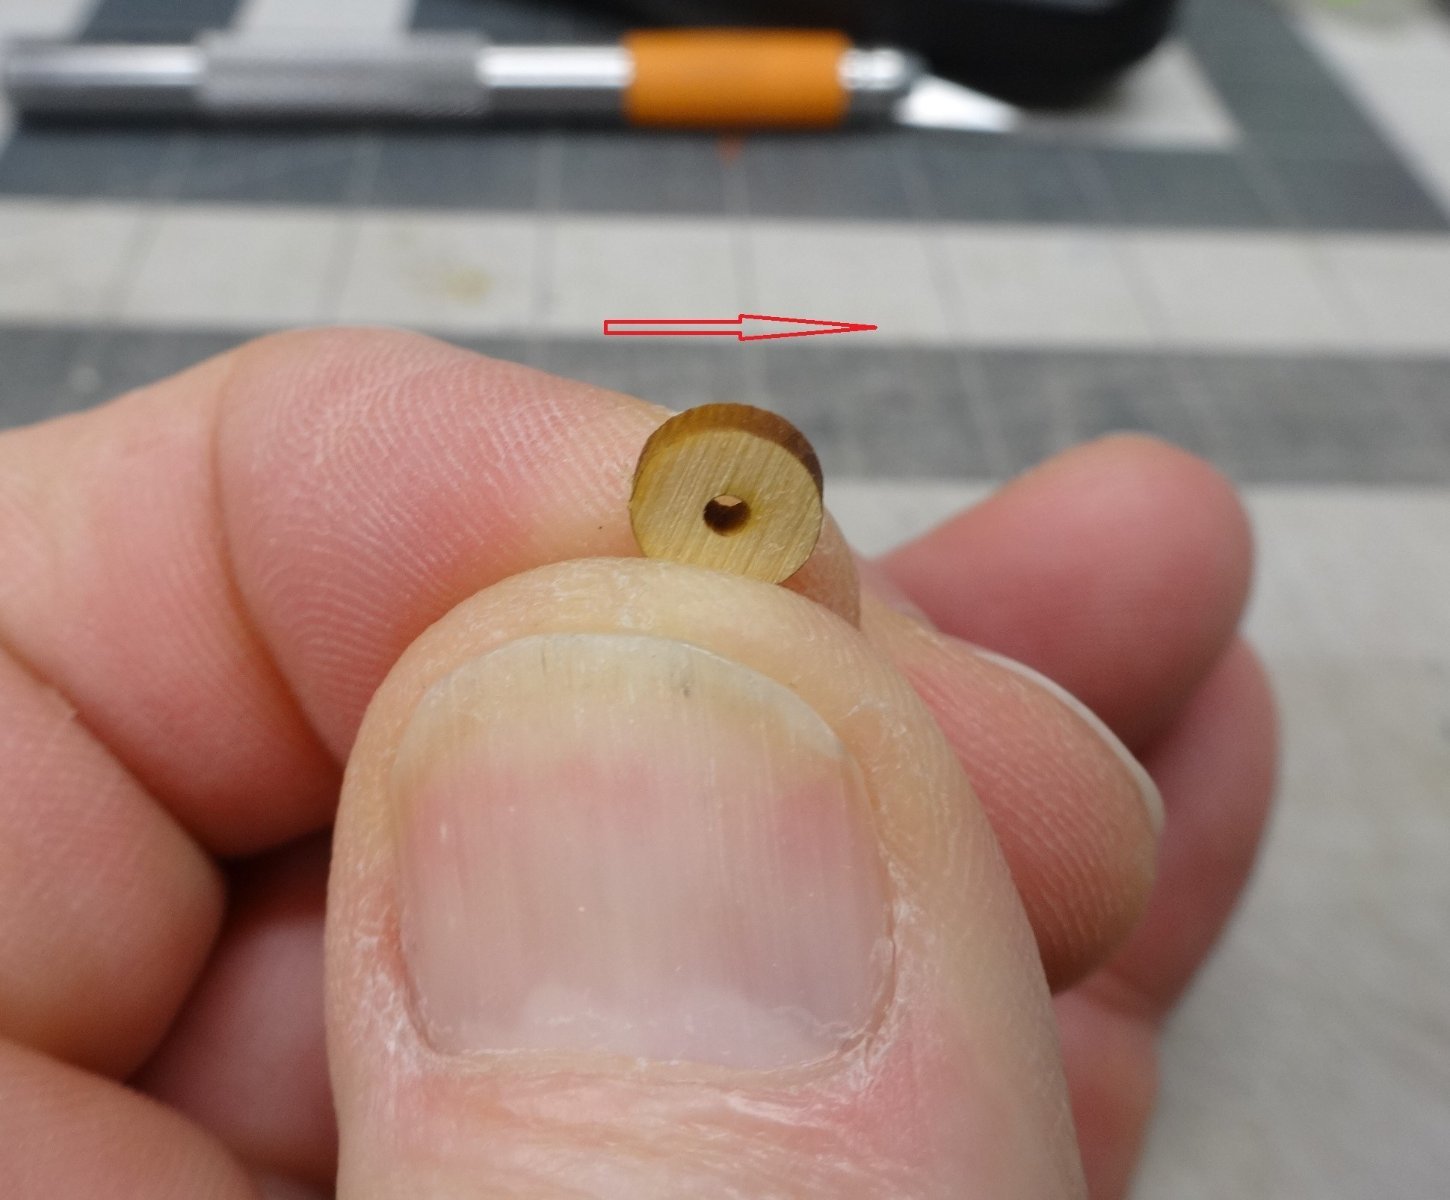
Nothing as nice as Gregory's idea. I just pinched them between my fingers and drew my sanding block across. I used 180 grit paper. I used a block or sanding stick instead of just sandpaper to avoid my rounding of the edges too much. First, I went across the truck rotating after each pass, draw it across, repeat for maybe two full circles. Then I went with the truck doing the same thing until it was clean enough. There was always a couple of spots that don't come perfectly clear but that's ok. I think it adds depth to it. Thanks Matt. From the aft mast to the front of the forward hatch I made a straight line with pin striping tape. Aliened the eye bolts and drilled according to the plans. The bolts around the stove, forward mast and in the cabins were marked as close to the plans as I could get. Note that all the smaller rings and bolts alien with the center of the corresponding gunport. A good way to check your placement. Thank you, Frank and Ben, and also for all the likes!


- 642 replies
-
- 10
-
-
-
- winchelsea
- Syren Ship Model Company
- (and 1 more)
-
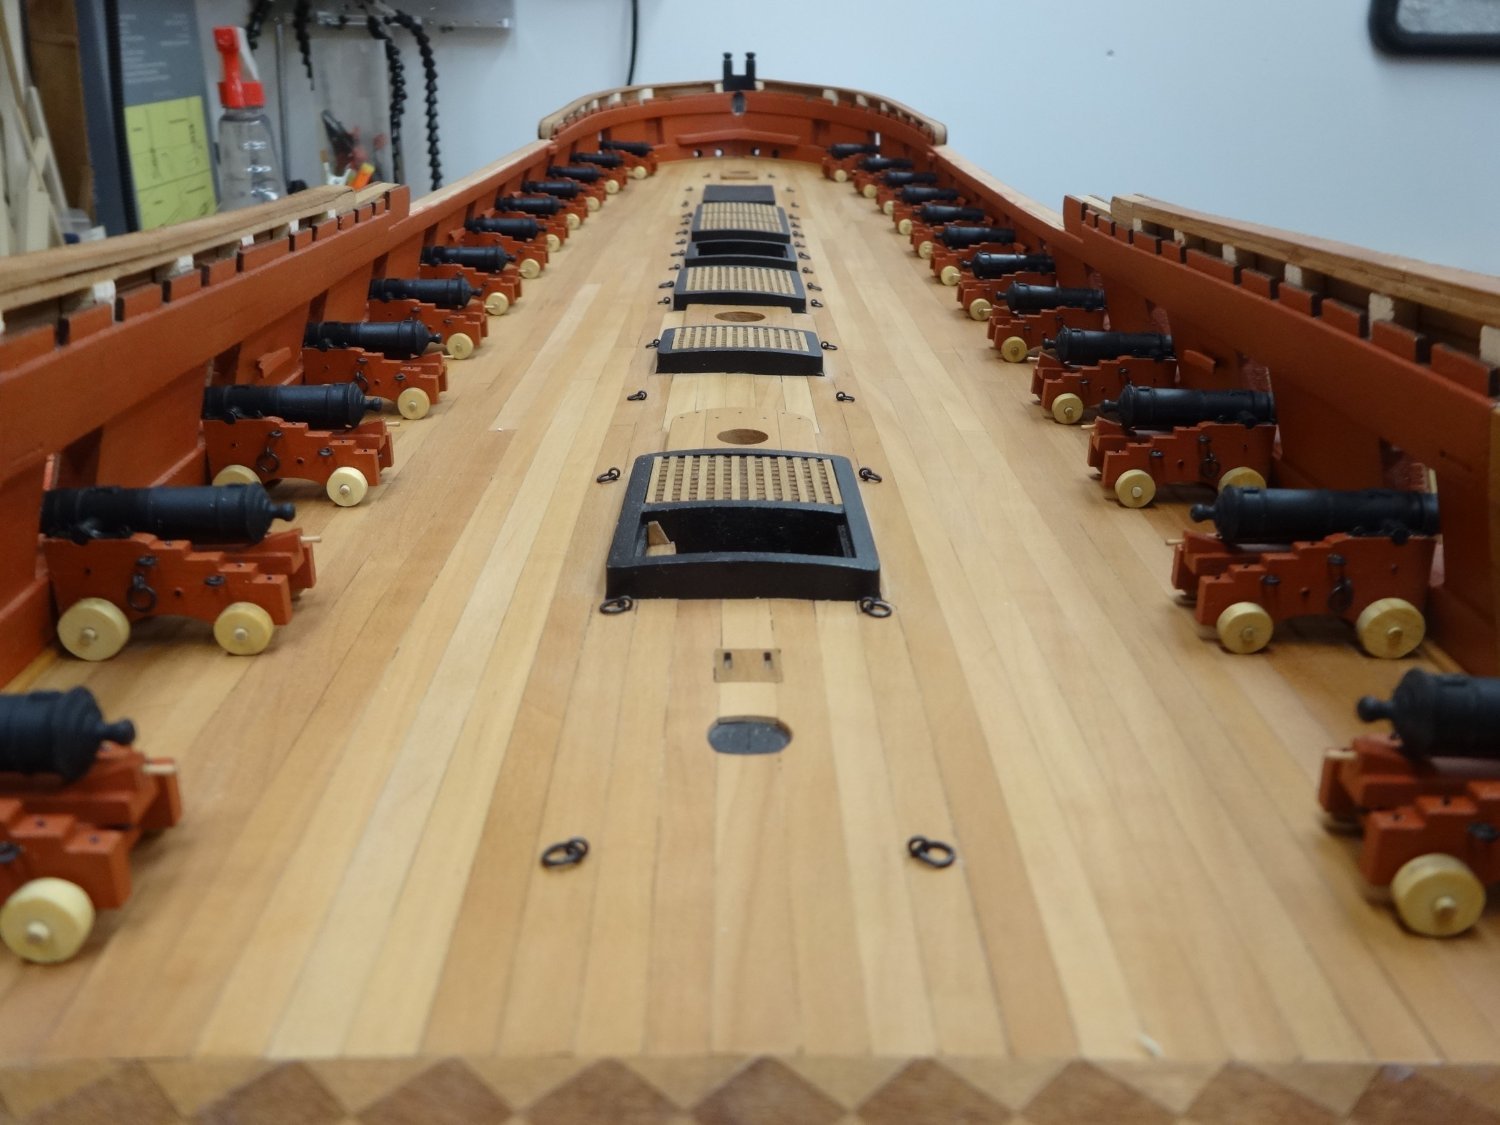
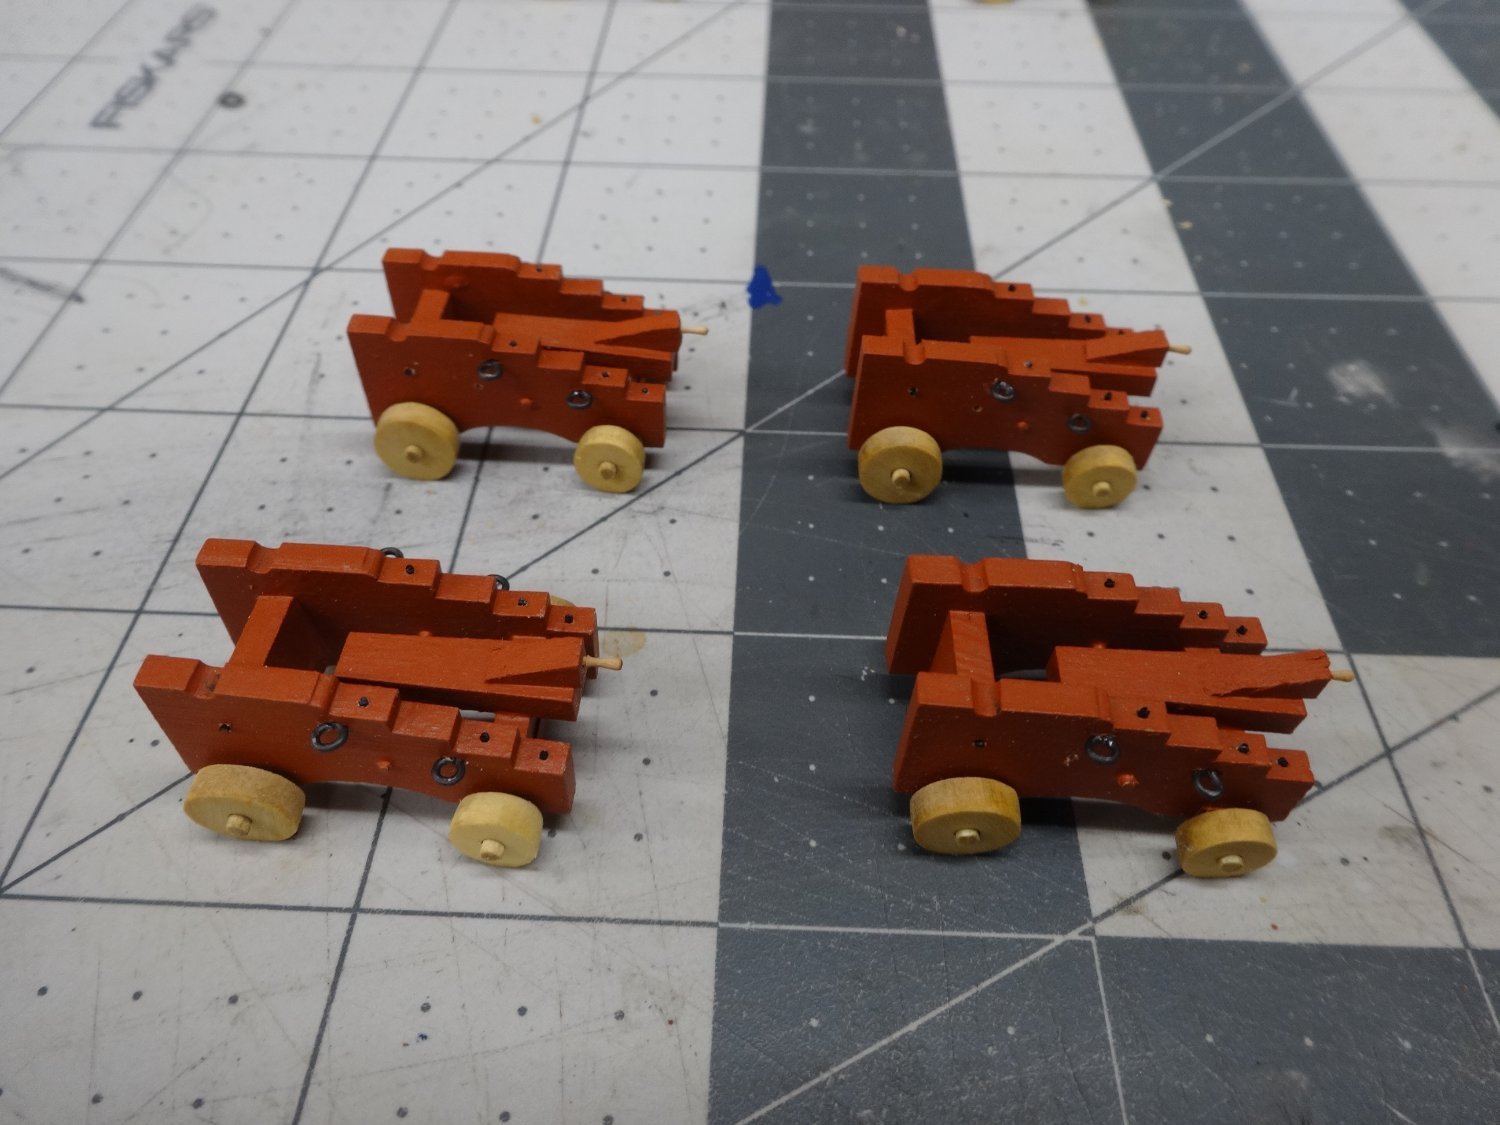
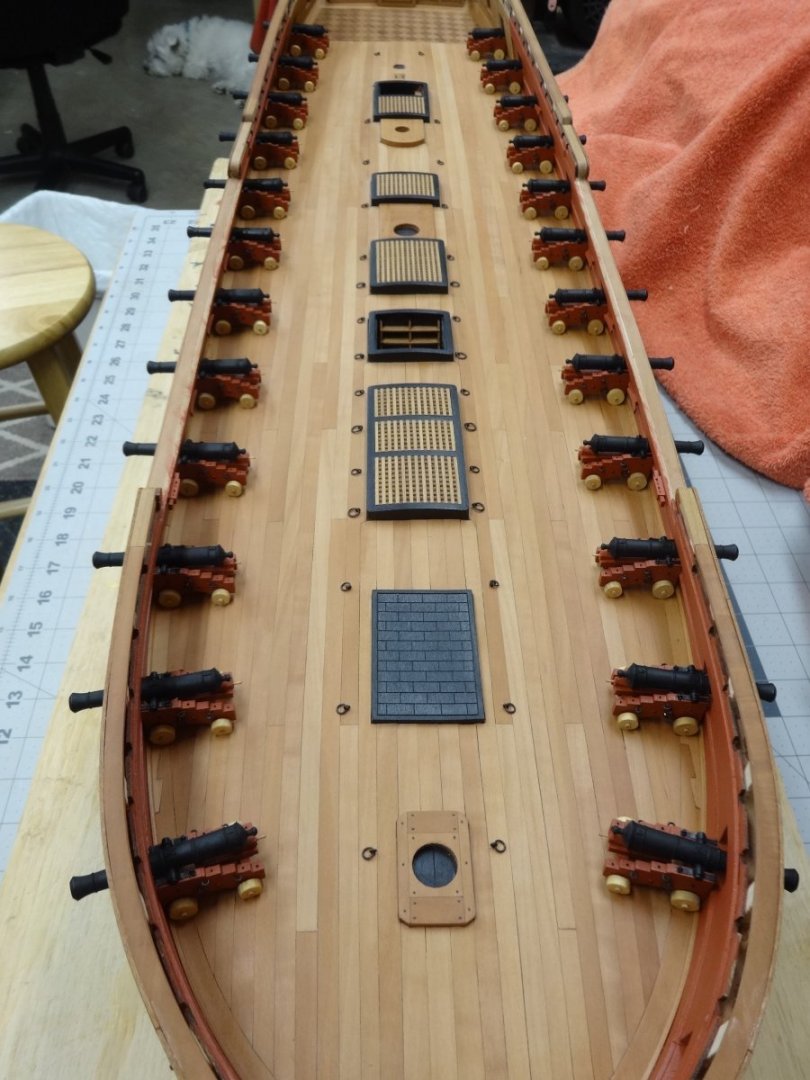
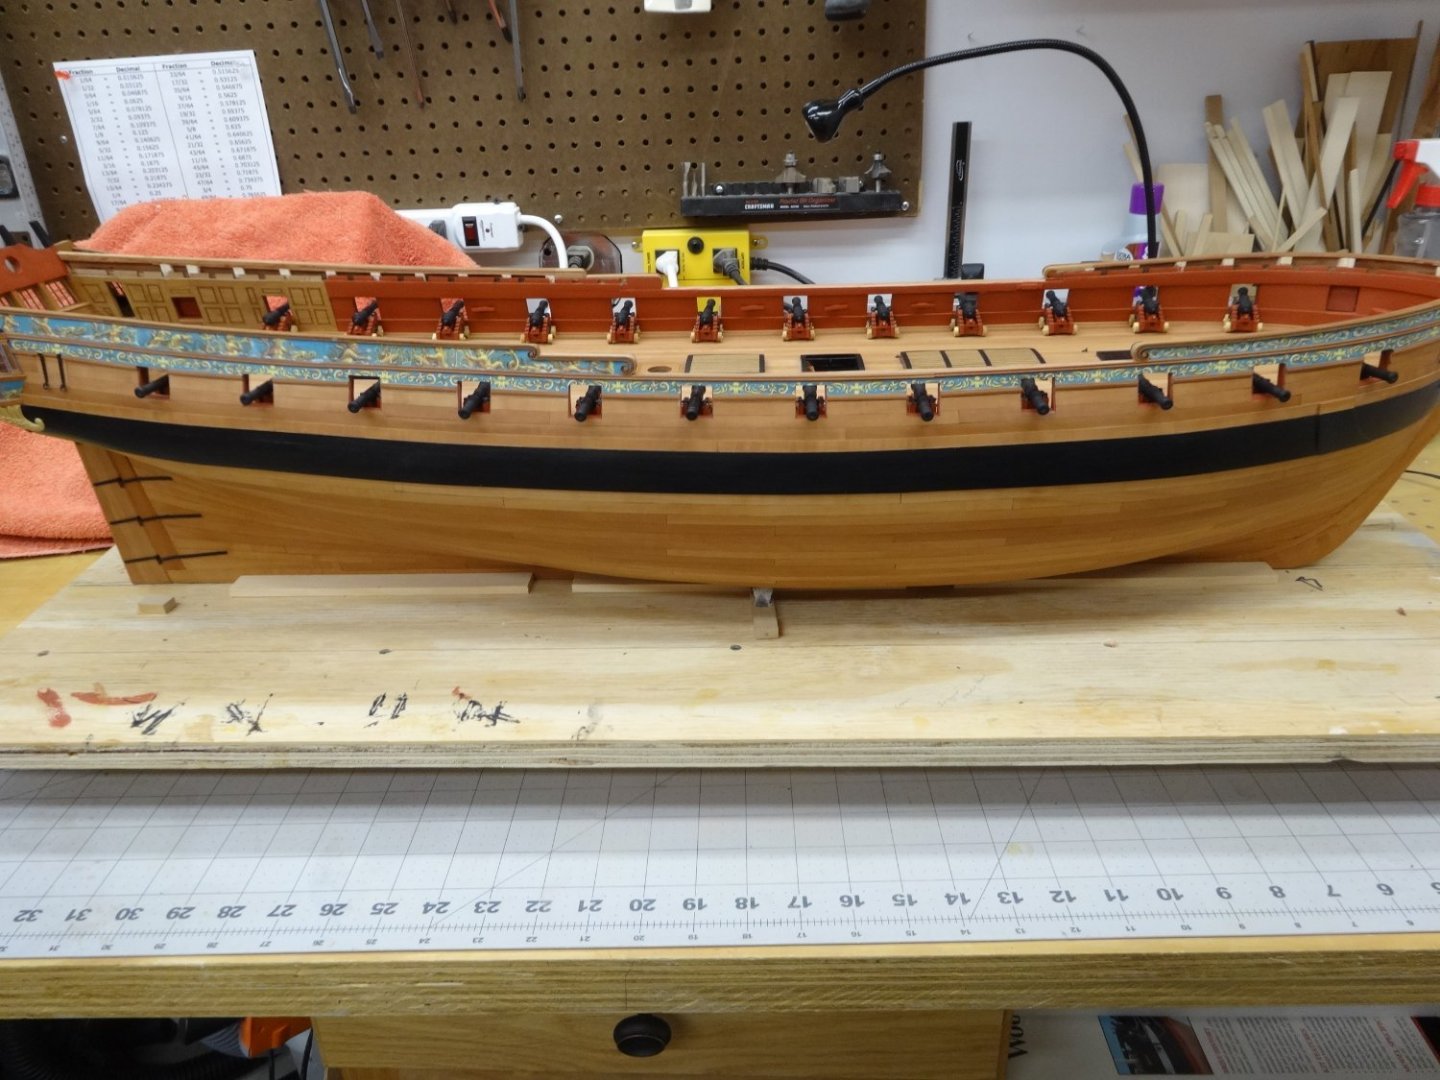
Whew 24 cannons and carriages completed! They are just set in place to see how they look. I now have to add a whole bunch (96) split rings and eye bolts to the bulwarks and then fasten the carriages to the deck. I have decided to follow Chuck and Mikes lead and not use any rigging.

- 642 replies
-
- 19
-
-
-
- winchelsea
- Syren Ship Model Company
- (and 1 more)
-
Looking really nice Glenn. Very smart using templates to confirm your work!
- 840 replies
-
- 4
-
-
- winchelsea
- Syren Ship Model Company
- (and 1 more)
-
Welcome aboard and that's a great start!
-
Nice work Glenn, your slow meticulous work pays off again.
- 840 replies
-
- 3
-
-
- winchelsea
- Syren Ship Model Company
- (and 1 more)
-
Yes I did the same and it was a very wide range. By the way it's referred to as a cascabel, button or knob. At least that's according to my quoin google search cuz I had no idea.
- 642 replies
-
- 2
-
-
- winchelsea
- Syren Ship Model Company
- (and 1 more)
-
Hi Glenn. Still pondering the quoins. I've still got time as building these carriages takes a good bit of time. Thanks everyone for stopping by and have a safe and Happy New Years.
- 642 replies
-
- 2
-
-
- winchelsea
- Syren Ship Model Company
- (and 1 more)
-
Great job on the cheeks and hair brackets. Like my original turned quoin yours appear too big to me. I suck at scale sizes, so this is just to my eye. Comparing the two though the 6mm do look a bit small. To the overall appearance would undersized be better than oversized? I'd wait for smarter people than me!
-
I thought the same thing when I saw them in the package but one on the carriage, to me, they looked much closer to scale. Thanks for the likes too!
- 642 replies
-
- 1
-
-
- winchelsea
- Syren Ship Model Company
- (and 1 more)
-
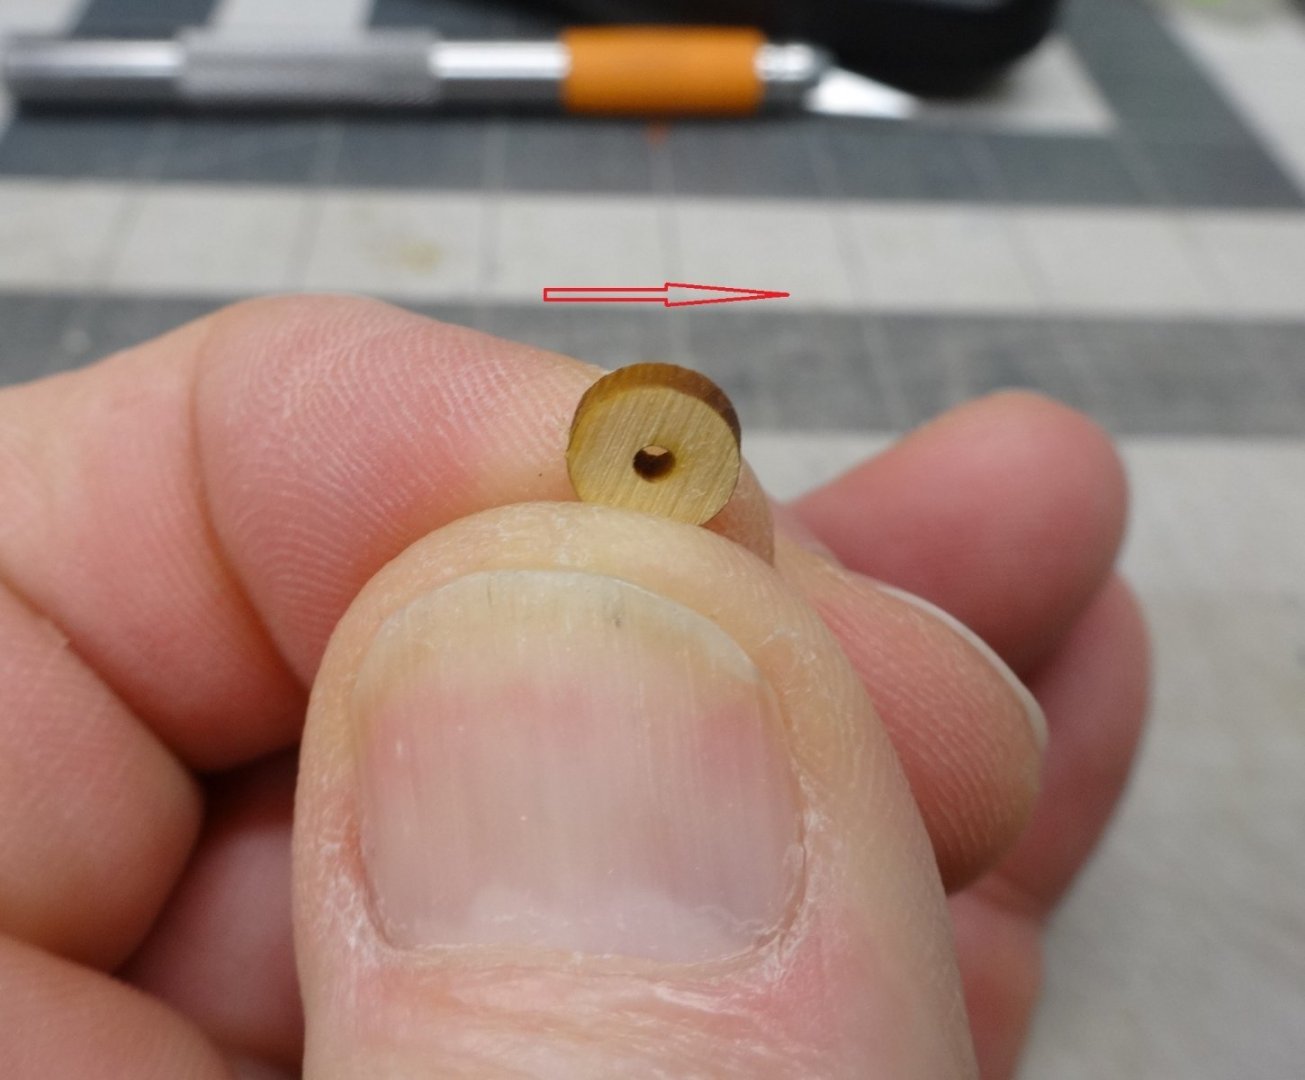
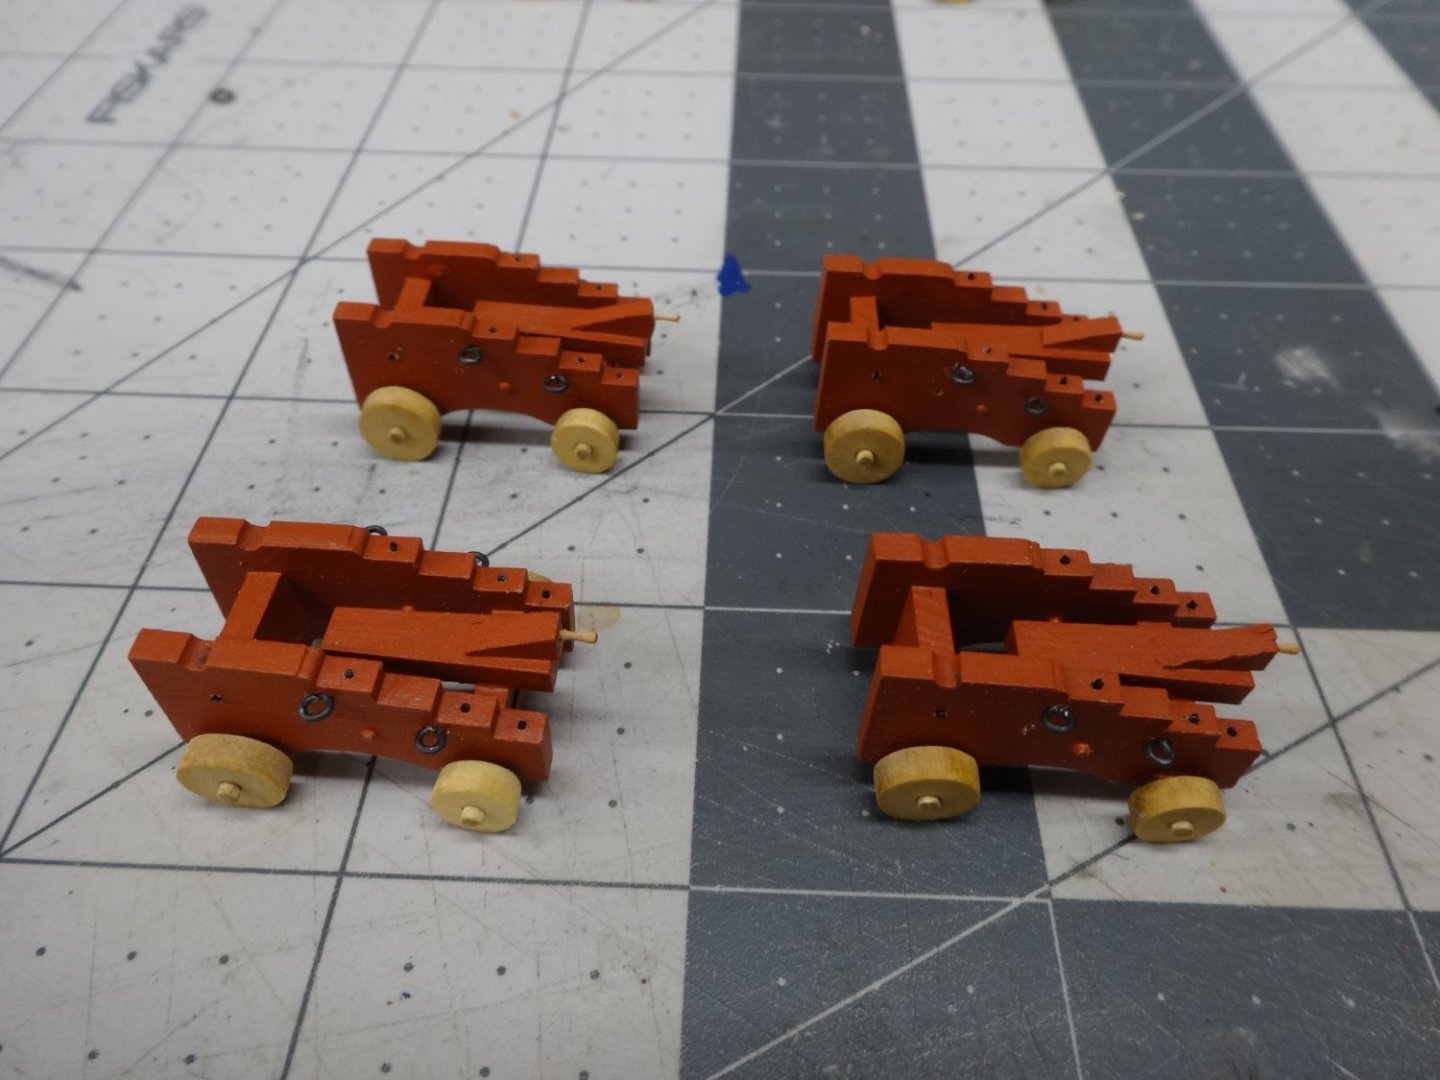
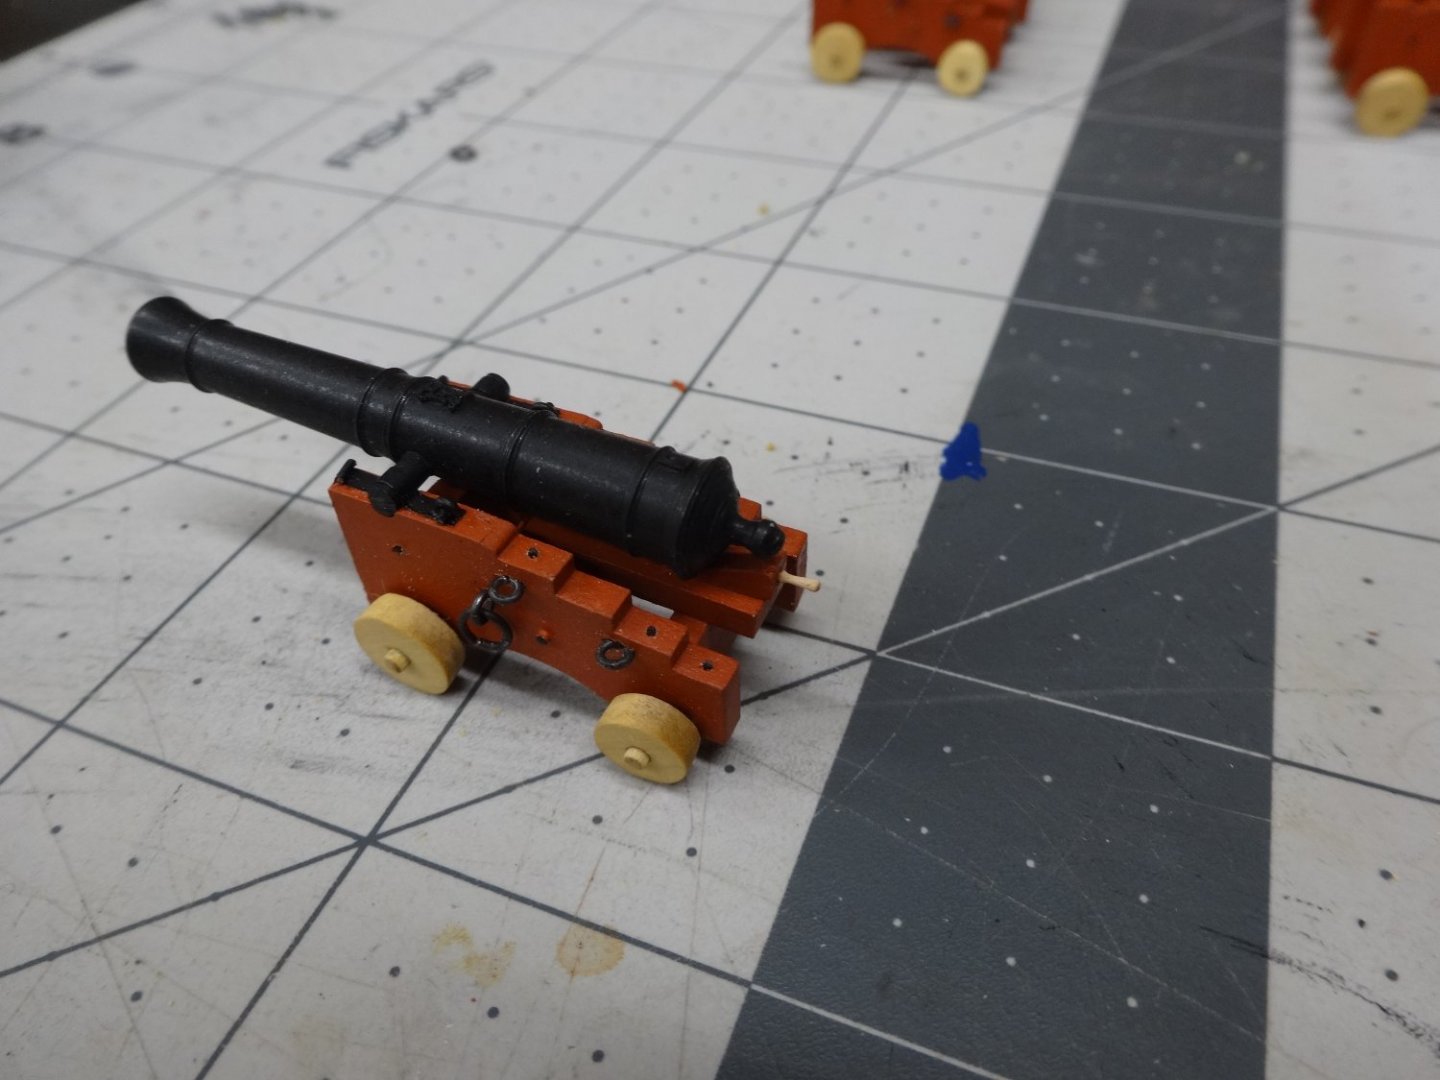
Ok the holiday is over and "work" resumes. The quoins arrived and I replace my hand made one. These are the 6mm size, the smallest they offer. Very well made and come in packs of ten. Size is fairly consistent with maybe 2 or 3 out of the 24 I'll use were a little smaller than the rest. Not an issue but as I had extras so I did not use those. I'm really happy with quoins and the service from Crafty Sailor. The one thing almost as bad as making hundreds of split rings and eye bolts is putting hundreds of split rings and eye bolts on the carriages and bulwarks. I have applied weathering powder to all the barrels and then sprayed them with dull coat to seal the powder and give them a more metal look. I will fit them one at a time to a carriage.

- 642 replies
-
- 12
-
-
- winchelsea
- Syren Ship Model Company
- (and 1 more)