Rustyj
-
Posts
2,535 -
Joined
-
Last visited
Content Type
Profiles
Forums
Gallery
Events
Everything posted by Rustyj
-
 Welcome to the party Matt. It sure is a lot of fun!
 -
Great advice Mike. She's looking splendid!
- 607 replies
-
- 2
-

-
- winchelsea
- Syren Ship Model Company
- (and 1 more)
-
Yes Bob I use Zap a Gap CA. Thanks ASAT. This is the first hull I've done in pear and so far so good!
- 642 replies
-
- 2
-
-
- winchelsea
- Syren Ship Model Company
- (and 1 more)
-
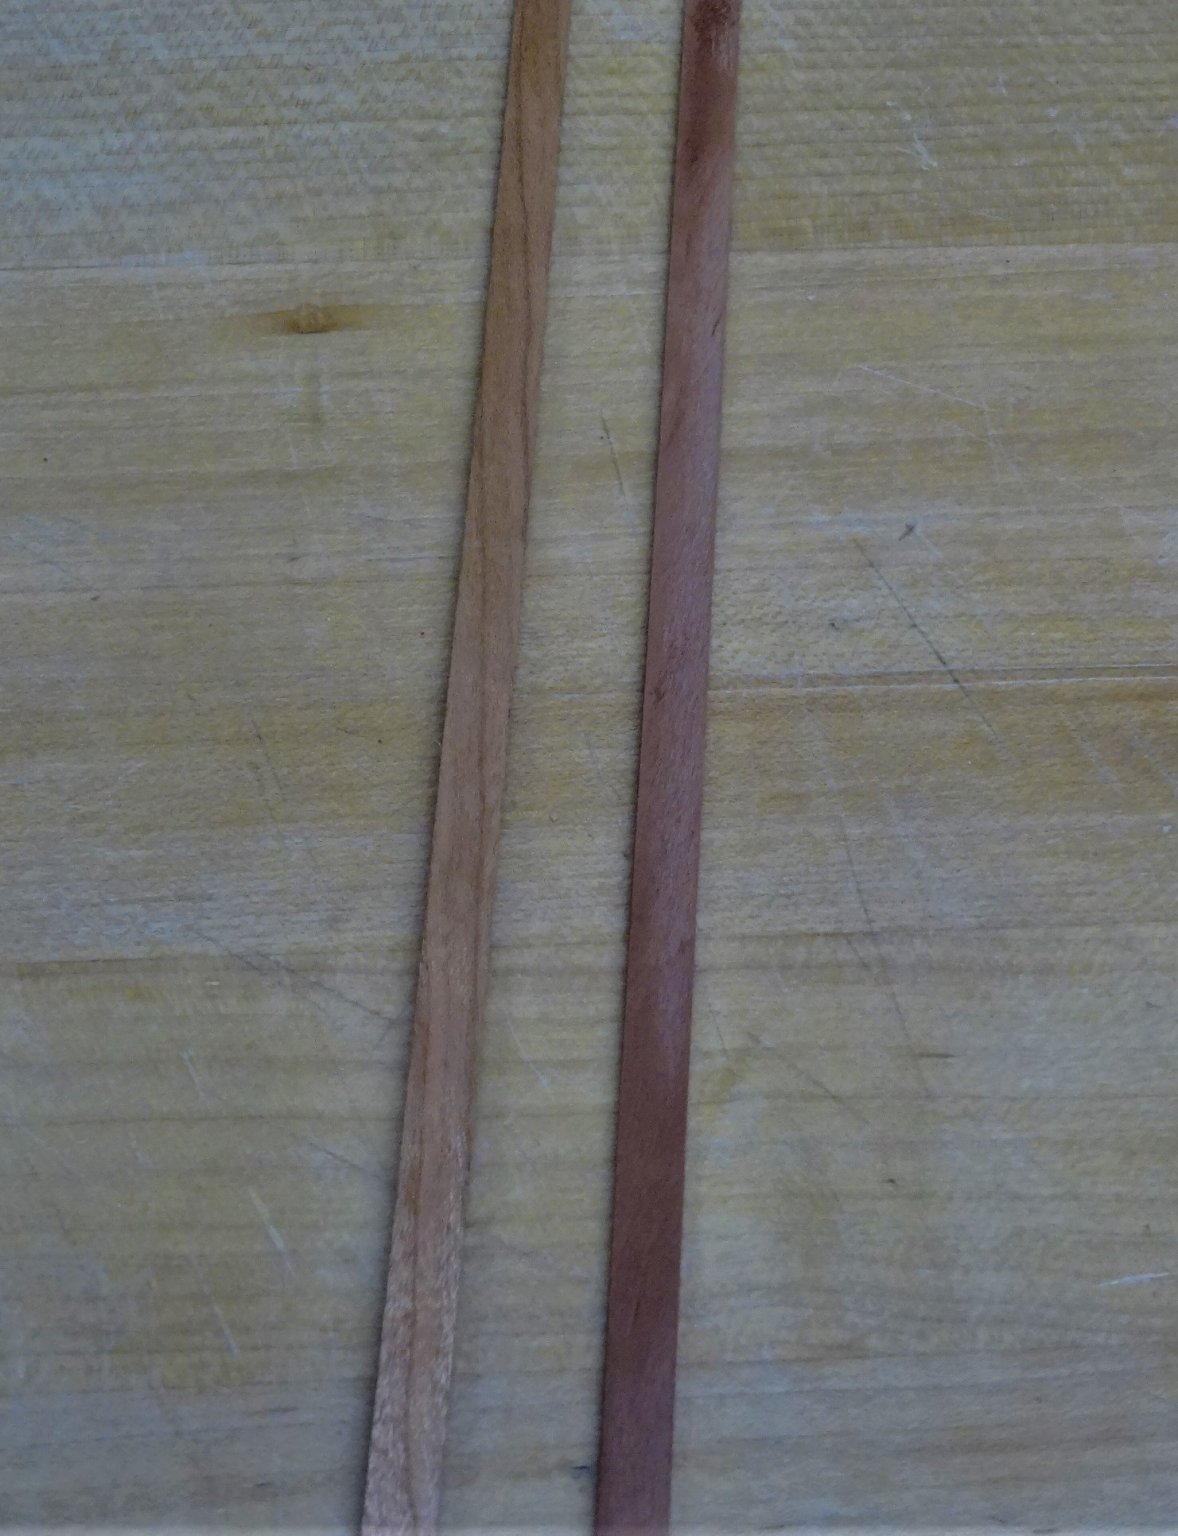
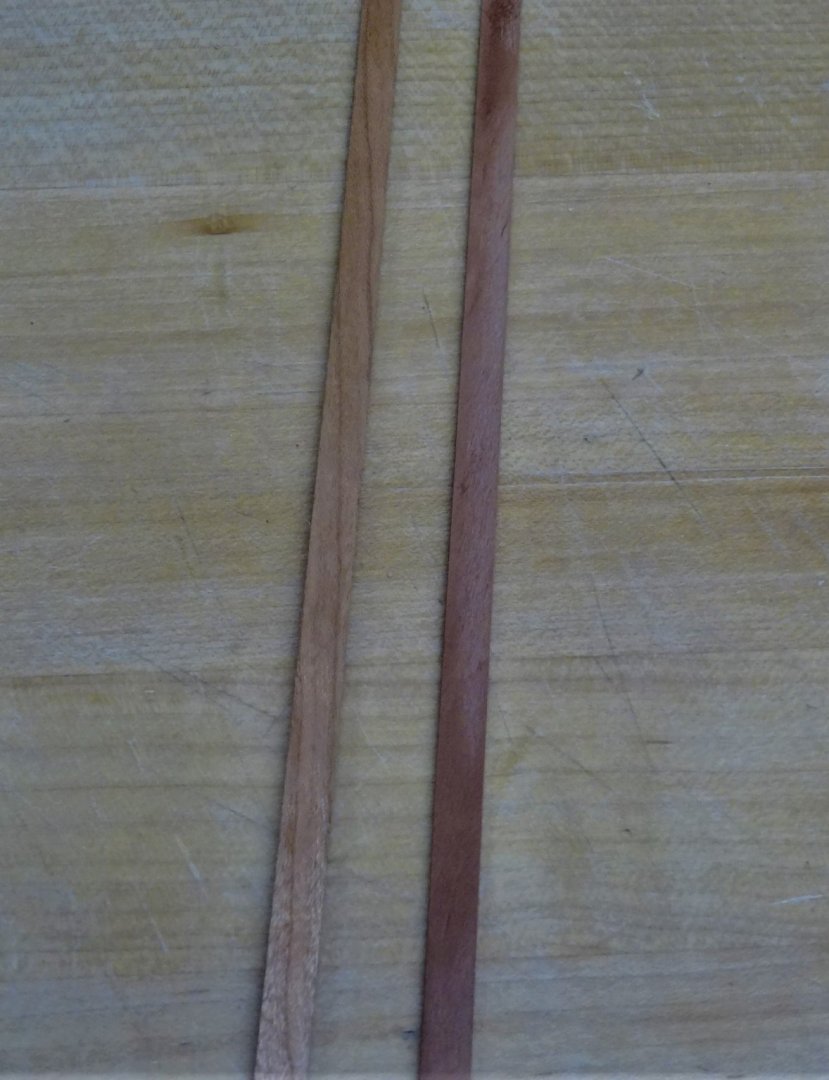
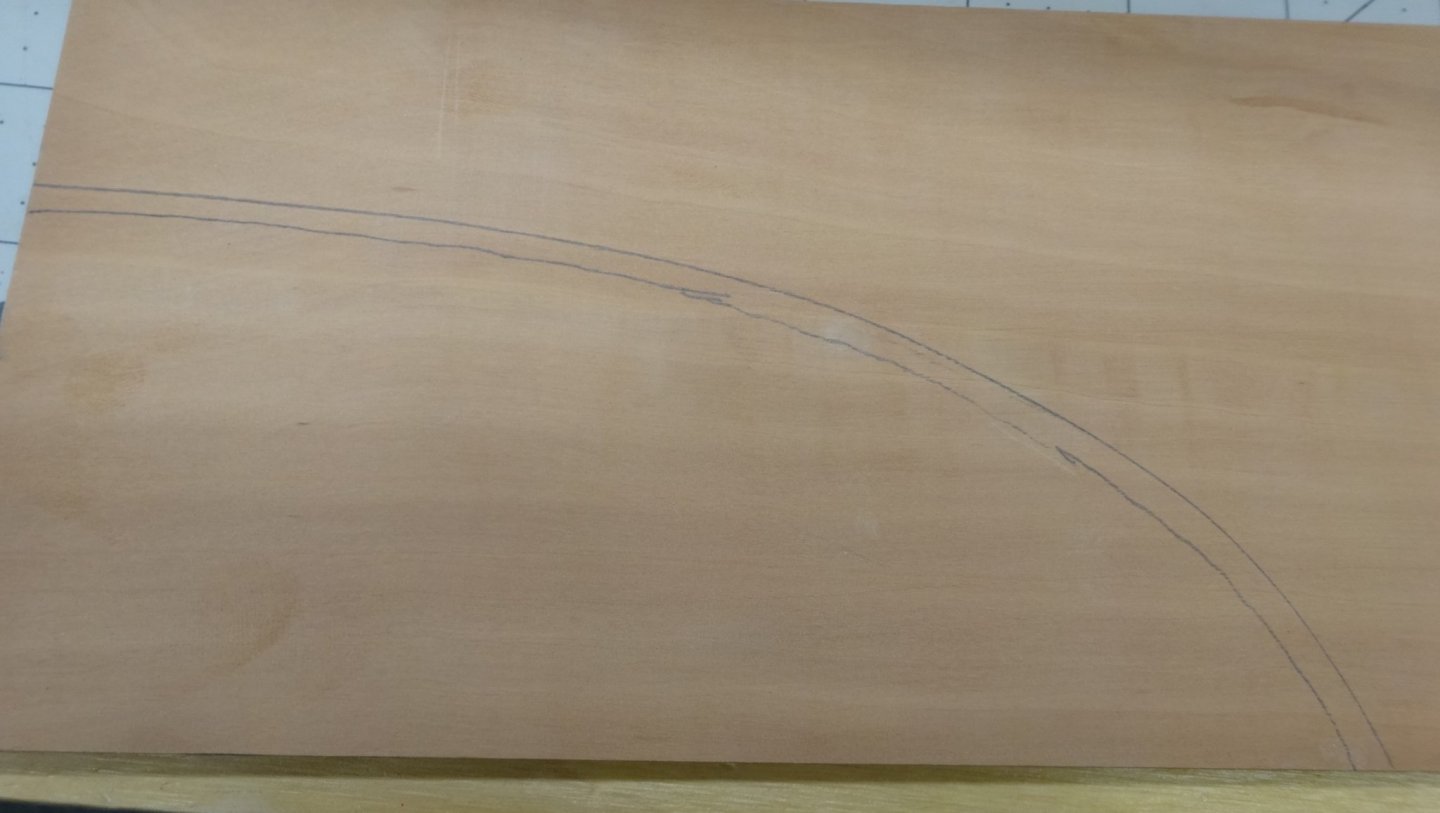
Thanks VTHokiEE. Thanks Bob, Working with it is nice. Holds a good sharp edge and sands well. I feel it's harder than Cherry thus making it a little harder to bend but nothing that makes it more difficult. As far as Chucks methods I edge bend, twist and curve with heat to the shape of the hull just as Chuck describes. As to the gluing I try to mimic Chuck as much as possible but I resort to some edge gluing a bit more the Chuck does. I haven't gotten that good yet. I grabbed a scrap piece of cherry and pear, wiped a quick coat of wipe on poly and took a picture. You can see there is a bit more visible grain and a little lighter color with the cherry. In my opinion they both are great wood to work with.
- 642 replies
-
- 6
-
-
- winchelsea
- Syren Ship Model Company
- (and 1 more)
-
Hi all, Yes it is pear wood. The color is very similar to Cherry but I had more pear on hand then Cherry so that's what I'm using. Thank you nzreg, Chuck, Capt Morgan, Edwardkenway and Bob for the kind words. This is such a fun build! Also thanks for all the likes too! Off to work on the Wales now.
- 642 replies
-
- 3
-
-
- winchelsea
- Syren Ship Model Company
- (and 1 more)
-
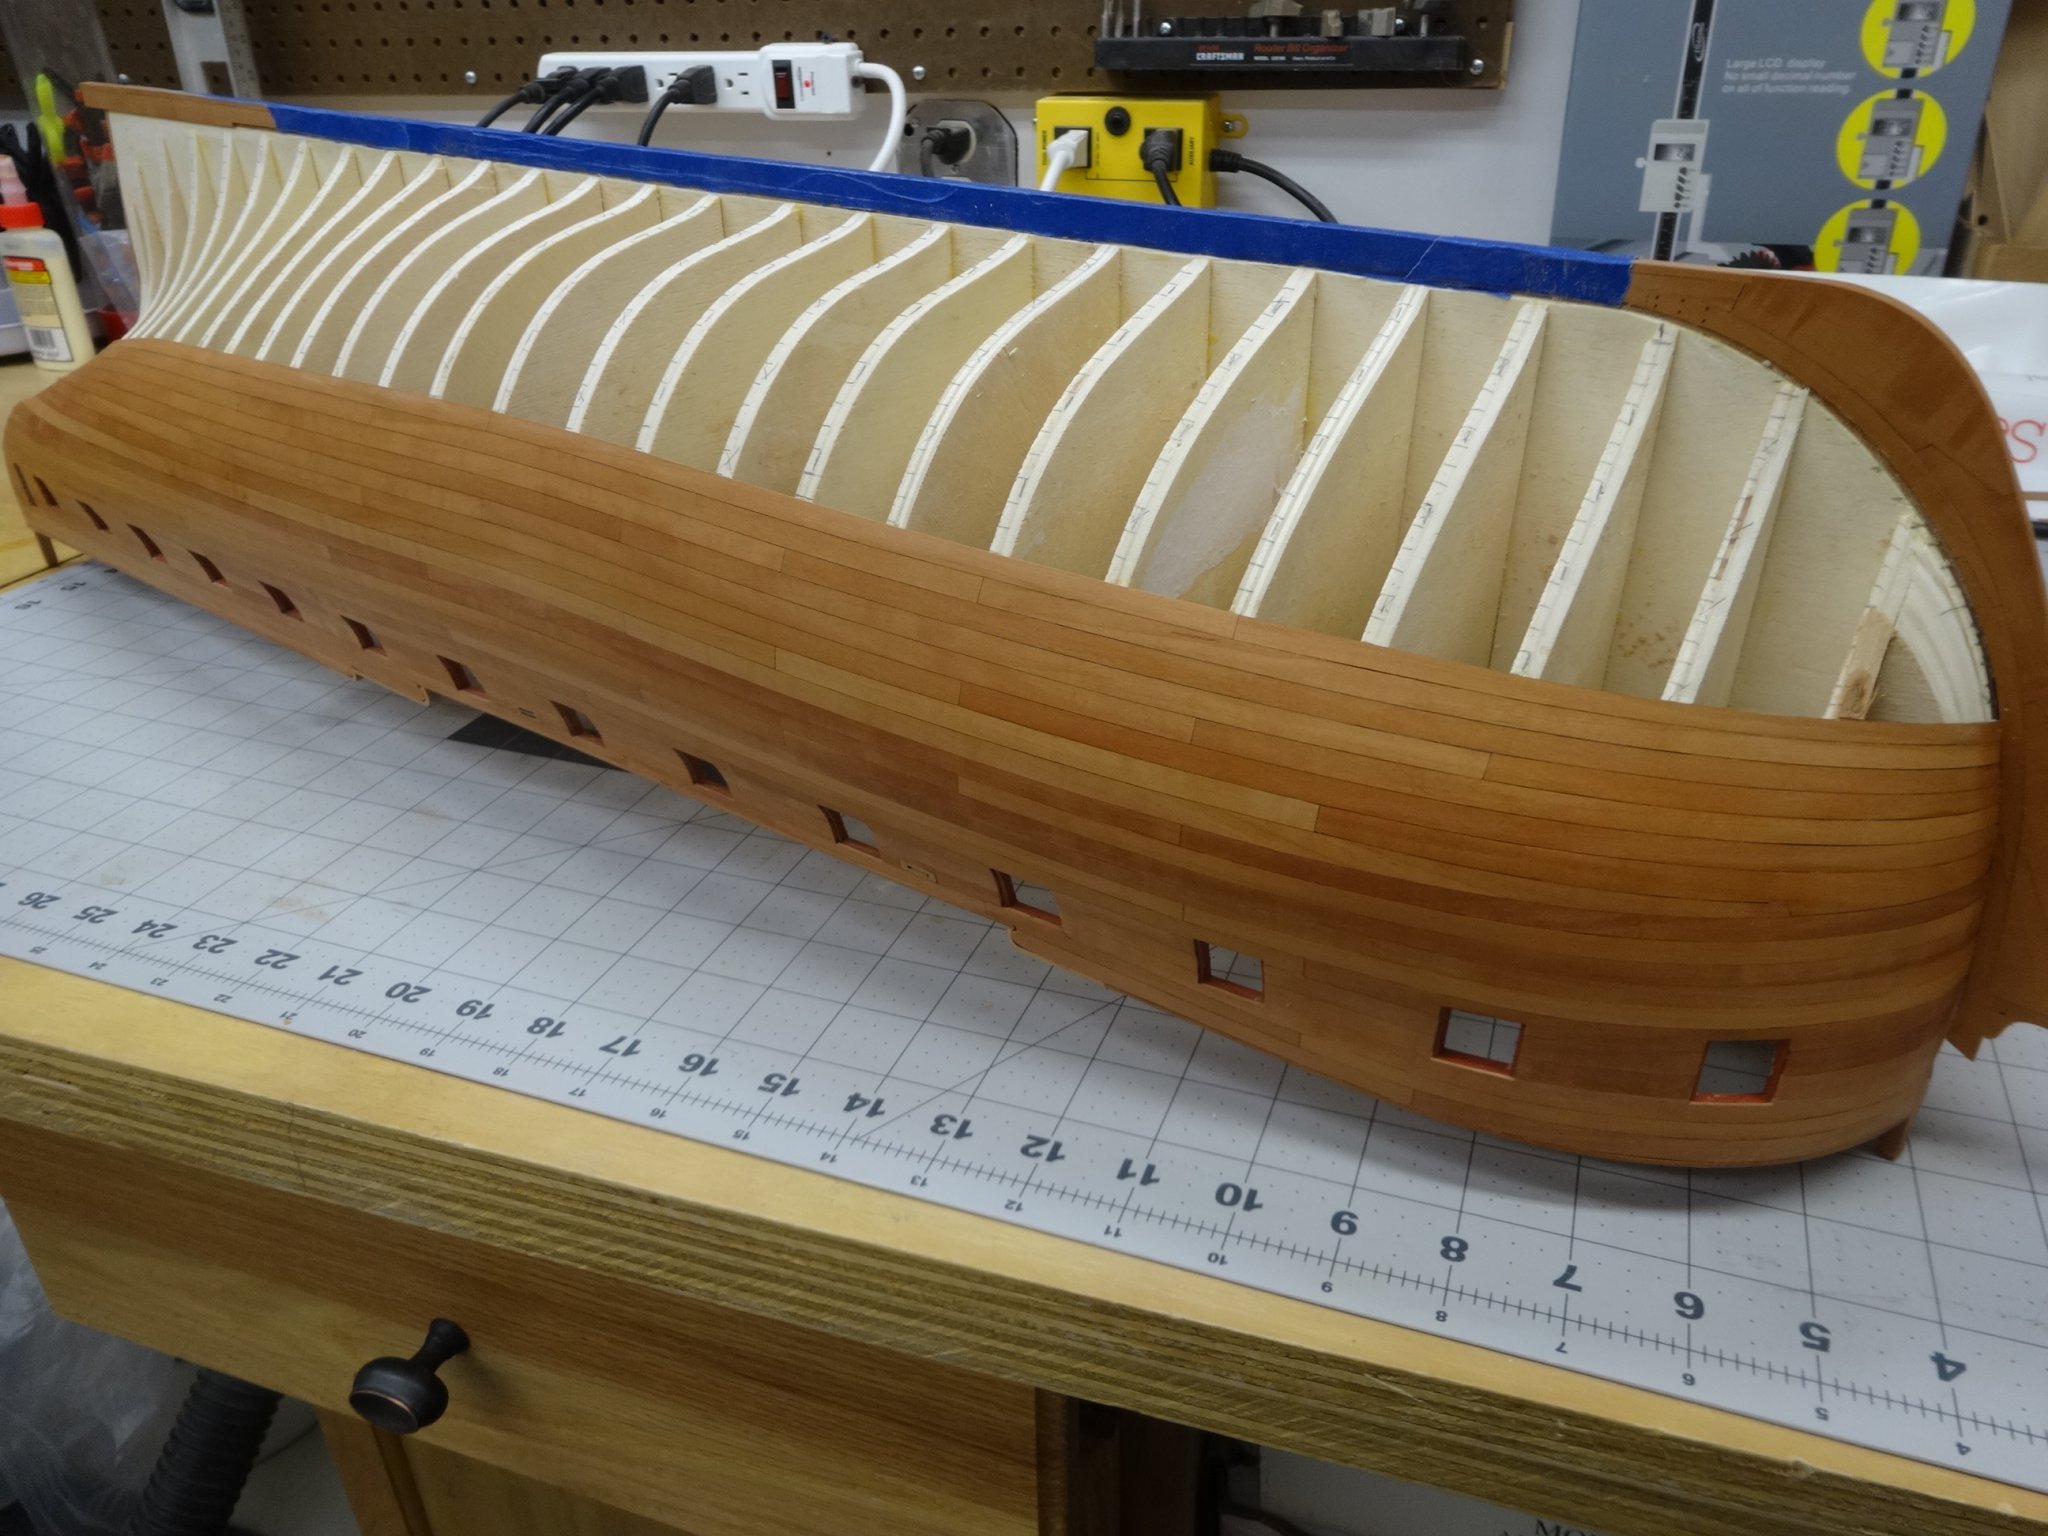
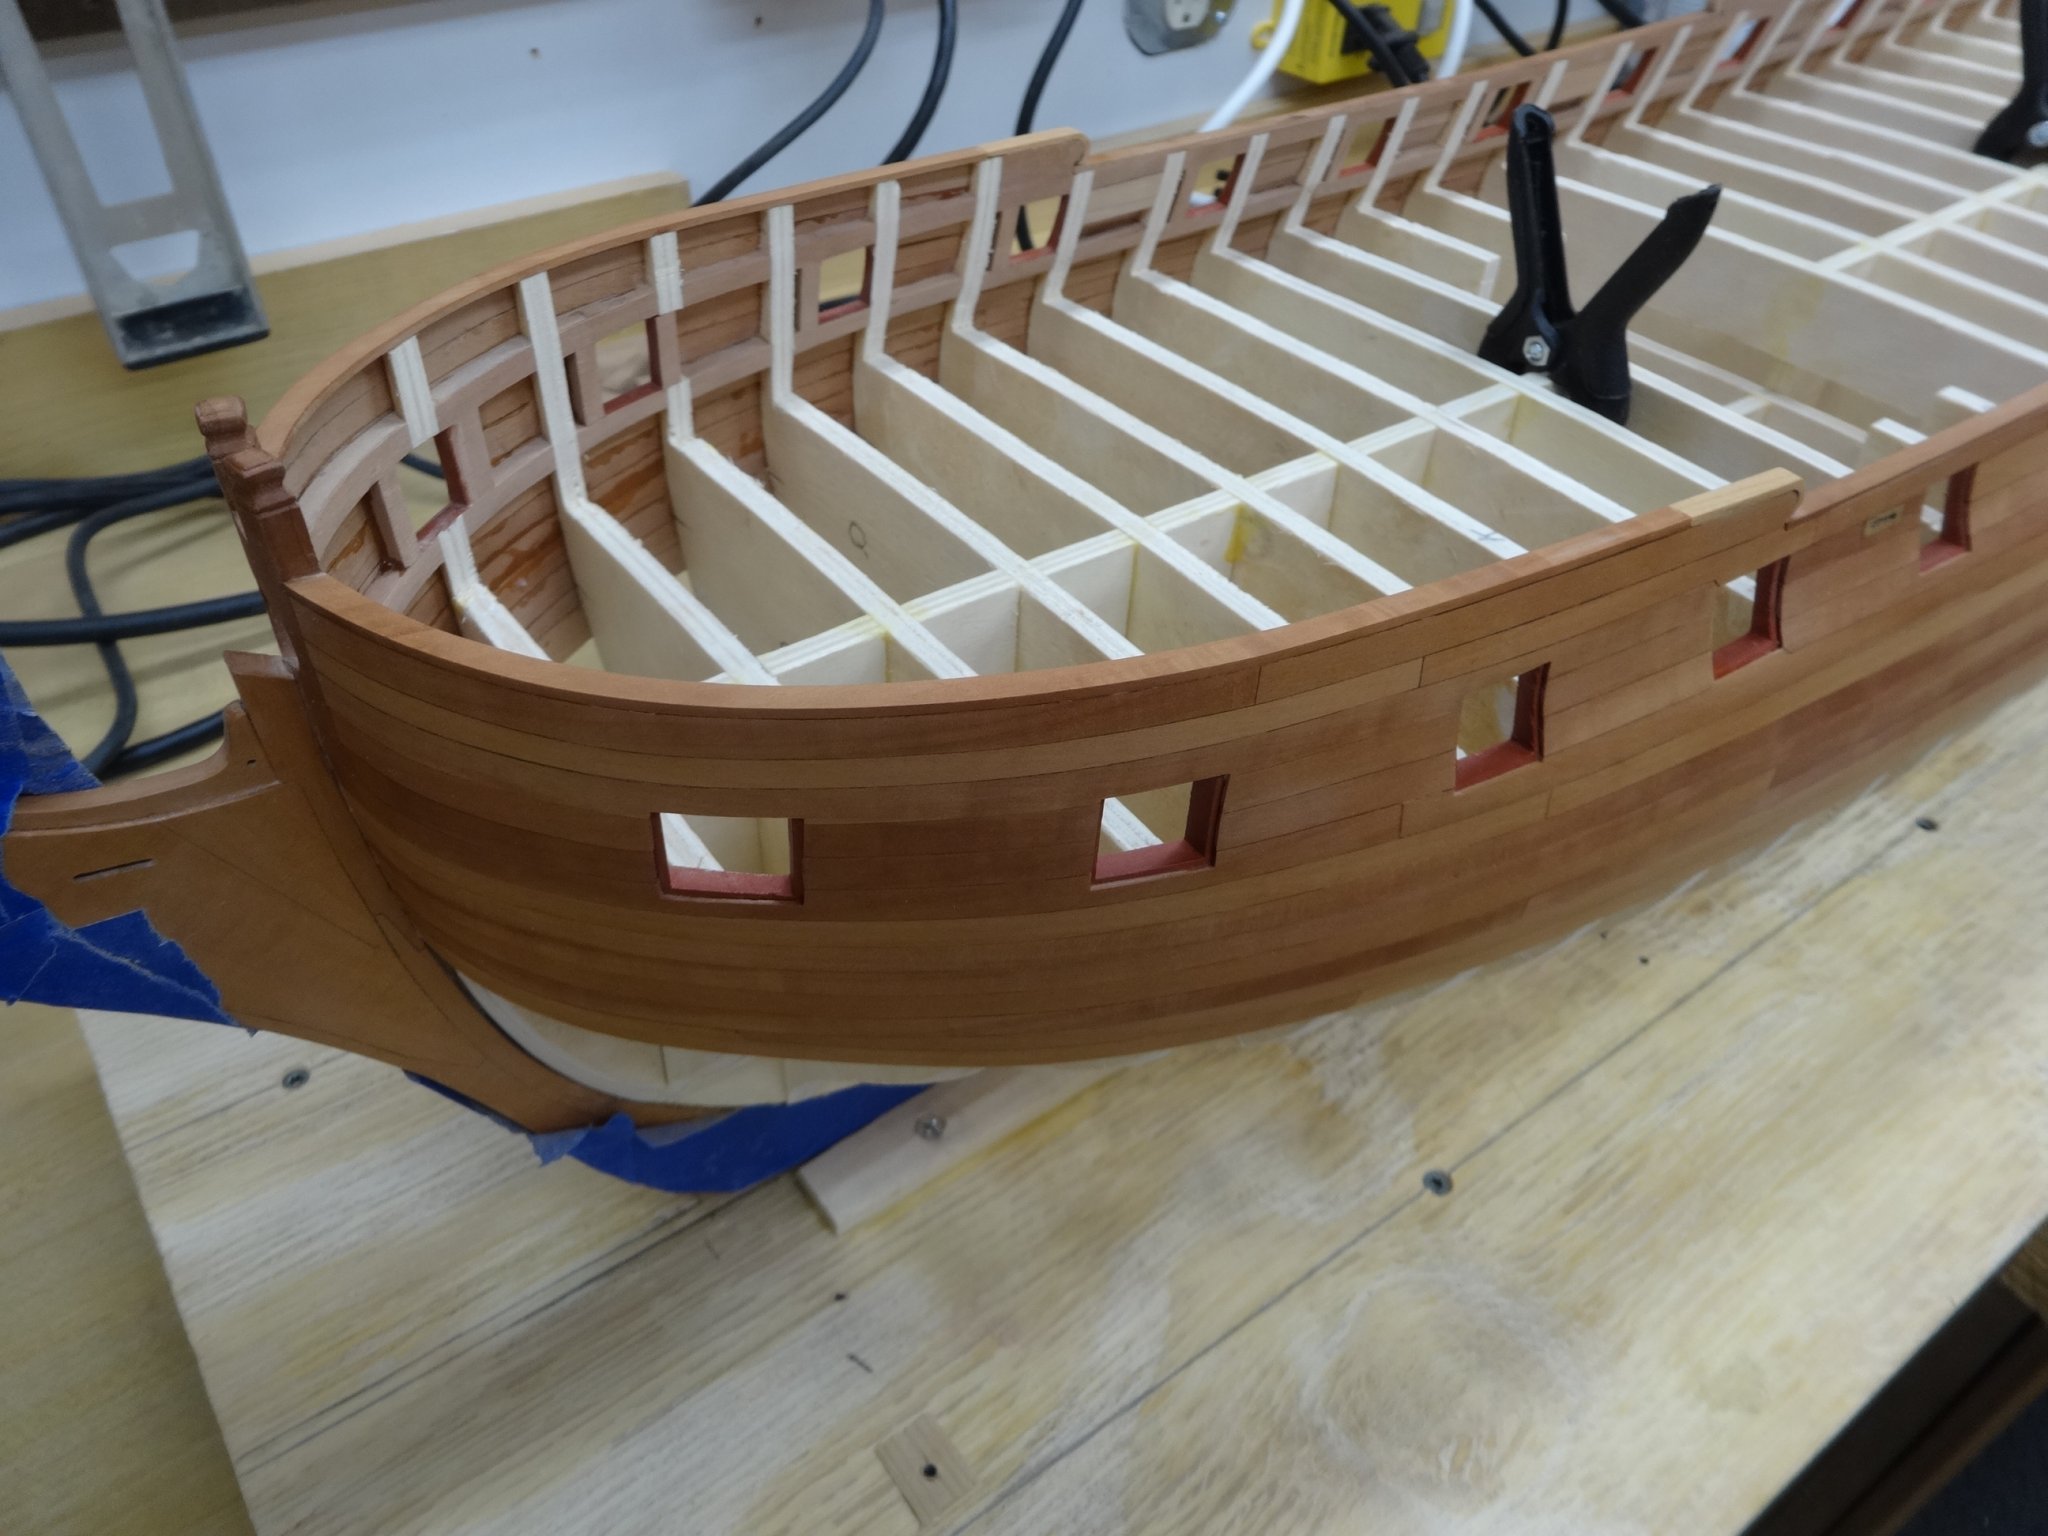
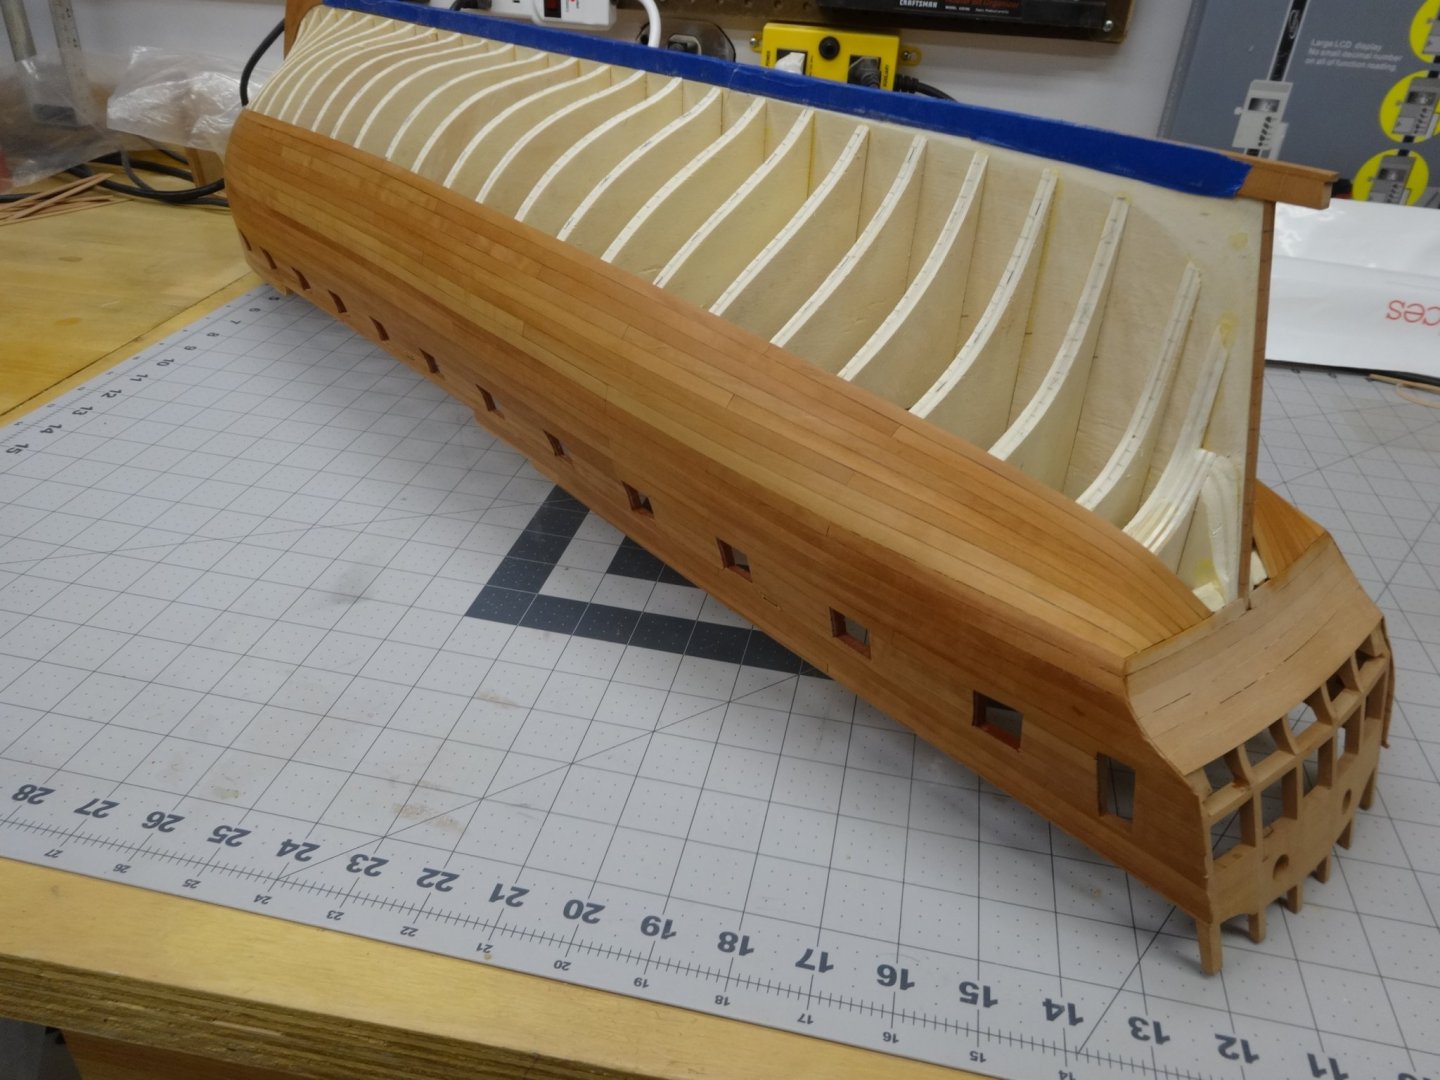
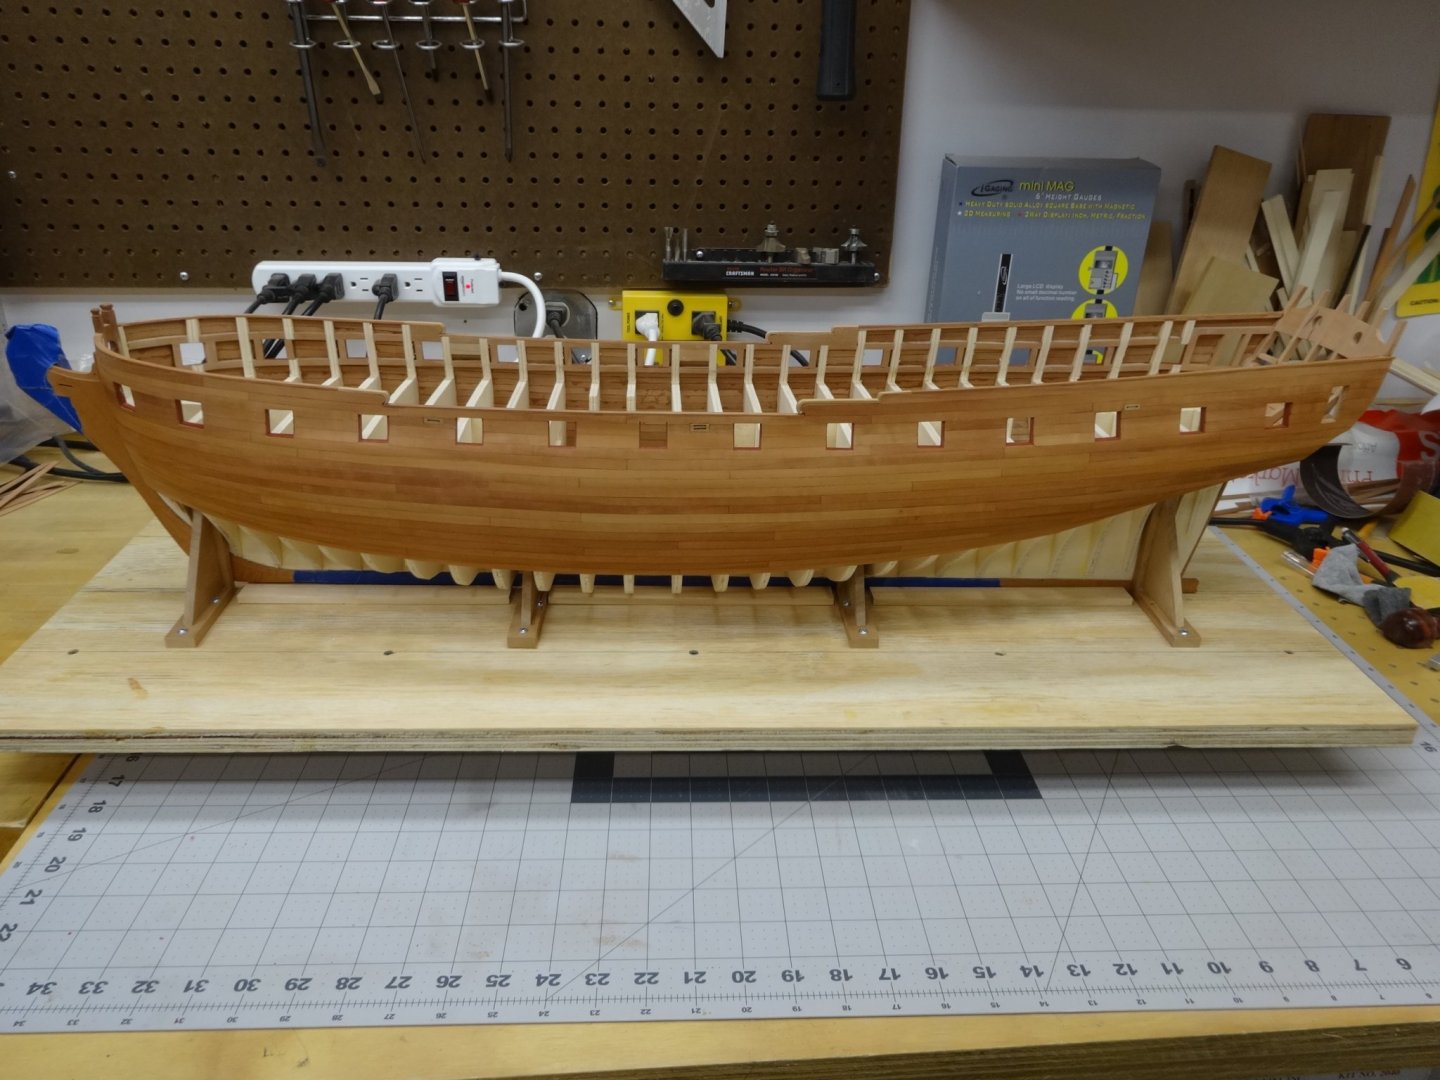
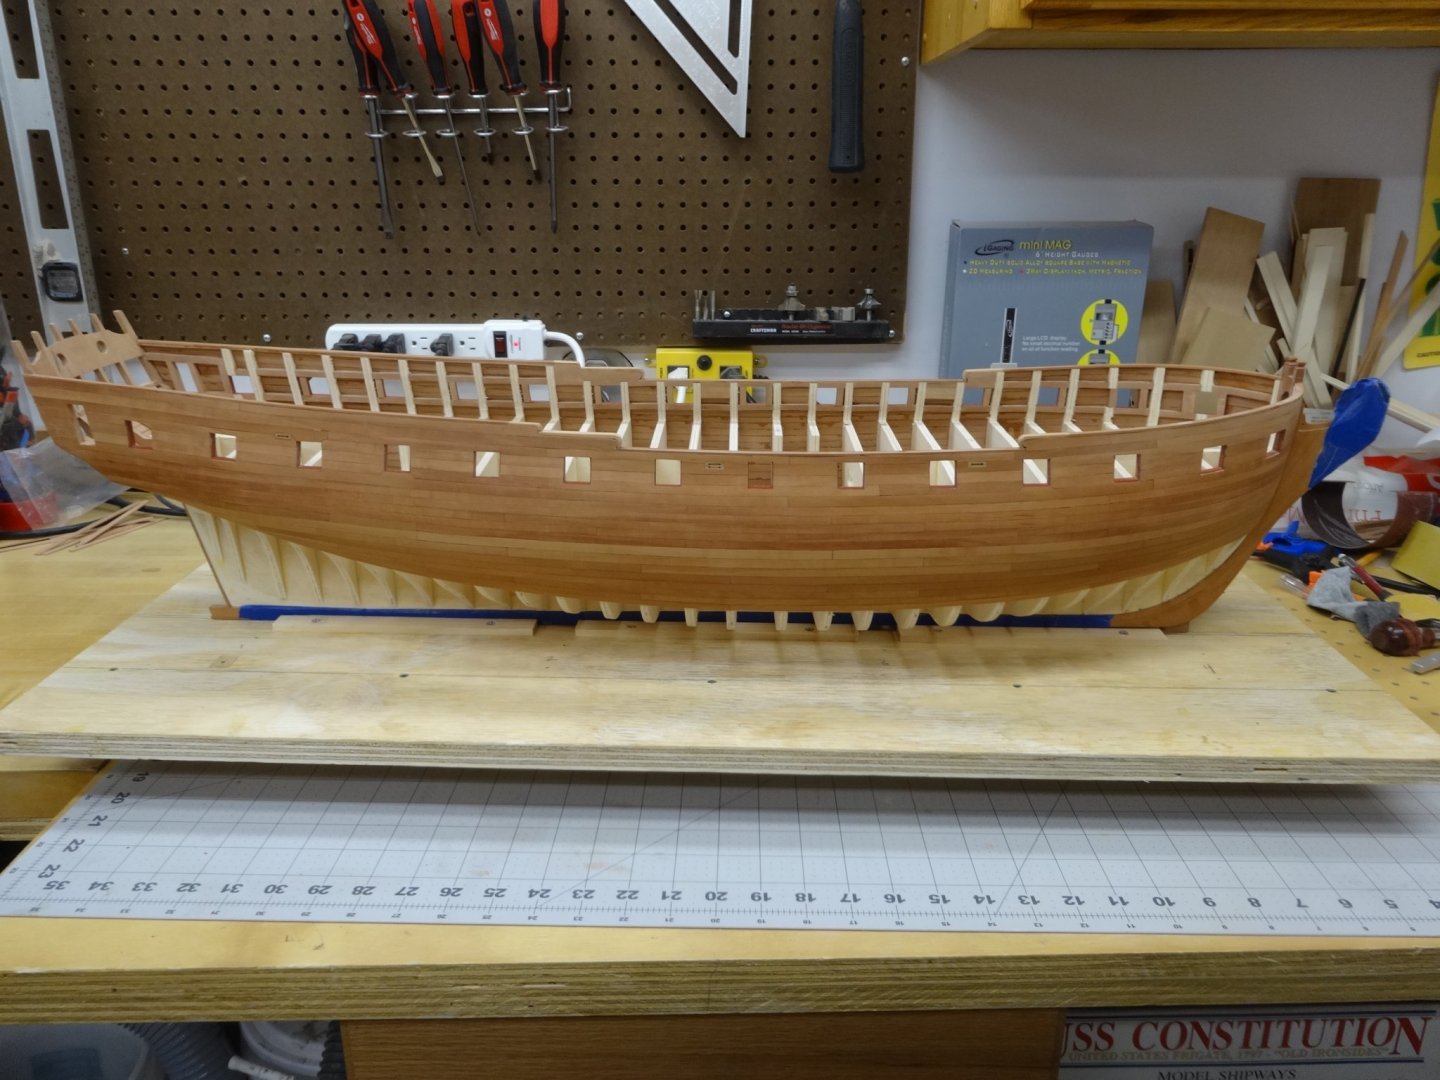
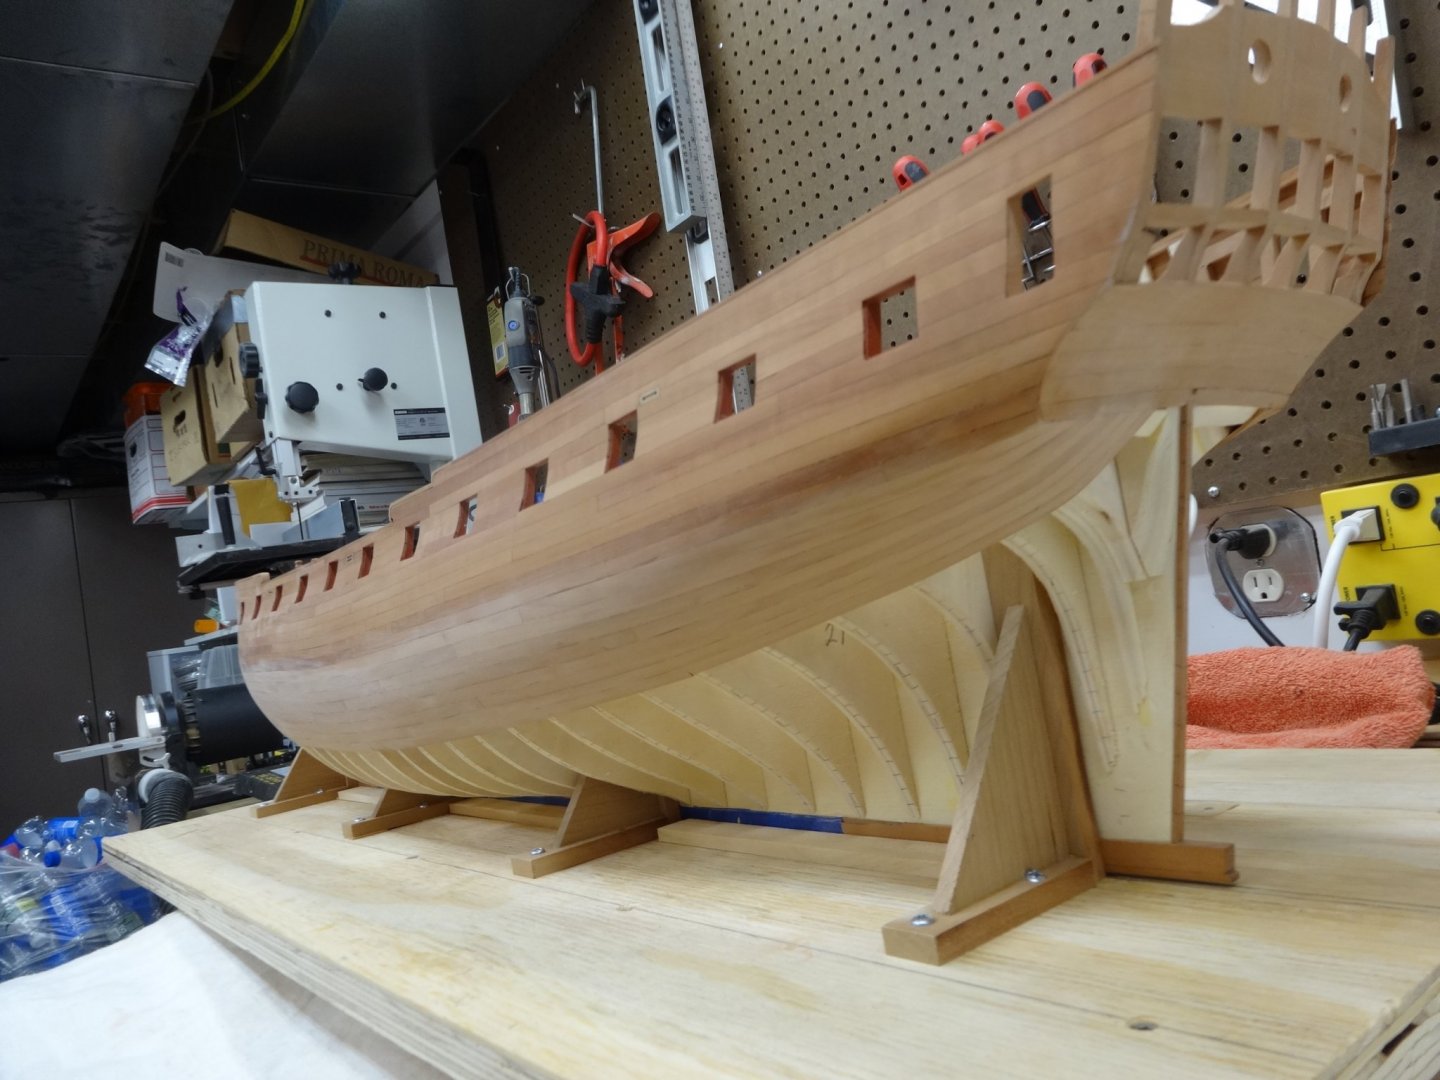
I've spent the last couple of weeks completing the first belt of hull planking on the starboard side. Both sides have been preliminarily sanded with 150 grit and received one coat of wipe on poly. Once I finish planking the rest of the hull I'll give it a good final sanding with 400 grit sandpaper. Now that I have completed the first band of planking I'll now go back and add the wales. From this point on I'll do a majority of the planking with the hull upside down. This will minimize the damage to the wales and their paint from my clumsiness.


- 642 replies
-
- 27
-
-
- winchelsea
- Syren Ship Model Company
- (and 1 more)
-
Thanks Justin and Bossman. I agree the scroll saw probably won't come it to play much if at all and the mini kits are outstanding. Also thanks for all of the likes too!
- 310 replies
-
- 3
-
-
- cheerful
- Syren Ship Model Company
- (and 1 more)
-
I've followed your work and you'll be just fine. It's a great build that I thoroughly enjoyed and I'm sure you will too.
- 310 replies
-
- 2
-
-
- cheerful
- Syren Ship Model Company
- (and 1 more)
-
Looking really good Jeff. When I had to make a new plank I did it on the scroll saw but I made sure to use a very fine blade.
-
Thank you very much Bob for the kind words. I’m glad it’s been a help for you.
- 152 replies
-
- 1
-
-
- medway longboat
- Syren Ship Model Company
- (and 1 more)
-
Wonderful job planking Mike. Well done. Hope to see it in person again some day.
- 607 replies
-
- 2
-
-
- winchelsea
- Syren Ship Model Company
- (and 1 more)
-
Thanks Bob. Also thanks for all the likes too! Three day weekend coming up so hopefully I'll get more planking done.
- 642 replies
-
- 2
-
-
- winchelsea
- Syren Ship Model Company
- (and 1 more)
-
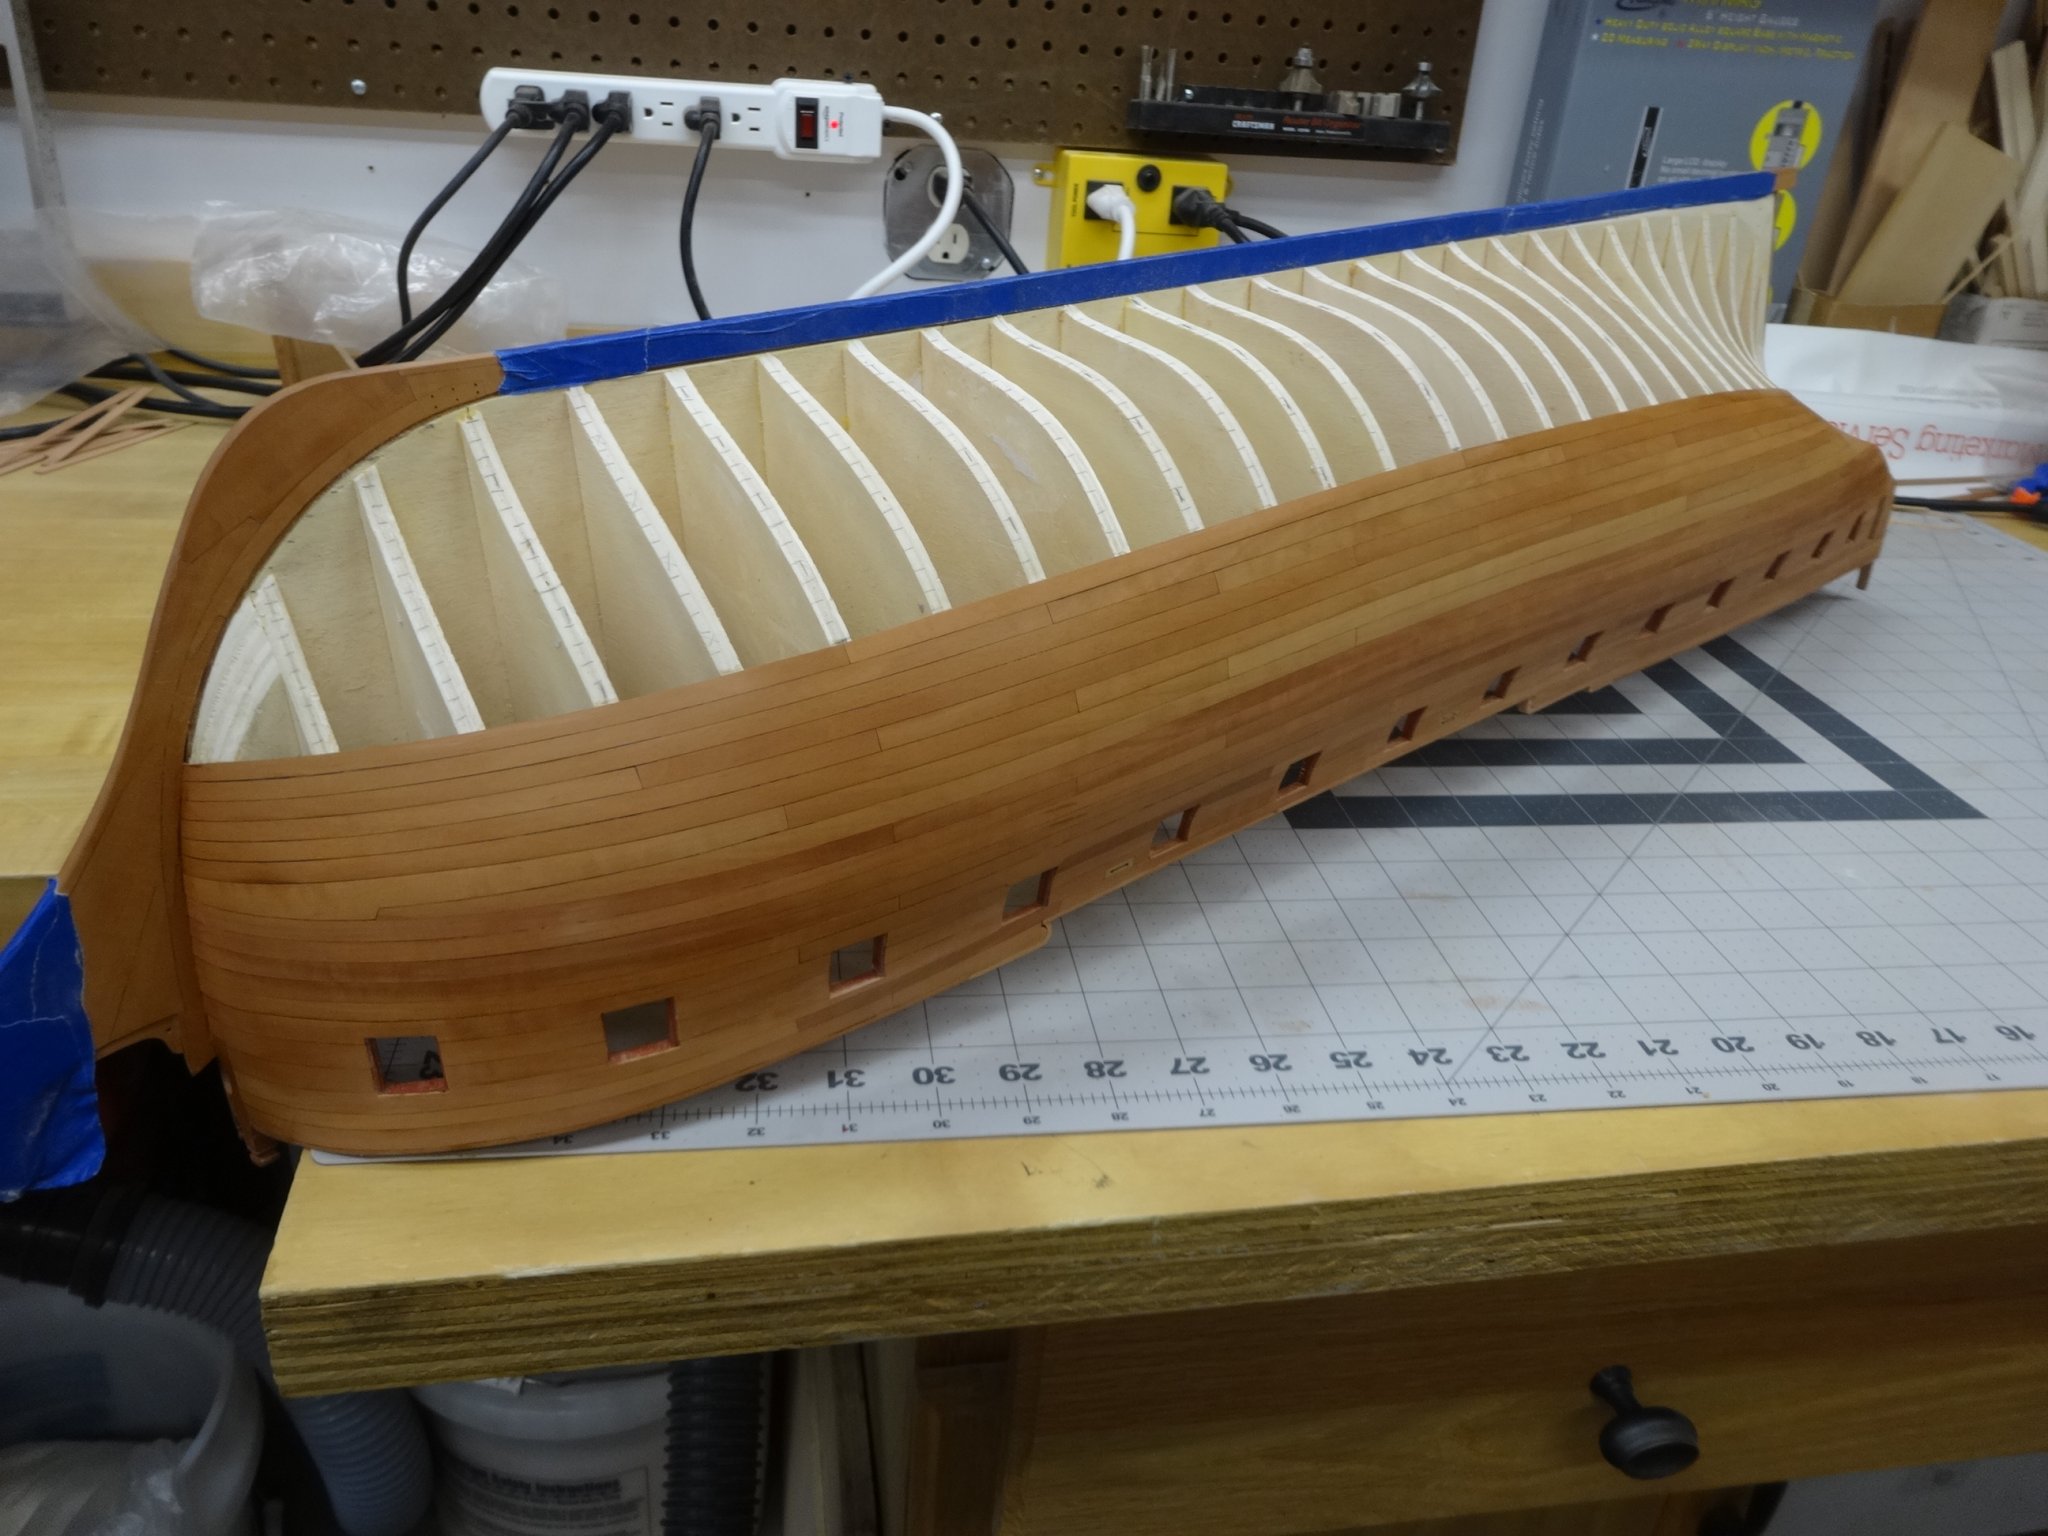
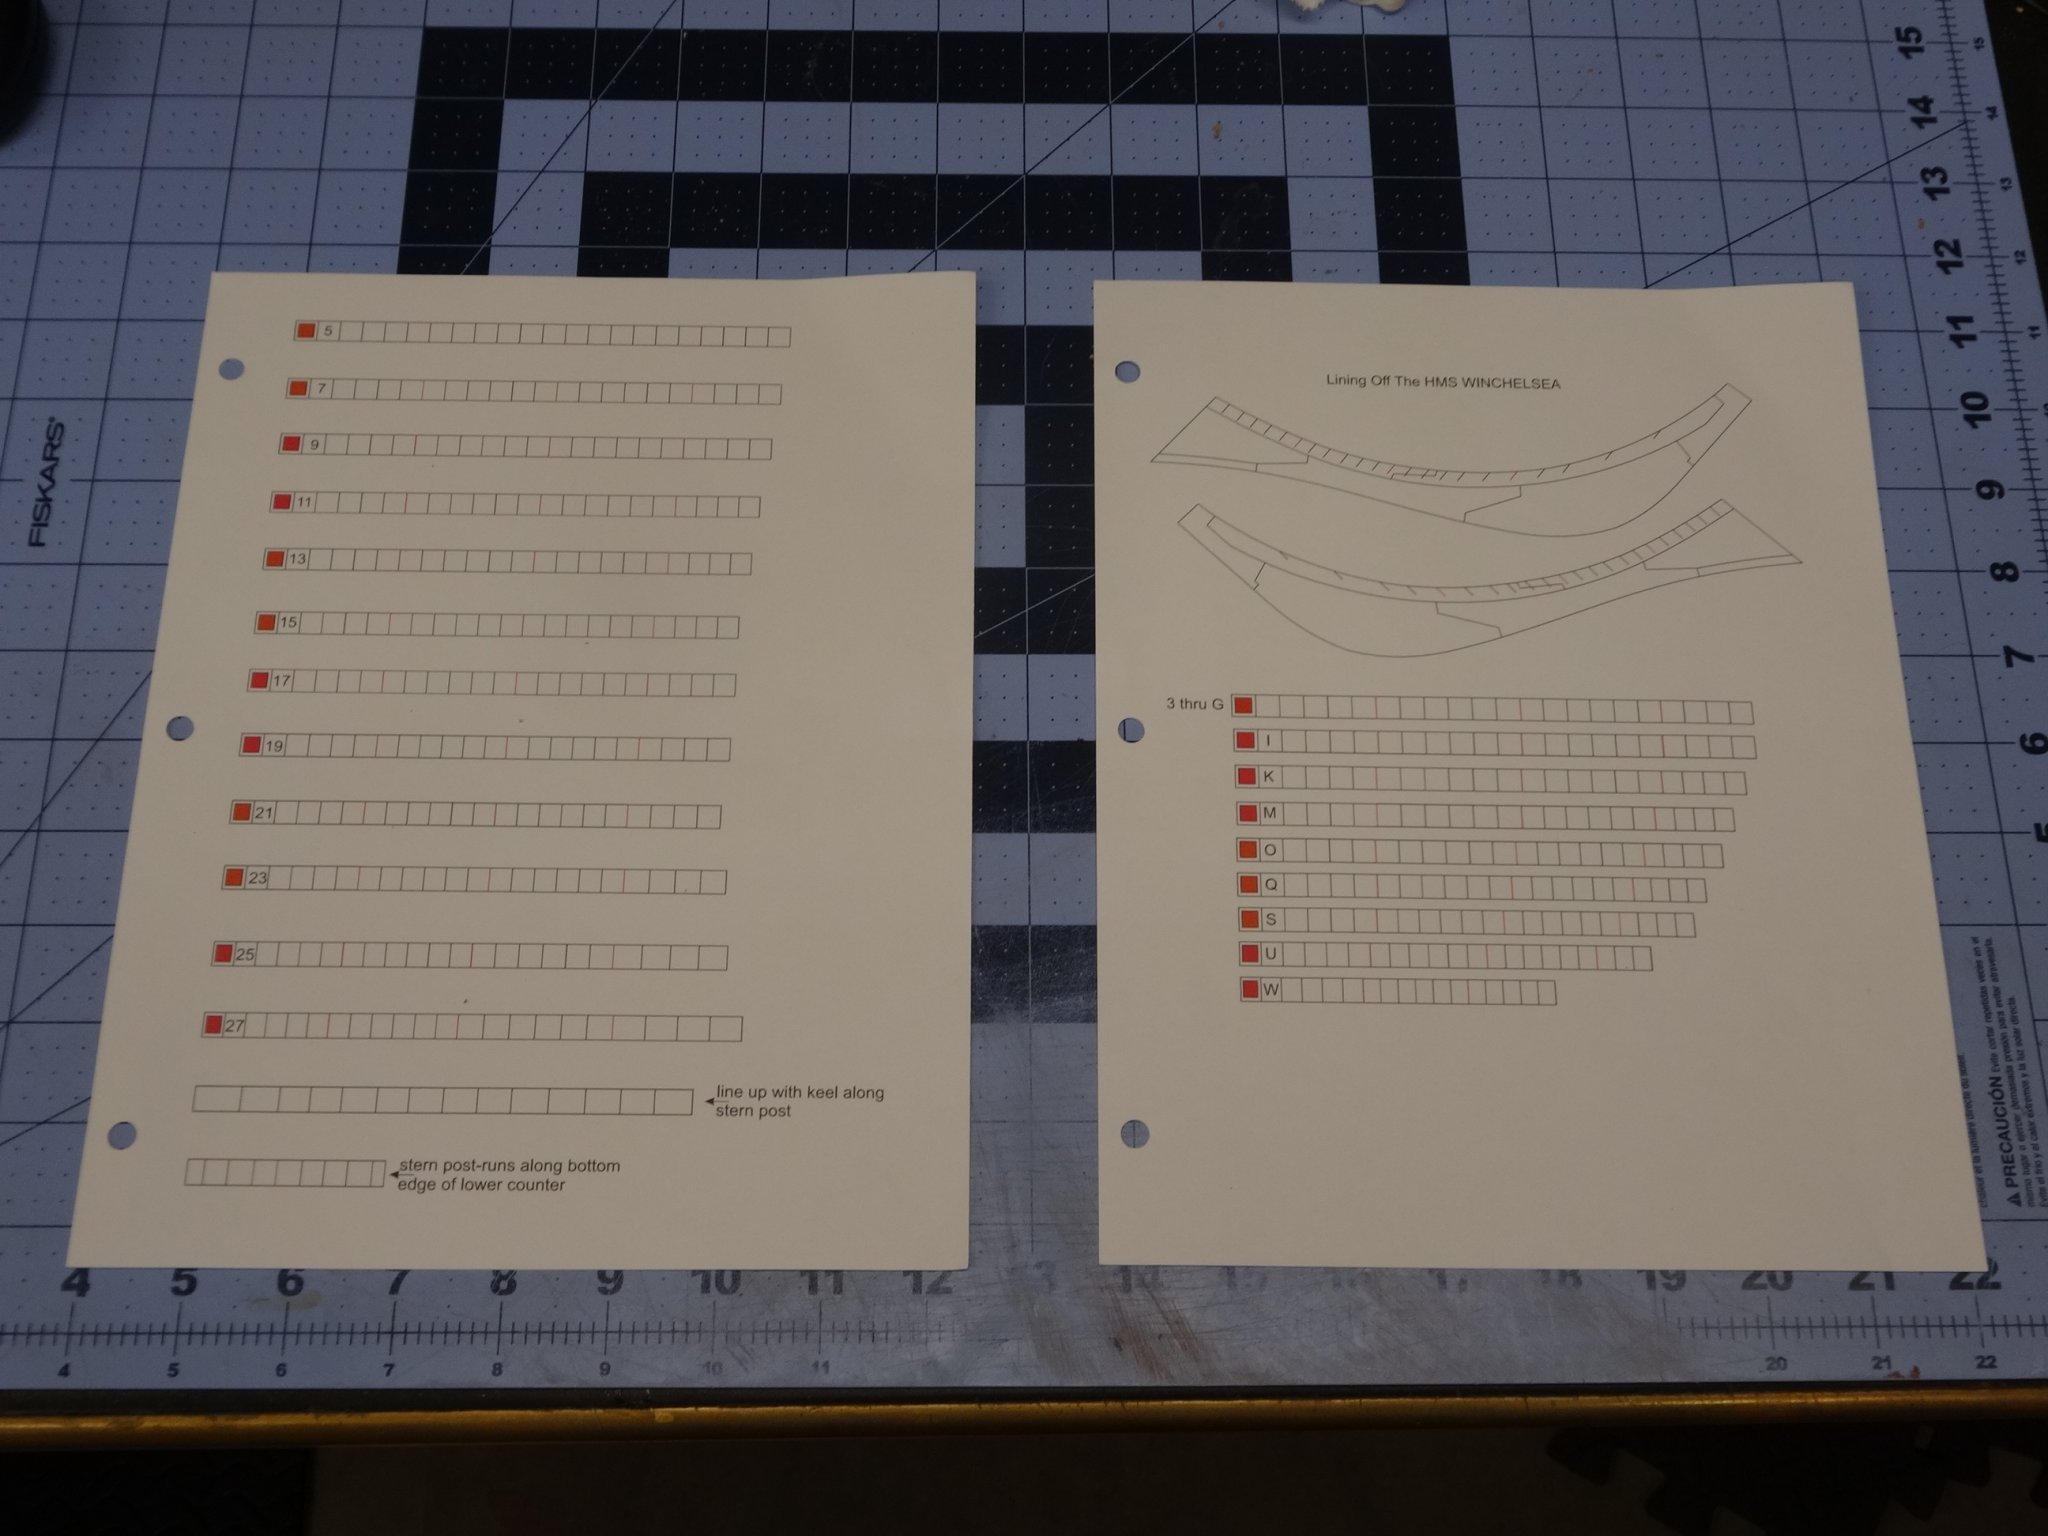
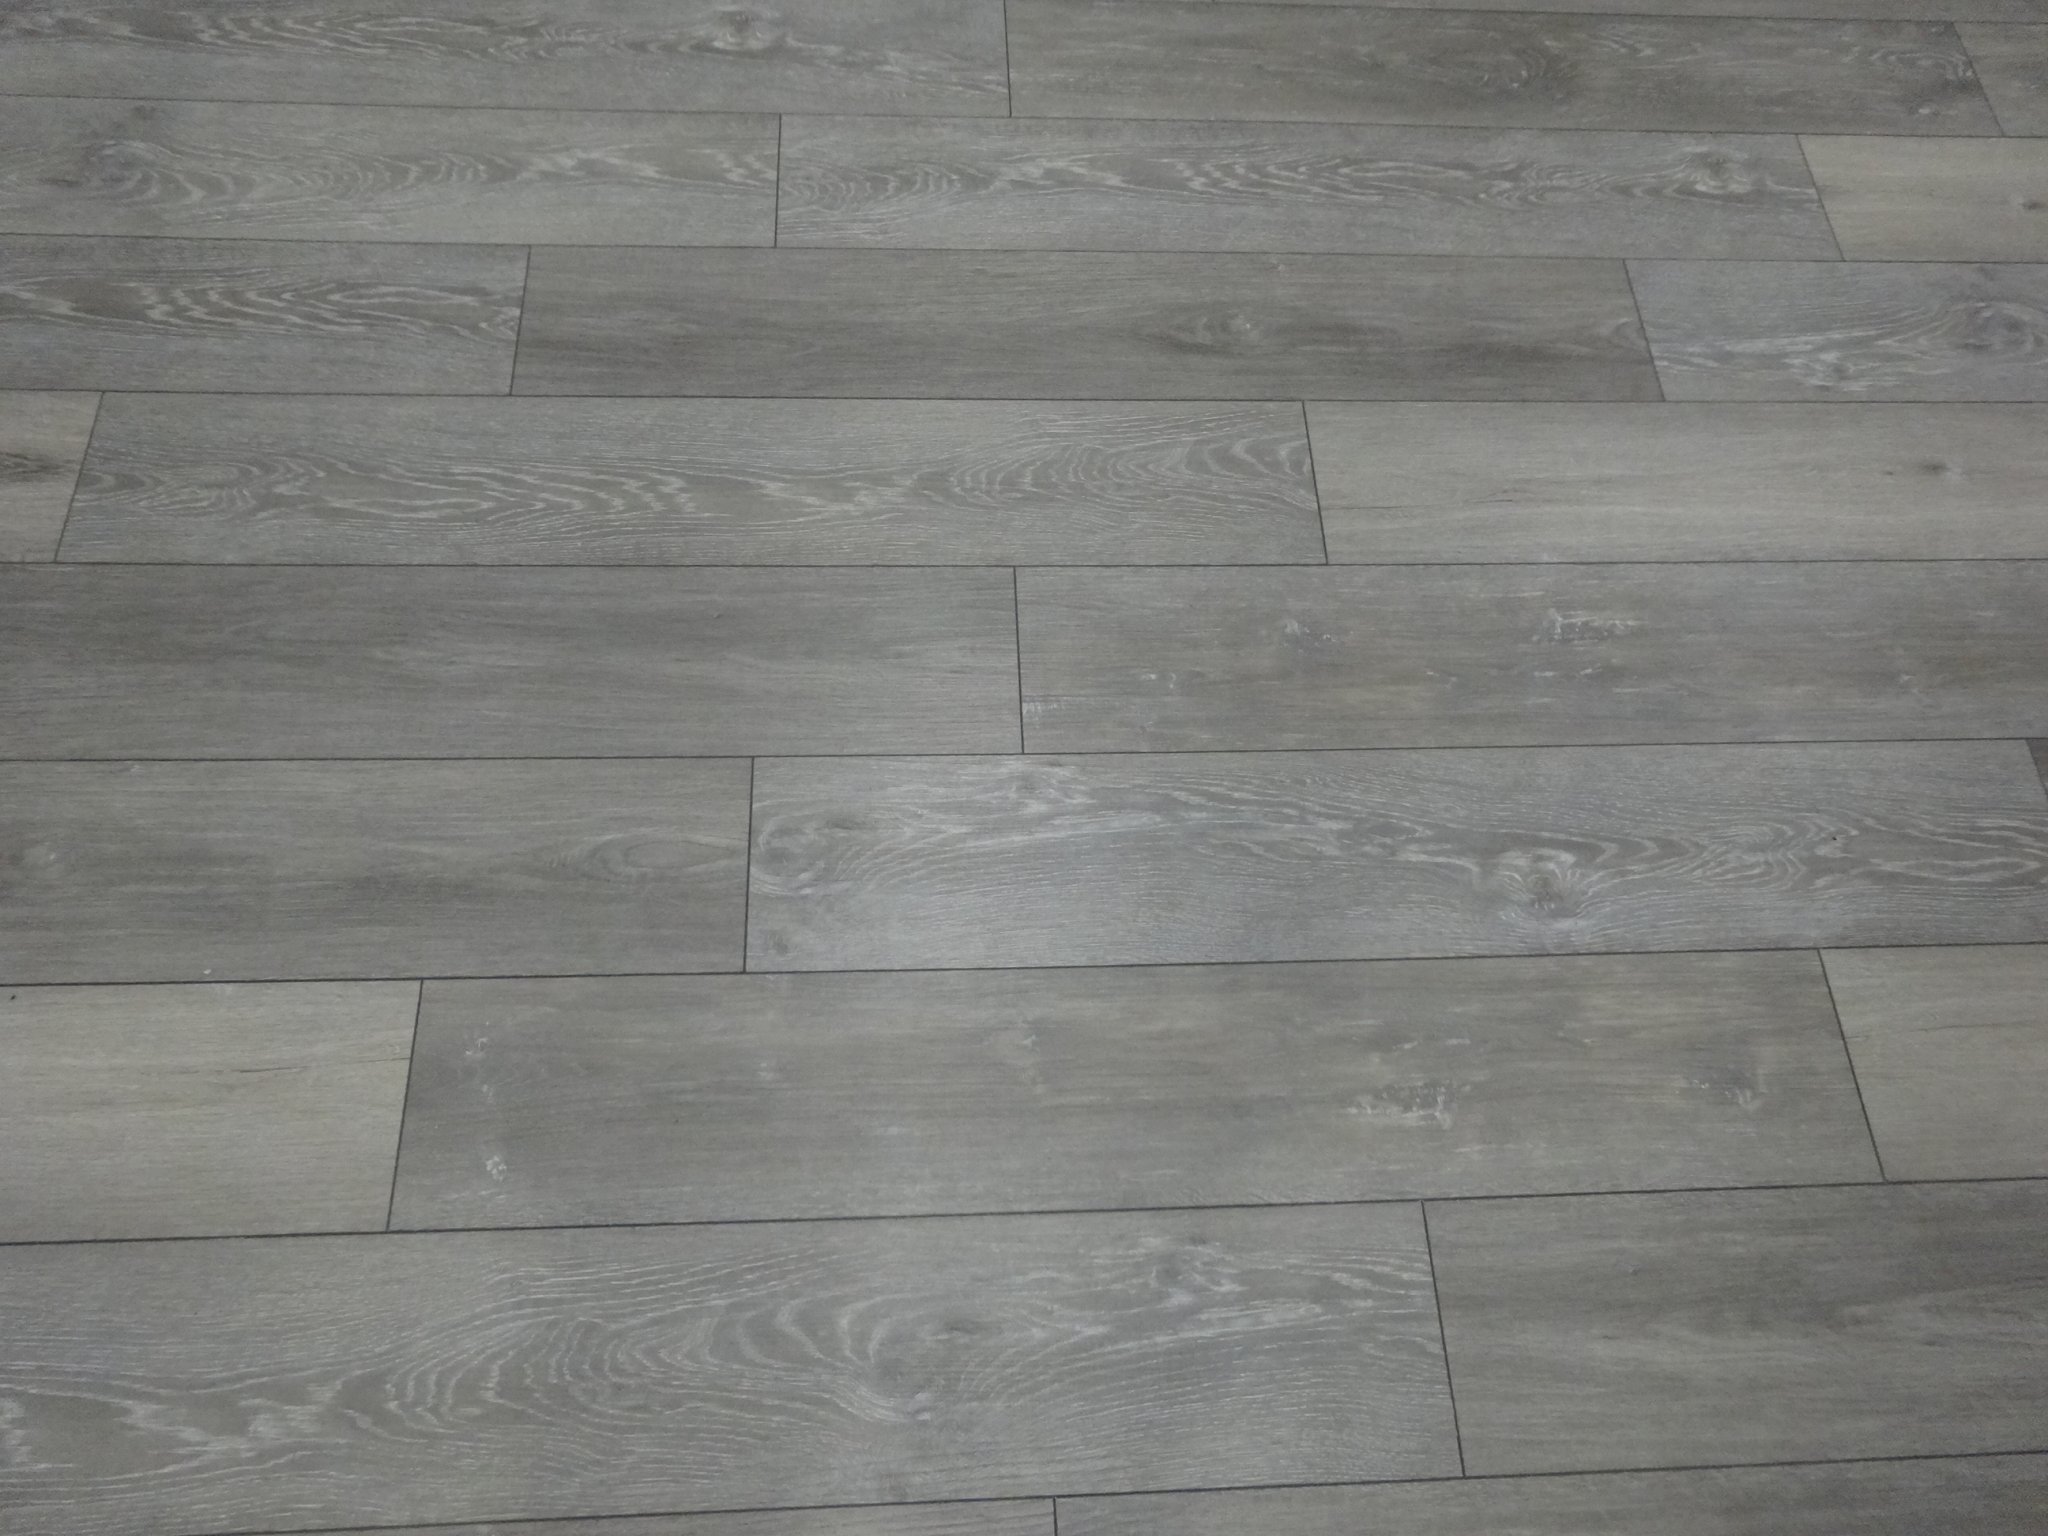
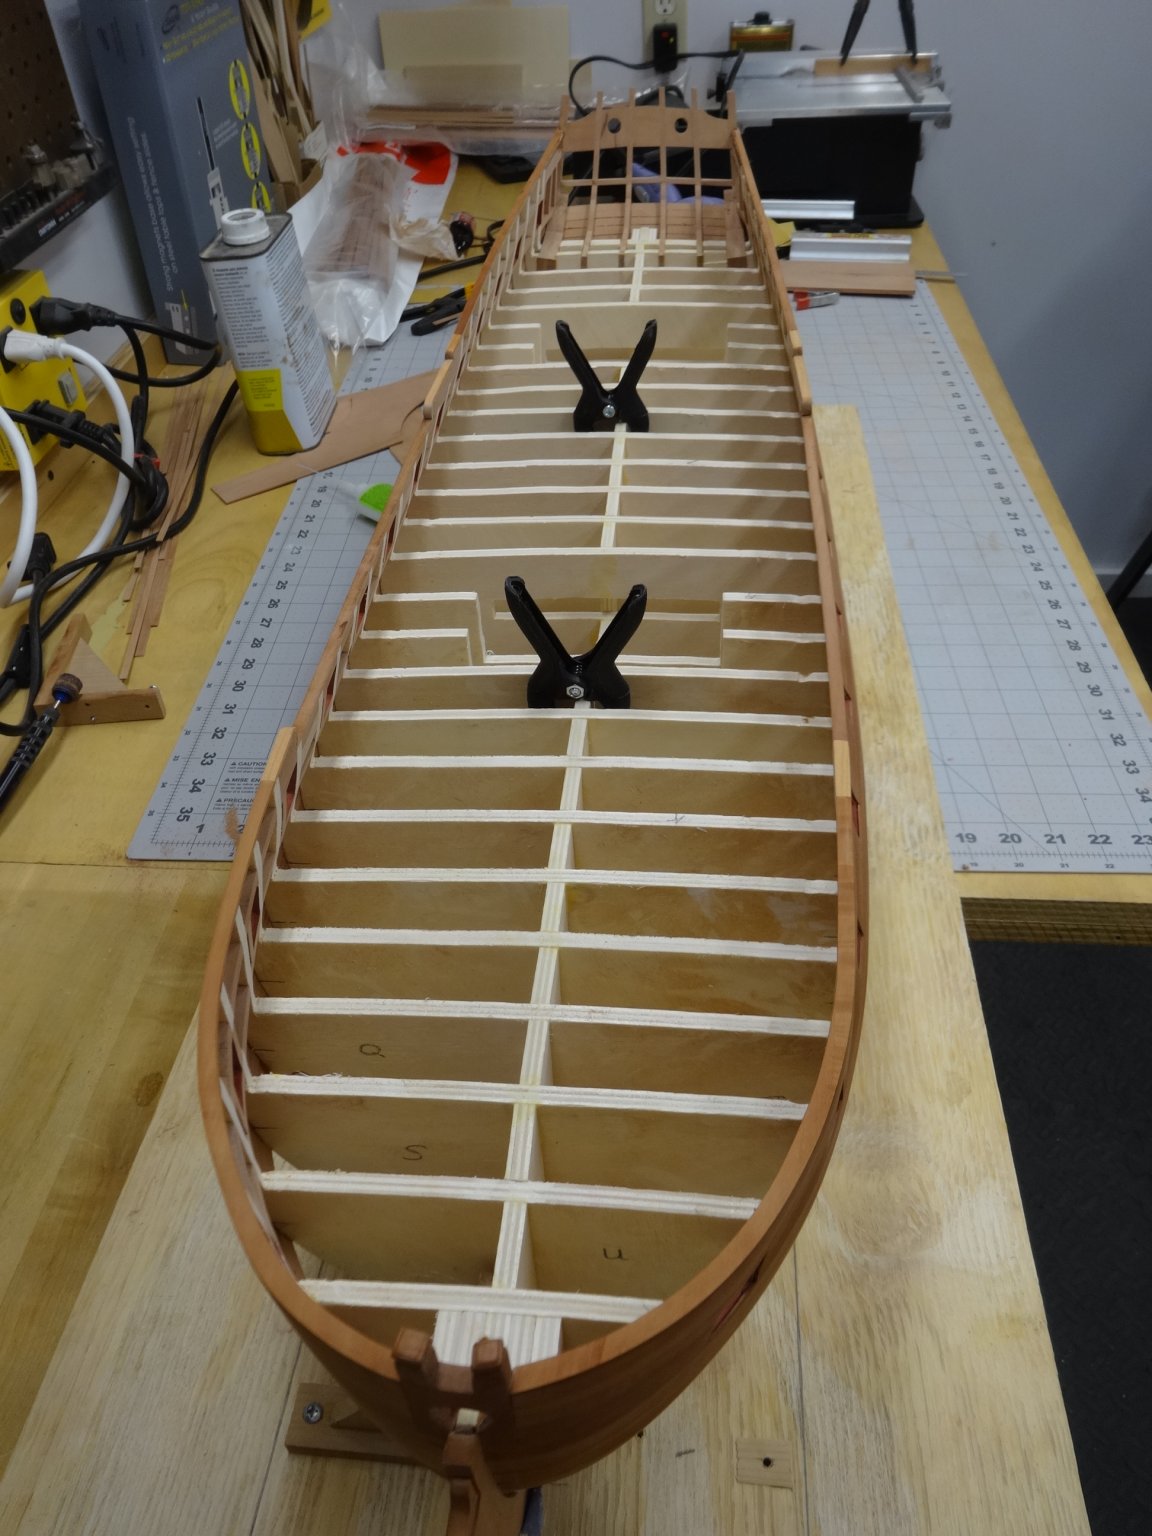
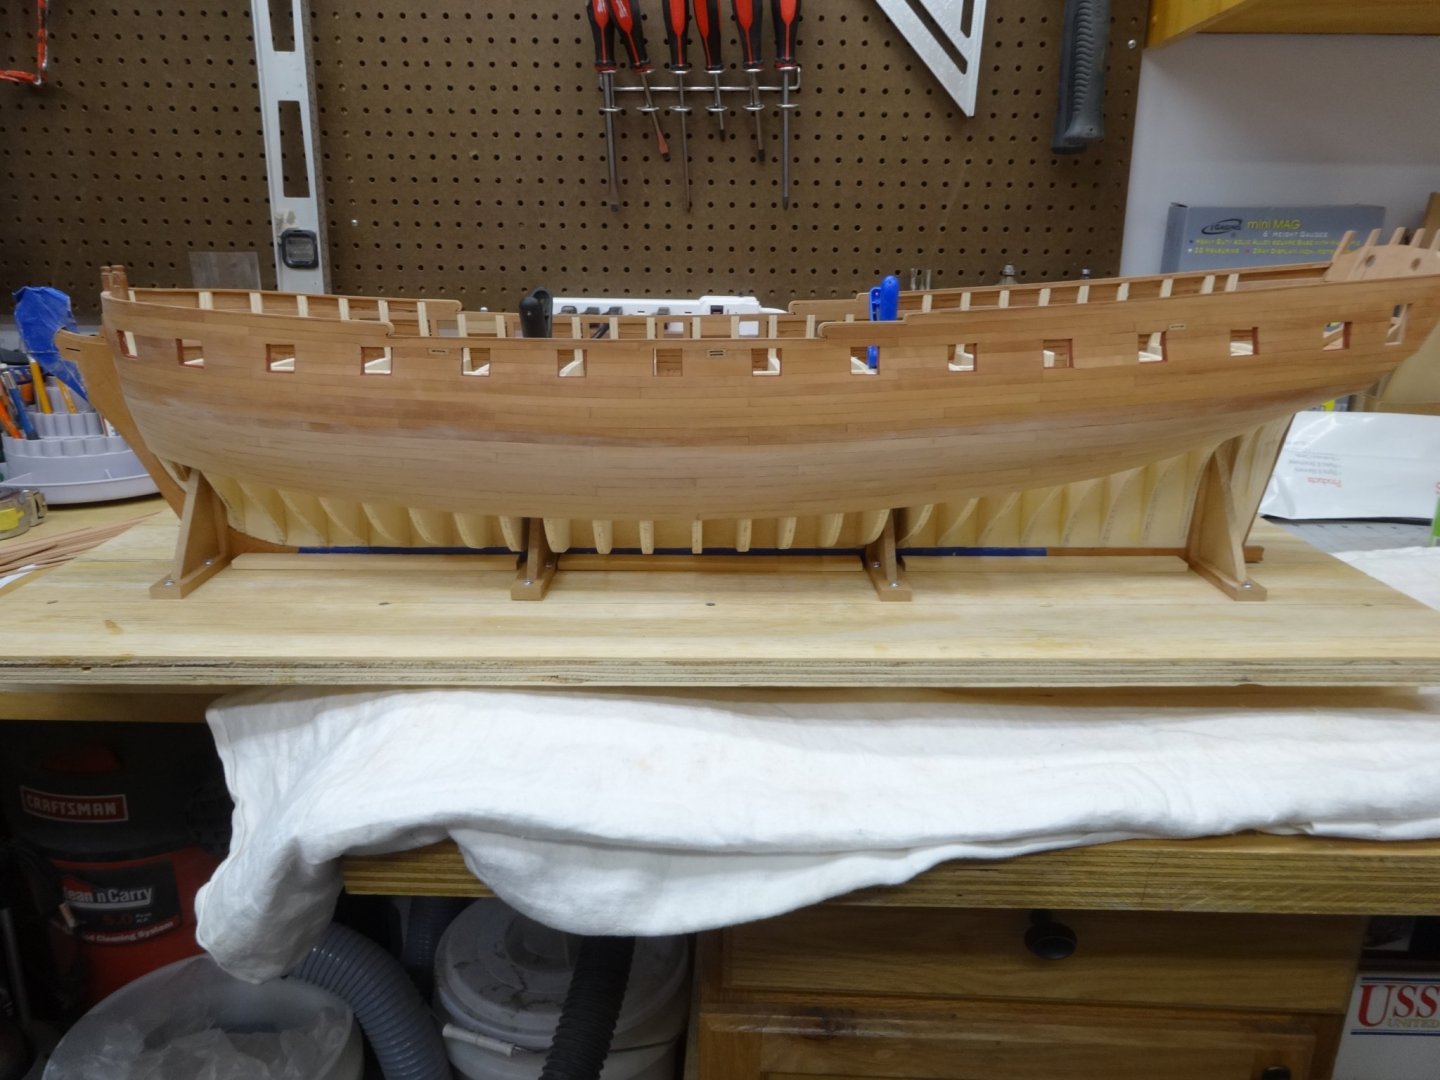
Hi All, It's that time of year where my part time job becomes more than full time. Plus the admiral decreed that the rec room needed new decking. At least it helped me work on my plank shifting! So I used Chucks supplied tick strips and lined off the hull. I then I proceeded to plank the six rows of the first belt on the port side. It's been lightly sanded and I will wait until the full hull is planked before finishing the sanding. I'm off to start on the first band of the starboard side.

- 642 replies
-
- 25
-
-
- winchelsea
- Syren Ship Model Company
- (and 1 more)
-
Thanks Joe. Yes my understanding is there is "fancy molding" that will be placed. Thank you Bossman. Build Chucks creations and you can't help but get better. Thanks for all the likes too!
- 642 replies
-
- 1
-
-
- winchelsea
- Syren Ship Model Company
- (and 1 more)
-
I’m glad to hear you were able restore the Cheerful. Way to nice a model not to.
- 1,784 replies
-
- 3
-
-
- winchelsea
- Syren Ship Model Company
- (and 1 more)
-
Great planking job and good tip about the bulkheads! Also your saying is spot on.
-
Thank you Ben and JJ. Also thanks for all the likes!
- 642 replies
-
- 2
-
-
- winchelsea
- Syren Ship Model Company
- (and 1 more)
-
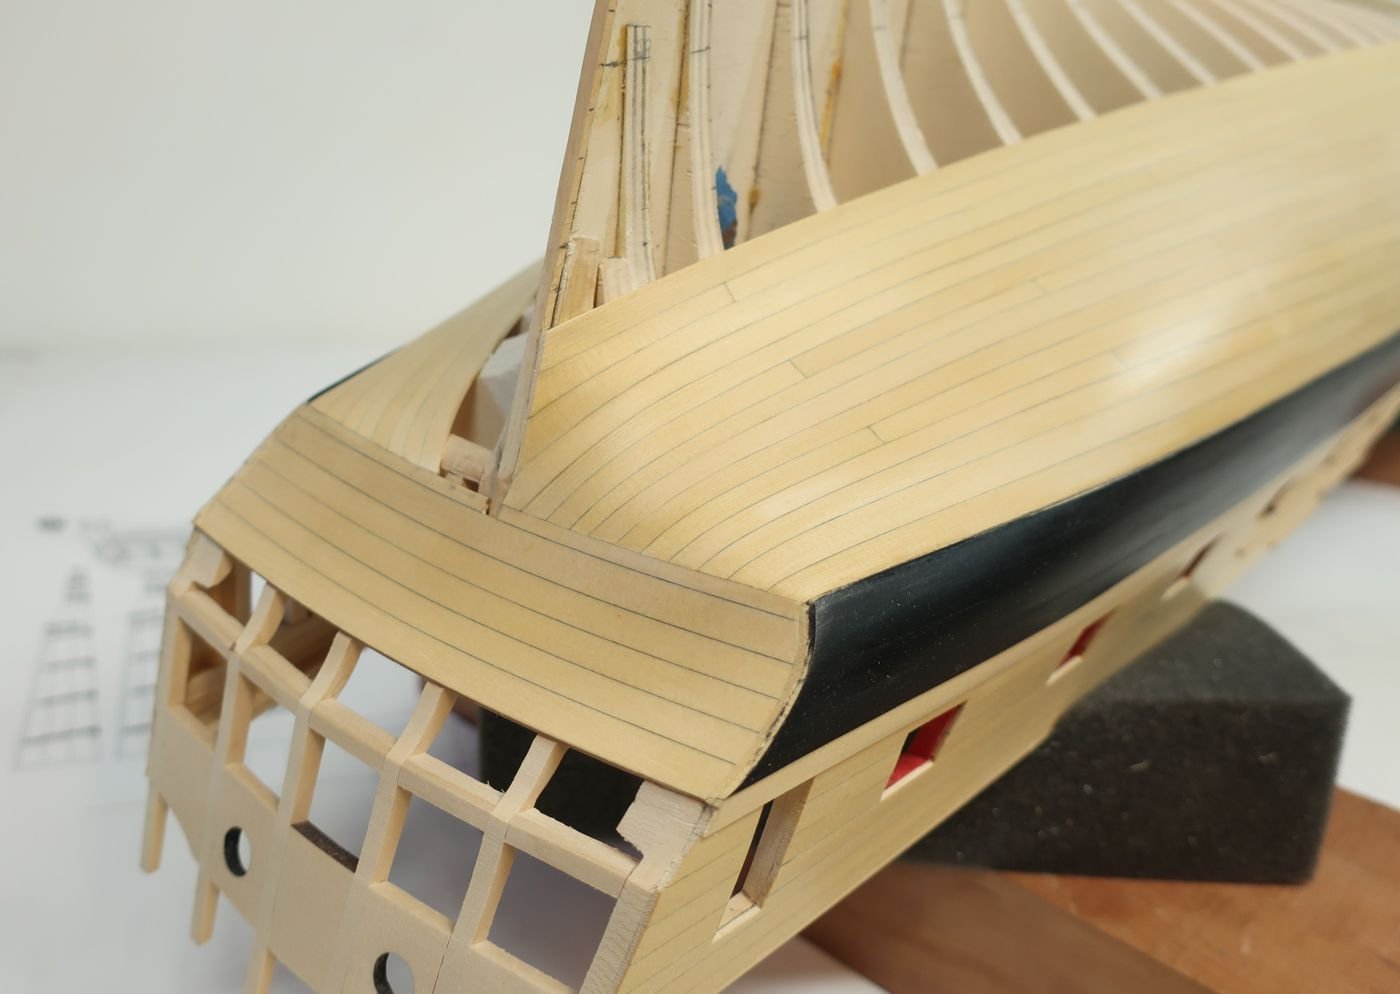
Also here's a picture from Chuck's log that shows a great view of the curve Ben mentioned and the positioning of the wales at the counter. Hope this helps!
-
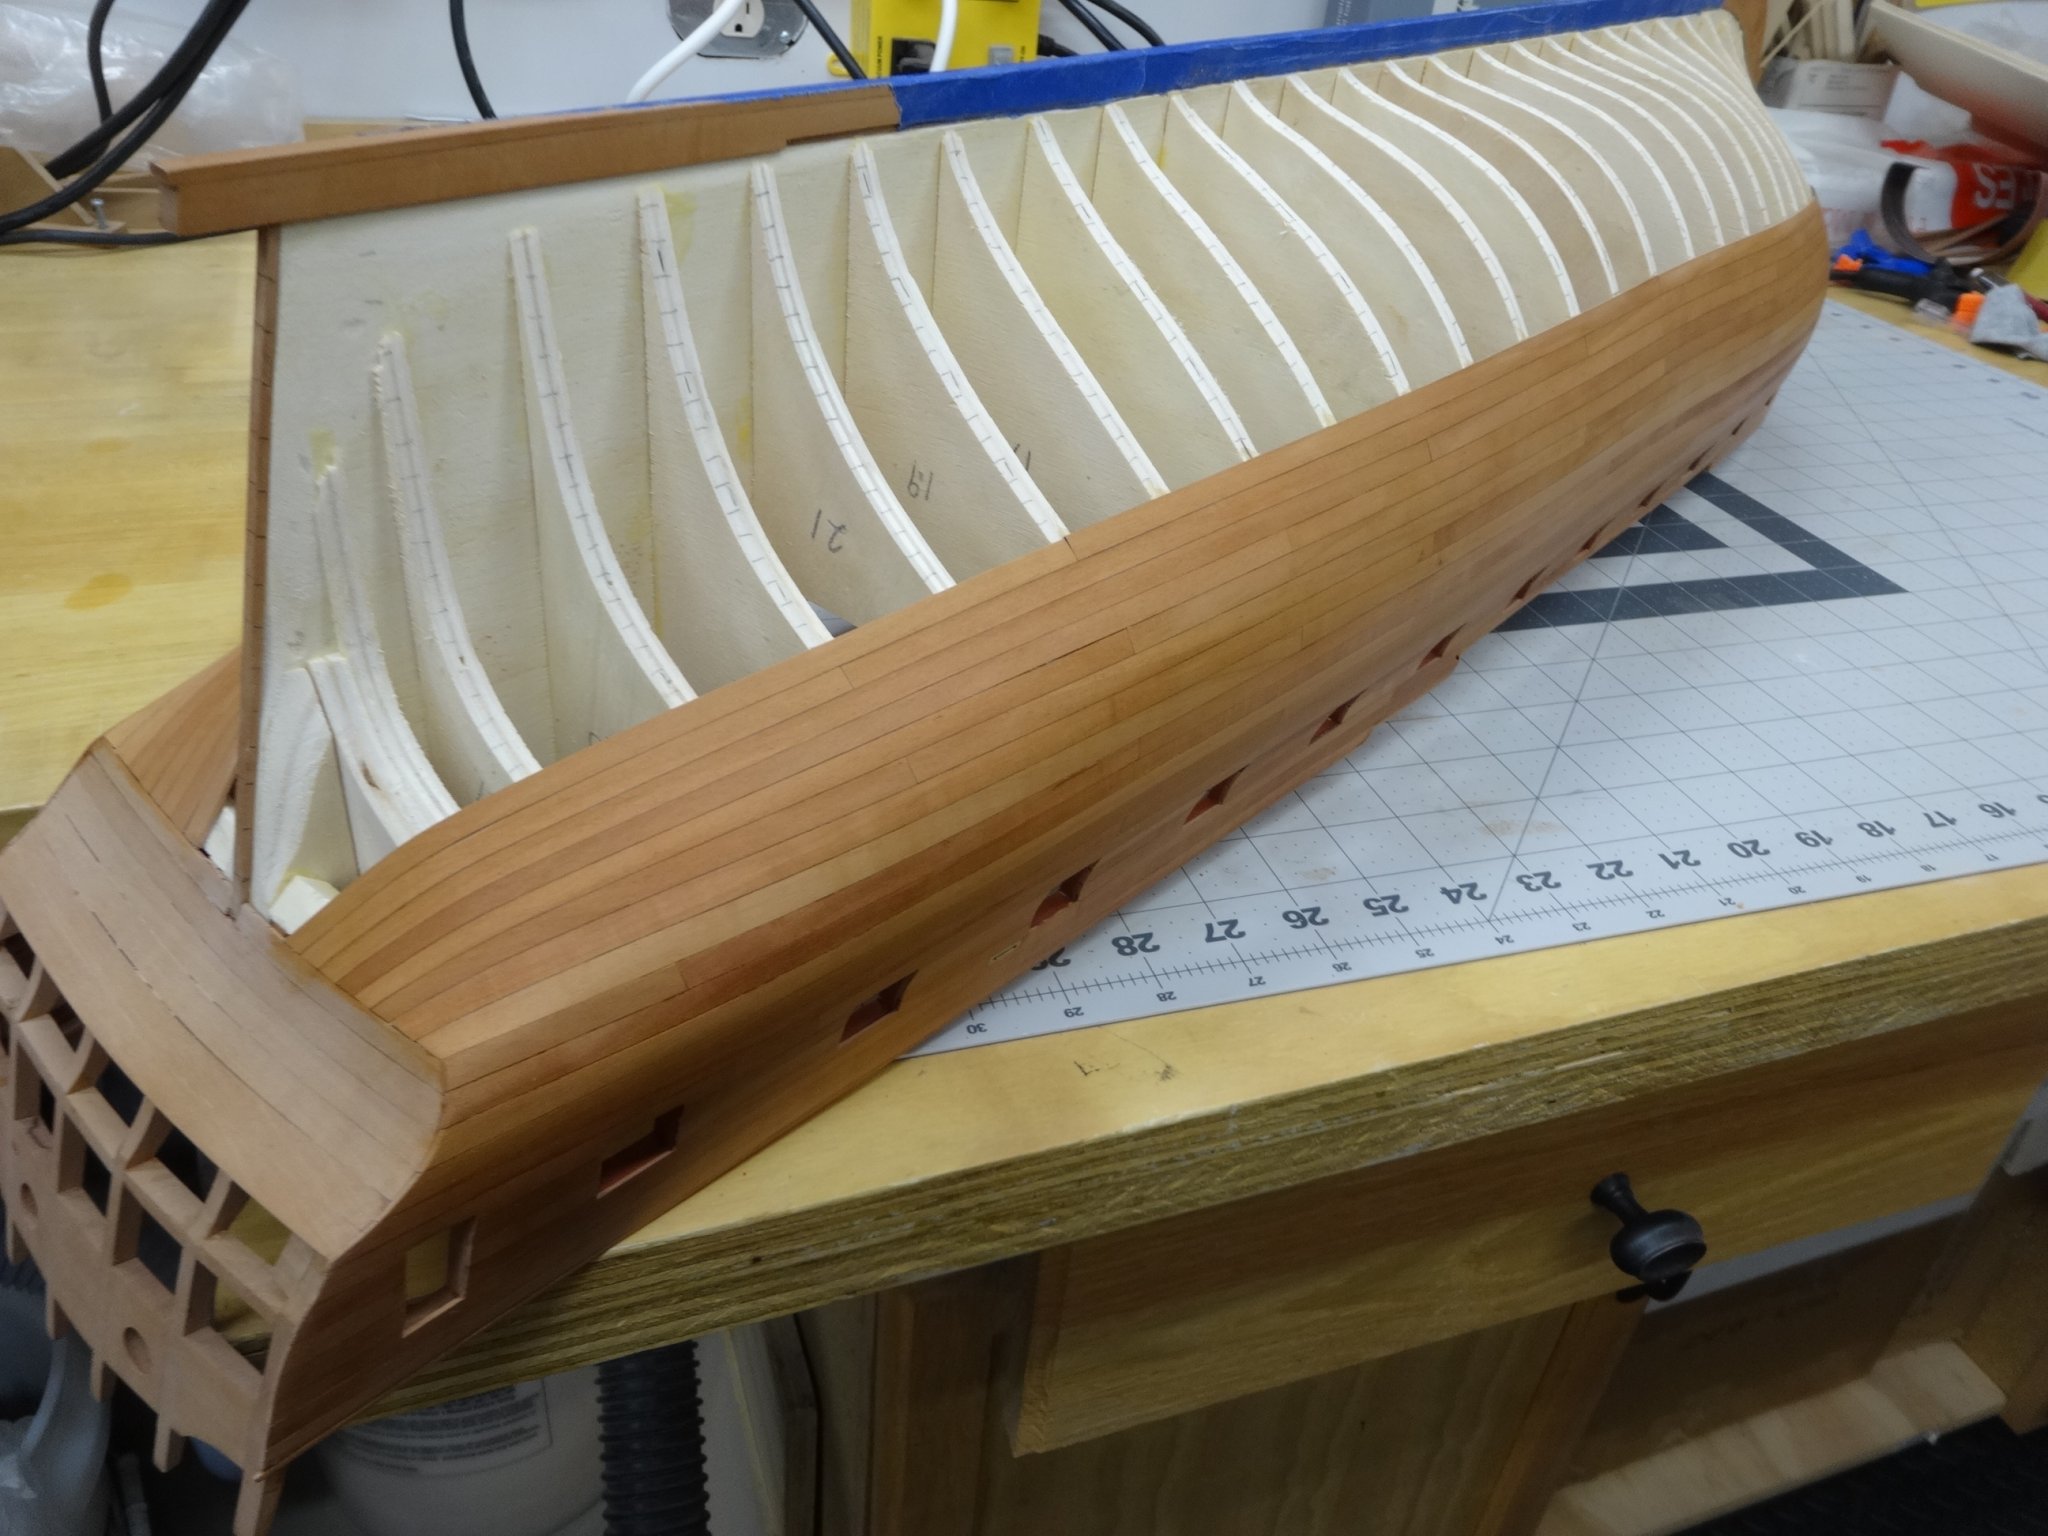
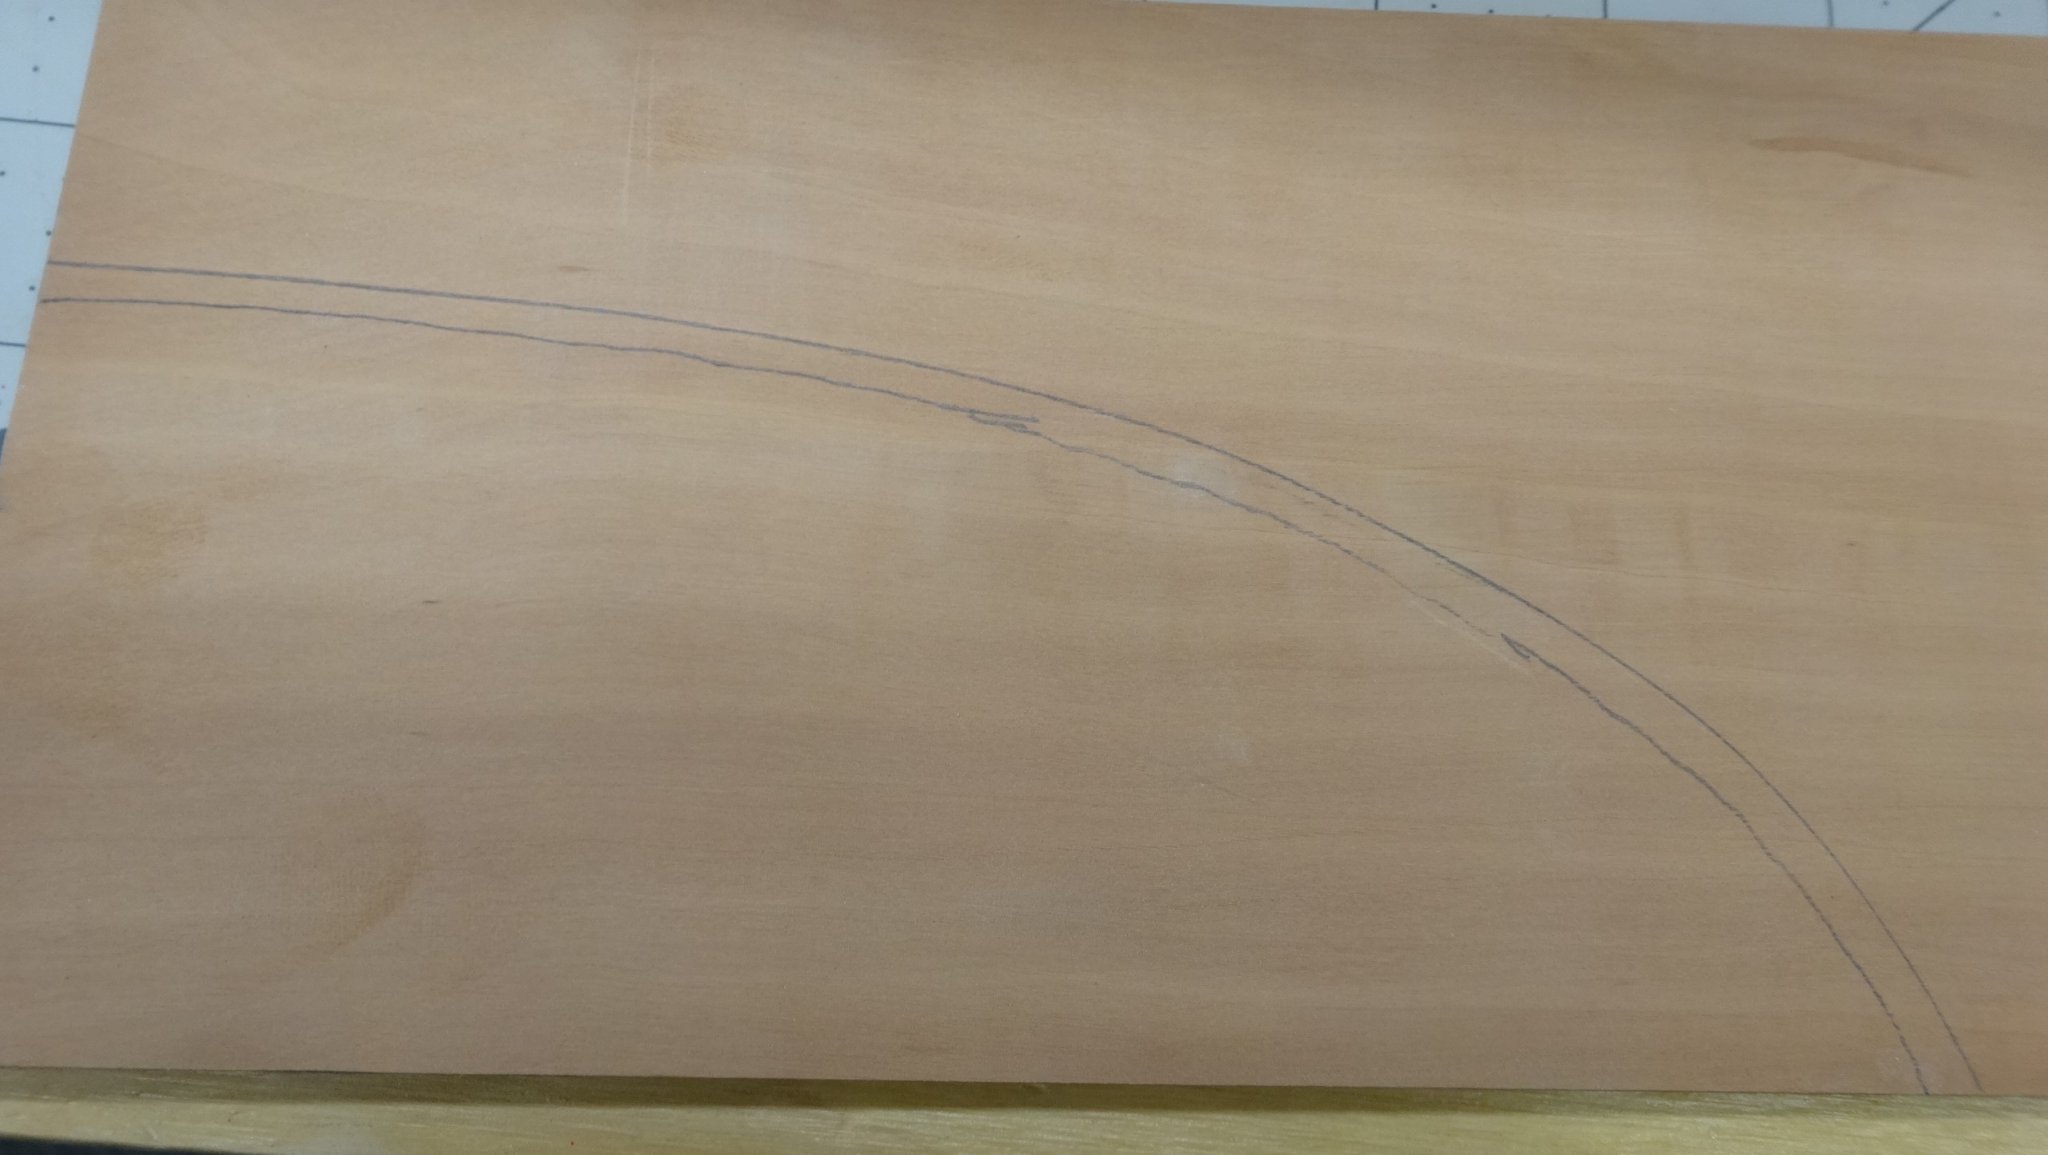
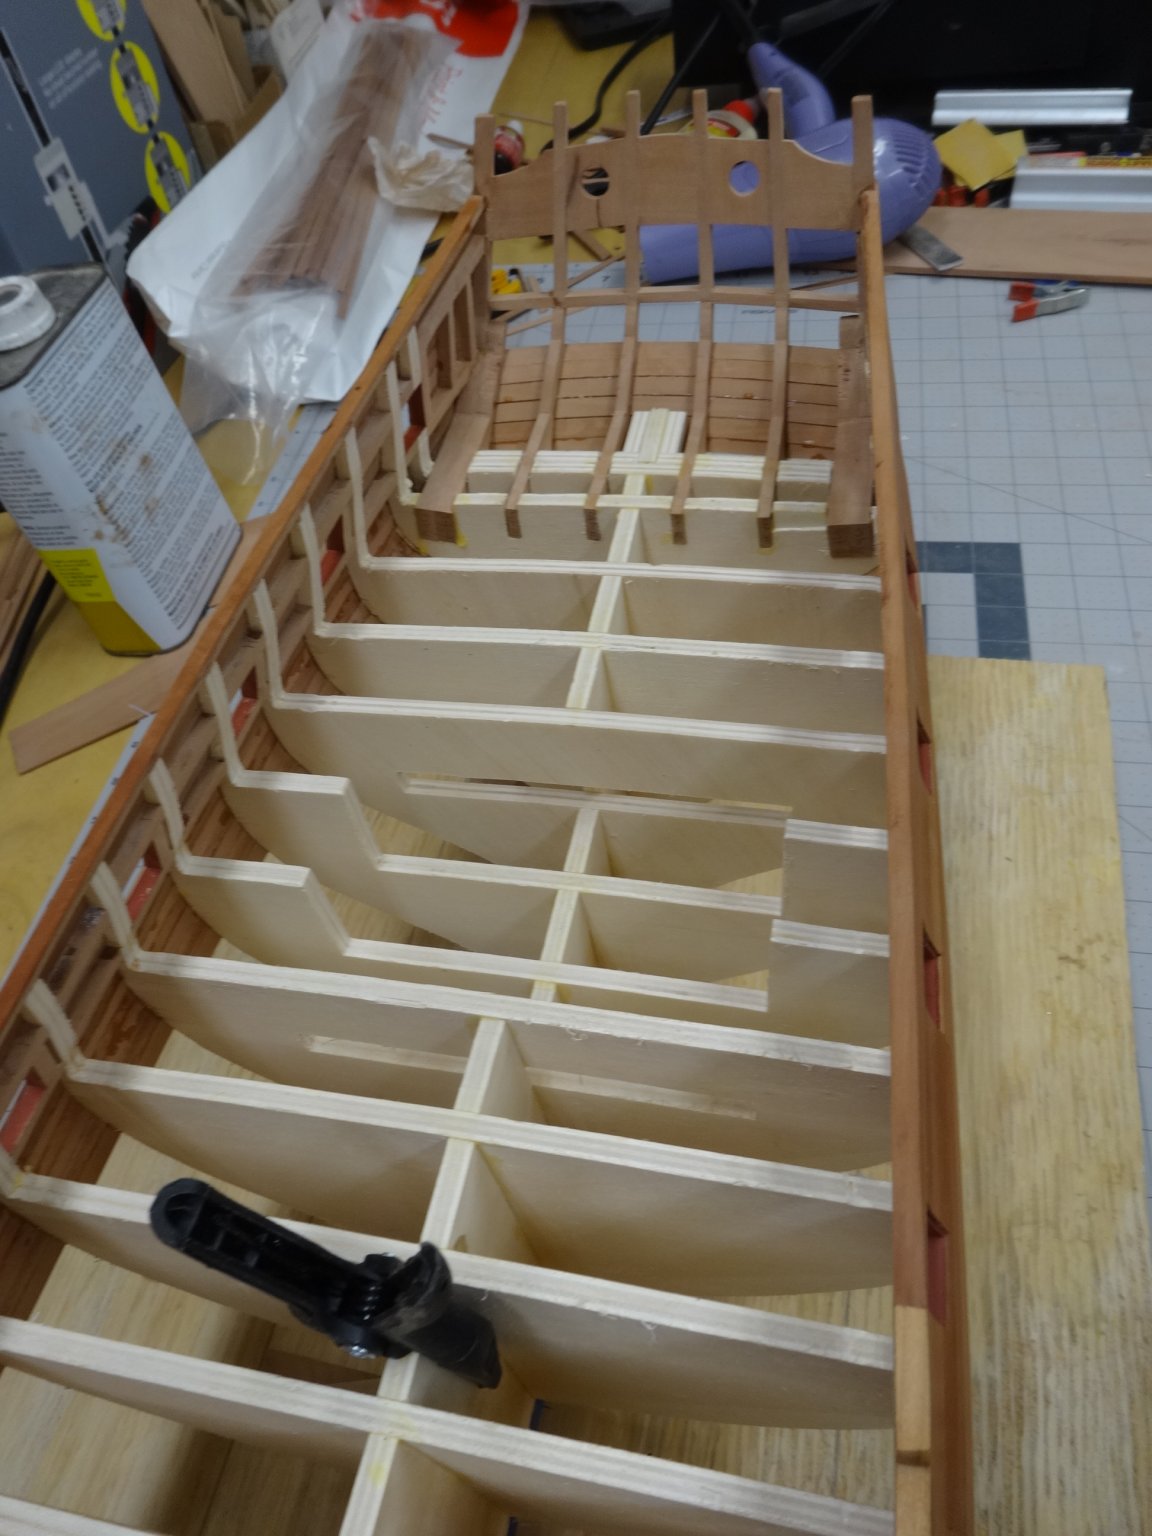
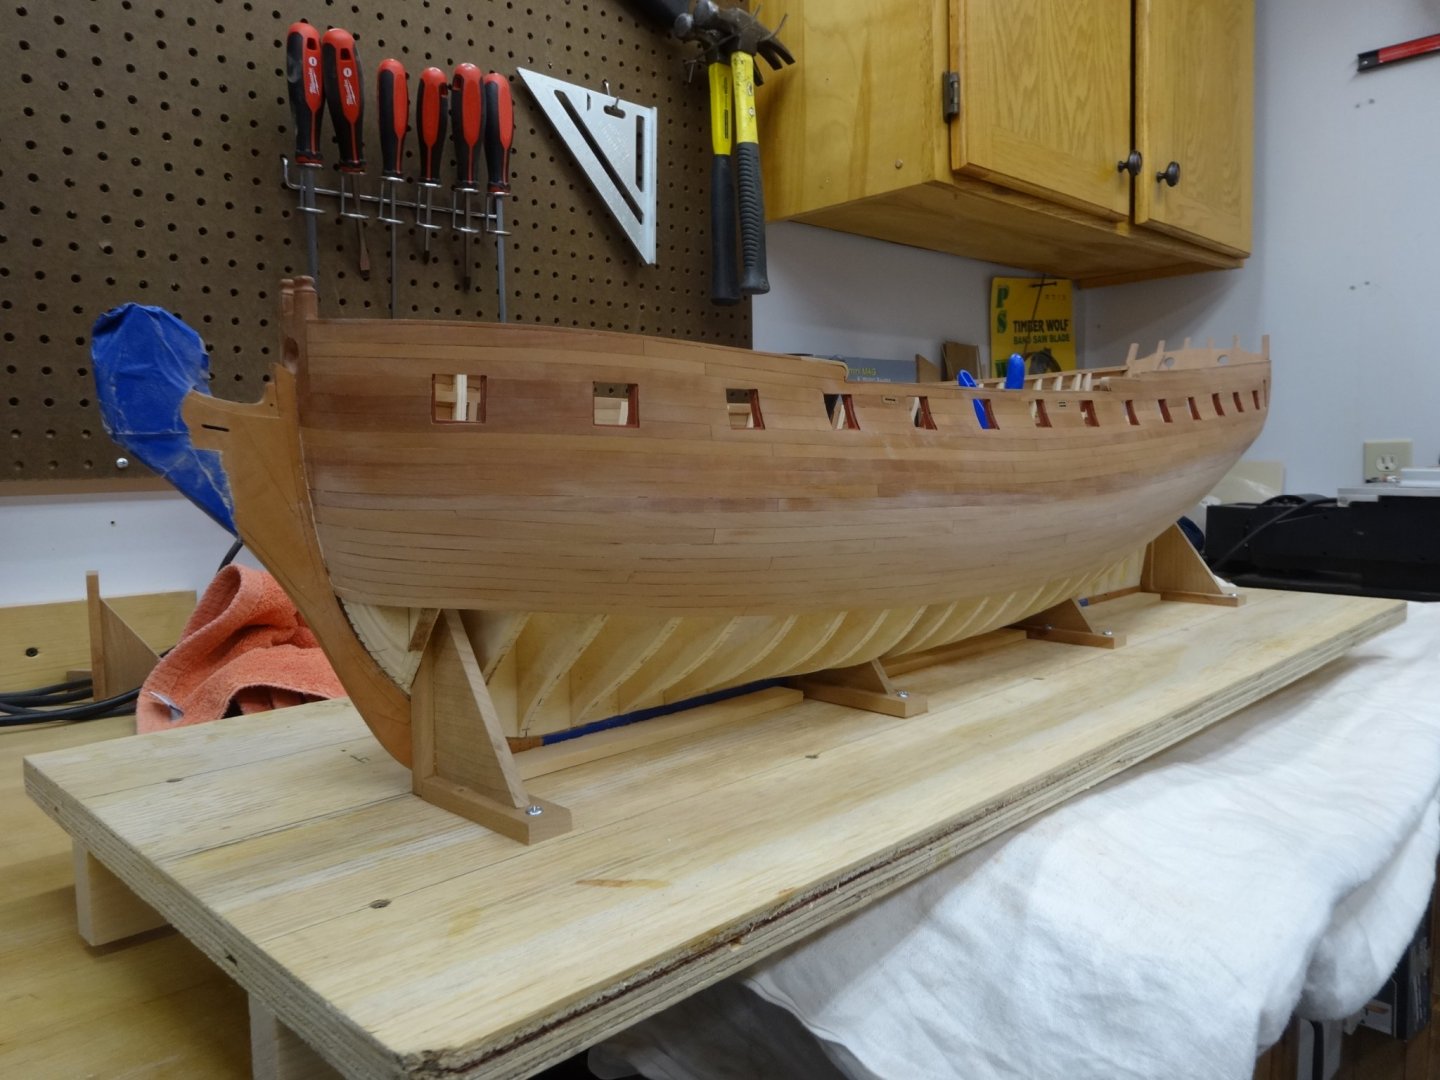
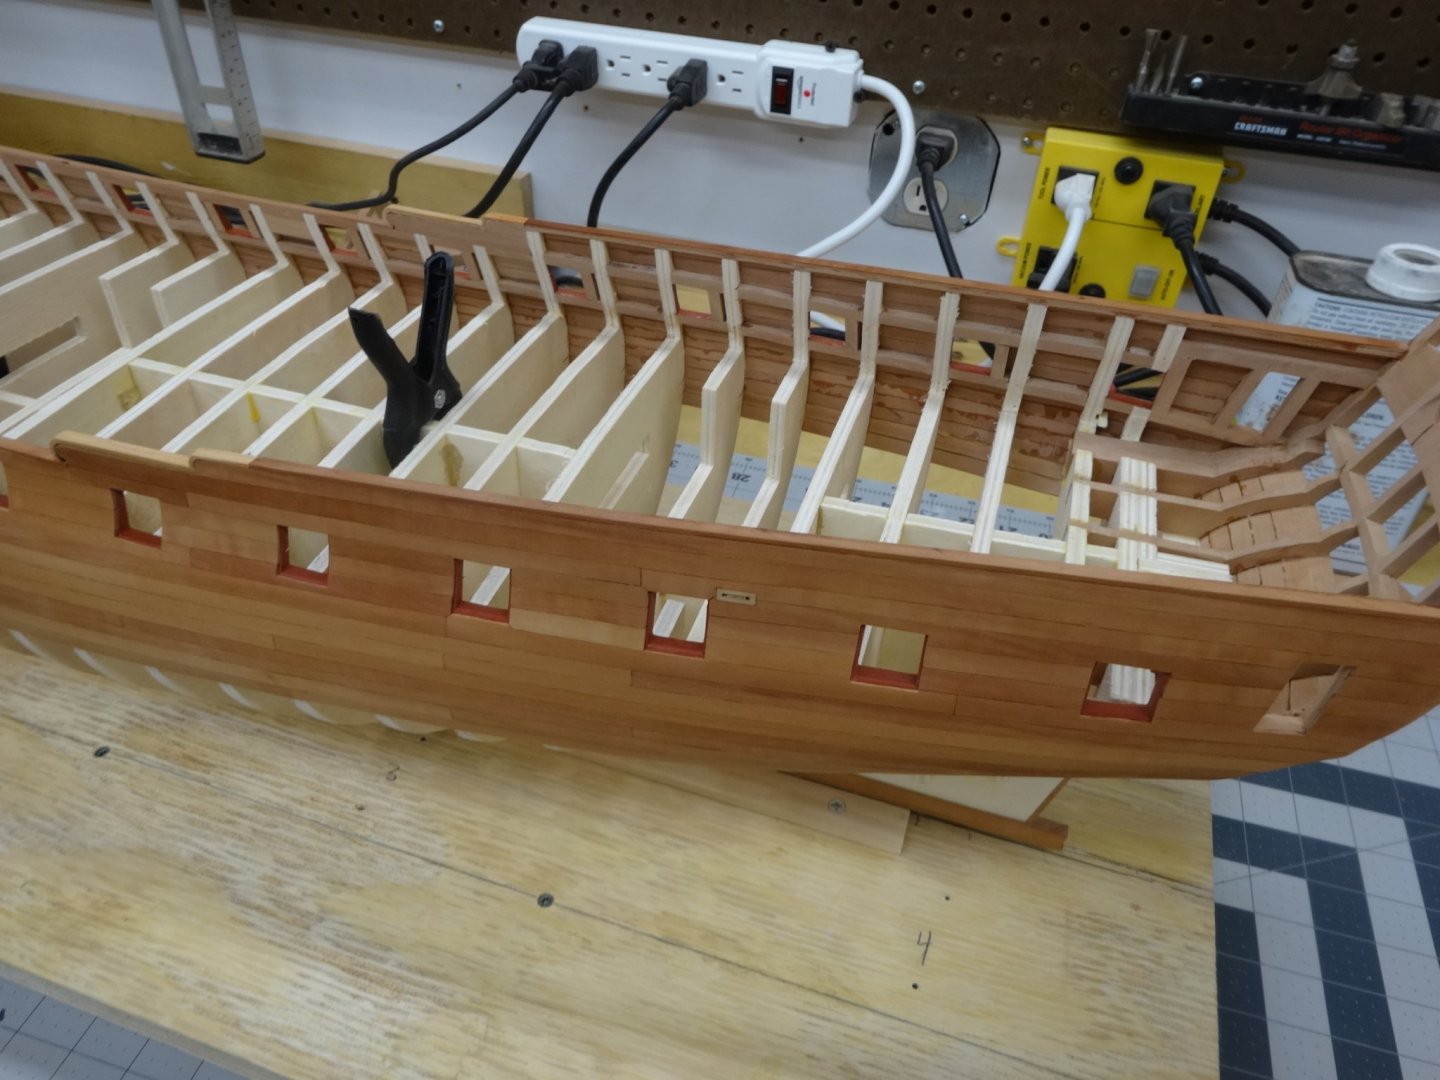
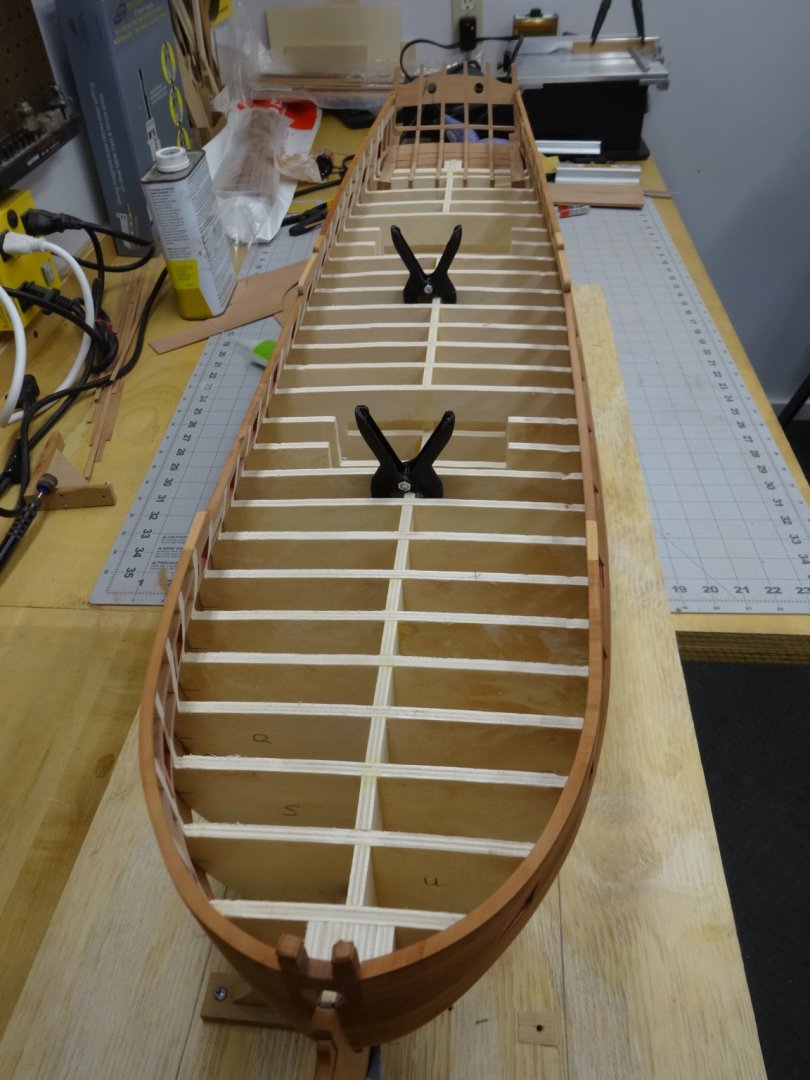
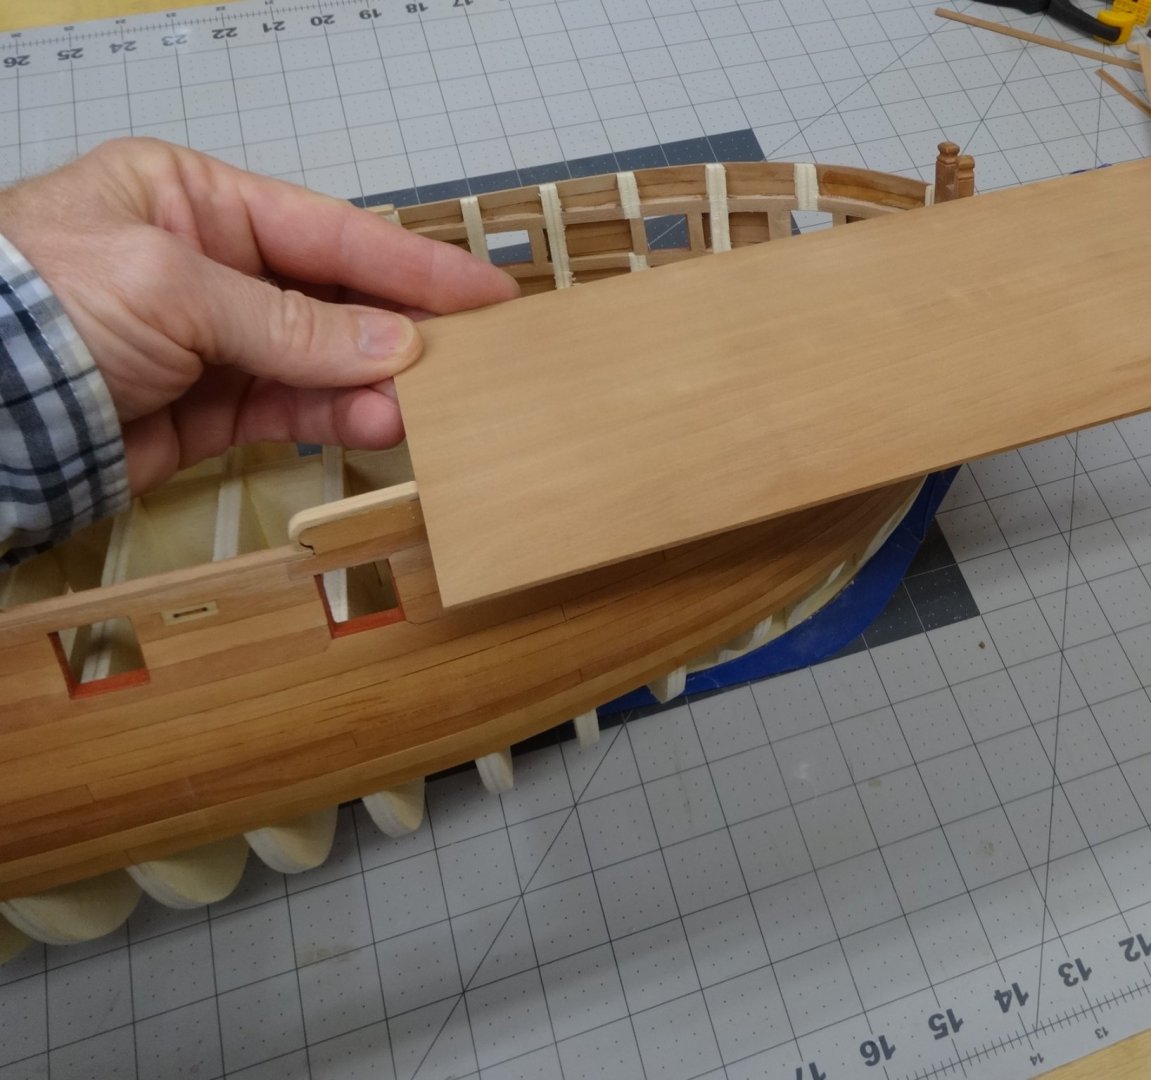
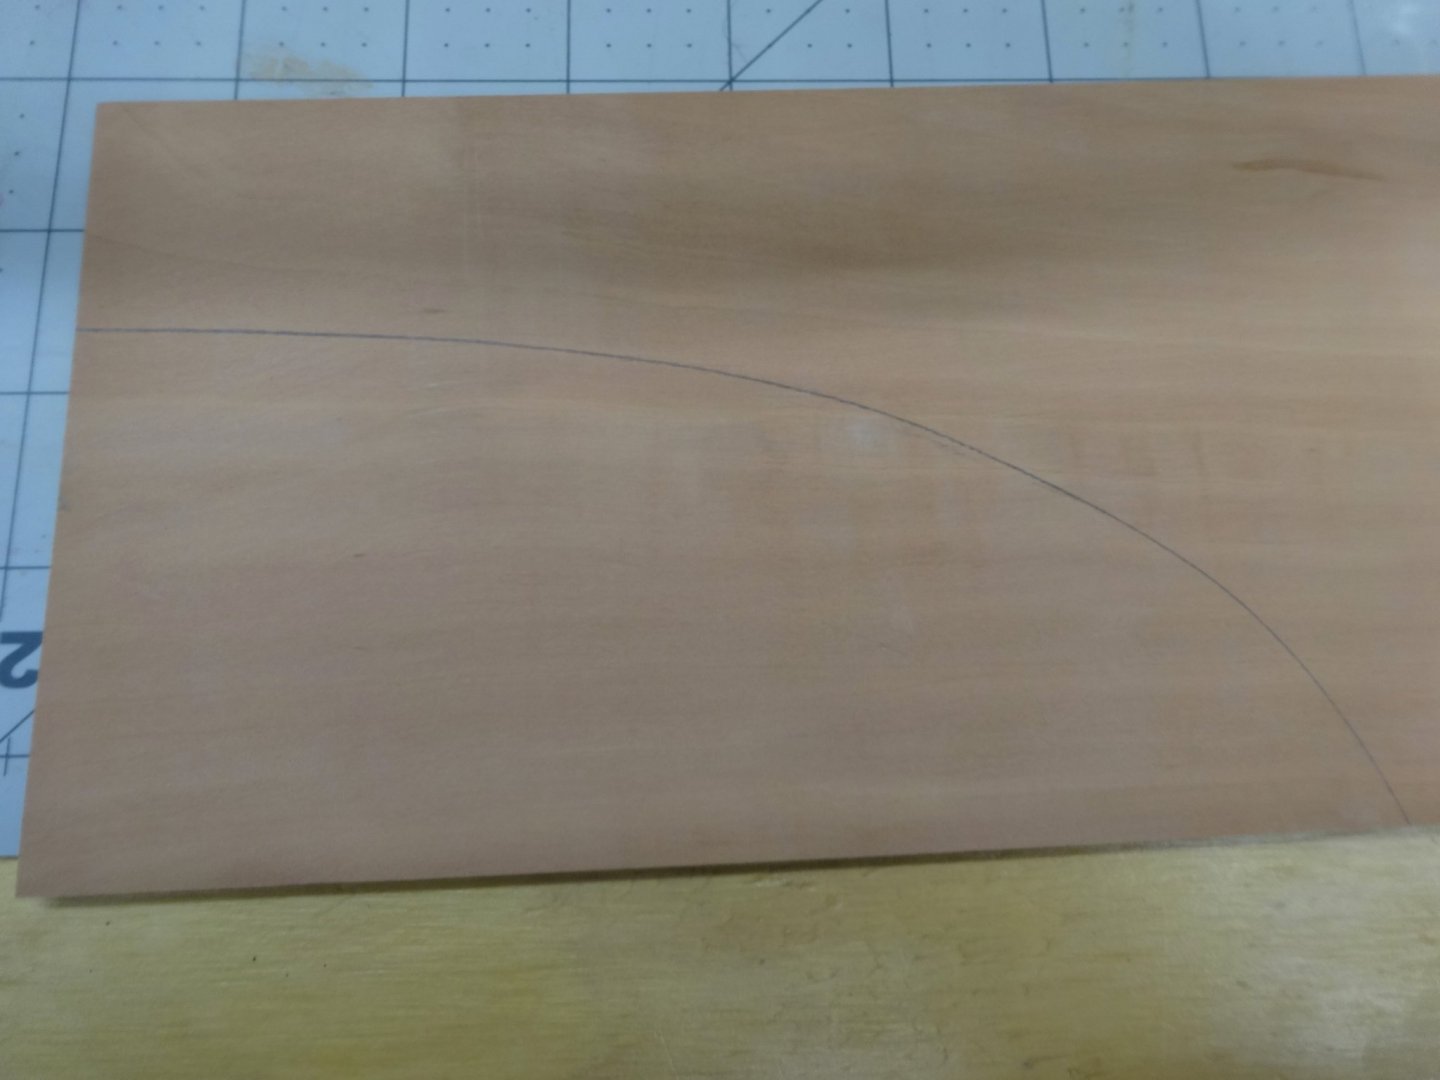
With the upper planking done the next step should have been to plank the wales with their second layer. I decided to skip ahead and install the 3/16" x 1/16" fairing cap. The fairing cap from the hance to the bow and stern are permanent while the piece at the waist is temporary. The fairing cap helped maintain the 3/16" thickness of the bulkhead. The sanding, chiseling and sanding some more of the inboard bulkheads took a few days but is mostly completed. I wanted to do this now to save any damage to the wale that may occur with my handling. The pieces of the aft portion were just straight and fit easily. The pieces at the bow took a bit more time. I took a 1/16" sheet and placed it on the bulkhead. I the traced the outside edge, flipped it over and drew a rough second line 3/16" inside the first. Cut out on the scroll saw, glued it on and then finished sanding it down to a consistent 3/16". I've got a bit of shop cleaning to do before I continue on. After a good cleaning I'll line off the hull using Chucks supplied tick strips.


- 642 replies
-
- 30
-
-
- winchelsea
- Syren Ship Model Company
- (and 1 more)
-
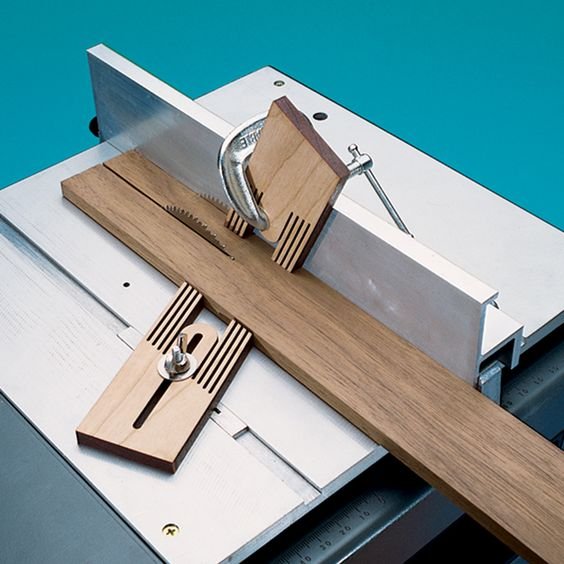
This is a typical feather board set up. There are many variations.
-
She's looking really good Bob.