HOLIDAY DONATION DRIVE - SUPPORT MSW - DO YOUR PART TO KEEP THIS GREAT FORUM GOING! (Only 51 donations so far out of 49,000 members - C'mon guys!)
×


Rustyj
-
Posts
2,530 -
Joined
-
Last visited
Content Type
Profiles
Forums
Gallery
Events
Everything posted by Rustyj
-
 Hi George, Thank you and welcome aboard! Thanks Pat, Yes now that the hull is planked it will be fun adding more detail to her. Thank you all for stopping by and all of the likes.
 -
Hi Augie, You are continuing to do some great work. She's looking really good.
- 2,191 replies
-
- 2
-

-
- confederacy
- Model Shipways
- (and 1 more)
-
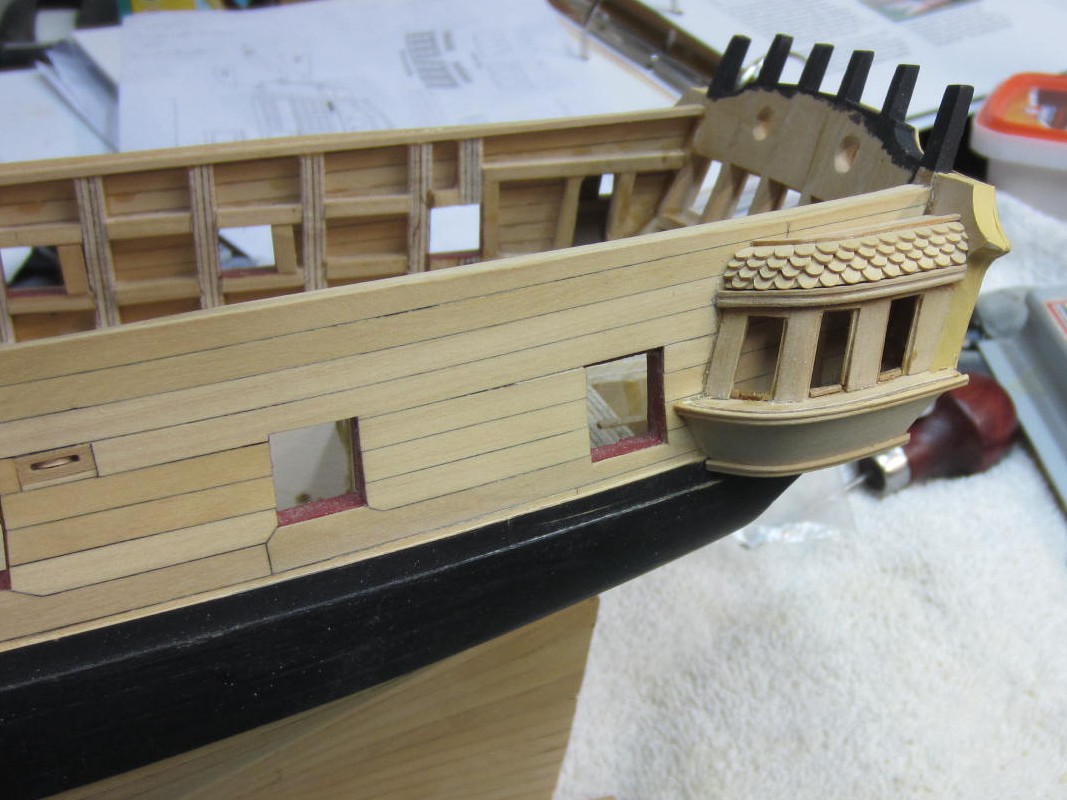
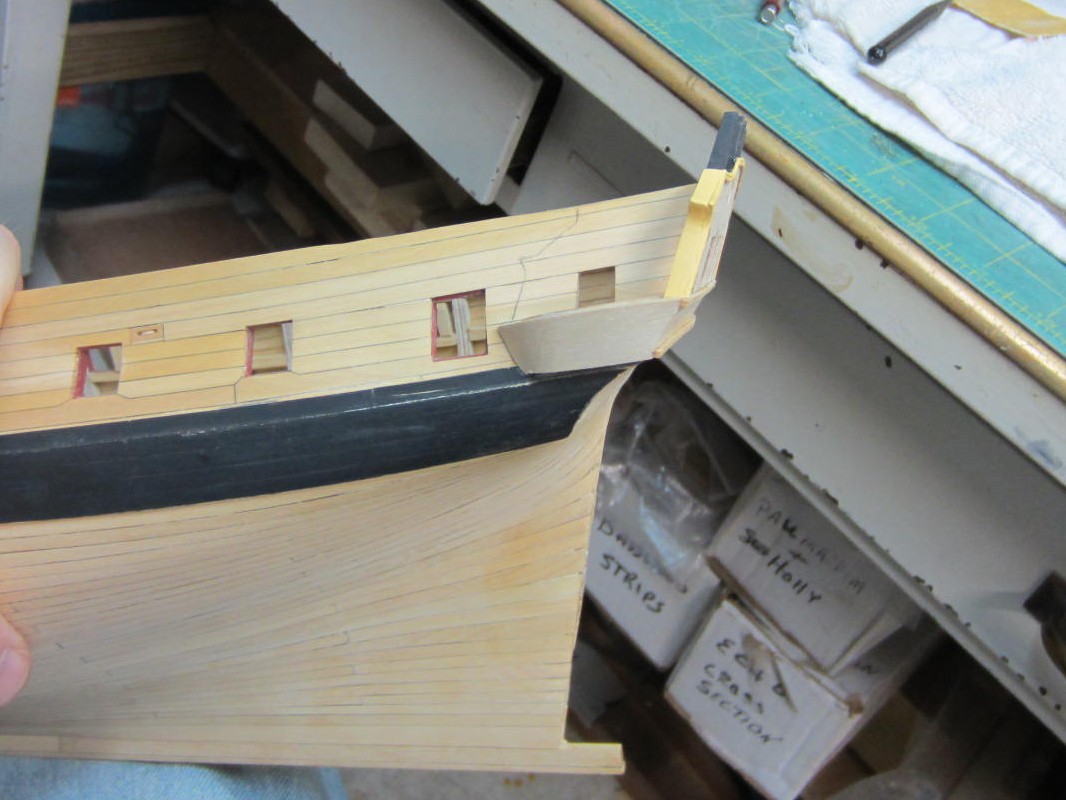
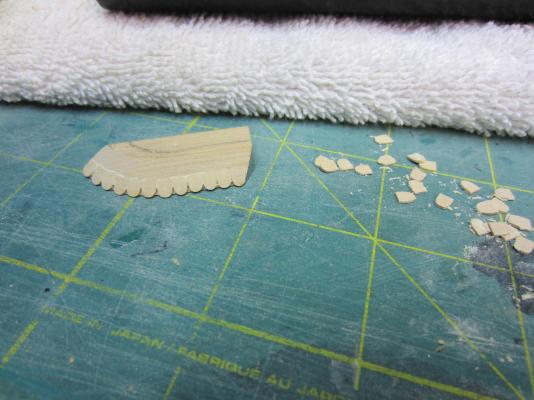
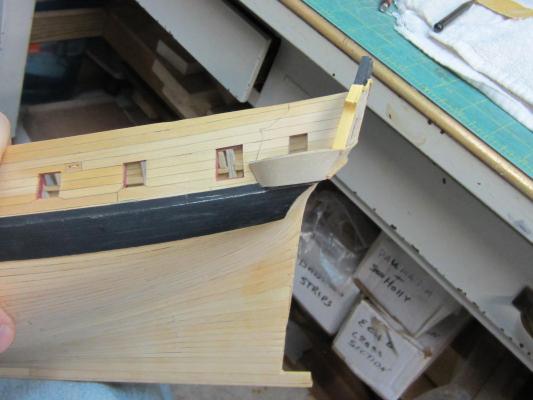
Here I’ve completed the decorative rail on top of the quarter galleries. My rail, Chucks has 3, has 4 decorative pieces in it . My curve was a little bolder so it ended up too long for three so I modified it to make four fit. I’ve decided to leave well enough alone with the windows. They won’t be installed until much later as there is a lot of sanding and they will just trap dust and debris. The only thing left to do for now on the galleries is to make the decorative columns. I am waiting on a .016 kerf saw blade so I can cut flutes down the face of each column. That will complete chapter 6. That will also catch me up to where Chuck is at right now. That will leave me time to work on some other models I’ve shoved to the side. Also my daughter is moving to another house next month and I have a looooooooong “Daddy do” list that will keep me quite busy for the foreseeable future. I just have to remember how to work at full scale again!


-
Cutter Cheerful 1806 by Maury S - 1:48 - POB
Rustyj replied to Maury S's topic in - Build logs for subjects built 1801 - 1850
Your off to a really nice start Maury. I look forward to seeing your progress. -
Hi Bob. I agree that the figurehead is fantastic and Janos was very generous. It compliments all the great work you have done on the bow and the rest of the ship.
- 1,477 replies
-
- 2
-
-
- essex
- model shipways
- (and 1 more)
-
Need advice with Byrnes saw
Rustyj replied to bigcreekdad's topic in Modeling tools and Workshop Equipment
Another thing I found that helps is to make sure the blade is not too high. I usually keep my blade set just 1/8" higher than the wood I'm cutting. -
Hi Vic, She's looking very good. I'm glad you shared her with us. I also have to admit that most of the accidents and errors that you mention have been done multiple times by me so don't worry your in good company here!
-
Hi Ben. Until Chuck offered to cut new windows I was perfectly happy! Now it has me wondering. I'll contemplate for a bit and see what happens. Thanks Pat. Like we already knew his parts are the best.
-
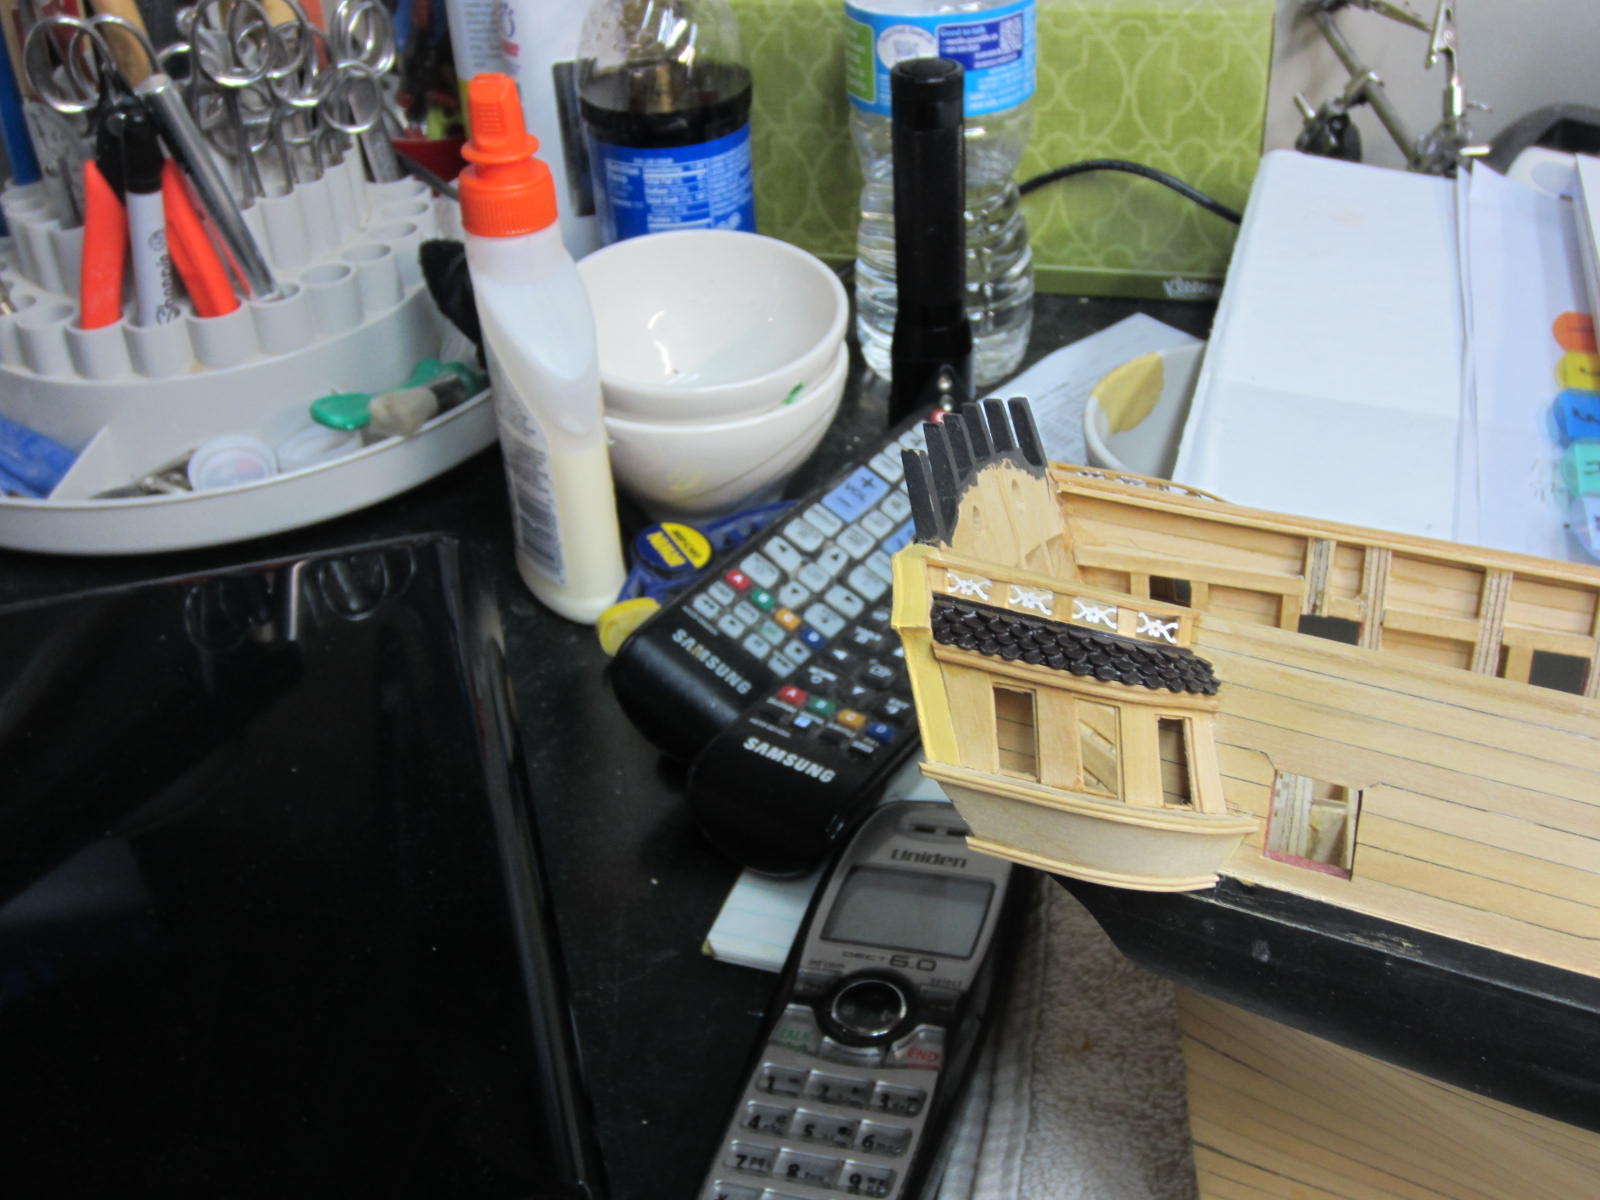
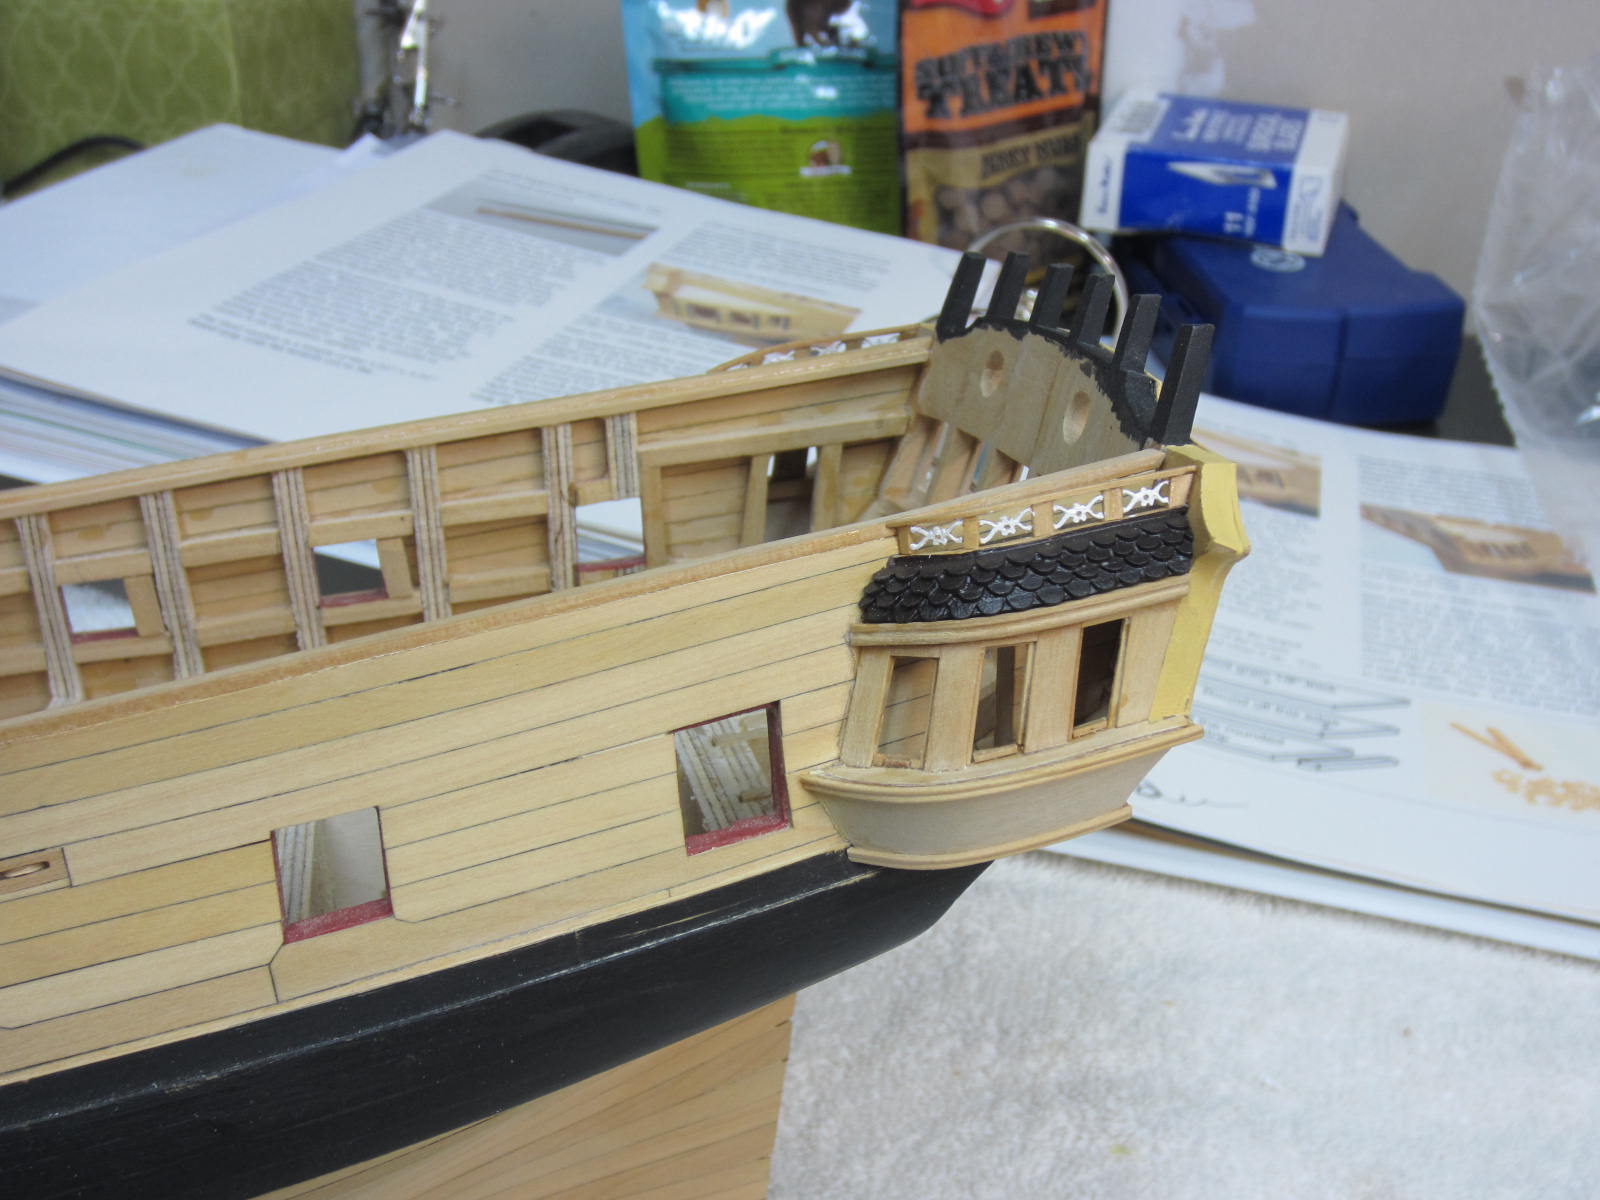
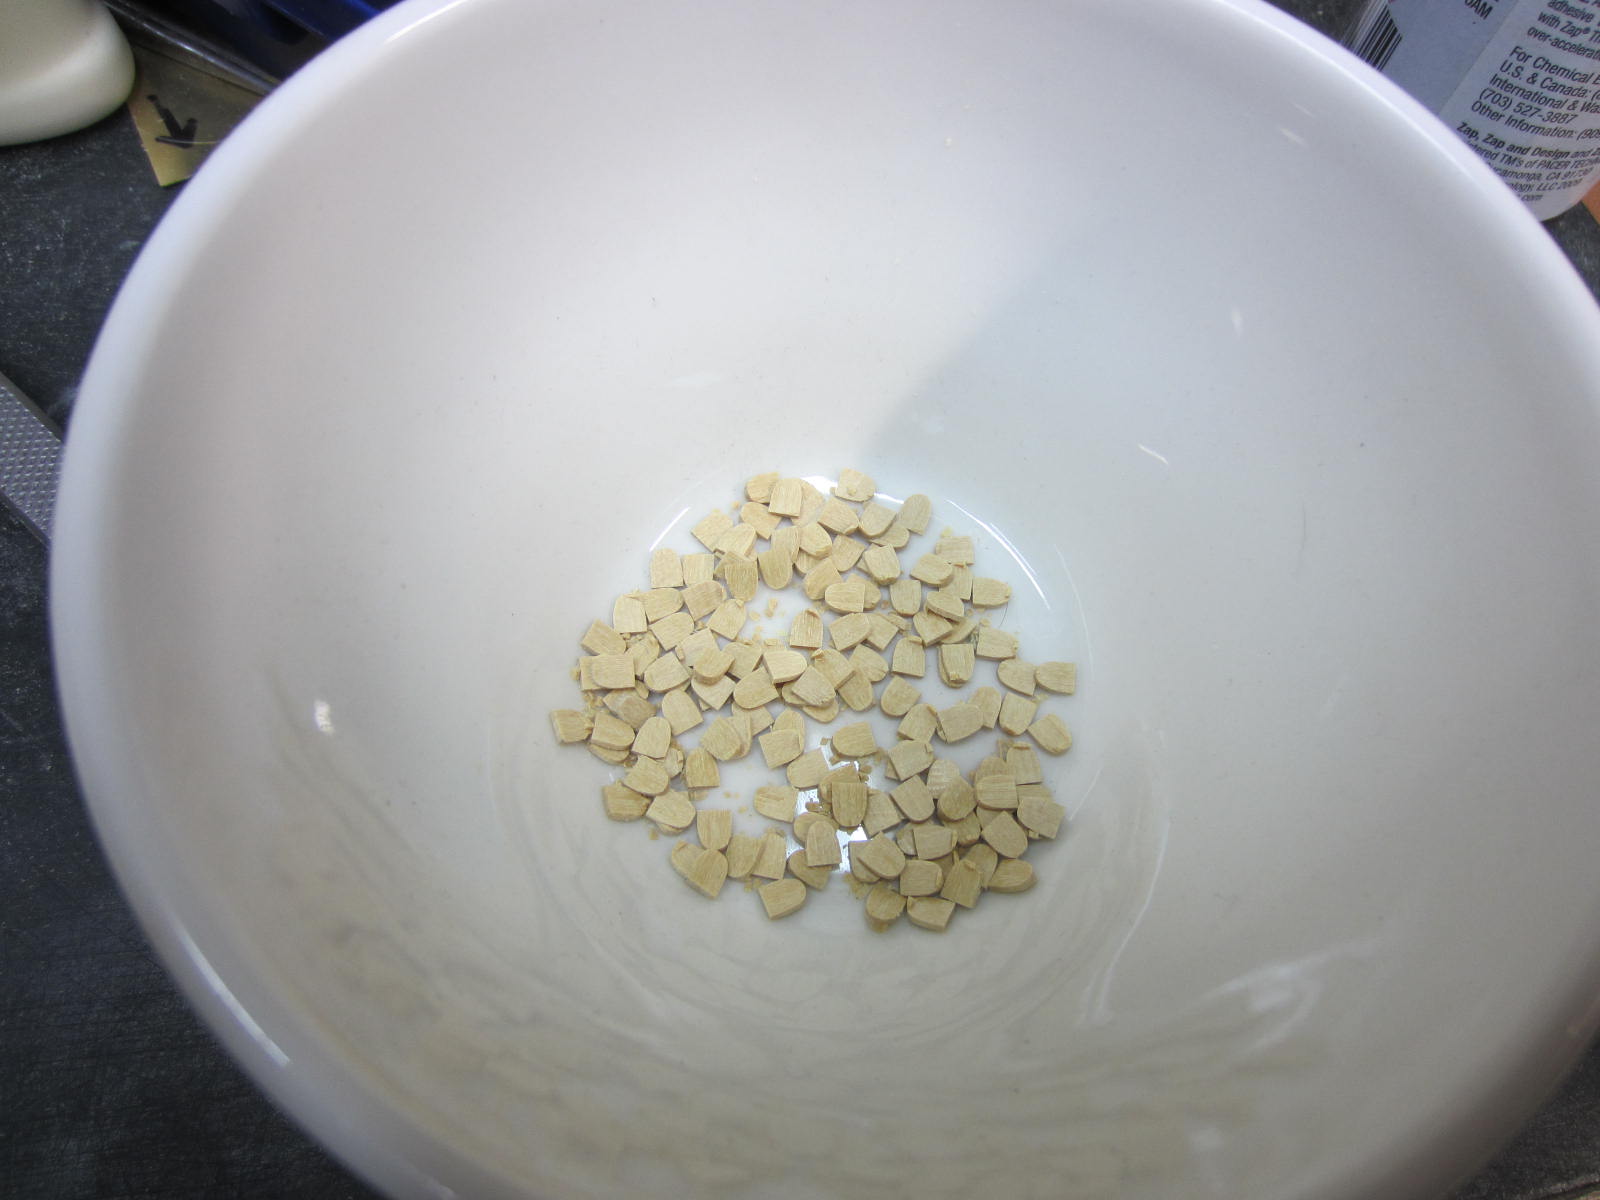
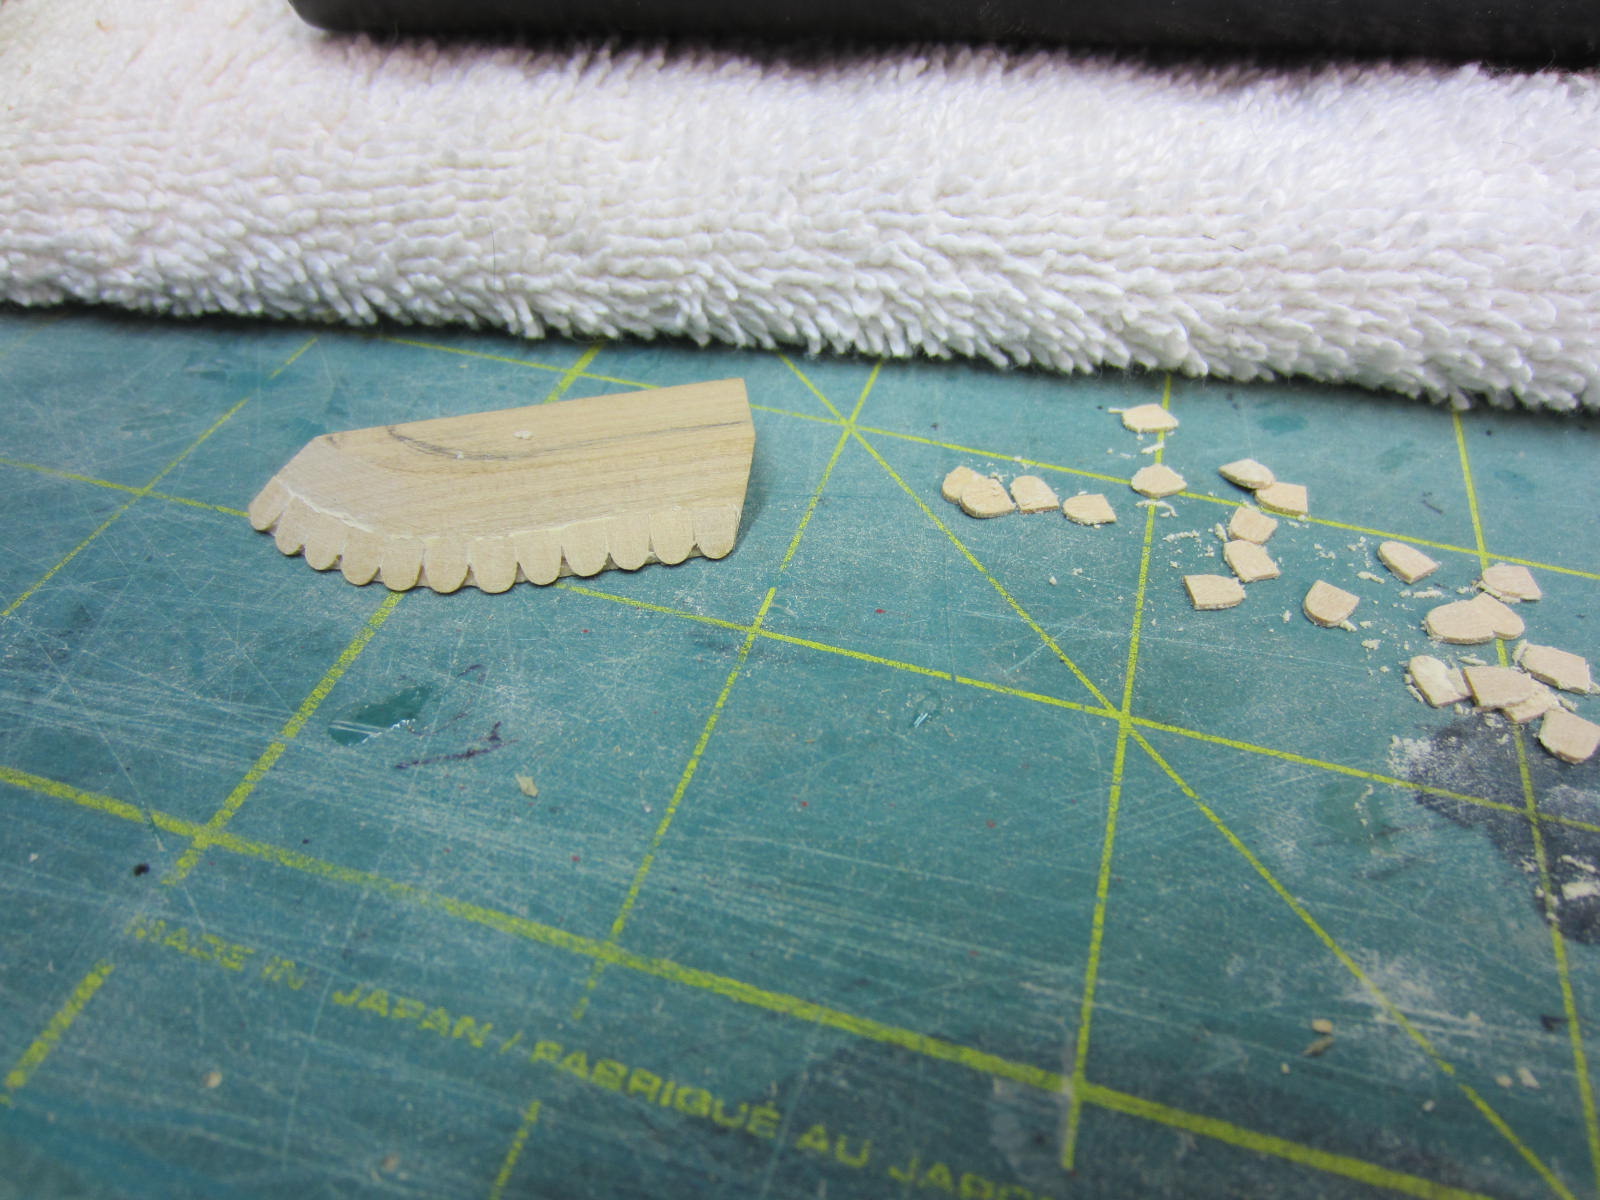
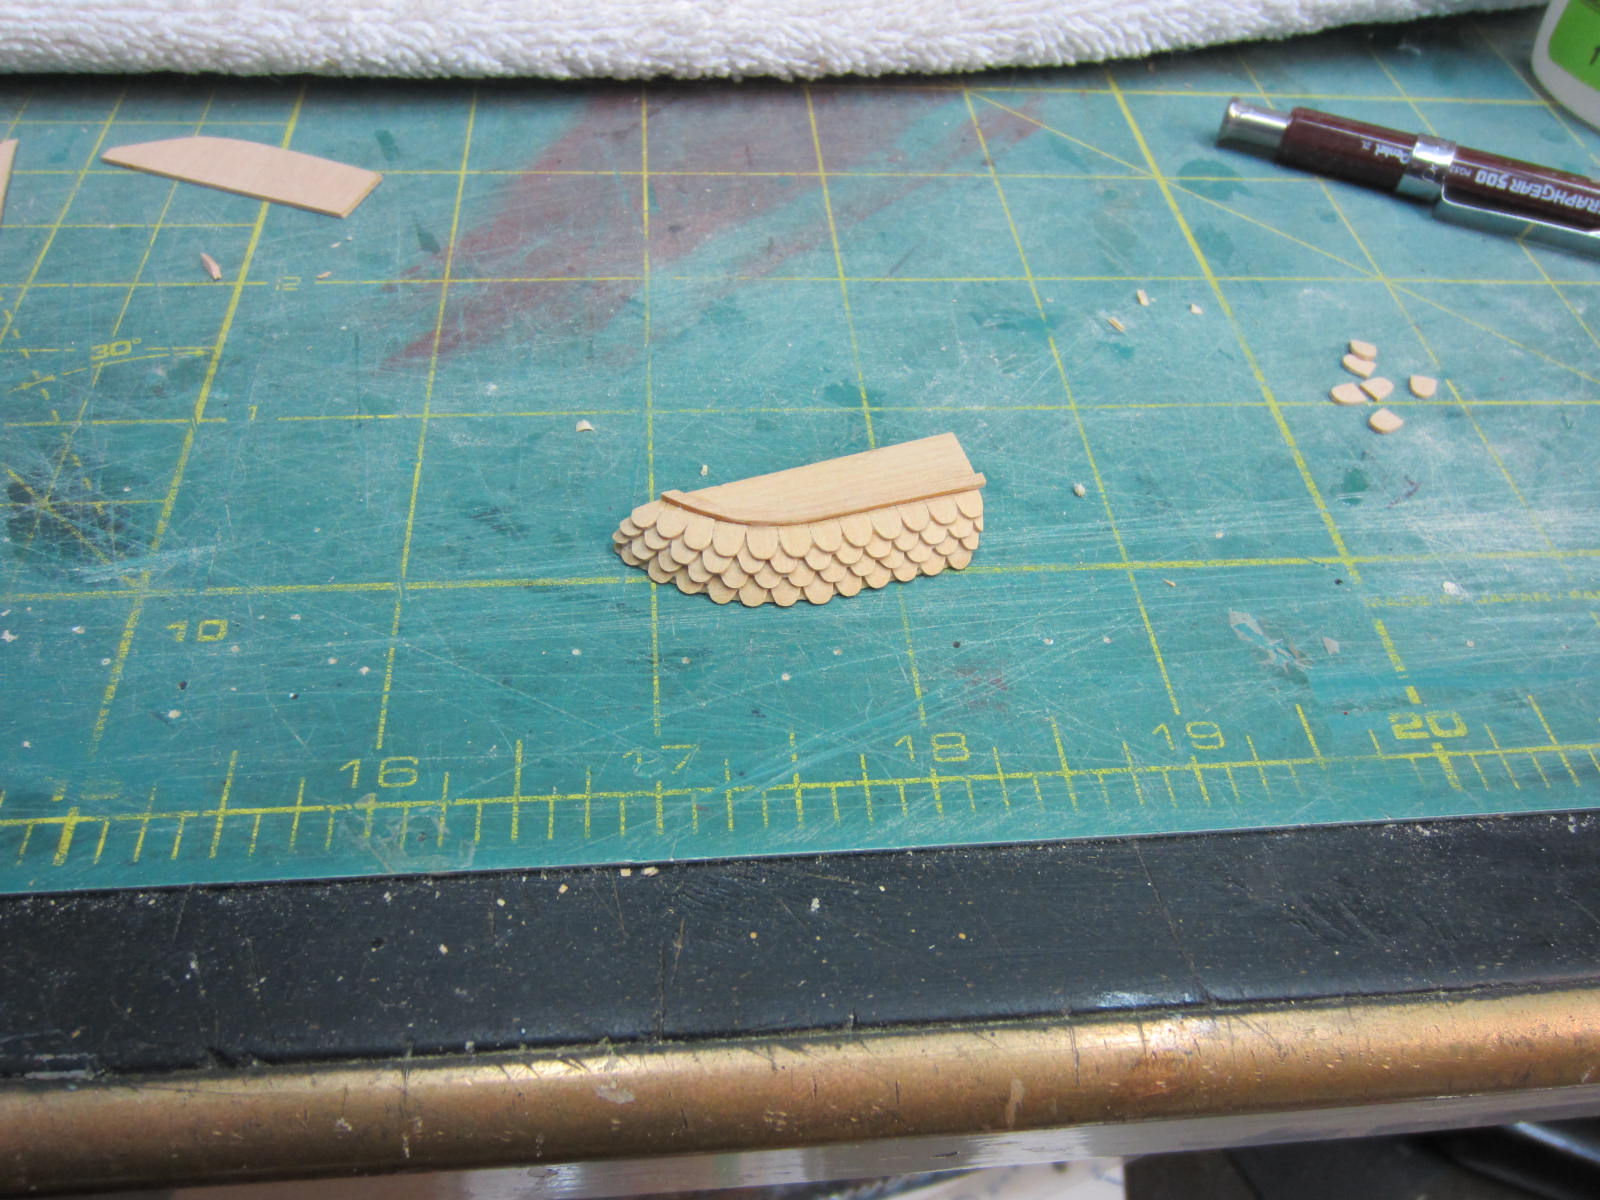
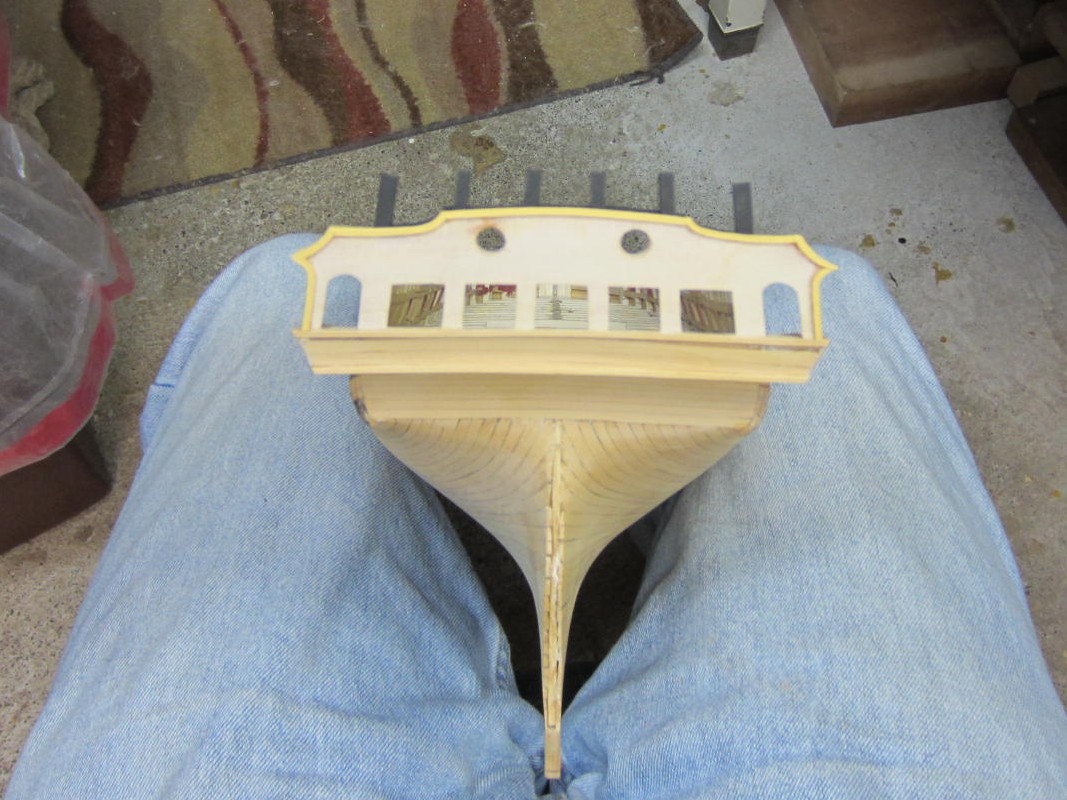
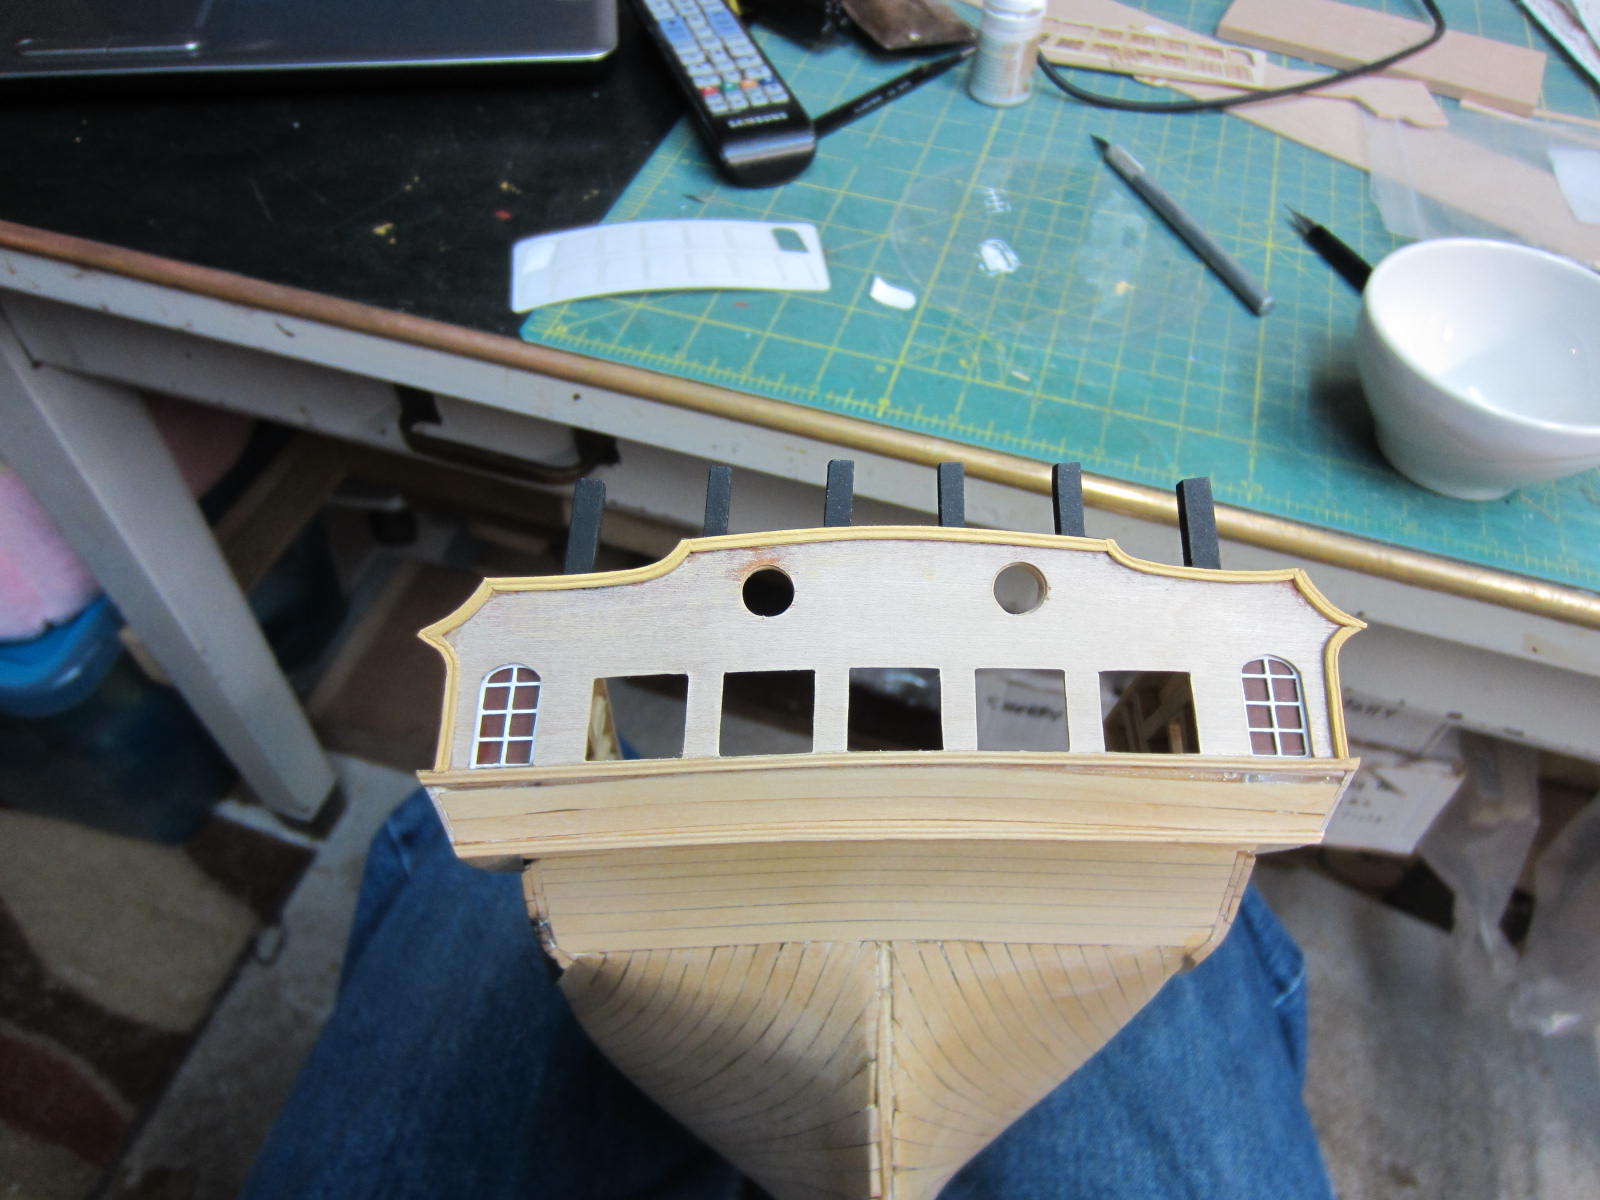
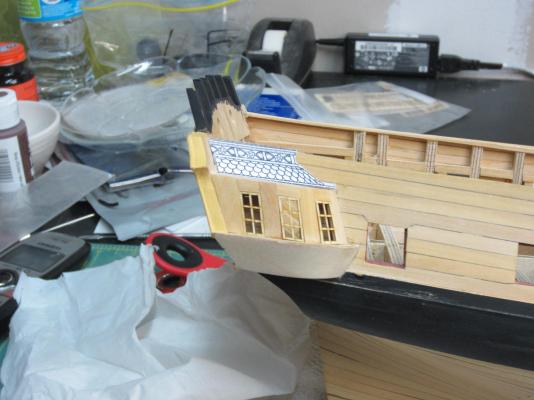
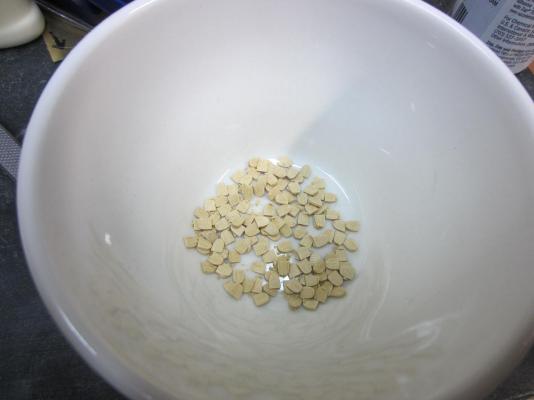
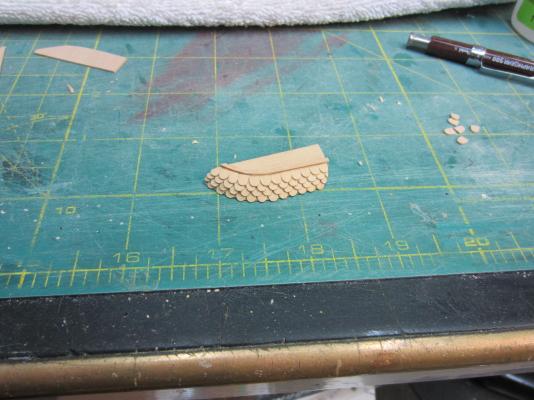
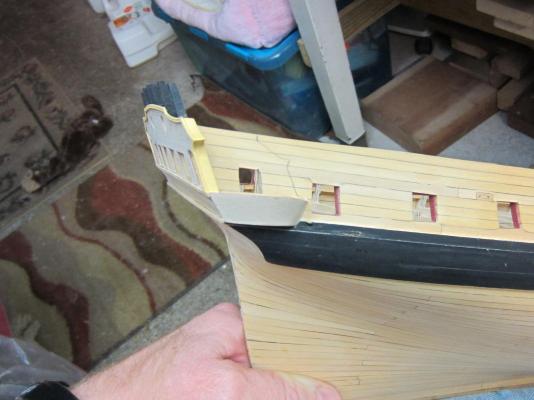
Thanks Augie and Chuck, also thanks for the offer to re-cut the windows. You are right the angle was off and now makes this an oh crap moment. I adjusted the rear most upright and that corrected the angle for the rest of the windows. Here is the new angle. For the roof I had to make shingles and as Chuck described slicing them from a strip of 1/8” boxwood instead of cutting from a 1/32” sheet was much easier. The pieces are cut a little thinner than 1/32” and then sanded to clean them up and make them even thinner. The shingles were placed one row at a time. Once dry the tops of the shingles were sanded smooth to match the roof angle so the next row would sit flat. This catches me up on the work I had done while my pc was down. Now I have to decide do I rip it all out and get the new windows at a different angle or continue on and make the columns for between the windows. Hmmmmmm.


-
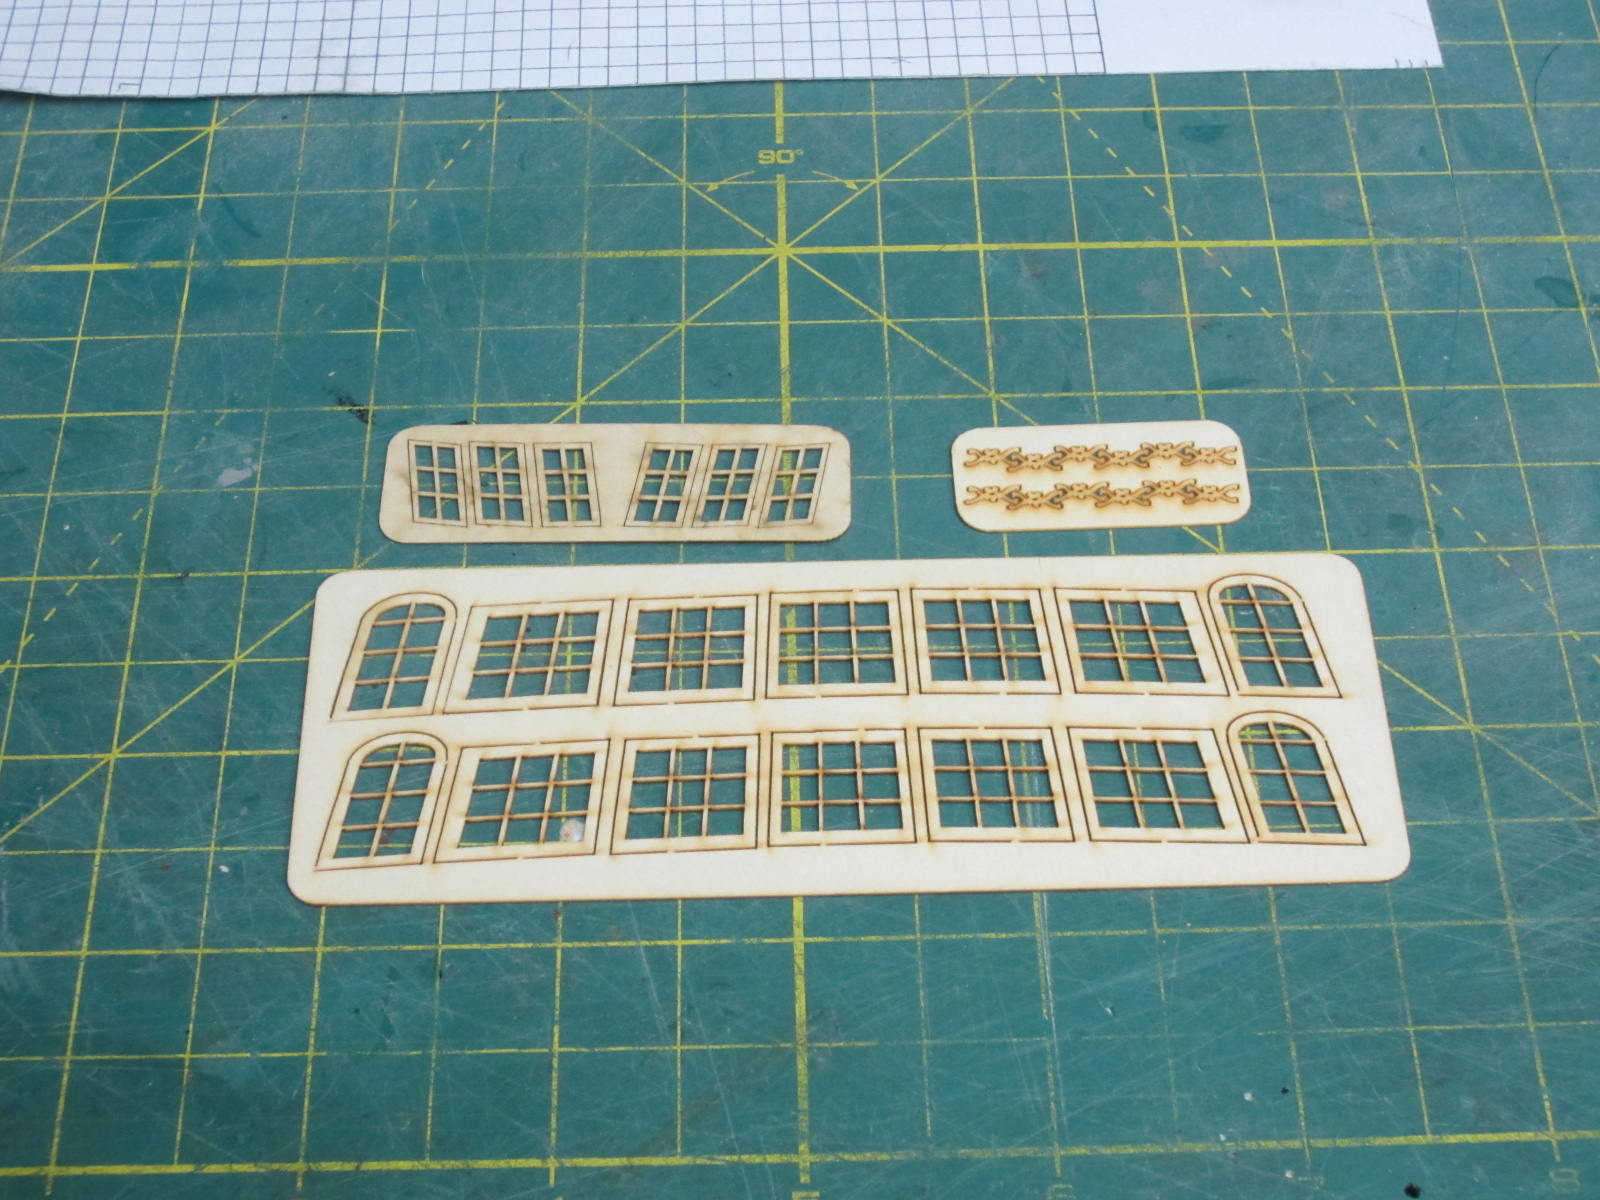
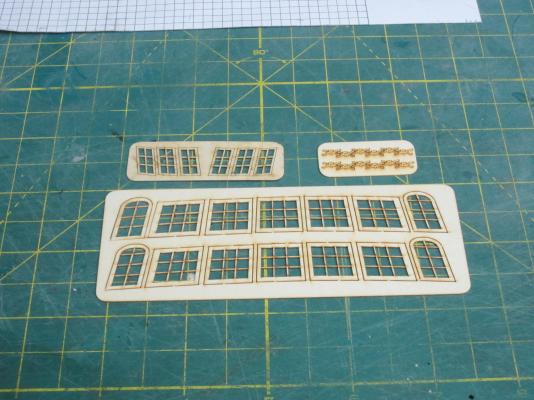
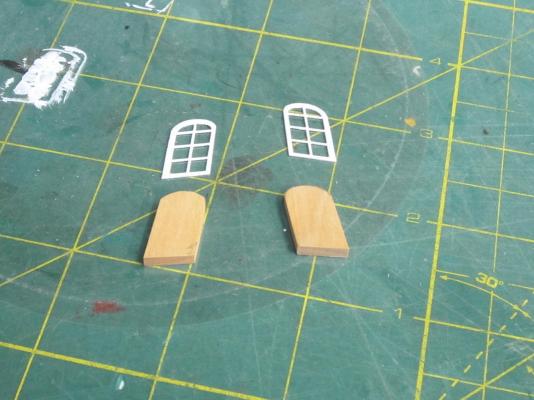
Hi All. Sorry for the delay in posting but between pc problems, the holiday and general family stuff I’ve been a little busy. That’s not to say I haven’t gotten any modeling done. Well now that I have a new pc and I’m not using the Admirals laptop and the backup files have been transferred I’ll start getting caught up. I have completed the moldings on the transom and while doing so I noticed a minor problem. Self induced I must say. The upper counter is supposed to be uniform from port to starboard. Mine wasn’t! It was easy to correct this but in doing so it threw off the height of the bottom of the quarter galleries. They are supposed to set on top of the black strake. Mine will be into the black strake. It was the only way I could correct my error without tearing out the transom and wales. It just goes to show the relationships between so many portions of the build. Miss on the wales placement and it alters the counter which alters the quarter galleries. Here you see a set of laser cut lights and trim on laser board that I got from Chuck. This is really nice stuff. Very thin and delicate but durable. I don’t the gentlest touch but the outer lights survived my handling. More to come in a bit.


-
Good job Augie. I love doing the deck furniture and I look forward to seeing them. Happy Holliday's to you too.
- 2,191 replies
-
- 2
-
-
- confederacy
- Model Shipways
- (and 1 more)
-
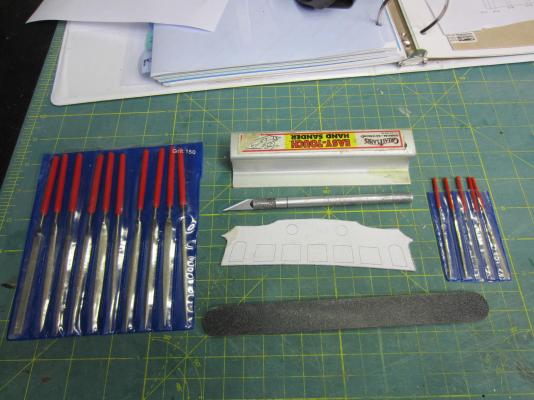
Thanks Jason, I made my scraper from a leftover Confederacy scrapper. I just used small files to form my desired profile as Chuck describes.
-
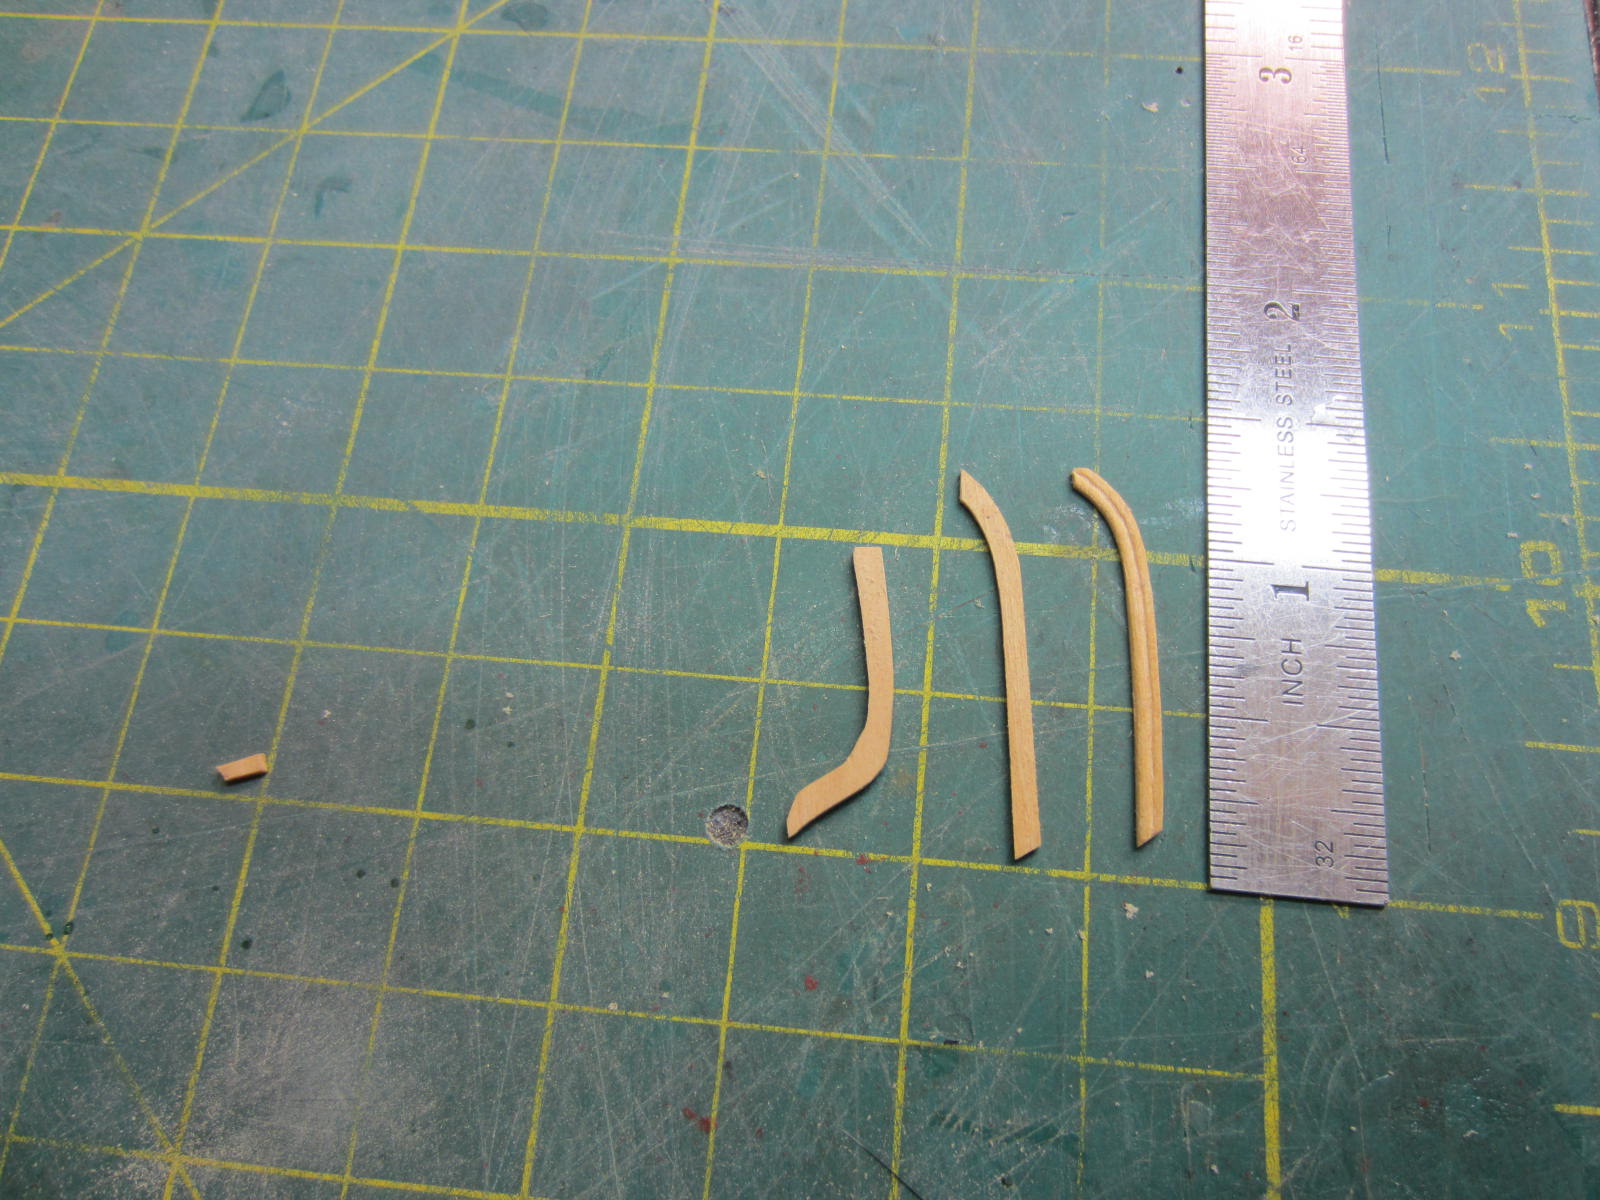
I’ve started working on the fancy molding on the transom. The molding is cut from 1/32” thick stock and is 1/16” wide. The shapes were traced and then rough cut out with a scroll saw. I then sanded them to their final shape. I then used a scraper to obtain the profile I wanted. Here is where I’m at so far.

-
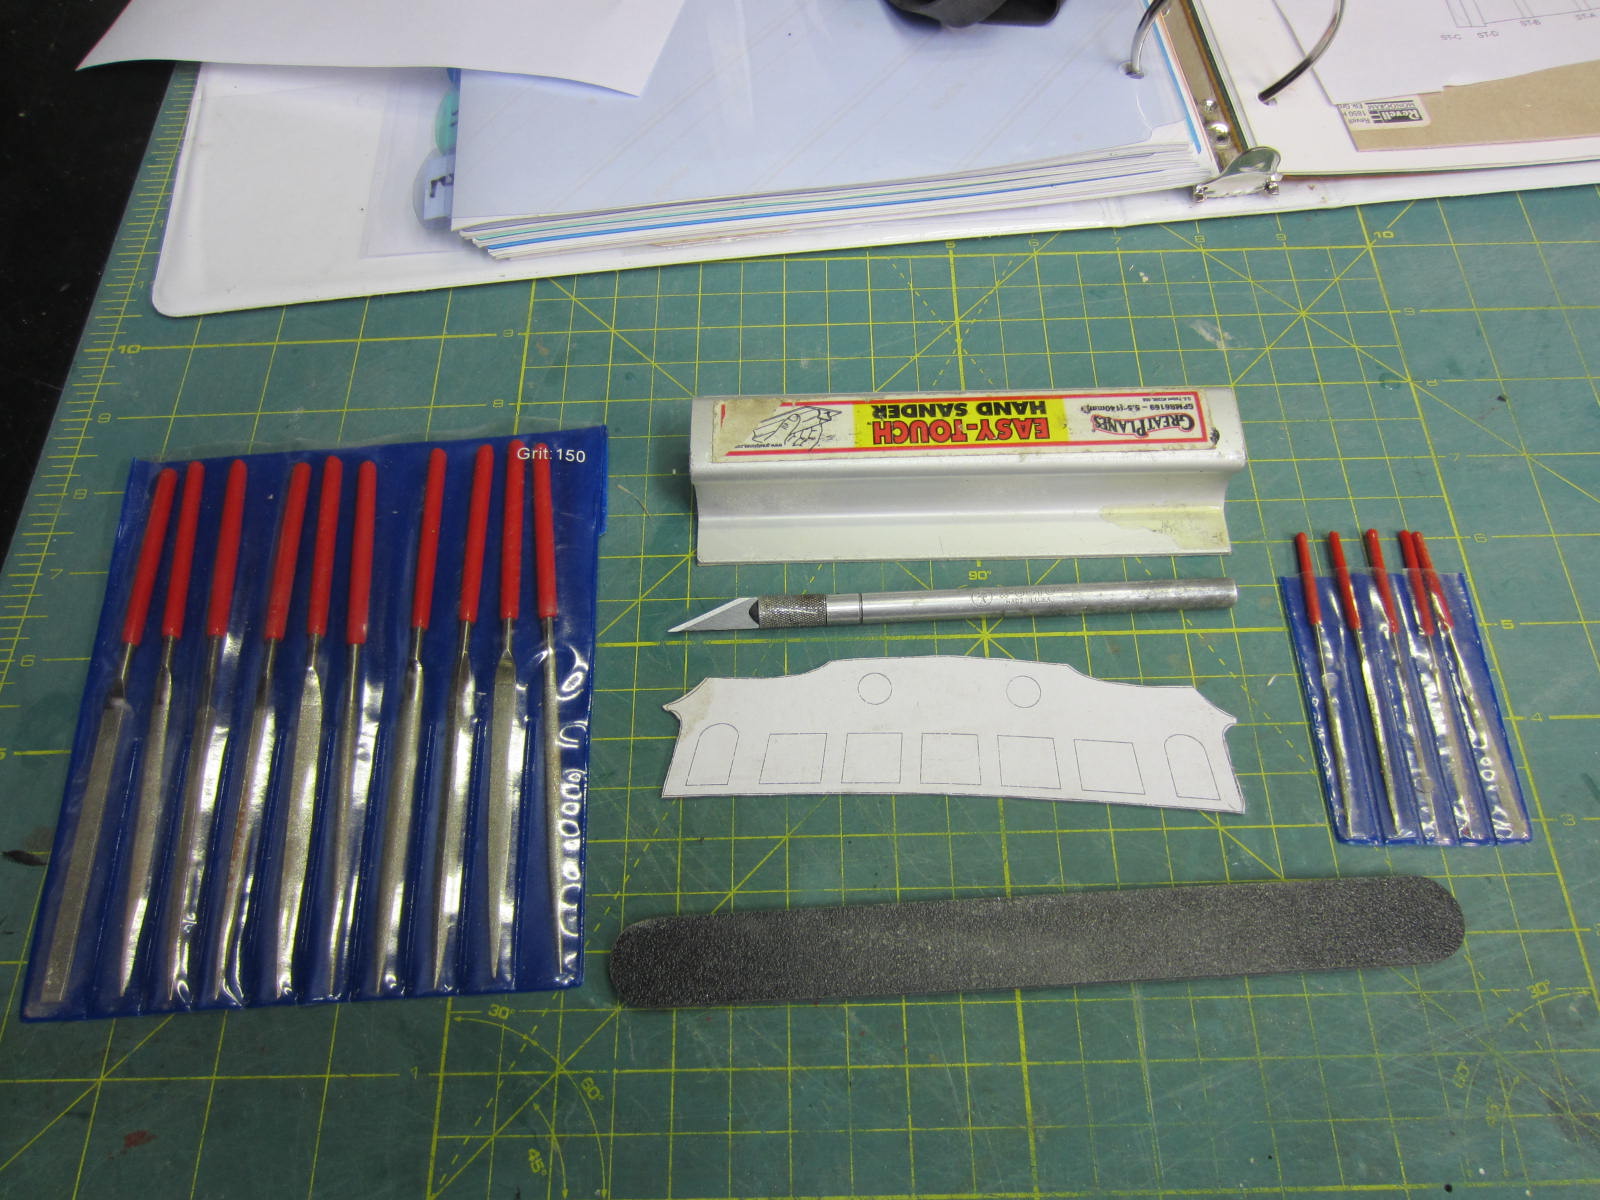
Oh my where did it get them? The diamond files were either Micro Mark or Model Expo. The metal files were from a local hobby shop. I think.
-
Thanks ASAT and Joe, They are relatively inexpensive ones. I only use them on wood and I’ve had them for 5-6 years now. They are still in an acceptable condition but once they head south I won’t feel bad about chucking them.
-
Hi Bob, Great job on those finicky hammock cranes and netting and I never thought to iron the netting. Gotta remember that one.
- 1,477 replies
-
- 2
-
-
- essex
- model shipways
- (and 1 more)
-
Hi Sjors, To me "Wiggle room" is cutting the transom a tiny bit oversized and the window openings a little smaller so the I have a little room to adjust, wiggle, to the correct position and then sand or trim to the finished size.
-
Thanks Ben. Of course!
-
Oh yeah I see major potential for an oops moment!
-
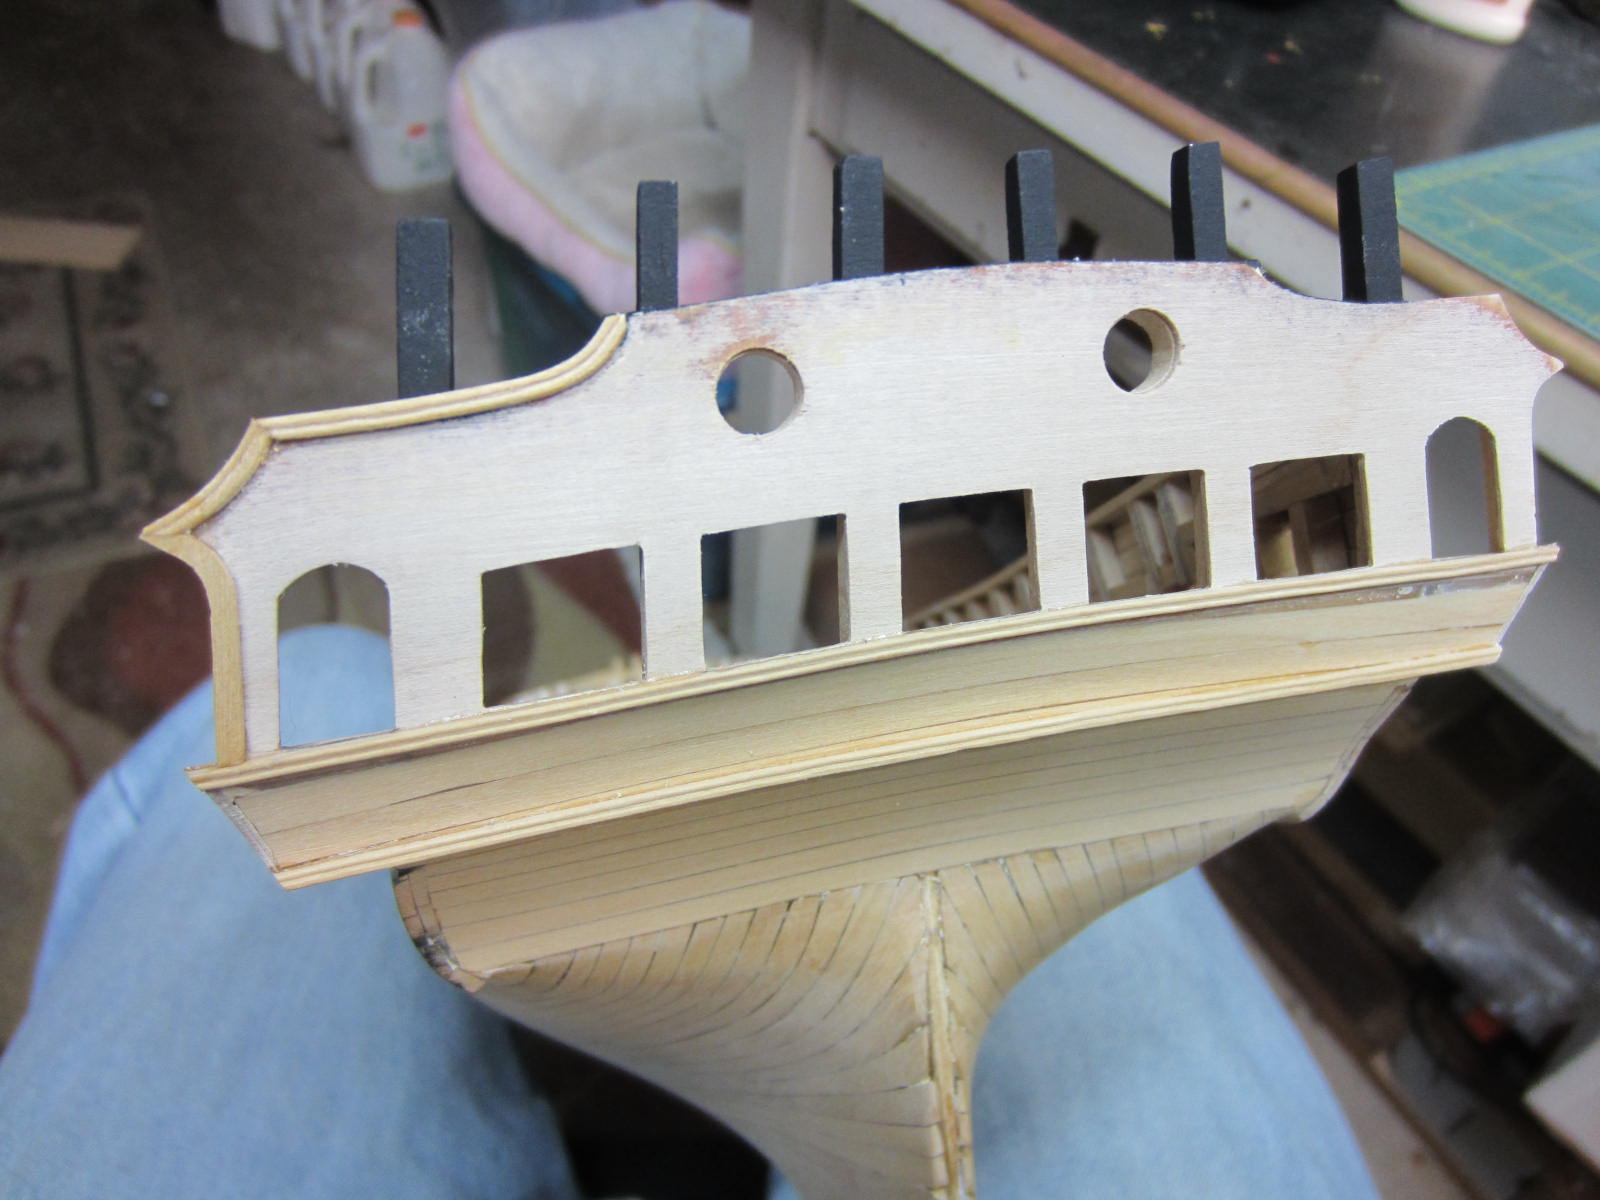
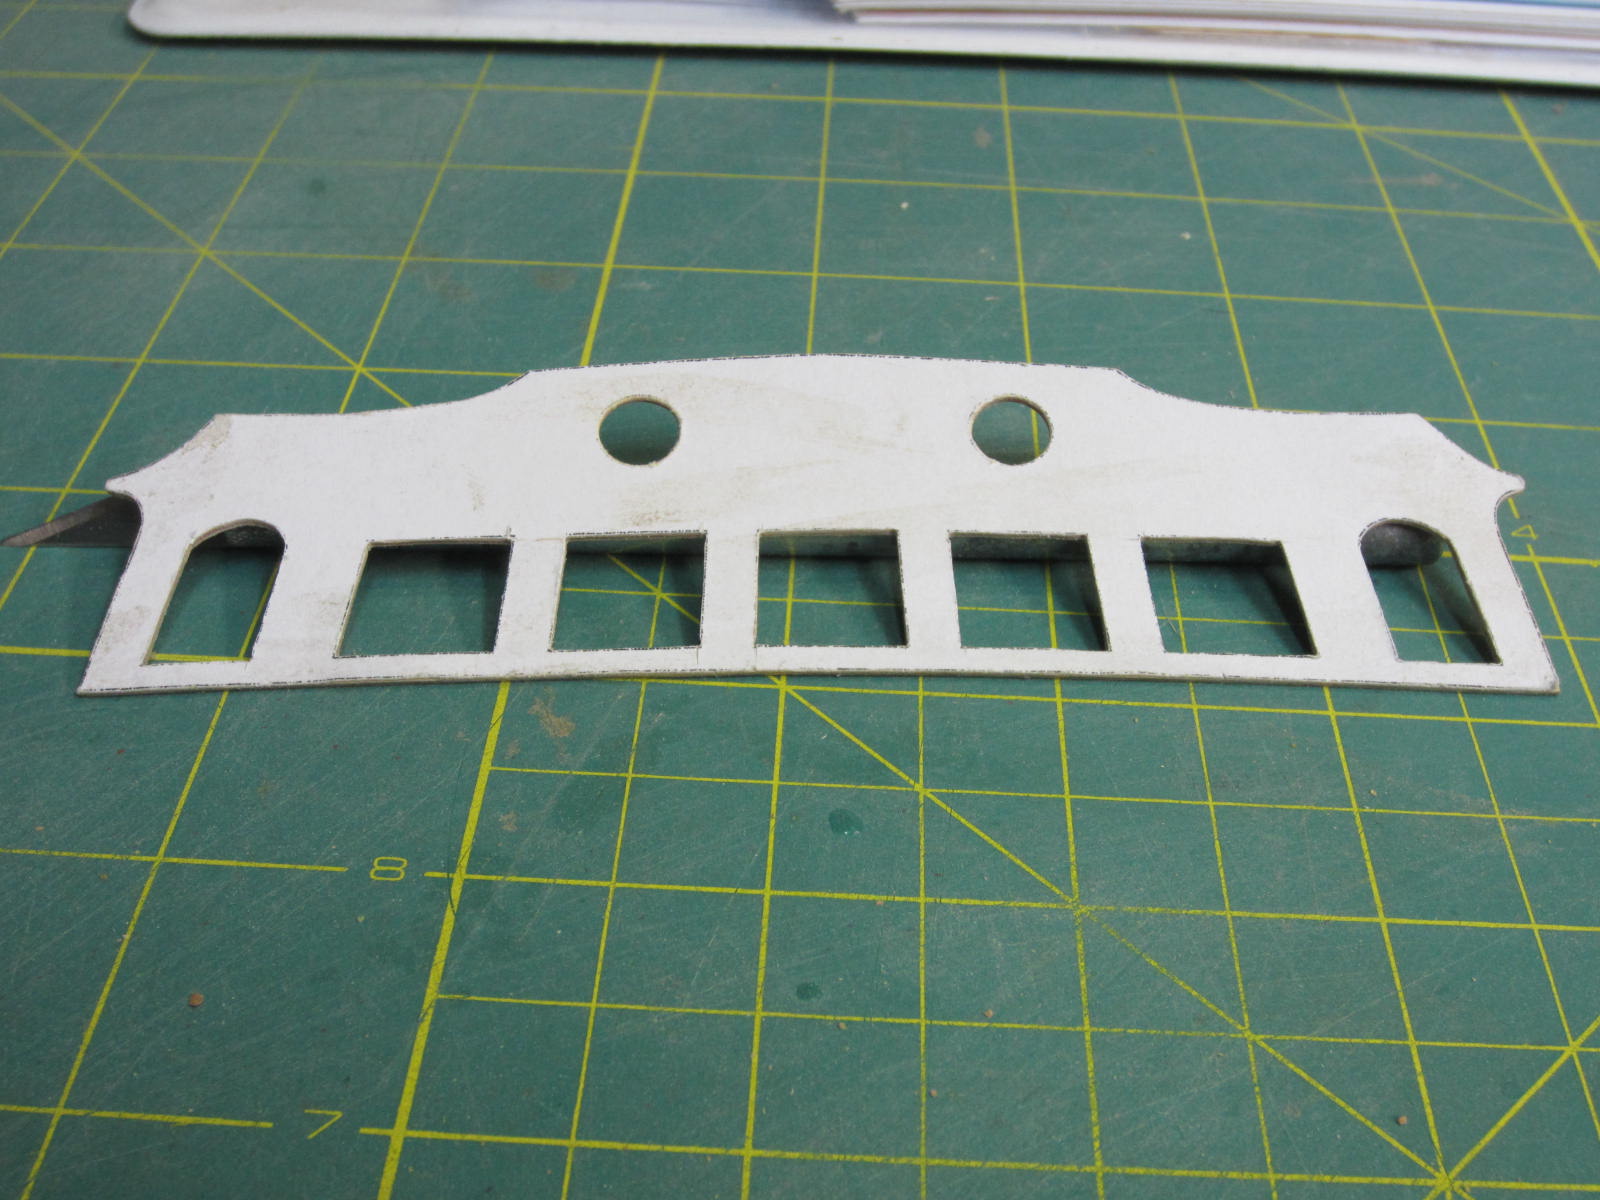
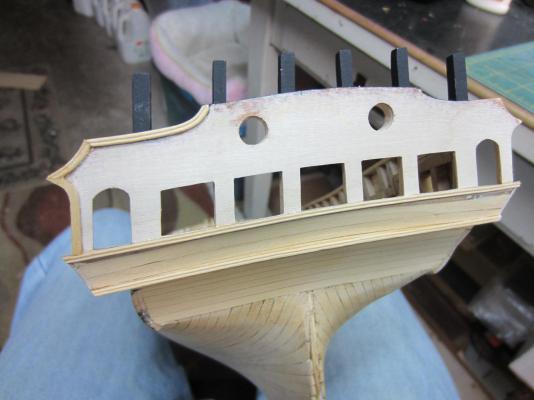
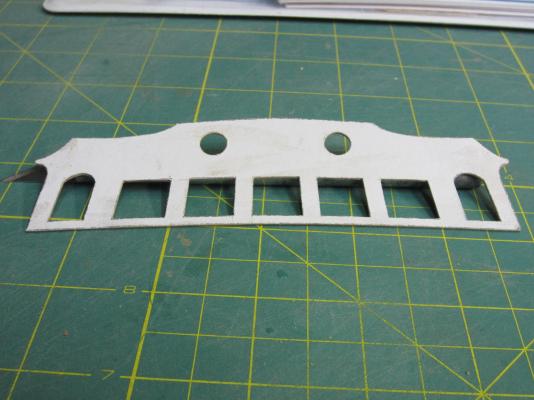
Thank you all for the kind words and all of the likes. It is very much appreciated. Well I’ve started chapter 6 now and started working on the stern. To start I have to cut the transom out of some 1/32” plywood. I pasted the plans on and then cut it out with the scroll saw getting it close. I then used various sanding tools to get it close to shape. The windows were cut out using an x-acto and finished with files too. Then the assembly was glued to the frame work. That's it for now!
-
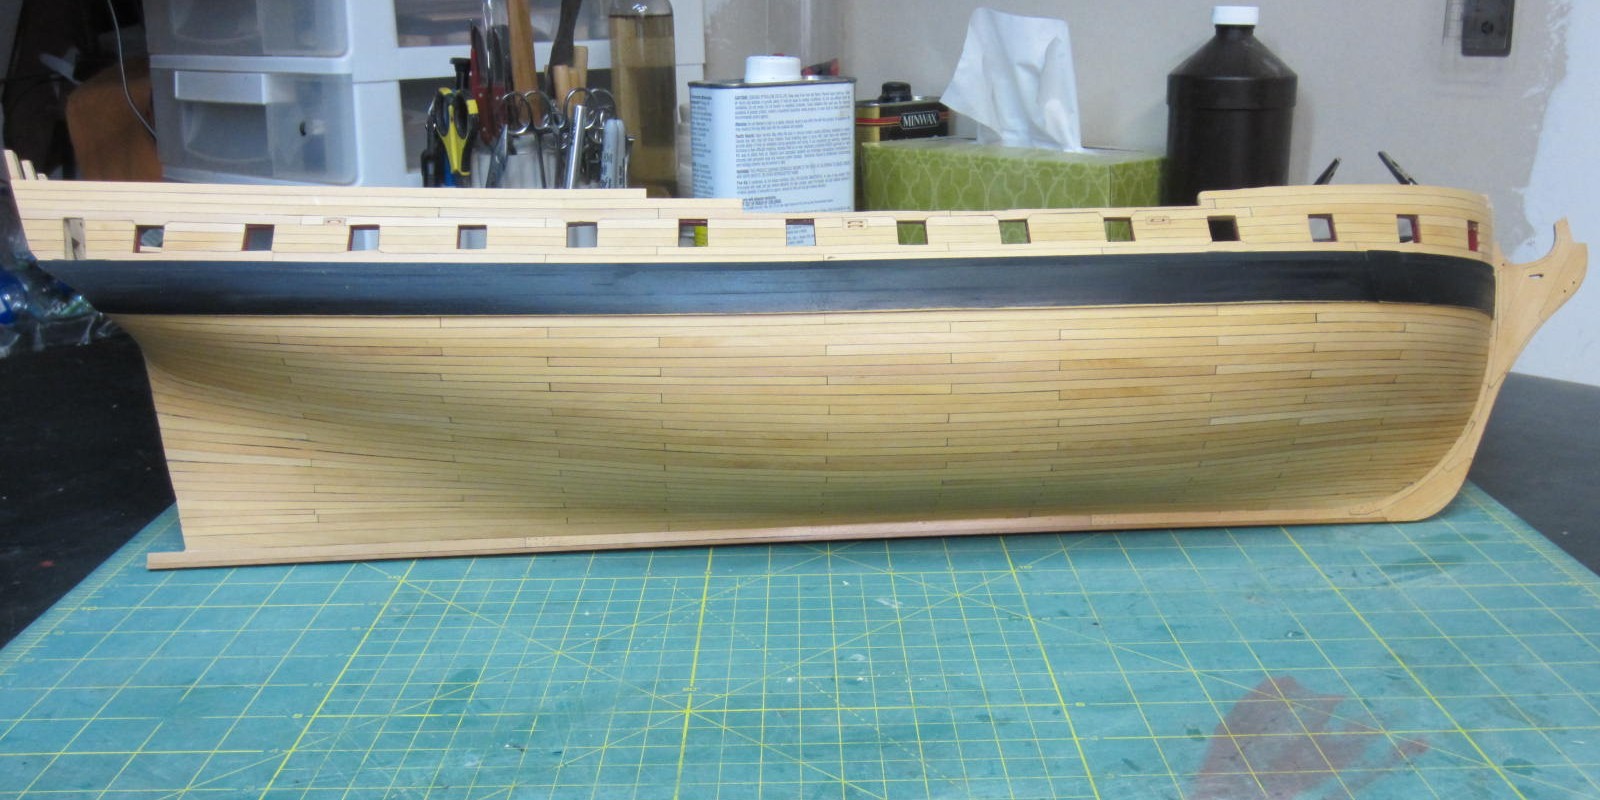
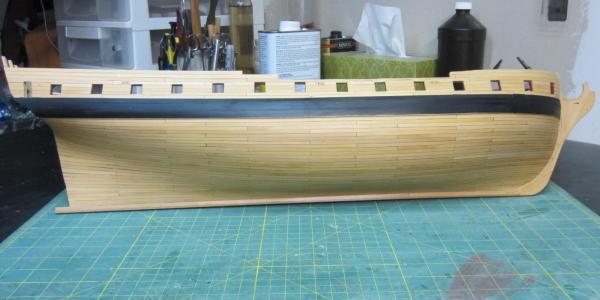
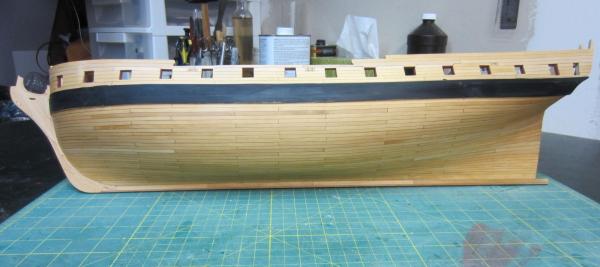
Hello all, Well I’m happy to say I’ve completed the planking on the portside too. No stealers or drop planks this side either. All that is needed now is a good deal of sanding and then some wipe on poly. I have to say planking this way is more time consuming but it works so much better and the run of the planks is much easier to maintain. Definitely the way I will plank from here on out! One thing I want to point out is that I handle a model a lot when I’m working on it. Because of this I would inadvertently rub off some of the pencil marks. To make sure I didn’t lose the main belt line mark I used a sharpie to mark them. Then if I accidently rubbed off any markings I could go back to the main mark and redo them. After I check the hull over and make sure it’s all set I will move on to the stern.
-
Oh that is so sweet! Well done Chris.
-
Hi Greg and Ben, Oh I've used the white glue sanding trick many times. There were only a couple of spots where I needed to do that. The joints that bother me the most were ones that weren't a tight as they should be but were filled with glue and dry before I saw them so there was no sand n fill possible. Oh well trying harder on the port side. Chris, I could see where doing that with tung oil would work. Not so with the poly as it dries real fast. Thanks everyone for stopping by and the like. Continuing to make progress.
-
Hi Chris, I can't wait to see you finish her up. I doesn't seem like it's been five years either.