


marktiedens
-
Posts
1,737 -
Joined
-
Last visited
Content Type
Profiles
Forums
Gallery
Events
Posts posted by marktiedens
-
-
Thanks,Jason - starting to see the light at the end of the tunnel now
 .
.
Mark
-
-
-
Thanks Pete - I tend to get in a hurry - That`s when I forget to read your well researched notes & have to do things over!
Thanks Popeye - I`m already wondering how I got this far without totally messing up. No admiral here,but I like spaghetti anyway
 .
.
Mark
-
Well,silly me for not reading Pete`s notes carefully
 . Re-did the spritsail yard braces. I did simplify them slightly as I could not get the aft block under the top installed - just not enough room to get my hands in there.

Mark
-
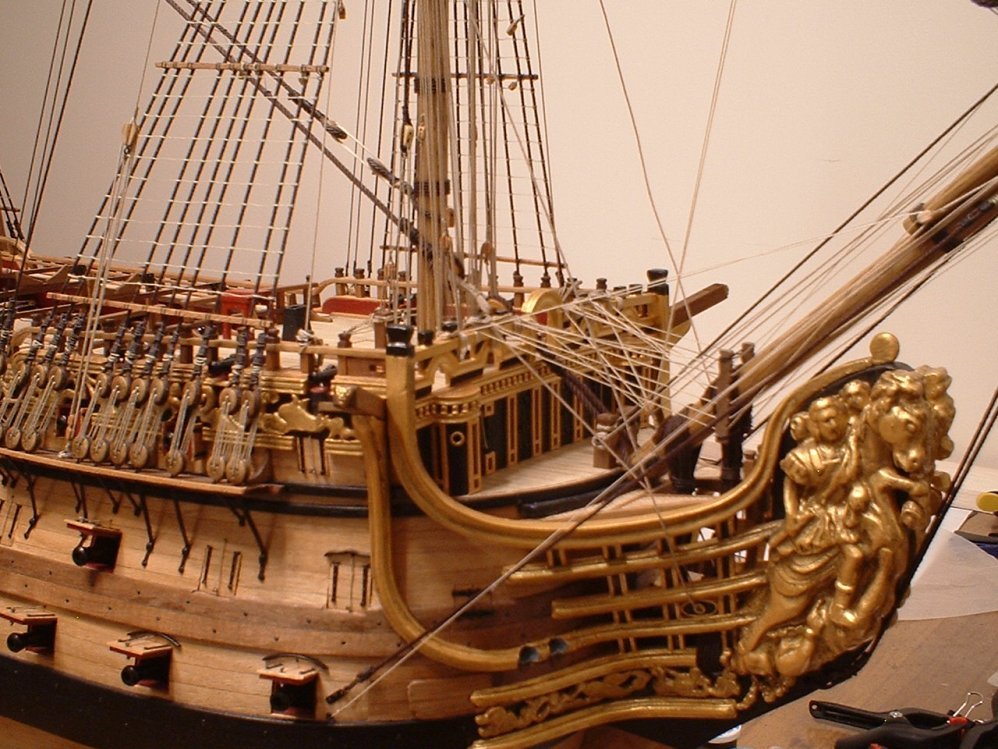
A little more progress - the foremast yards are all fully rigged(except for the braces which will be added later). I added 2 braces to the spritsail yard which were not shown on the plans - I don`t know how else they would keep it from swinging around without them. Also added the sheet lines to the spritsail yard & the tack lines to the fore yard. The foresail sheet lines will be added later also. That`s a lot of ropes coming down to the deck!
Mark
-
Thanks Popeye - got a ways to go yet
 .
.
Mark
-
-
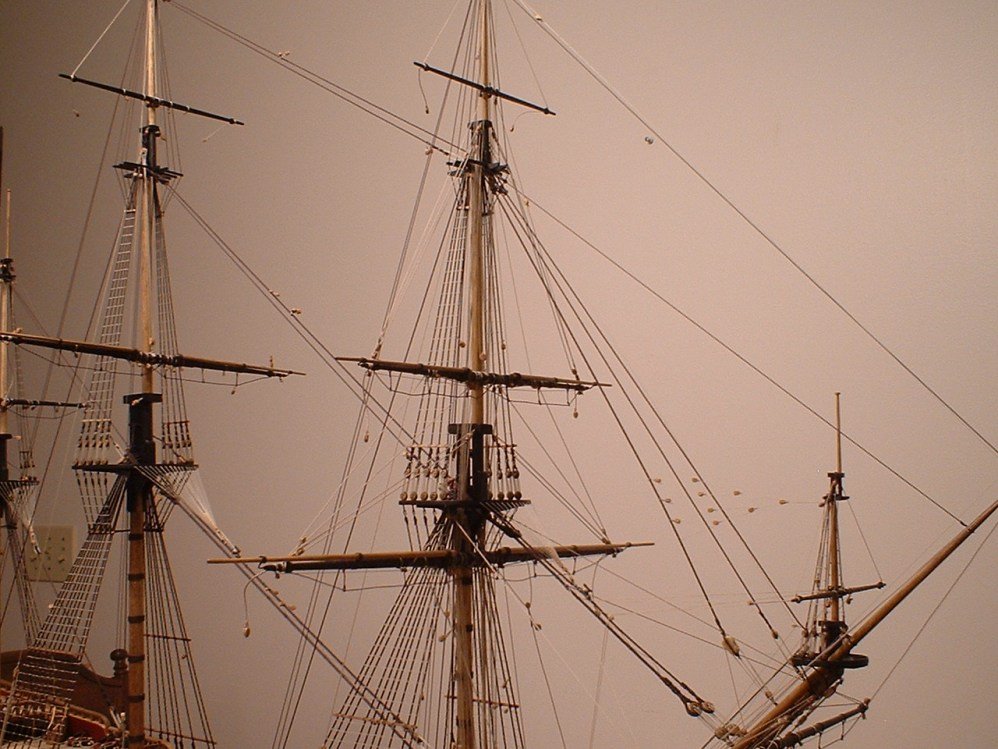
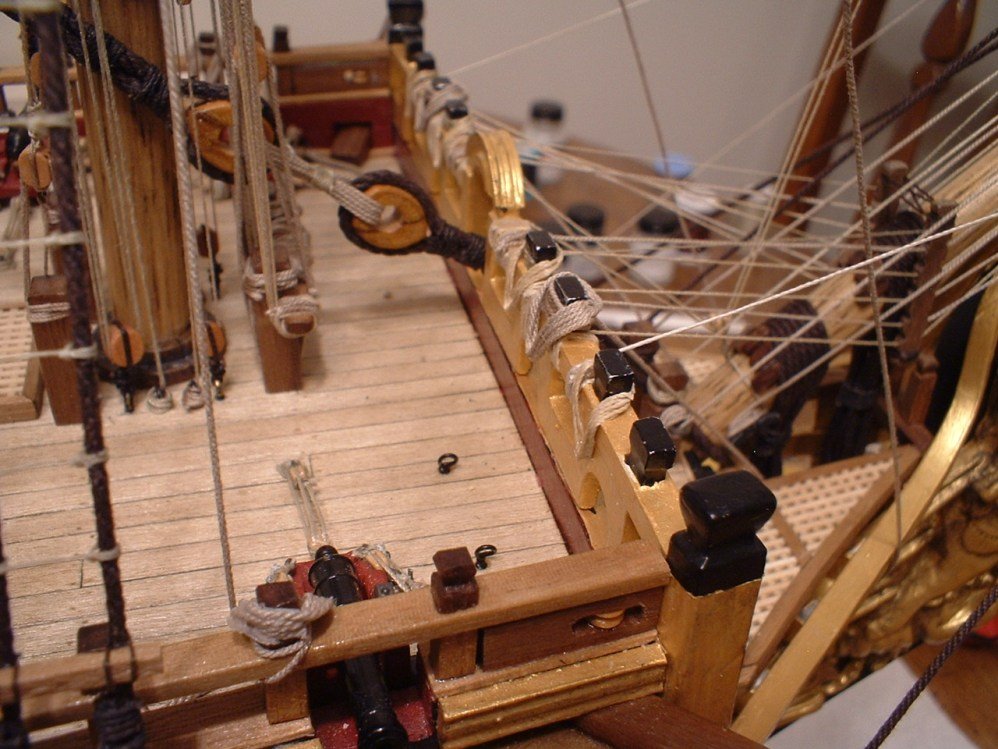
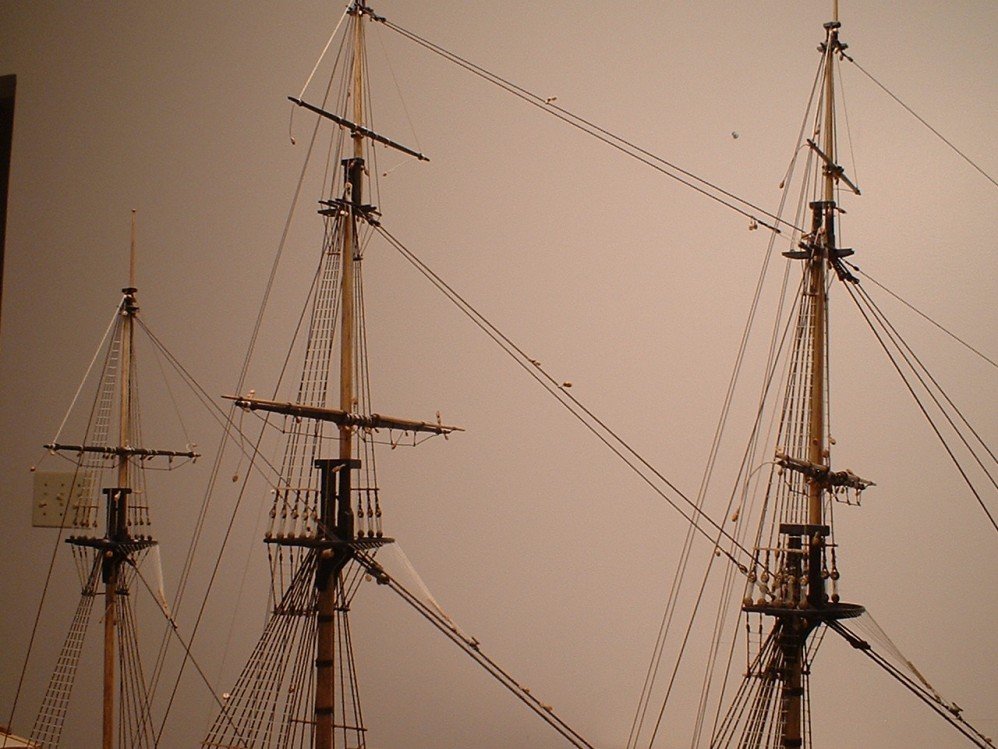
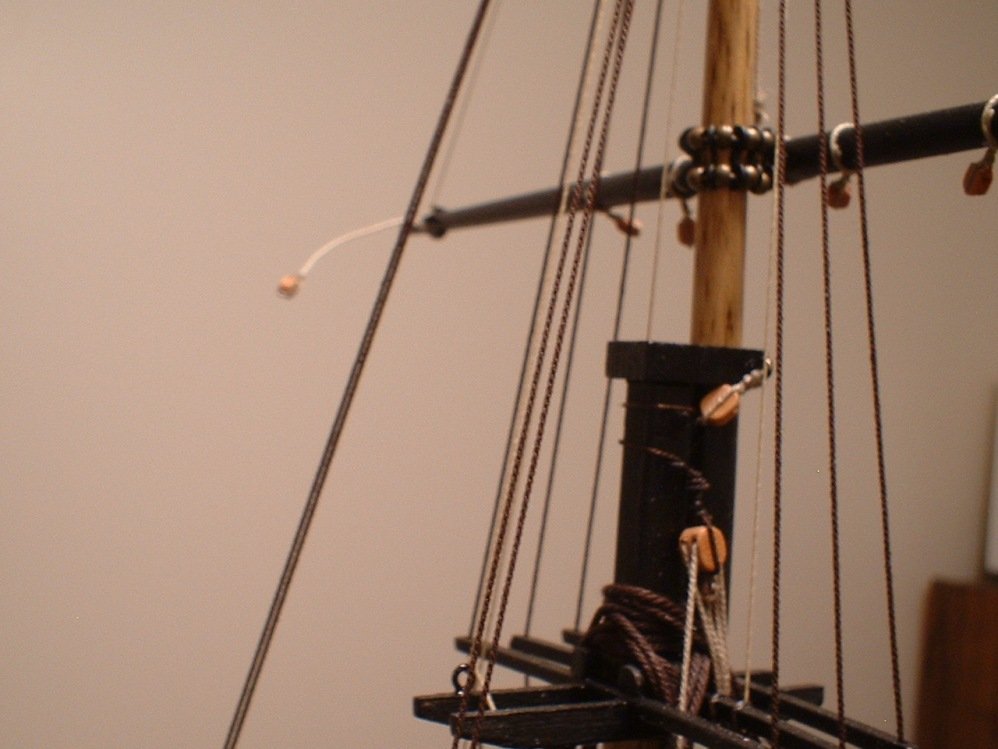
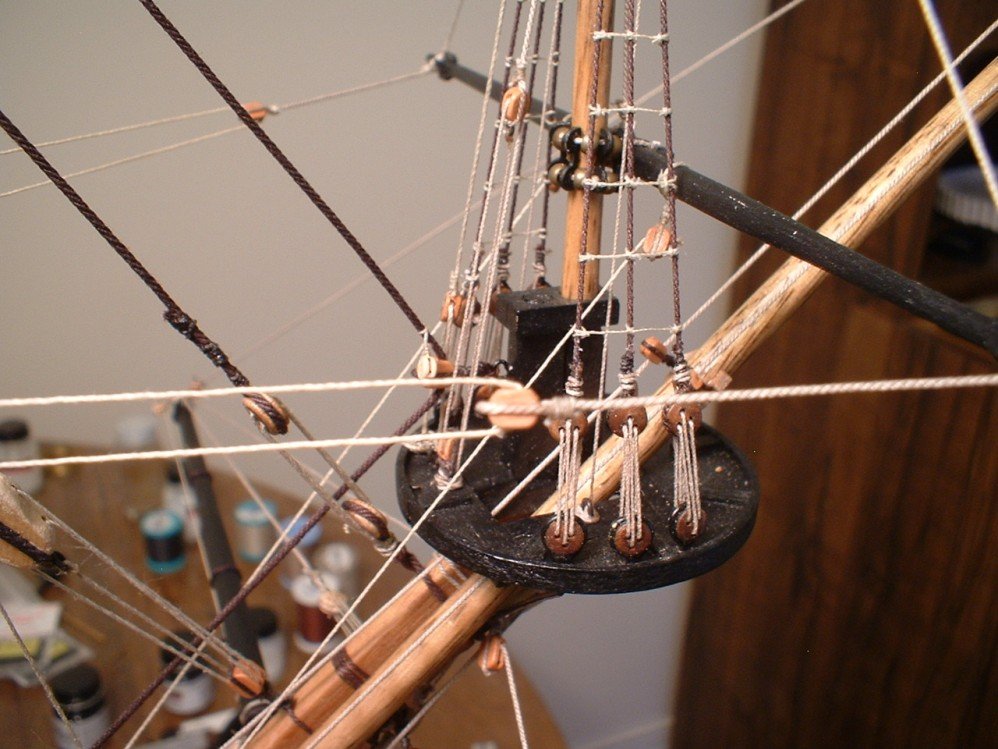
Another small update - the topgallant & topsail yards are now mounted after fastening all those tiny blocks to the yards. The lifts are only done on the topgallant yards - the rest will be done after all the yards are mounted. The braces will be about the last thing done - with them in place it`s really hard to get my hands in to do other rigging. The topgallant halliards are belayed to deadeyes at the mast tops & the topmast yard halliards for the fore & main are belayed to the chain wales. For the ribs & parrels,I had some ribs left over from a previous build & the parrels are from the bead store(I never throw away leftover parts & wood). Thanks for looking in.
Mark
-
Nice solution to your hand issue - I find rigging difficult with 2 good hands!
Mark
- ken3335 and Old Collingwood
-
 2
2
-
Congratulations,she`s a real beauty
 Your workmanship is tops!
Mark
-
Hi Ken - I know exactly what you mean. There are also a few lines that are only shown on the overall view on plan sheet 1 & it`s so congested it`s hard to follow them their full length. Pete has helped me a lot on these. The rigging plans seem to be pretty accurate,just hard to follow in places.
Mark
-
Thanks Popeye
. Thanks also for all the likes .
.
Mark
-
-
Hi O.C. - what I did on my current build was I soaked the planks in household bleach for about 40 minutes,then rinsed them,then laid them out to dry. They turned a light grey when dry. The planks I used were kit supplied 1mm thick walnut,so I don`t know how that would come out using other types of wood - haven`t tried it on anything other than walnut. It didn`t seem to hurt the wood,either.
Mark
- mtaylor, thibaultron and Canute
-
3
-
Thanks Michael,I appreciate it.
Mark
-
Hi Ken - I usually work from the top down.Otherwise I keep knocking the longer,lower yards loose. Everyone seems to have their own order of doing things,though. There doesn`t seem to be a "best"way - whatever you are most comfortable with. Ask ten different people & you will get ten different answers
") .
.
Mark
-
Thanks Don - your Trabakul is looking outstanding!
Thanks Messis - not that hard if you think of it as just one rope at a time
") .
.
Mark
-
Thanks Jason - those footropes are real fiddly - almost as bad as gun rigging
.
Mark
-
Thanks Pete . As you know,it was quite a challenge to figure out the drawings - thanks for the help.
Mark
-
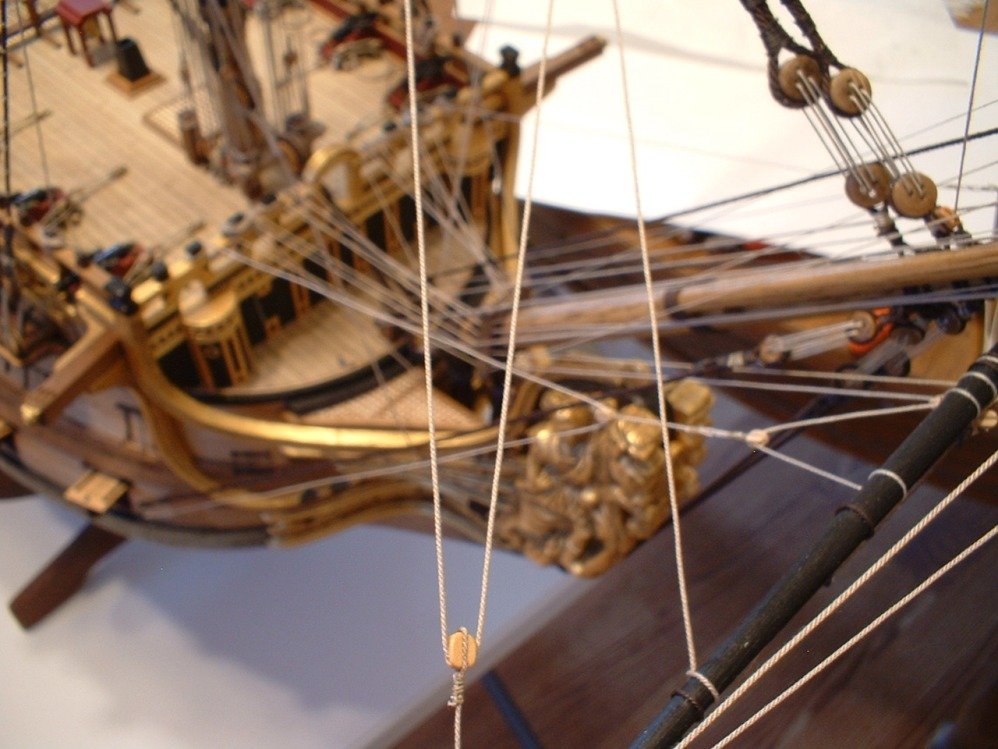
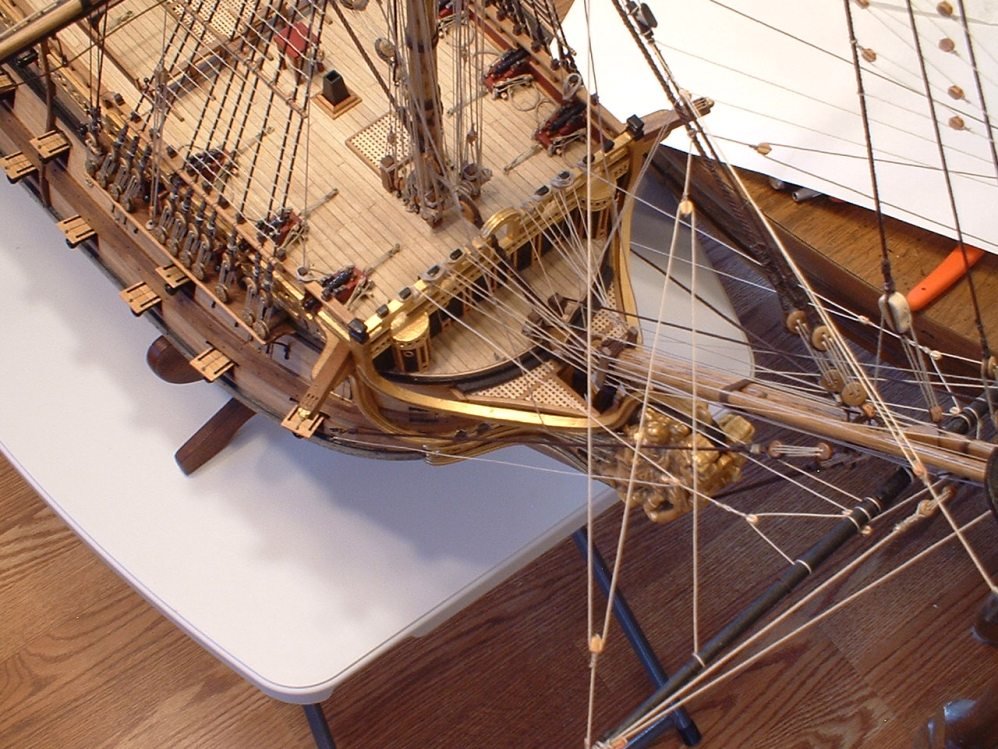
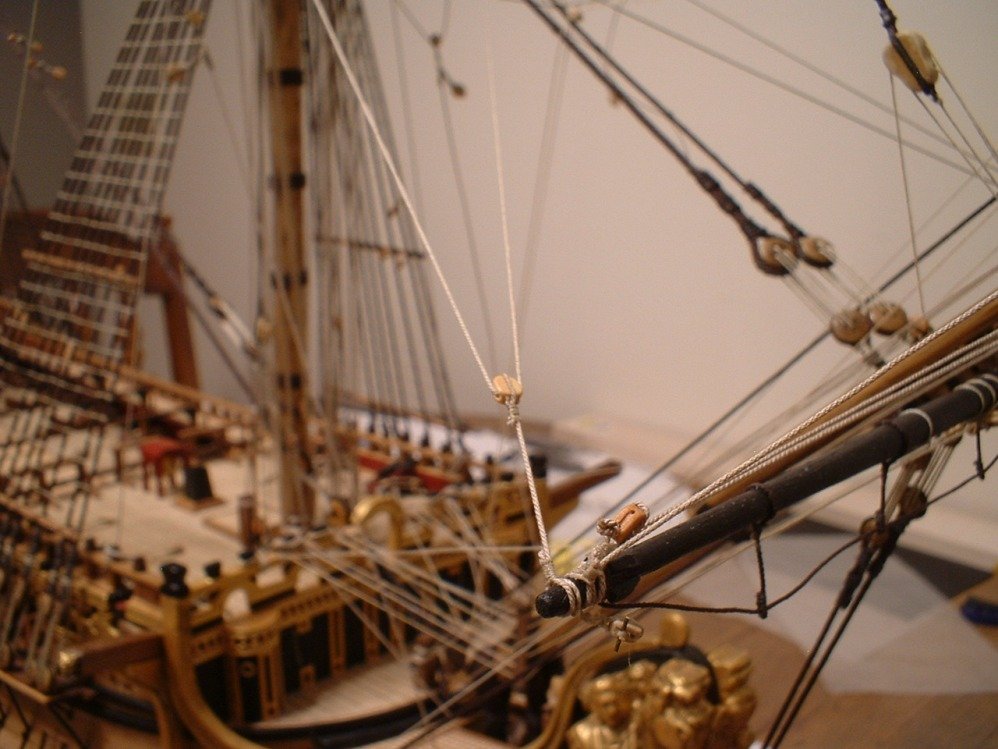
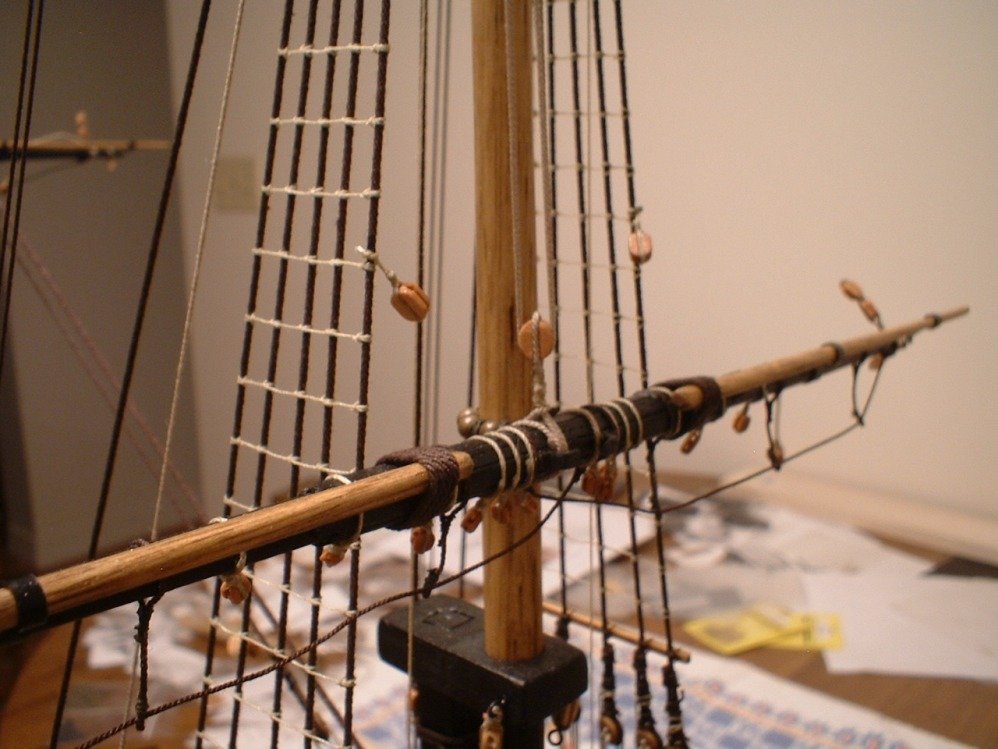
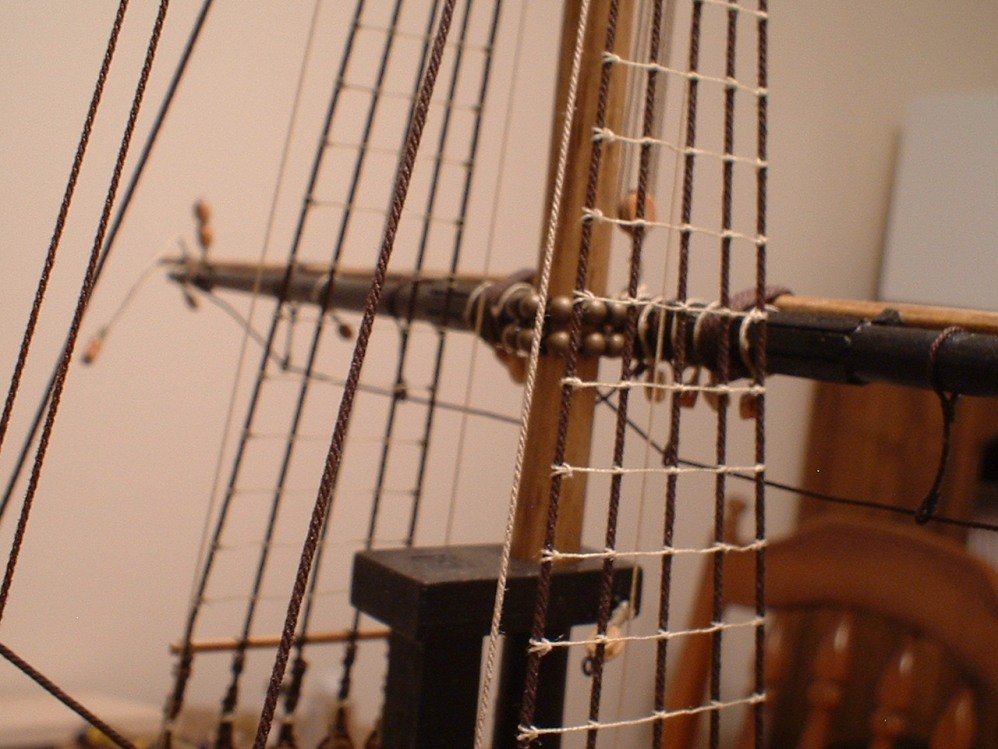
The rigging of the bowsprit is now pretty much complete - quite the mess of ropes! Most of the sail handling lines were installed with the lines running through the blocks with a toggle on the ends to keep them from pulling through the blocks
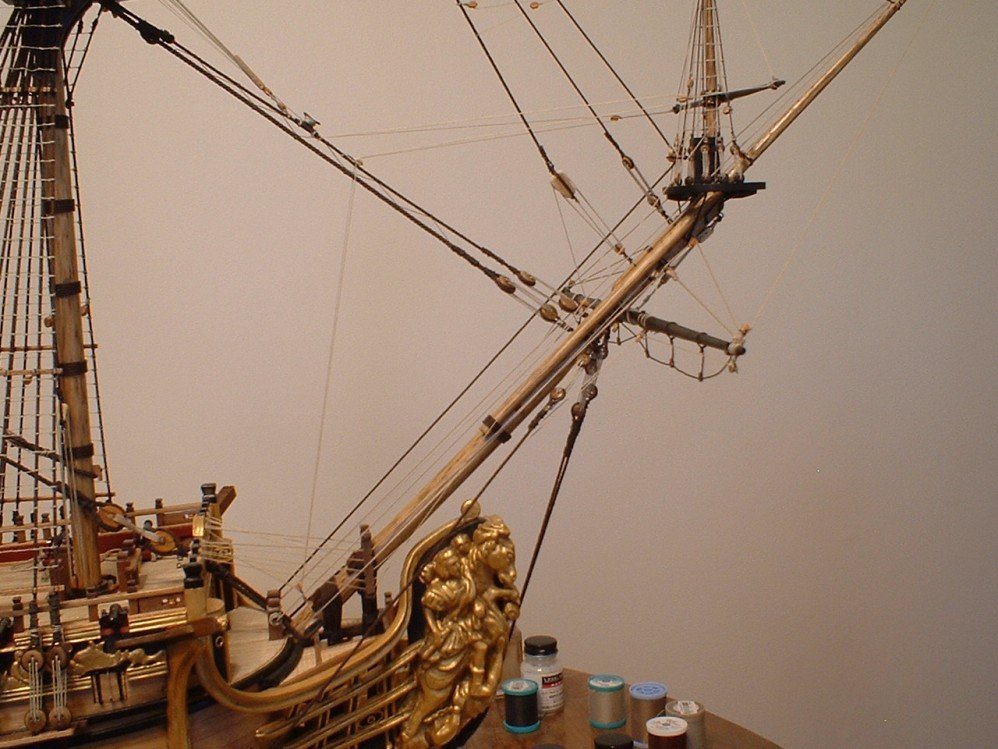
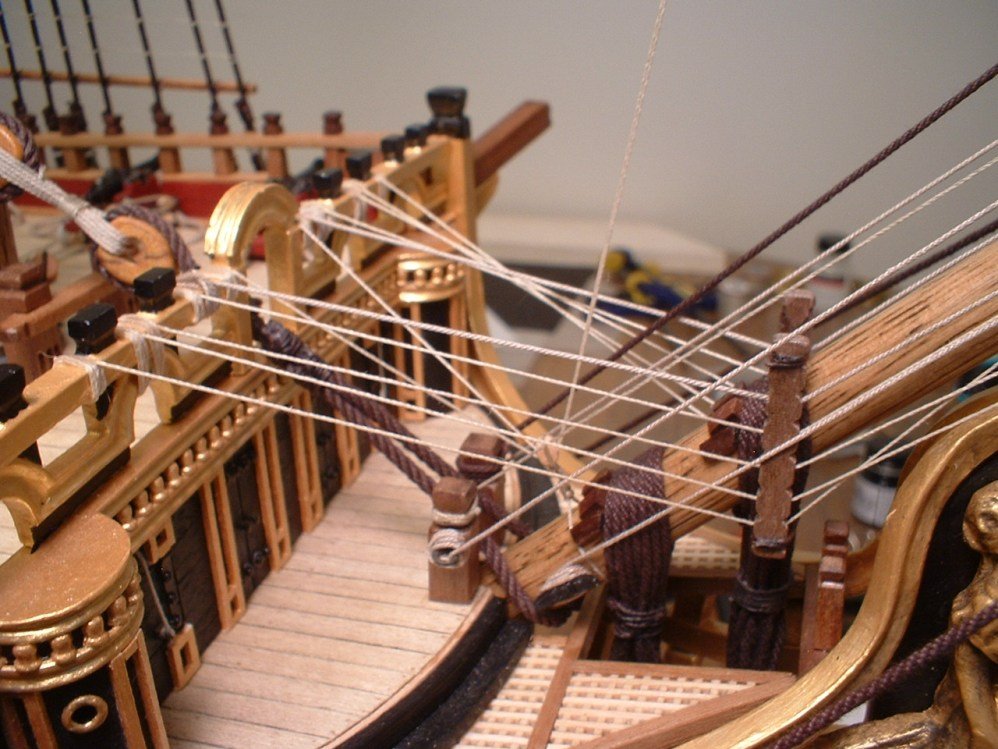
Mark
-
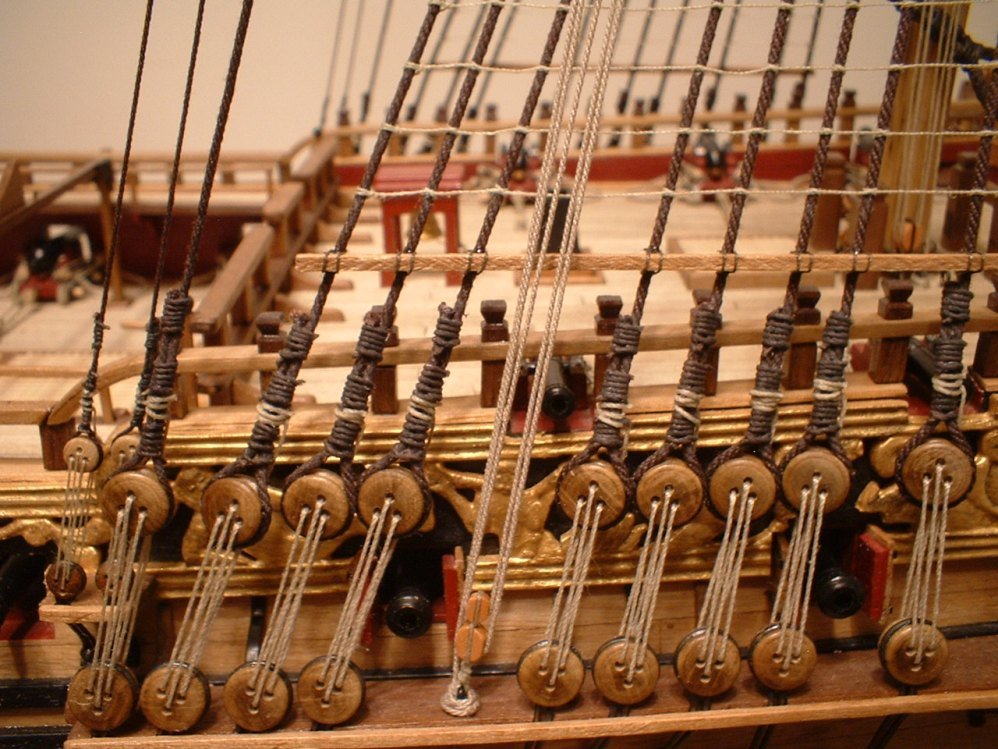
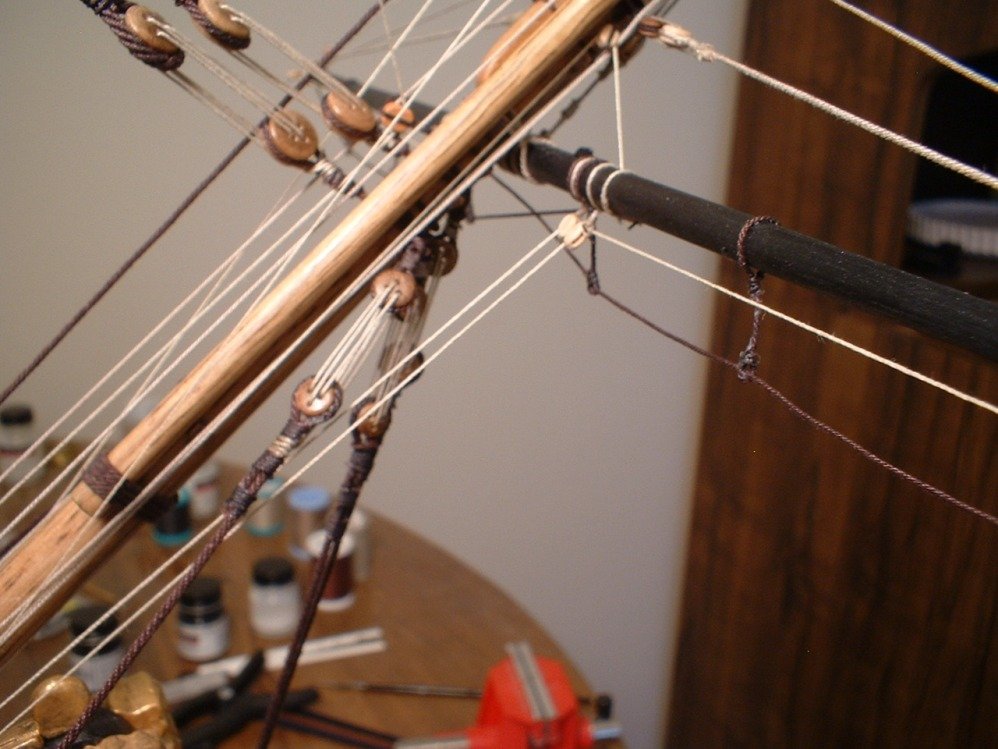
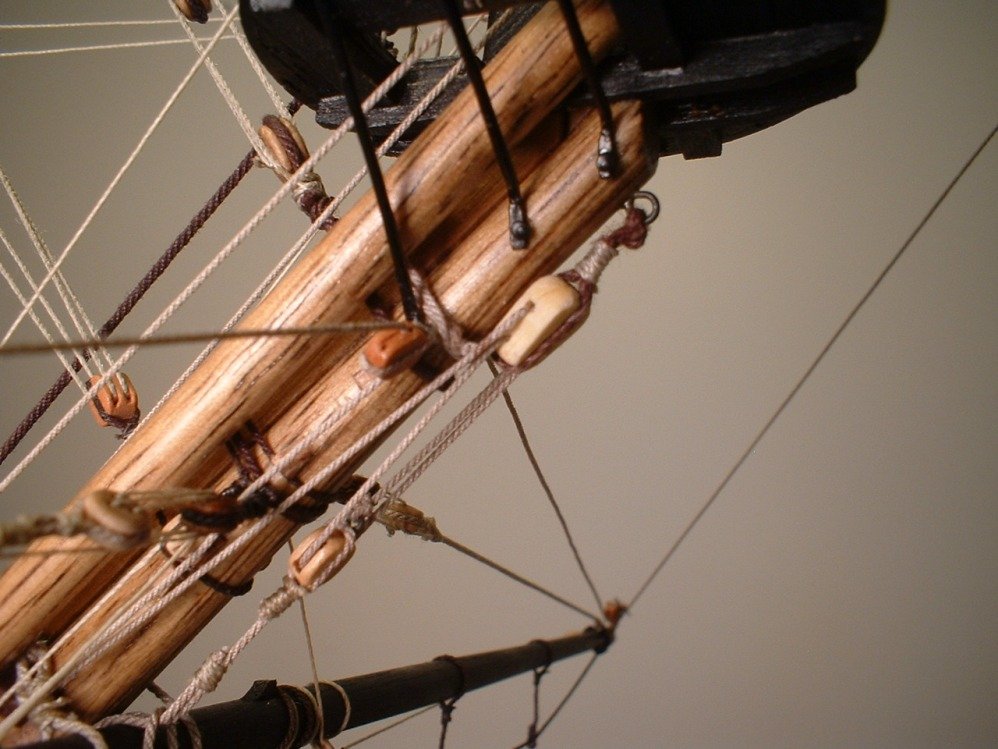
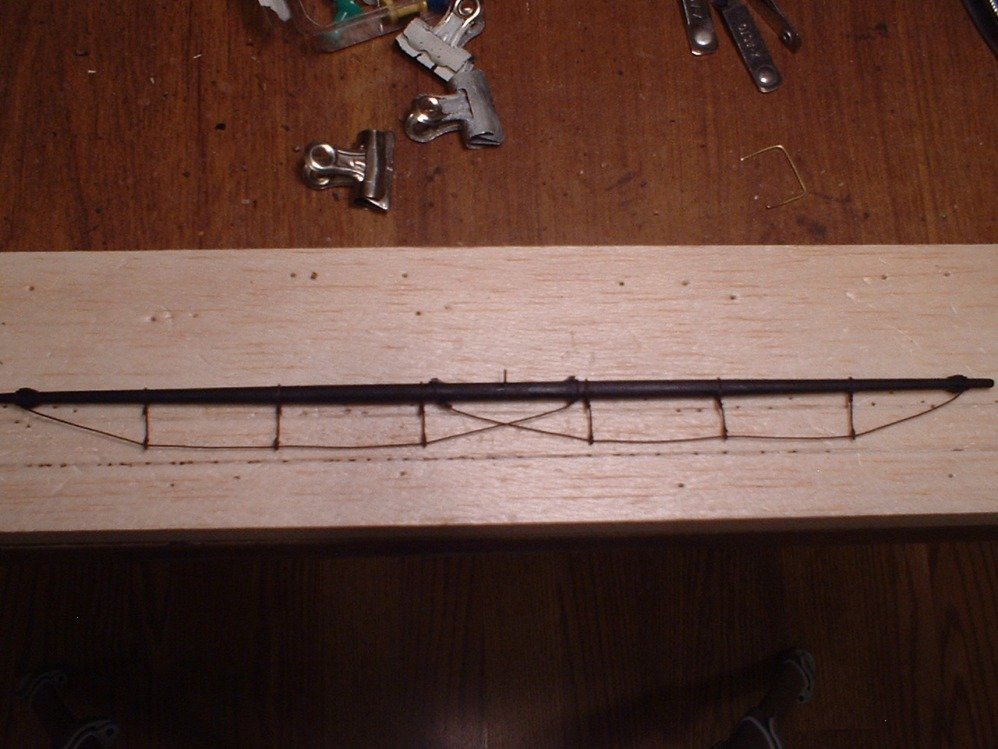
Update - the footropes are finally done. I started by clamping a balsa board to my table & made two lines representing the length of the stirrups. The yard was then pinned down on the upper line. Then I bent a piece of 1mm brass wire into a u shape & pushed it into the board along the lower line. The stirrup ropes were tied around the yard & cut off long enough to wrap around the wire & with a small clamp holding a little tension on it,a seizing was made to make a small eye. Some diluted white glue was applied to stiffen the ropes so they would hang straight. Lastly,the footropes were then ran through the eyes & tied off on the ends.

.JPG.dbcab1aee657a47a299c73b3092bc4be.JPG)
Mark
- piratepete007, fmodajr, NMBROOK and 7 others
-
10
-
Thanks Popeye - I am currently attaching all the footropes & blocks to the yards. The blocks are easy - the footropes are a pain. May have some pics in a couple of days. Still looking for some small wood parrel beads - I have some metal ones,but they look like,well,metal
 .
.
Mark
-
Thanks Pete & Michael
. I had thought of sanding down the outside smooth,but after thinning down the inside,I was afraid it would be too thin to do that. The resin is much easier to work on than plastic - it doesn`t melt when you grind on it. Sorry about the bad photos - I had to take about 20 pictures to get a few decent ones. Hard to get a good, sharp focus with my present camera.
Mark
Royal William by marktiedens - FINISHED - Euromodel - scale 1:72
in - Kit build logs for subjects built from 1501 - 1750
Posted
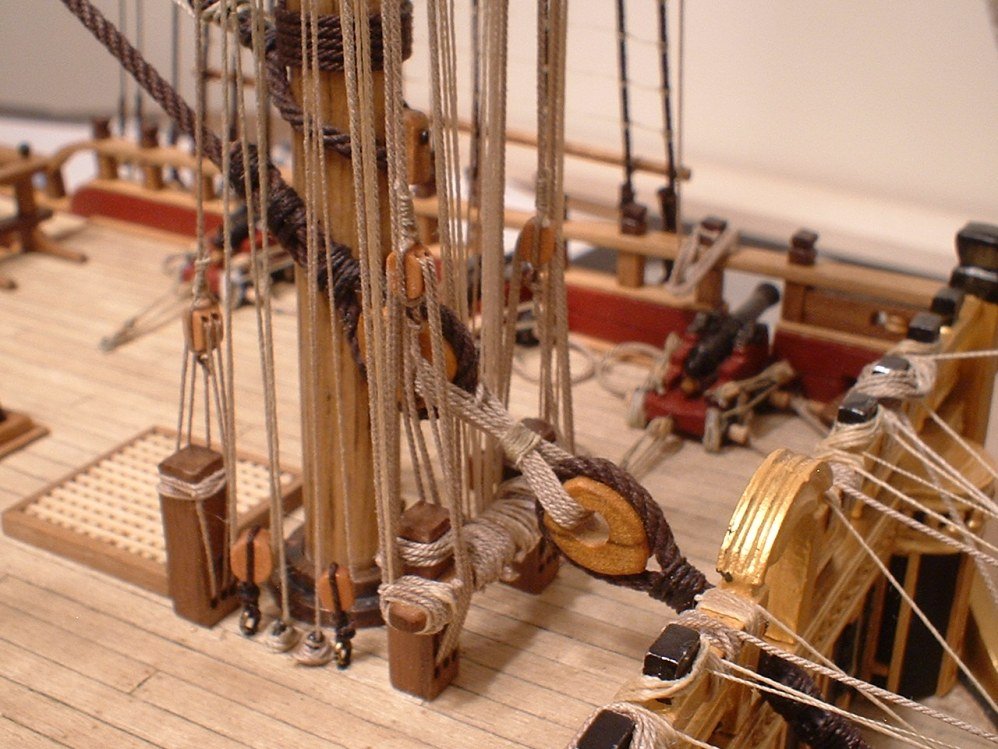
Update - the main mast rigging is now completed except for the braces,which will be completed a little later. Once more,a lot of lines coming down to a relatively small area. Glad to have that done!
Mark