marktiedens
NRG Member-
Posts
1,737 -
Joined
-
Last visited
Content Type
Profiles
Forums
Gallery
Events
Everything posted by marktiedens
-
Good work!As you know my kit came with this thingy but I still haven`t figured out what it is .Might be some kind of fish or maybe a mermaid?
-
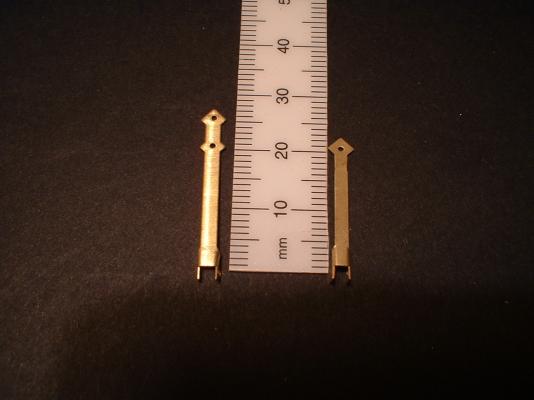
Andre - the 5mm plates are 22mm long & 2mm wide.The 7mm plates are 27mm long & 2.5mm wide.These measurements do not include the little "ears" that I cut off.After thinking about it I could probably have made these out of some plain brass strip.At the scale of your ship they might be a little too wide. Mark
-
Hello dkettl.I am afraid I don`t have any pictures of this area as I didn`t start a log or take any pictures until halfway through the build but I will try to explain how I did this area.If memory serves me correct you are correct about the planking seeming to end in mid-air.I planked the 3 stern counter formers before the hull side planking & left them a little long.Then I brought the hull side planking up to meet the counter planking.Any small errors or gaps can then be covered by the second planking.Hope this helps. Mark
-
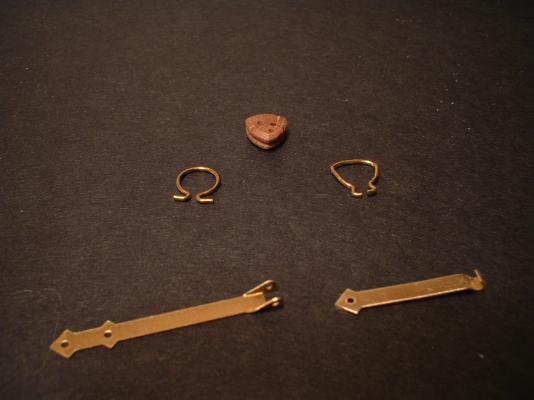
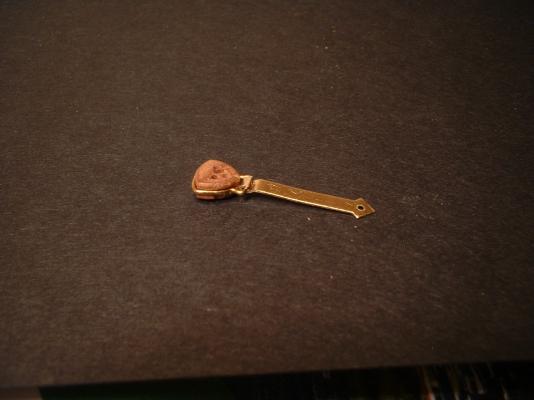
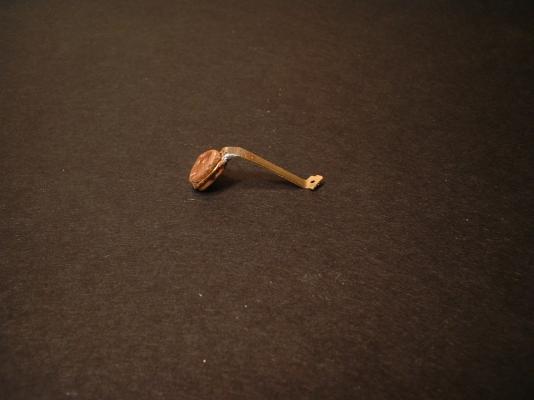
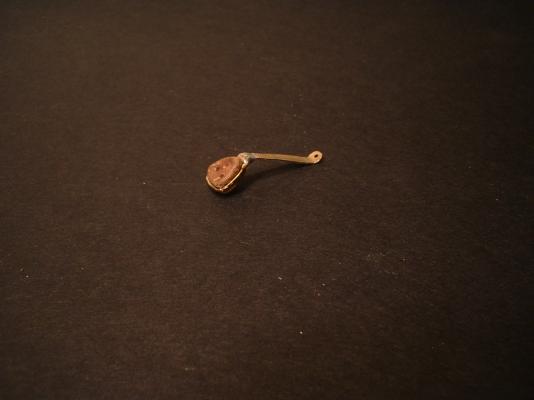
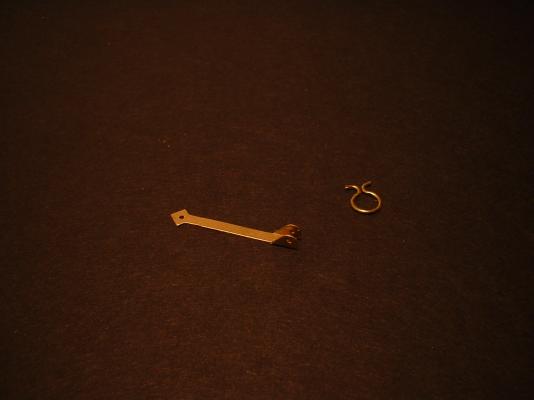
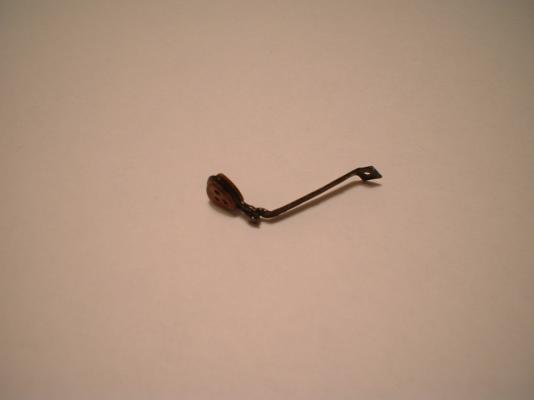
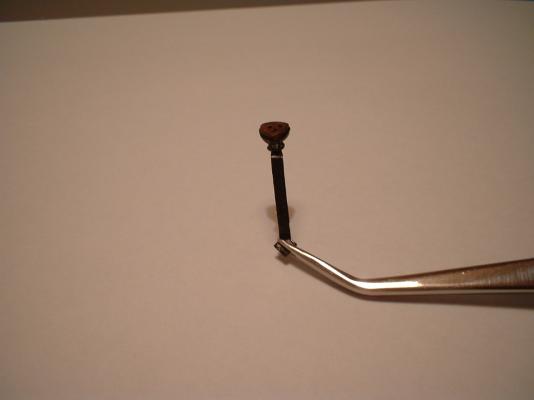
Michael - I will try to explain a little better.In the first picture the chainplates & strops are as they came out of the package as you already know.On the right side of the picture is how they look after simply bending them with a very thin tipped needle nose pliers & a little swearing .My last post was the 5mm mizzen deadeyes.This picture is of the 7mm deadeyes.The 5mm chainplates came out just the right length but the 7mm chainplates as you can see had 2 nailing holes & were too long.They came out about the right length after cutting the lower hole off. The next picture is after inserting the deadeye & bending over the small loop on the end of the chainplate. The next picture is after securing with a drop of solder & bending to about the right shape. The next picture is after filing off the sharp points at the nailing end of the chainplate. Now all that`s left to do is paint them black.I was fortunate that my kit came with the correctly shaped triangular deadeyes although the bad part is the holes in most of the deadeyes are drilled way off center .I hope this explains it a little better. regards,Mark
-
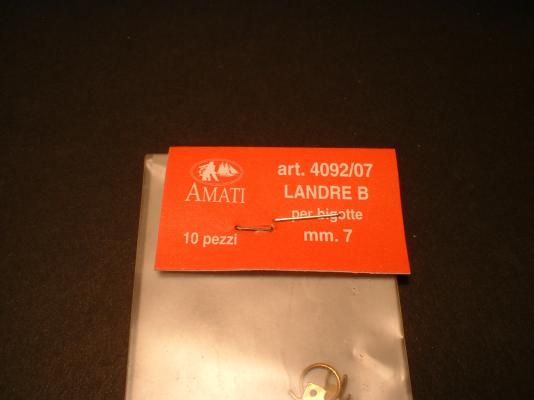
A litttle update.Been working on the chainplates.I didn`t like the kit version so I found some flat bar chainplates from Amati at ages of sail. After cutting off the little ears from the brass strips & doing a little bending & filing I ended up with something similar to what they should look like. Mark
-
Just admiring your rigging.Are you using Corel`s rigging plans or another source?My Sergal rig plans are totally wrong but I do have the Corel kit.I was thinking of using Corel`s rig plans.
-
Best Gold Paint??
marktiedens replied to demonborger's topic in Painting, finishing and weathering products and techniques
I was thinking of using Caswell`s home plating system for the castings on a future build.Anyone know how well this works? -
Hello Michael Lawrence is absolutely right about the victory - somewhat harder because of all the photo etched parts but in some ways easier because there is a lot fewer things you have to "fix" compared to the Wasa kits - at least in the Caldercraft version.Have also done the SoS - no harder than the Vasa i`m currently working on although I did not modify it from the kit. Mark
-
Anyone know where I can find a correct rigging plan ?I am to the point that I would like to establish the belaying points on the deck & hull.My Sergal plans appear to be totally wrong.I do have the corel plans but I don`t know how accurate they are.
-
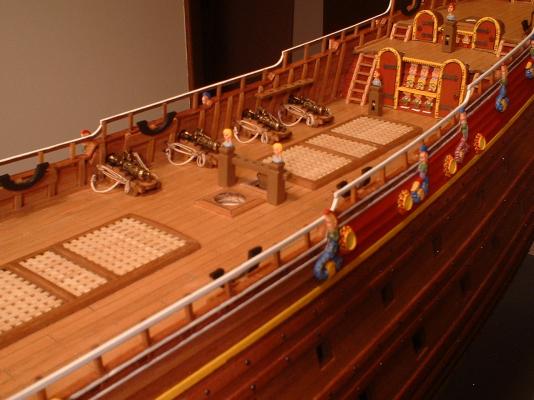
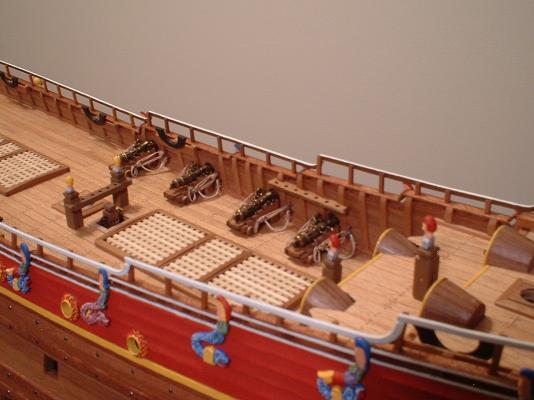
My Sergal kit has this casting but I still don`t know what it is supposed to be so I just painted it about the right color. Also got my upper deck cannons done. I have been having problems getting pictures uploaded recently so I hope they came through ok.Keep getting error messages.
-
Thanks everyone. Glad to have almost all the painting done.Starting to think about all the rigging coming up - not my favorite thing to to.
-
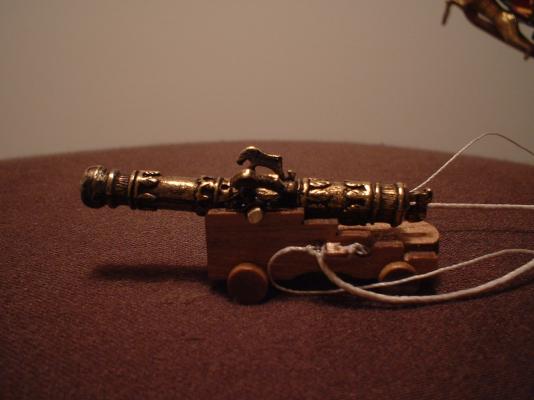
Working on the cannons now.They are nicely made with the lions cast onto the barrels.They were way too shiney out of the box so I darkened them with a thin black wash.Note how the breech ropes go through the carriages & not the back of the cannon. Mark
-
Looking good! I also have the Corel kit - may try something really different like extremely weathered with no paint like the 1:1.
-
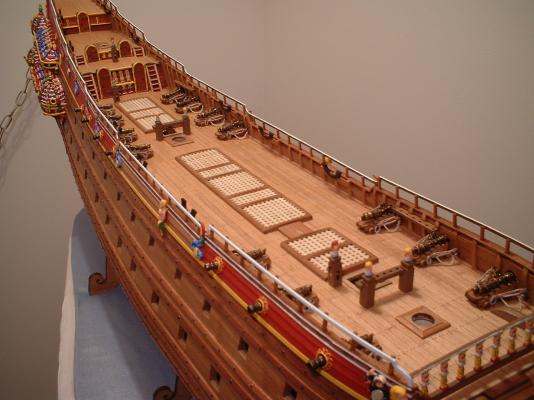
Thanks everyone for your nice comments. Nigel - I seem to be drawn to ships of this era with their extreme sheer - they just seem so majestic.Buck - the top rail moulding is 210mm long & 2mm wide.It`s actually made of brass & has a flowery design stamped on it.I just touched the highlighted areas with a small brush with different colors.Don`t know if it`s correct but it seems to look ok to me.Sorry about the poor photos - I need to experiment a little more with the settings. :mellow:
-
Thanks Joe.I am up to 300 individual pieces painted now - almost done with the paint work.Sorry the photos are not better - I am a lousy photographer.
About us
Modelshipworld - Advancing Ship Modeling through Research
SSL Secured
Your security is important for us so this Website is SSL-Secured
NRG Mailing Address
Nautical Research Guild
237 South Lincoln Street
Westmont IL, 60559-1917
Model Ship World ® and the MSW logo are Registered Trademarks, and belong to the Nautical Research Guild (United States Patent and Trademark Office: No. 6,929,264 & No. 6,929,274, registered Dec. 20, 2022)
Helpful Links
About the NRG
If you enjoy building ship models that are historically accurate as well as beautiful, then The Nautical Research Guild (NRG) is just right for you.
The Guild is a non-profit educational organization whose mission is to “Advance Ship Modeling Through Research”. We provide support to our members in their efforts to raise the quality of their model ships.
The Nautical Research Guild has published our world-renowned quarterly magazine, The Nautical Research Journal, since 1955. The pages of the Journal are full of articles by accomplished ship modelers who show you how they create those exquisite details on their models, and by maritime historians who show you the correct details to build. The Journal is available in both print and digital editions. Go to the NRG web site (www.thenrg.org) to download a complimentary digital copy of the Journal. The NRG also publishes plan sets, books and compilations of back issues of the Journal and the former Ships in Scale and Model Ship Builder magazines.


