


Patrick Haw
-
Posts
416 -
Joined
-
Last visited
Content Type
Profiles
Forums
Gallery
Events
Posts posted by Patrick Haw
-
-
Kevin,
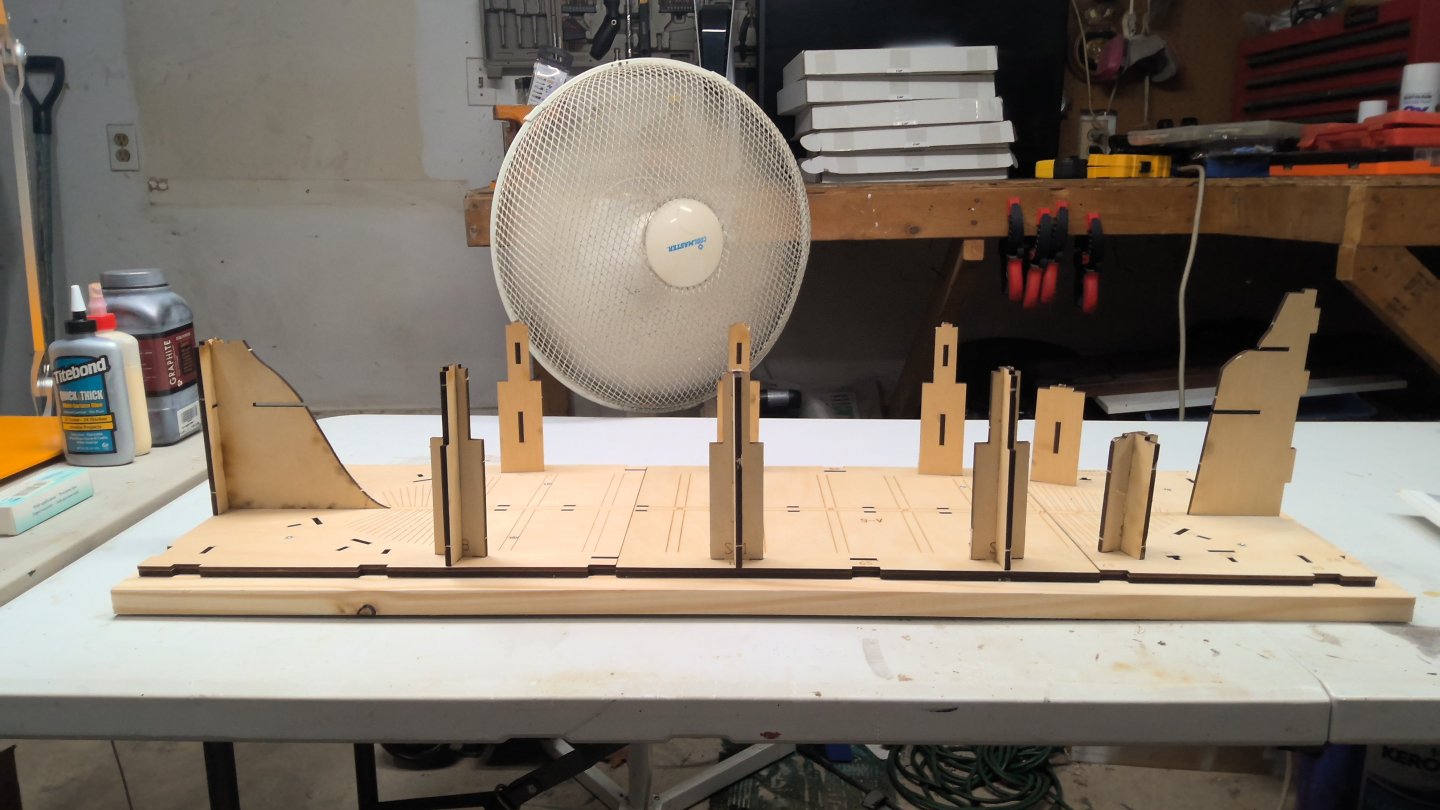
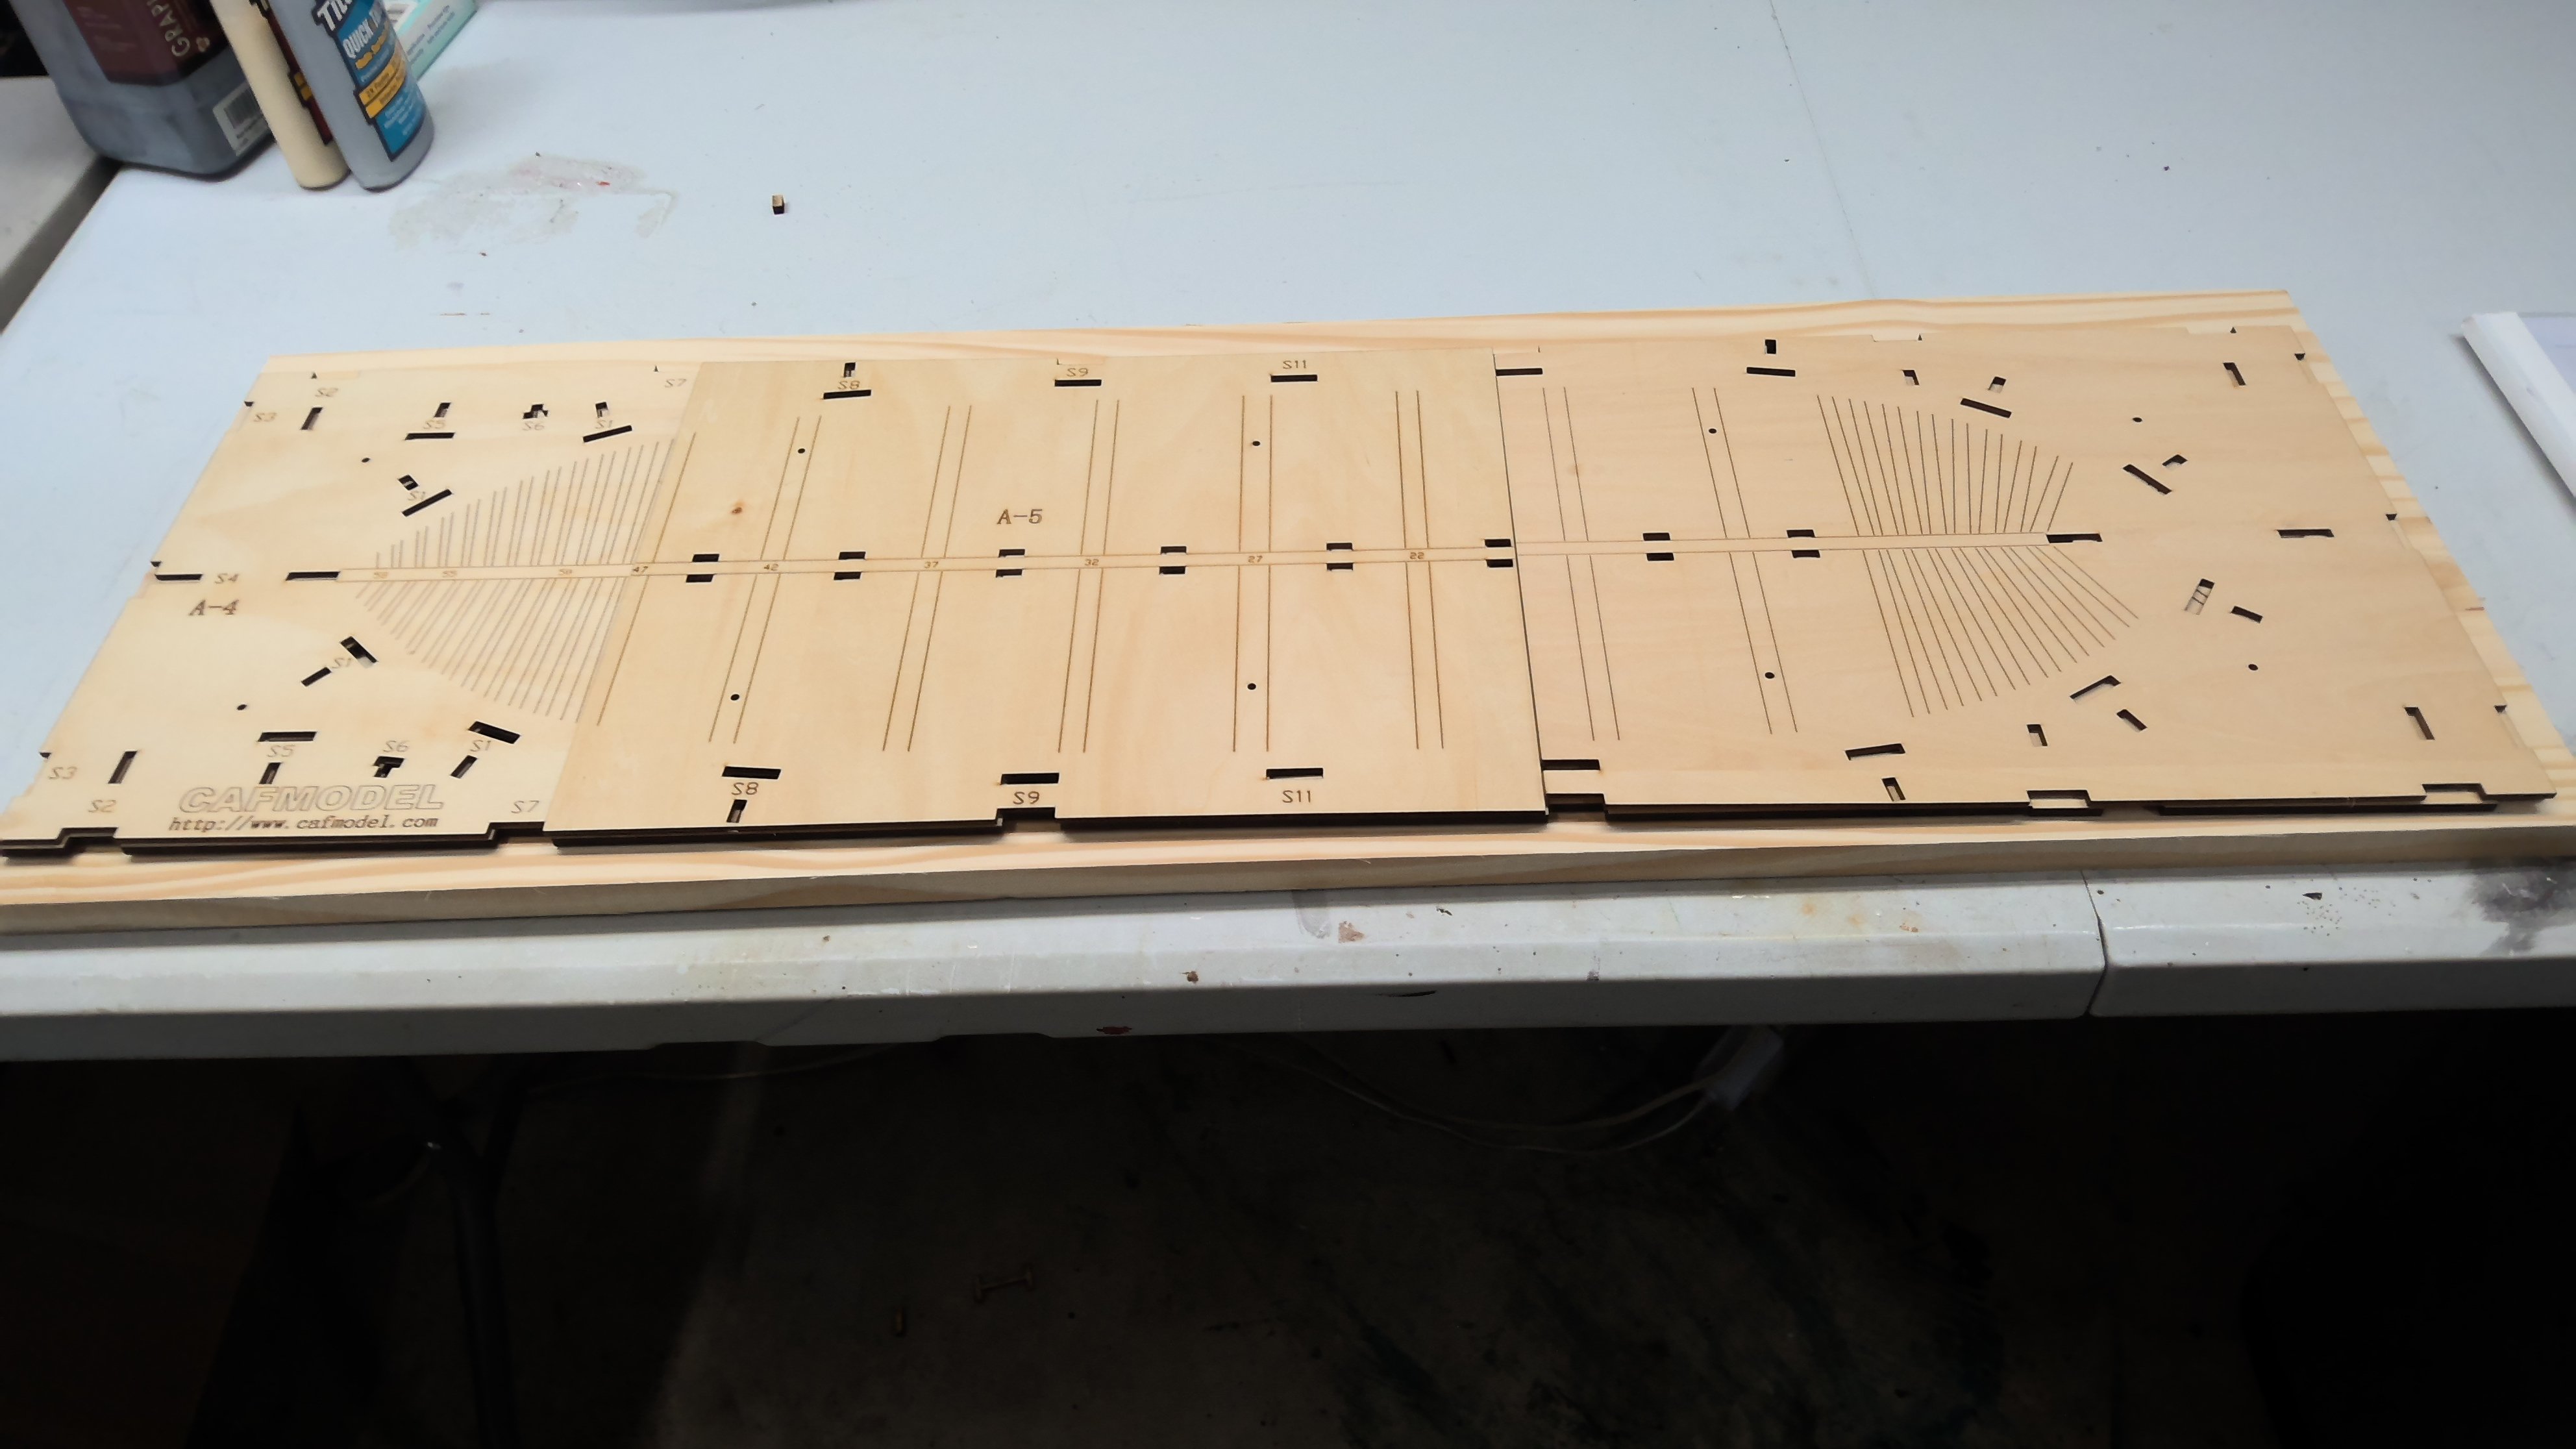
I was concerned about about the baseboard pieces seemingly not lining up, so as I put them together I put in some of the vertical supports and that seemed to pull everything into alignment.
After some head scratching, bad words, more head scratching, and more bad words I began to understand how this cradle goes together. Some of the slots on the base are marked with which vertical supports fit in them, others are just slots and you're left guessing! After a bit of sleuthing around with other parts I finally figured it out. But why mark some of the slots and leave the others blank? Beats me!
Anyway, I think I've got a start on the building cradle and it's firmly screwed down to the board. There is no glue used anywhere on the cradle, everything slots together. The slots are very, very tight and fitting parts into them needs a little gentle help from Mr. Mallet, but they do fit. I'm enjoying this very much. It's like a giant, very complicated 3-D jigsaw puzzle and it's a challenge!
Patrick

- scrubbyj427, JpR62, Ryland Craze and 3 others
-
 6
6
-
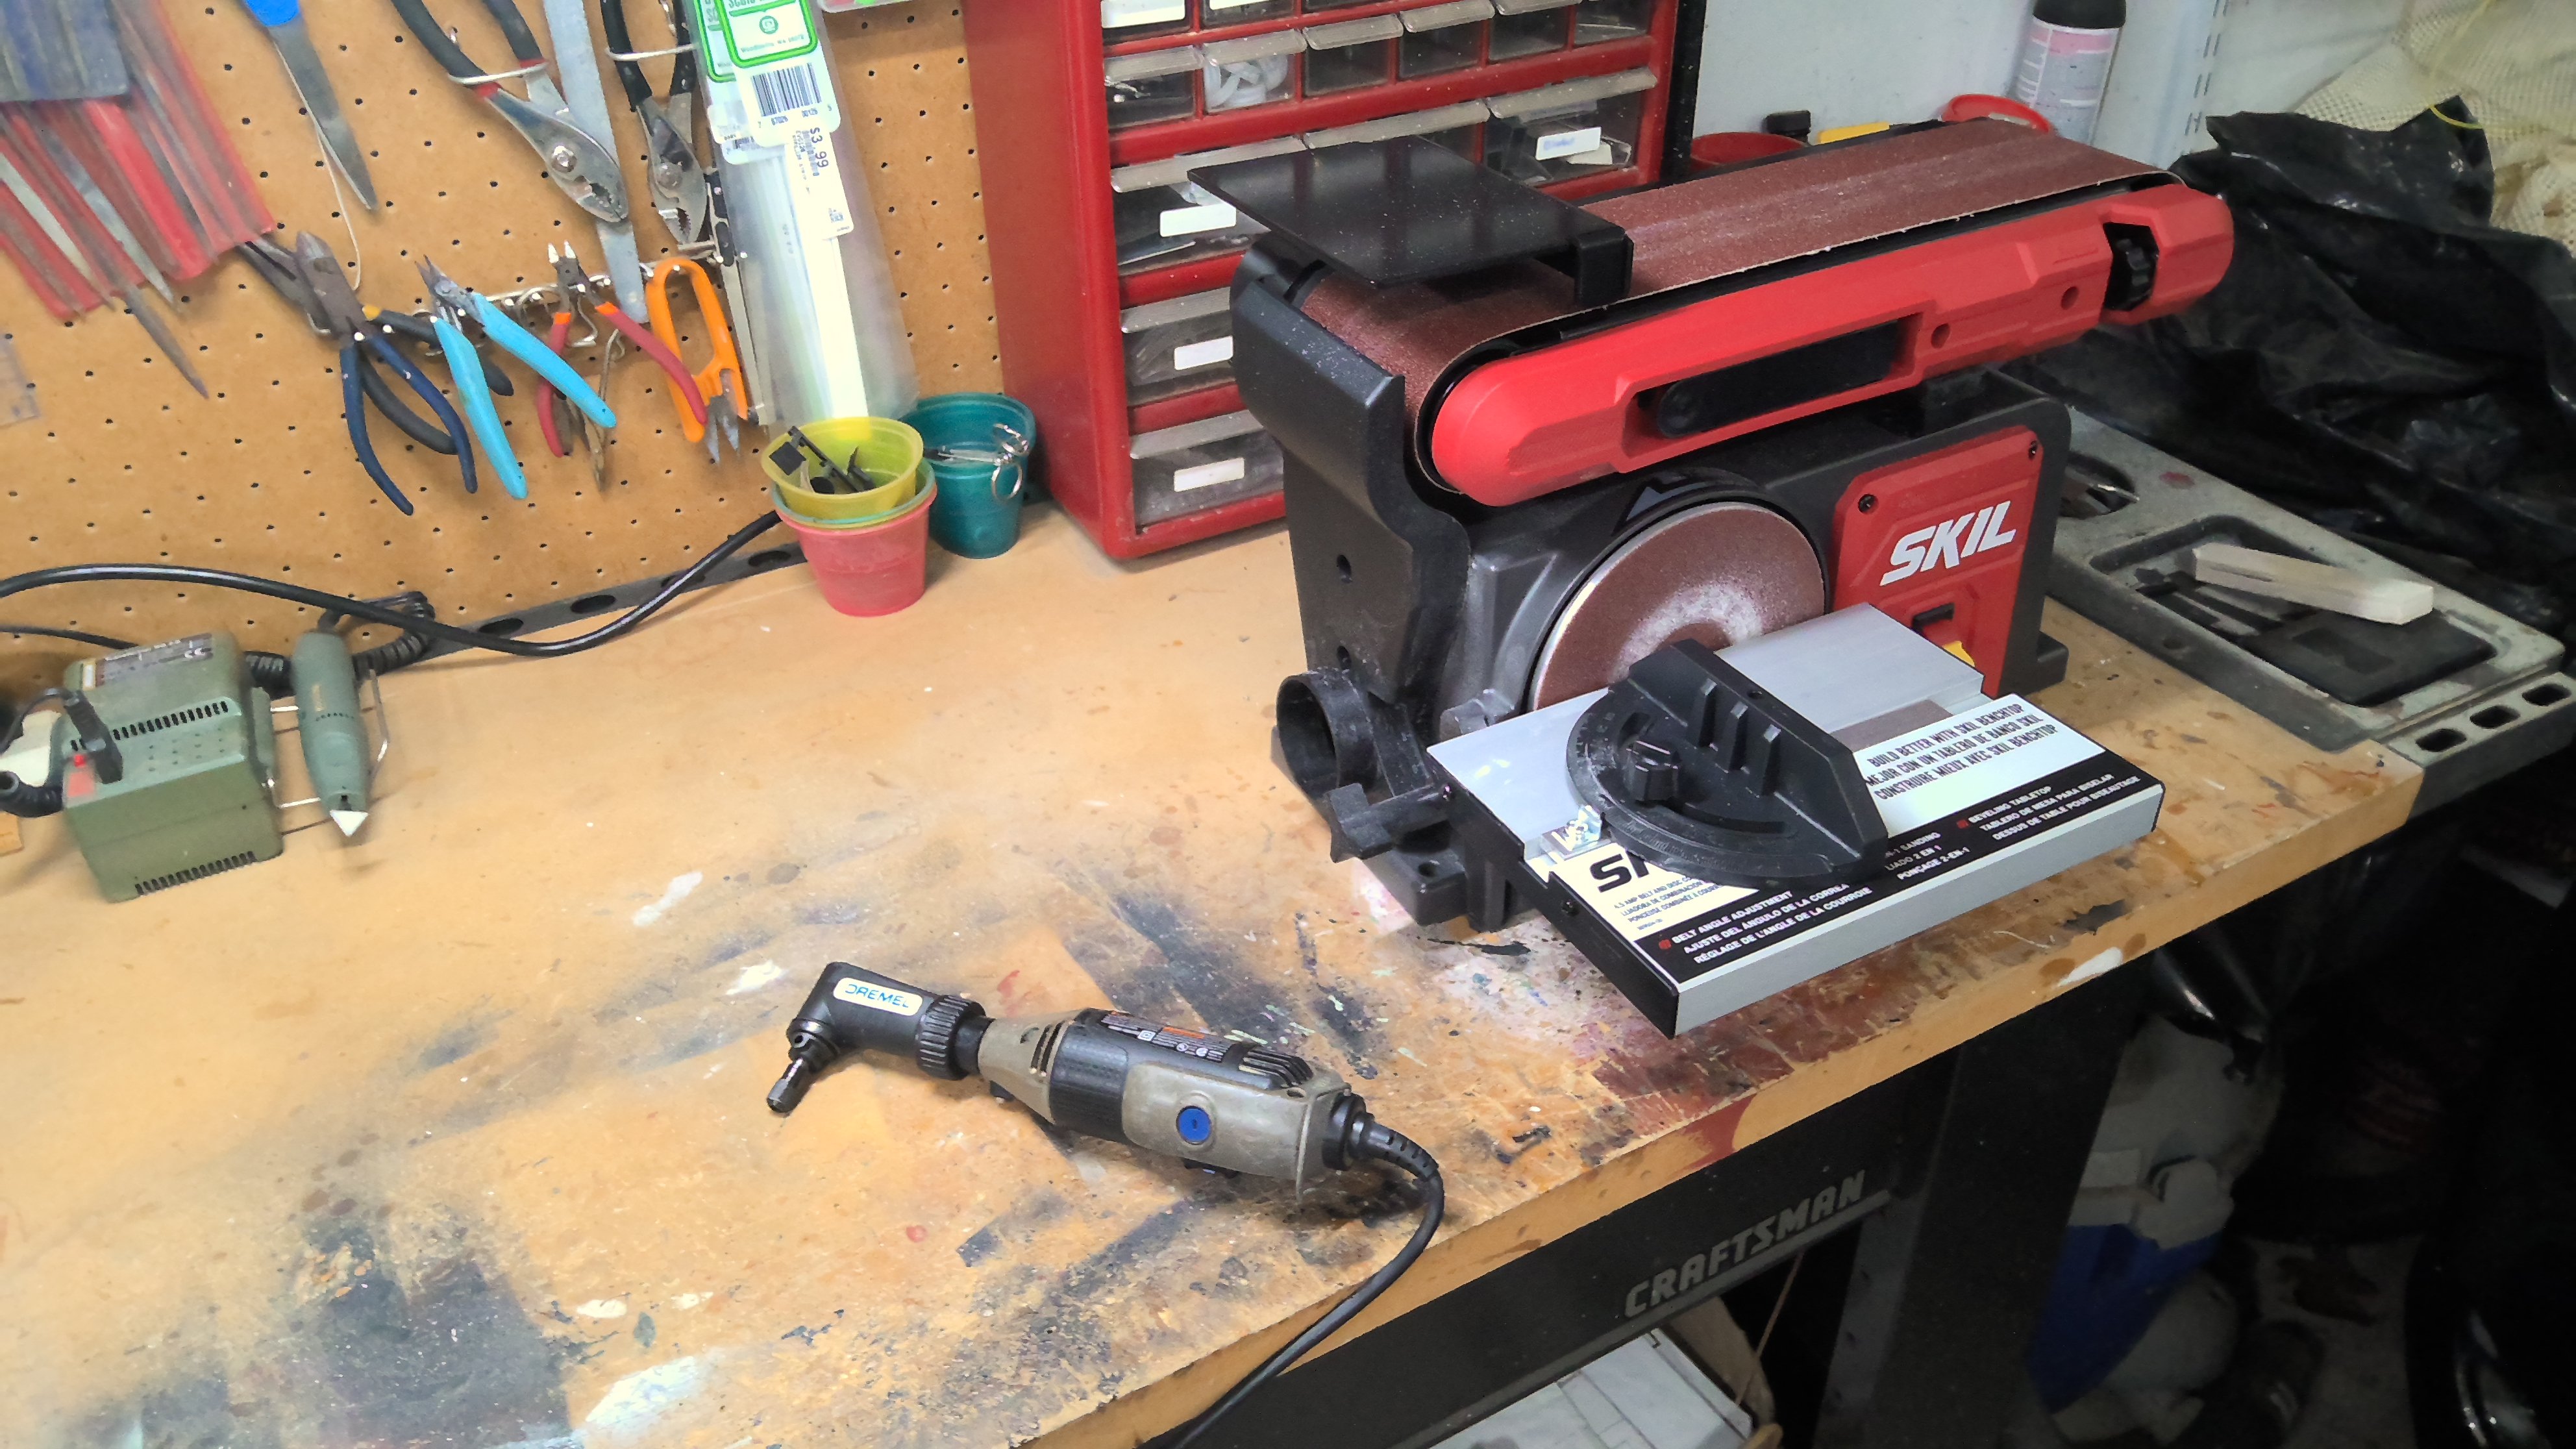
New additions to the shipyard arrived! I'll obviously need to get some much finer grit sanding belts and discs for the sander...it came with 80 grit!! The 90 degree attachment for the Dremel will come in very useful and I bought a bunch of sanding drums for it with grits from 80 to 600. (500 sanding sleeves, 24 drum mandrels, collets, etc. for $20 on Amazon.) There's a LOT of sanding to do!
Patrick

- Ryland Craze and yvesvidal
-
2
-
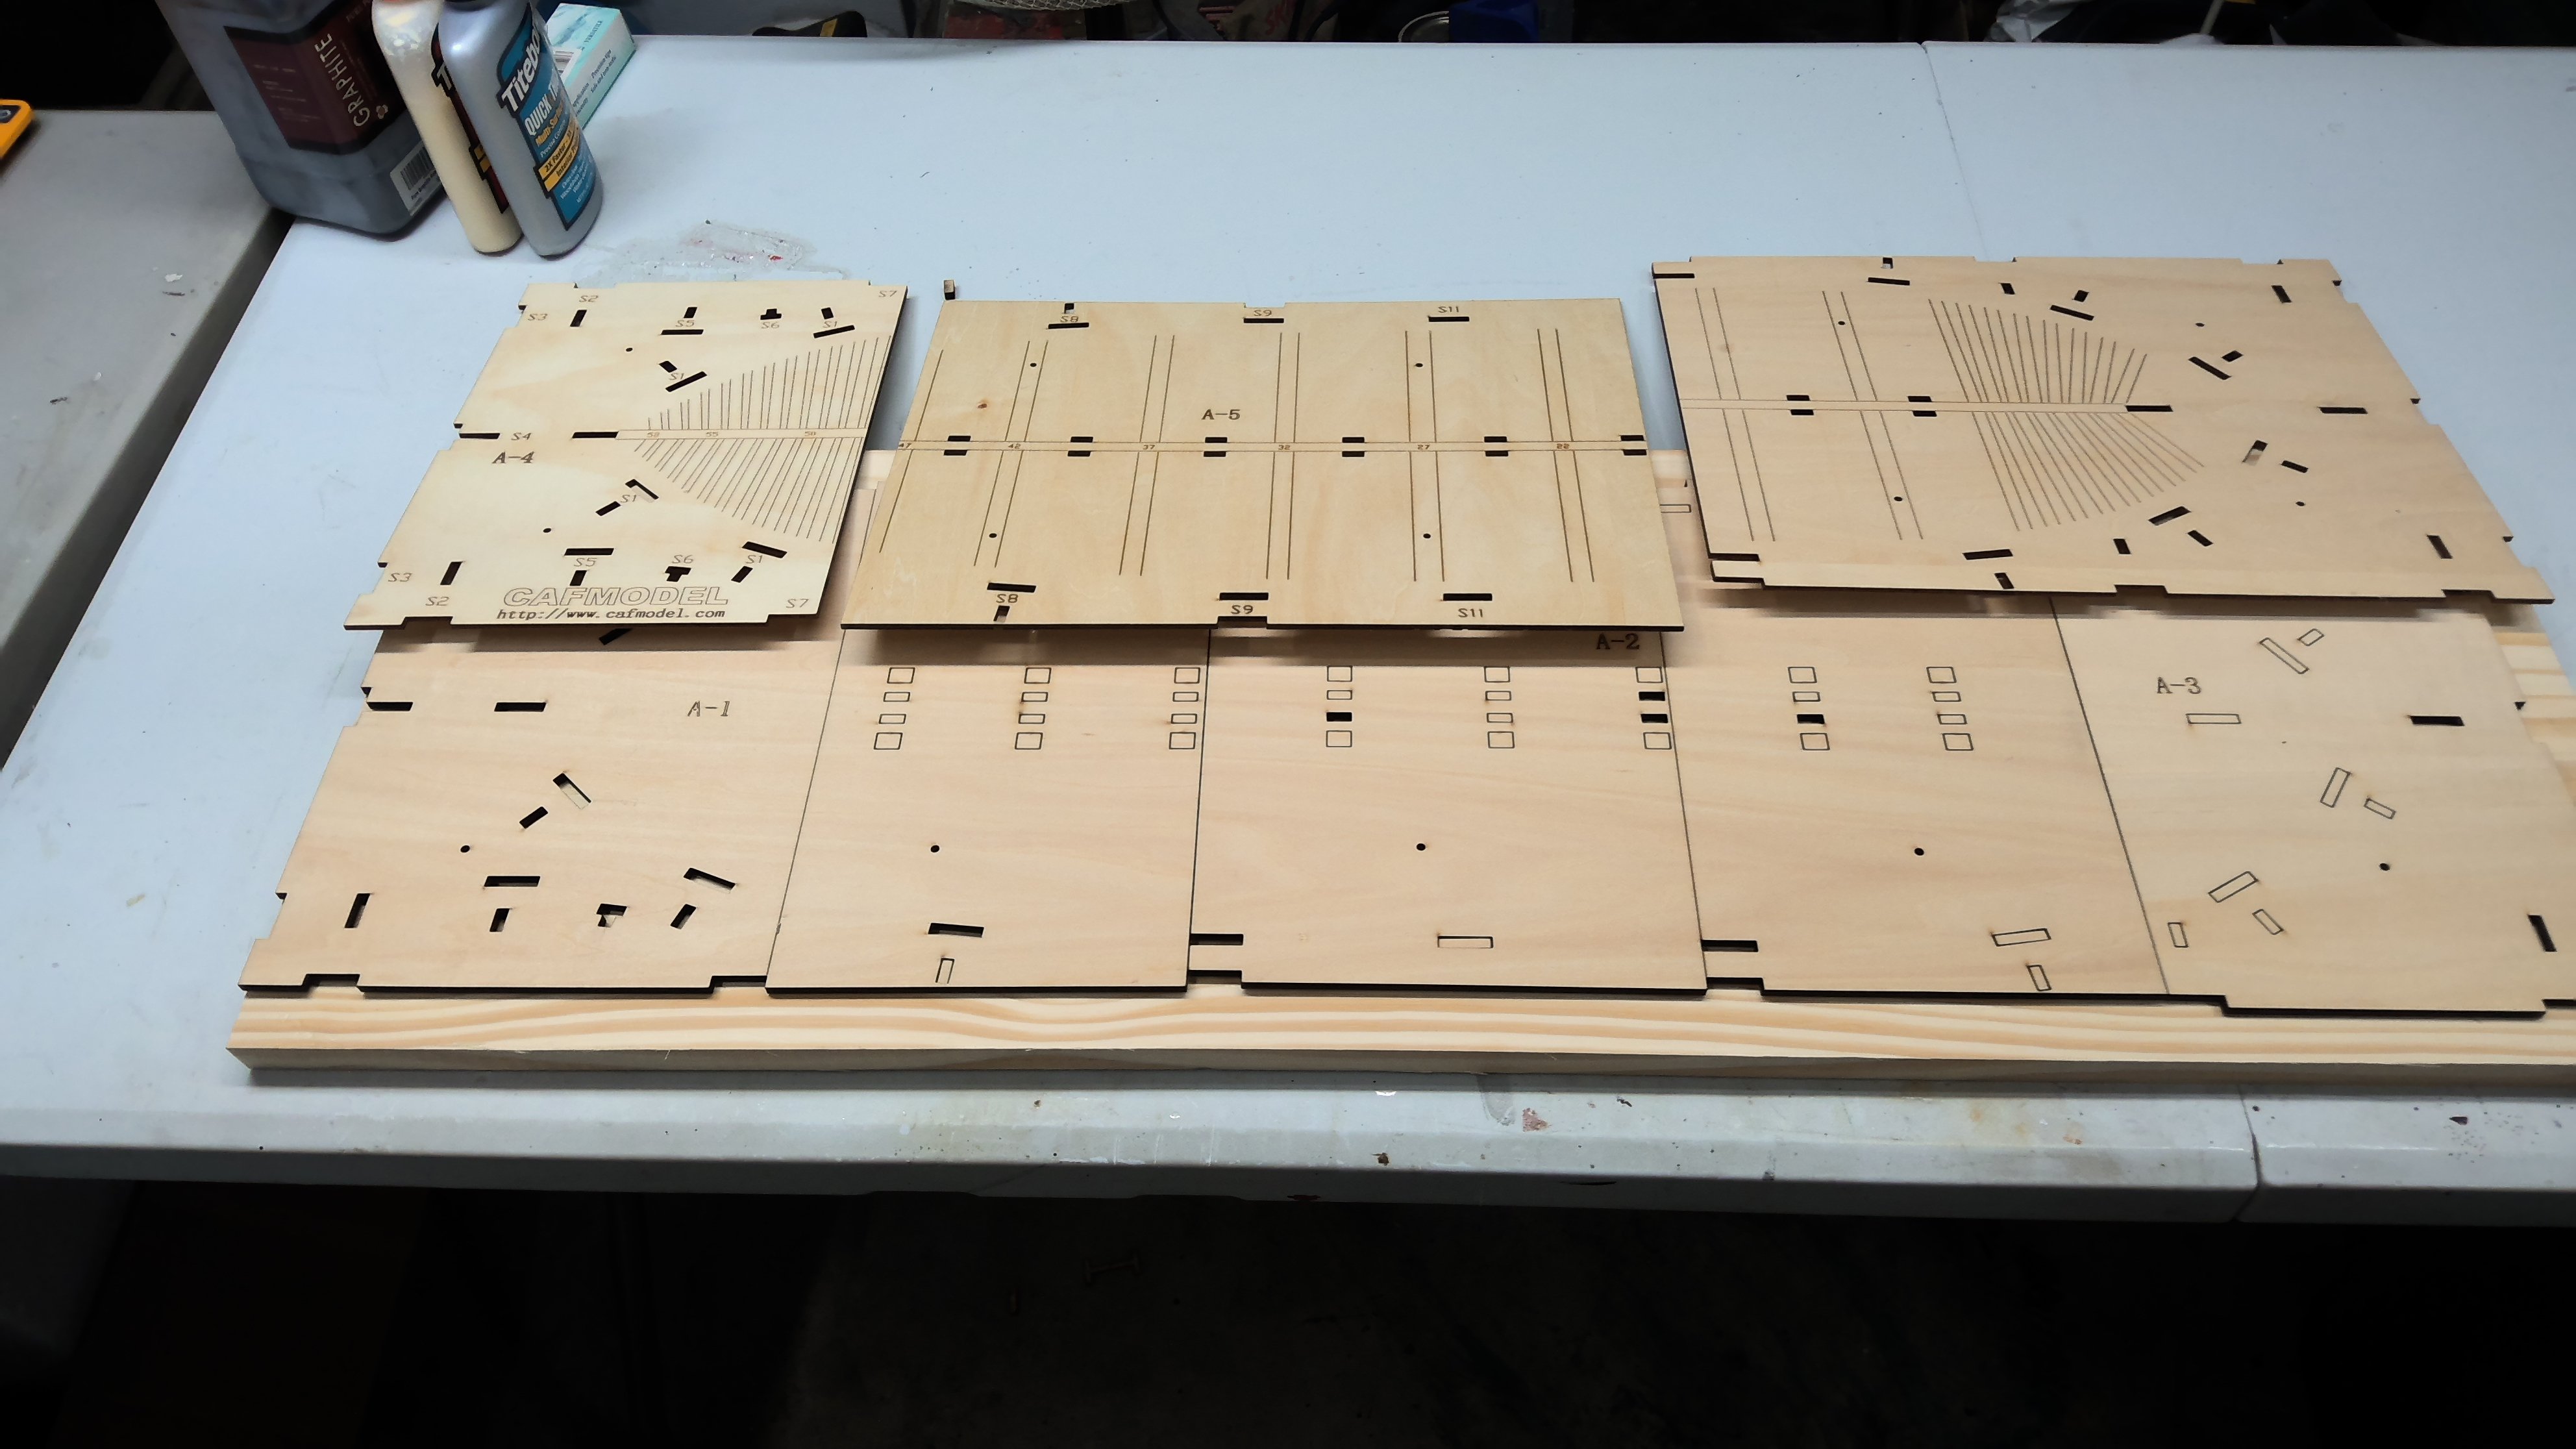
It actually looks fairly straightforward. The base of the cradle is in two layers of plywood. Here it is loosely mounted on the base board the cradle will be built on. The cradle will be screwed to the board with ten #6 3/4" wood screws. (The base board does not come with the kit. I got a sturdy piece of 3/4" x 12" x 36" board at Lowes for about $9)
Patrick


- Ryland Craze, Ronald-V and yvesvidal
-
3
-
I'm told that somewhere in these piles of plywood lives the building cradle for this model! I love the idea of the building cradle, I just need to give some thought to how to put it together.
Patrick

- Ronald-V, Ryland Craze and yvesvidal
-
3
-
Hi Blacky. I just came across your Agamemnon. I tried this build a few years ago and failed. I didn't have the skills I have learned since then. Looks like you are doing a great job with her and i look forward to following your progress!
Patrick
-
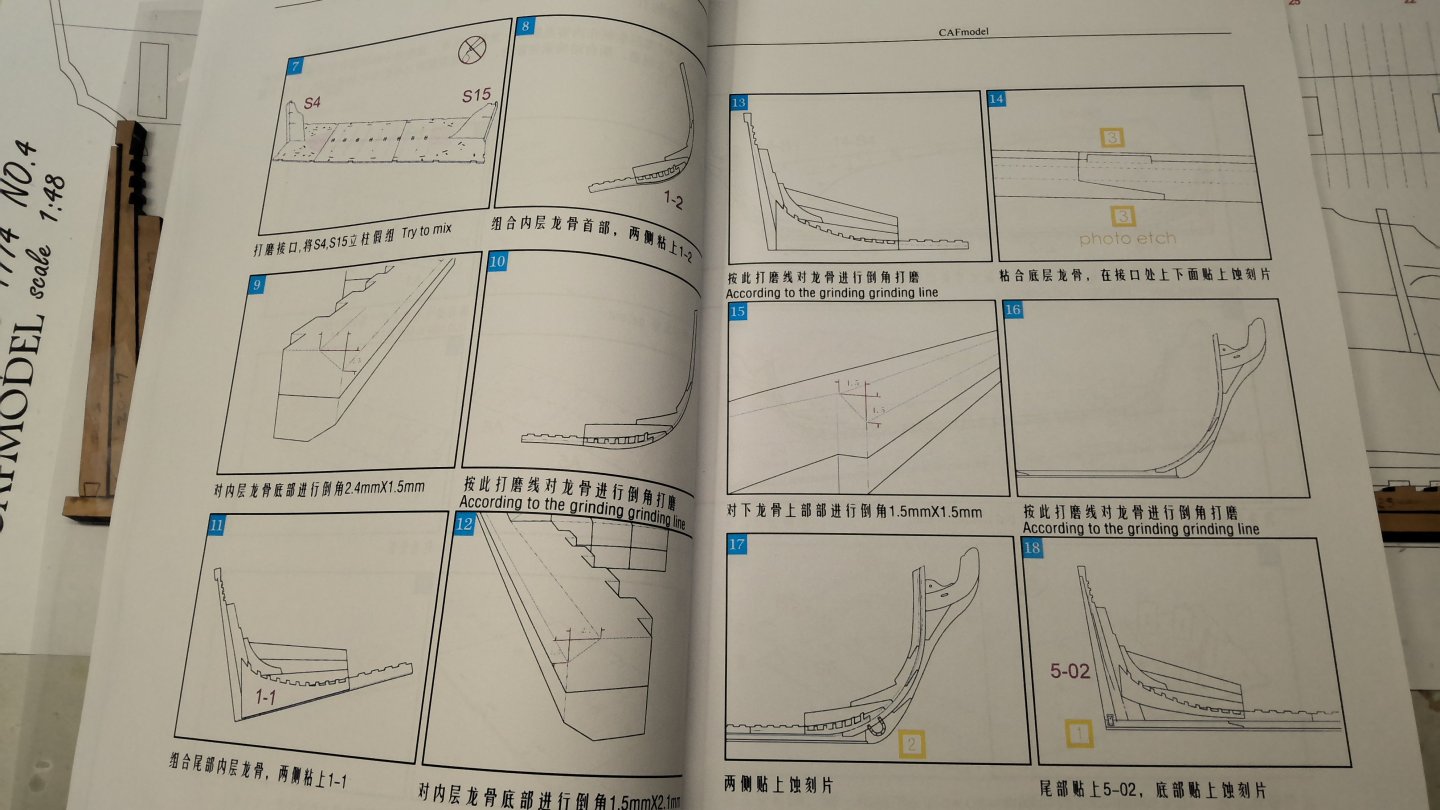
Thank you Yves. I have to say that the lack of English instructions intimidated me at first, but as I'm working my way through things, if you can follow illustrations and plans and take your time and think things through, it starts to make sense. Admittedly, it's early days yet and I'm sure I'll be left scratching my head a few times! I had to laugh at one illustration in the manual with the English instruction "Get out!" I started to leave, then thought "Wait a minute! This is my house!", and finally understood that the instruction actually meant "Remove"!
Cheers!
Patrick
-
Thank you Kevin and Bob. All I can say is I was blessed to have the time I did with her.
Kevin, as it was with your Victory, your Enterprise was one of my inspirations to go ahead and take the leap into this kit. I have studied your build log of her in detail and can only hope I can come close to what you're producing with her. Of course I have an advantage...I can learn from your mistakes and how to fix them when I make the same ones...which I surely will!
- Ryland Craze and yvesvidal
-
2
-
-
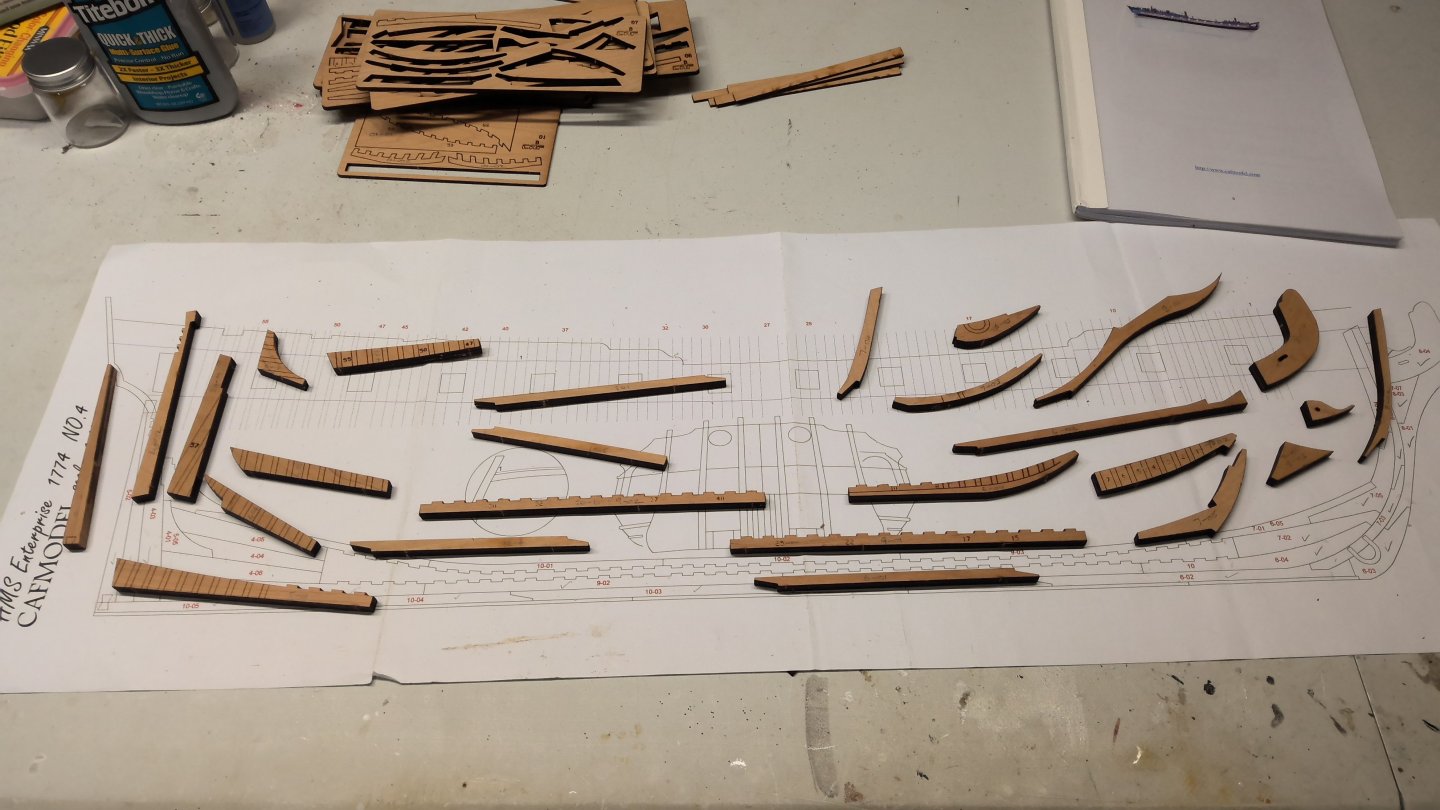
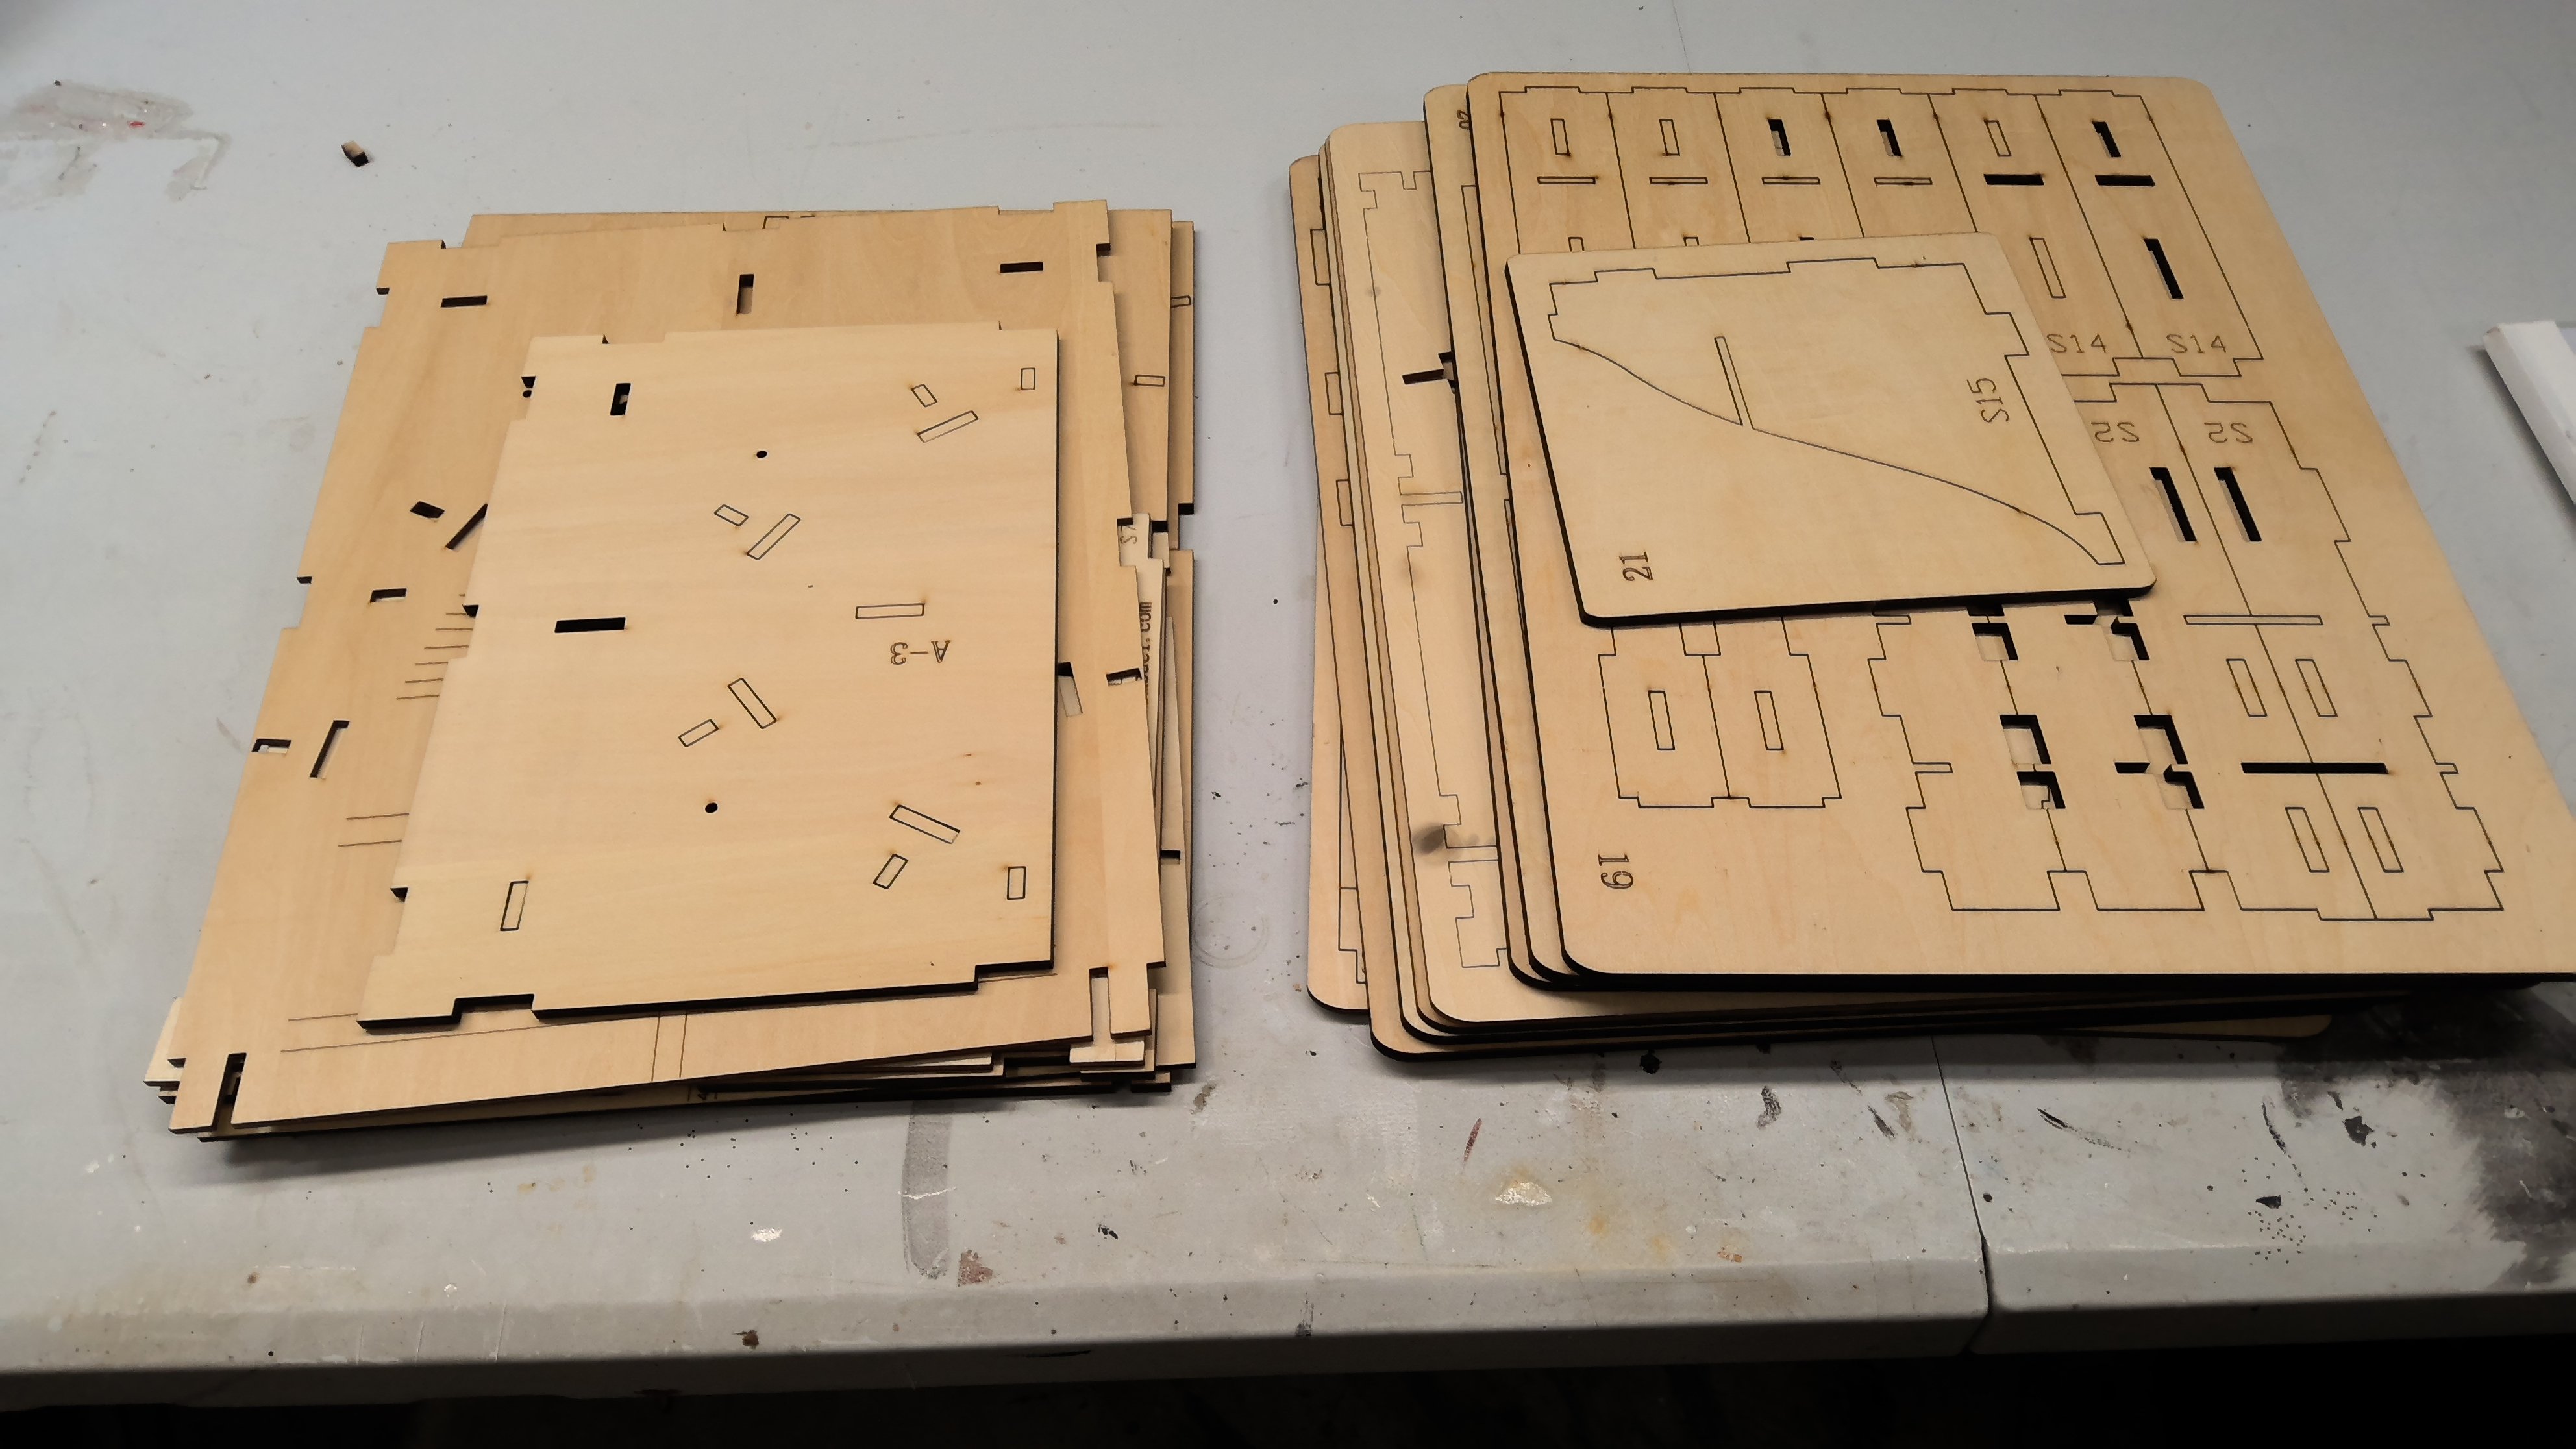
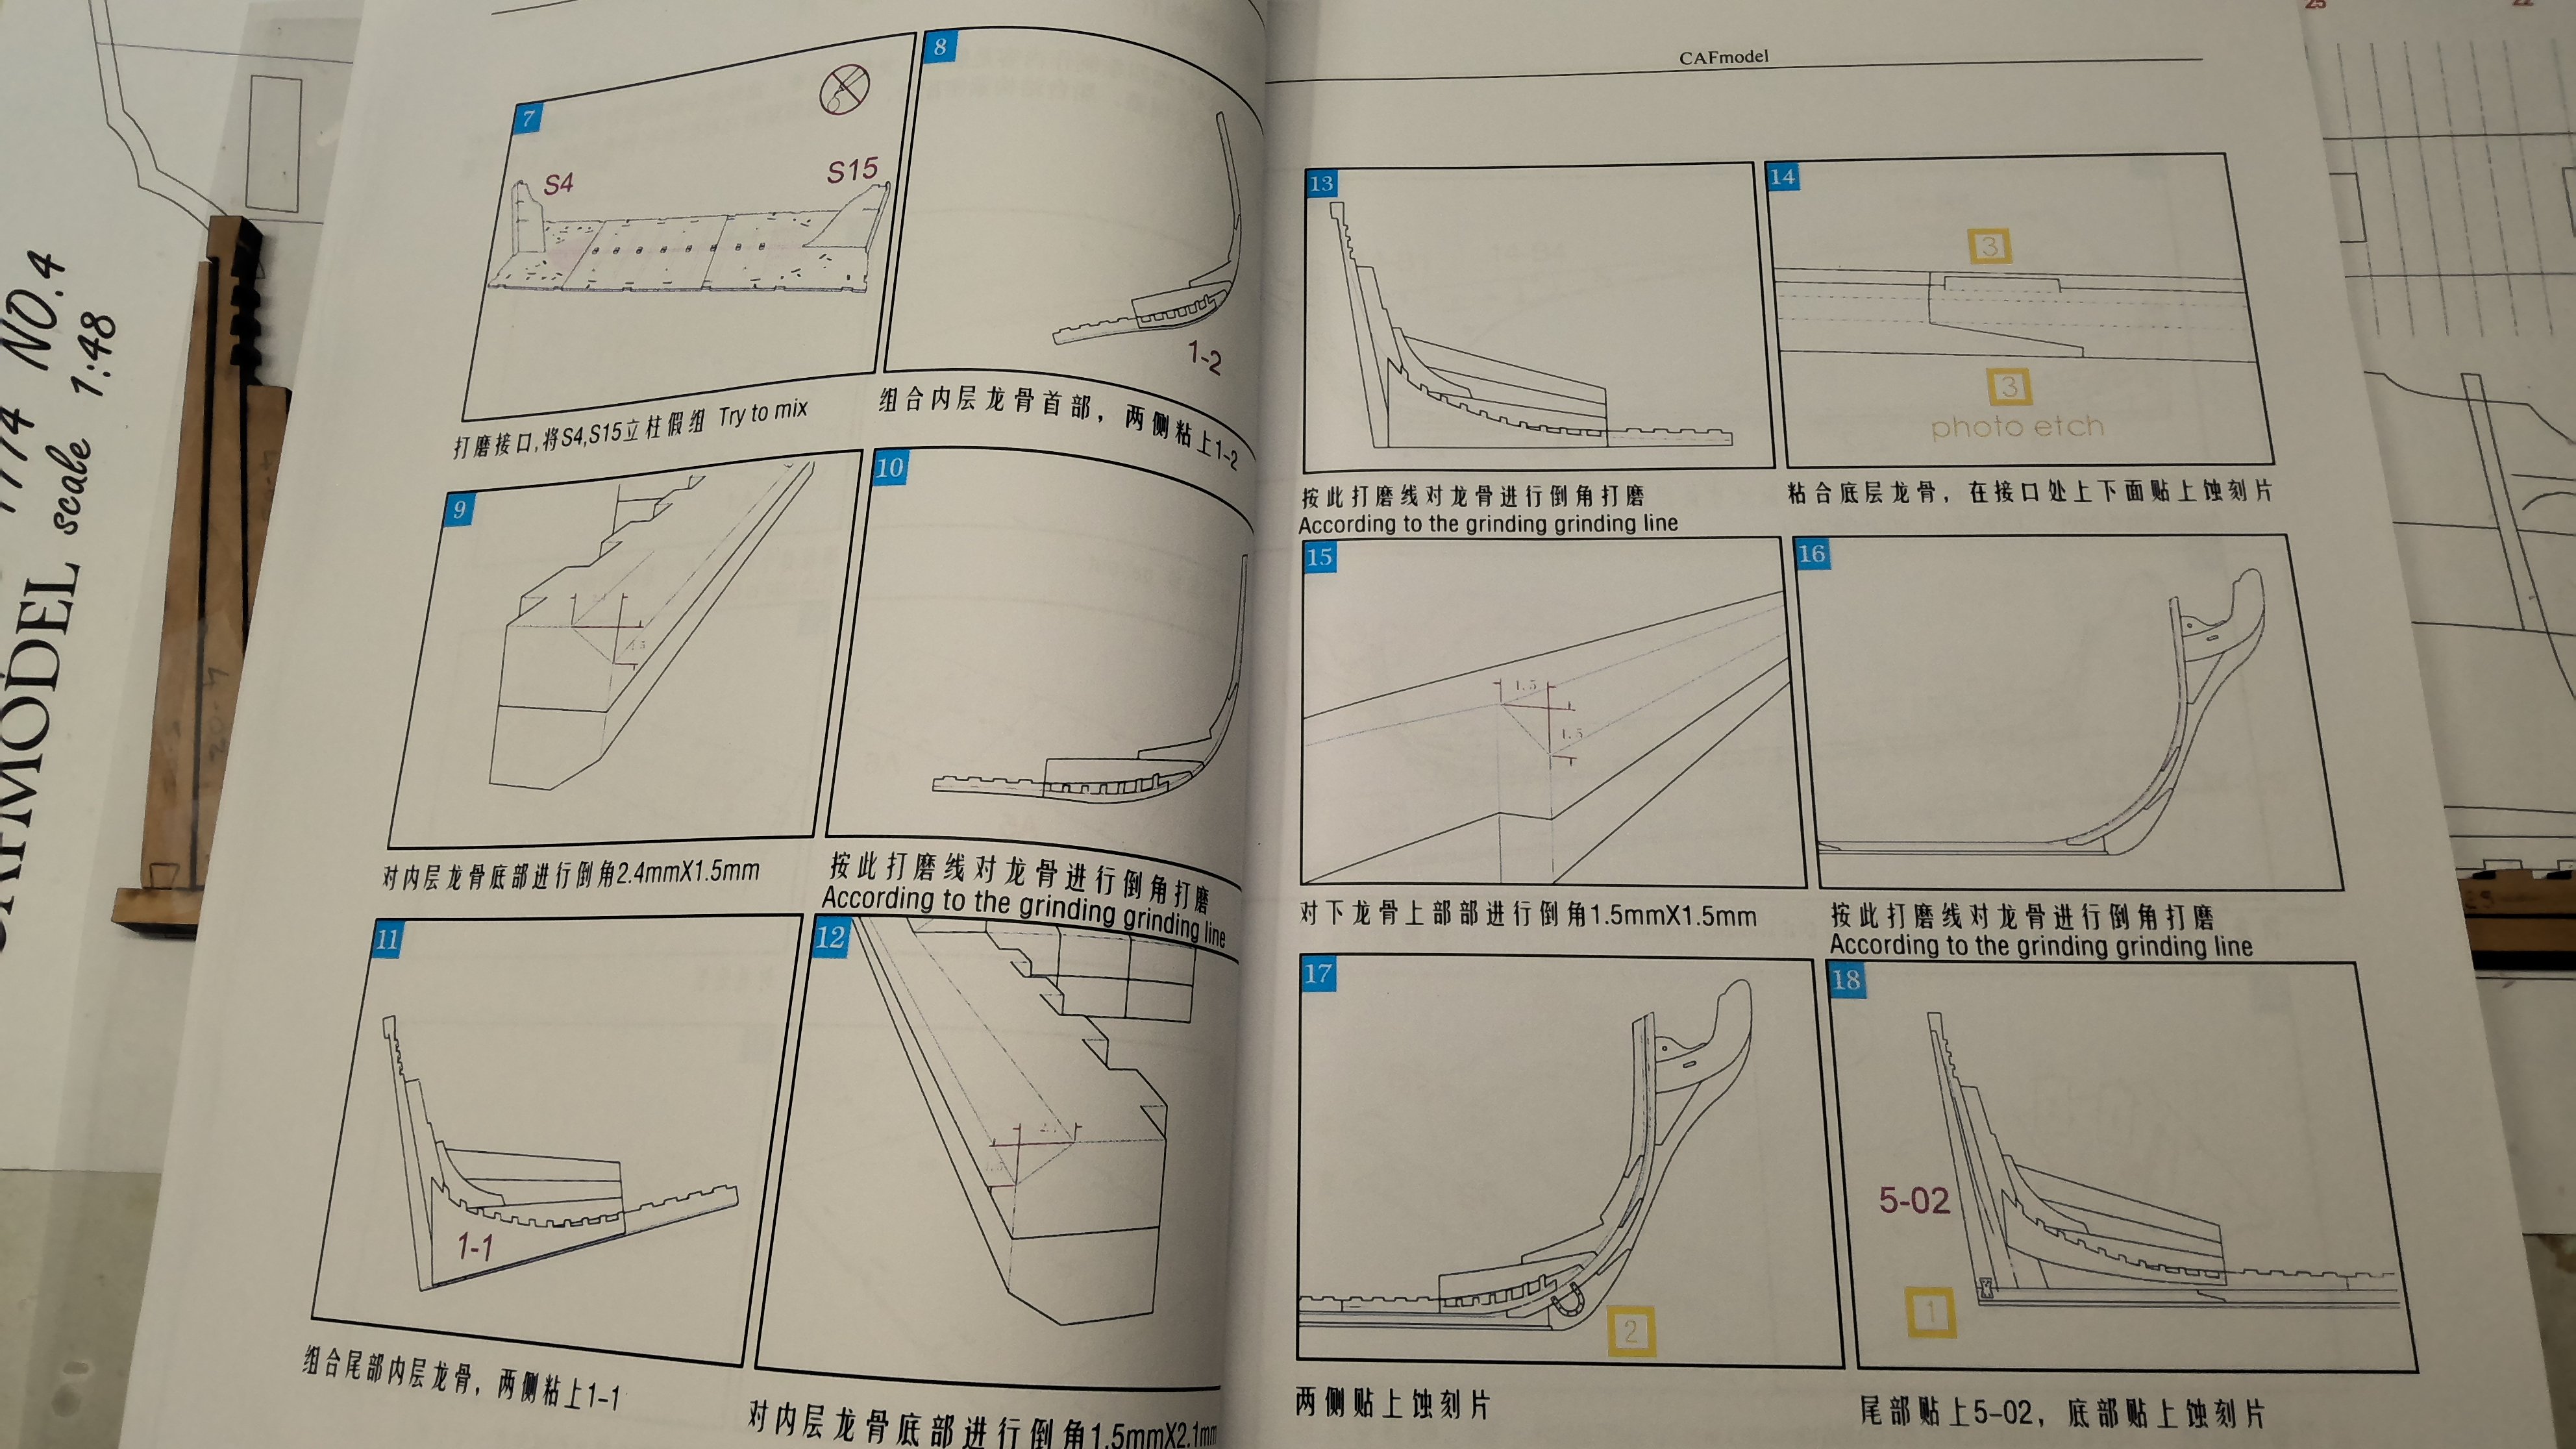
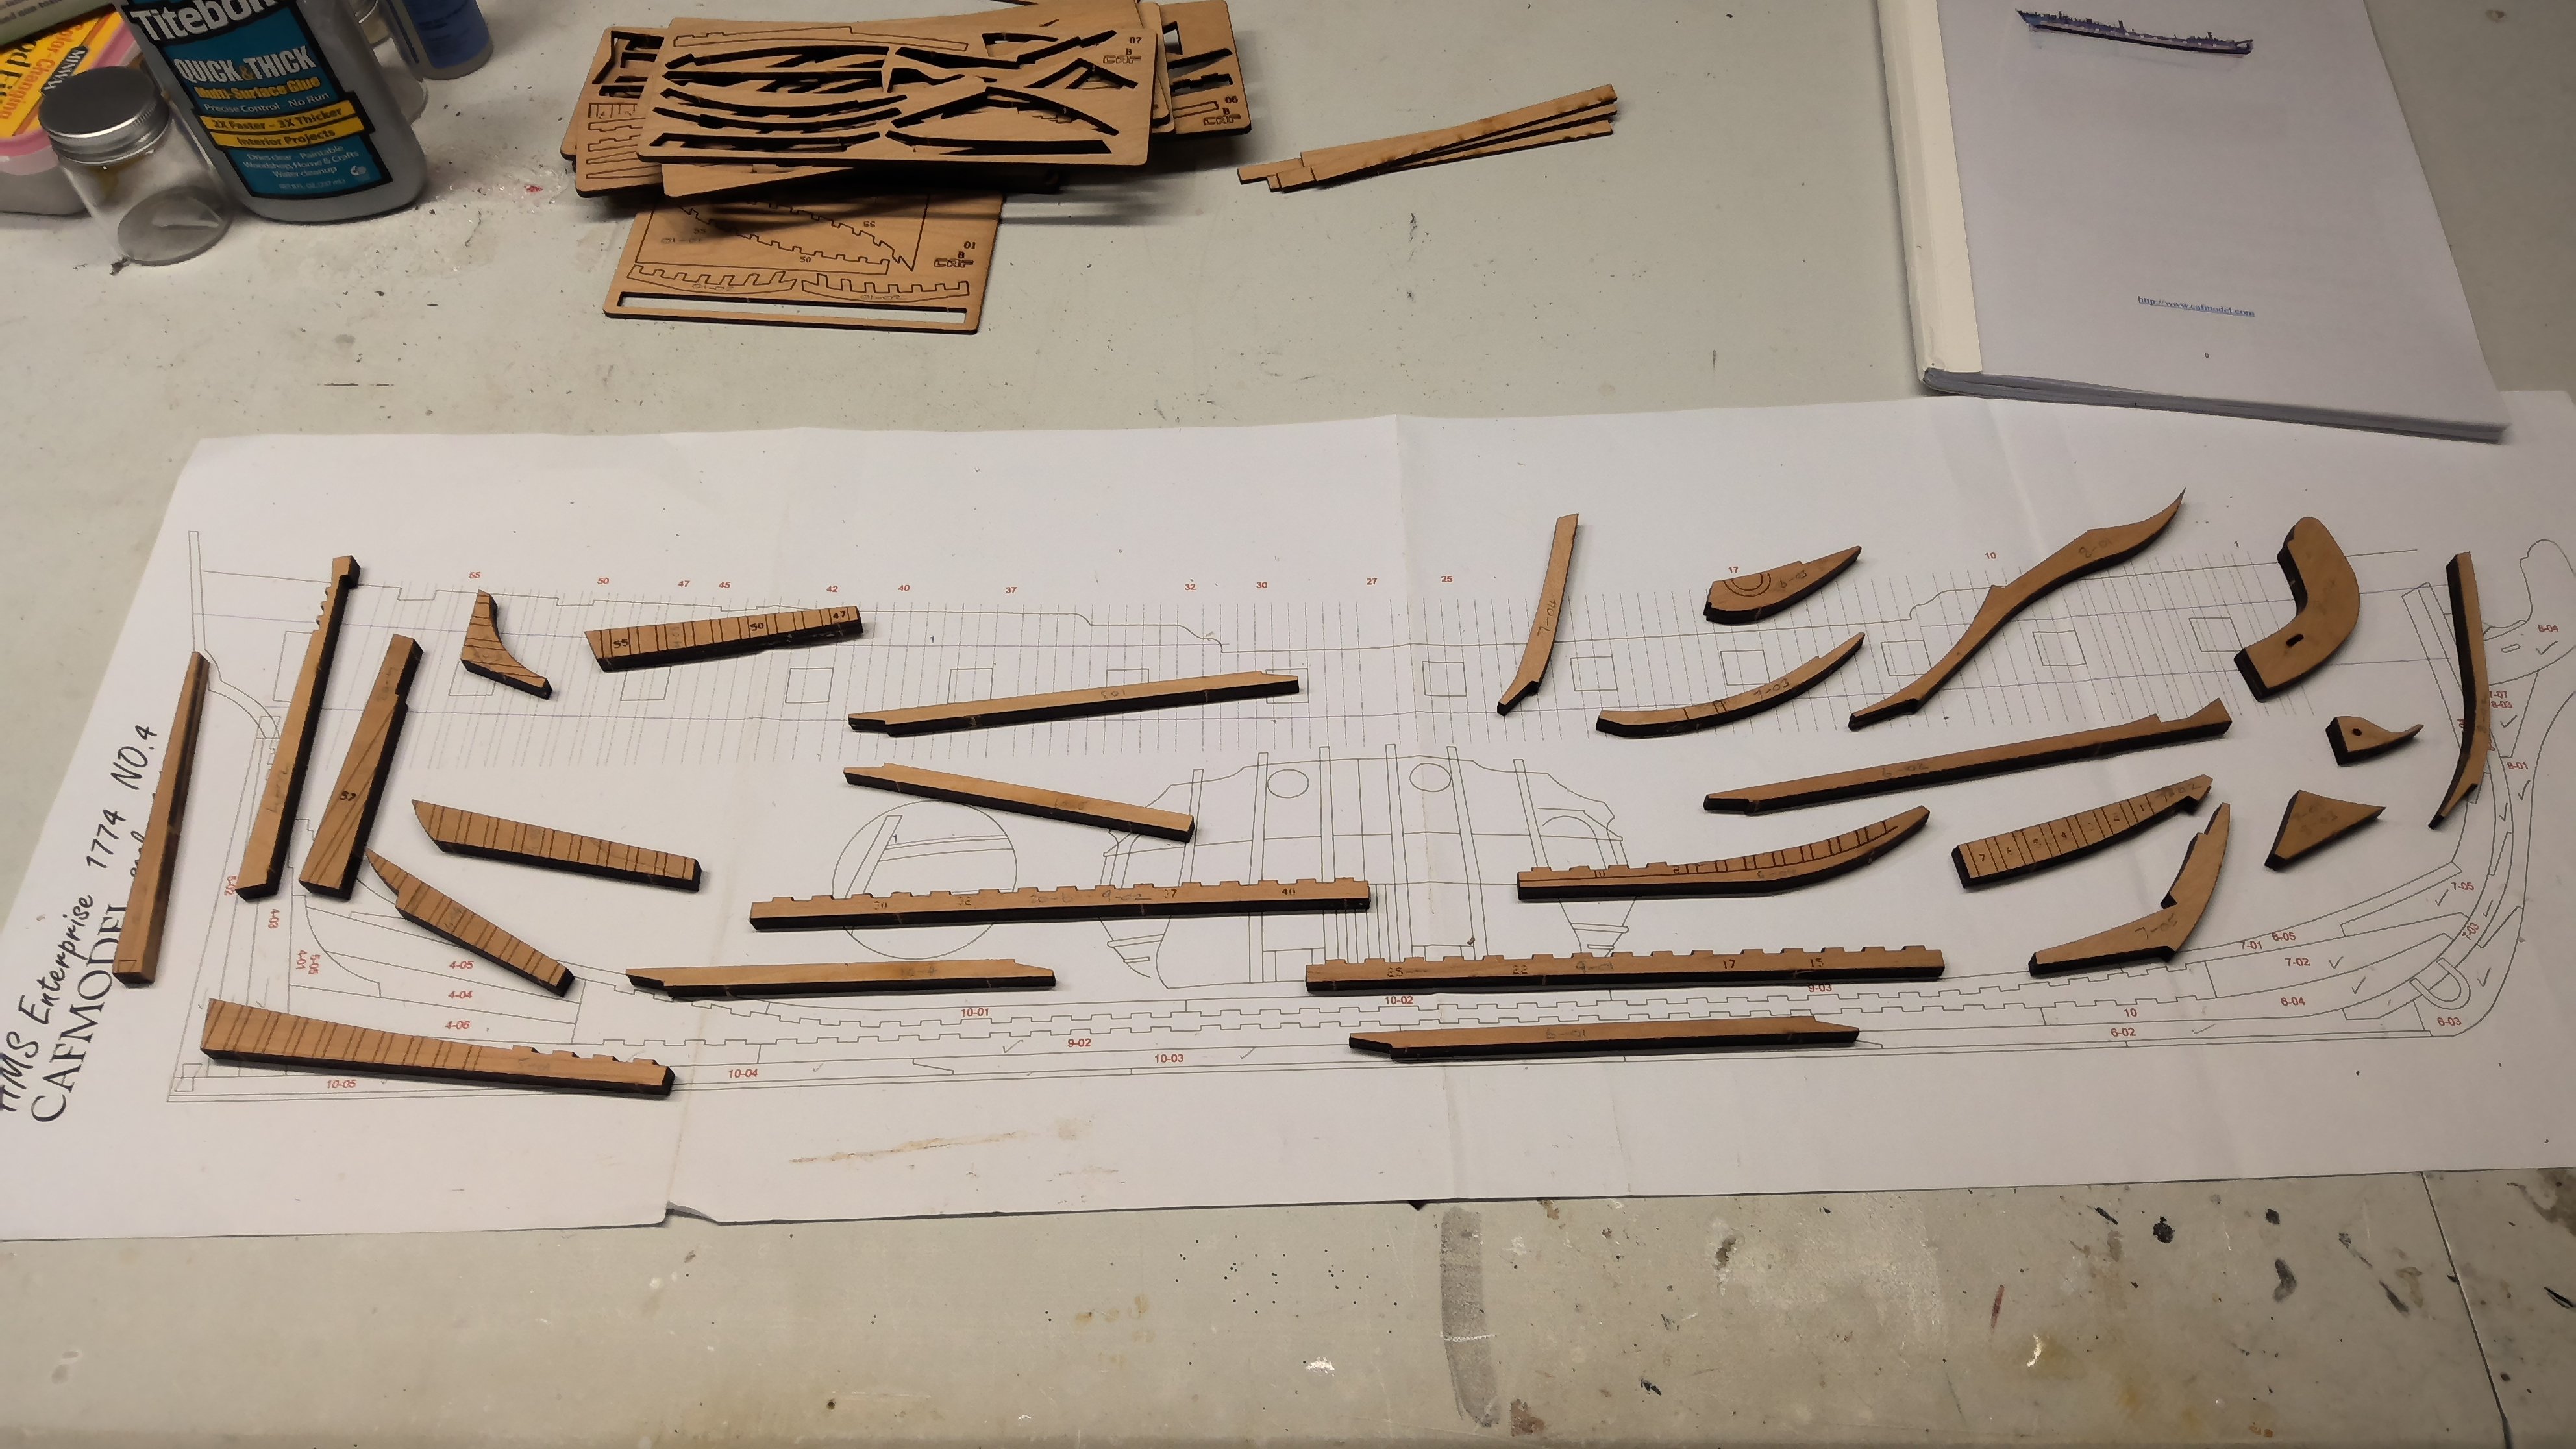
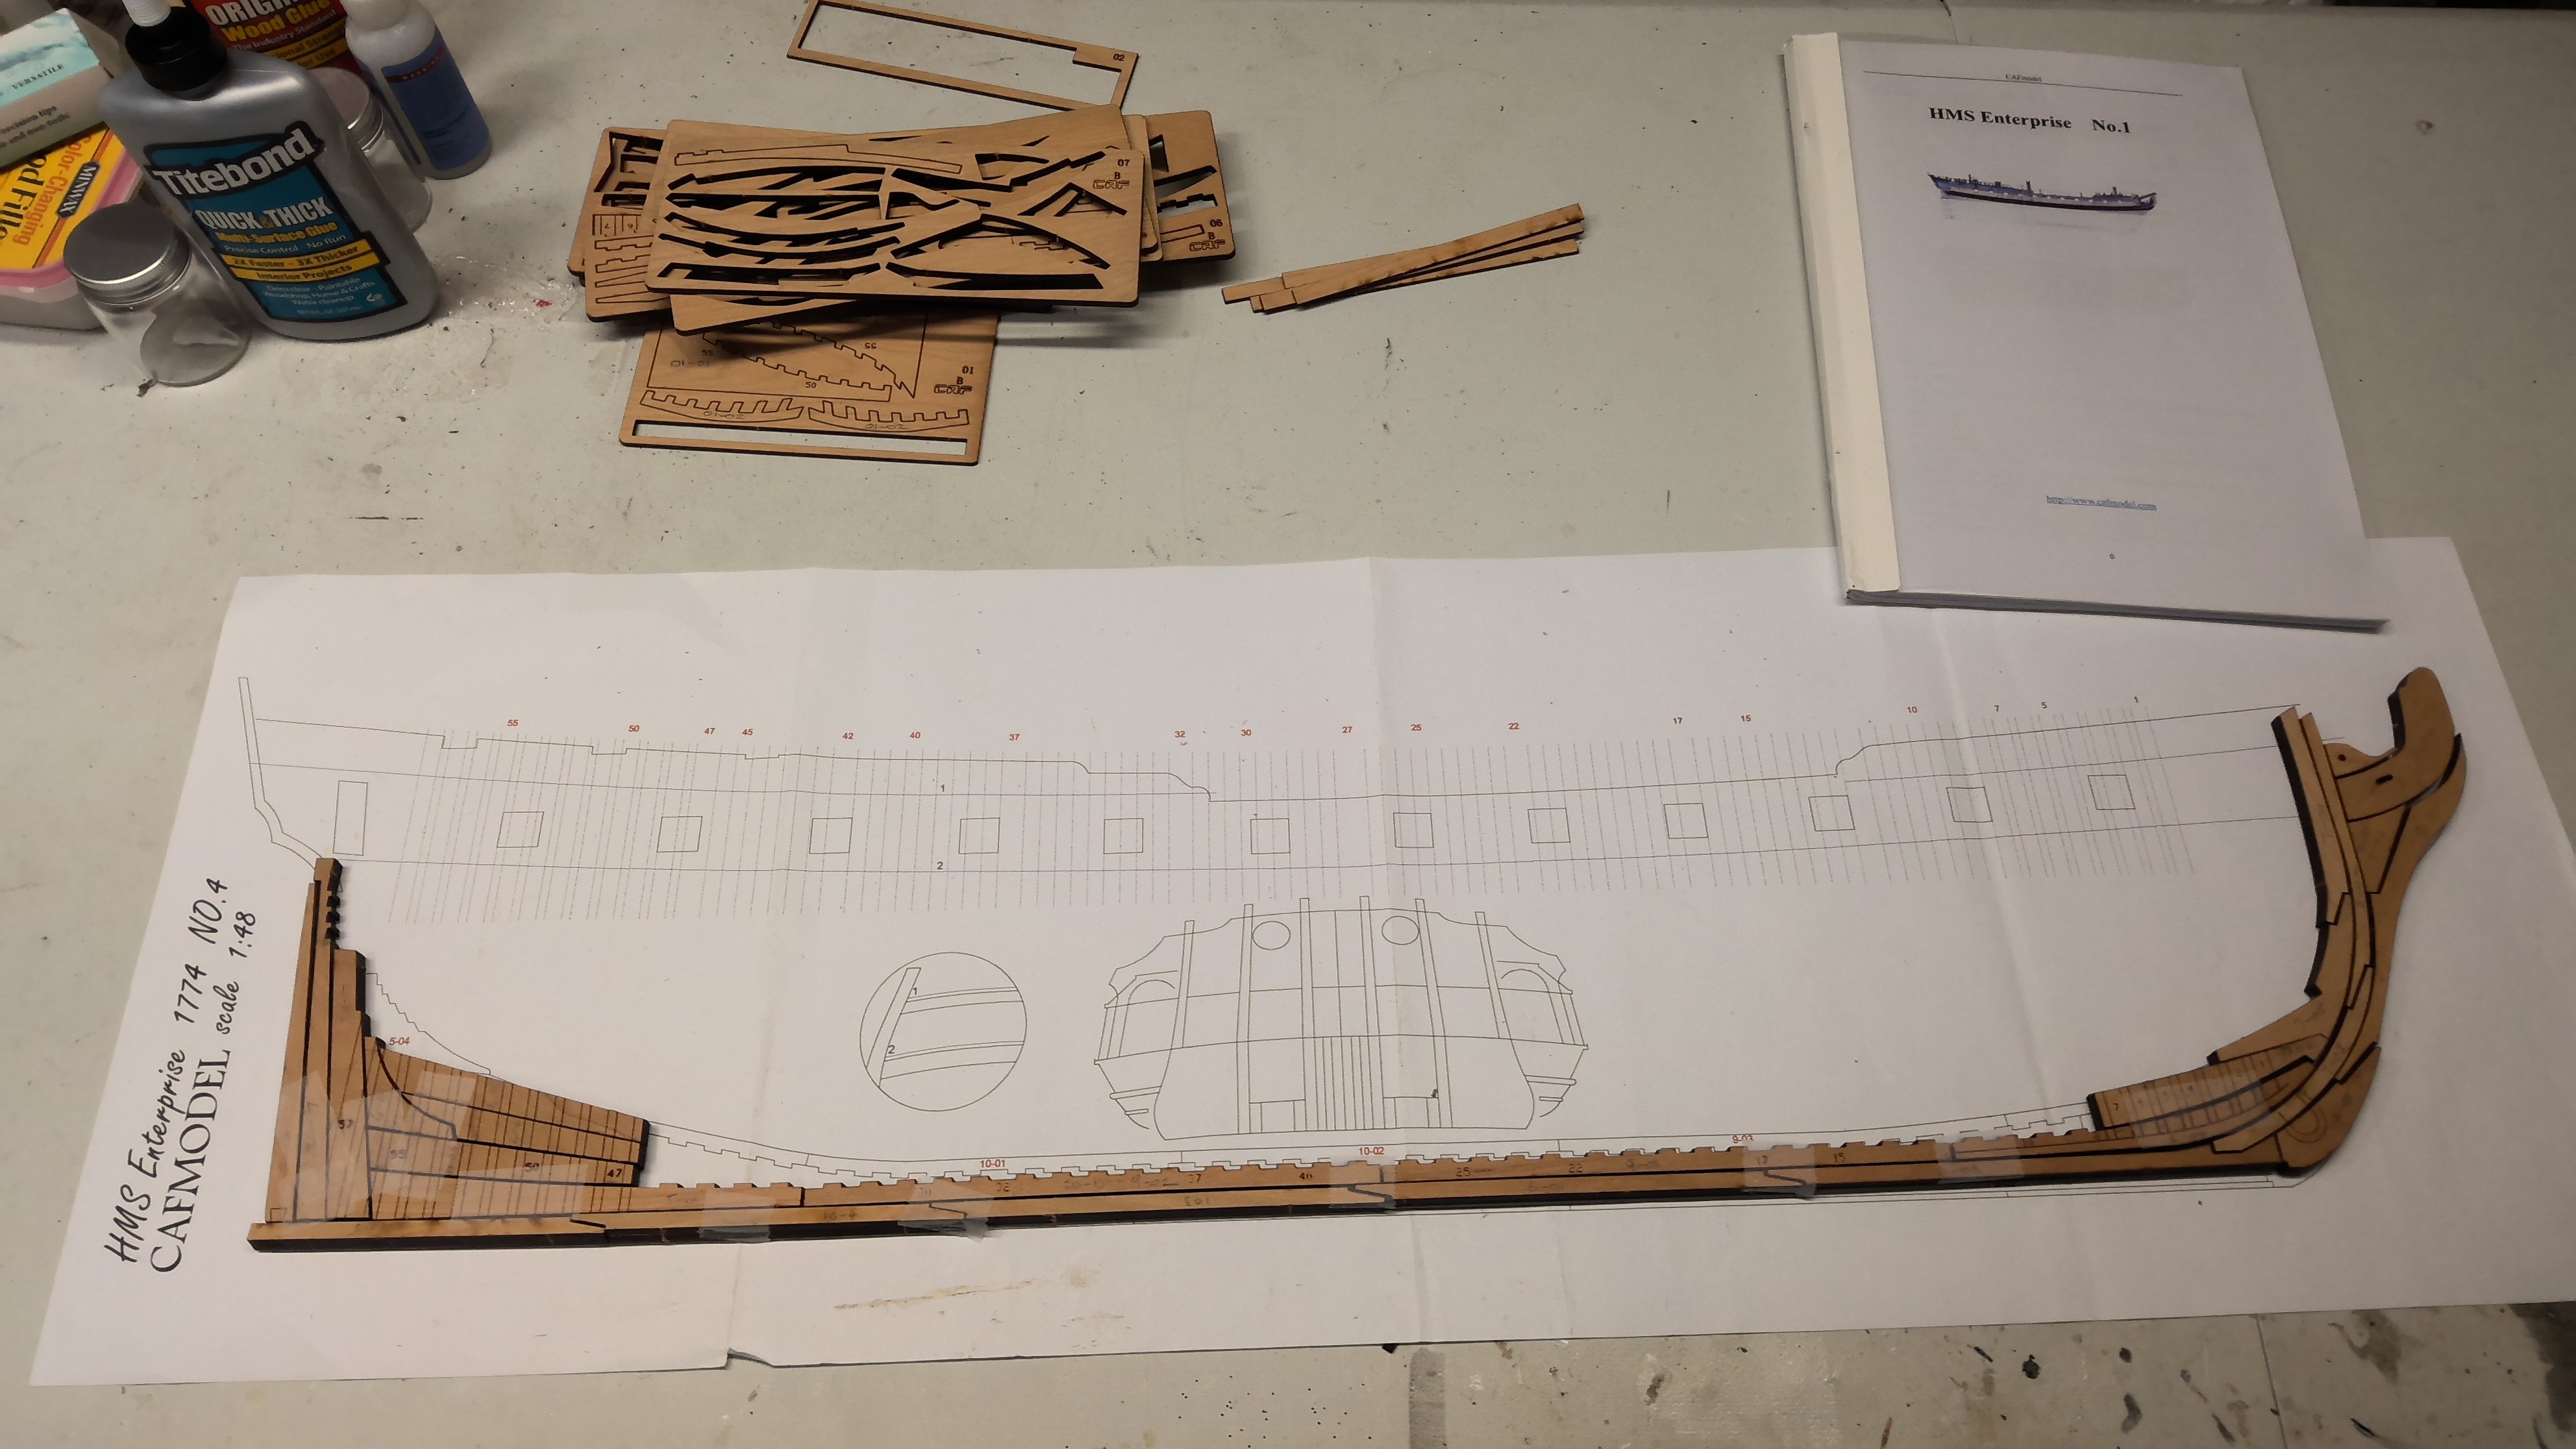
After one day of quite easy work, I have nearly all the keel parts cut out and assembled. Each part of the keel is made up of two mirror-image parts that simply need to be glued and clamped together. As I said, the instruction manual is in Chinese, but with the full-size plans and illustrations are pretty easy to follow.
Please note that I have done no sanding or char removal yet, just assembled each individual piece. Other than the mirror-image parts, nothing else is glued together yet, there's a ton of sanding to be done! I have ordered a combination belt and disc benchtop sander which will be here tomorrow, along with a lot of Dremel sanding drums. So far, the individual pieces all seem a little large, but with sanding and char removal I think they will fit together very well.
Patrick

-
Hello,
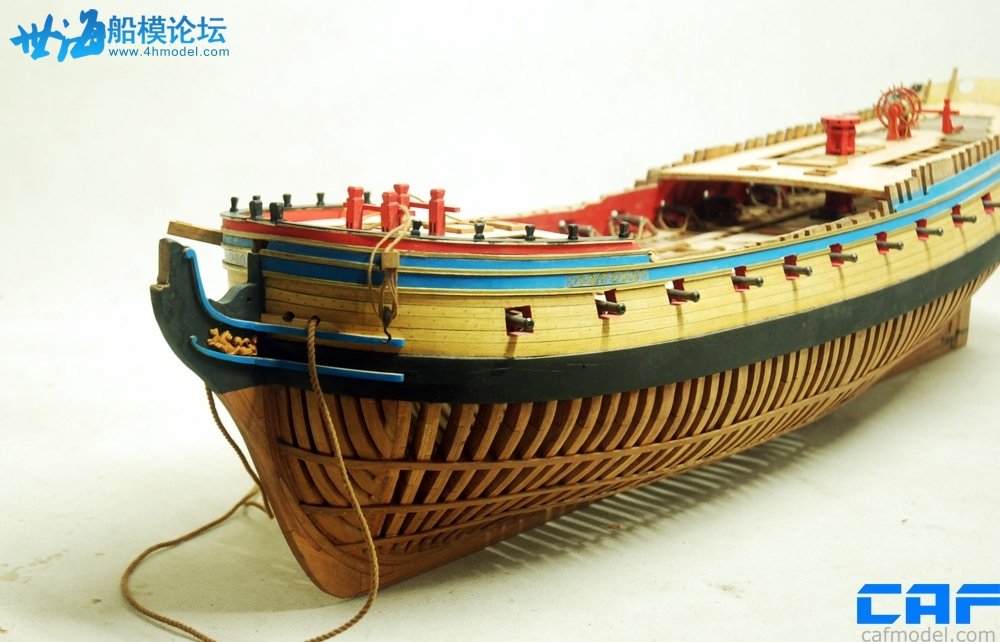
It's bee a long while since I have posted anything in the forums but I have been closely following others build logs of the CAF 1:48 HMS Enterprise. I have always wished I could build an Admiralty-style plank on frame model but I have neither the skills or the tools to even contemplate scratch building, so the CAF kit has always looked very tempting.
My Caldercraft HMS Victory is about 85% finished and I was down to doing the rigging - a job that I found I hate doing! I get no pleasure from it and it just became a grind. So I set it aside for now.
Sadly, my darling wife of 38 years passed away earlier this year and I've found that staying incredibly busy and having projects to focus on and complete is the best way to deal with my loss and keep my sanity! So I ordered the Enterprise from CAF in China at the end of April. Tom at CAF is wonderful to deal with and kept me up to date on the status of the shipment. I put out the extra money and ordered the "B" version of the kit. Basically the "B" version has less variance in wood color and I think should look beautiful. My kit was in production so there was a two-week delay in shipping, but once done and shipped it only took about 8 days to reach me.
Others have shown the packaging and opening of the six boxes the kit comes in, so I won't repeat what they have already done. I will say that I am very impressed with the quality of the materials and the precision laser cutting. The keel, frames, etc, are high quality cherry wood.
After staring at the boxes for a week or so and trying to figure out the Chinese instructions I got to work yesterday on assembling the parts for the keel. It's actually a lot easier than I had imagined it would be...so far.
-
Hello Kevin,
It's been a while since I've logged in here and here I find your amazing CAF Enterprise. What a fantastic job you are doing with her!
My darling wife of 38 years passed away earlier this year and I've found that staying busy and focusing my mind on projects is the best way of dealing with my loss. My Caldercraft Victory is perhaps 80% complete and I've been working on her rigging and found that I hate doing it, so I'm setting it aside. I've been thinking about going over to the dark side, but don't have the skills or the tools to scratch build, so doing this POF Enterprise is very appealing...and there's no rigging to do! I have her in my cart at CAF and I'm ready to hit the button on it. I will follow your build very closely as I wade into the project!
Best wishes,
Patrick
-
Gil,
Don't sell yourself short! Even though you completed your Victory so long ago, it's still the hallmark of how to build this model. I'm on the standing rigging of my Victory at the moment (yes, it's taken me forever!) and I have your build log open in my shipyard to guide me all the time.
Best wishes,
Patrick
-
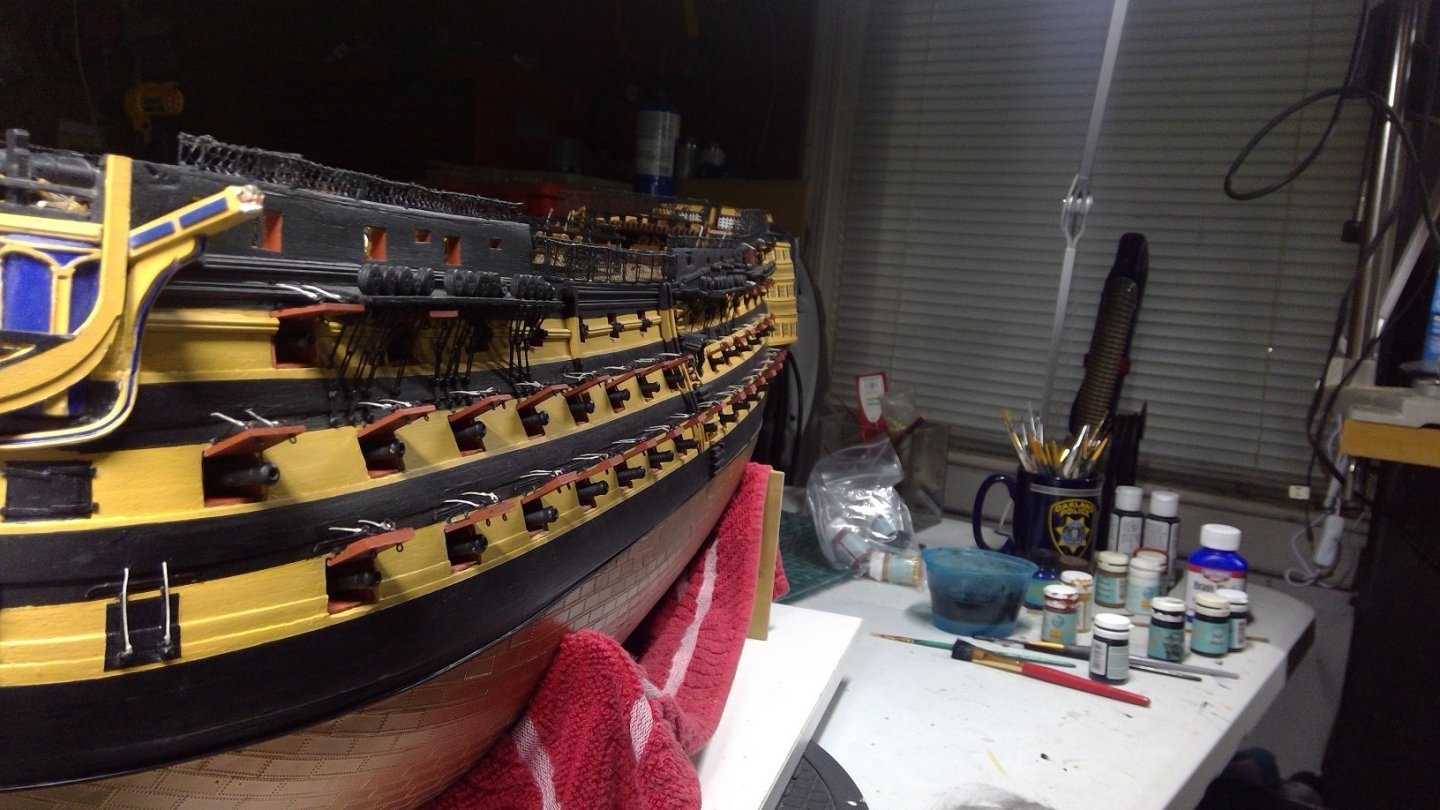
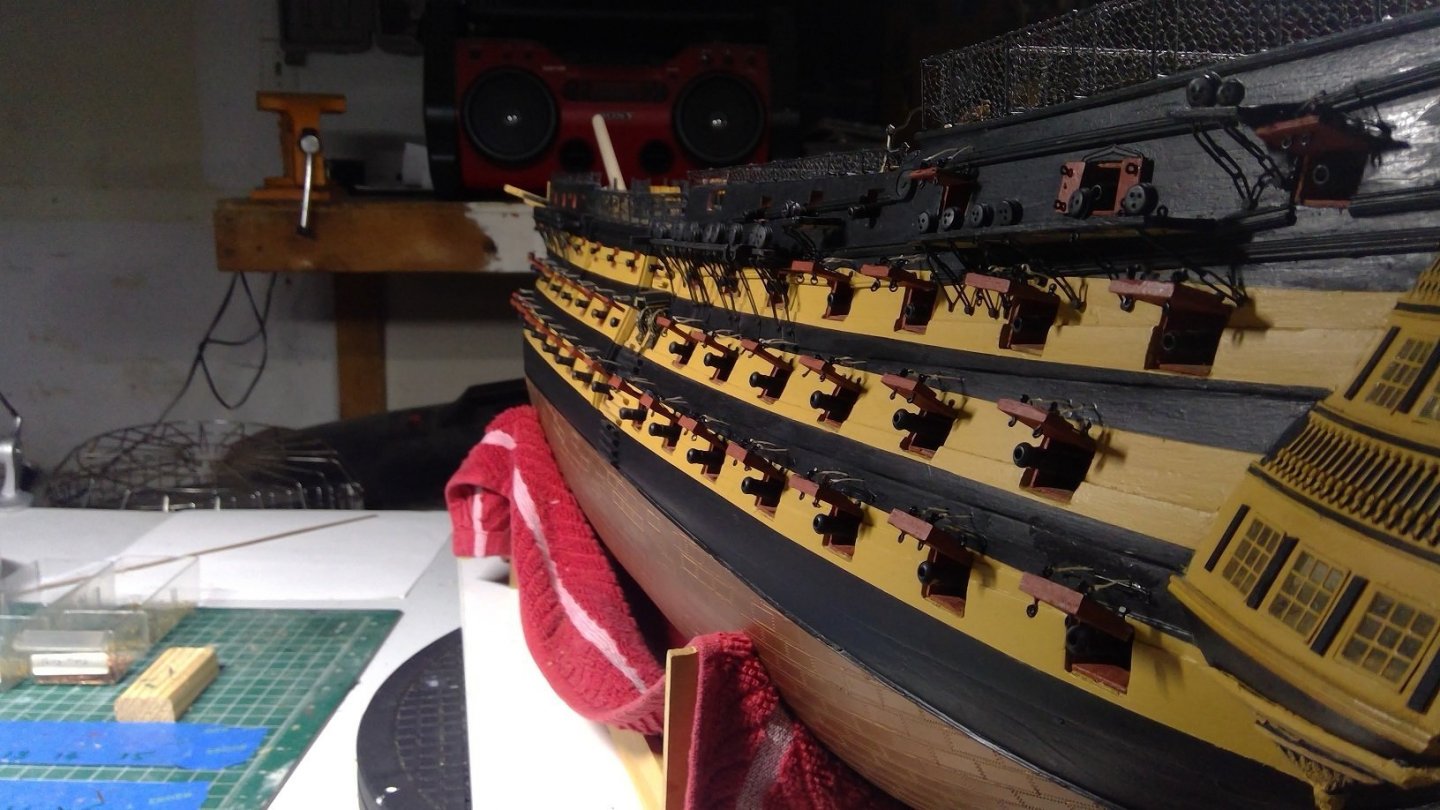
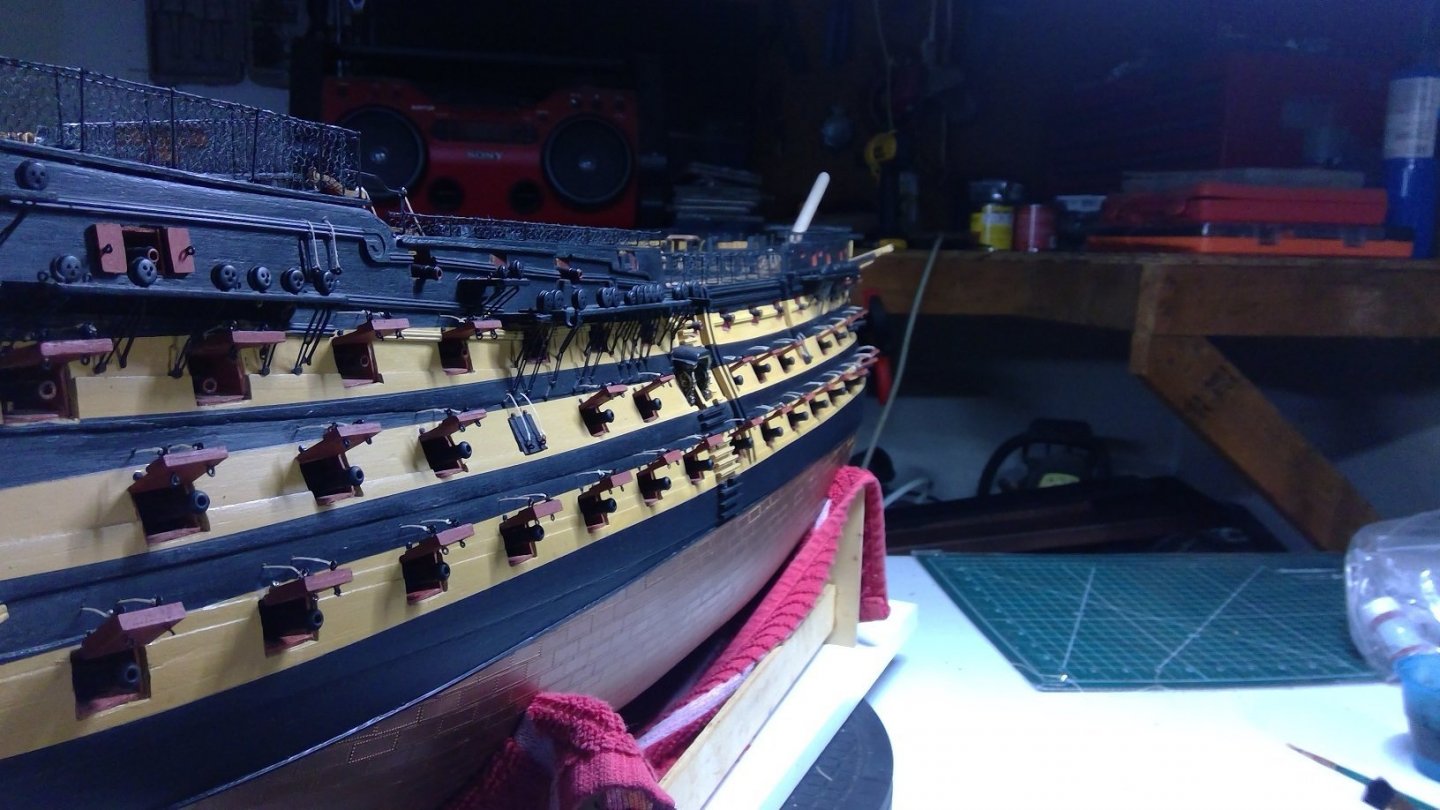
Nothing posted lately, but I've been busy working on gun ports and finally have finished them all. As always, there's touch up here and there to do, but I think I'm pretty much finished with the hull now and can move on. Started tapering the bowsprit today!

-
Yves,
Fantastic work! You are the one who is basically writing the manual for this model. It looks like the manual from CAF is comprised entirely of CAD drawings, so your log here with pictures, tips, and hints will be invaluable for future builders. Well done!
Patrick
-
Yves,
I am so glad I found your Bellona build log. She looks great and you are doing a fantastic job. Your explanations of difficulties encountered and you solutions to them will be invaluable to future builders of this great model. I will be following closely and have a feeling that the CAF Bellona will be on my wish list when I get my Victory done!
Patrick
-
I'm torn here, Kevin. As much as I want to see your progress with Enterprise, you AV is coming along beautifully. Oh well, I'll take what I can get from your wonderful work!
Patrick
-
-
-
Kevin,
I just came upon your HMS Enterprise build and spent a very pleasant couple of hours going through it. It's fantastic and I'm impressed that you took on a challenge like this. You've done a great job. As others have said, don't let trolls on Facebook get to you...most of them probably couldn't glue two toothpicks together. I'm looking forward to you getting back on this build and seeing your results.
Patrick
-
Wow Kevin! Just found your AV build log. First off, I'm glad it's not just me who leaves a build sitting to one side for a few years! Second. I love how your AV looks, especially all the brass work and turnbuckles. So glad I'm back on board in MSW and finding such great build logs as this one. Looking forward to following you.
Patrick
- mtaylor, Kevin, Old Collingwood and 1 other
-
4
-
Hello Graham,
I just went through your build log again and your work and precision and innovative use of tools and jigs is impressive. But no new posts in over a year? Please tell me your Victory continues to progress and I'd love to see more of how she's turning out. (Of course, I'm one to talk! I vanished off this site for a couple of years before returning to my build!)
Patrick
-
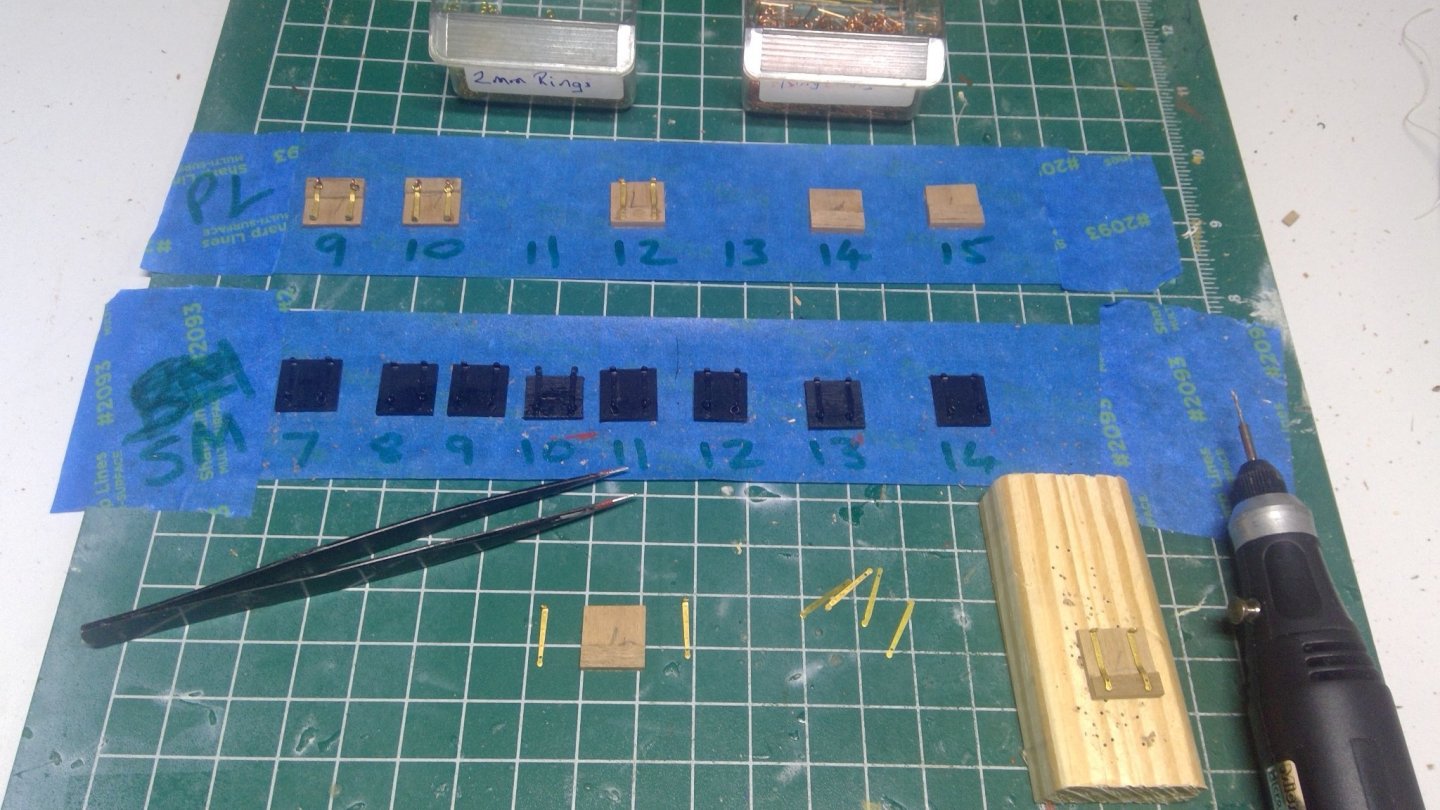
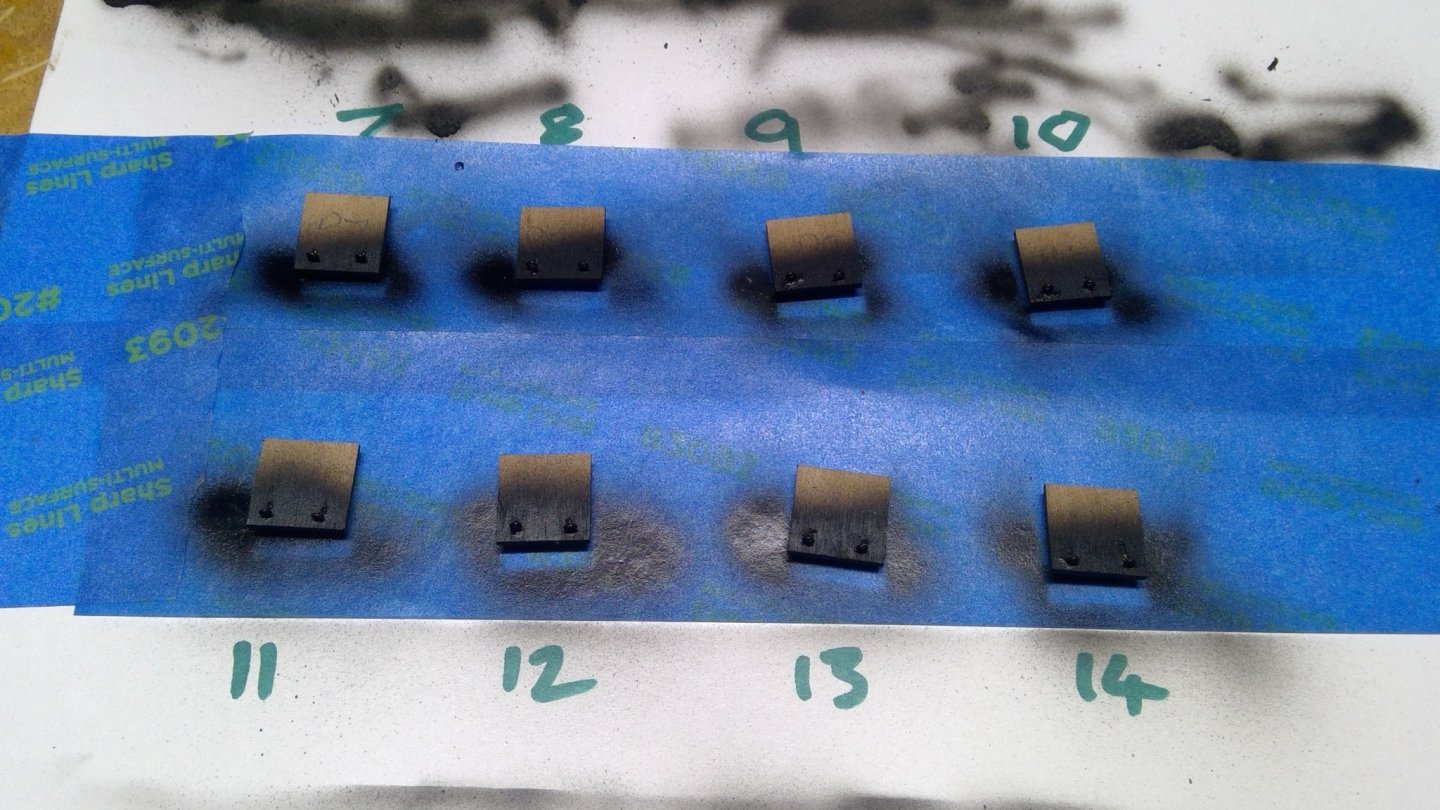
Well, we're moving along now with gun port lids. I now have 15 of them under various stages of assembly/painting. Once these are finished and installed I only have seven more to build...whoopee! As each lid is custom-built and fitted to its respective gun port (to allow for building up wales and slight variations in size) I number them and then place them on sticky side up masking tape so they don't fly away or get mixed up once they're painted inside and out. I use the sticky side up masking tape on the painting bench too so the lids don't get blown away by air pressure from the air brush!
Patrick
- gjdale, Charter33, GrandpaPhil and 1 other
-
4
-
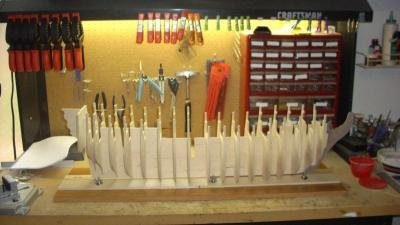
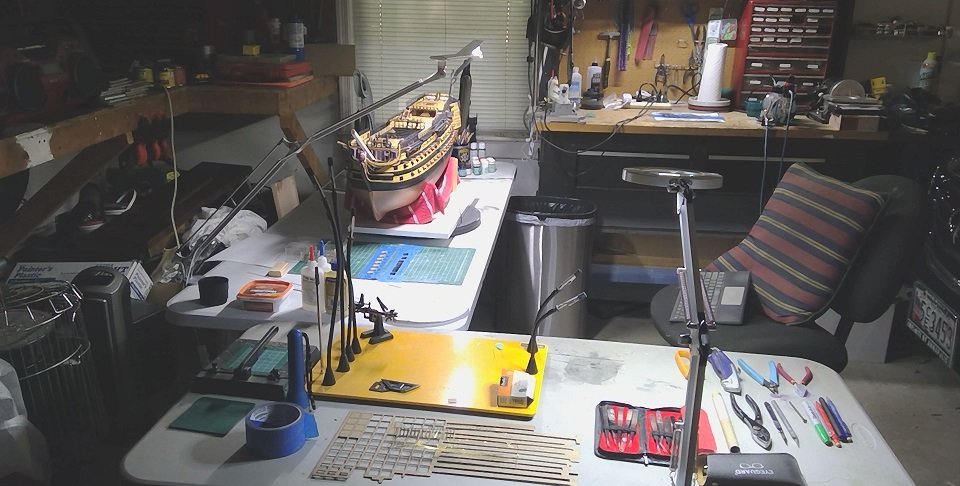
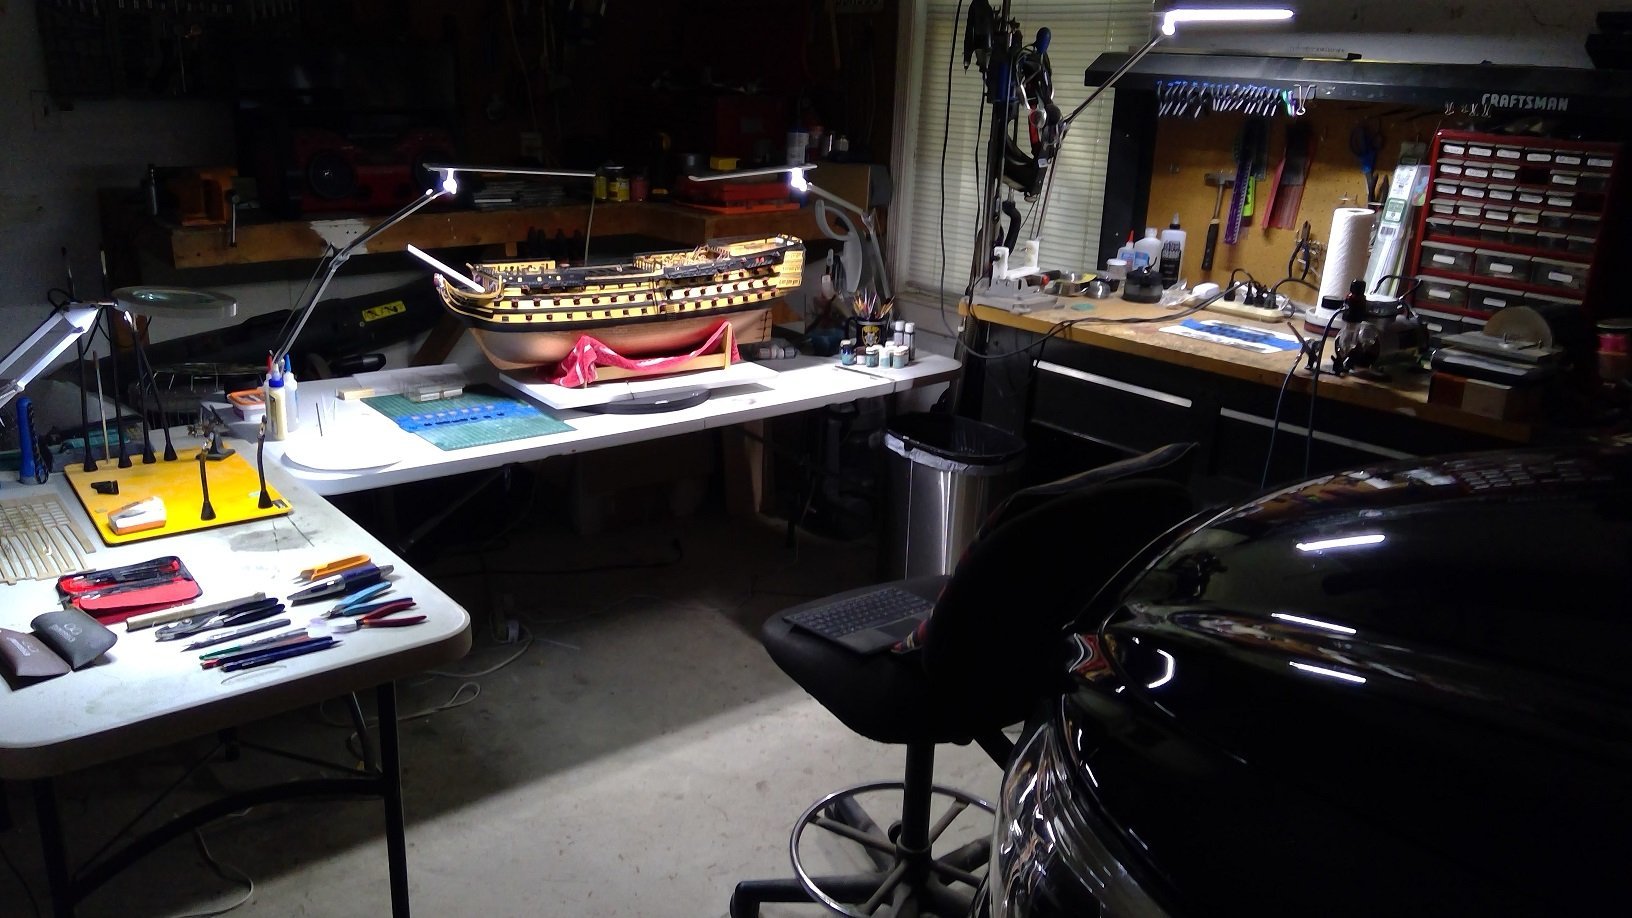
We grow...in more ways than one. Just for laughs here's a picture of my entire workshop/workbench when I started this project so long ago, followed by a couple of more pics of what it looks like today. I need a bigger garage! Mind you, when I see some other builders' custom-built workshops I salivate...and then I think of Gil Middleton who built his amazing Victory on a table top in a condominium!
Patrick

- GrandpaPhil and Kevin
-
2
-


HMS Indefatigable 1794 by Kevin - FINISHED - Vanguard Models - 1:64 - Feb 2023 to June 2025
in - Kit build logs for subjects built from 1751 - 1800
Posted · Edited by Patrick Haw
Hello Kevin, I just found this build log. Before I say anything else, my condolences for the loss of your loving companion. Our dogs make our lives complete in so many ways.
I am in awe of your modeling output and your skills, Kevin, and your Indefatigable is beautiful. But I have a question...where do you keep all of your ships?
Cheers!
Patrick