yvesvidal
-
Posts
3,633 -
Joined
-
Last visited
Content Type
Profiles
Forums
Gallery
Events
Everything posted by yvesvidal
-
 Great find!!! First, it is one of my favorite submarines and it is in the 1/200 scale. I wish plastic manufacturers would embrace this scale for submarines as this scale is becoming prevalent for many ship modellers. It is unfortunate they stopped at 1/150th or jumped to 1/350th. I will be looking at your model with a lot of interest. Thank you for starting this Build Log. Yves
 -
1966 Buick Riviera by CDW - FINISHED - AMT - 1:25 Scale
yvesvidal replied to CDW's topic in Non-ship/categorised builds
Once you have adjusted the hood lid, you could glue it permanently and display the engine on the side. That will solve the warping and keep the beautiful allure of the body. Yves -
1966 Buick Riviera by CDW - FINISHED - AMT - 1:25 Scale
yvesvidal replied to CDW's topic in Non-ship/categorised builds
You would not even get the fumes for 50 cents. Yves -
Scania 770 S 6x4 by wvdhee - Tamiya - 1/14
yvesvidal replied to wvdhee's topic in Completed non-ship models
At 1/14th scale, it must be a rather large model. Yves -
Team Suzuki ECSTAR GSX-RR '20 by wvdhee - Tamiya - 1/12
yvesvidal replied to wvdhee's topic in Completed non-ship models
Beautiful bike! Make sure you post a build log next time around. We are a few Motorcycles enthusiasts, on this forum. Yves -
1966 Buick Riviera by CDW - FINISHED - AMT - 1:25 Scale
yvesvidal replied to CDW's topic in Non-ship/categorised builds
Great body lines. This car is growing on me.... Yves -
Your way of approaching the model will make it difficult to sand smooth the hull without damaging the railings. But it can be done, if you are looking for a challenge. Yves
-
It is a lovely kit and the closest to "plank on frames" that you will ever build. Highly recommended. Yves
-
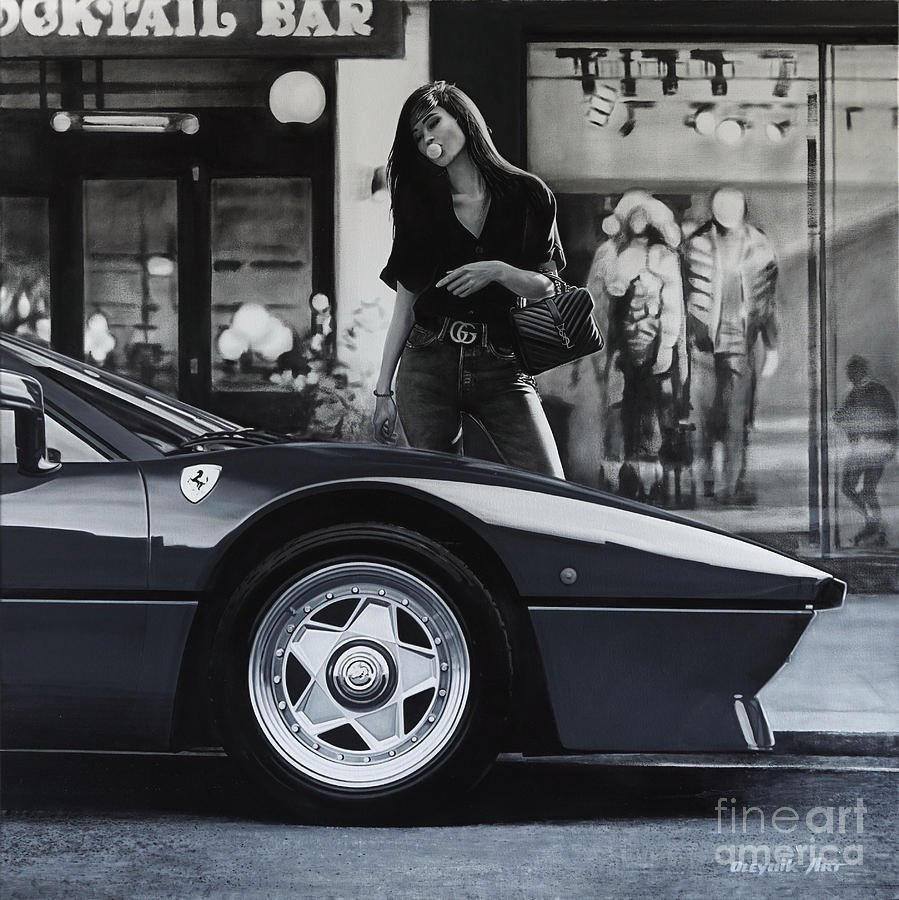
Craig, you were not in the right place with your bike. You need to go to more exclusive locations: Notice the Gucci belt, bubble gum .....and the Yves Saint Laurent purse ! Yves
-
I am very touched by this compliment. Truly glad I could help you. Yves
-
I remember seeing quite a few of these Ferrari, when I was living on the French Riviera. The most interesting was to cross the border and go to the "wealthy" towns right behind the border. There, you could see all the rich Italian kids parading in their Ferrari's and hooting all the Bella Ragazzas in the streets. One may wonder why the people were so affluent in these border towns: Simply because what they were selling was tax free and not taxed at 33% like most so called luxury products, on the French side. The greediness of the French government, made the fortune of these Italian folks. Yves
-
Fantastic model Nils, so artfully and quickly done. Your work is truly inspiring by the diversity of the models that you build and the exquisite rendering of the details that can be found on these ships. Now, what is your next project? Yves
-
You are moving fast and your model is looking great. Yves
-
Your conversion will be interesting to watch. I have built (partially...not done yet) that kit, and it is lovely. Where did you find the information related to her conversion as a "yacht"? I am curious to see that. Yves
-
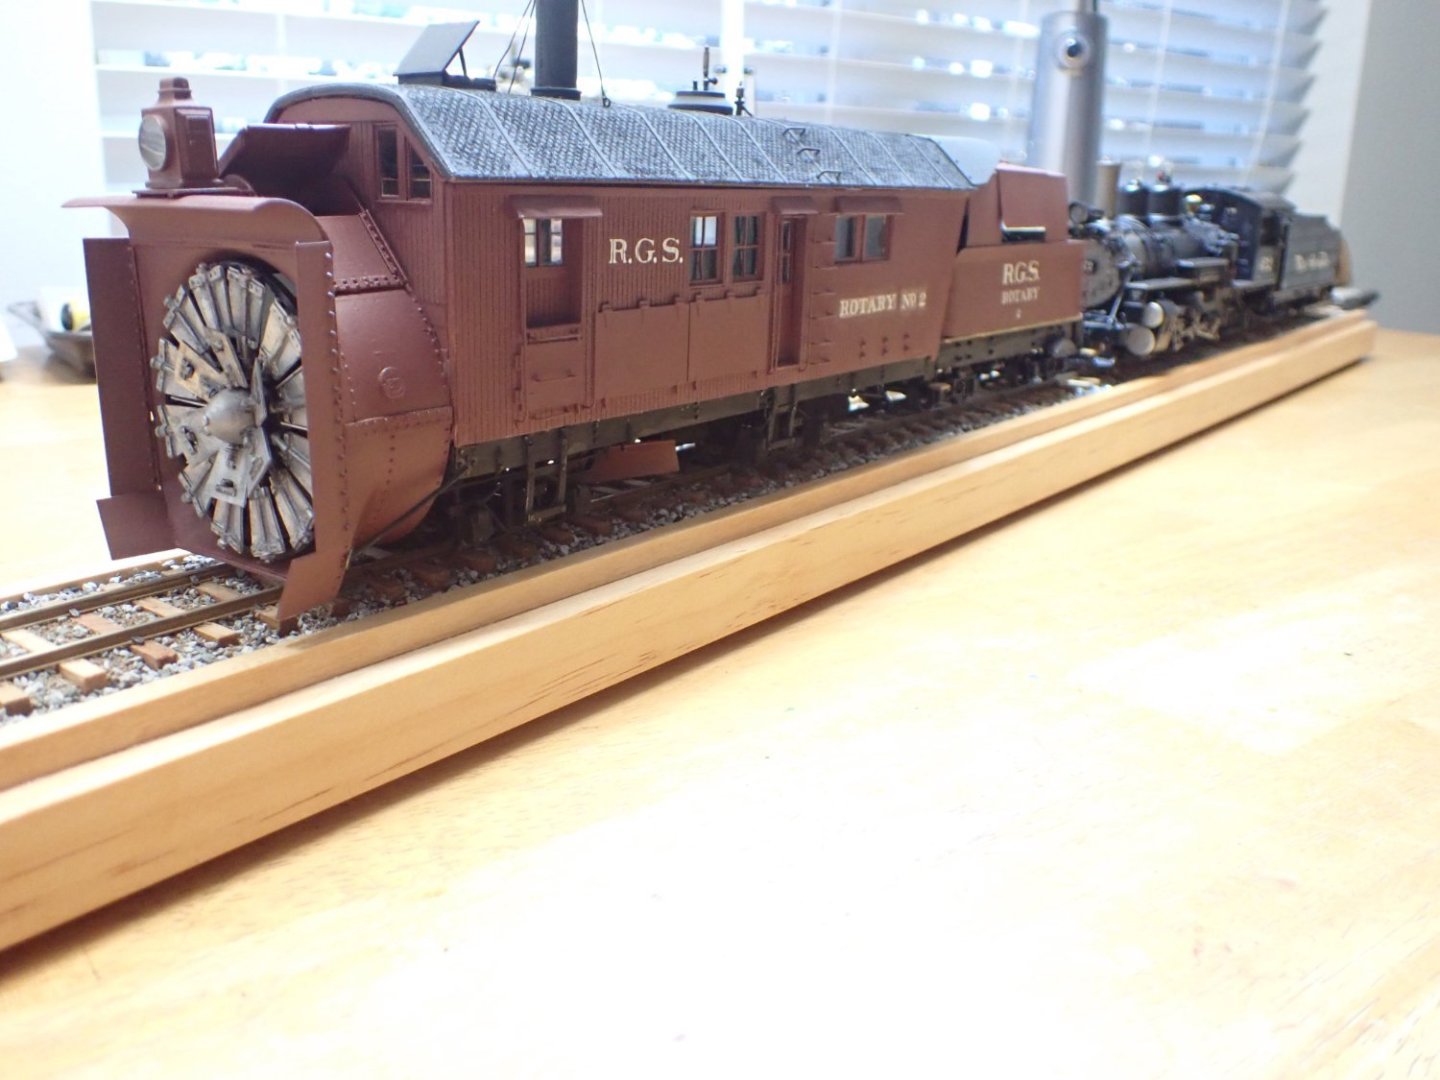
Thank you for posting that video. Yes, G-Scale or Gauge 1 (1/32) is another story and you can envision this kind of operation as long as the snow is very fresh and cold. In On3, it would not be possible. Yves
-
Superb model. I love all the fishing rigs, clearly visible and artfully displayed. I also like the lighter shades of the wood, which is in plain contrast with the dark woods usually provided in Spanish kits. You made a little marvel of this rare kit. Yves
- 17 replies
-
- 1
-

-
- Marie-Jeanne
- Artesania Latina
- (and 1 more)
-
Very interesting model. I do have a question though: Are you sure that the planking of the hull was not supposed to be on each half-hull? I am asking this question, because BB is notorious for inventing the half-hull planking and then connecting both halves together. Perhaps, you decided to do otherwise.... Just wondering. Yves
-
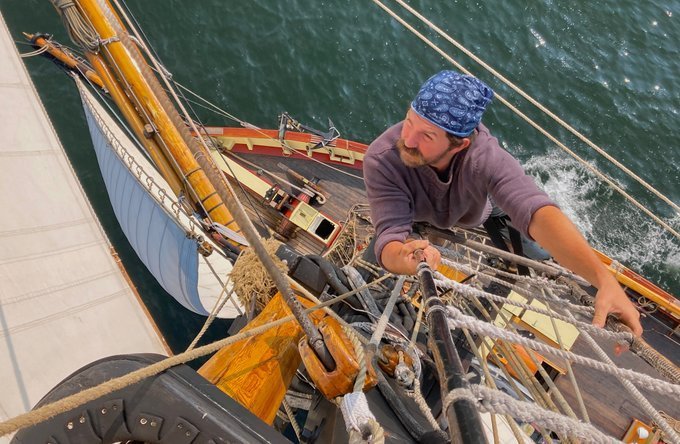
The magazine SAIL (Jan/Feb 2024) issue has some fantastic pictures of Pride of Baltimore 2 in action and an excellent story from a week on board the vessel. Yves
-
Your work is fantastic. Building a case is my weak point.... I do not have the equipment, tools and skills to do that. Yves
- 166 replies
-
- 2
-

-
- Maine
- BlueJacket Shipcrafters
- (and 1 more)
-
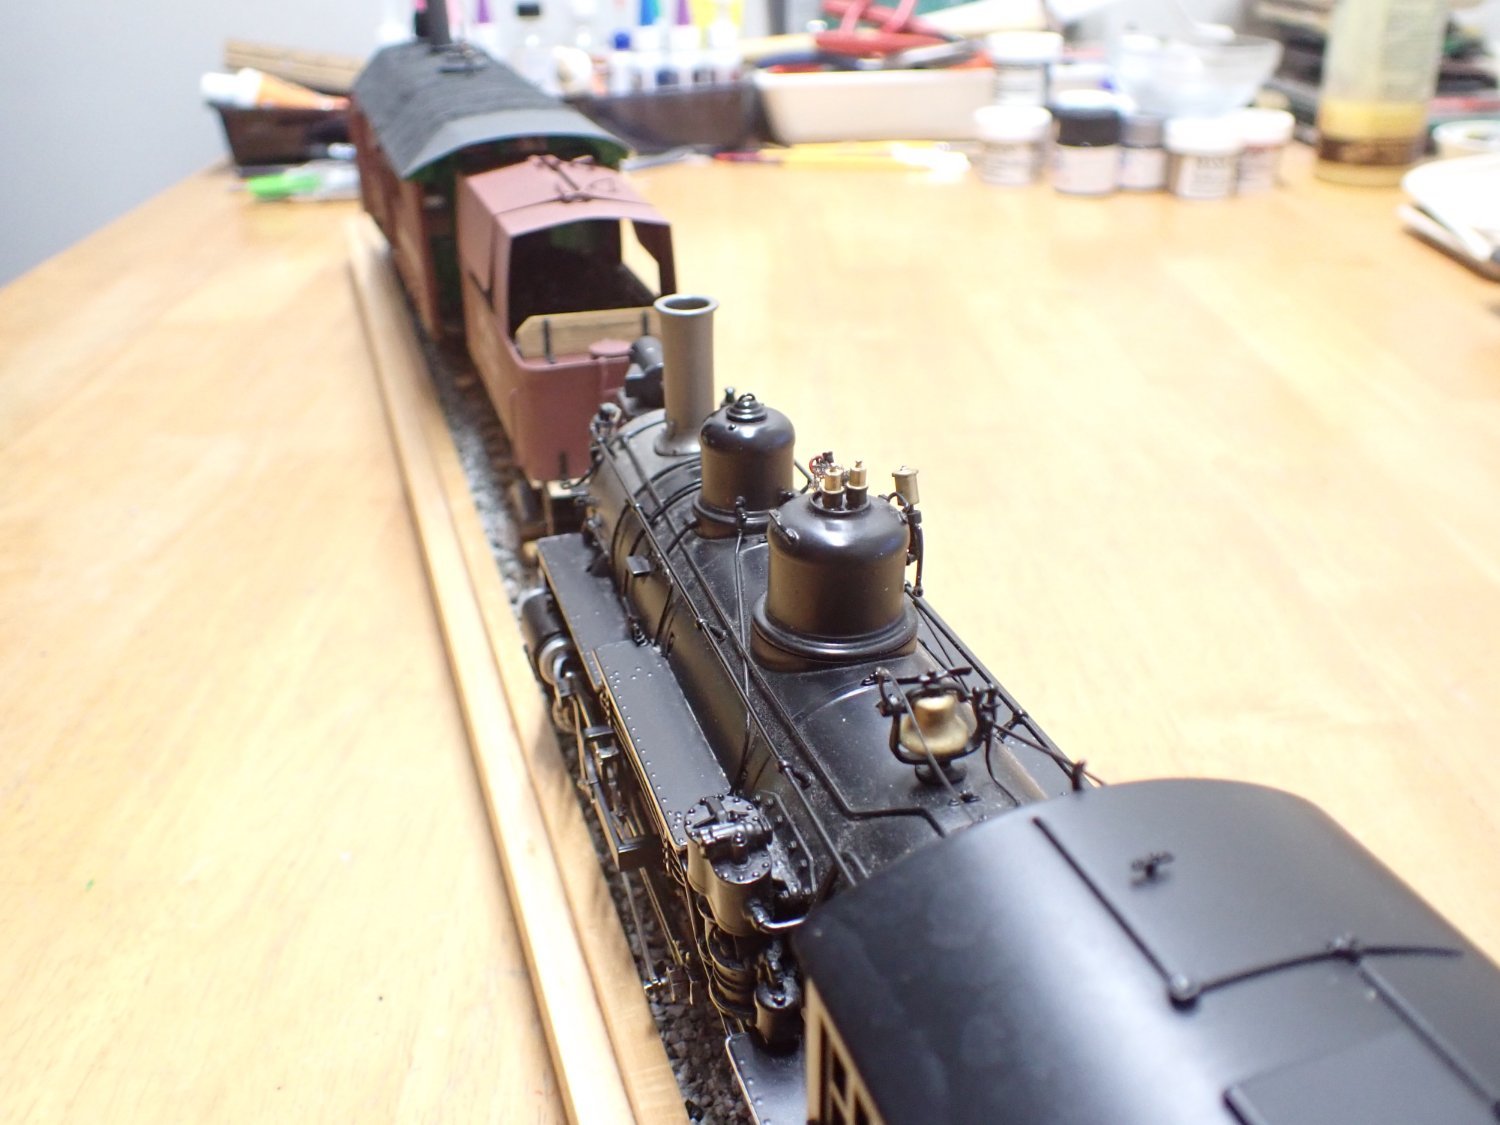
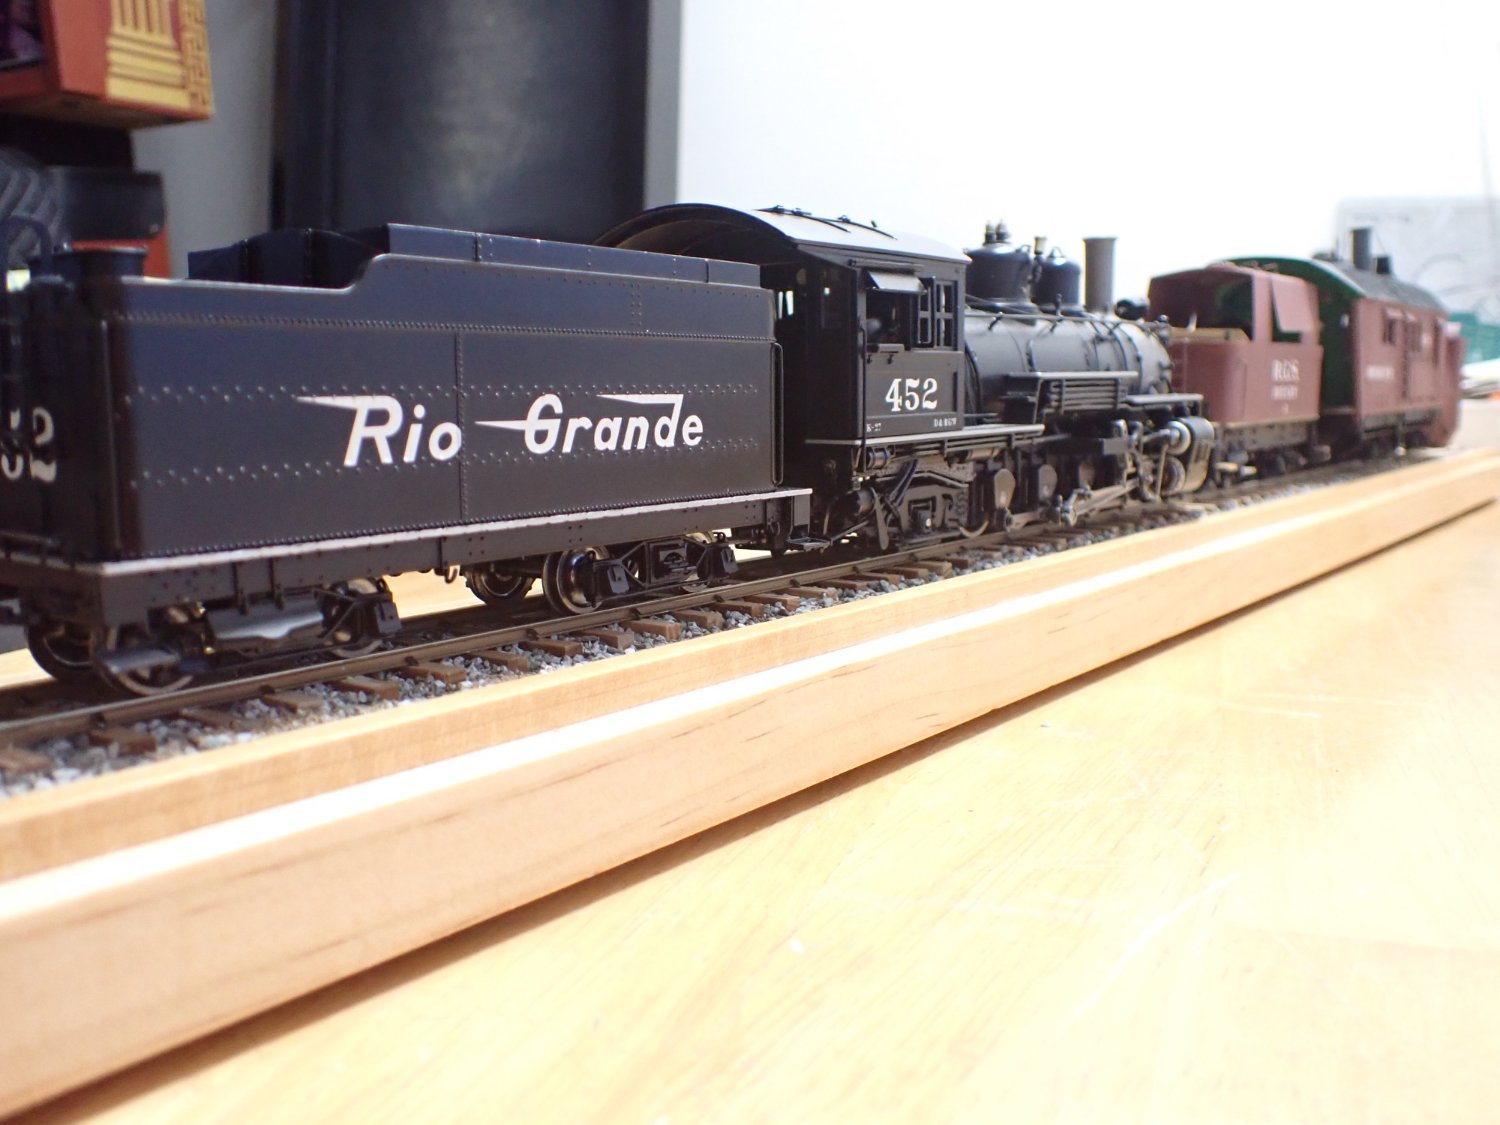
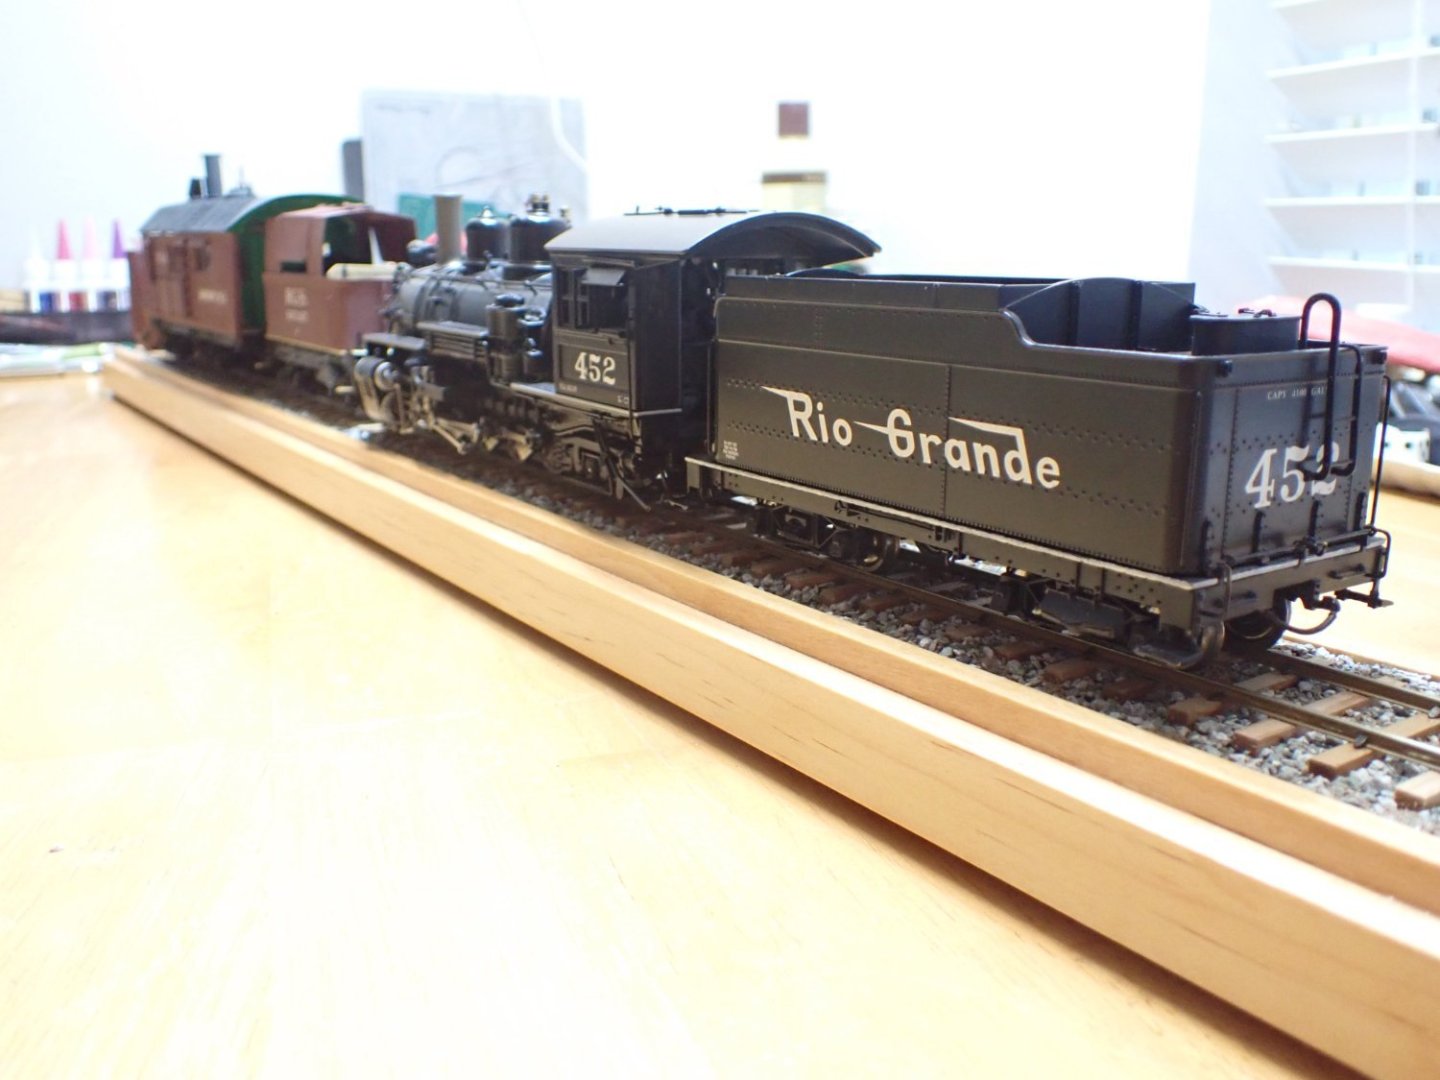
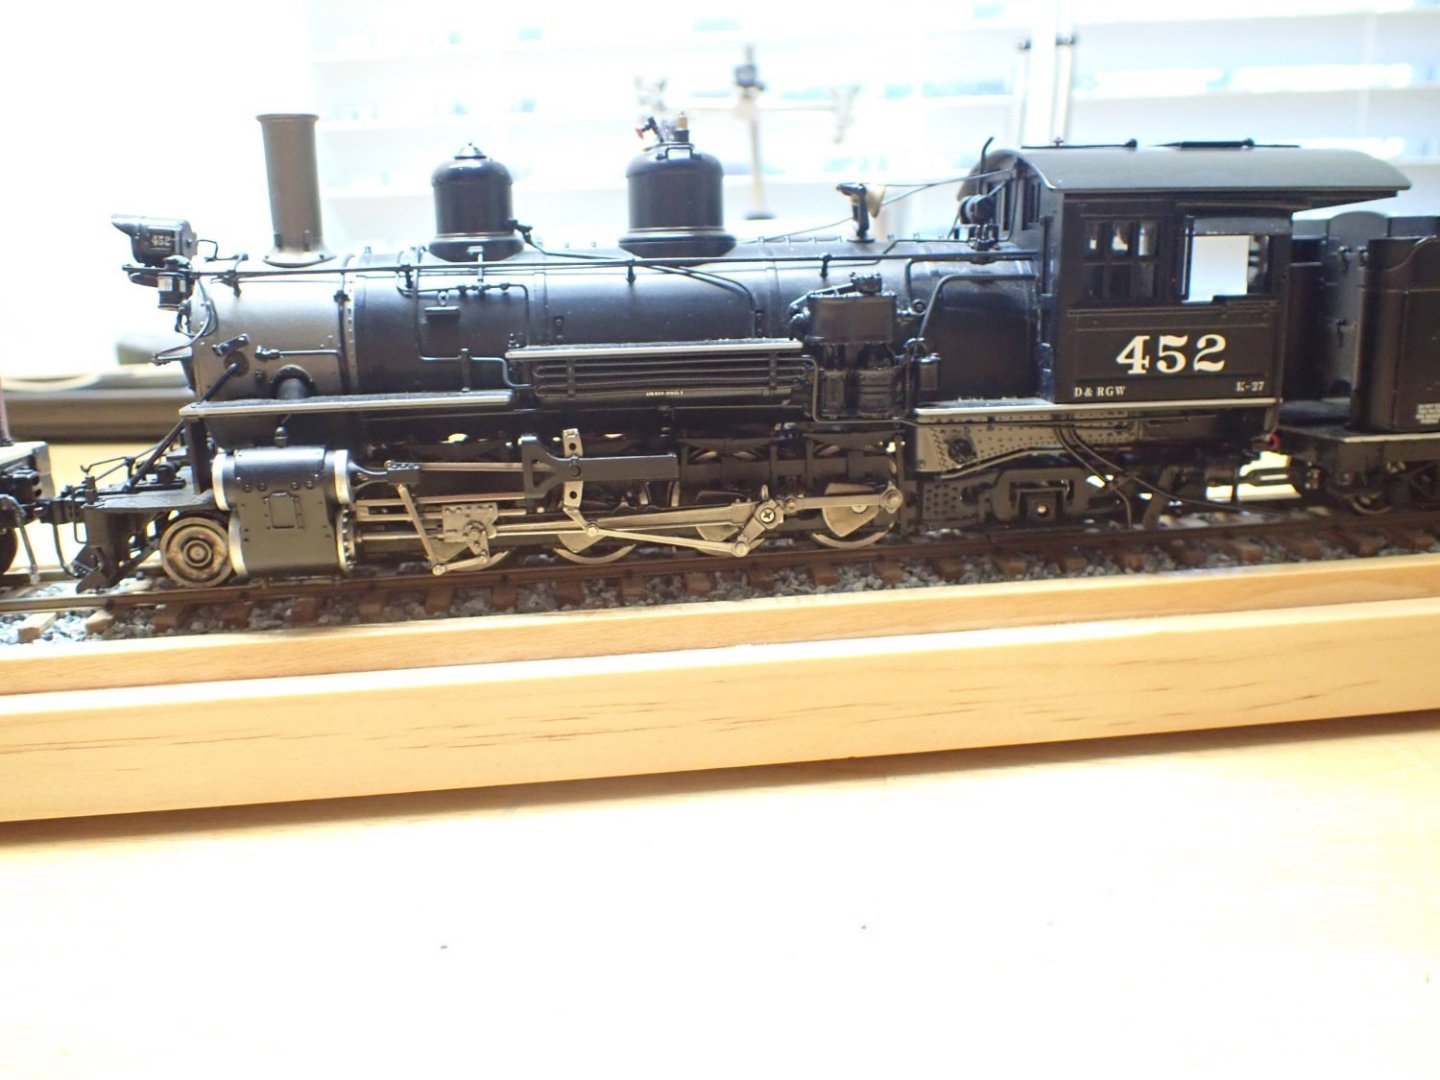
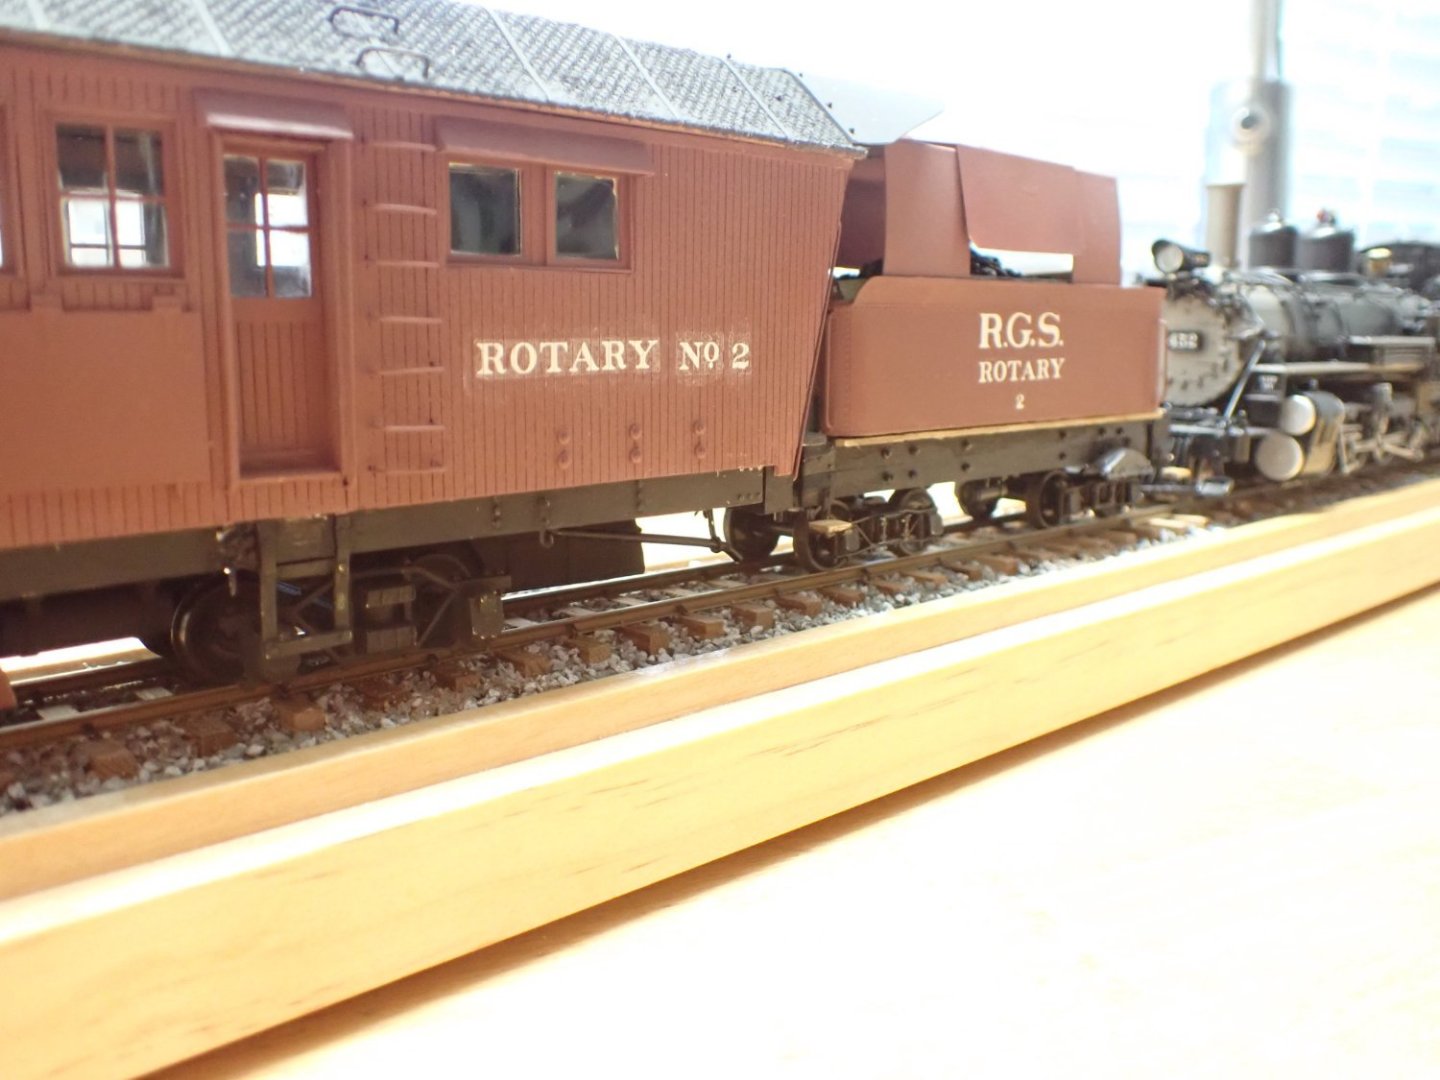
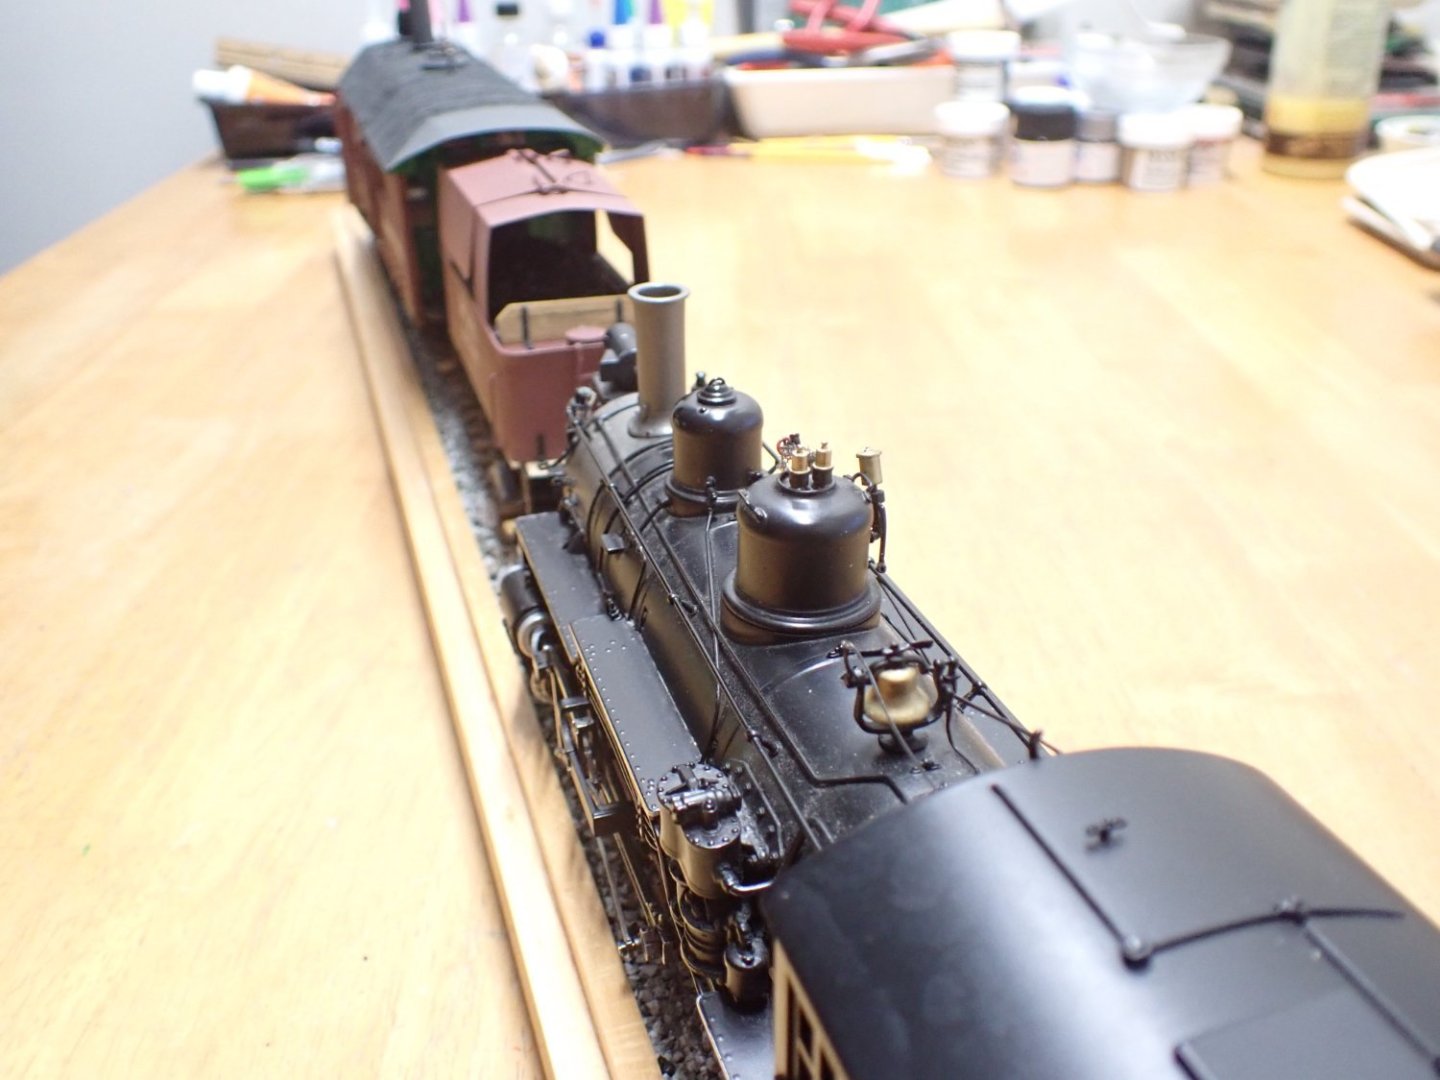
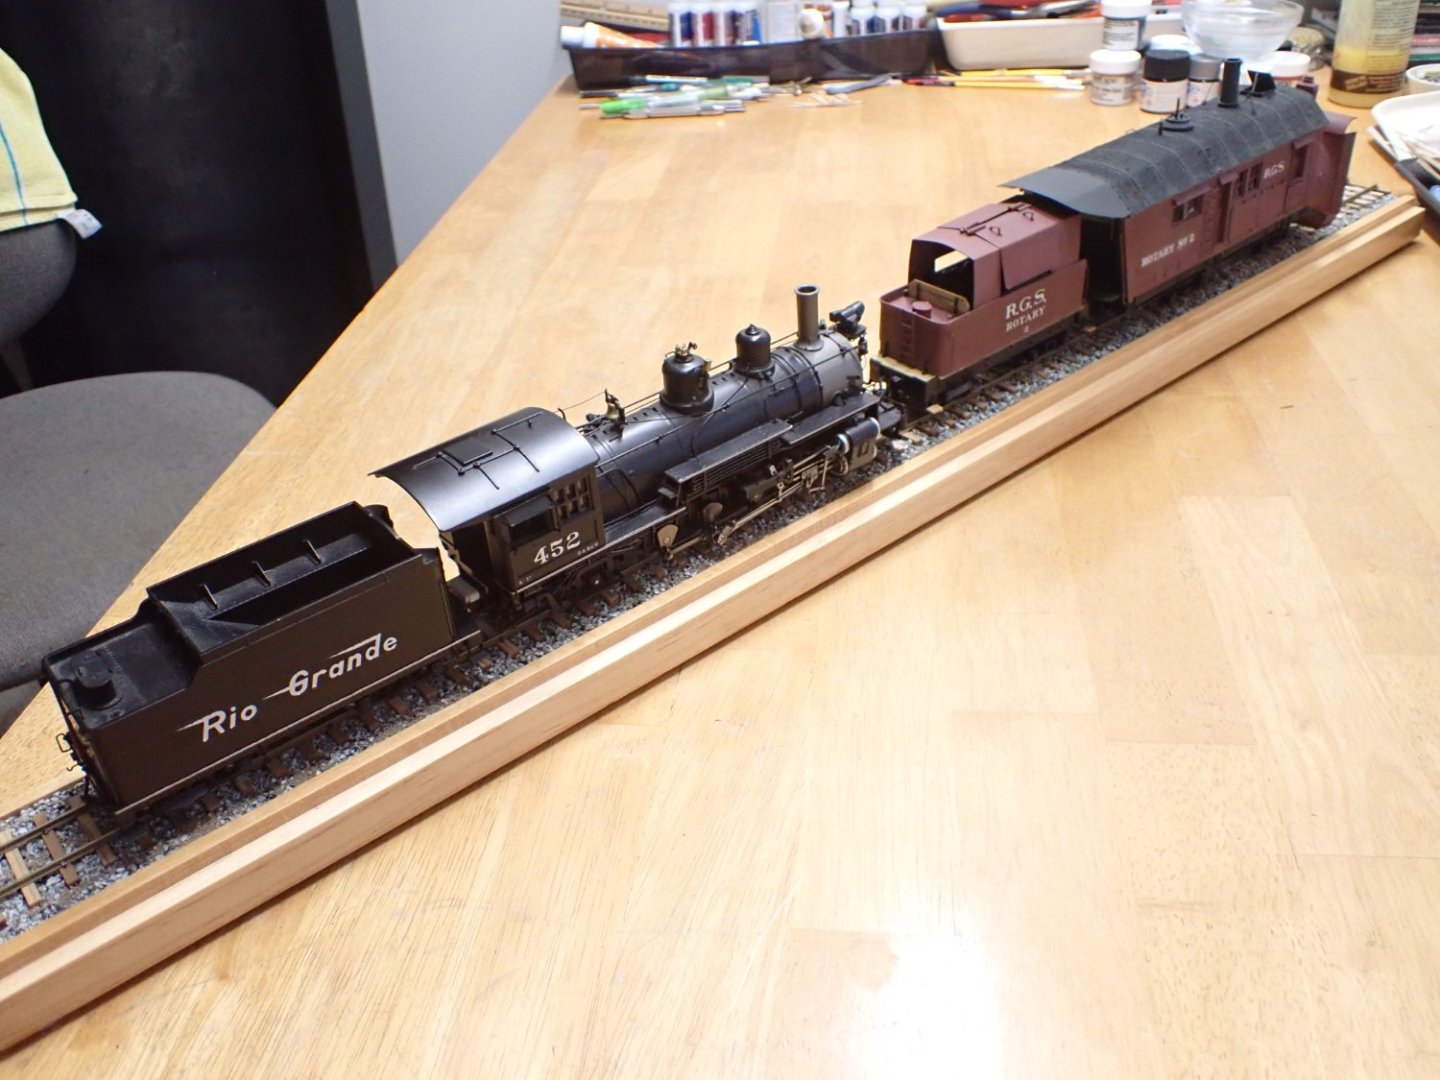
Craig, yes you summarized it pretty well. I may add a DCC controller in the process, to allow remote control of the engine. Finding spare parts is not easy but fortunately, we still have one company in the USA, casting brass parts mostly in O-scale. They do carry a lot of spare parts for these engines and many others. Yves
-
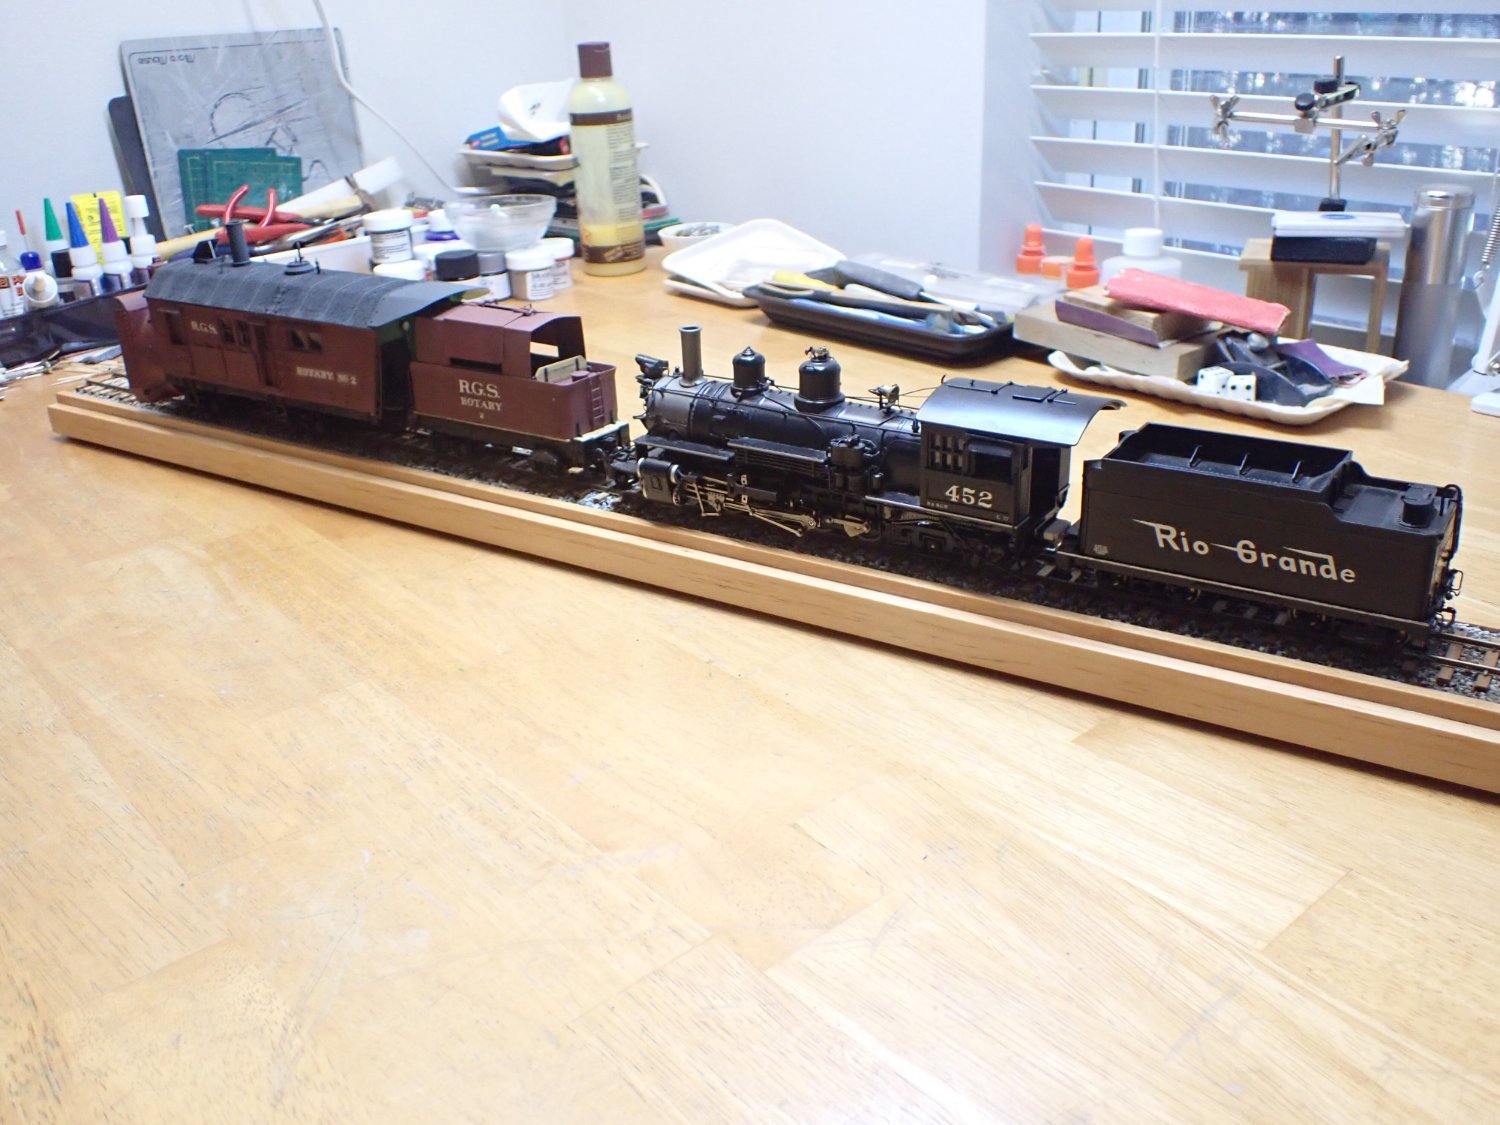
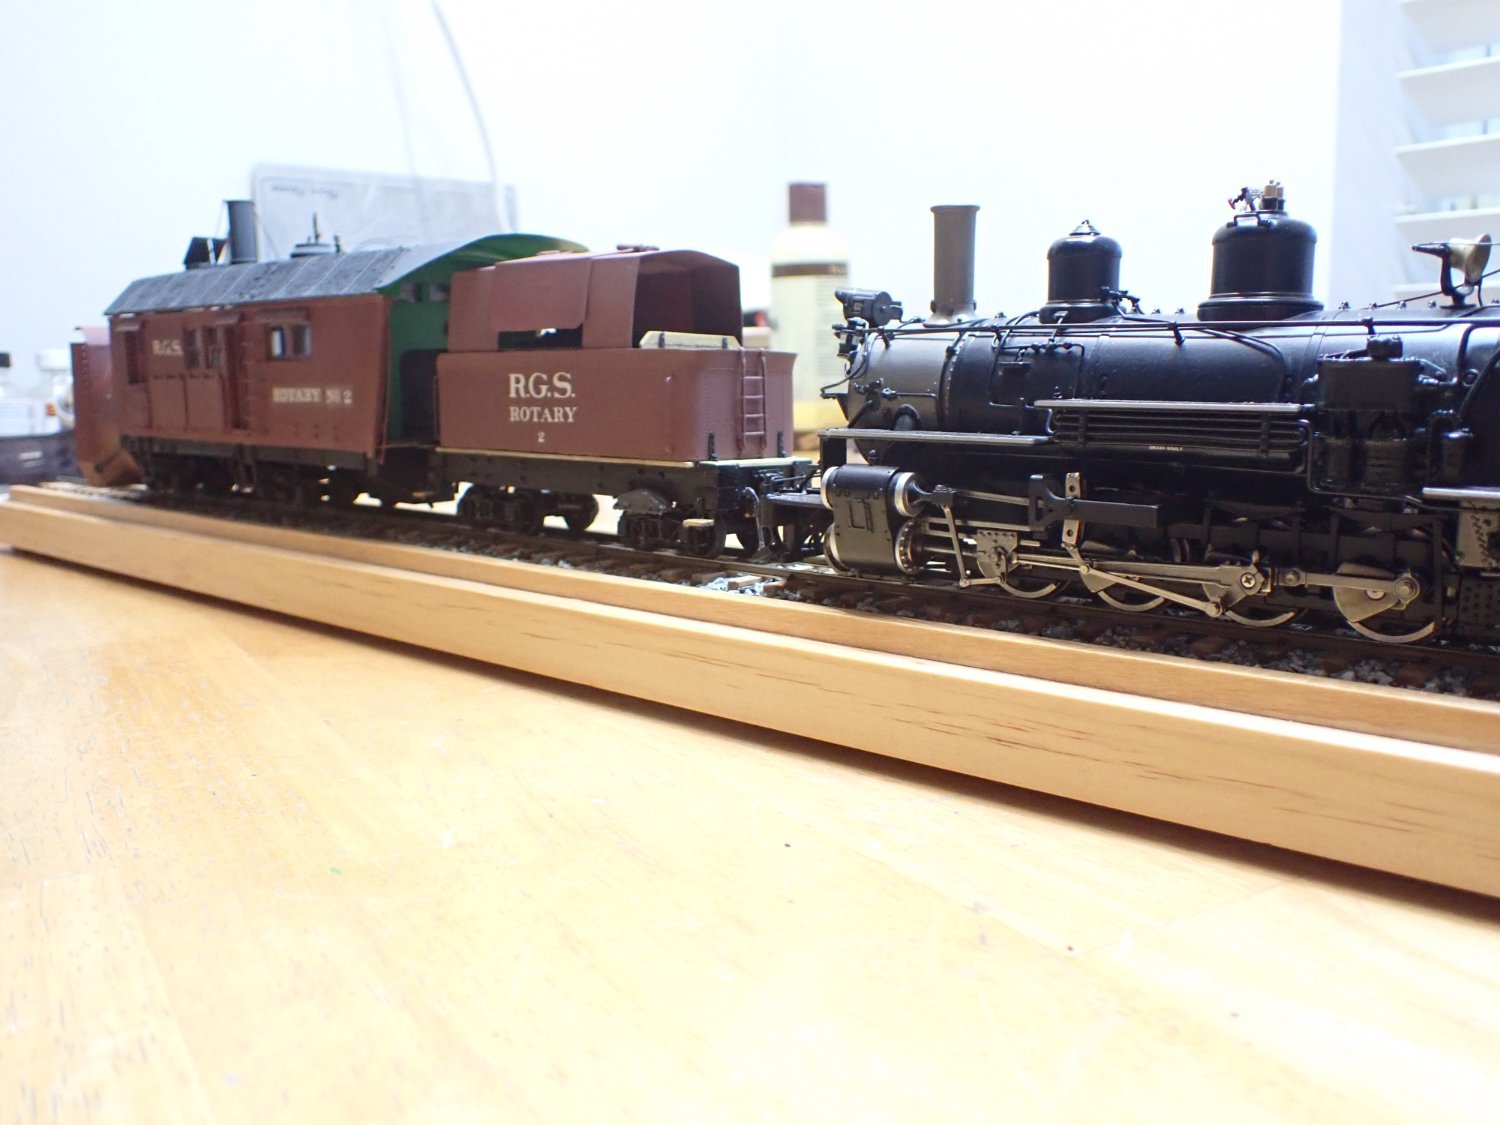
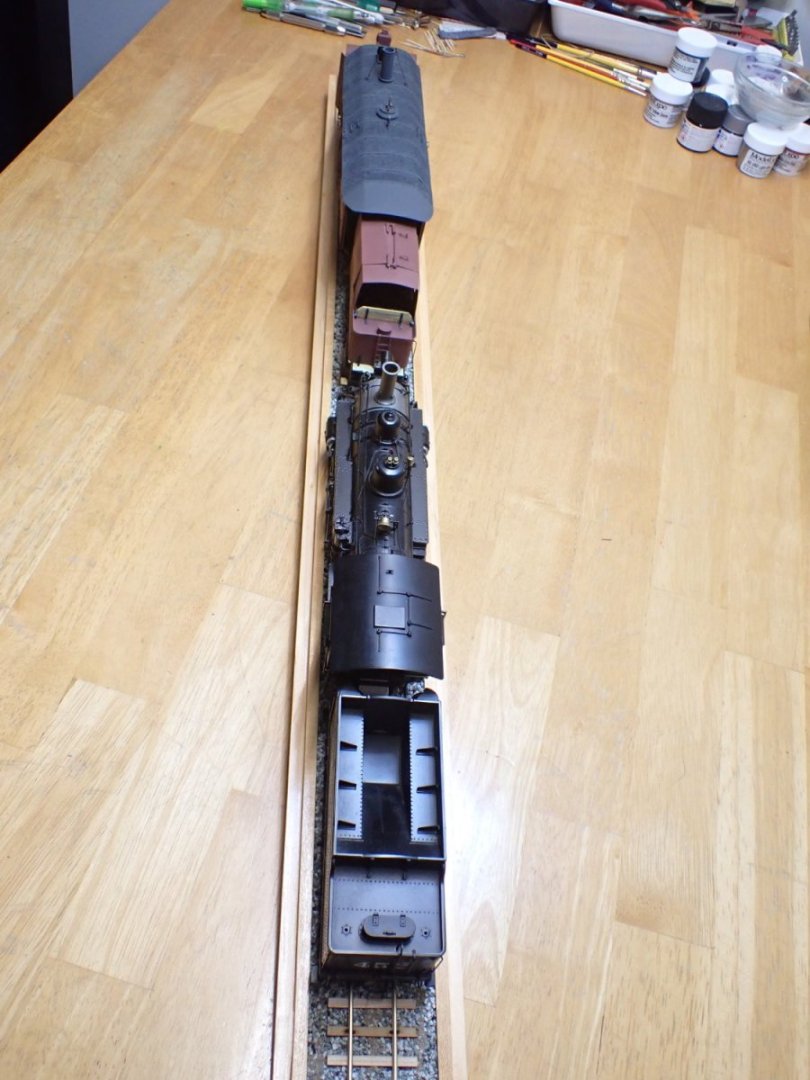
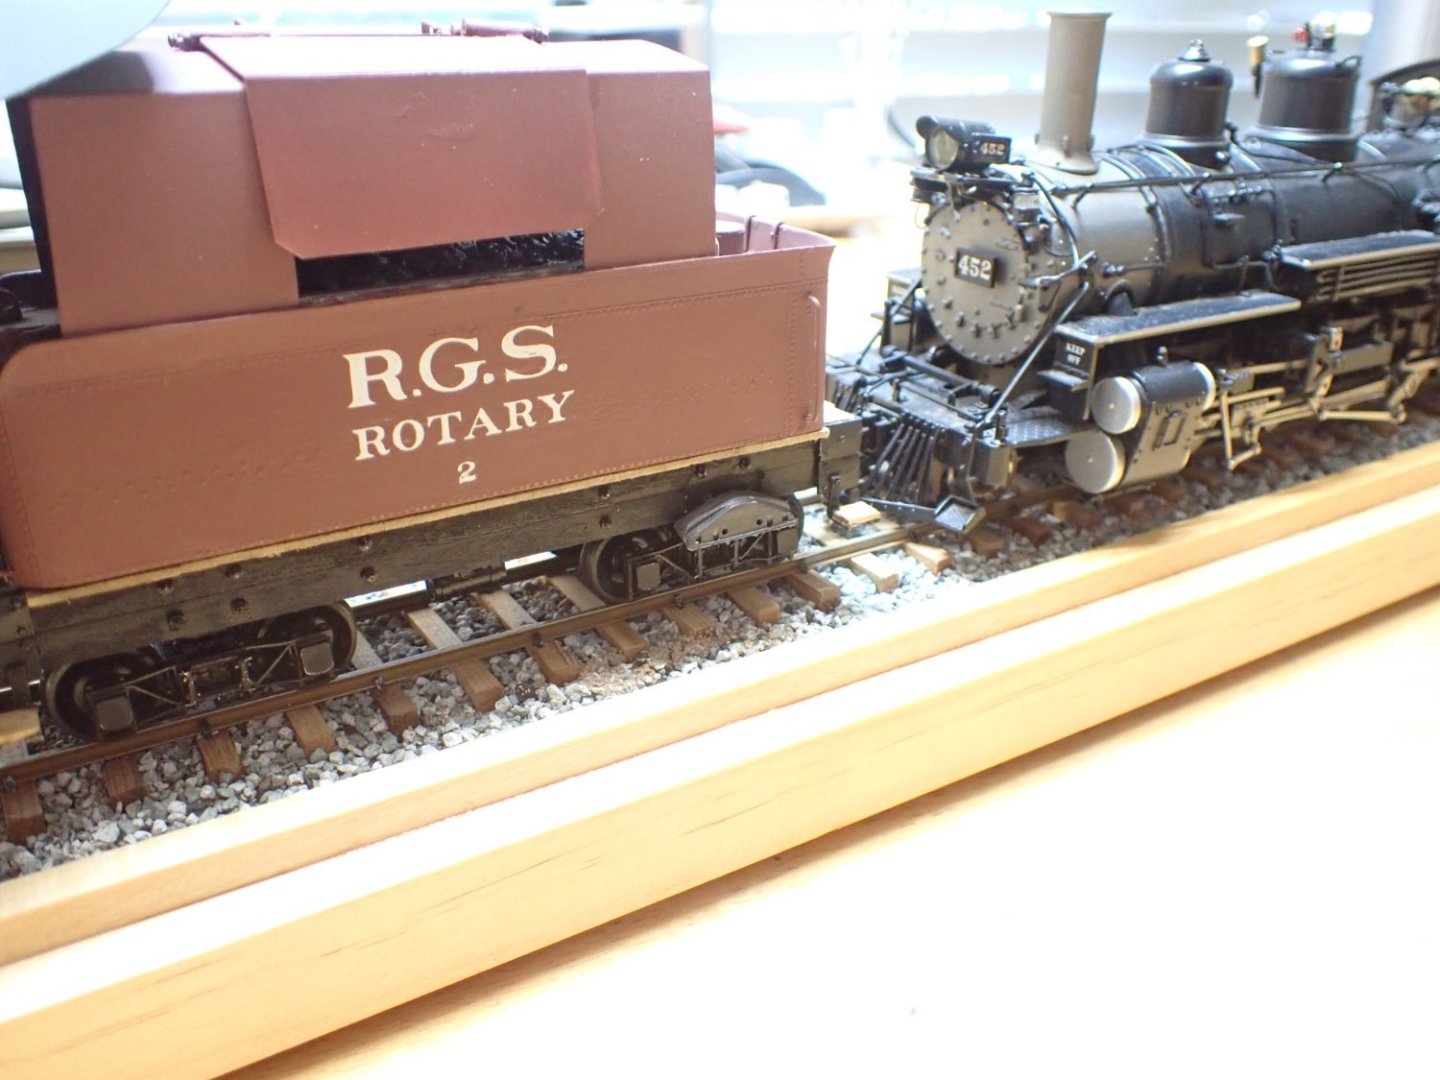
Project is almost completed. I just acquired an On3 engine to push the snowplow. The 2-8-2 engine will need KADEE couplers and a complete overhaul as it does not run yet smoothly. However, the price was right and it is in excellent condition. It is now time to go back and finish the HMS Bellona. Yves


- 102 replies
-
- 18
-
-

-
Very interesting kit. I have seen a few examples of these on Pinterest. Yves
-
Superb little boat. I am looking forward to see your next project. Yves