


schooner
-
Posts
727 -
Joined
-
Last visited
Content Type
Profiles
Forums
Gallery
Events
Posts posted by schooner
-
-
Hi Julie,
I'll be following along with interest since I bought a MS Forester on Ebay a few months ago. My intent was to cut the hull in half for a half hull model (maybe even 2 of them!) that I could ship to my sister who lives on Grays Harbor WA, which around 1900 was the biggest lumber port in the world. Trying to ship a fully rigged model to the West Coast would be prohibitively expensive, plus gifting someone a cased ship model might lead to one of those "Gee, thanks, I guess..." moments.
My kit seems to have all the fittings and I've been thinking of buying another kit like yours where the seller says "parts missing" for the half hull model and using my kit for a rigged version for me.
If you are going to use the hull just as a template for bulkheads keep me in mind before you toss the hull, I might be interested in buying it.
You mentioned not being able to find a photo of the finished MS model - if you google "schooner forester model" and look under images a nice one pops up right away.
Good luck
Tim
- Paul Le Wol, catopower and sheepsail
-
 2
2
-
 1
1
-
Very well done. I'm impressed with your technique for the furled sails - I'll have to use it when I get around to building my FORESTER kit, an old Model Shipways West Coast Lumber schooner.
Once again, great job.
-
-
-
-
Your explanation of how to sand these lift boat hulls is the best I have seen - I wish I'd seen it before I trashed my longboat while sanding the hull and had to replace it with a planked kit from Victory Models.
-
-
-
Phil,
I just noticed your CLG-5 avatar and your MSI build link. I was stationed in Yokosuka on an FF when the Okie Boat did her last ride there in the late 70’s. I was on an MSO in the late 80’s - I thought our fantail was crowded with sweep gear but it was nothing compared to what you had crammed into an MSI.
-
Hi Phil,
Looks like you are making good progress and solving the little problems that inevitably come up.
I have not built the 18-footer but I hope to near the end of my Syren build. I did do the 24ft launch (I have a build log under the 1751-1800 section). One suggestion that may help you avoid a problem - the transom is a weak point when planking the hull since it is just hanging out there in space and not attached to the base. You might want to consider attaching some scrap wood to the base that will reinforce the transom vertically and athwartship so it doesn't break off under pressure.
keep up the good work.
-
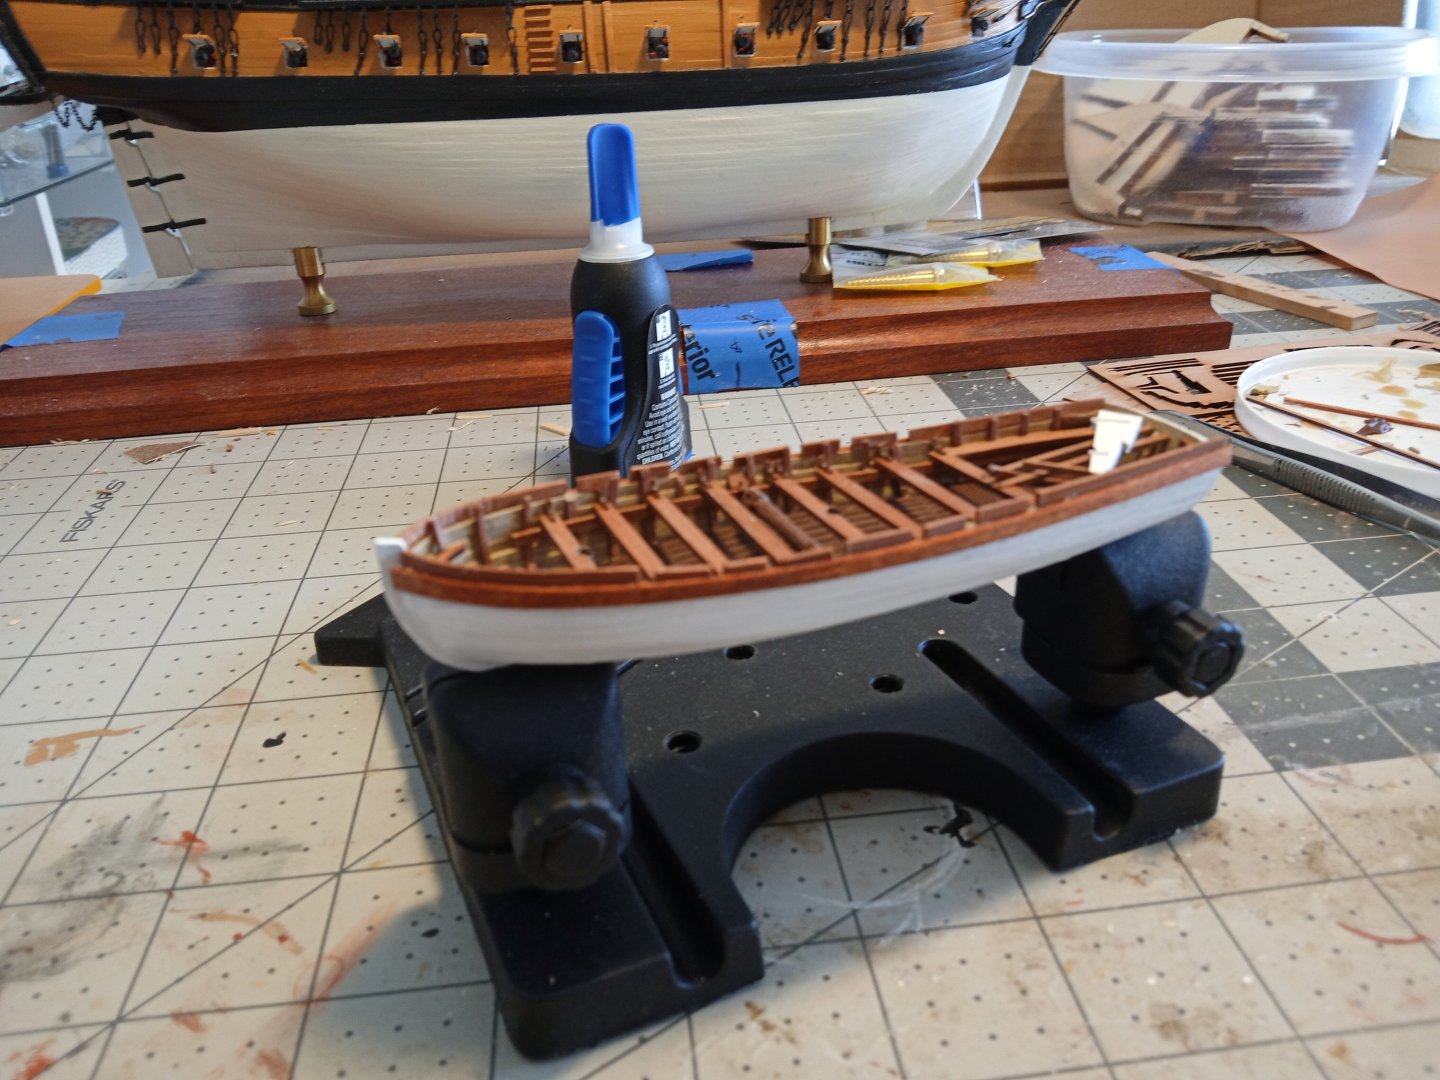
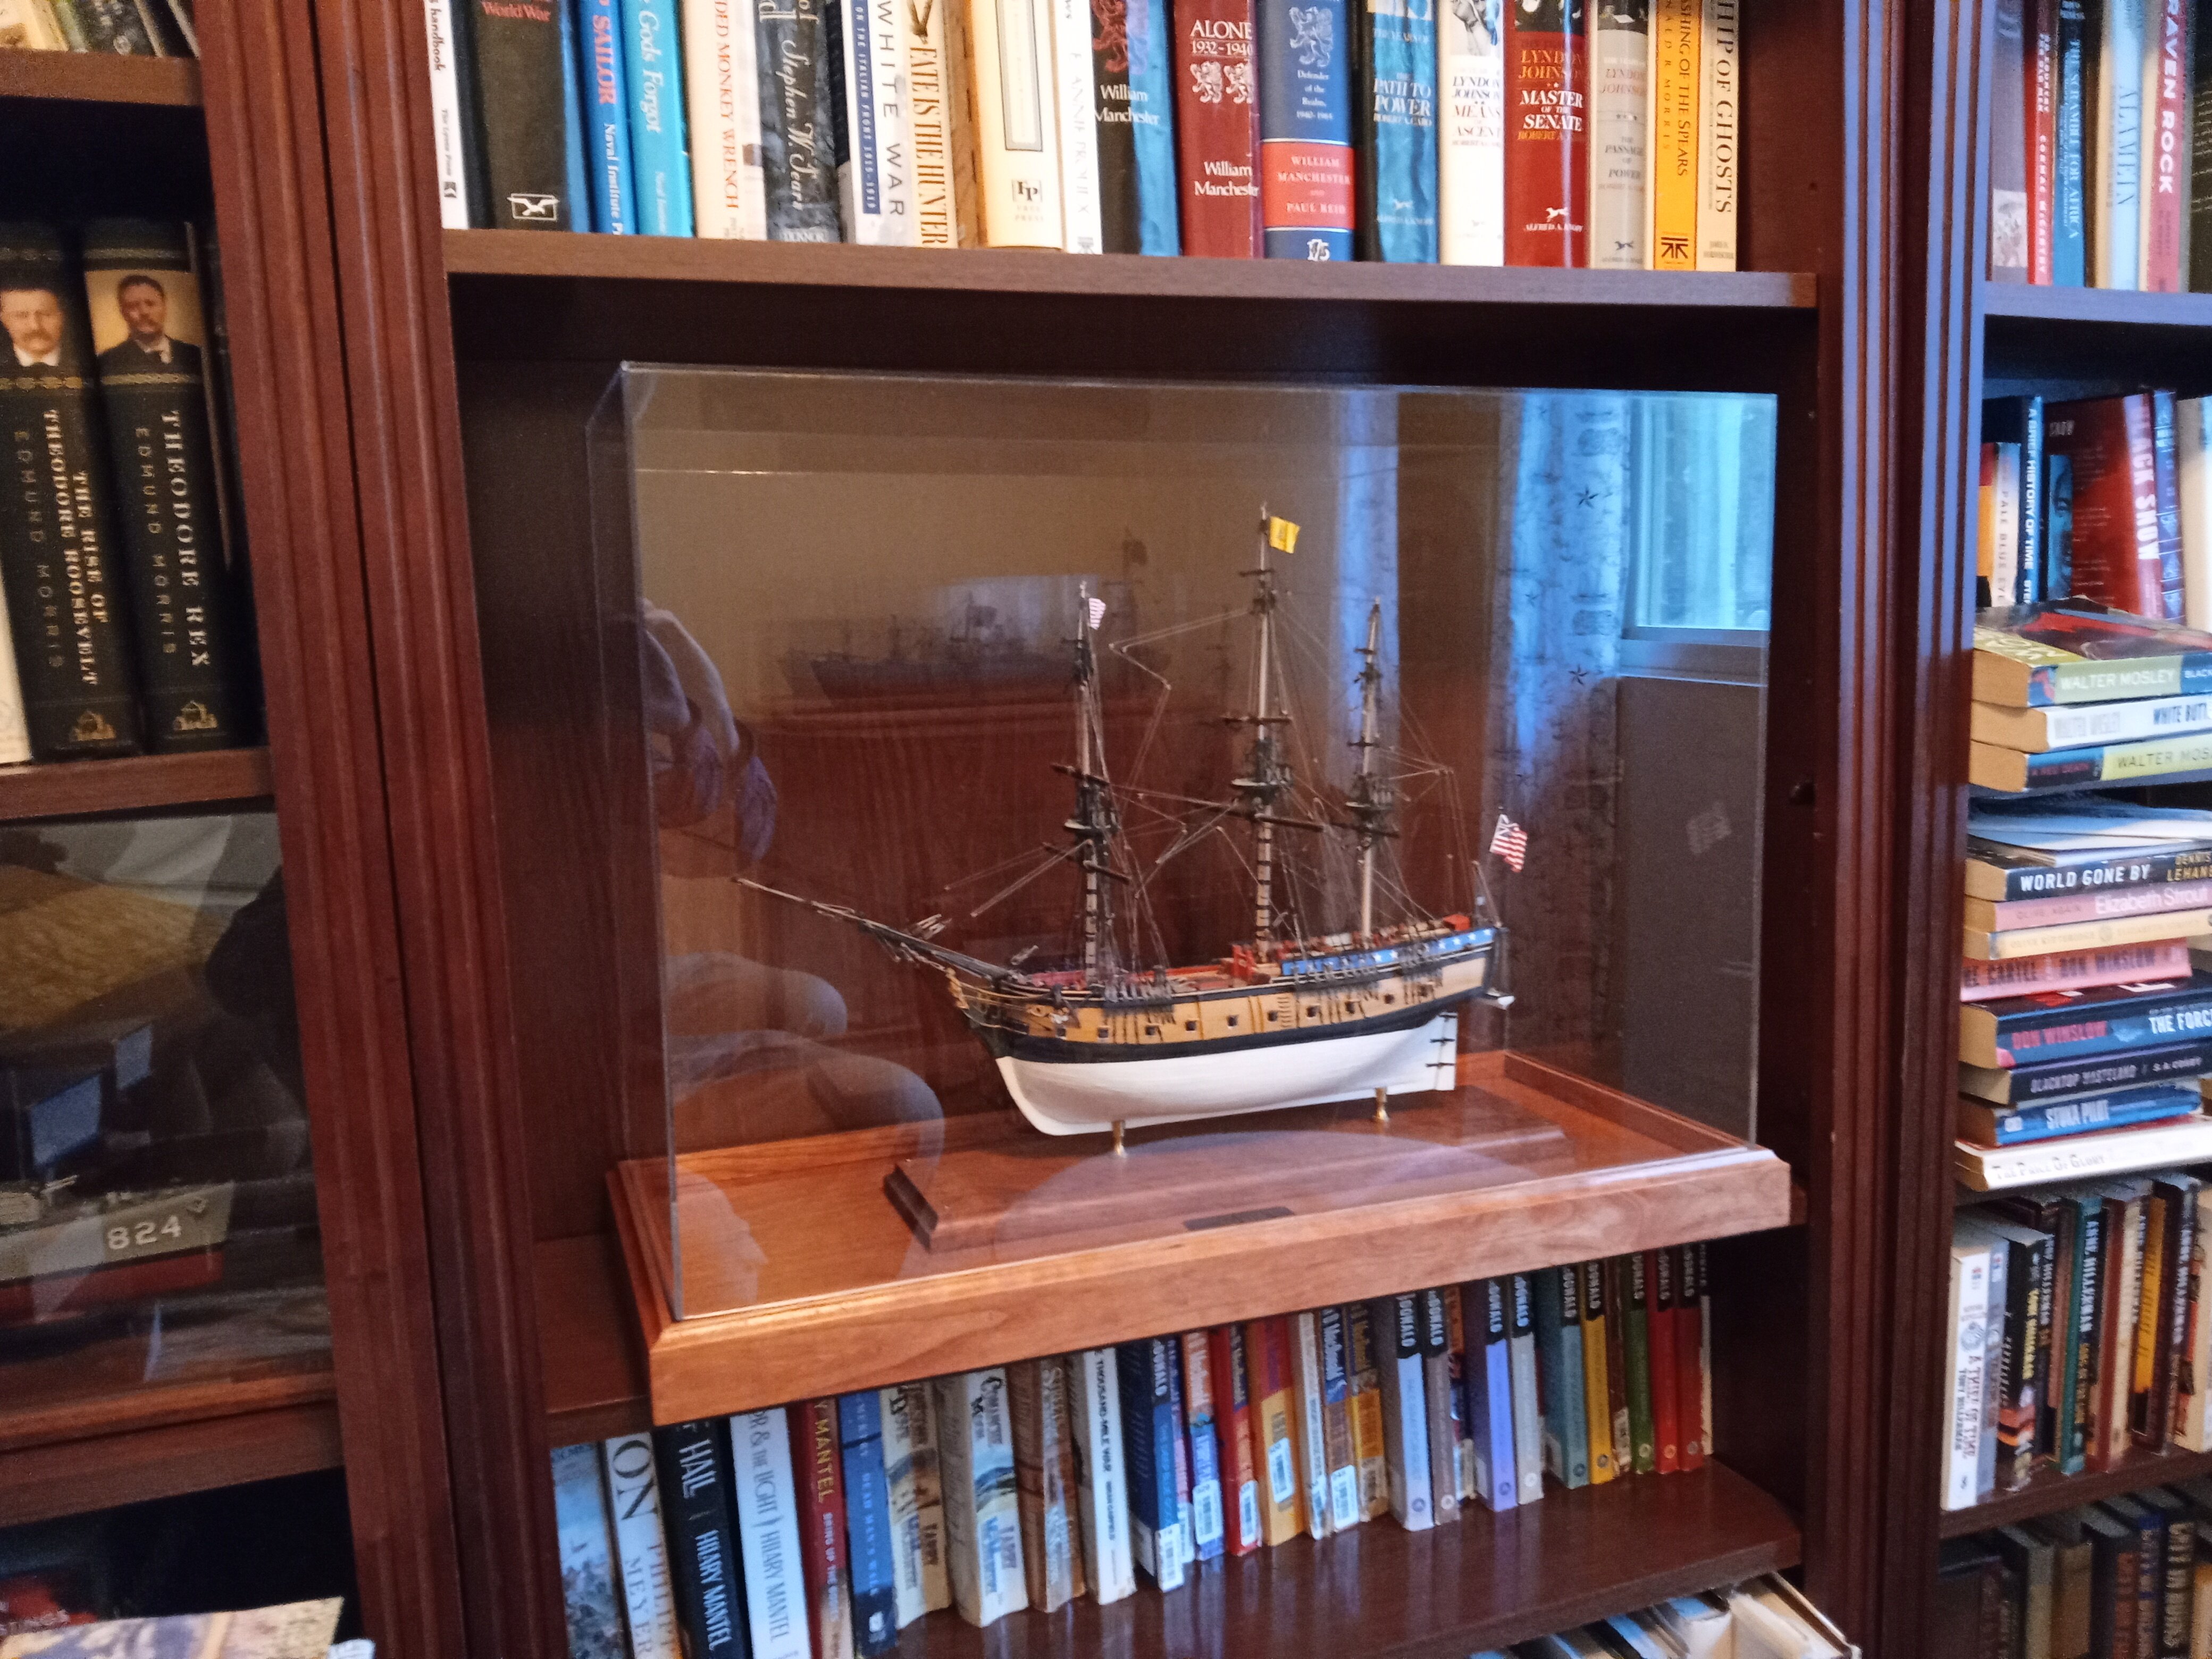
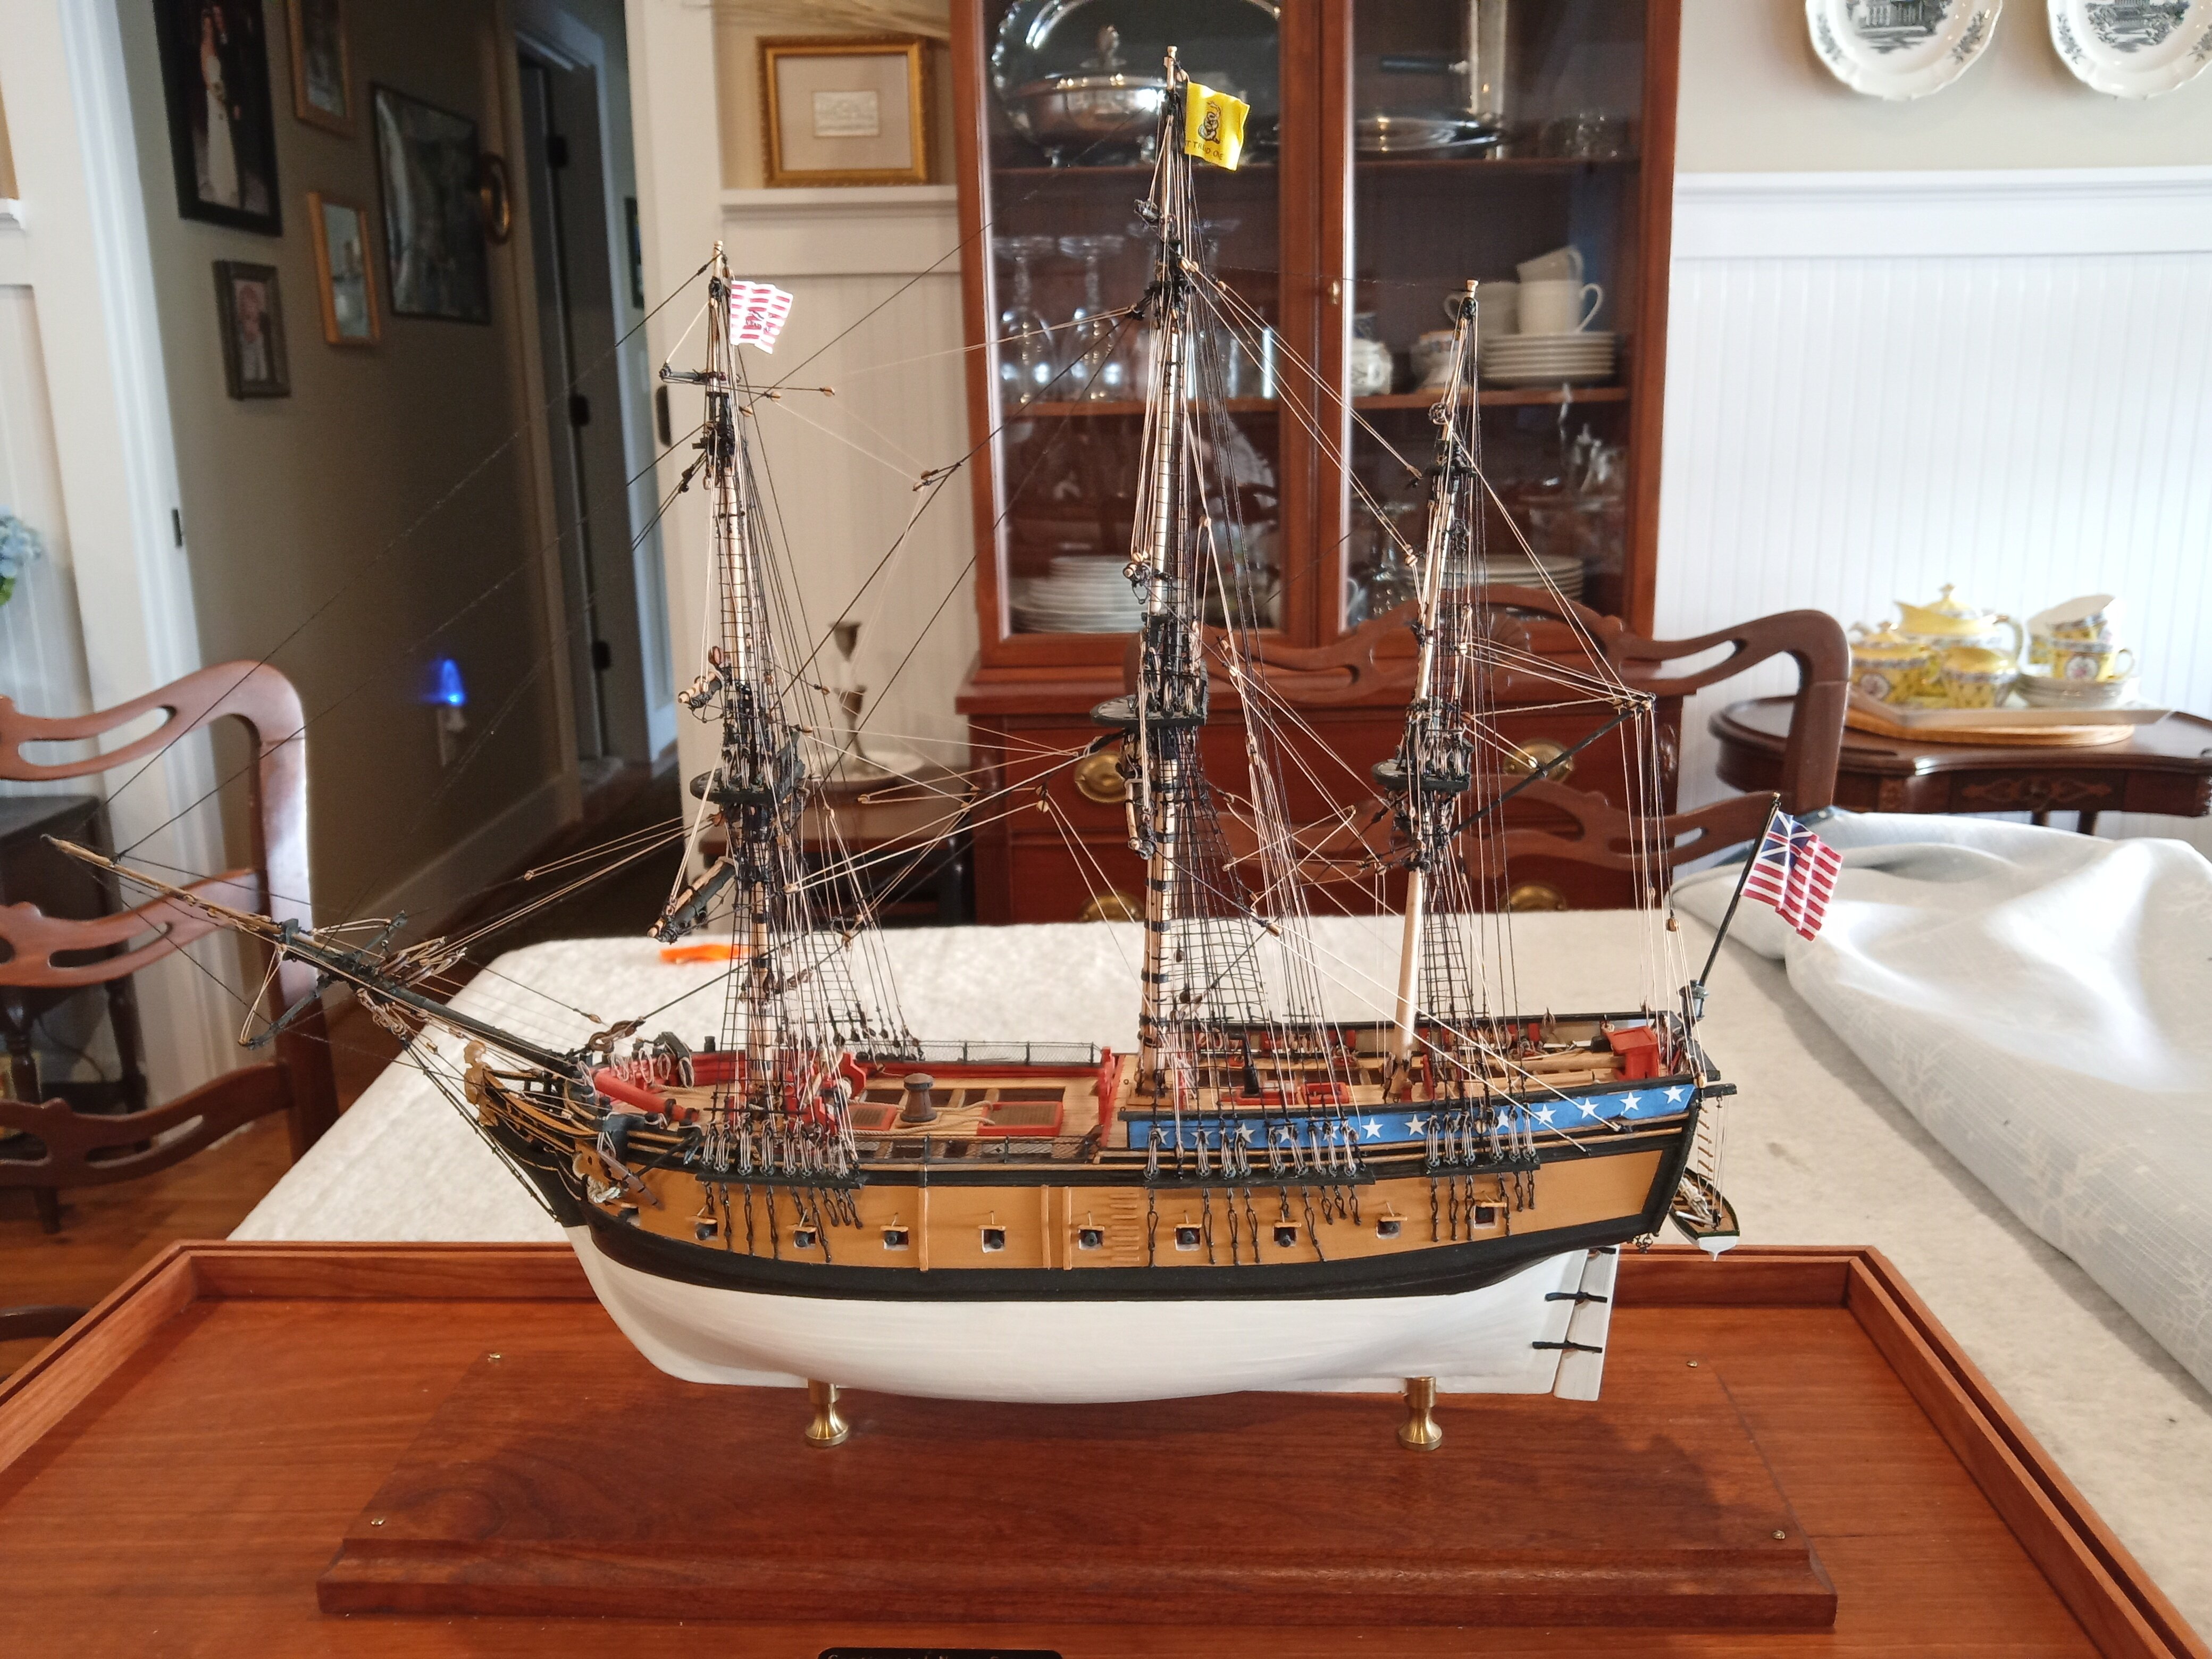
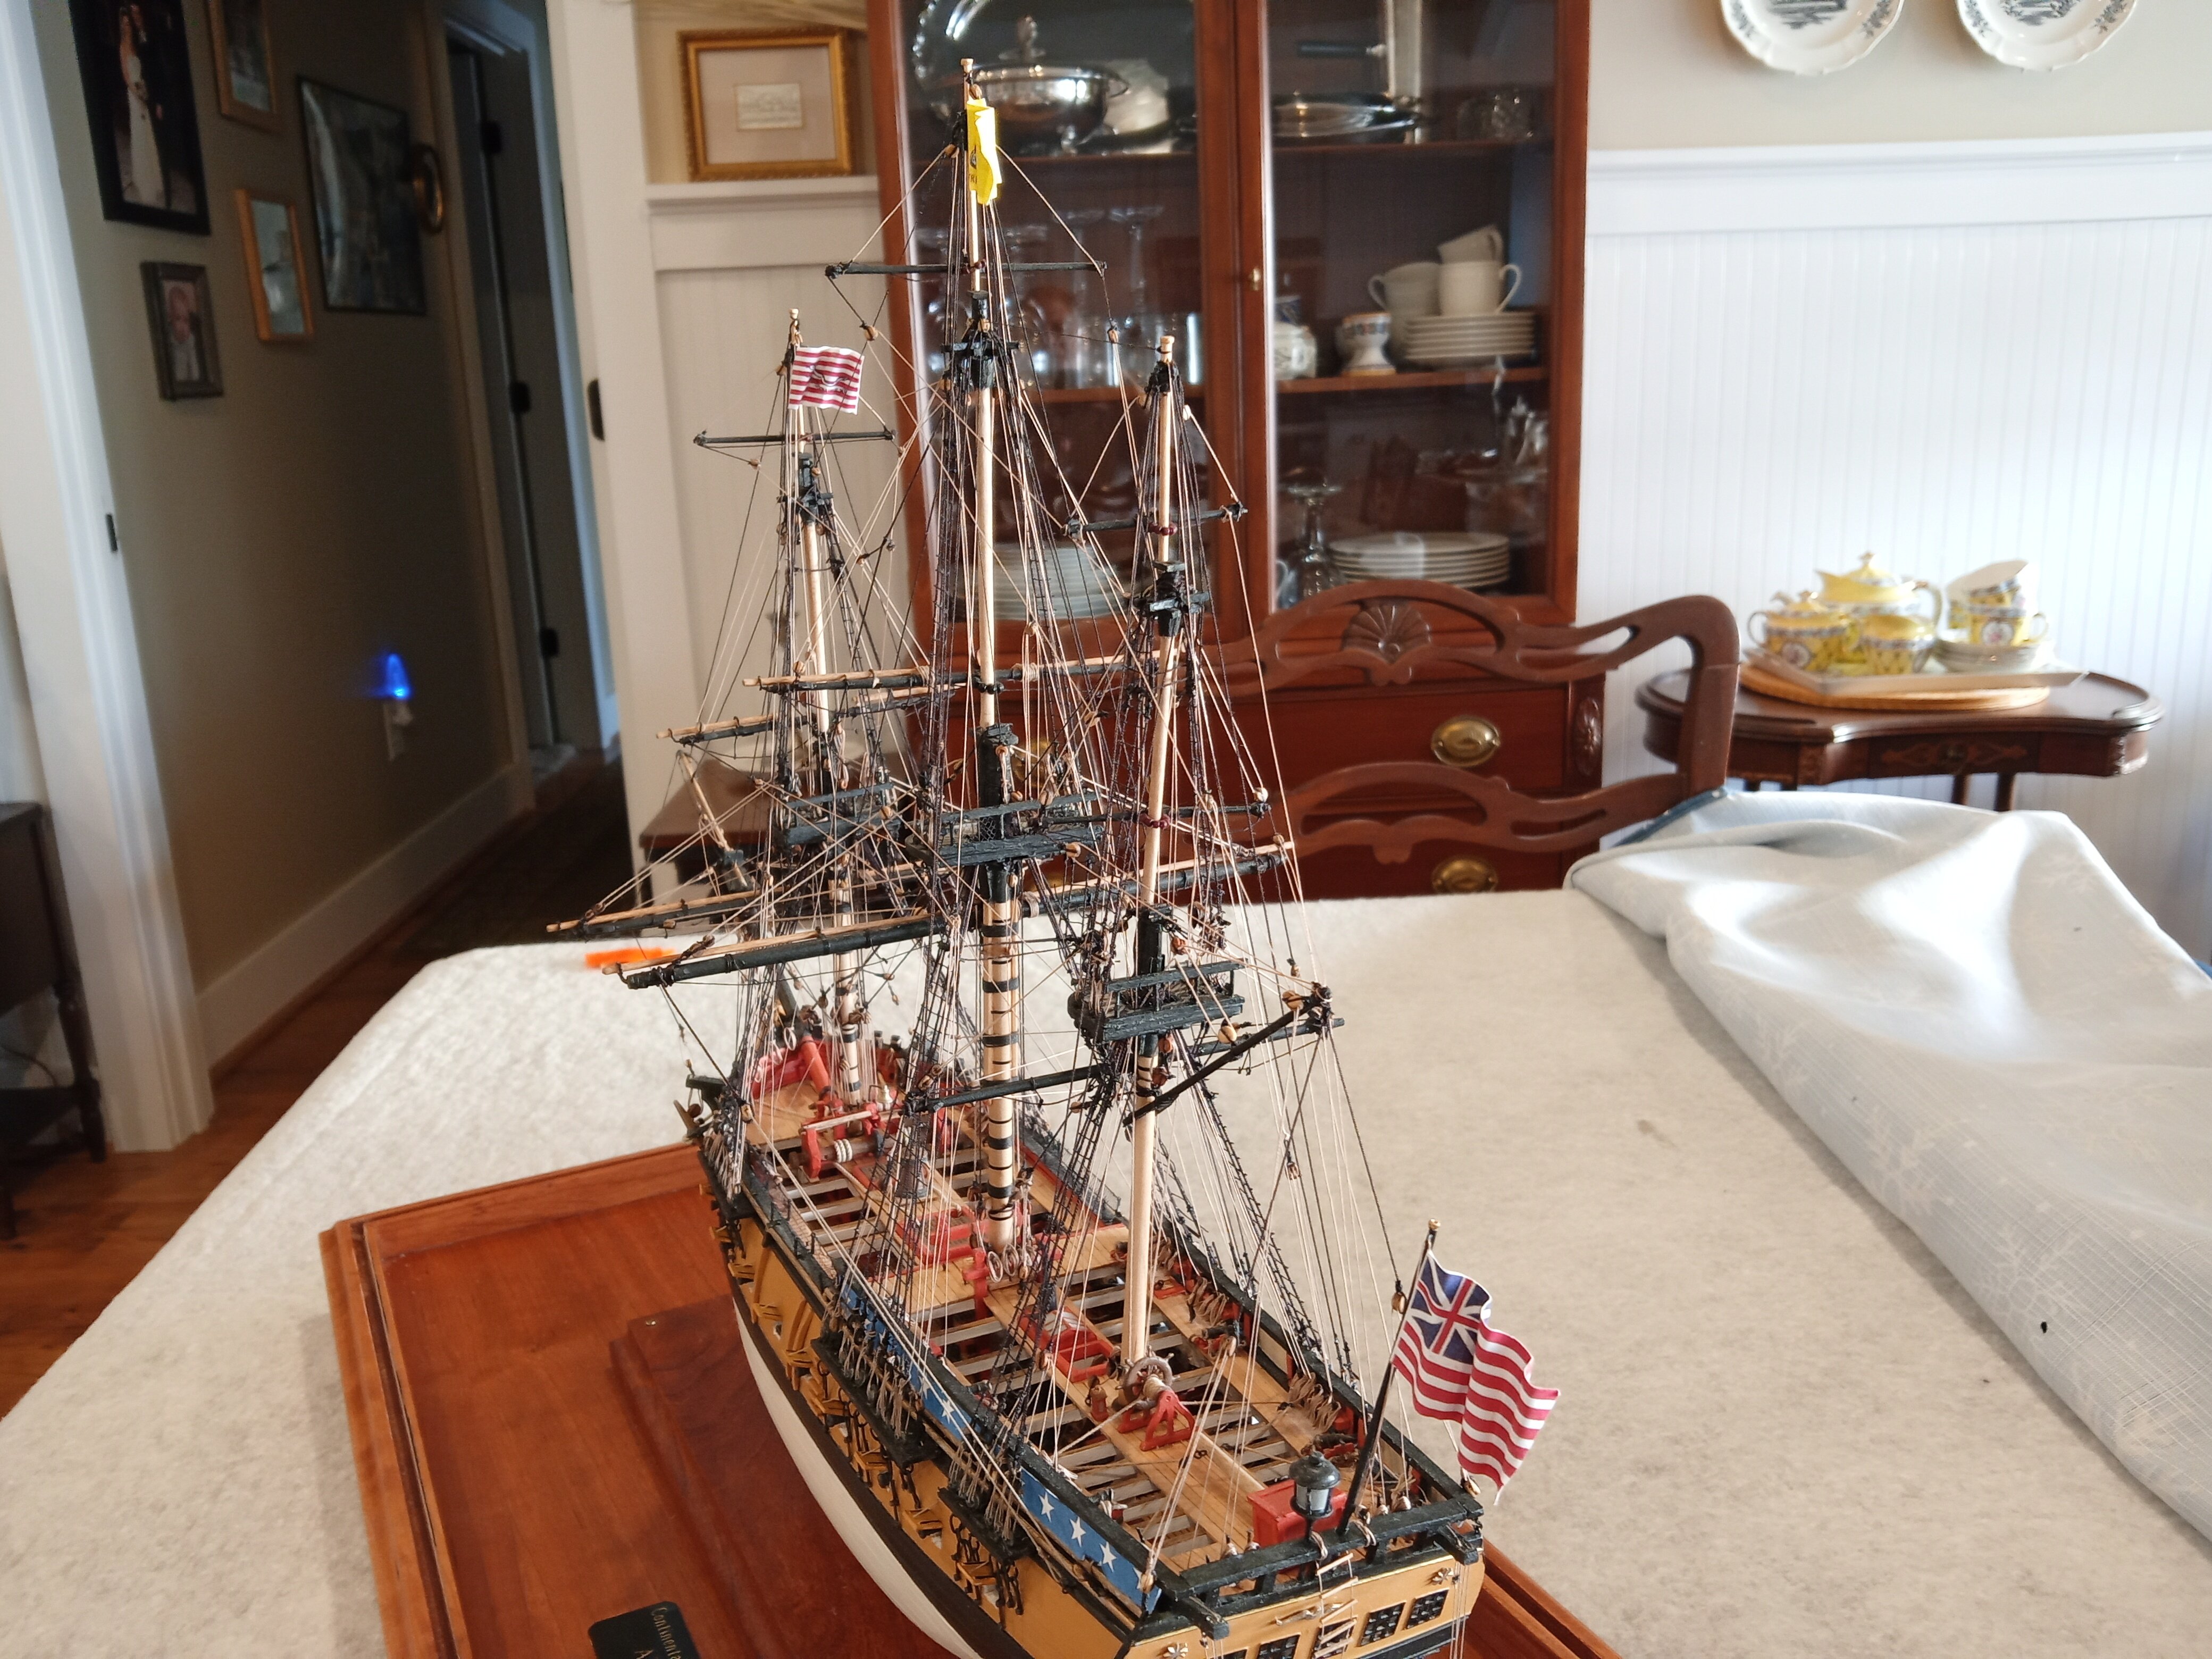
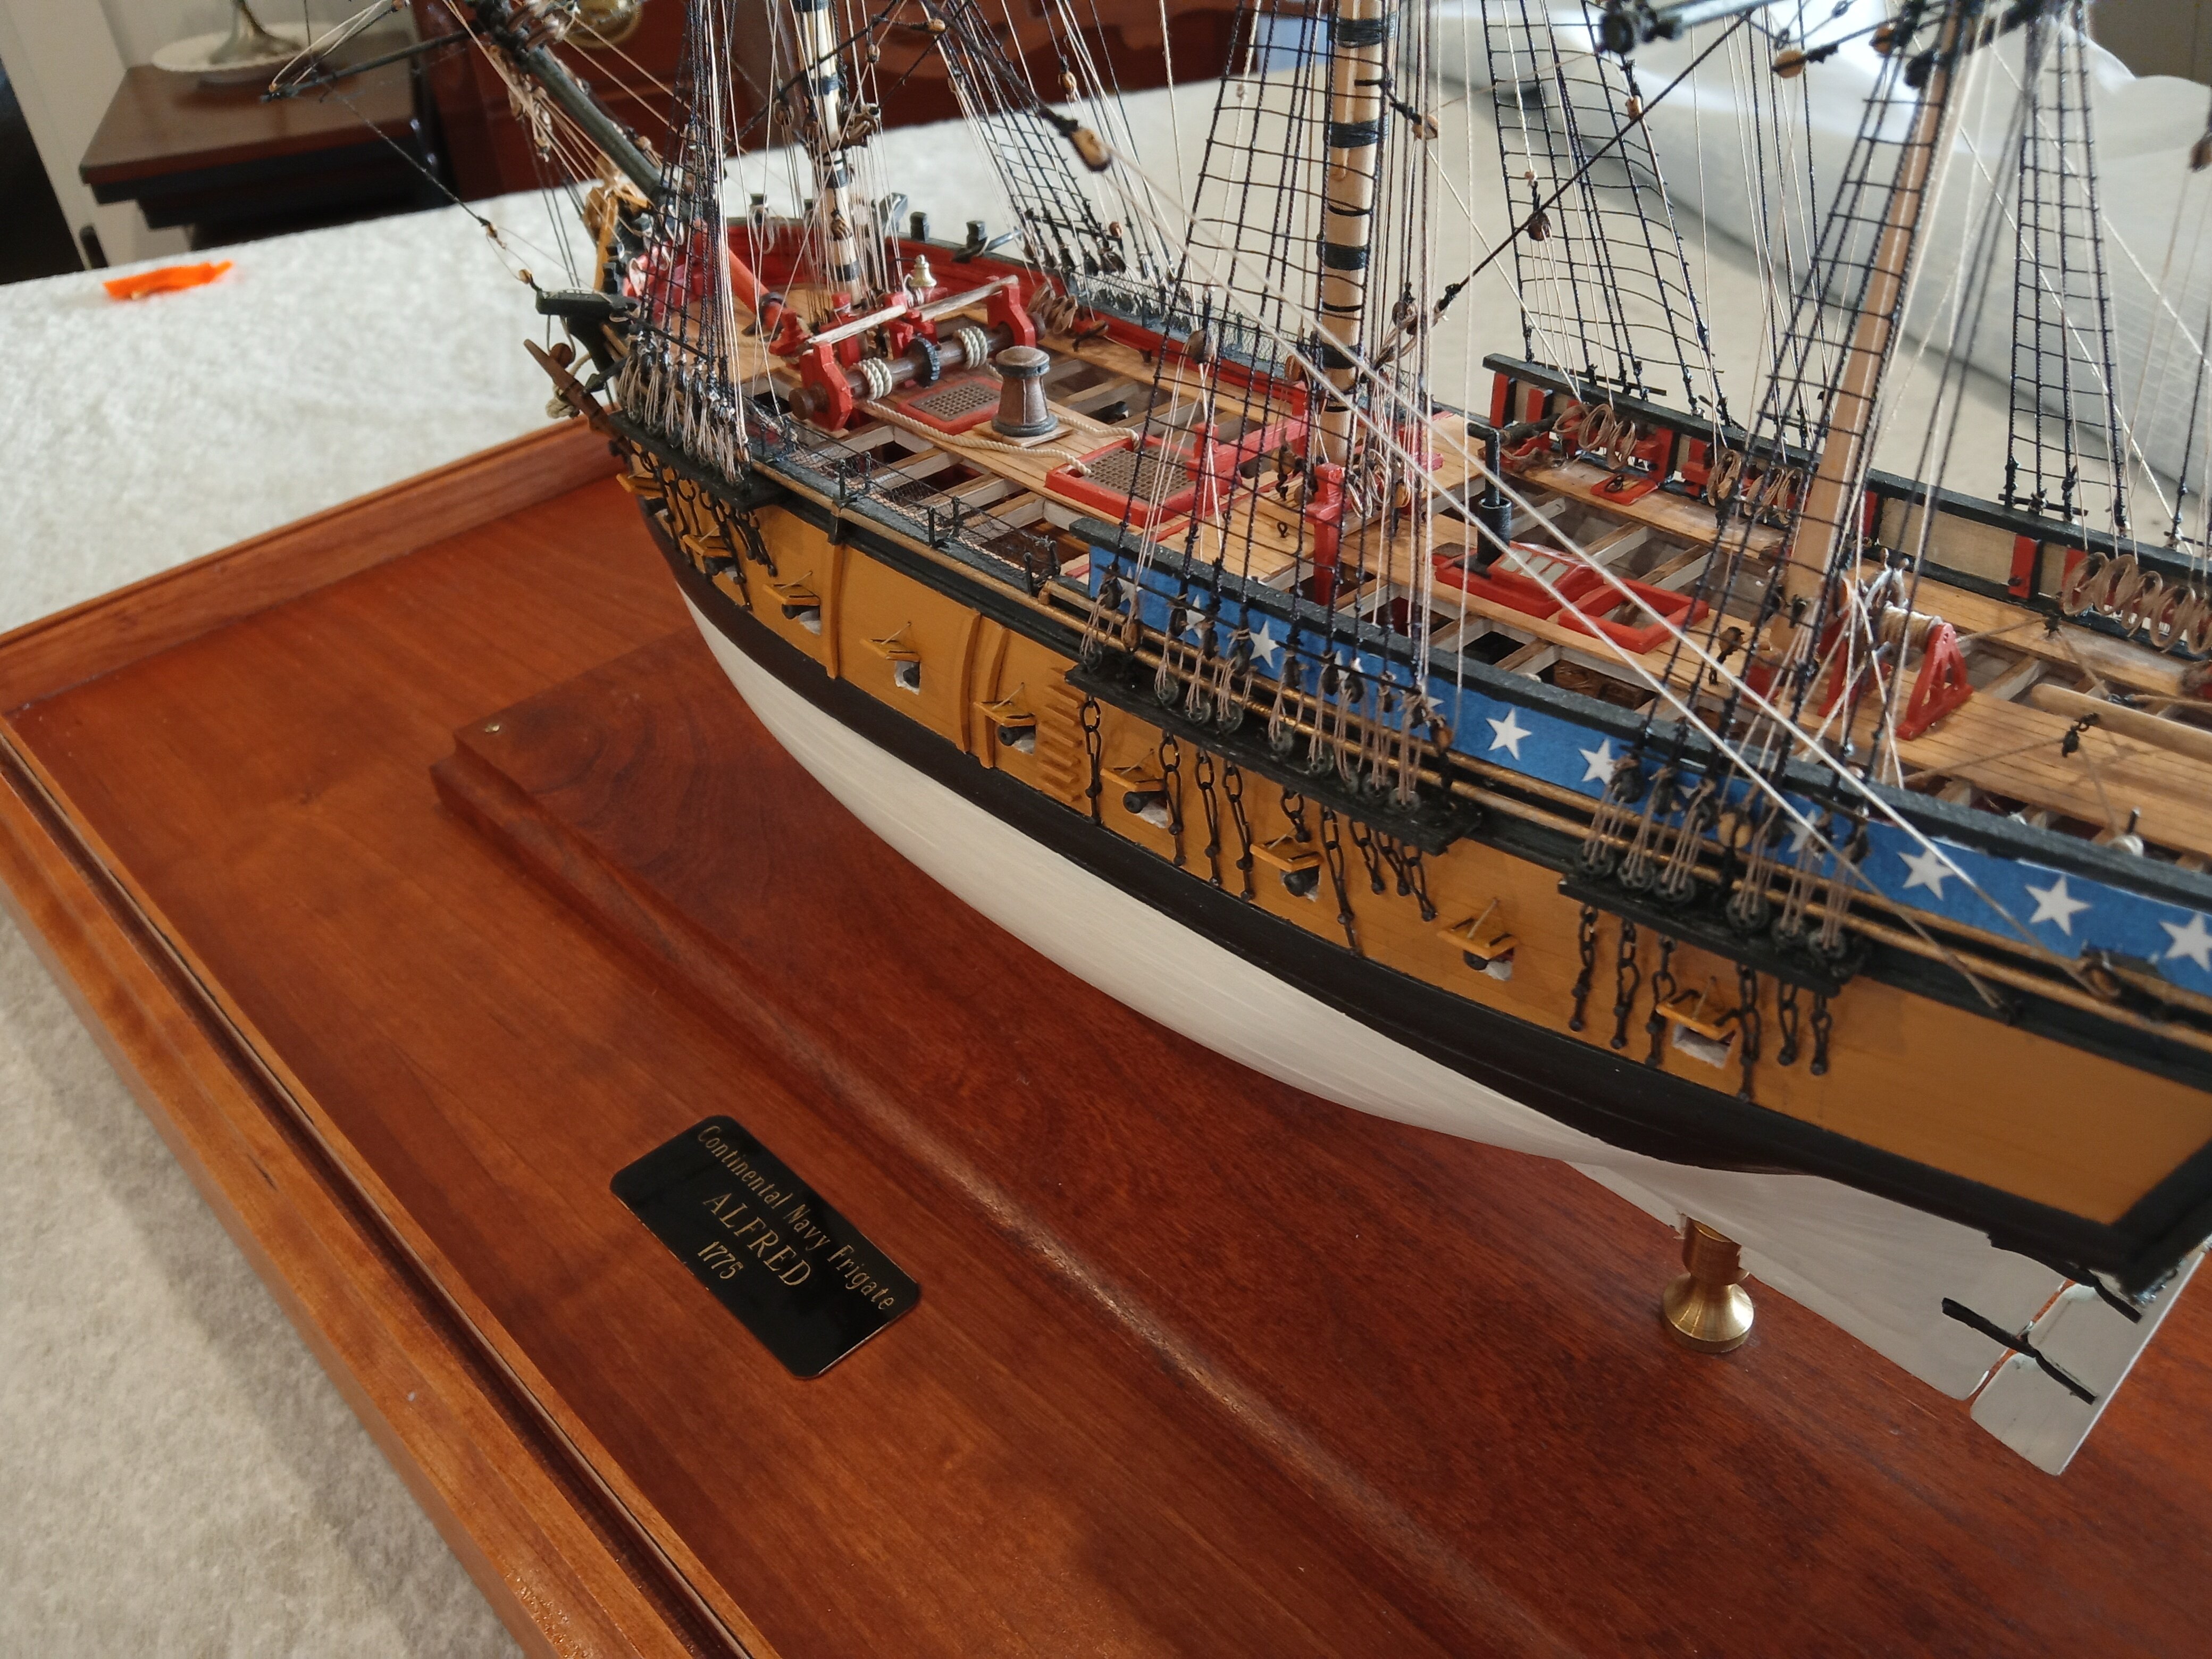
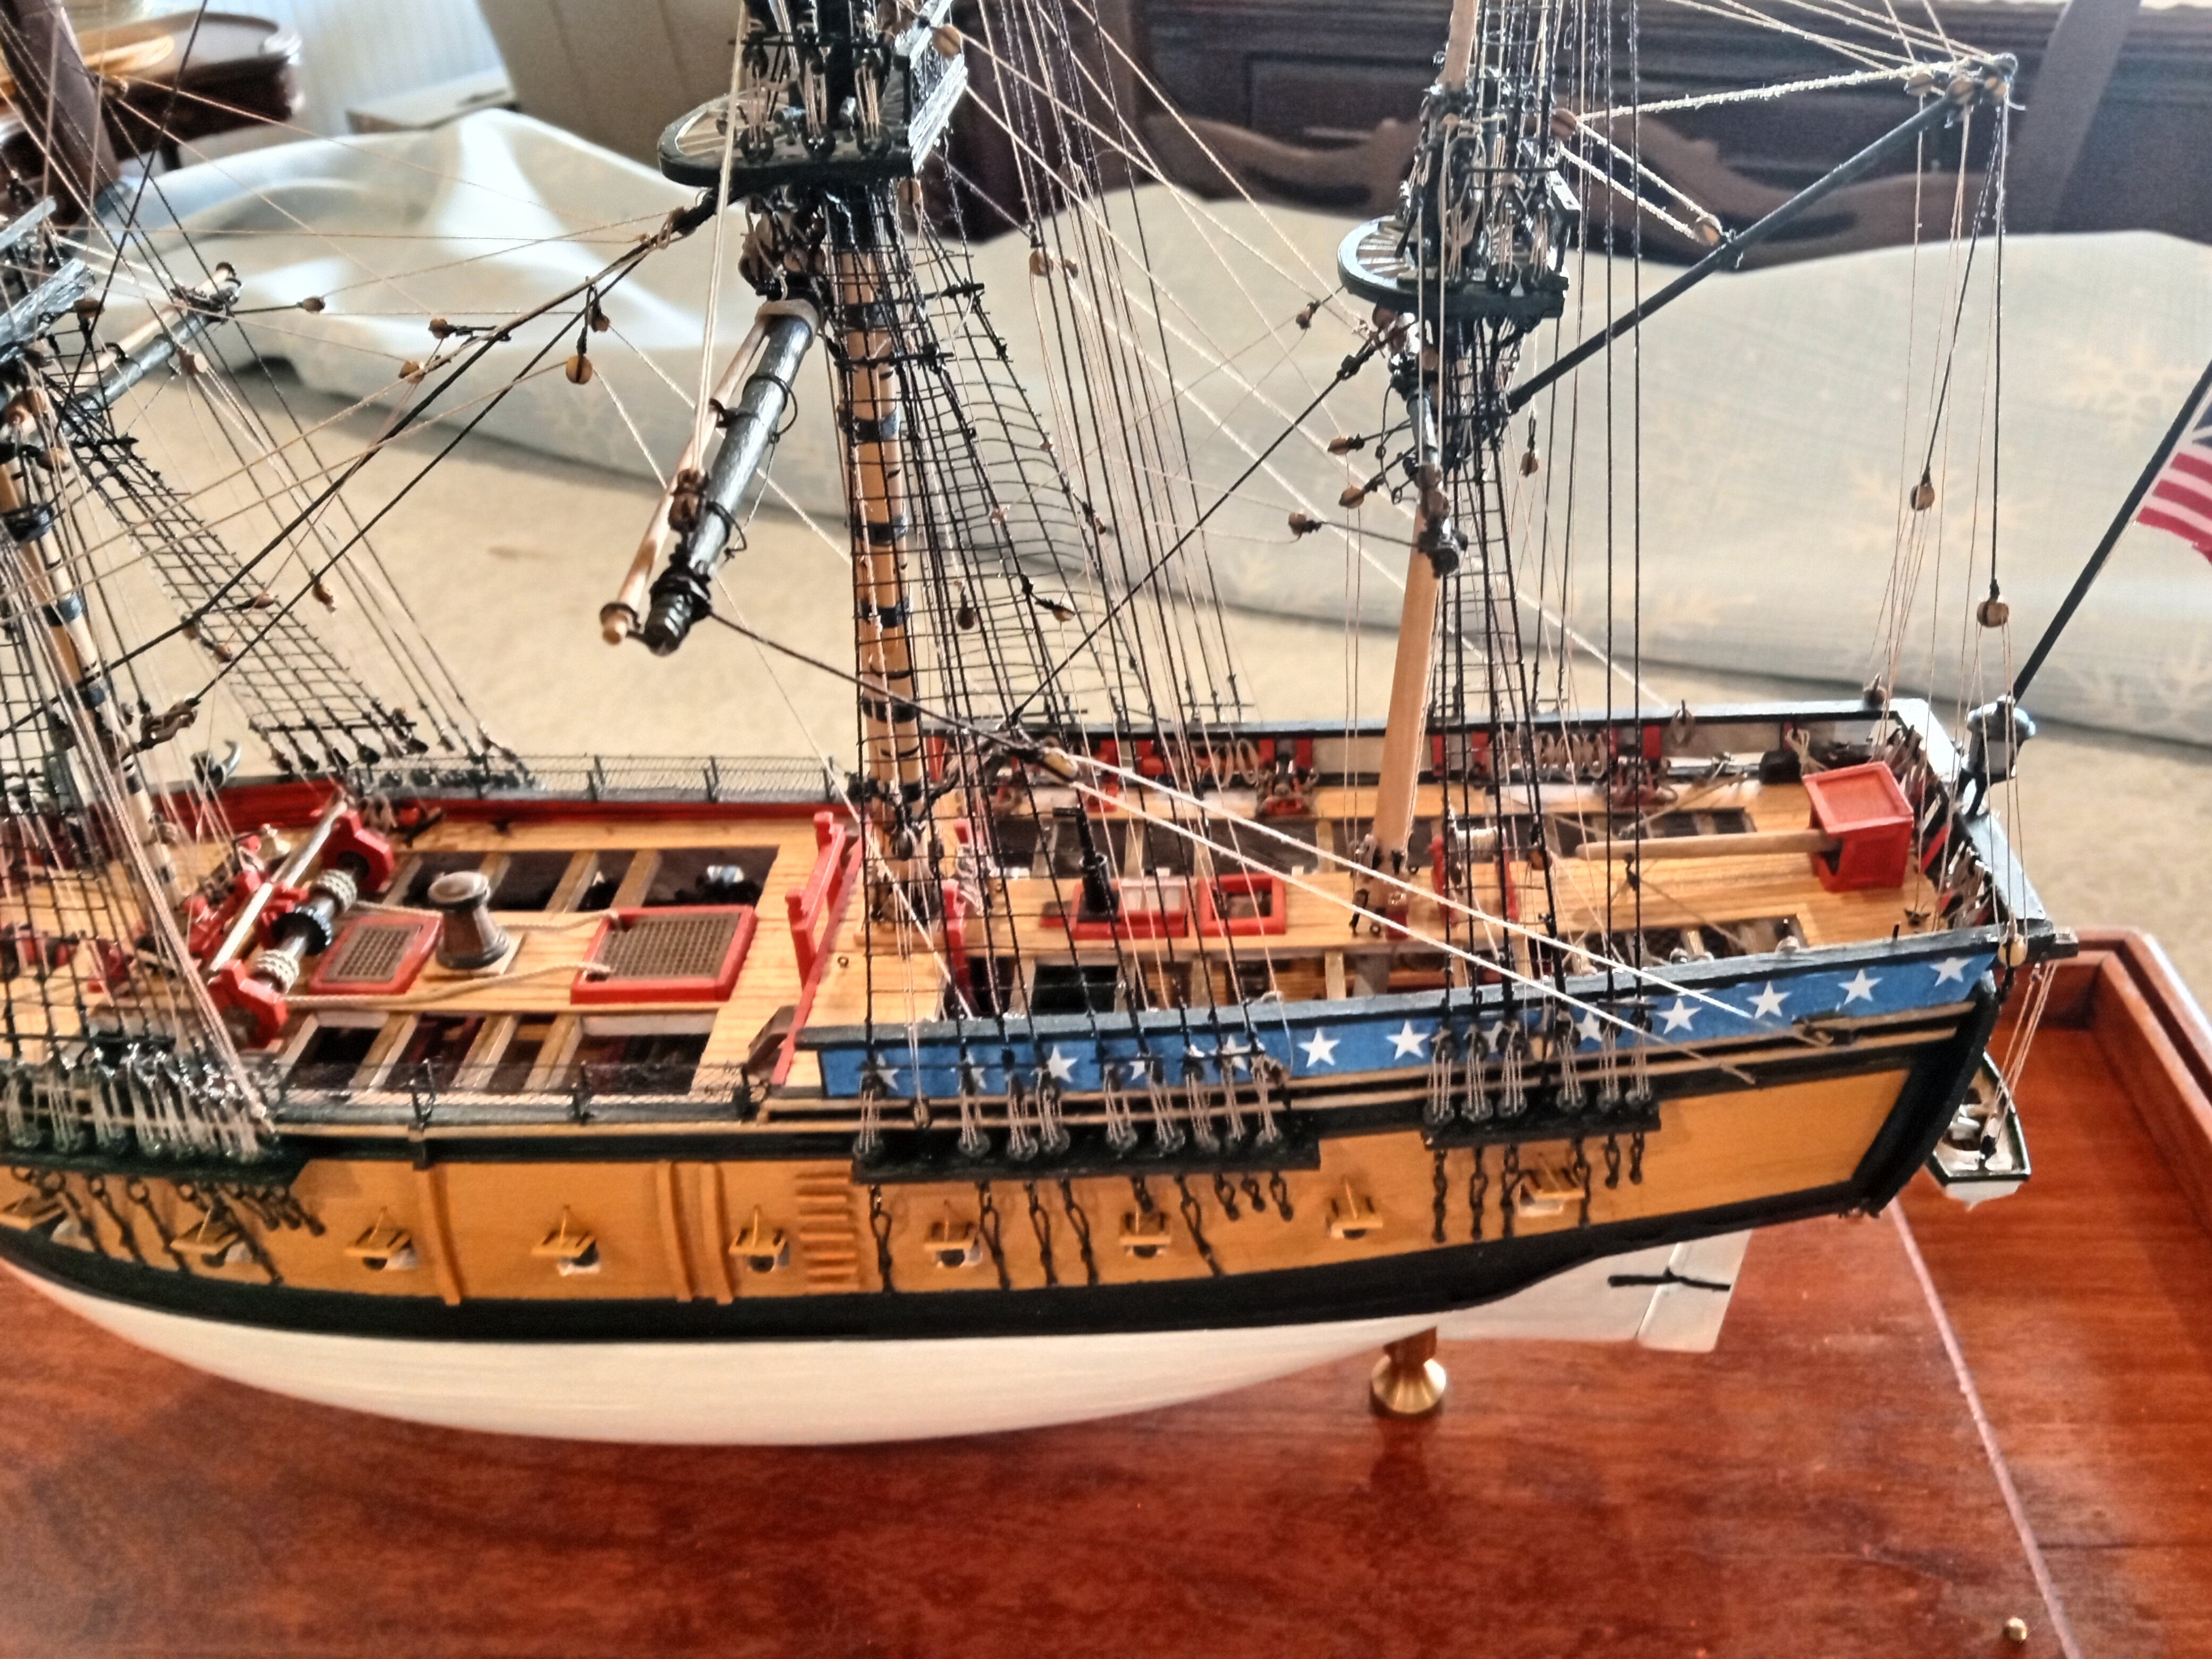
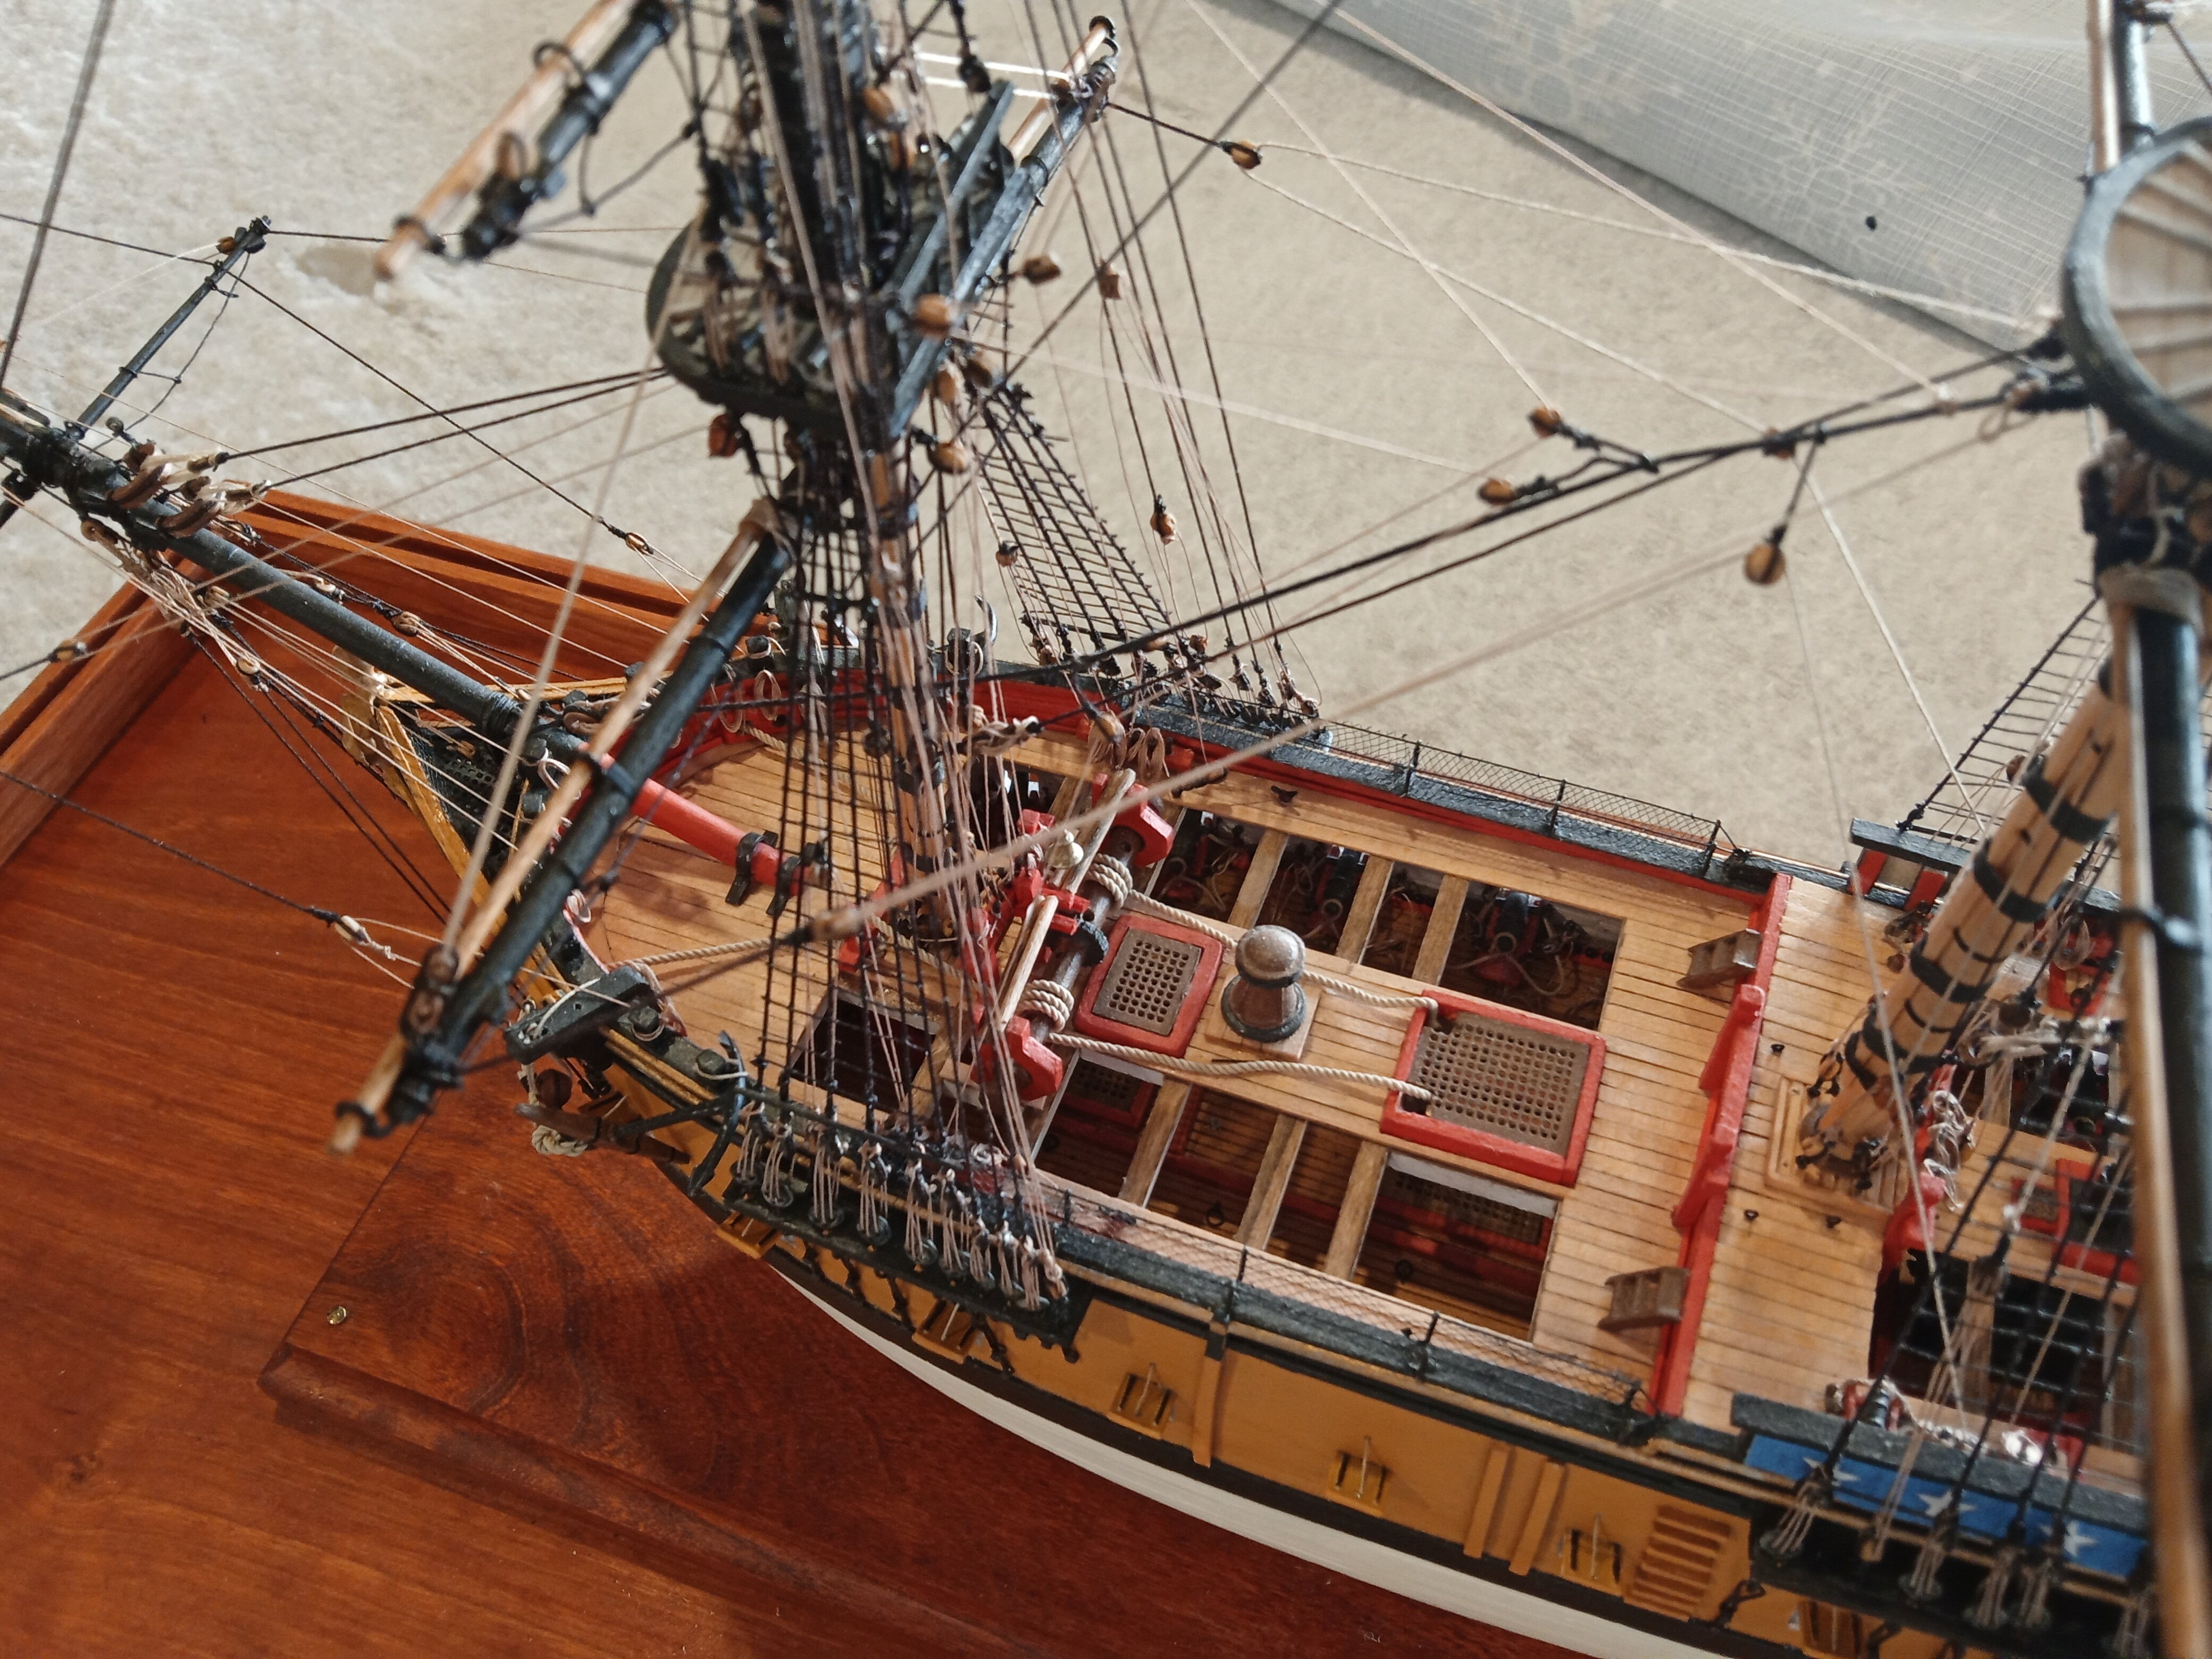
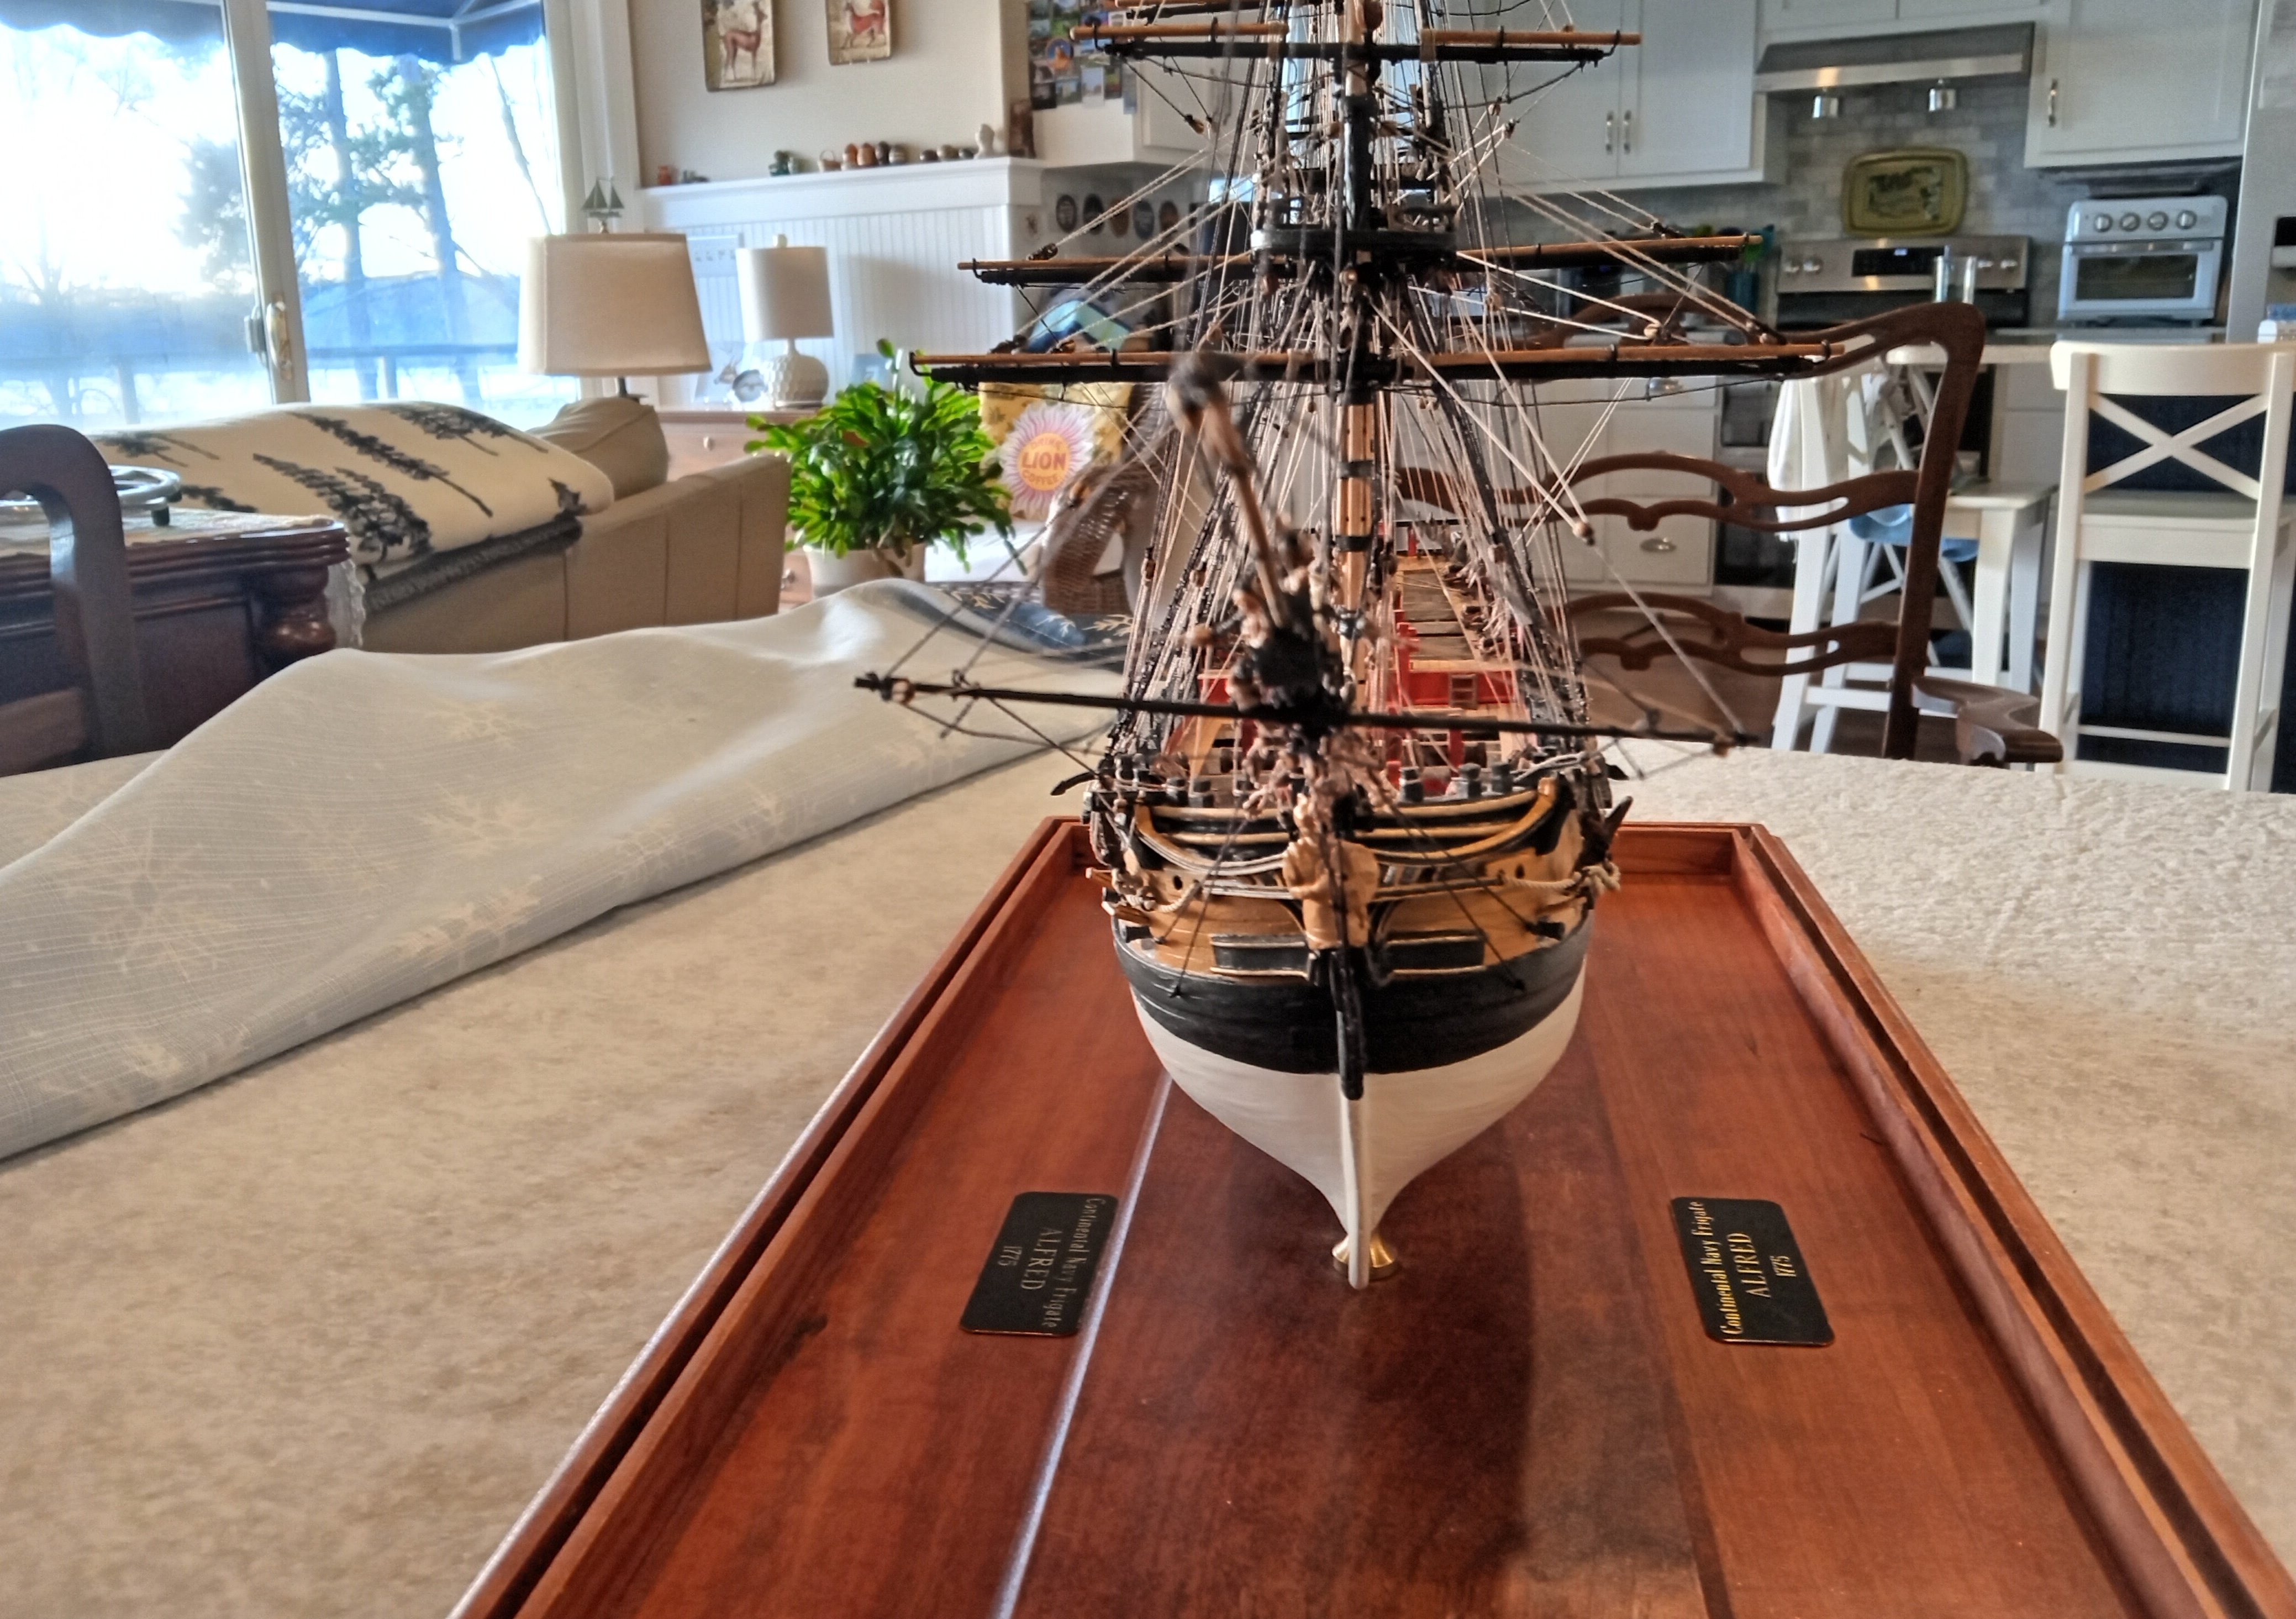
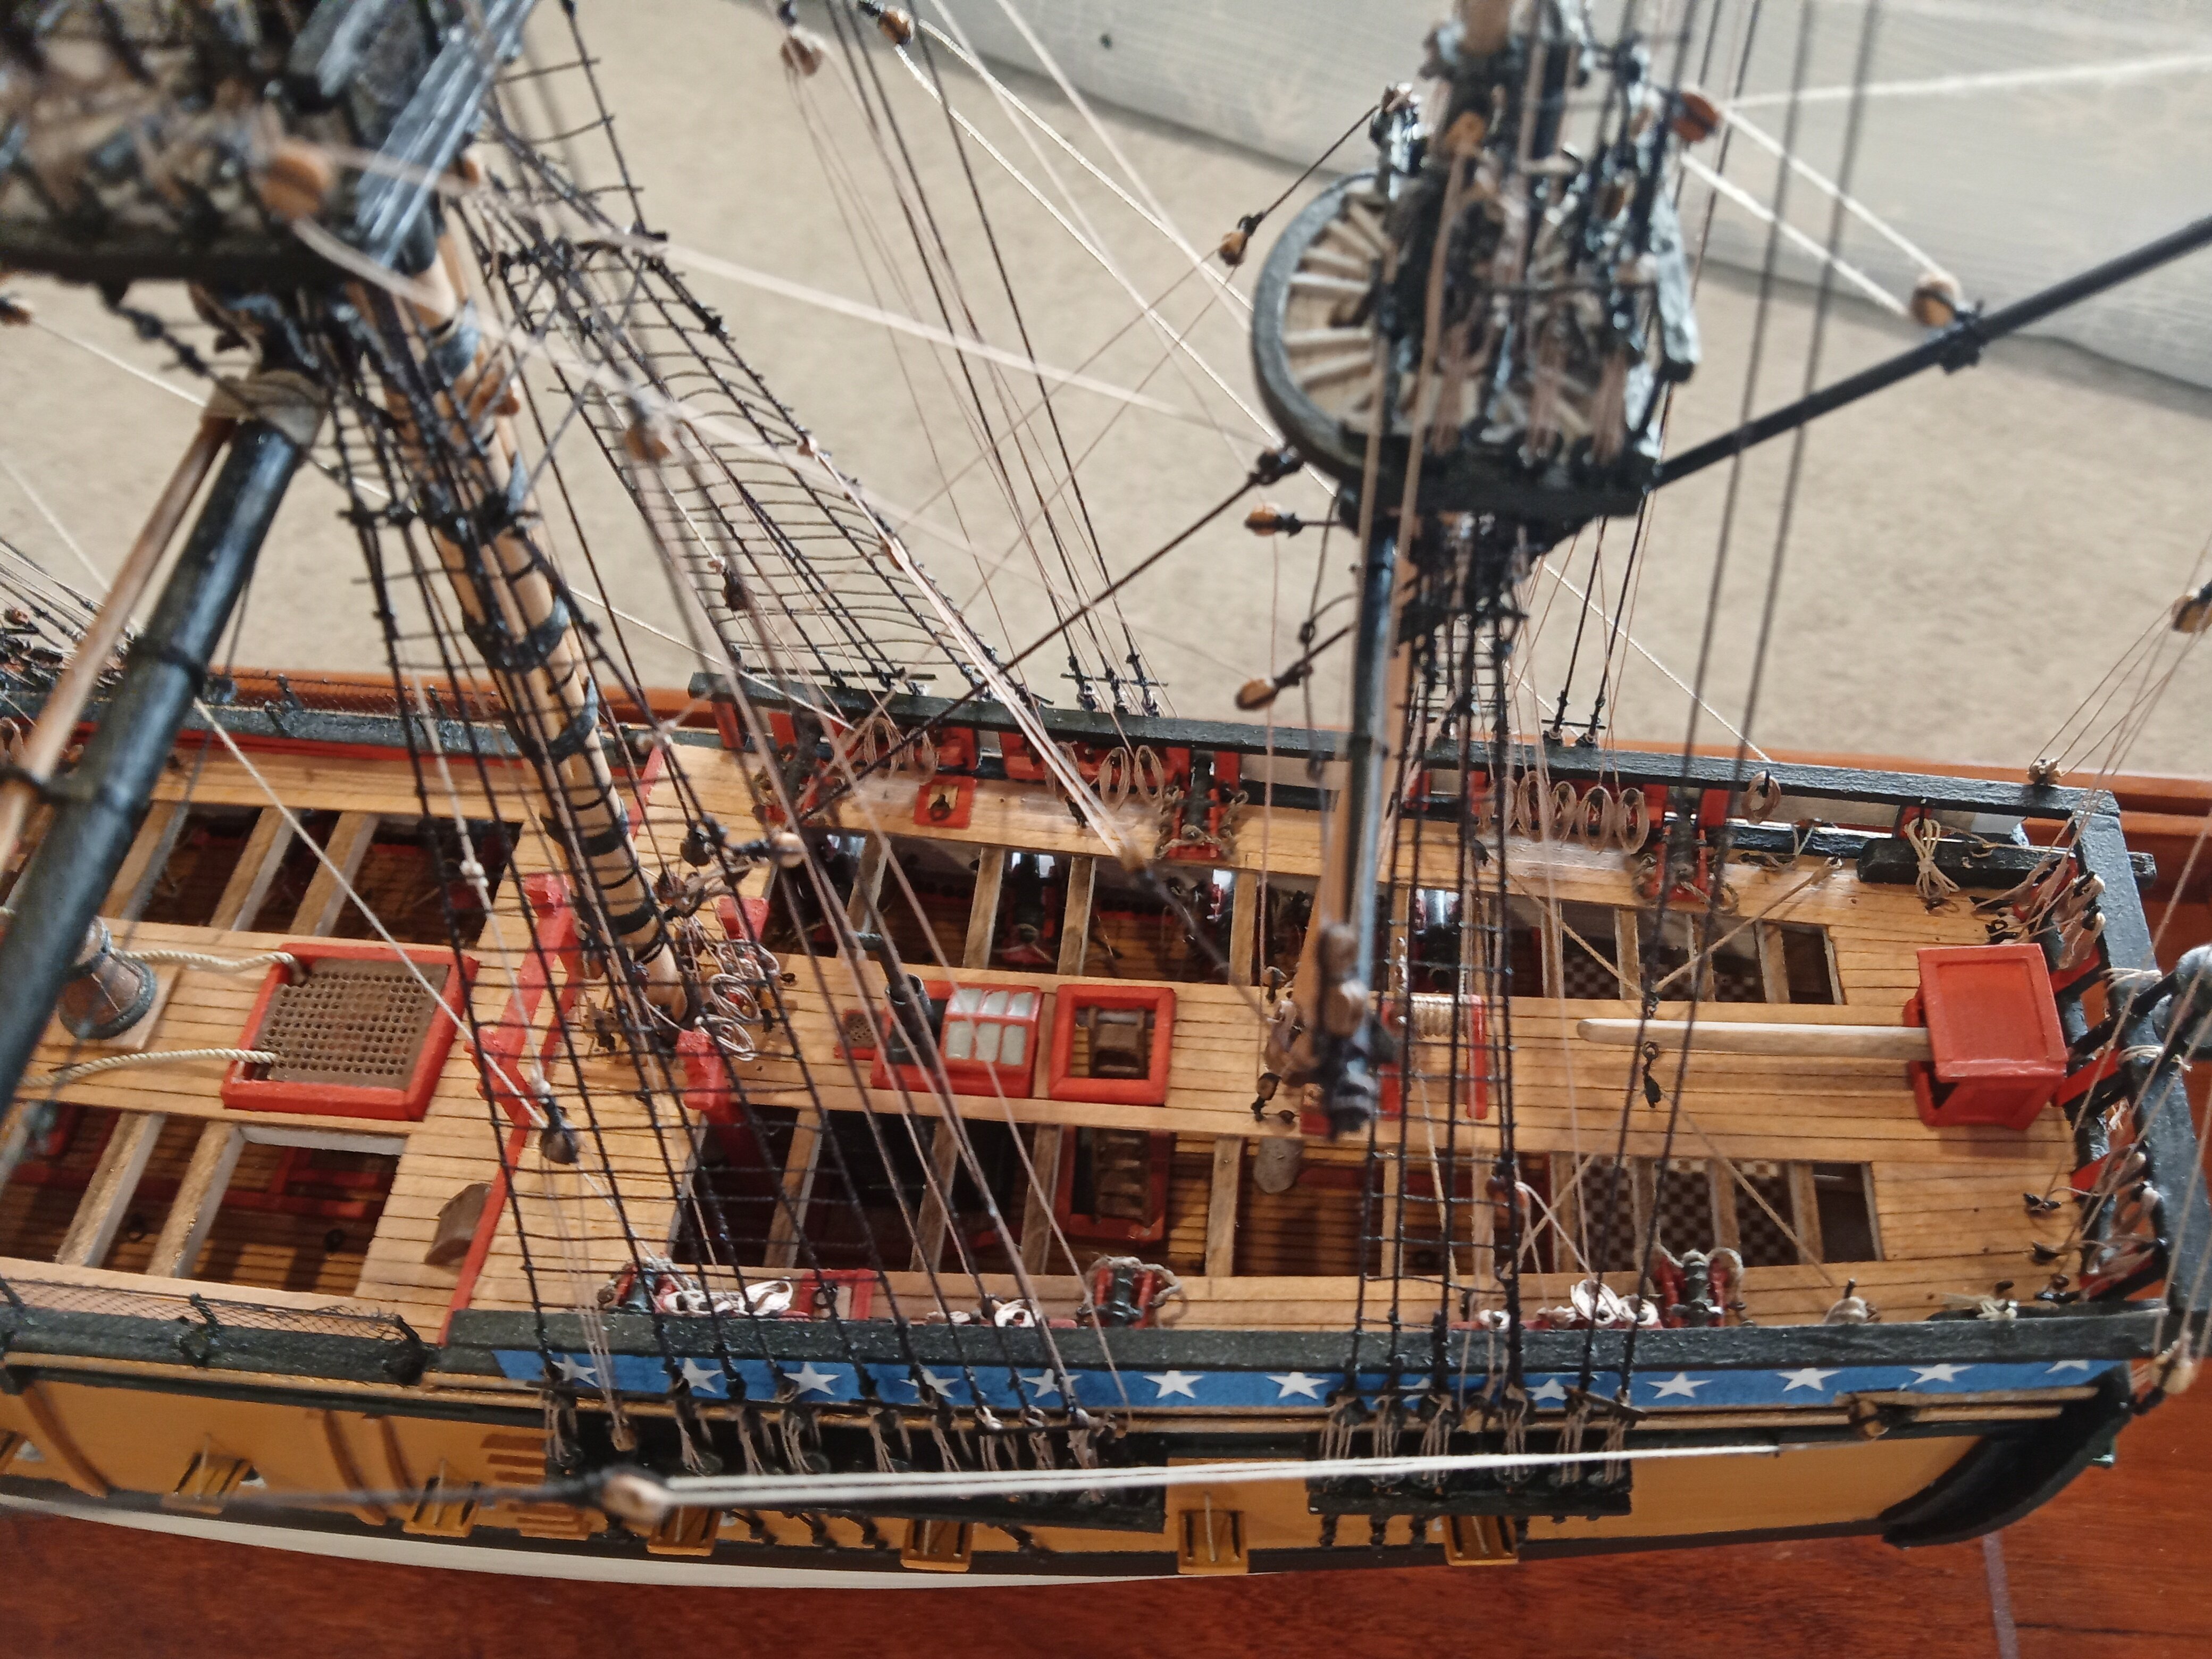
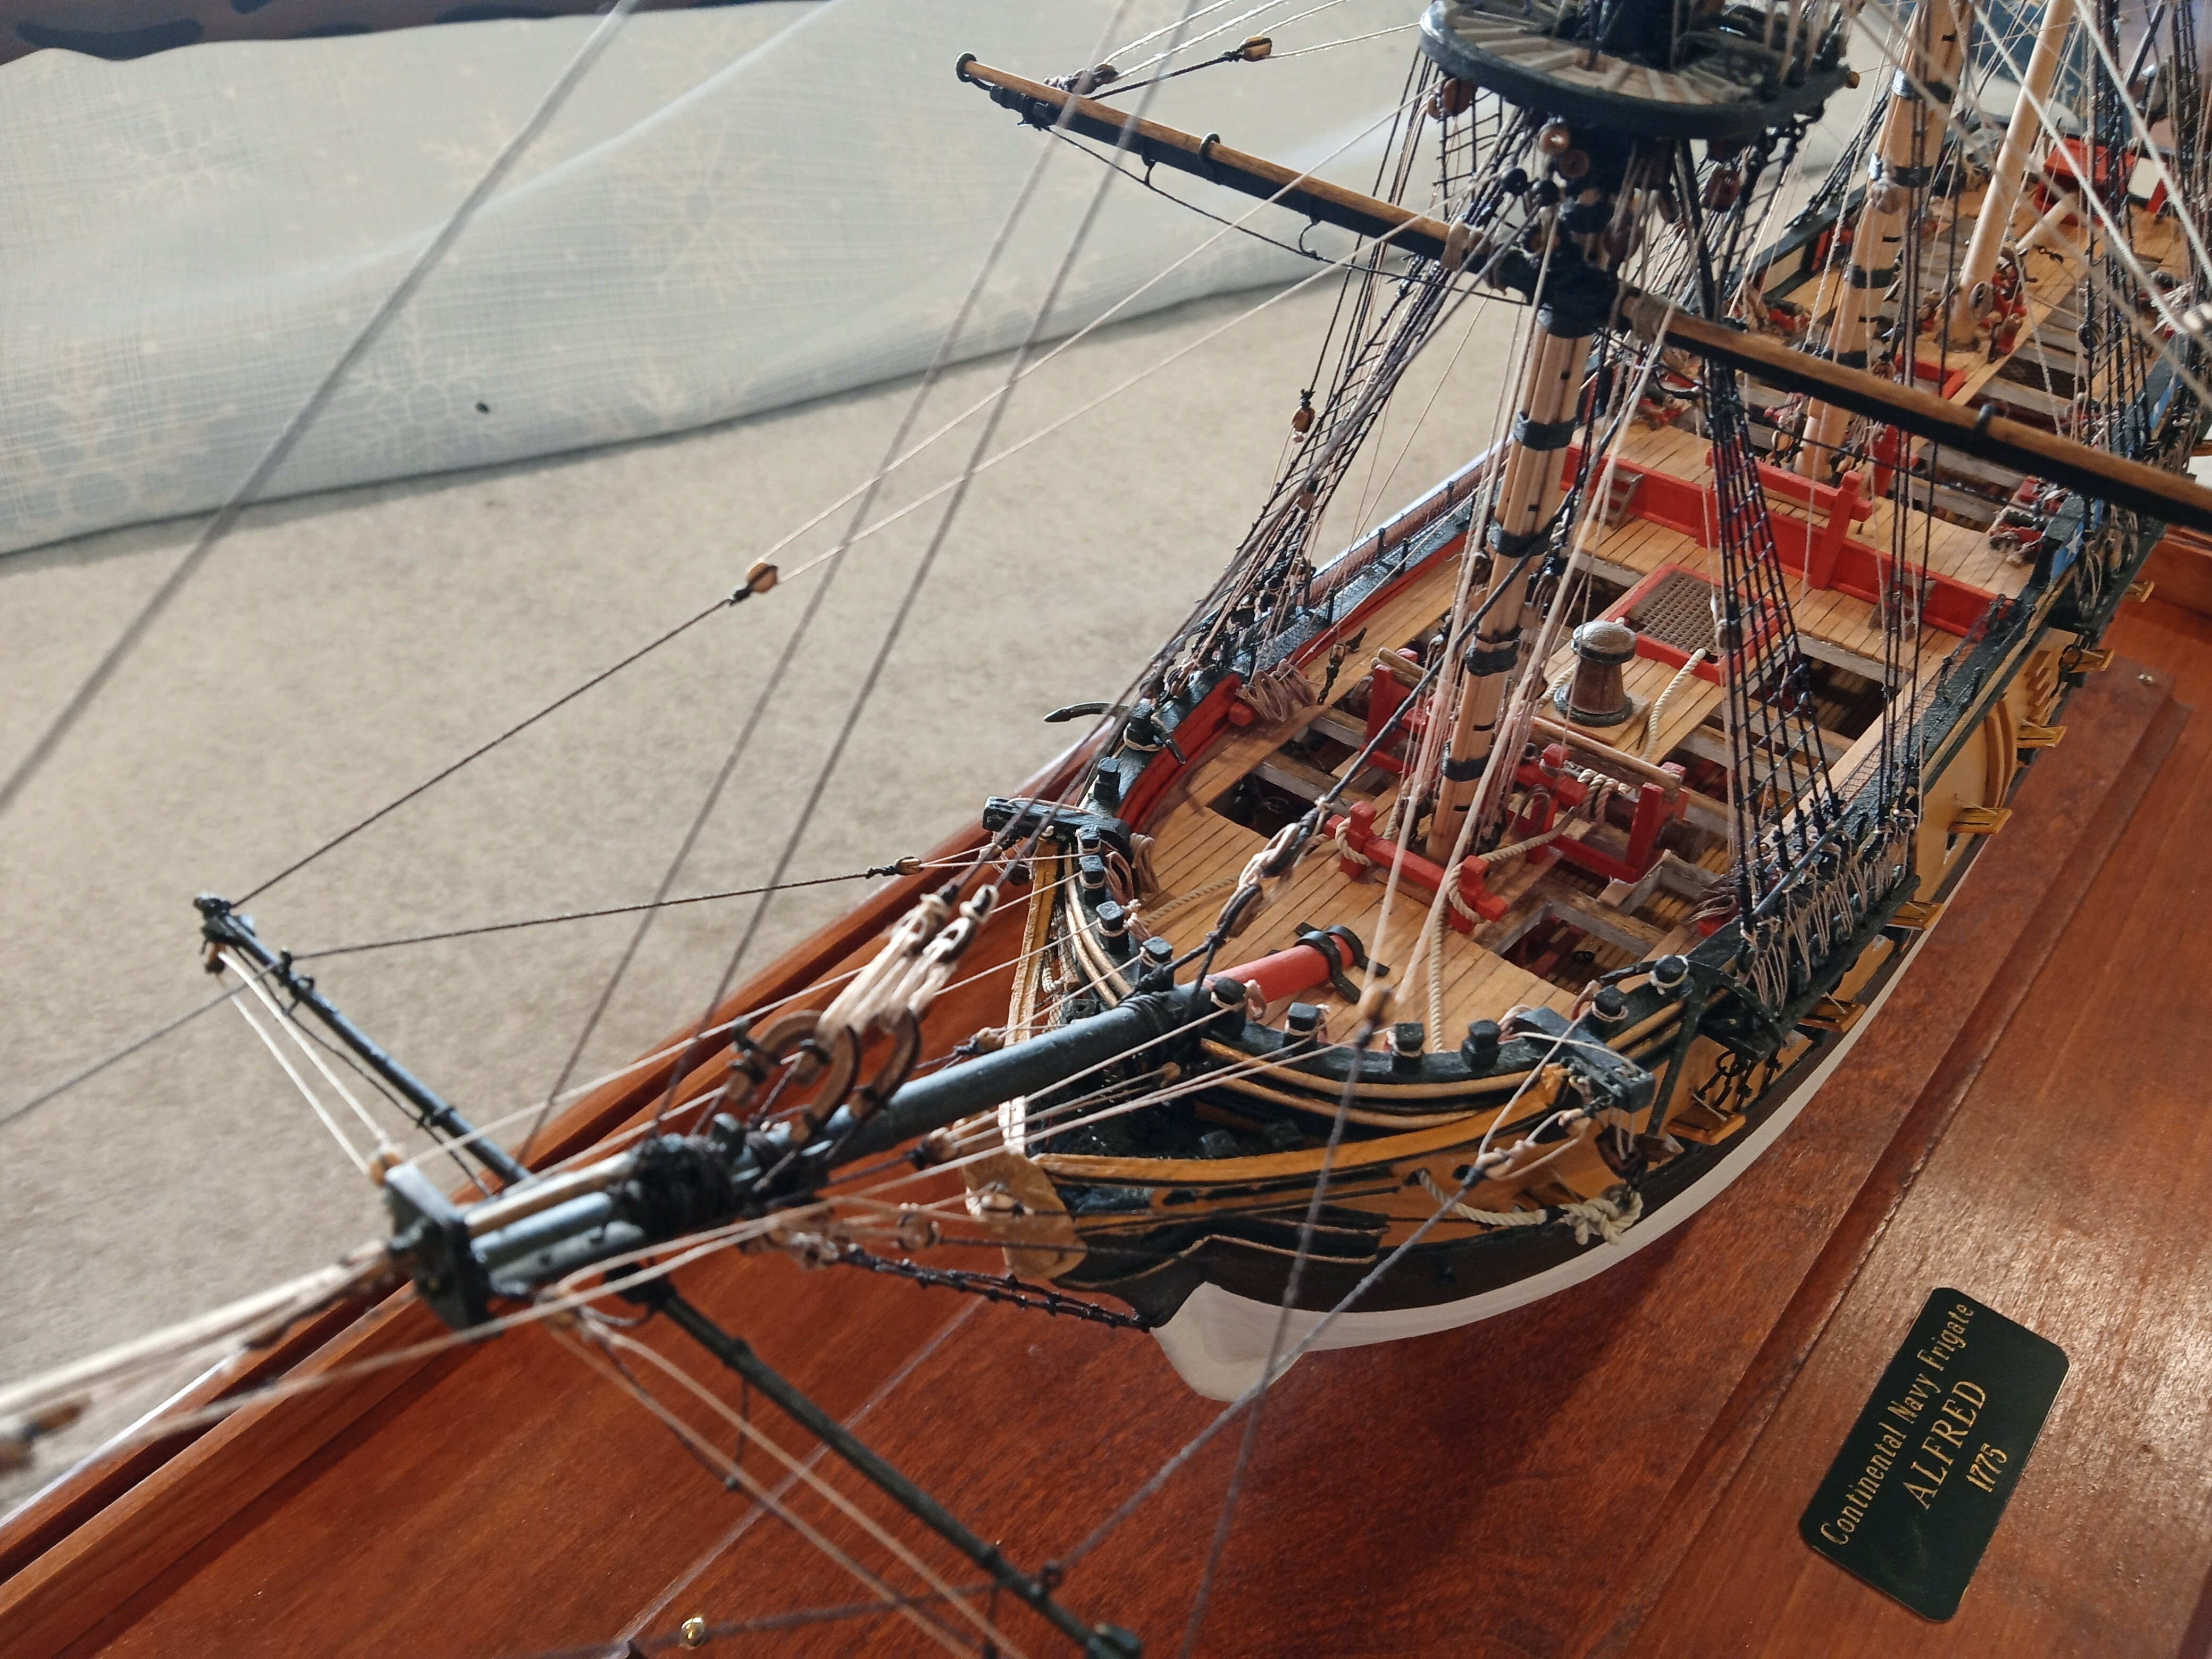
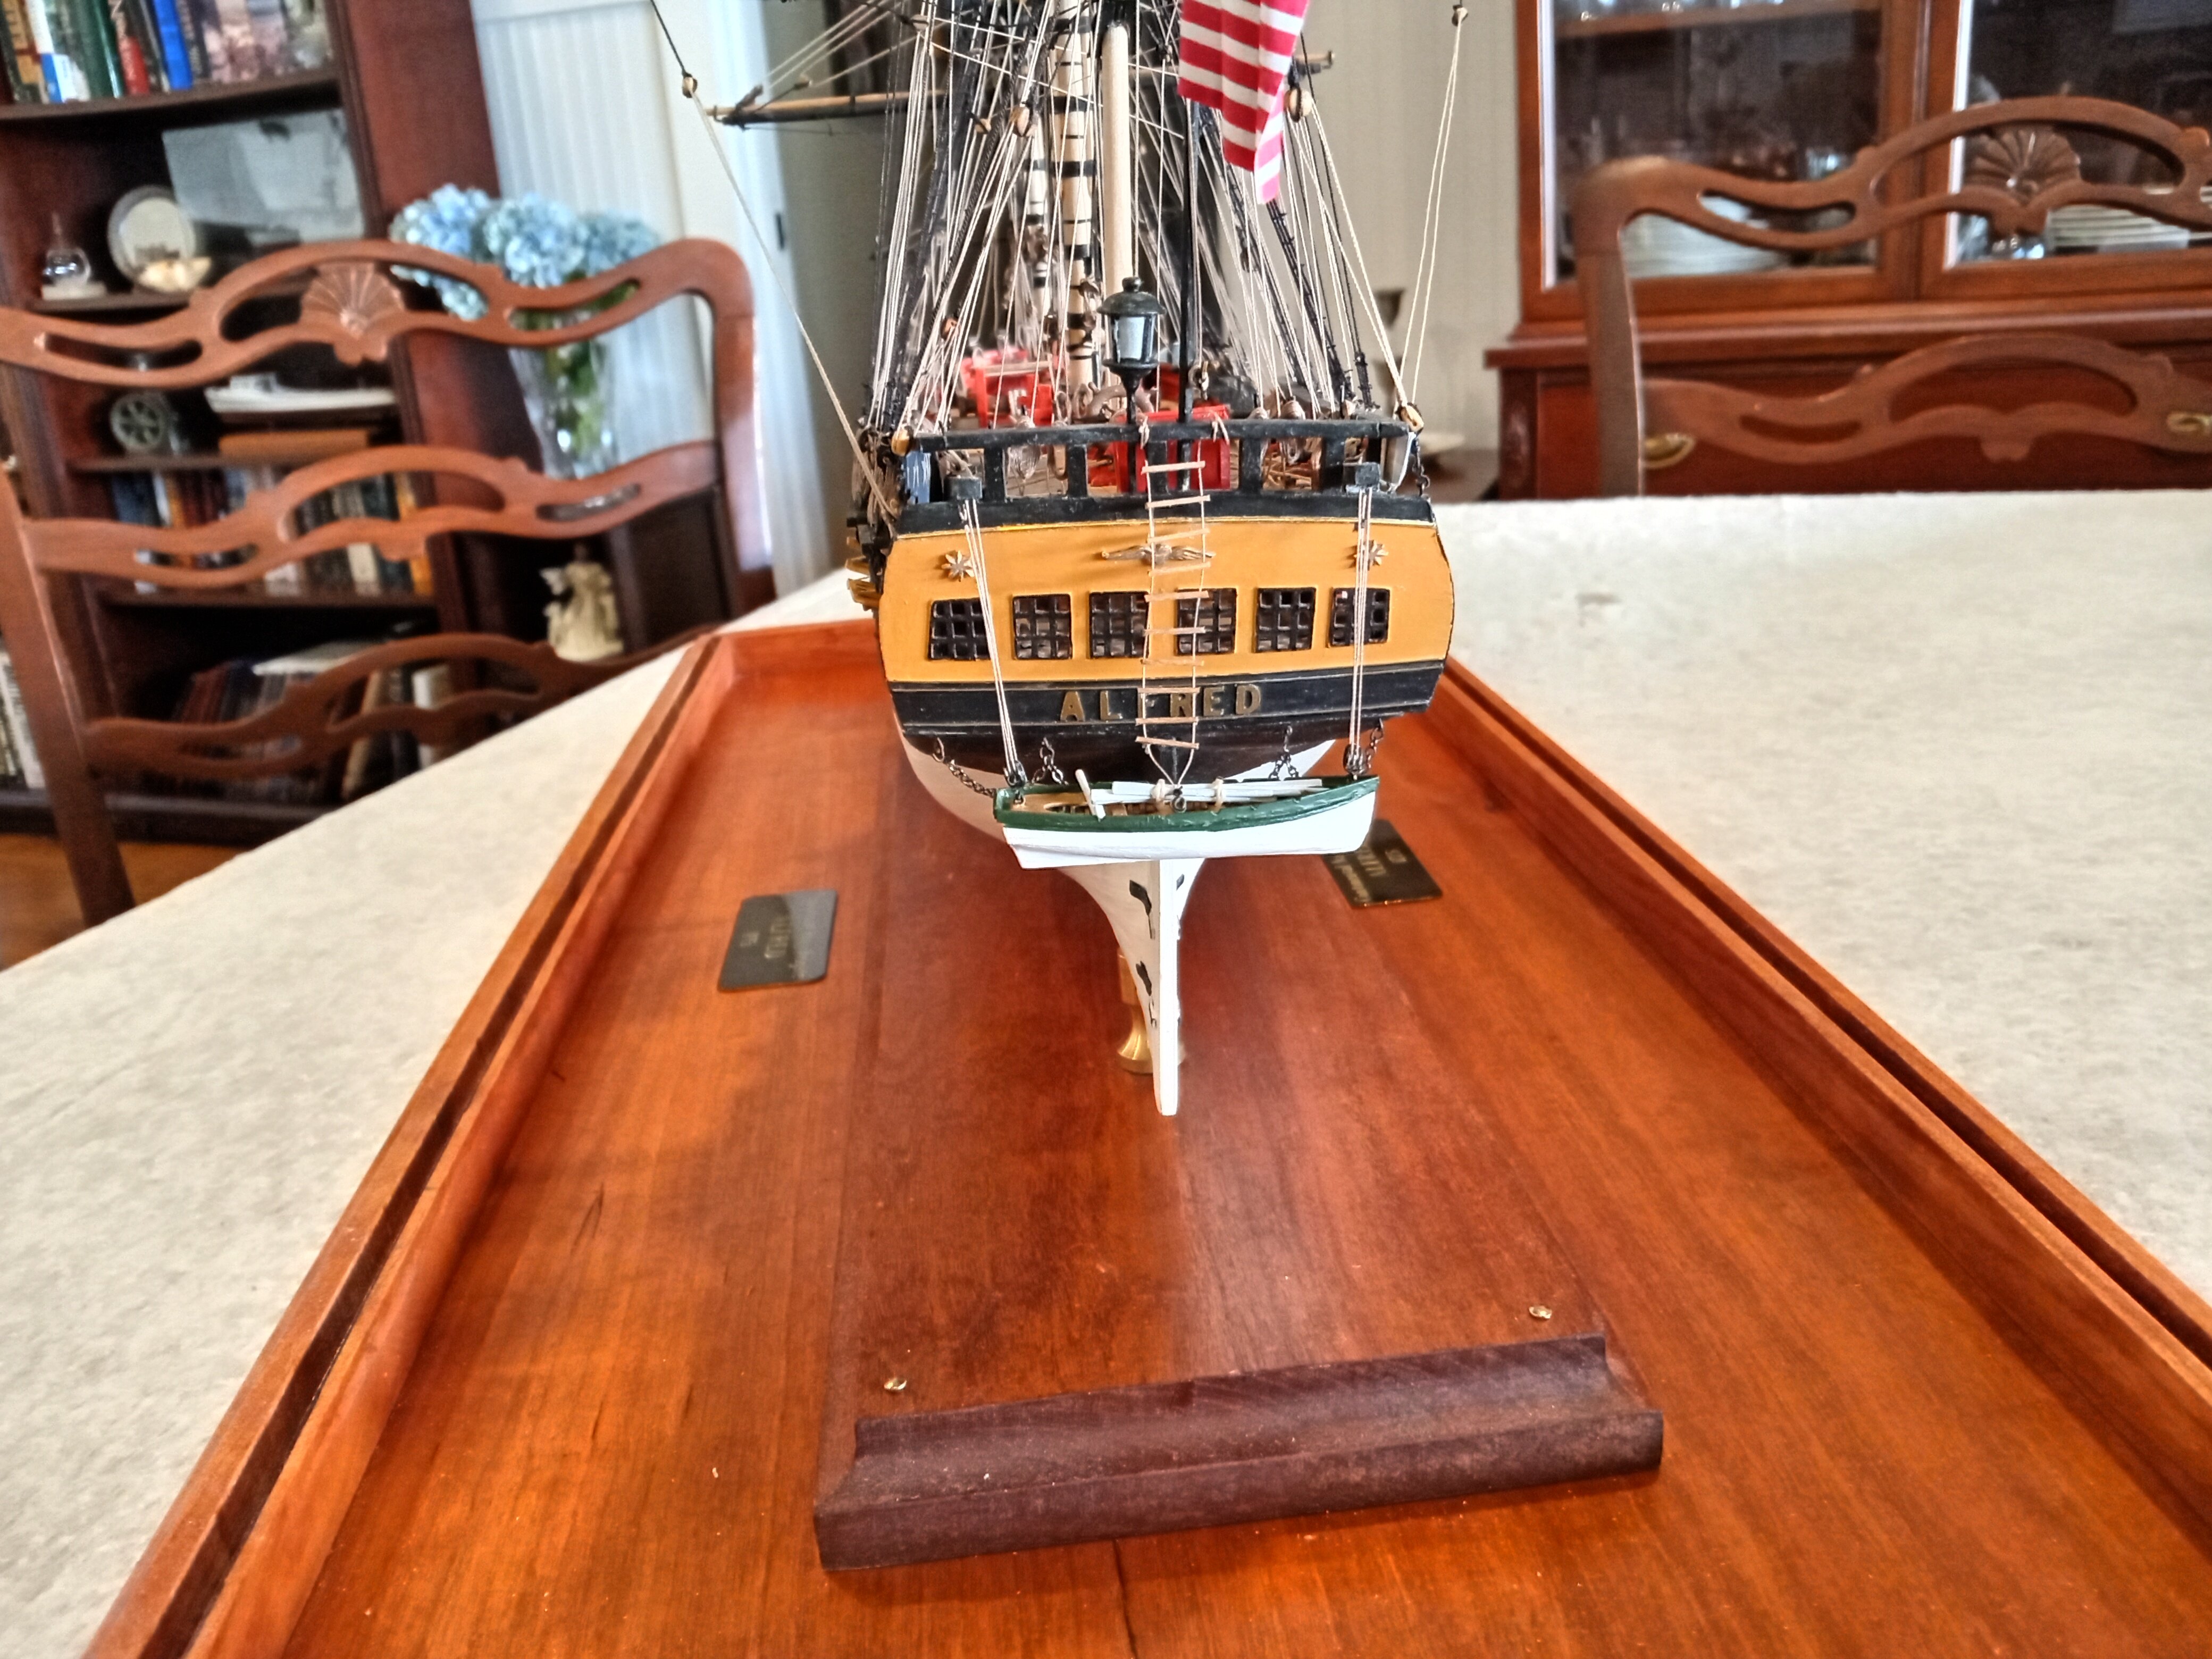
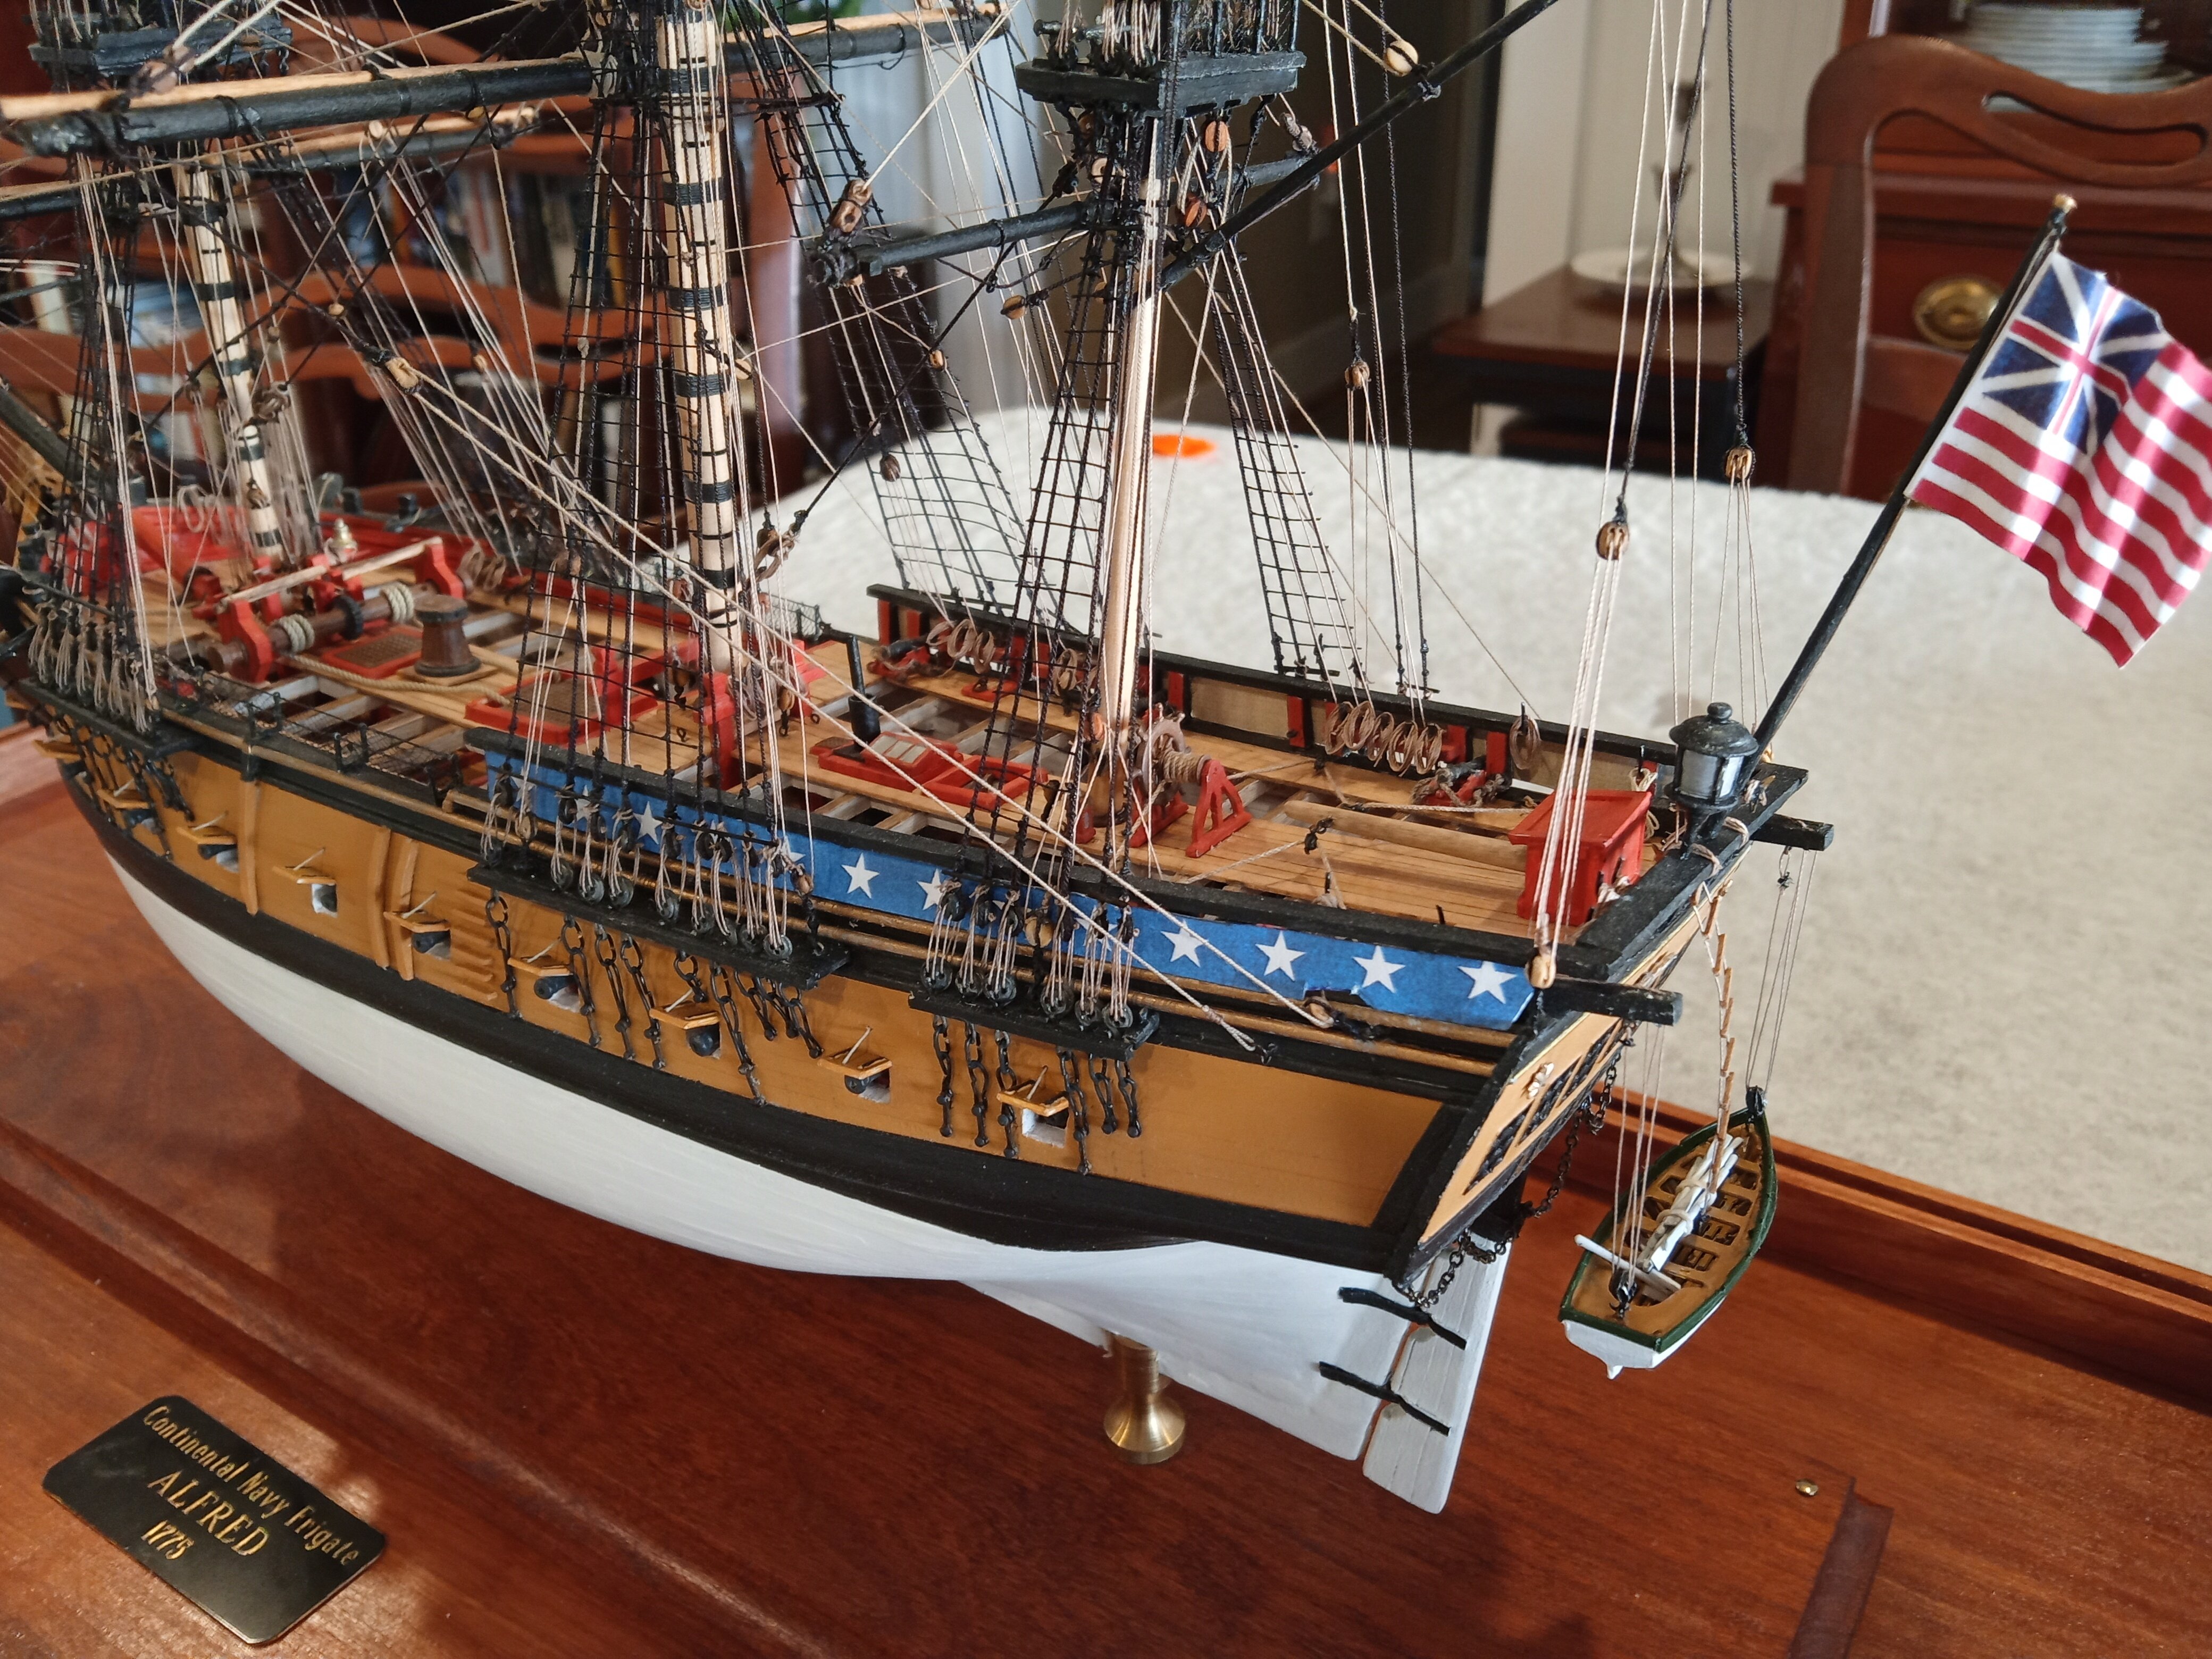
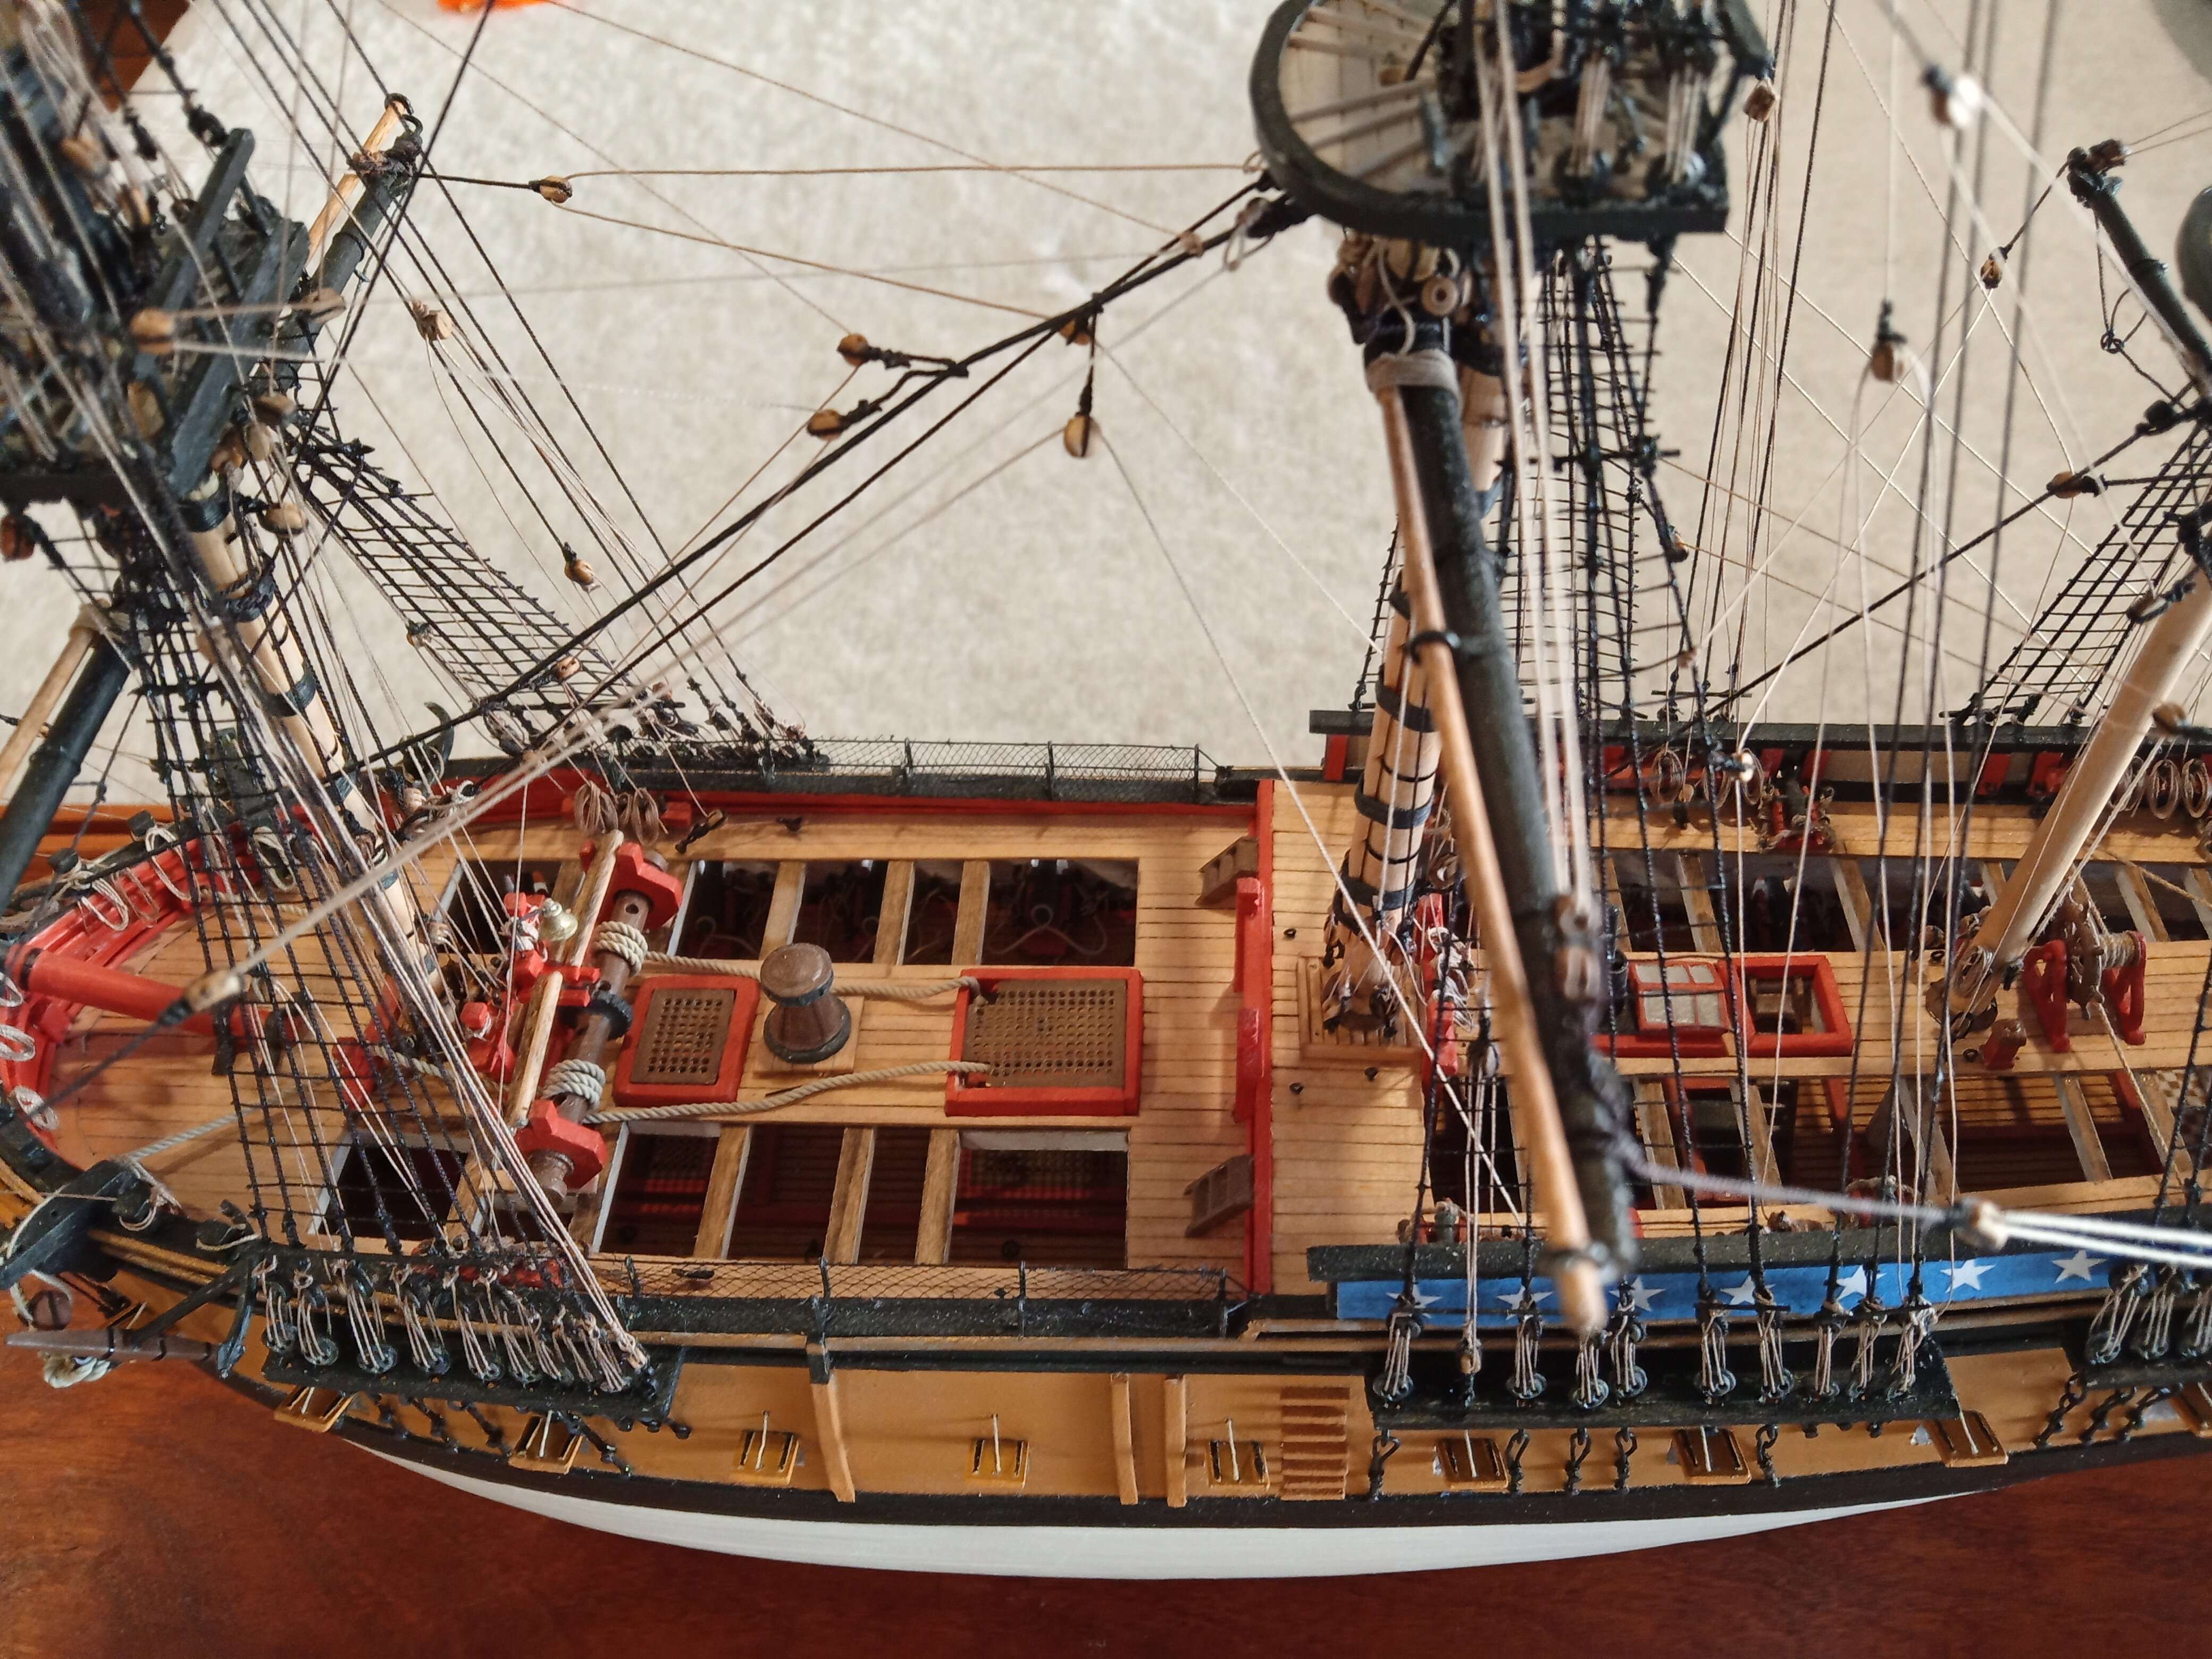
Thanks for the kind words.
Just one more photo to show what attracted me to this kit - I wanted a fully rigged 3-master that would fit on a bookshelf. Well, it does!

- KARAVOKIRIS, eatcrow2, Keith Black and 7 others
-
7
-
 3
3
-
Hey Jim,
Shaping solid hulls is always an adventure (I've done 6 of them so far from BJ). But as you have obviously figured out already there are few unrecoverable errors at this stage. By adding wood where needed, and some filler (as long as it is not too thick to avoid problems with curing/drying) you can redo almost anything.
I have not done the Connie but it looks like your fix on the stern may well work. Perfection is always nice but for the hull, simply keeping things symmetrical and avoiding anything odd-looking should be "good enough" because if you get this build finished everyone who sees it will be fixated on the masts, rigging and the deck details and any minor flaws in the hull will never be noticed (even by you).
Keep plugging away.
- mort stoll and Mr Whippy
-
2
-
Glad to be of help Joe.
The Niagara makes for a nice looking model, I hope you post some pix of the finished build in the gallery section.
-
Thanks for all the kind responses and the likes.
-
Nice work Avi!
I'd like to make one suggestion regarding mounting the guns on the gun deck. You should consider pinning the carriages to the deck with a piece of thin brass rod. When moving the hull around as you get into the rest of the build you will unavoidably push several guns out of place. If you can, you may want to extend the length of the rod so that it passes thru the cannon barrel and carriage and then into the deck.
Trying to remount the guns once the upper deck is in place can be a real pain, as I know from experience.
-
I'm at the same point in the build as you.
I think the idea is to place the top of the batten along the middle laser line then check for any weird bends, adjust as needed (and as little as possible) to get a fair line then mark the bulkheads where the top of the batten touches them (the batten can then be removed). That line will be where the top of the 3/16" high sill pieces sit. Doing it that way ensures that the top of the sill pieces sit as close as possible to being 3/16" above the transverse parts of the bulkheads which the deck planking will sit on. If they do, then the stacking of the 1/16" thick planking, plus the 1/16" thick waterway, plus the 1/16" thick carronade swivel brackets (pg 46 of the instructions) will leave the top of the swivel brackets even with the gunport sill, thereby centering the carronades in the gunport and level with the deck.
That's the theory anyway, for what it's worth.
- PaddyO and Overworked724
-
2
-
-
I agree with Phil about gluing the stropping lines around the blocks. If you don’t some of your blocks may “roll out” under tension, probably in the worst locations for trying to fix them. You don’t need much glue, just a little on each side if the block.
Rounding off the edges of the blocks will make them look more realistic. The blocks from Syren look great but the Model expo blocks can be improved with a tumbler or by filing down the edges (tedious but not too bad if you do them as you need them.)
- Chuck Seiler and Coyote_6
-
1
-
1
-
-
-
Thanks Matt!
-----------------------------------
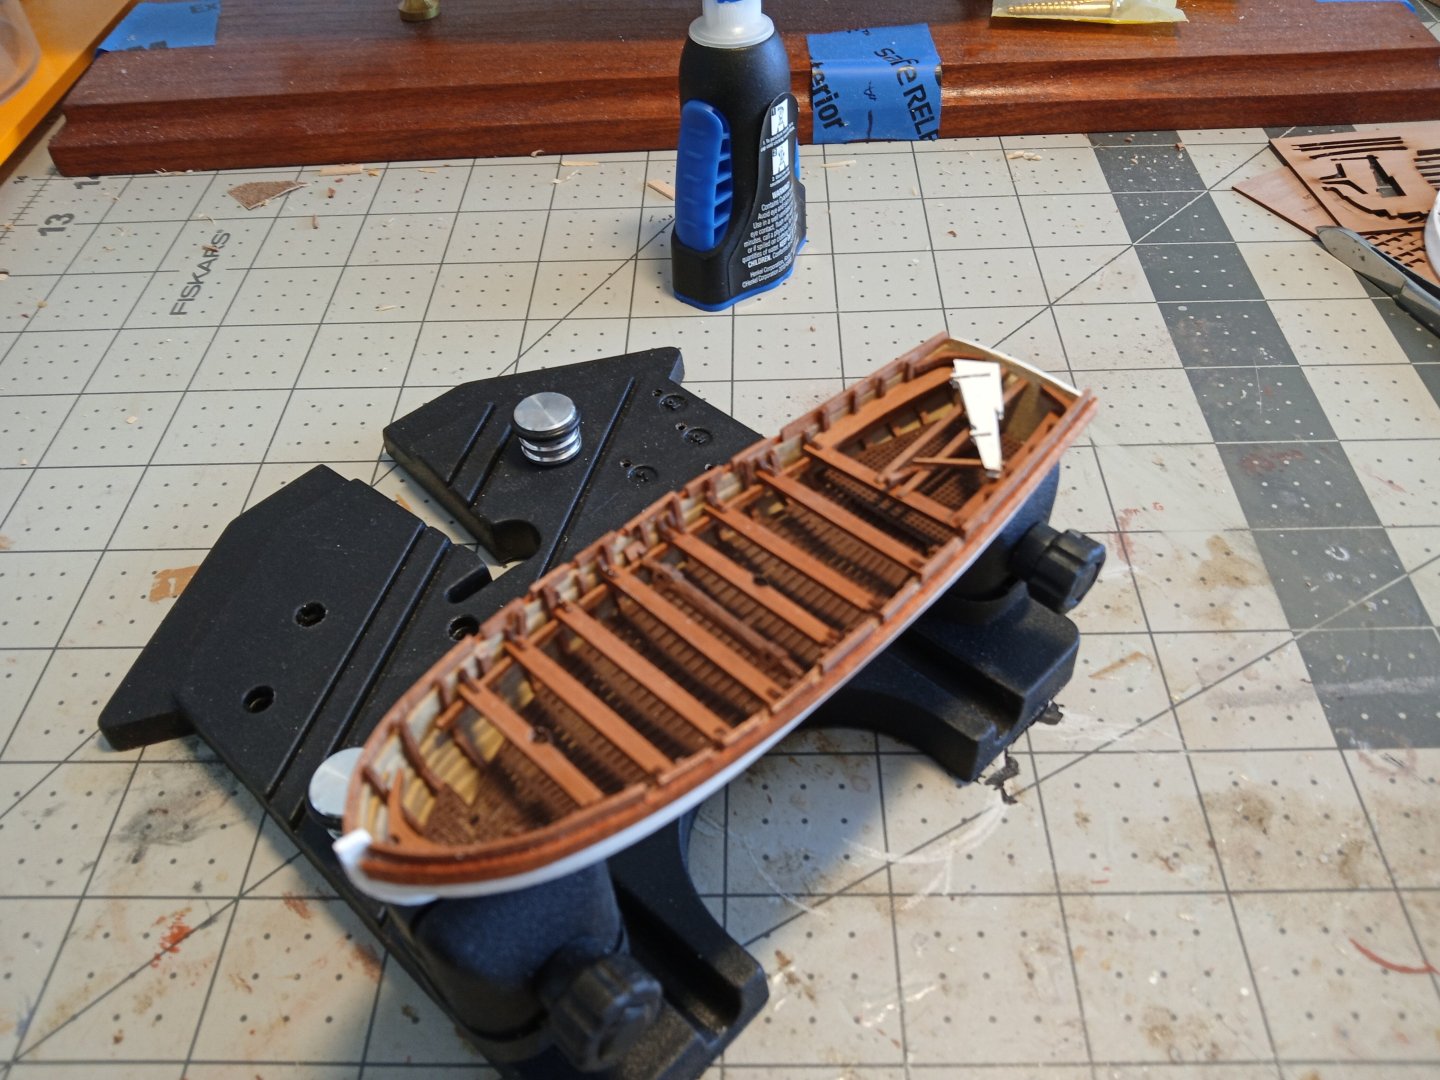
Step 31 to completion
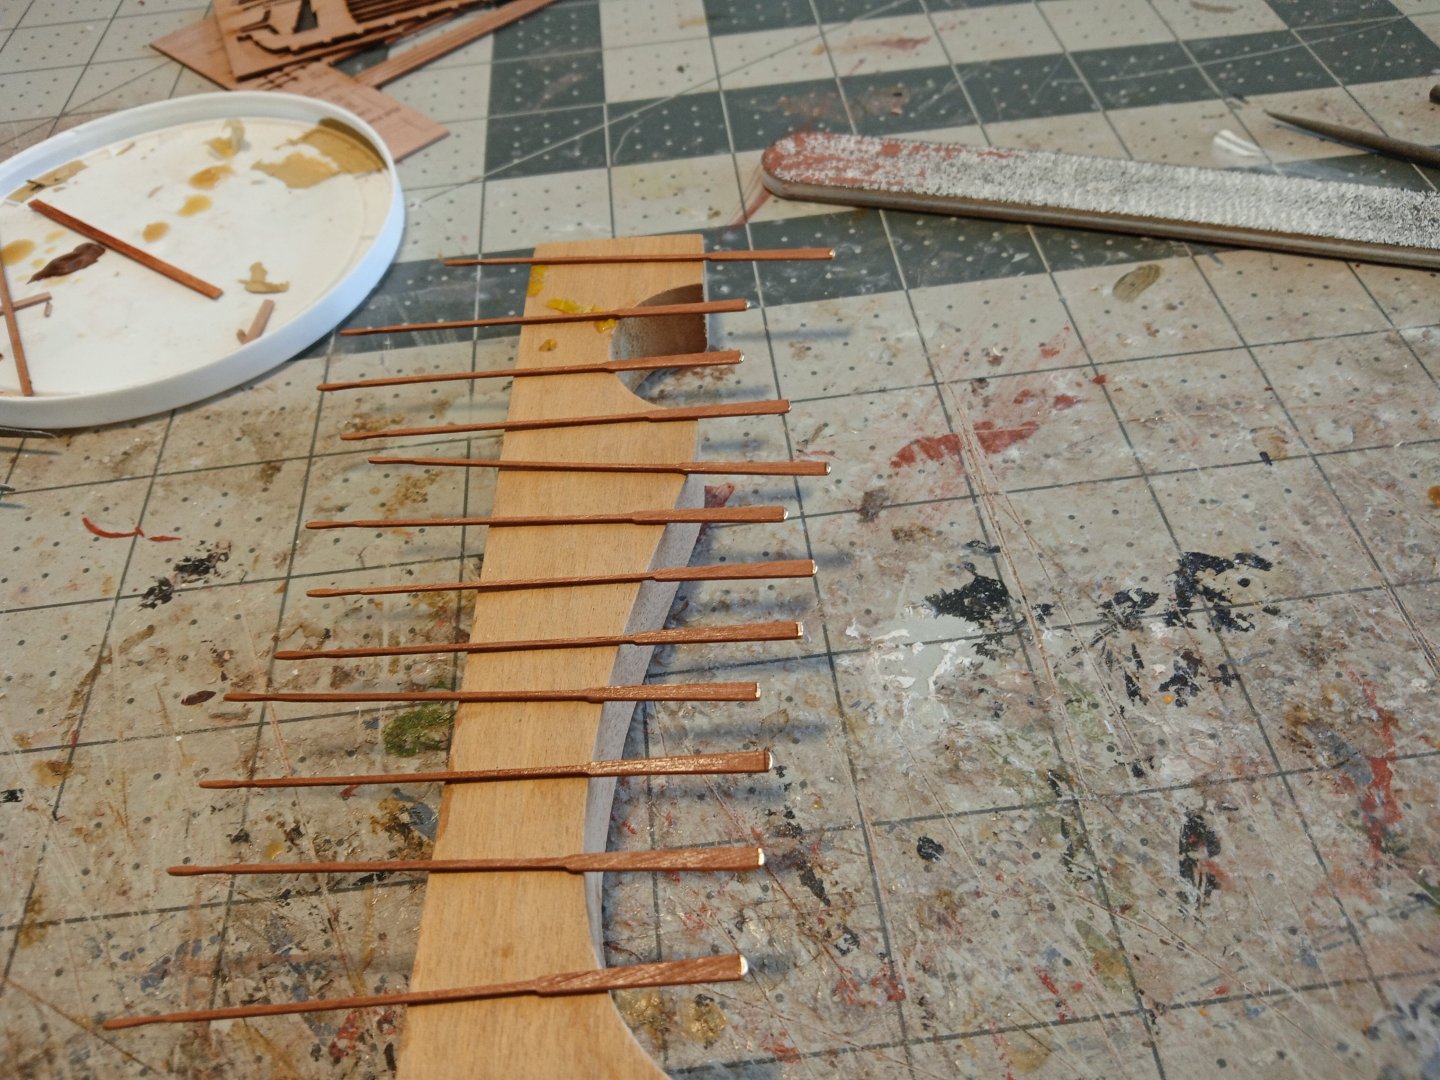
The last step is to select and prep the oars.
The kit provides 2 complete sets - one of PE and one of pear wood. I went with the pear wood. Sanding the char off these delicate pieces and then sanding all 12 of them so their cross sections would have a more rounded appearance ended up taking more time than any other step in this build.
I did add copper paint to the blade tips per the instructions but did not follow the recommendation to partially paint them in white. I left it off since American warships of the Napoleonic War period seemed to have a lot less decoration/ornamentation than the RN. I’m not sure if that was a matter of preference, Navy Department parsimony or just no need to keep crews with too many embittered products of the press gang busy with fancywork rather than sitting around plotting mutiny.🙂
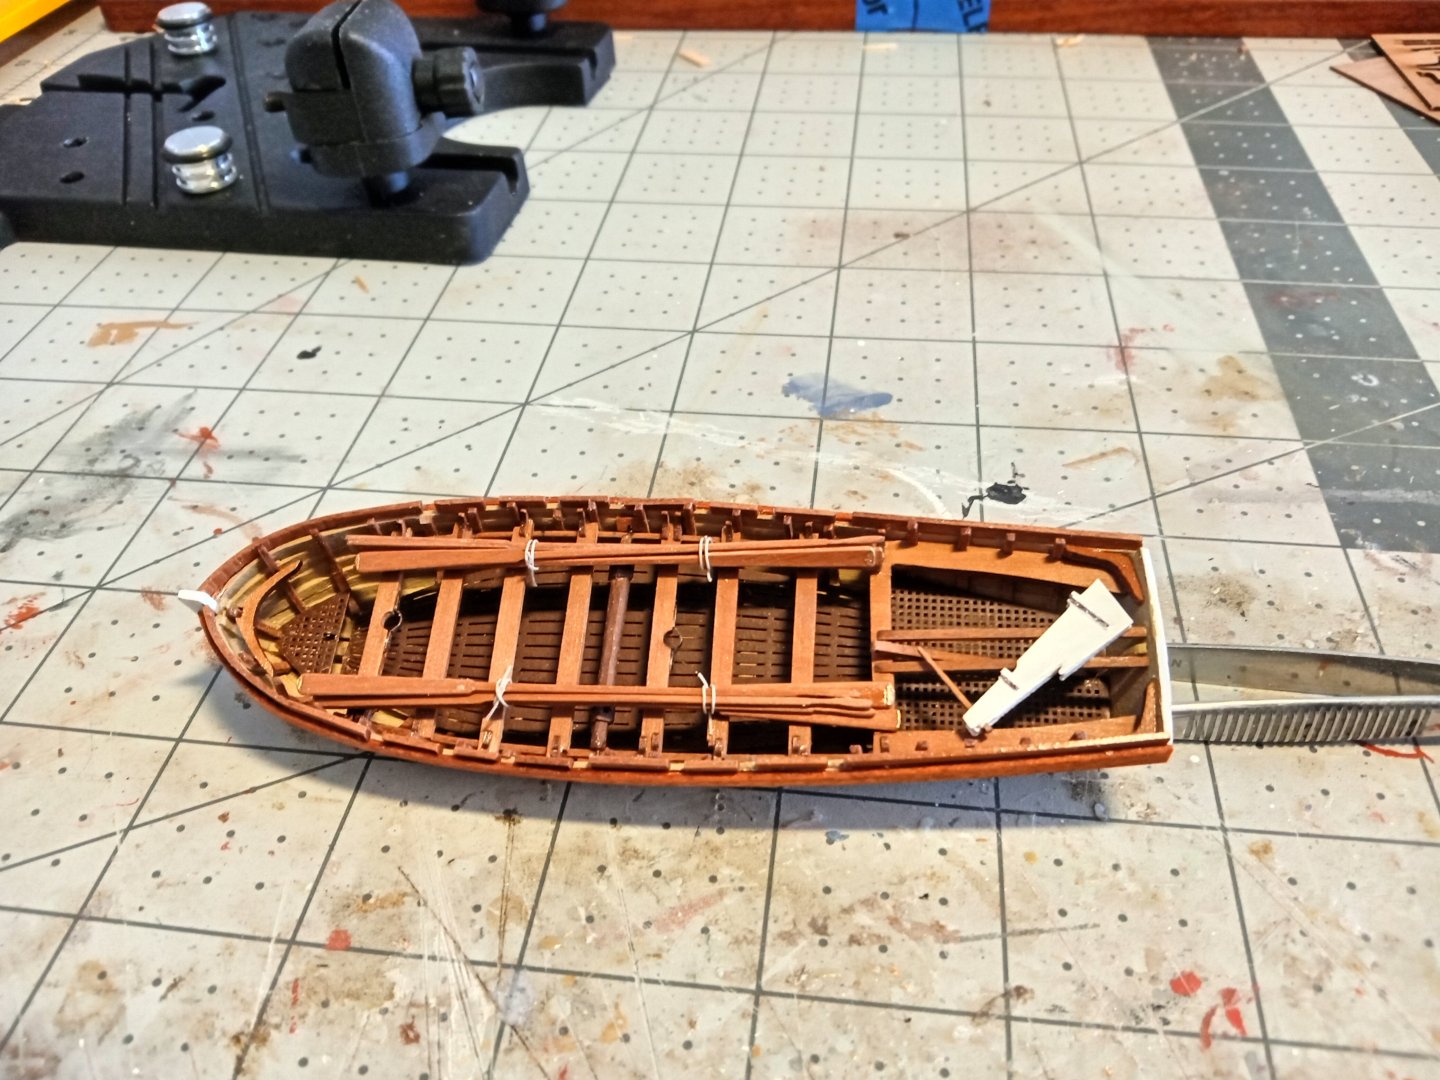
Final Thoughts:
- I’m very pleased with how this kit turned out. I may build Vanguard’s 18 ft cutter to hang on the SYREN’s stern davits when I get to that point in the build.
- Although the build logs made this kit look a little intimidating I found that clamping each hull plank in sections with my fingers until the glue set made that part of the build surprisingly easy
- This was more fun than I thought it would be - the kit is well designed, the instructions are very good and the materials are great
- Craigie65, wvdhee, vossiewulf and 6 others
-
9
-
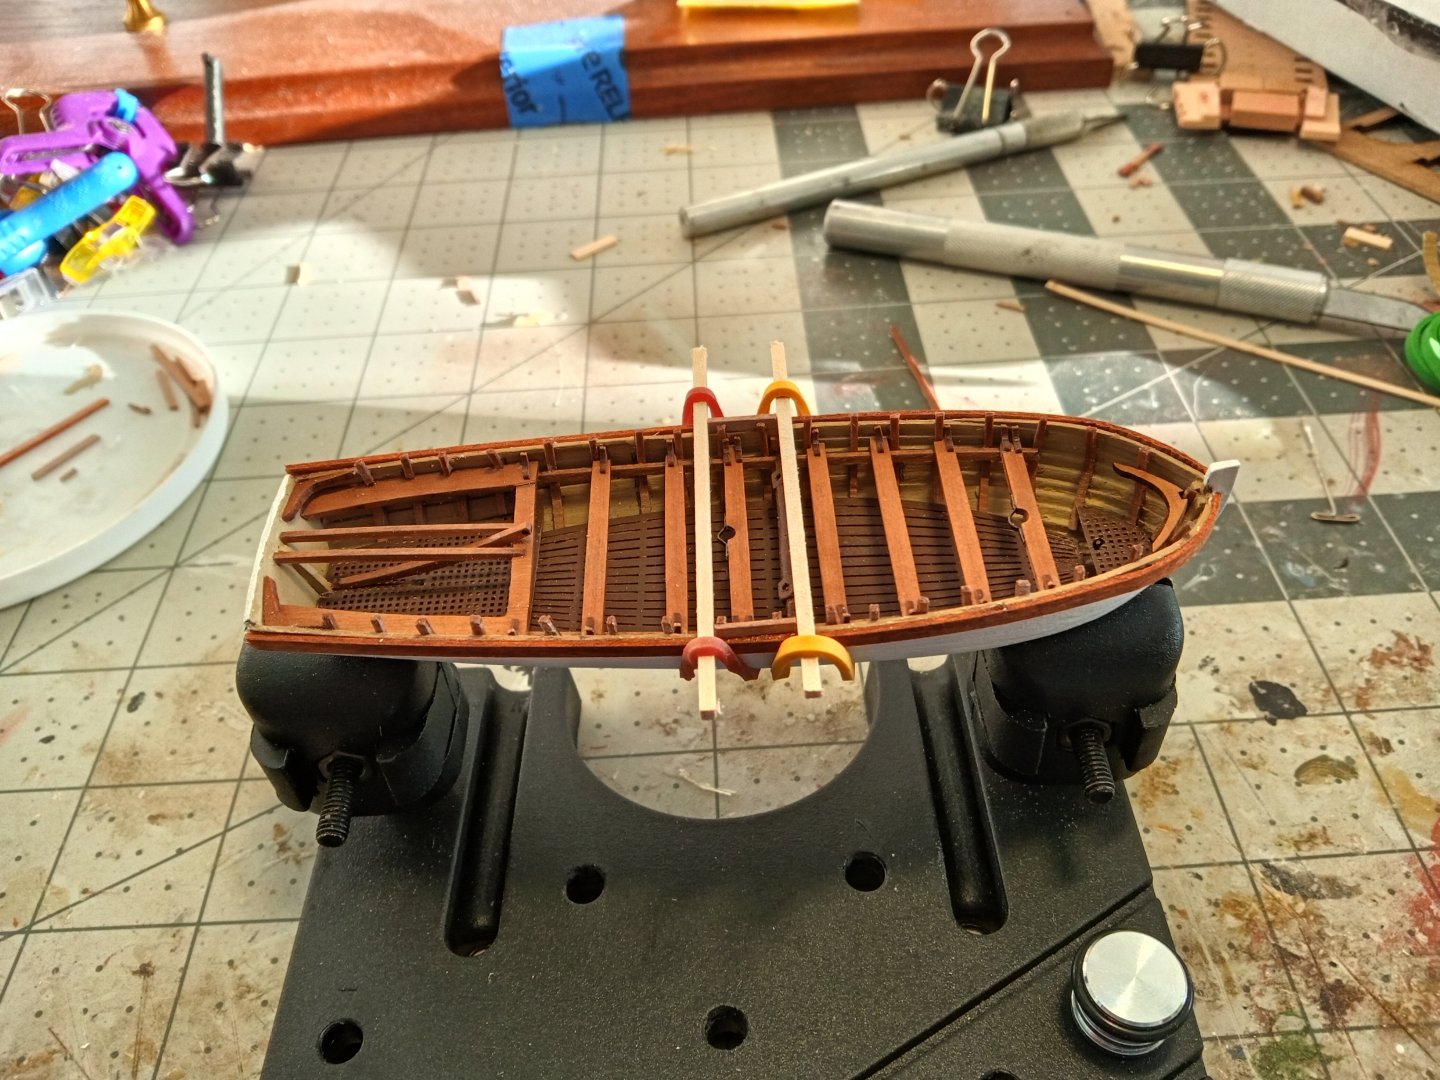
Steps 24-30
The stern sheets assembly went in after a little trimming to fit the shape of my hull, followed by several other laser cut pieces.My kit did not have the overhead plan referred to in other build logs but an email to Vanguard got a quick response with it attached so I was able to determine the placement and spacing of the seats (and the oarlocks later.) Getting the seats parallel to each other and perpendicular to the keel wasn’t hard using this clever jig from post #10 of Clark’s build log (I had to clamp a temporary stern post to the transom to give the jig something to rest against) :

There are 20 TINY laser cut knees for the seats (2 per seat except for the 2 that have the mast support brackets - they get 4 each). The rib extensions were all trimmed to a 1mm height and the davit supports added to the stern sheets:
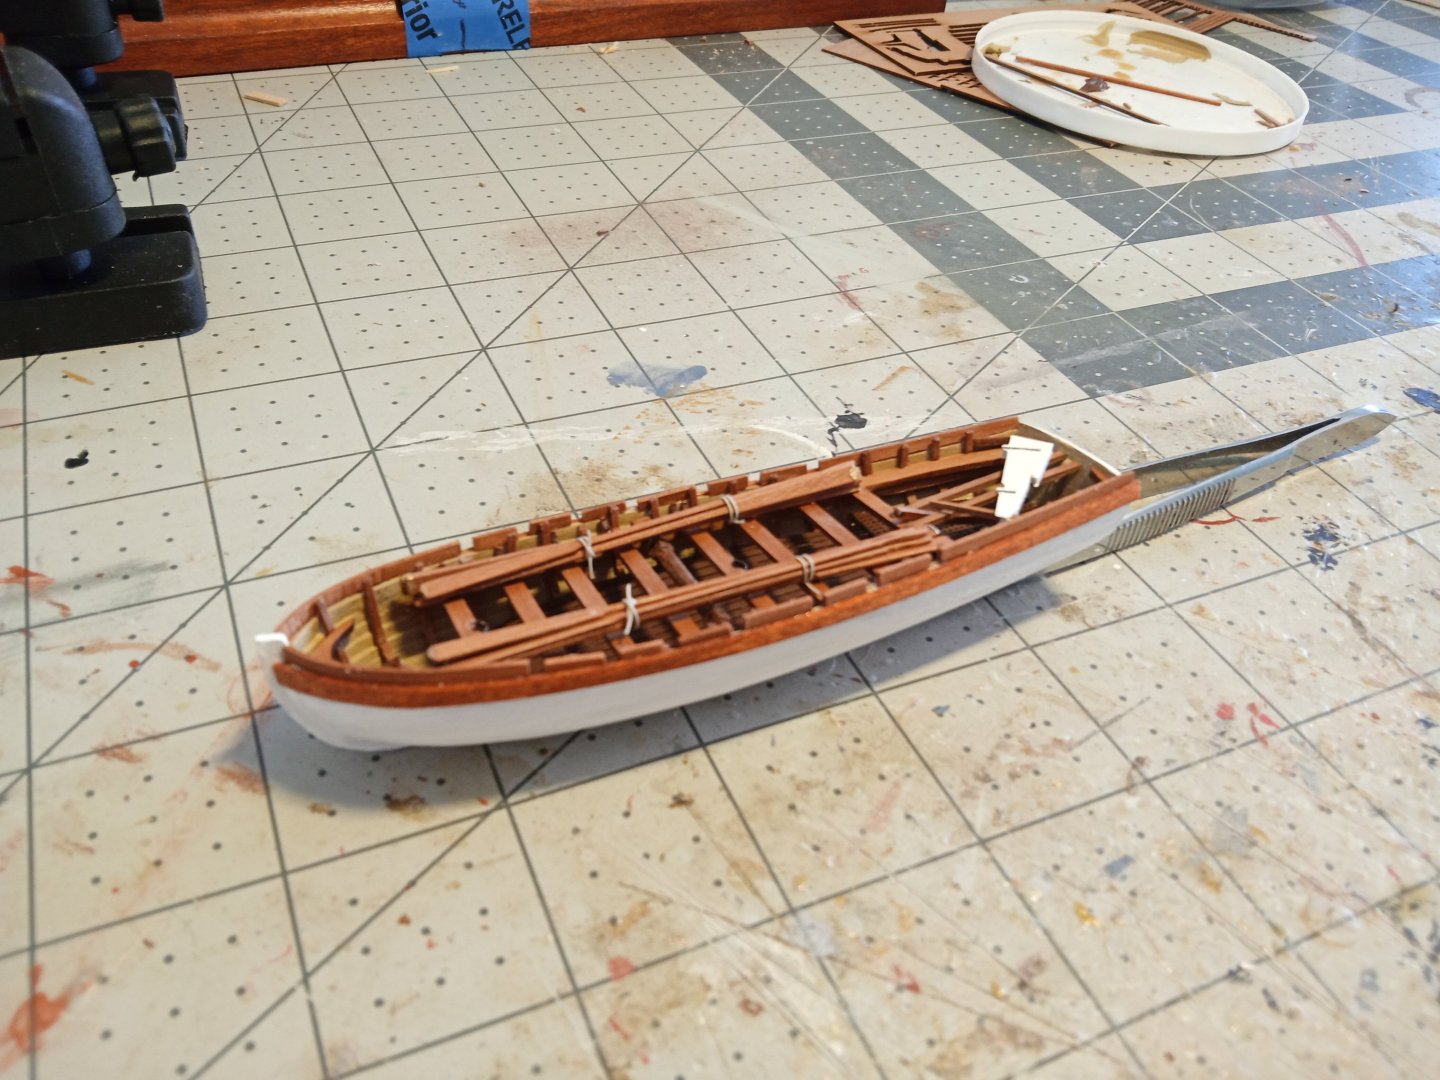
The instructions said you can cut the tiller off the rudder because “a separate arm” is fitted in the boat. The arm referred to is the davit associated with the kedge anchor handling. I’m no expert but I think the davit and the rudder is an “either - or” proposition - if the davit was deployed overhanging the transom then rudder had to be unshipped (the boat would then have to be maneuvered with just the oars). I put the davit in what seems like a logical stowage position. The kit does not provide a windlass which the other part of the handling equipment so I scratched one using the instructions for the SYREN’s boat (available online from Model Expo - select the kit and look for a tab for “instructions and parts list”)
The rudder is made up of laser cut wood sandwiched between 2 PE pieces that include the mounting plates for the gudgeons and pintles. Since I plan on stowing the rudder in the boat I cut the plates for gudgeons off and glued them to the transom along with 2 eye bolts.

I used some stained basswood I had on hand for the wales. The hull exterior was painted white.
There are 2 different ways to handle the gunwales, add them as one long strip from stem to transom and then cut or file the oarlock slots, or install them in sections. I went with the sectional approach because I thought trying to file the oarlocks might be more than the thin edge-glued wood could stand up to. I found some strip wood of the width I wanted for the oarlock openings and moved them around as a guide for cutting the sections:
-
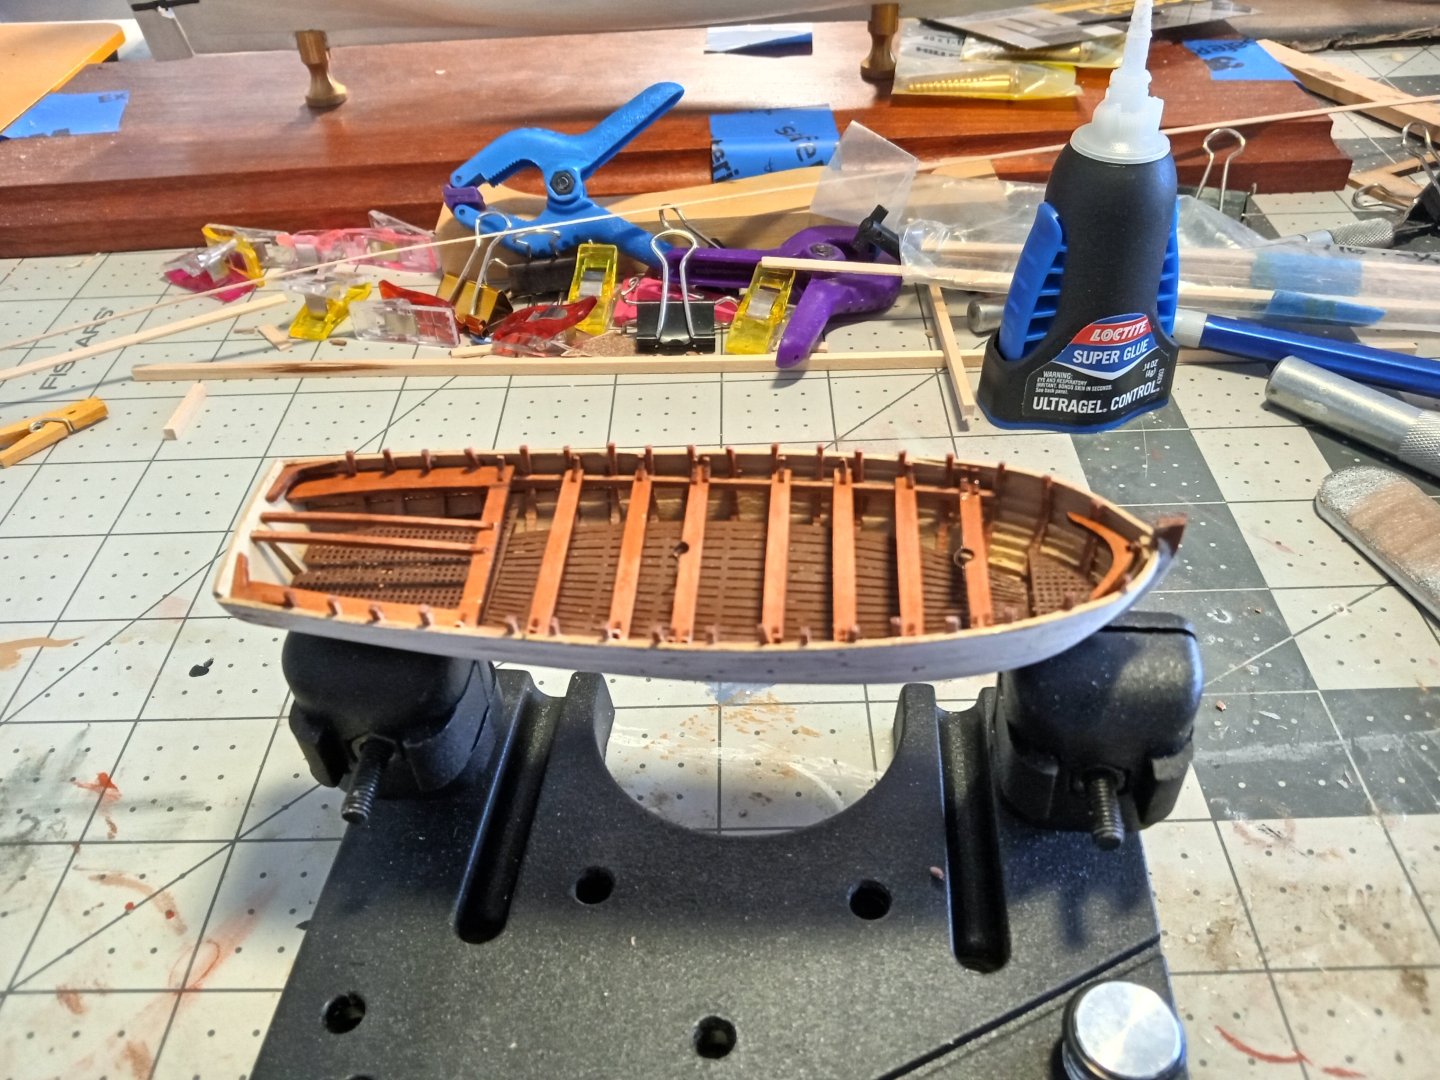
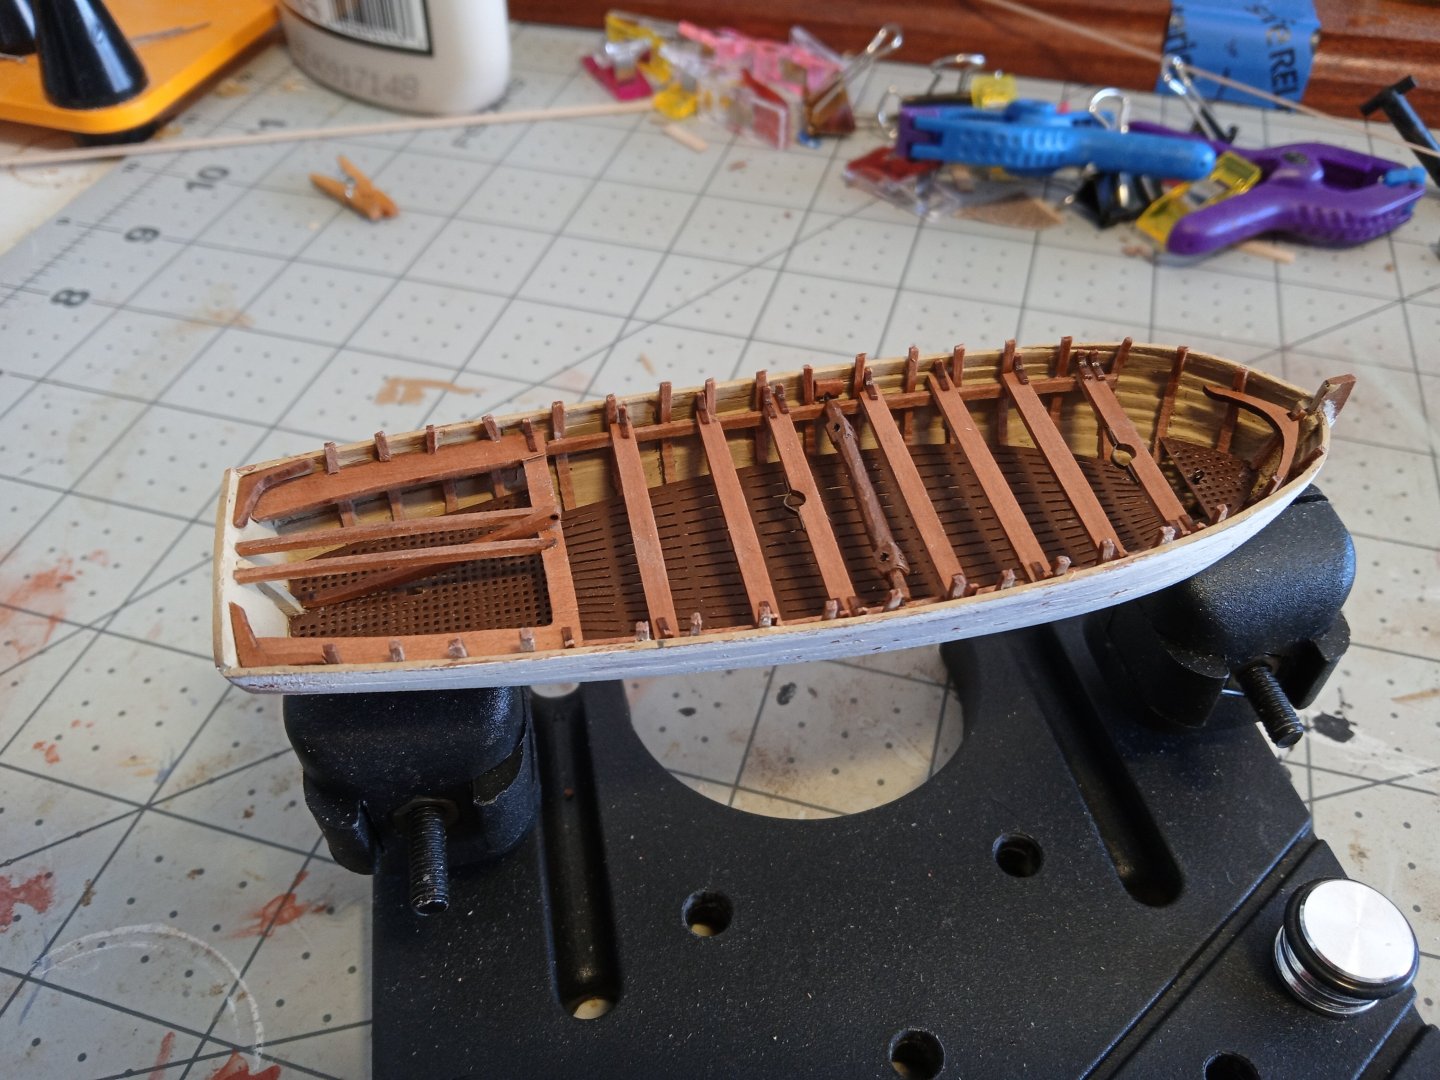
Installing the ribs and seat supports
Steps 19-23
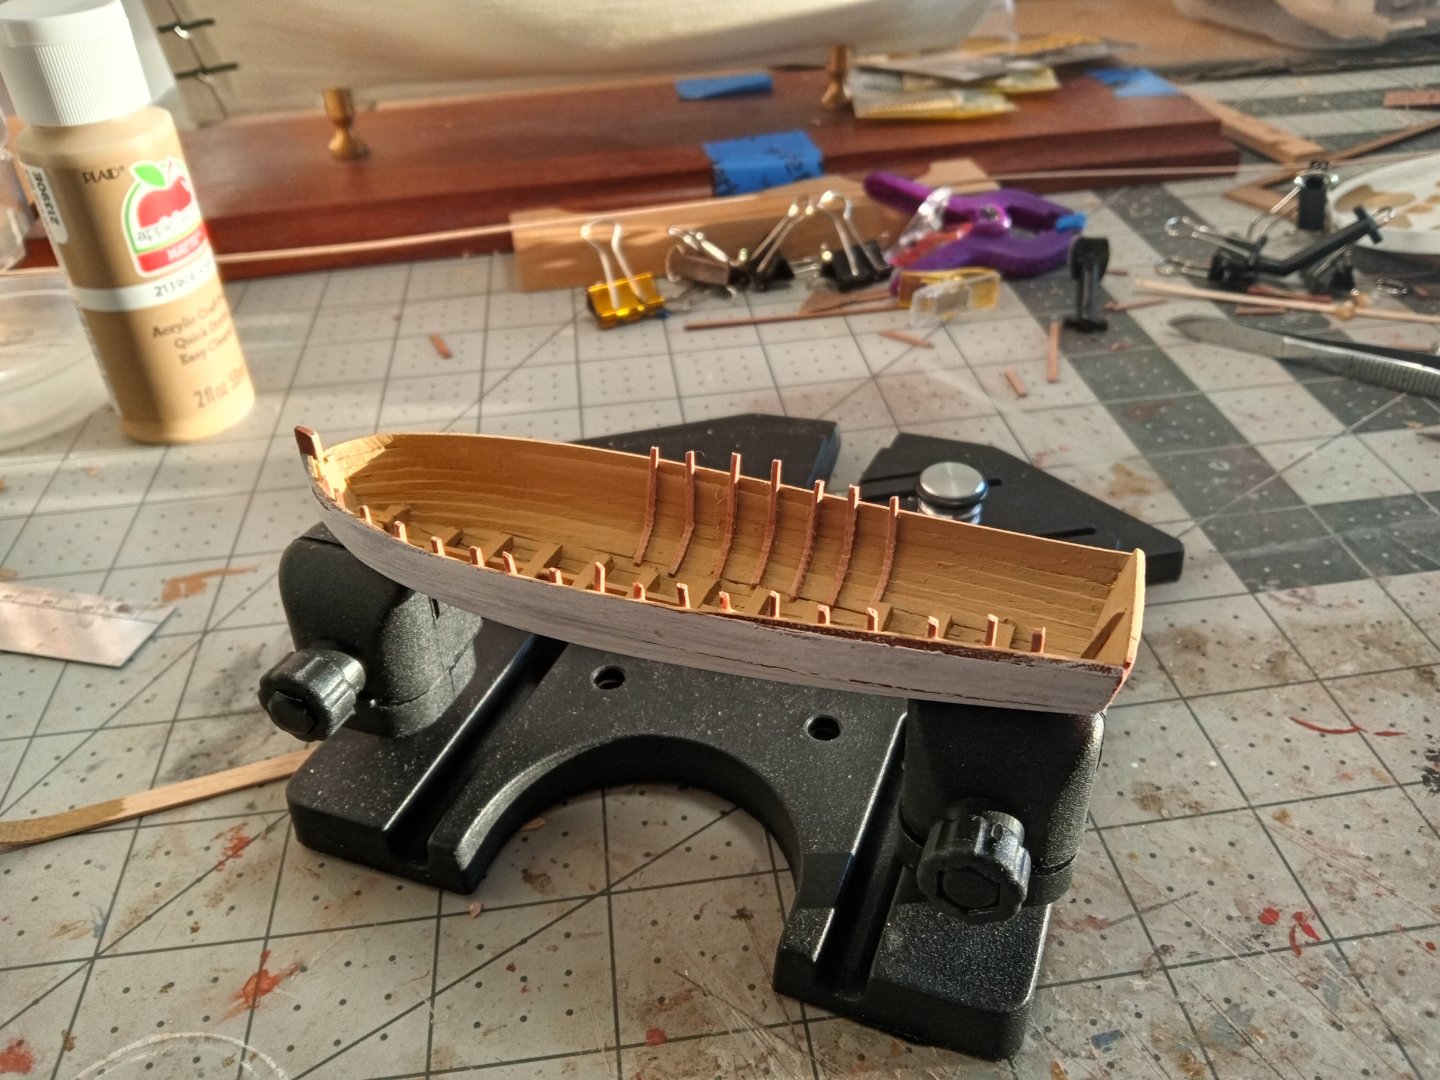
- There was enough filler bleed thru in the plank gaps from my first few planks that I did not feel comfortable leaving the interior planking bare so I painted it with some acrylic tan.
- The ribs went in pretty easily after soaking. Following the recommendations on several of the build logs I trimmed the tops of the ribs leaving about 1-2 mm above the sheer strake to help position and support the garboards/washboards/oarlocks when those go on.
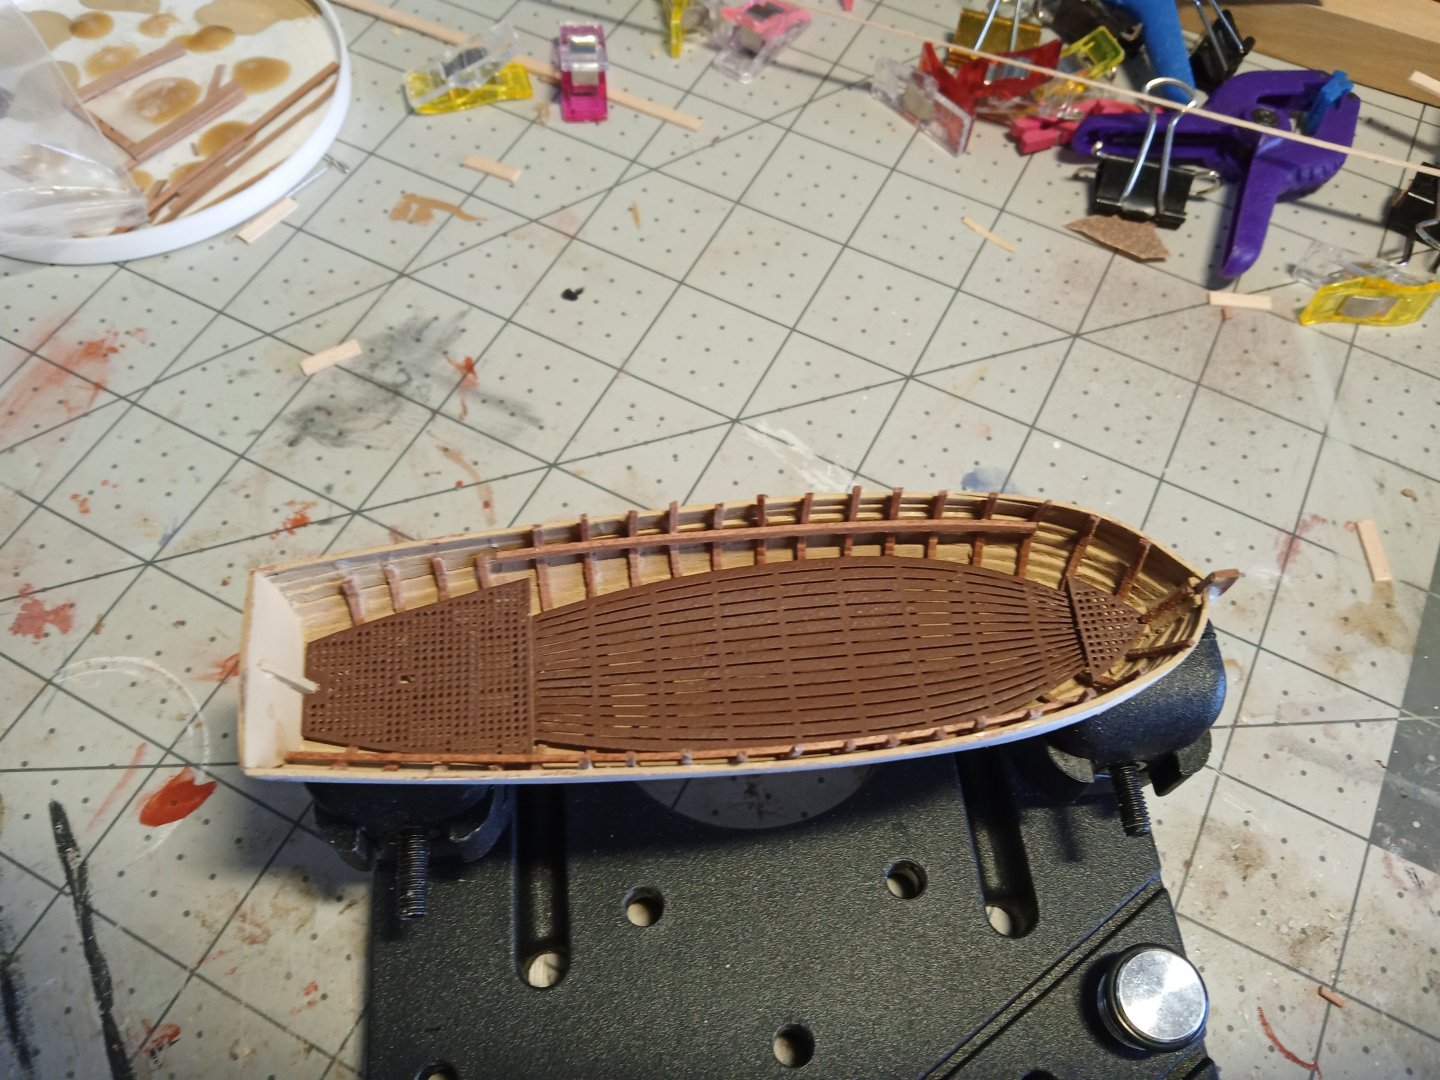
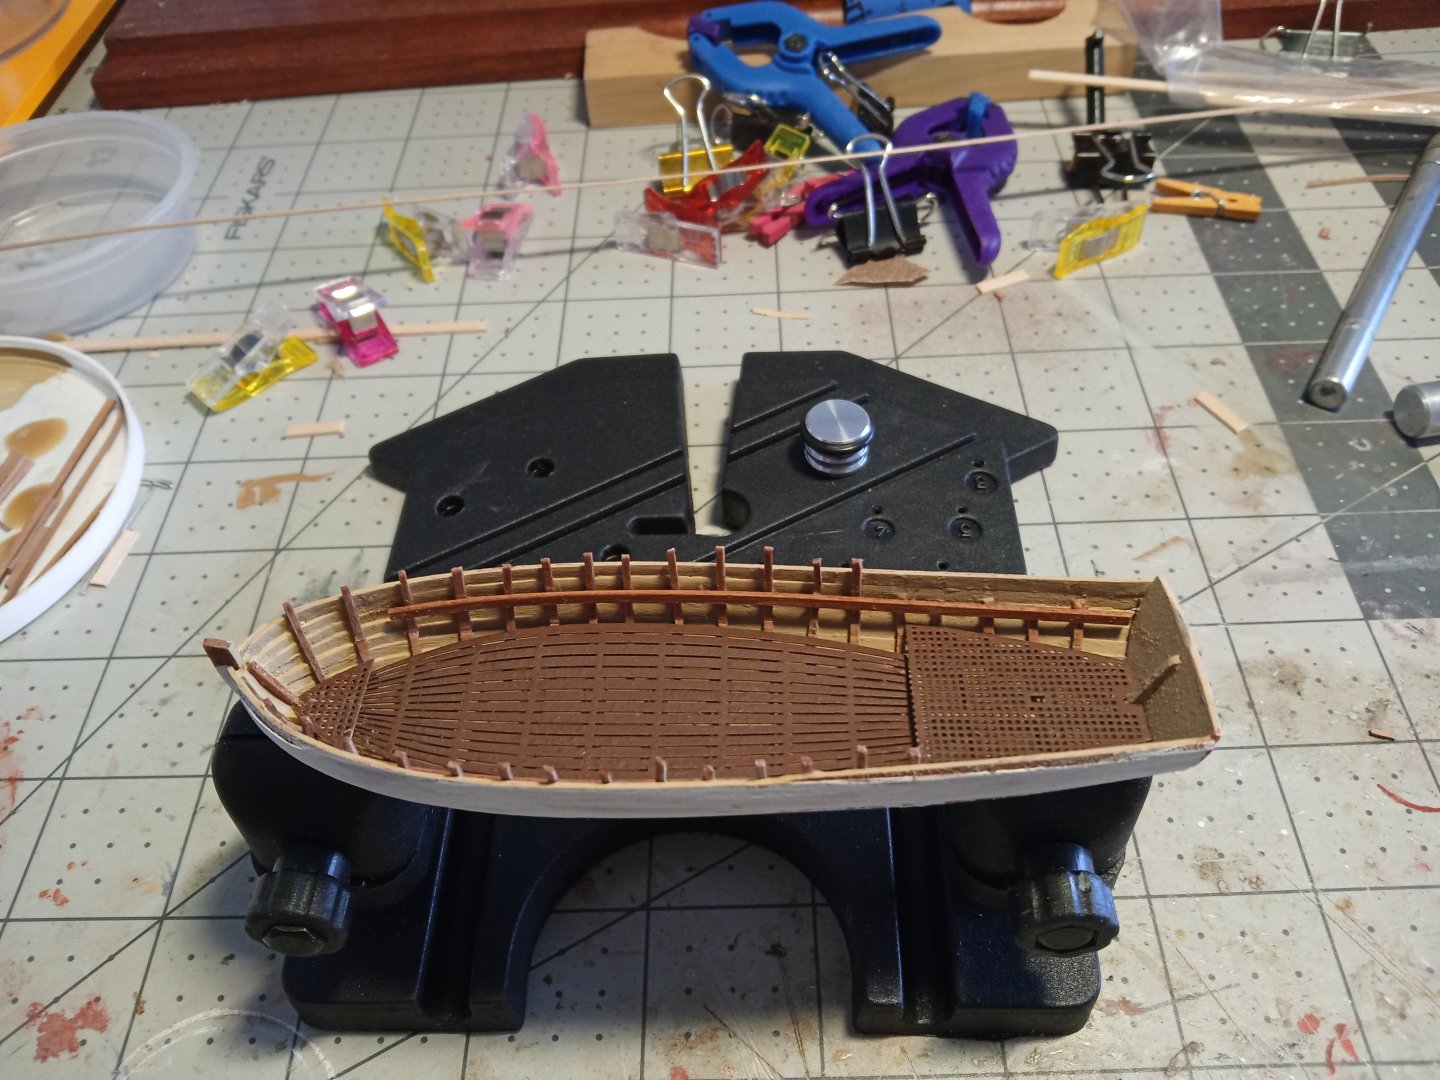
The seat supports went in without need of soaking, they were placed 3mm below the top of the sheer strake using some 3mm strip as spacers.
The photo etch floorboards and gratings were sprayed with Tamiya Fine Surface Primer and then sprayed with a dark flat brown spray paint, I wanted to avoid brush painting them since the holes are so small it would have been easy to clog them up even with thinned paint.
As can be seen in the photos below on the port side I cut the seat supports to end about 4 ribs forward of the transom per the instructions. When test fitting the after stern sheets assembly I figured out that it would be easier to install it if it could rest it on the seat support strips so I left the support on the starboard side long enough to reach the transom. That also helps ensure that the stern sheets sit level with the thwarts/seats.
The ribs and seat supports were given a coat of poly which looks good on the pear wood. The exterior of the hull has a coat of primer on it.
- KARAVOKIRIS, rcweir, JacquesCousteau and 1 other
-
4
-
Hey George,
I've used those scribed decks several times and you can get a pretty invisible seam between them.
Now that you have the char off push them together and using a pencil carefully mark the areas where the halves touch and sand a little in those areas, recheck - remark - sand a little more. Eventually you will have the halves making contact along their entire length.
Don't get carried away with the sanding and stay away for power tools.
If you look carefully at the edges of both halves before you start you may well be able to plan your sanding such that the halves meet either right on a prescribed plank seam or at least with a seam that looks like the prescribed seams. Don't sand away an entire plank width chasing a seam though or your deck may end up too narrow.
After you are happy with their fit and are ready to glue them to the sub deck I suggest you use epoxy to do it. CA sets up too fast and you may not get everything aligned before it does. Wood glue (PVA) has a lot of water in it and speaking from personal experience with these scribed decks the moisture can cause them to swell and buckle.
If you end up with a spot or two that you are not happy with that would be a great place to put some rope coils to cover them up.
- Kevin-the-lubber, Canute, gak1965 and 1 other
-
4


USS Pillsbury DD-227 by michael.denigan - BlueJacket Shipcrafters - 1/96
in - Kit build logs for subjects built from 1901 - Present Day
Posted
I'll be following along as I recently bought one of the old Revell plastic kits of the Buchanan along with the PE set from GMM. I always thought the 4-stackers were an elegant design.
The Anatomy of the Ship The Destroyer Cambelltown by BlueJacket's Al Ross (who designed your kit) has some vey good line drawings of the ship in her USN days, albeit without any of the China Station modifications like the searchlight tower.
Enjoy your build - it should turn out to be an eye-catching model.