


mobbsie
-
Posts
1,493 -
Joined
-
Last visited
Content Type
Profiles
Forums
Gallery
Events
Posts posted by mobbsie
-
-
Looking real good mate.
Here's a poser for you Kevin, just when your sitting and relaxing in the evening, I will admit I don't know the answer myself.
If you took all the lines both Standing and Running and laid them end to end, what would the total distance be.
Your getting there mate, keep going and you'll be done before you know it.
Be Good
mobbsie
- CaptainSteve, Piet, Kevin and 1 other
-
 4
4
-
It happens to most of us at some stage mate and fortunately the damage is not too bad.
With your skills the repair will not be noticeable.
I tend to do an awful lot of work with the boat on my lap and I have had it slip. We never learn do we.
You have a lot of good work going on Jason and I'm enjoying following along.
Keep it up mate.
Be Good
mobbsie
-
-
-
HI Bob,
Granado, fantastic choice mate, most definitely my favourite build to date.
With the modifications you have planned she's gonna pop.
Depending on how you want to display your mortars you may want to give some thought to the storage of the mortar covers, there's no space on deck for them.
Good luck with this build mate.
Be Good
mobbsie
-
-
Hi Bob,
In my experience mate with the types of boat I've worked on which is the Thames Barge's and Bawley the Gaff and Boom have always been rigged this way.
What you have achieved here is almost perfection, the rigging looks absolutely superb mate.
Be Good
mobbsie
-
Thanks Denis,
The Bark Canoe sounds interesting, would this be to the original design of the Native Indians or a more contemporary design. It would be nice to see the finished item all painted up with your nearest tribal artwork.
I wouldn't mind doing one but it would look silly with the bells and ribbons on from the local Morris Dancers.

I look forward to seeing her progress mate.
Be Good
mobbsie
-
That's impressive stuff Denis, what you do just to get you started would take me and a few other builders a good couple of days to achieve.
Now a quick question, when sewing the stanchions into the cloth how did you stop them from moving out of position, a drop of glue or did you mark their position on the cloth. ? A lot of guys would have sown the cloth to the stanchions while they were in position.
It looks as though you used Acetate for the windows, I thought you just liked the window maker, either way they do look good mate.
I'm intrigued to know what else you have in mind for her.
Take Care
mobbsie
- Piet, Omega1234, popeye the sailor and 1 other
-
4
-
-
Denis I'm bloody sure you have a sawmill just turning wood out for you, I've counted eight seeing as how the AG is completed ( or is she ).
How about "Big Red" as in the Giant Redwood as a name for your tree boat.
It's nice to see your shipyard is busy as an awful lot are shutting down, you must lay awake at night working out your next moves, it's fascinating.
And your work is exemplary.
Be Good
mobbsie
-
Hopefully it's just tiredness or a minor bug mate, hope your feeling better already.
I've just found this build and now I'm having to go through all your logs to find out just what's going on, I've lost count.
Mind if I tag along mate, you still have quite a journey on this one and she's looking real good mate.
Be Good
mobbsie
- popeye the sailor, cog, mtaylor and 1 other
-
4
-
Budge up Mark & Ken can you please make space for a petit rotund figure, I don't need feeding, not a lover of popcorn.

Regardless of the very muddled plans your making a great job so far, just don't look at the plans if your suffering eye strain, they make Amati plans look plain sailing ( pardon the pun ).

Good luck Jack.
Be Good
mobbsie
-
-
-
No words of wisdom or profound statements from me Mark, just a whole lot of encouragement mate.
Be Good
mobbsie
-
-
I think she looks absolutely splendid Mark.
I'm sure with a little perseverance you'll find your answer to the rudder collar, there is a solution out there somewhere. Not too sure going in from the top is the right answer though, unless it's just to get you over the top of the rudder post.
Have you tried the domestic front, some bread or pastry dough, chewed chewing gum or something similar, off the wall I know but may work.
Good luck mate.
Be Good
mobbsie
-
Hi Gents,
Lawrence, glad you pulled up a chair mate, good to have you along.
Been a while since my last post and I feel really bad about it, apart from a bit of life getting in the way my only excuse is lethargy, or being just bone idol.
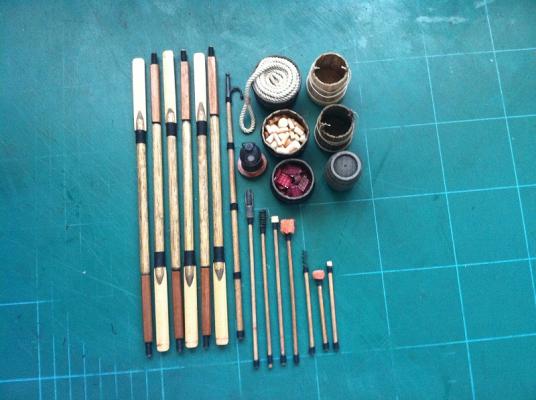
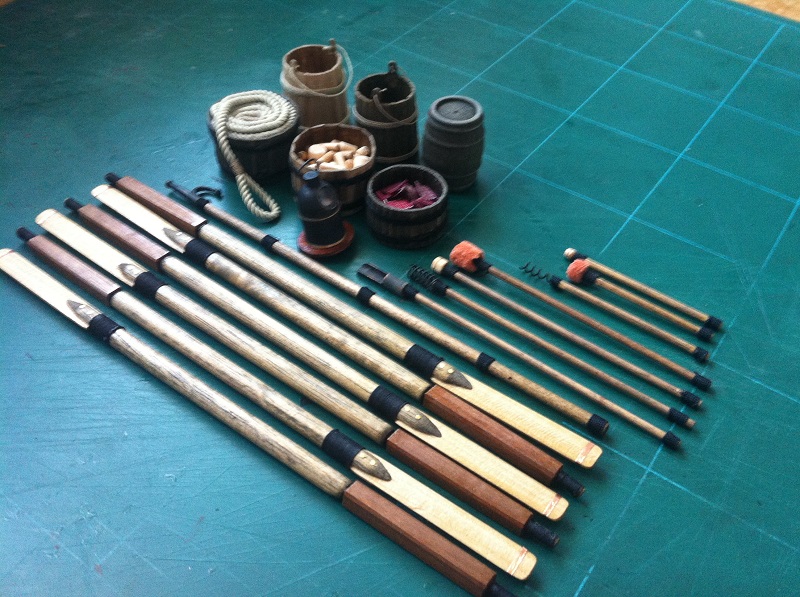
The main task of planking has taken most of the time with a slight diversion to make a few of the interior objects, Oars, Buckets, Gun Swabs - Reamers - Rammers and so-on.
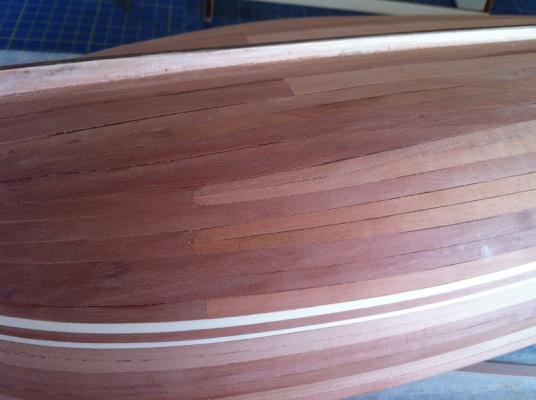
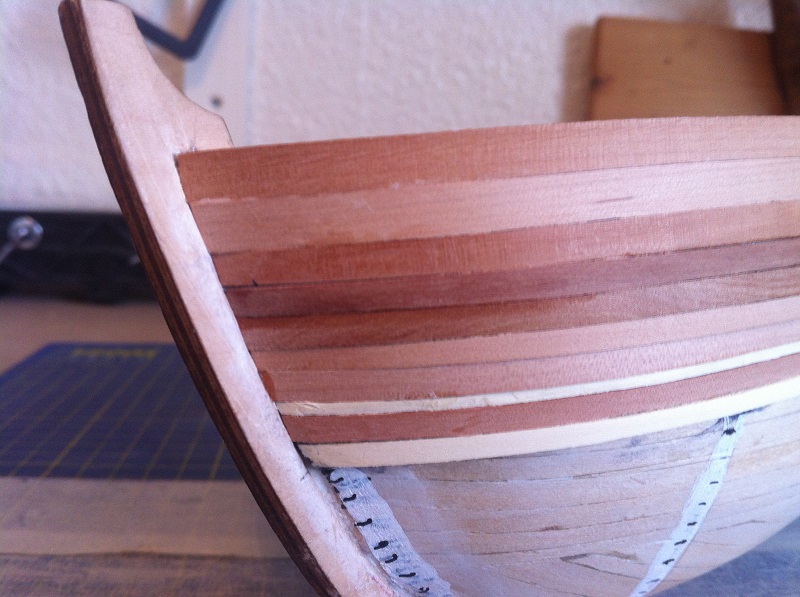
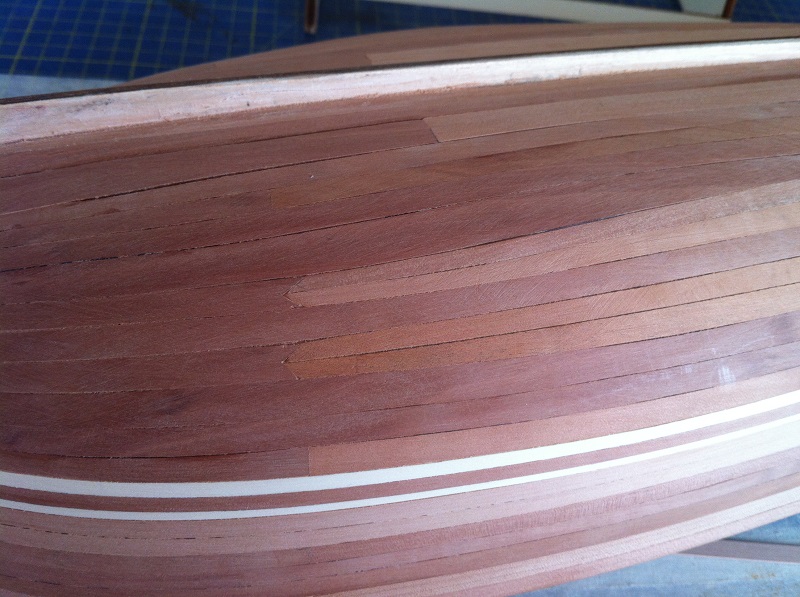
The 3rd planking is now complete although this is still work in progress, I have to do a little filling between the planks but I'm quite pleased with the job so far.
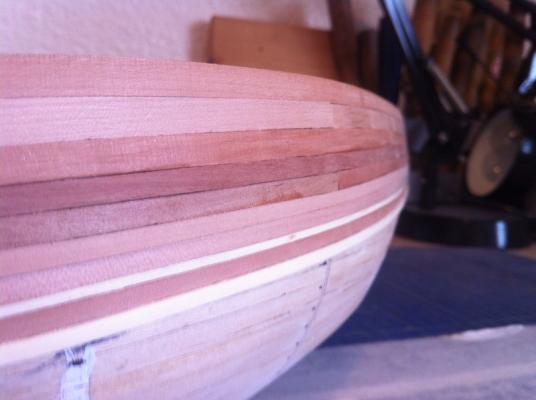
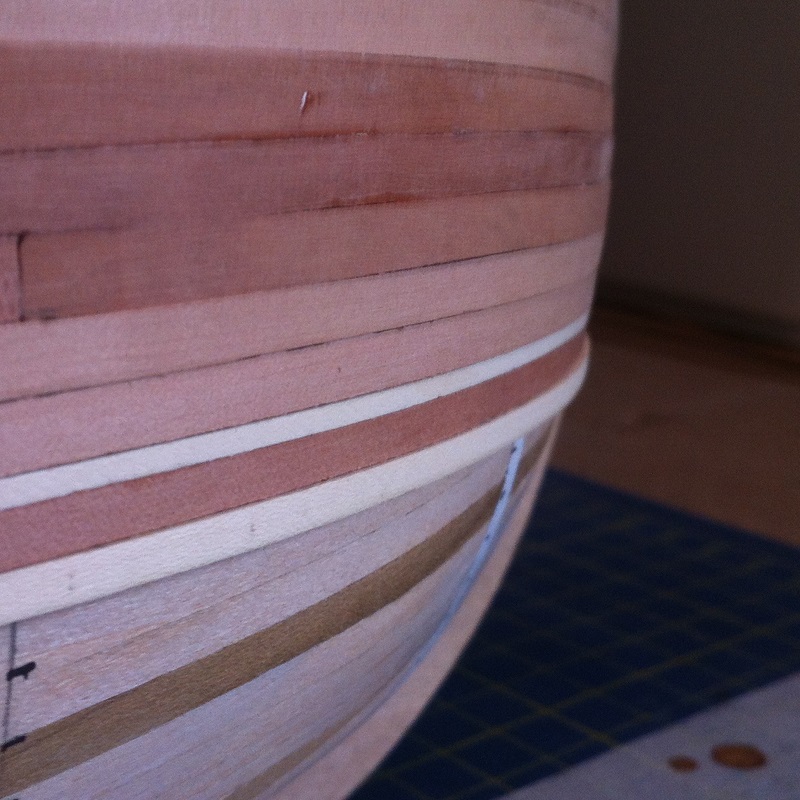
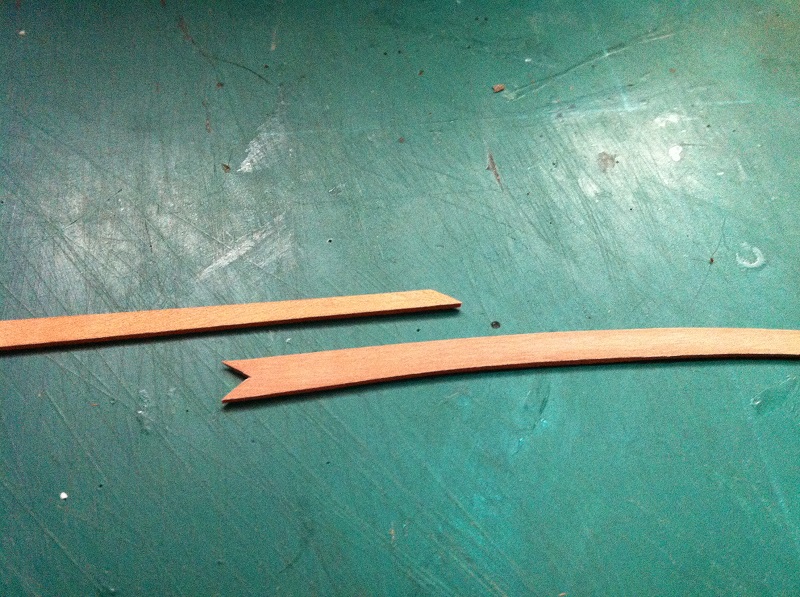
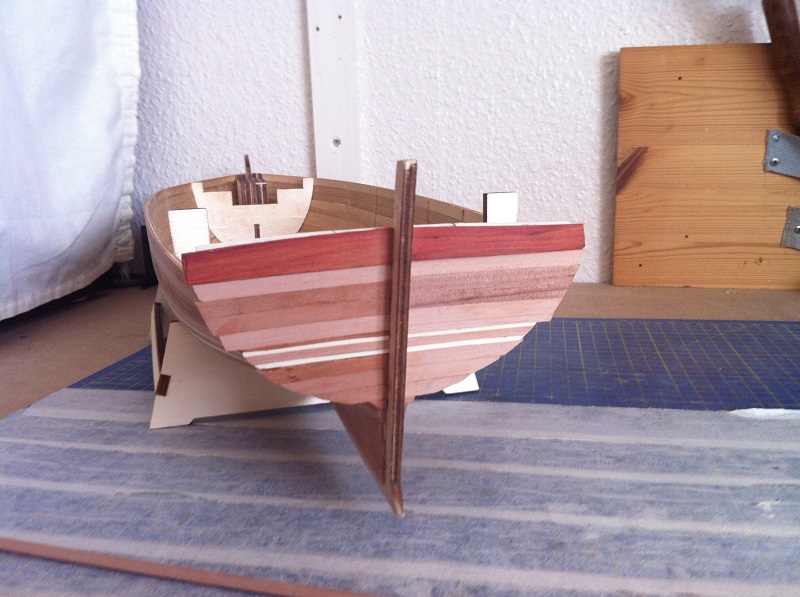
I started by marking the hull off and then fitting the waterline, I used Holly for the waterline, its some left over from the Granado. I cut two 3 x 1.6mm lengths for the main line and two 1.6 x 1.0mm for the second line with a 3 x 1.0mm Pear strip between, this meant that the waterline stood proud by 0.6mm, this would come off during sanding so no worries.
I then started planking from the top down to the waterline, this was not a problem and none of the planks needed any special treatment. First mistake, when I put the waterline in I put all my markings for the planks out of kilter and so all the tick marks had to be redone, that's the reason for all the correction fluid. When I finally reached the waterline it was time to take a break from planking.


I started making some of the interior equipment shown here.

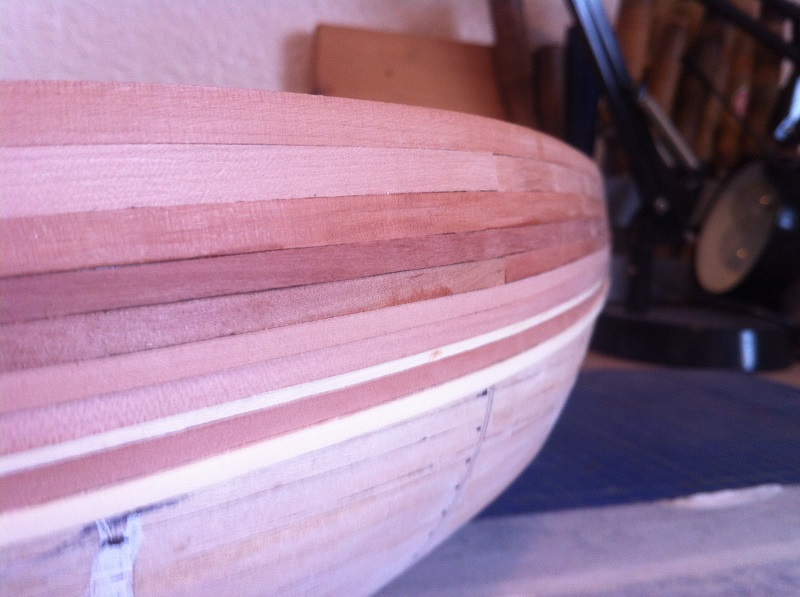
Planking continued after and this was soooo different, each and every plank required Spilling, I couldn't believe that bent planks would fit a straight line but they do. I found the planks I'd got were no good and so all the planks had to be cut from sheet material
Not all went well as you would expect and a few planks were ripped off and replaced and the hull was slowly taking shape amid a tirade of ungentle-manly language.
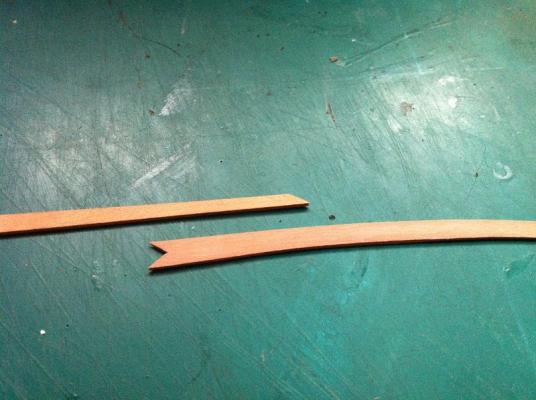
My next big challenge was Drop Planks, I needed to put in a couple of drop planks on each side and so a whole lot of reading took place with not a lot of answers.
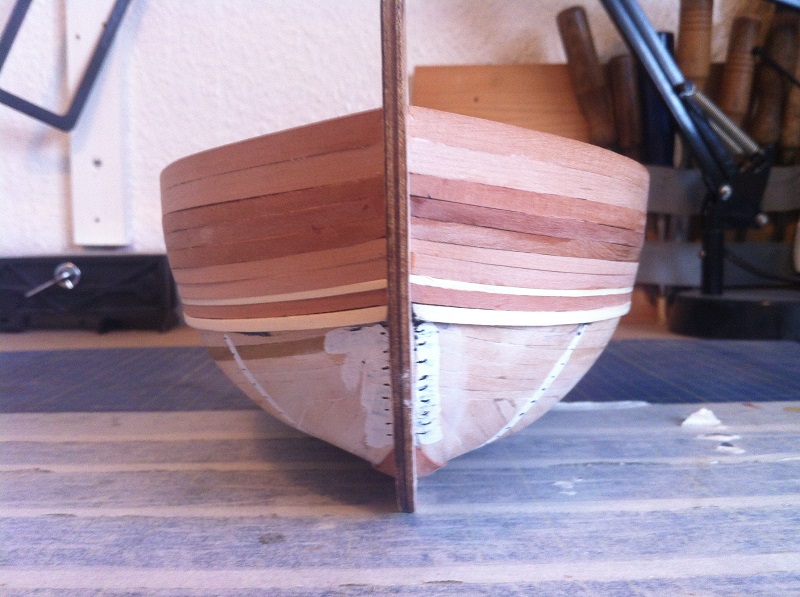
Best way was to just get on with it, so with planks bent, cut and tapered on they went, not what I would call text book but certainly my version and the result wasn't too bad.
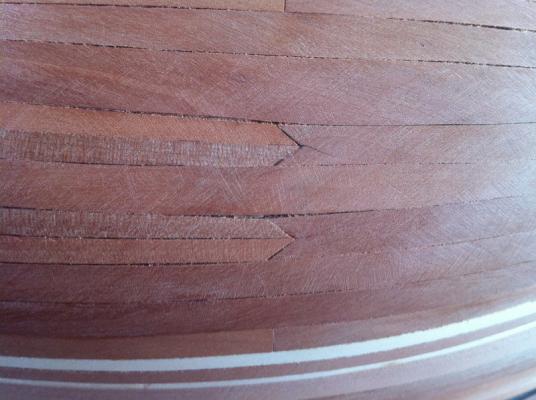
Towards the end of planking a little jiggery pokery was required and in many respects it was a case of taking the bull by the horns and going for it anyway its done with just the clean up left, and the Transom.


Next job for me is complete the Transom, fill between the hull planking, fit the stern boards which are Redheart and final sanding and coating with poly.
So that's me gents and your right up to date now, again sorry for the long gap between posts, I'll try and keep the long gap a bit shorter next time.
Be Good
mobbsie
-
Hi Kevin,
Boy is that ever a jungle, it's no wonder your getting confused.
I don't know if you've noticed but in the print there is no Anchor Hawes, looks like plugs have been fitted from the inside, just to add a bit more confusion.
You've picked her up well mate and she is going to be a big beast when your done, keep it up mate.
Be Good
mobbsie
- mtaylor, CaptainSteve, WackoWolf and 3 others
-
6
-
-
Go for the easy life Denise and comply with the boss, she'll think your being really good when your really using stealth.
Regarding the deck platform, I see a Harpoon Gun situated up there, still makes the mind boggle.
Be Good
mobbsie
-
You've gone the extra mile on the rudder Mark, looks really good mate, love the detail.
Shame about the pooch exercising his canines, they seem to have the knack of finding bits we lose and reshaping them, gotta love em though aint ya.
Be Good
mobbsie
- JesseLee, CaptainSteve, cog and 7 others
-
10
-
Hey Frank, so you now have a ship that has almost as many wrinkles as you,
 :D
:D 
She looks absolutely amazing mate, I love the way you have got the deck all laid out, just superb.

You have to put under cover mate, with all that's going on she'll be a nightmare to try and dust and she deserves a place of honour.

No pressure but when are you laying the keel for your next one.

Be good my friend
mobbsie


Armed Launch by mobbsie - FINISHED - Panart - 1/16 - Small
in - Kit build logs for subjects built from 1751 - 1800
Posted
Hi Gents,
Thanks guys for the very nice comments and the likes.
I hope your sittin down coz I have another up-date. Wonders will never cease I hear you say.
A good bit of progress since my last post.
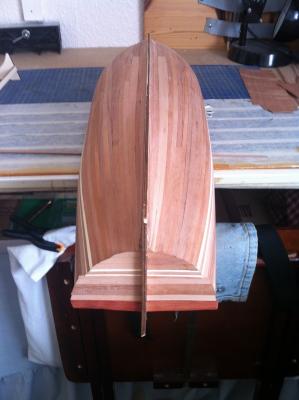
The rudder is made out of lasered plywood and no amount of staining was going to change it's look, so, I decided to cover it with veneer, this then meant that the keel would also need doing as well.
I found some veneer the right colour and completed that job without too hassle, surprising what a difference it makes, much better to the eye.
The Rubbing strips made from 2x3mm Lime were fitted and also the Slipways, these are made from 3.5x5mm Lime. The Slipways were also pinned using cut down flat head pins blackened with Antiquing Fluid.
The Transom was sanded down and shaped, still to need to sand the top to fit the Cap Rail.
The first coat of Poly was taken back and a second coat applied, the Poly is supposed to be a satin finish but when this coat had dried it looks more like a gloss, but hay ho, it's staying.
The entire inside hull has been sanded done to acceptable smoothness apart from the bulkheads, these will be done later prior to planking.
The middle and top deck should be covered with Lime planking but I changed this for Walnut, the top deck was a simple case of straight planks and presented no problem, the second deck is framed with Walnut, this deck has two sets of boards inside and so a bit extra work is required. A template was made from card and the frame marked up, the outer edges of the deck was laid with Walnut leaving a 2mm lip around the inner edges, this deck will have Redheart Boards. Both these decks needed a good bit of sanding.
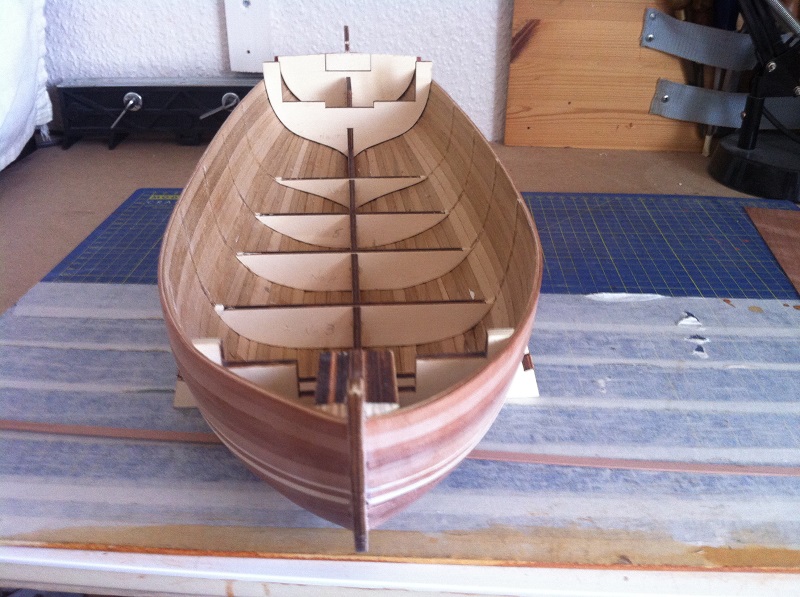
The Main Deck is the same as the second deck, it's just a bit larger. I used Pear to line the outer edges and the internal division's with a square of Holly in the centre where the mast housing will be fitted. The internal divisions are still work in progress as are the boards and gratings.
So I now have some pics, hope you enjoy them.
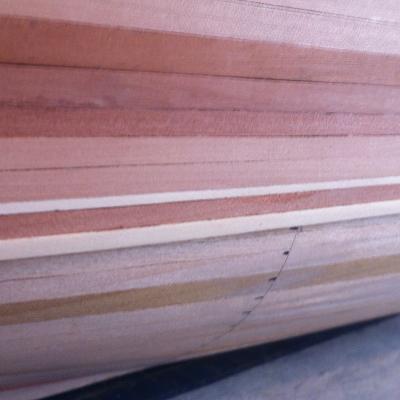
The start of the veneering
There's a rudder in there somewhere, hopefully someone will be able to tell me what wood this is. I've forgotten. The grain is very much reduced once sanded and polyied
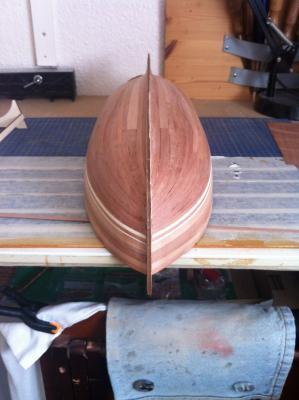
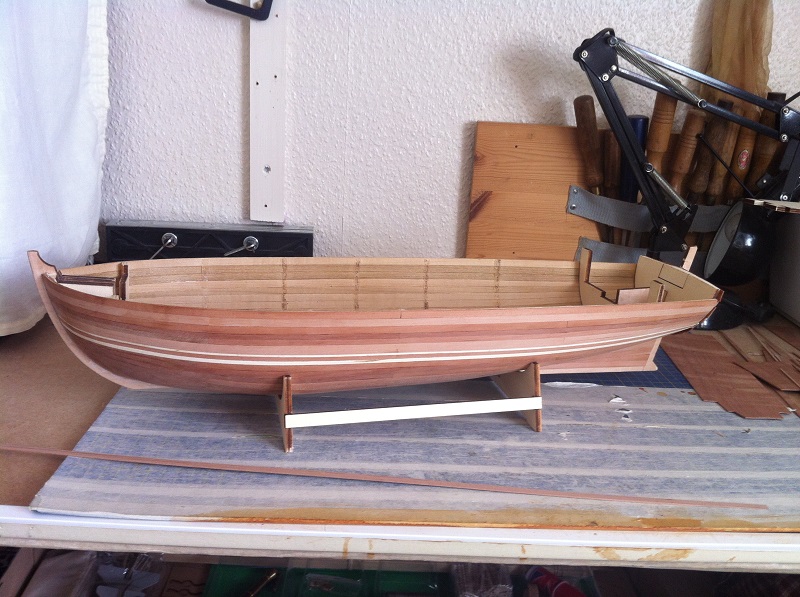
The almost completed outer hull
The Top and 2nd deck to be fixed and sanded in Walnut
The Main deck, still work in progress using Pear.
That's it Guys, not quite so long between posts and hopefully I'll post some more sooner.
All comments and remarks are welcomed.
Be Good
mobbsie