-
Posts
1,557 -
Joined
-
Last visited
Content Type
Profiles
Forums
Gallery
Events
Everything posted by Mike Y
-
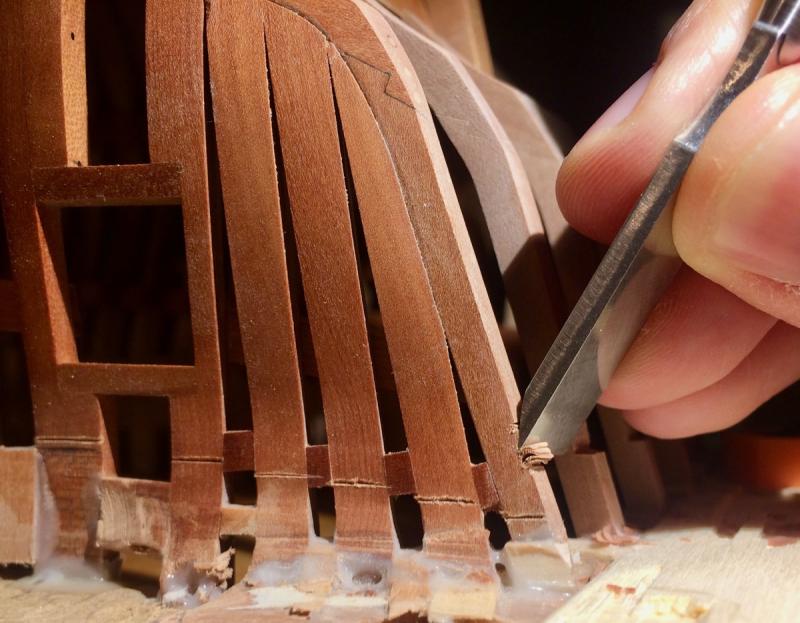
Roger, these chisels are used a bit differently - shaving and cutting the wood with a finger pressure, not with the mallet. Due to their size, they are much easier to work with comparing to the full size chisels - which are just too long. I have both fullsize and miniature chisels, and haven't used the fullsize ones on the model for a while. Might be subjective though.
-
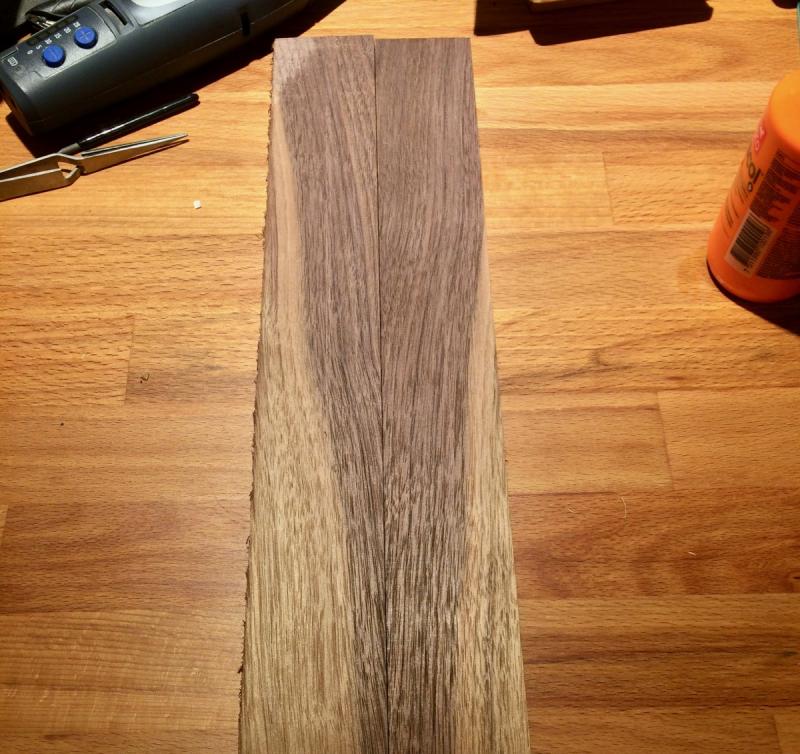
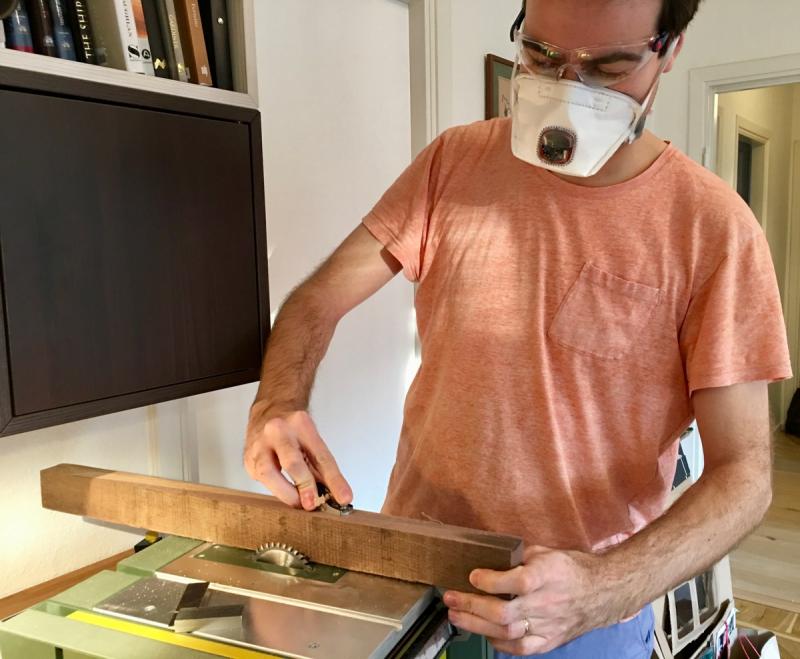
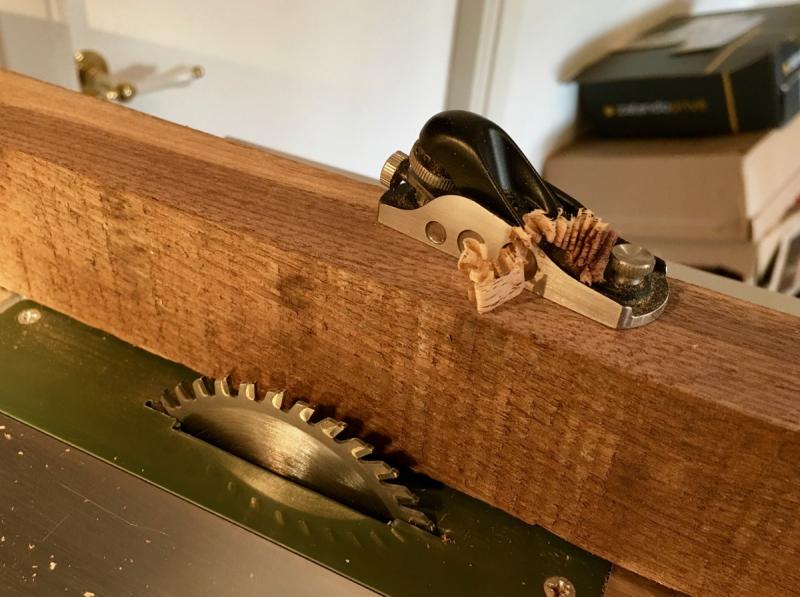
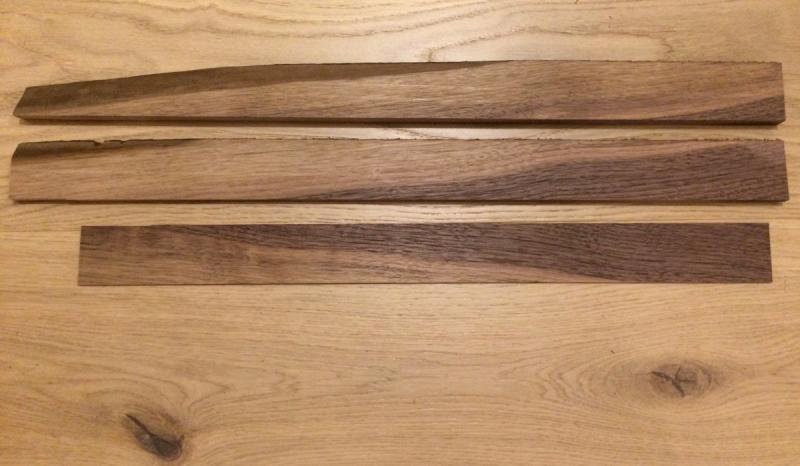
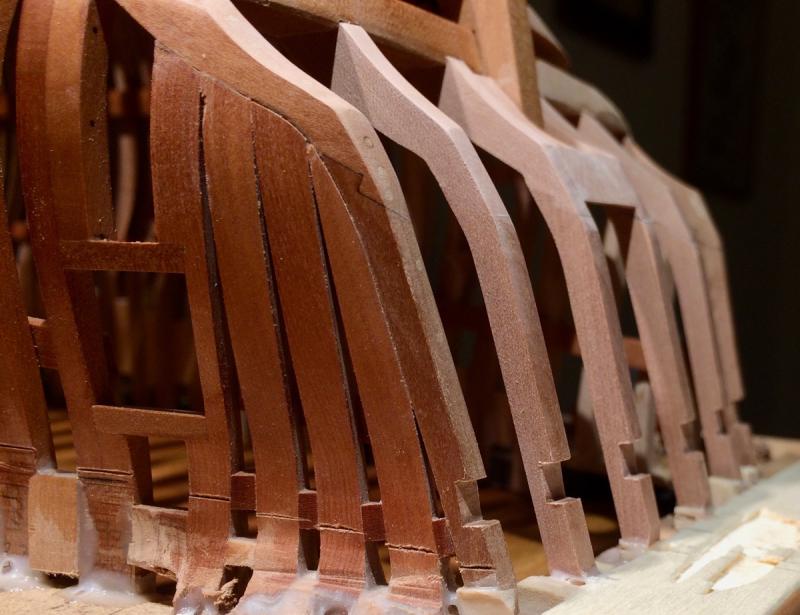
Semi-offtopic: got a bit distracted from the build with an idea of doing some small-scale woodworking (jewerly boxes, that kind of stuff). Part of the plan is to also build a nice display case for the Cromwell. The model looks quite nice even when not finished, plus in the case it would be better protected from dust. Plus it is better to build a case while you have an itch to do it Ordered few boards of some basic hardwoods - walnut, cherry, maple. While the wood dealer is milling them to desired dimensions, took some small piece of scrap to practice with milling my own wood. This was a walnut from the edge of a trunk, with a bit of sapwood. Everything is sooo out of scale My tools are tiny. So I can only build tiny boxes. The piece I got was not square and not symmetrical. Obviously, I do not have a jointer, so squared it on a table saw. Of course, the saw is too small, so finished squaring with a plane. Which was also super small. That felt, hm, awkward for sure! Resawing this piece into planks on Proxxon bandsaw was just pathetic. Super slow even on a max speed and the sound was disgusting. The bandsaw was definitely not up to the task. But after passing it through planer the wood turned out to be beautiful. Very deep walnut pores and grain, but guess that is a feature? That contrast of sapwood and heartwood is striking, something I can use on some box to create a nice effect if matching the boards correctly. Walnut on stained white oak.. I turning into a wood junkie...
- 969 replies
-
- hahn
- oliver cromwell
-
(and 1 more)
Tagged with:
-
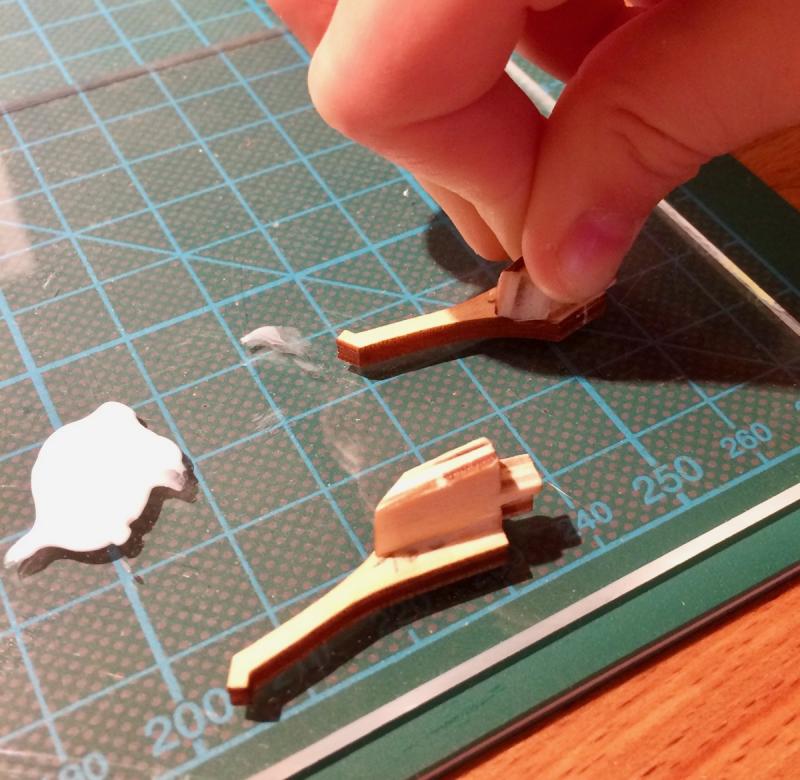
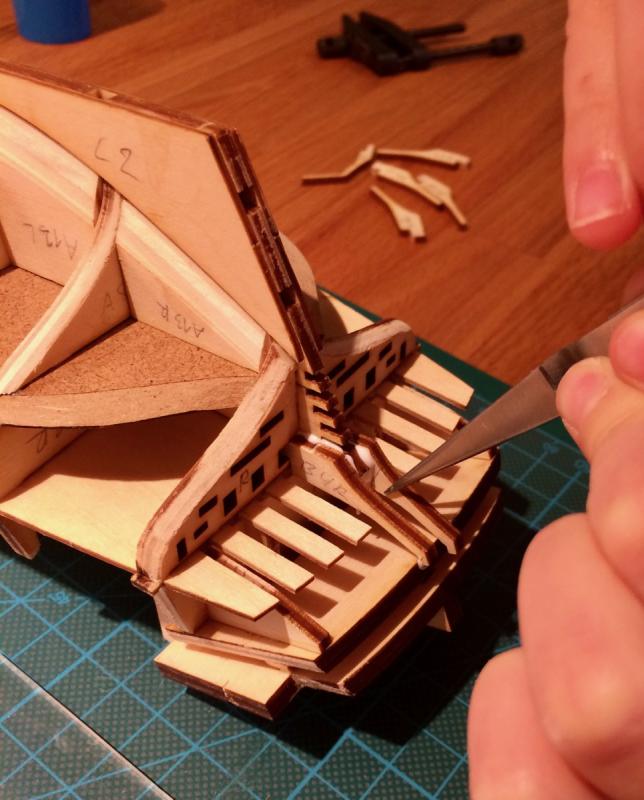
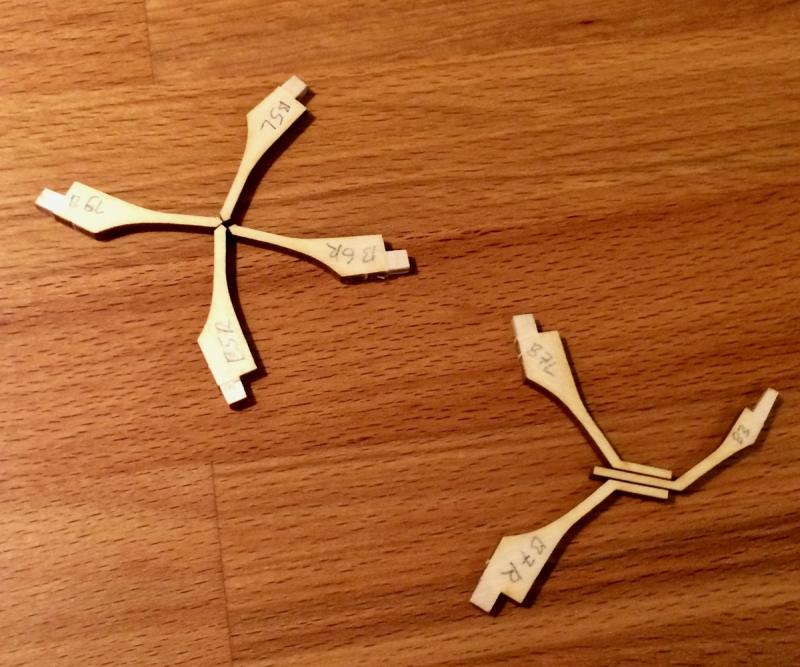
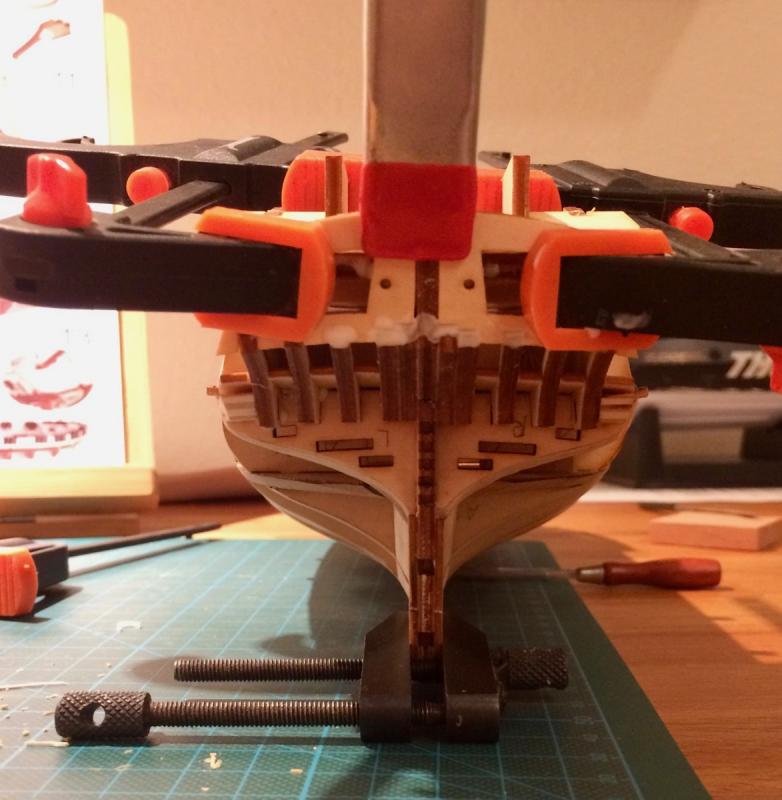
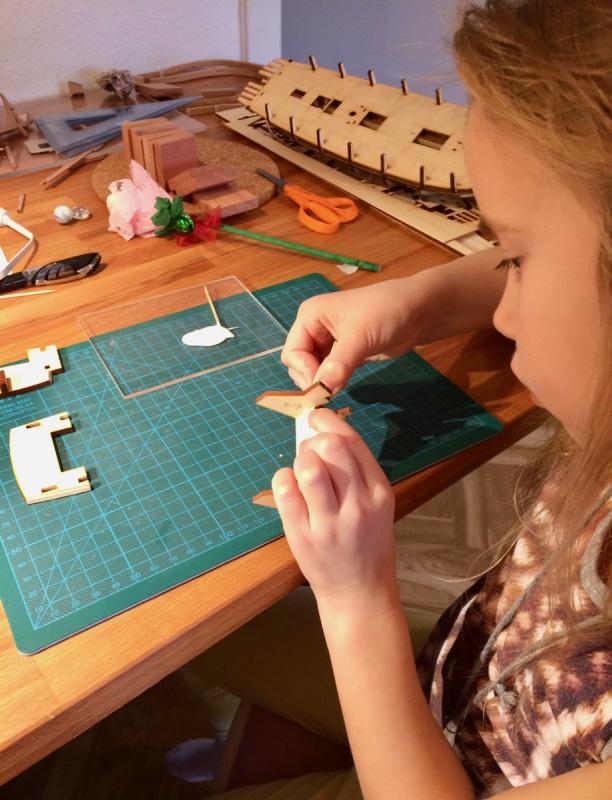
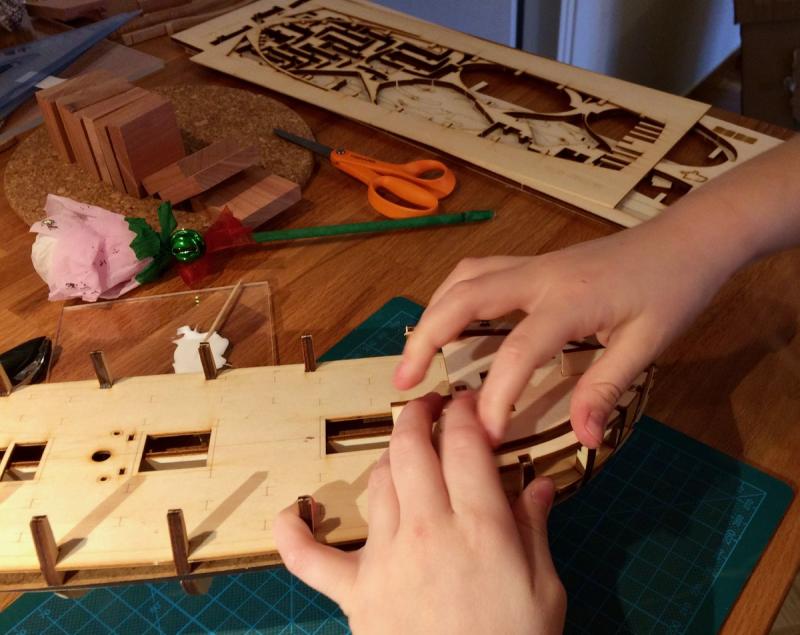
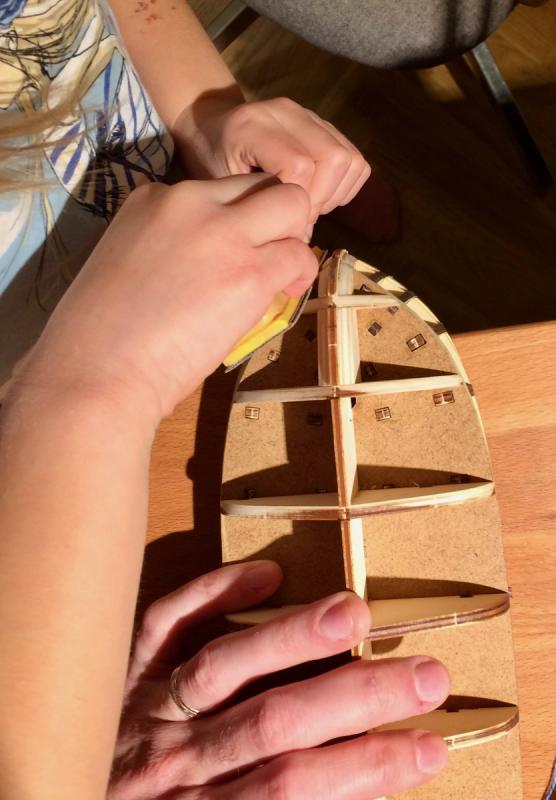
From both: thank you for the comments, it is really nice! This weekend Daria asked me to find a time to build together, I was really happy she asked for it. Also, this time I tried to maintain a slower pace - the build sessions are supposed to be a moments of calm enjoyment, no rush. But it is harder with kid, since her attention span is quite short and she is typically rushing things. So trying to slow down Fiddly bits in the transom. It is funny that this kit build reached the same milestone (hull is ready, building transom) after 4-5 hours, while it took 2 years to get there with my main fully framed build Daria loves to think these are a pieces of the puzzle that can fit together. She might enjoy the Things Perfectly Fitting Into Other Things tumblr eventually Gluing the side timbers with some sort of filling blocks. Everything is carefully notched and well thought trough, this kit is great! Daria got the concept of "parallel alignment" and played a lot with parallel machinist clamp. Installation is tricky, but was fairly successful in the end: Transom is ready. There are some gaps, but I in this build it is better to make mistake instead of chasing perfect quality: (nevermind the glue, will clean it up when dry) Clamping was very tricky because transom is not square and not parallel, so I did it myself. So far, that kit is quite kid-friendly. Except the fact that every single part fits too tight and notches should be extended with a file. Bleh! I take all the nasty parts (filing, filing, filing, filing), and she gets all the fun parts (assembly, measurements, clamping). Not fair!
-
Power Tools for a Fully Framed Build
Mike Y replied to ChrisLBren's topic in Modeling tools and Workshop Equipment
hjx, it is much more fun to share the progress - please start the log while the project is not yet completed! I am sure lots of people would be interested in a CNC build. Even a tiny photos you attached look excellent! P.S: Chris, sorry for skewing your discussion! -
Bending with steam easily
Mike Y replied to a topic in Building, Framing, Planking and plating a ships hull and deck
Hm, for me it works without any extra jigs - I bend pear even with 3-4mm thickness by simply: 1) Boil a full kettle of water 2) When it is done - open the lid and dip the piece into the boiling water while it is still boiling. Of course, it is super hot inside the kettle, so use tweezers to hold the wood piece 3) Wait 15-20 sec 4) Done! Take the piece out, bend and clamp to shape 5) Wash the kettle and pretend you never did it in a first place Super simple and no problems. Of course, it will be hard to do with long pieces, but super long pieces are typically out of scale anyway, right? I found that for best results it is important to dip when water is still boiling. Maybe it is all that air bubbles and vibration that helps to relax the wood fibers? Just a guess.. At least experimentally - it works better than just dipping in hot water when bubbles are gone, and much faster then using steam. -
Power Tools for a Fully Framed Build
Mike Y replied to ChrisLBren's topic in Modeling tools and Workshop Equipment
Hjx, that fully framed full-CNC model looks fantastic! Do you want to open a build log? Please please please! -
ancre Le Fleuron by juzek - 1:27
Mike Y replied to juzek's topic in - Build logs for subjects built 1501 - 1750
The wood stash looks like a golden treasure! Pun intended -
It actually looks very nice with that grain! Feels like that "flower growing through asphalt" pictures. Rough wood - and a gentle flower emerging through it With a proper backstory, this piece could be more interesting than something carved on a "proper" wood where grain is barely visible. And the pimple is a nice touch, not a thing to get rid of!
-
ancre Le Fleuron by juzek - 1:27
Mike Y replied to juzek's topic in - Build logs for subjects built 1501 - 1750
Looks like a promising build! Please please make sure that the model will fit between your door frames -
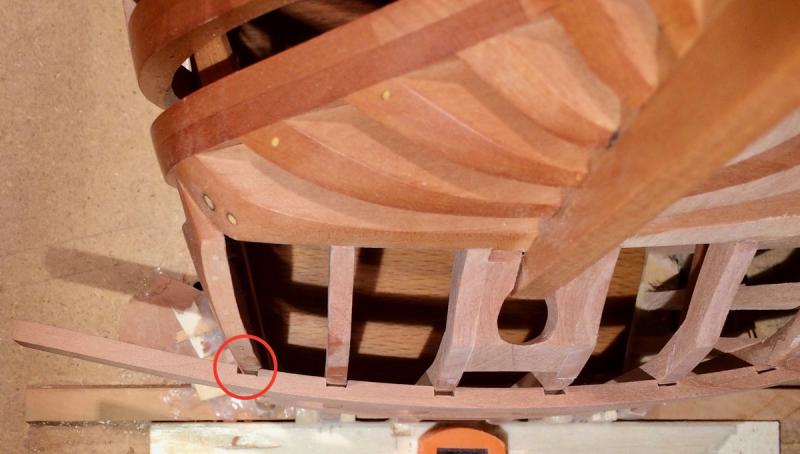
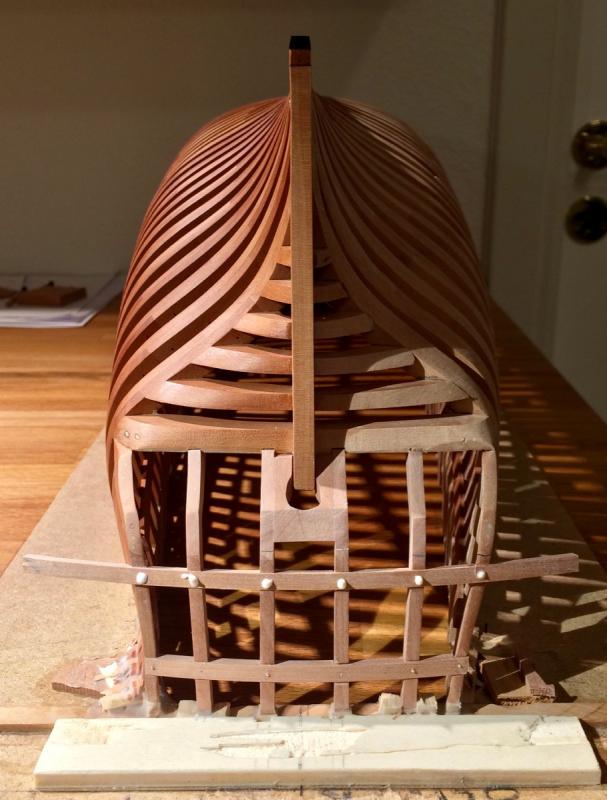
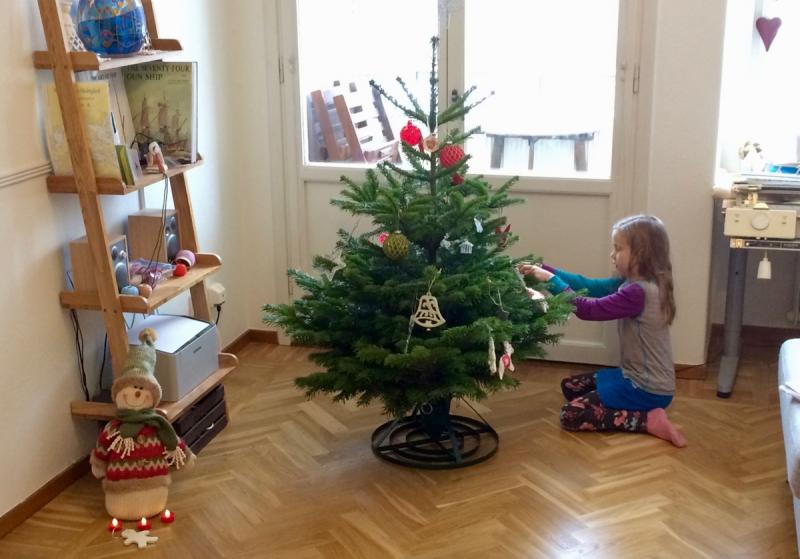
The log is not abandoned, just a very slow building due to an upcoming Christmas and everything related to it. Notches lined up: Whoopsie, forgot that wings are at an angle. Argh, redoing this piece again from scratch. Two curved things are in place, one to go and then I can fair it nice and flush:
- 969 replies
-
- hahn
- oliver cromwell
-
(and 1 more)
Tagged with:
-
Eeeh, what? Already done? So quick? Your productivity is incredible, especially combined with the highest quality and careful planning and research. Bravo! Looking forward for the next project
- 649 replies
-
- dunbrody
- famine ship
-
(and 2 more)
Tagged with:
-
Mini Mill recommendations
Mike Y replied to StebbinsTim's topic in Modeling tools and Workshop Equipment
1) Yes, lots of them, just look on the shaft diameter - anything between 1 and 3.2mm will fit 2) No problems, it can even handle aluminum. Just a matter to the cut depth. I am usually using it with hardwoods (pear and castello), they should be harder than plywood 3) The table surface dimensions is 7x21cm, do not have any experience with trying to fit larger pieces onto it. -
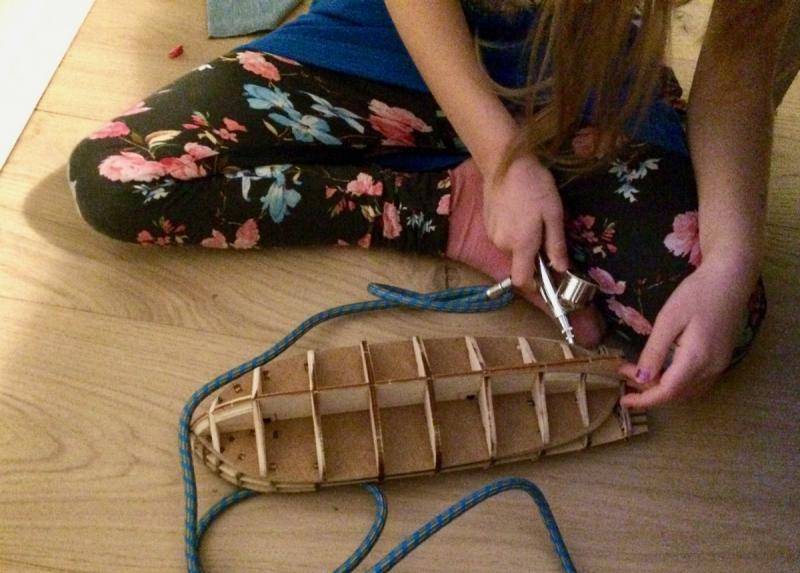
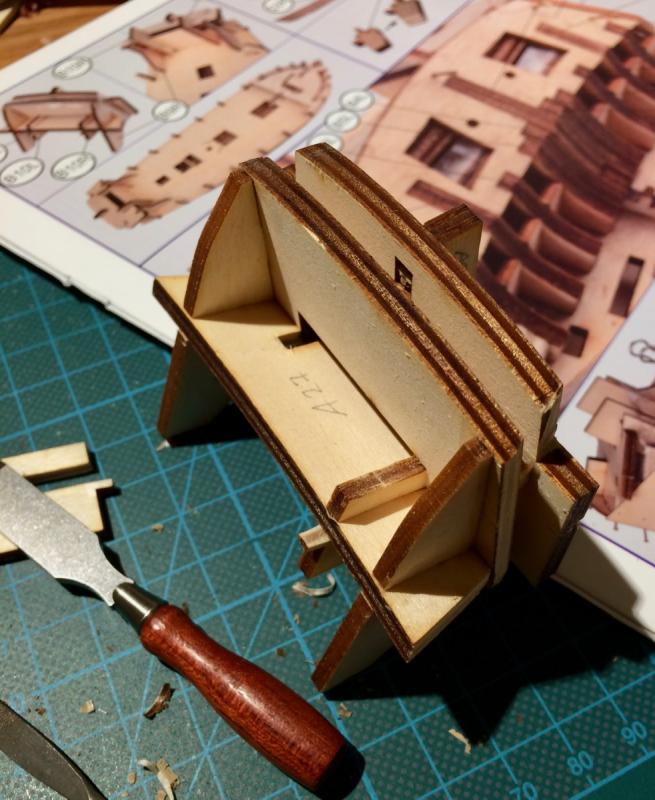
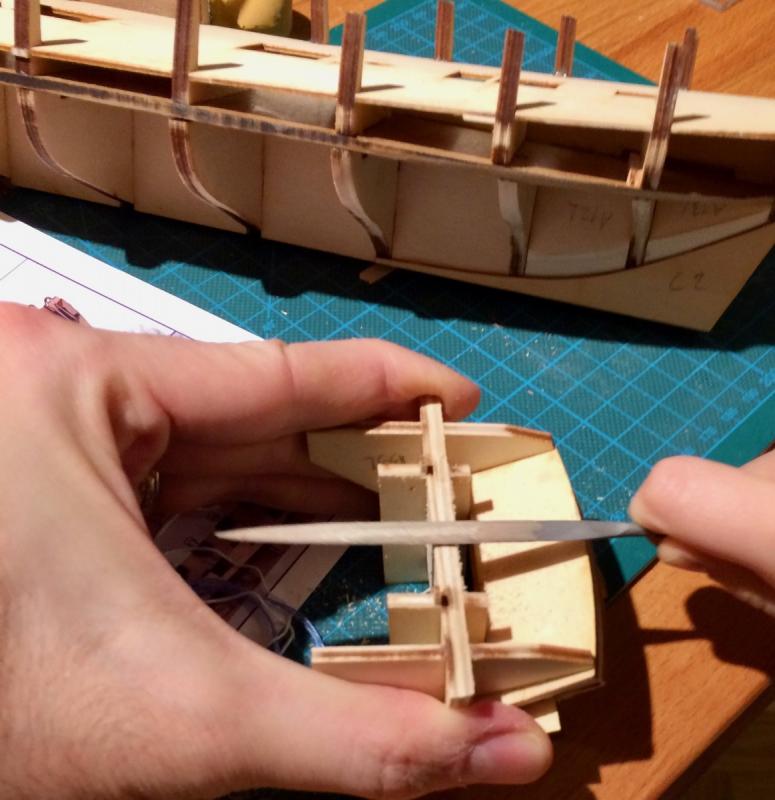
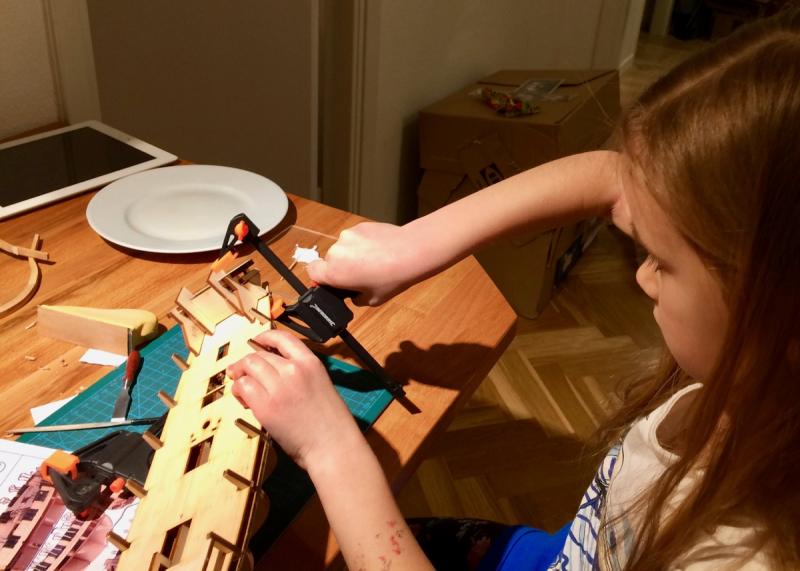
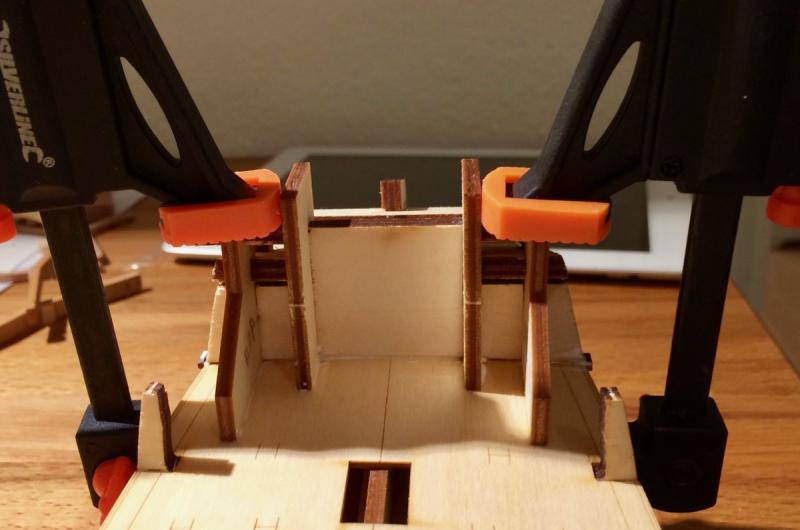
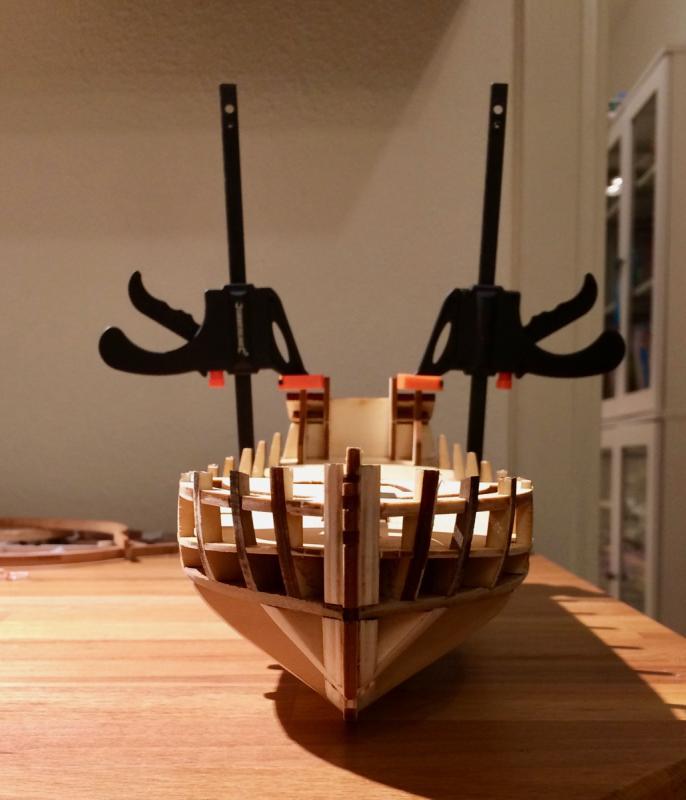
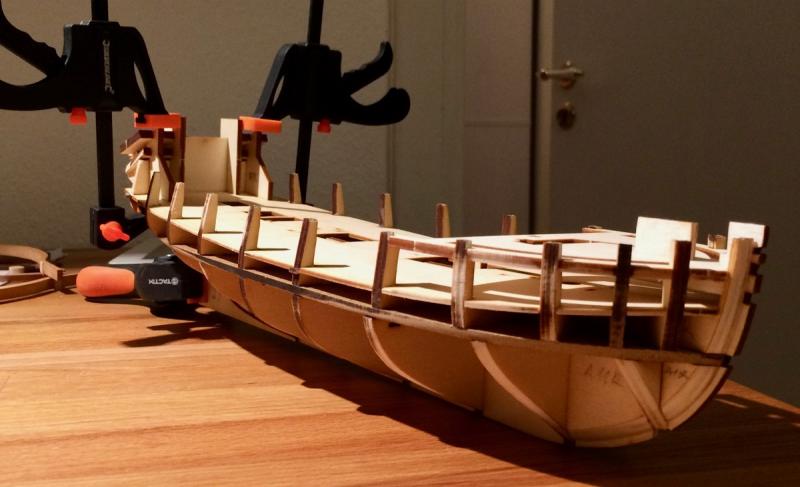
Mike: Progress was a bit slow because I got a bit sick, so no modelling due to the quarantine mode enforced at home. Assembling the transom. I have hard time figuring out what these parts are, because in the true spirit of POB kits this area is going to be fully planked and its internal structure is totally different from the real ships. Tricky part to fit, it has a dozen notches that need to be enlarged to fit properly. Lot of filing! Now it is a time to fair the hull! That goes easy, because parts are cut with a good precision, so fairing is truly minimal, everything fits perfectly. I was doing it only because Daria loves the process of turning rough hull into the smooth hull. Fairing was not really necessary. This part was lots of fun! Using compressor to get rid of the dust after fairing. Ended up playing with an air flow for a good 15 minutes Transom continued: Filing to ensure a good fit to the deck: I let Daria figure out the right way to clamp the transom to the hull, and she figured it out! Looks like a ship! Now it's time for important stuff!
-
A Lorch Micro-Mill that never was ...
Mike Y replied to wefalck's topic in Modeling tools and Workshop Equipment
Wefalck, do you mind showing some pictures of a mill assembly? Have a hard time figuring out how that carefully machined parts fit together into a mill Each part is truly a model of its own! -
Mini Mill recommendations
Mike Y replied to StebbinsTim's topic in Modeling tools and Workshop Equipment
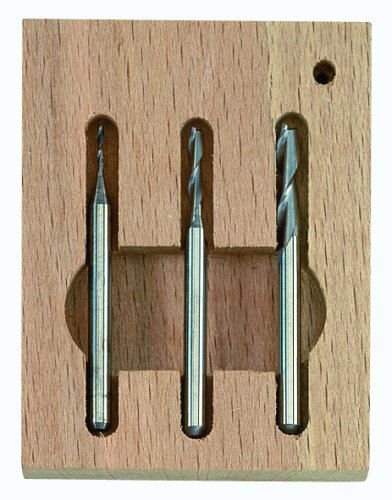
Agree with the rest, it is only a question of cost. If one can afford Sherline instead of Proxxon - there are very few reasons to advocate for Proxxon (well, maybe speed, but that's it). However, if cost is an issue, Proxxon seems to be on the level that is decent enough and problem-free. But may I respectfully disagree with this note about the cutters? The proxxon mill accepts cutters with the shaft diameter up to 3.2mm, so there are plenty of aftermarket bits that can fit into it. And even the proxxon cutters are quite strong and sharp, I abused them a lot and haven't managed to break even the 1mm one. I am talking about this cutter set: -
Mini Mill recommendations
Mike Y replied to StebbinsTim's topic in Modeling tools and Workshop Equipment
Tim, you made me blush One thing to keep in mind when making a decision. Bare mill is hardly usable, you need a basic set of accessories: 1) Clamps to fix parts flat to the table 2) Precision vice to fix parts square to the table 3) Basic set of sharp cutters 4) Rotary table (considered basic for our hobby, milling capstan / wheel / anything round-ish is less convenient without it). For Proxxon, #1 is included out of the box, and the rest will cost you $137. Together with the mill ($242), the whole package is $380, so roughly $400. Sherline plus similar pack of accessories would be roughly 2x-2.5x more. So if you look for just a "good enough" mill - MF70 should be ok and is used by a lot of great level modellers in Europe. I used it for a year already, and had zero issues with it, nothing I can presume as negative. Steady, reasonably quiet, precise! Well, maybe the wheels could have been a bit bigger... No maintenance really, I never needed to adjust / maintain / lubricate / tune anything in it after the initial setup. But no doubt that Sherline is a more "adult" mill, that have a better customisation possibilities. I am just whining because I can't afford it (slap 25% extra on it to get the european price of sherline). -
Mini Mill recommendations
Mike Y replied to StebbinsTim's topic in Modeling tools and Workshop Equipment
Depends on your definition of "mini". Proxxon MF70 is the smallest, which is the key if you do not have a workshop. It is a really good piece of machinery, way better than most of the other proxxon machinery. I am supper happy with it. Also much cheaper than Sherline. But it is harder to customise it (fewer accessories), and the working area is obviously smaller (see "mini"). -
They are one of my main tools (that chisels and a miniature block plane), I use them more or less every time I work on the model. I am super happy with them! It is a nice tool and a very high quality metal, sharping is quite rare. Both are pretty sharp just out of the box. Now I know how good tools look like The only nuance to keep in mind - due to the size, you can't use any full-size honing guide. So either you need to make a guide yourself (block of wood, etc), or use this one: http://richardkell.co.uk/honingECom.htm (guide #1) The guide seems to be available in US as well, just google. First result: http://www.garrettwade.com/kell-british-made-deluxe-honing-guides-gp.html
-
My daughter has her own table, but we build on mine, it is larger and all tools are closer Will try acrylic as well! I guess in depends on the desired look. I do not want to imitate ebony 1:1, I actually like when black wales are a little bit fuzzy, in this case the grain raised by water based dye is a feature, not a bug. Acrylic will hide the grain? Will see. Scrap wood experiments are a way to go!
- 969 replies
-
- hahn
- oliver cromwell
-
(and 1 more)
Tagged with:
-
That looks like a true mini-shipyard. The only thing left is to add a tiny welding robots to connect the metal parts together!
- 281 replies
-
- falls of clyde
- tanker
-
(and 2 more)
Tagged with:
-
Thanks everybody for likes and comments! The transom is slowly progressing, but due to pre-christmas chaos I am not sure I will finish it this year.. The honest answer is "because I am really bad in painting and know nothing about different types of paint". Most of the models where I saw really nice wales used wood dye, so I decided to go this way. There are enough variations even with dyes, if I will start trying various paints - I will end up overcomplicating it and getting crazy with dozens of test pieces spread around my apartment
- 969 replies
-
- hahn
- oliver cromwell
-
(and 1 more)
Tagged with:
-
I can only dream about having any sort of workshop... But there is one thing that you might consider - height adjustable table. I was a bit reluctant to spend money on it, but once I got it - it is really a joy to use. It is super handy! And nowadays you can buy a frame for it for quite a good price - http://www.ikea.com/us/en/catalog/products/50263225/#/80263224 (table top of your choice could be bought separately, or there are versions with top included). It is really steady and stable, btw. Especially if you put a heavy top on it! I use it very frequently, basically every time I switch to another operation that requires a different height. It definitely worth it. It would be a good addition to your shop, especially for the "clean" area, where the actual model is assembled.
-
Liberto, thank you! It is really nice to hear that from a man behind such a masterpiece as yours! Hug!
- 969 replies
-
- hahn
- oliver cromwell
-
(and 1 more)
Tagged with:
About us
Modelshipworld - Advancing Ship Modeling through Research
SSL Secured
Your security is important for us so this Website is SSL-Secured
NRG Mailing Address
Nautical Research Guild
237 South Lincoln Street
Westmont IL, 60559-1917
Model Ship World ® and the MSW logo are Registered Trademarks, and belong to the Nautical Research Guild (United States Patent and Trademark Office: No. 6,929,264 & No. 6,929,274, registered Dec. 20, 2022)
Helpful Links
About the NRG
If you enjoy building ship models that are historically accurate as well as beautiful, then The Nautical Research Guild (NRG) is just right for you.
The Guild is a non-profit educational organization whose mission is to “Advance Ship Modeling Through Research”. We provide support to our members in their efforts to raise the quality of their model ships.
The Nautical Research Guild has published our world-renowned quarterly magazine, The Nautical Research Journal, since 1955. The pages of the Journal are full of articles by accomplished ship modelers who show you how they create those exquisite details on their models, and by maritime historians who show you the correct details to build. The Journal is available in both print and digital editions. Go to the NRG web site (www.thenrg.org) to download a complimentary digital copy of the Journal. The NRG also publishes plan sets, books and compilations of back issues of the Journal and the former Ships in Scale and Model Ship Builder magazines.


