Mike Y
-
Posts
1,557 -
Joined
-
Last visited
Content Type
Profiles
Forums
Gallery
Events
Everything posted by Mike Y
-
It is sort of possible, but hard to maintain a consistent feed, also for really thin planks the lack of zero insert is a problem. So do not expect a great result, be ready to straighten the plank edge by sanding or planing.
-
 Marcus, thanks for the info! Suspected the same, but now I know for sure
- 504 replies
-
- 6
-

-
- washington
- galley
- (and 1 more)
-
She looks great! Interesting implementation of the "floating" type of display. I was thinking about hanging the model on a thin and transparent fishing line, mounted to the top part of the display case. Have you tried something similar?
-
How does the pink ivory change its colour over time? Is it getting darker and becomes browni-sh? Ordered a few pieces from Stiles and Bates to try
- 504 replies
-
- 5
-
-
- washington
- galley
- (and 1 more)
-
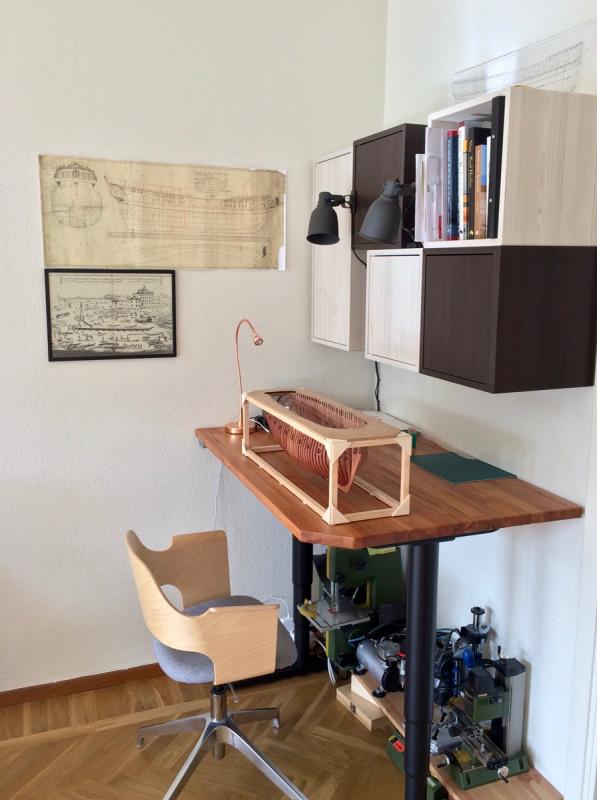
Carl, yes, even this "drill" is better than manual drilling. It is just a pity that there is nothing in the market for a proper quality micro drills. All drills I found while googling were similar hand-made "cheap motor + chuck + few wires" construction. I love working with good tools, this one is not pleasure to work with, but it gets the job done. Many thanks to Gaetan, now my livingroom corner looks even more like a shipyard, with the Arsenal de Toulon drawing on a wall
- 969 replies
-
- 19
-
-
- hahn
- oliver cromwell
- (and 1 more)
-
Really admire your courage to do the reconstruction instead of saying "meh, will make it right on a next model"! Now it would be definitely right.
-
Hope you loved the Arkowood wood? The stash looks nice! Very impressive tiling, was not expecting it to be so red. Where have you got it? Also arkowood?
- 504 replies
-
- 3
-
-
- washington
- galley
- (and 1 more)
-
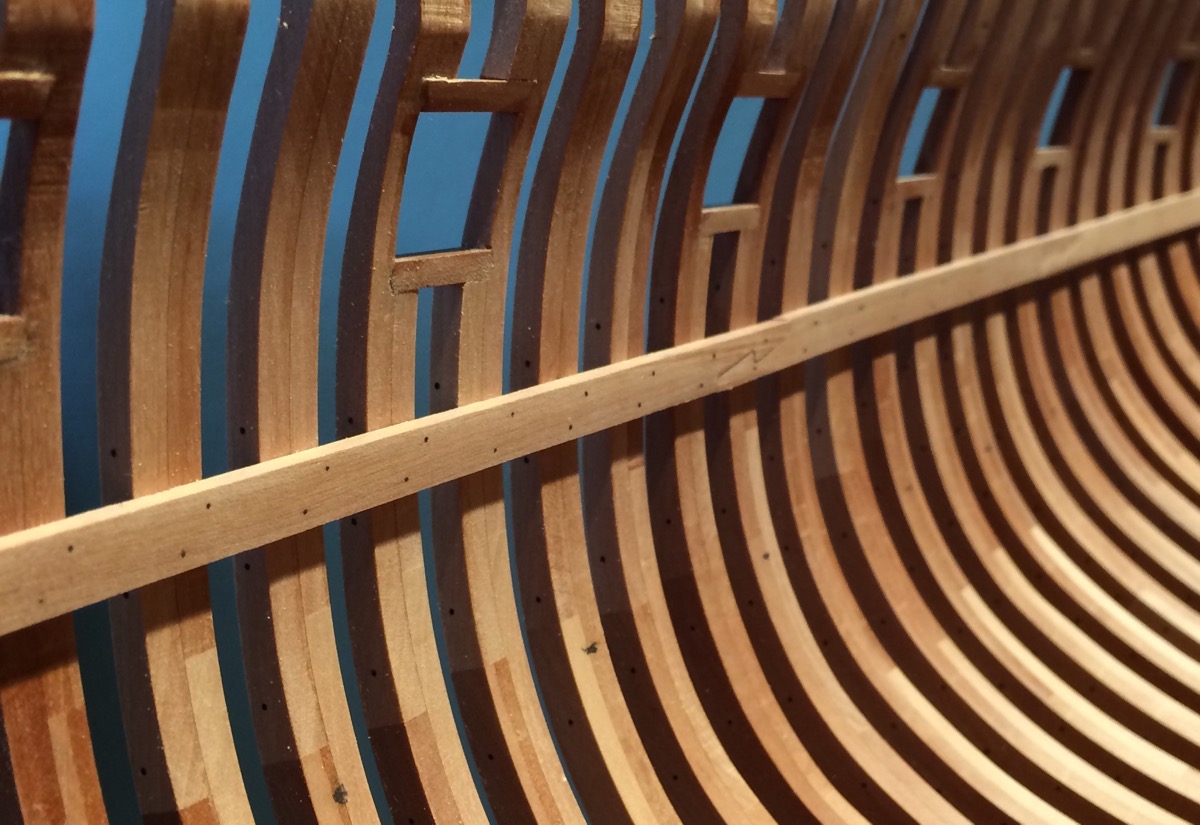
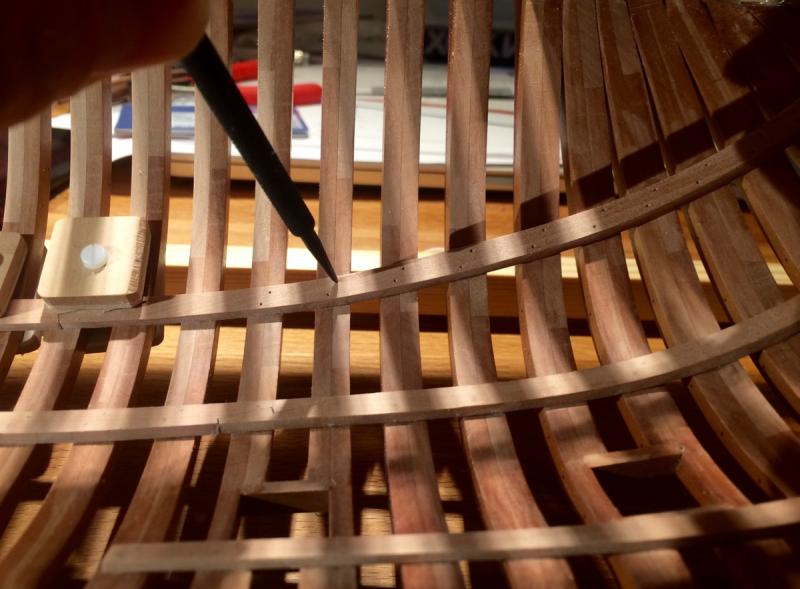
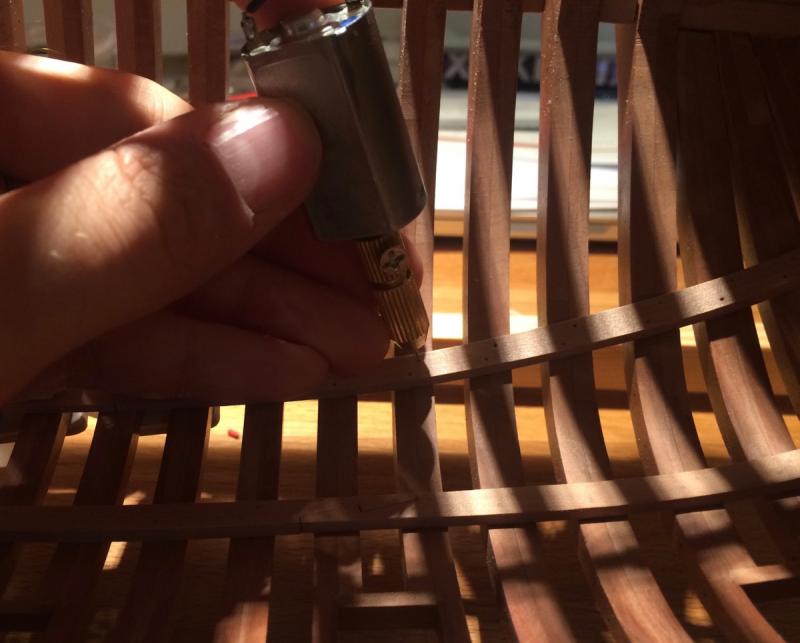
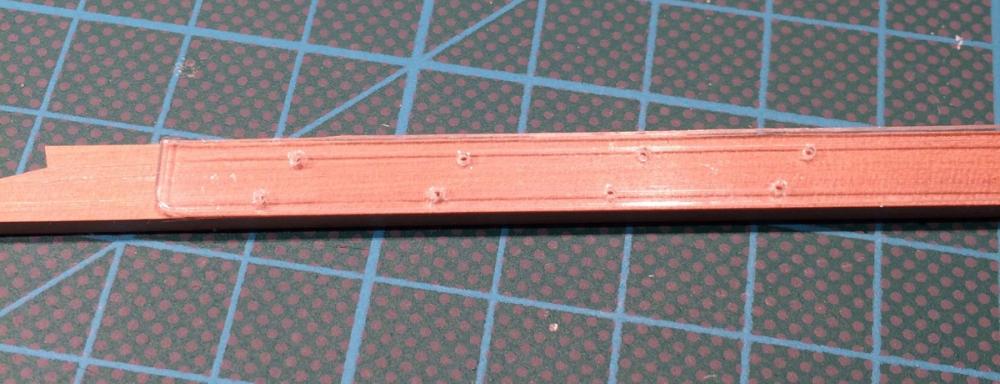
Thanks for the nice words and likes! That really helps to find more modelling time Finally got the micro-drill working, so now the clamp installation goes faster. After marking the treenail locations with the pencil, they are accentuated with the scriber (I know, bad use for the scriber): That is required to avoid the drill wobble, it is not very balanced (chinese crap): And then install the boxwood treenails - these ones are not just for looks, they are injected at least few millimiters into the frames and glued, hope that will make a strong bond between frames and deck clamps, to avoid the hull cracking and twisting during the dry winter months.

- 969 replies
-
- 23
-
-
- hahn
- oliver cromwell
- (and 1 more)
-
Forward and aft frames could be bolted safer by drilling shallow holes from each side independently, after initial pre-beveling. That is easier to do comparing with a full-depth single hole. Nobody wll find out that you have two short bolts instead of a single long one Did it on my model, worked like a charm, even on a really bevelled frames.
-
Hoorray! This is a major milestone indeed! One thing about the finish - if you use oil, be ready that it might sip through the frame and end up on the inner side as well. Testing on a few scrap frames would be useful It sounds impossible, especially with grain running along the futtock, but happened for me. If that will be the case for your finish as well - probably better to apply it after gluing in the deck clamps and inner planking, if you plan any?
-
I was wrapping both adjacent frames with multiple layers of the masking tape to protect it when cutting (gunports, in my case). It took a lot of time, but was working efficiently enough, because the blade slipped a few times.
- 649 replies
-
- 6
-
-
- dunbrody
- famine ship
- (and 2 more)
-
That cutoff process looks scary, but seems like you did it without any mistakes! Looks great!
- 649 replies
-
- 8
-
-
- dunbrody
- famine ship
- (and 2 more)
-
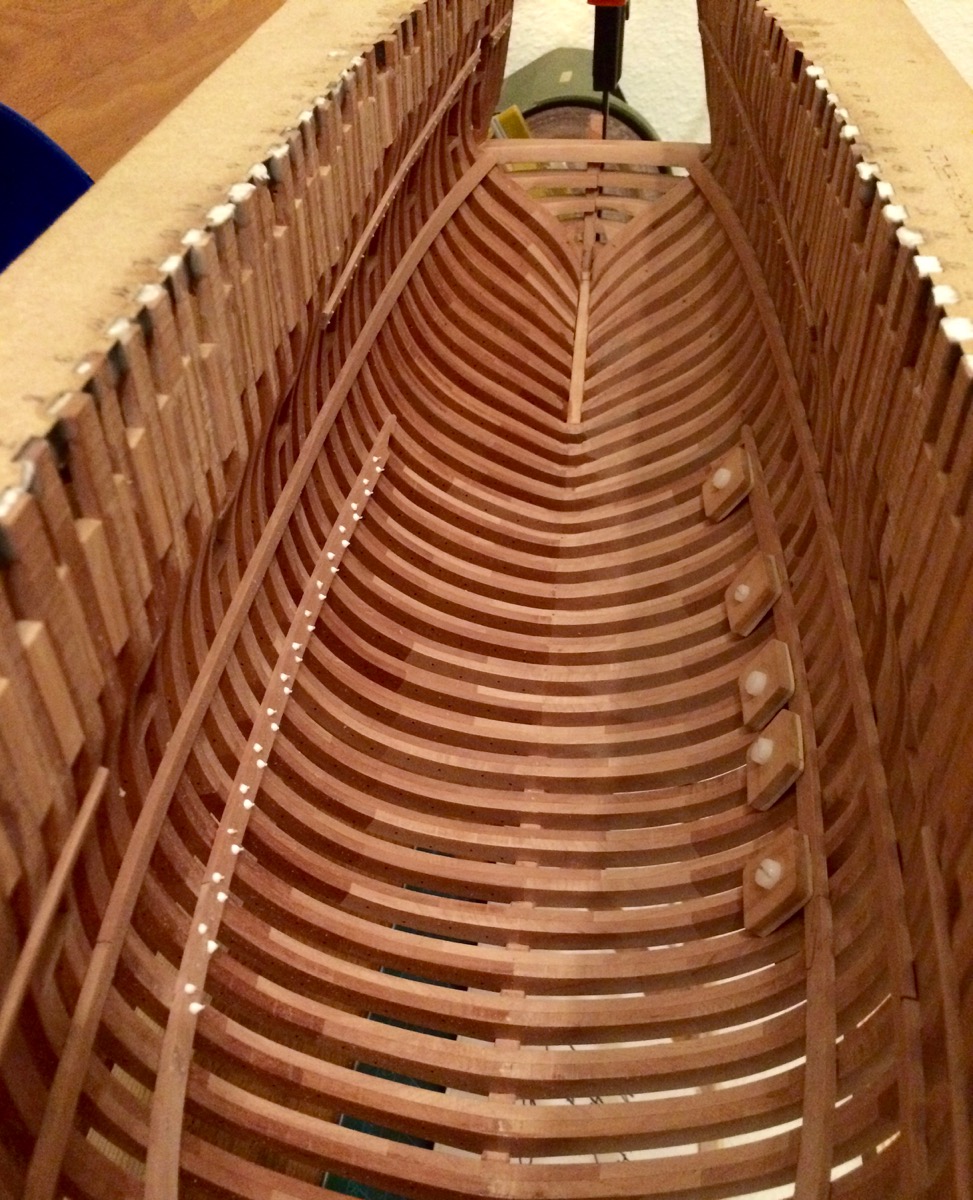
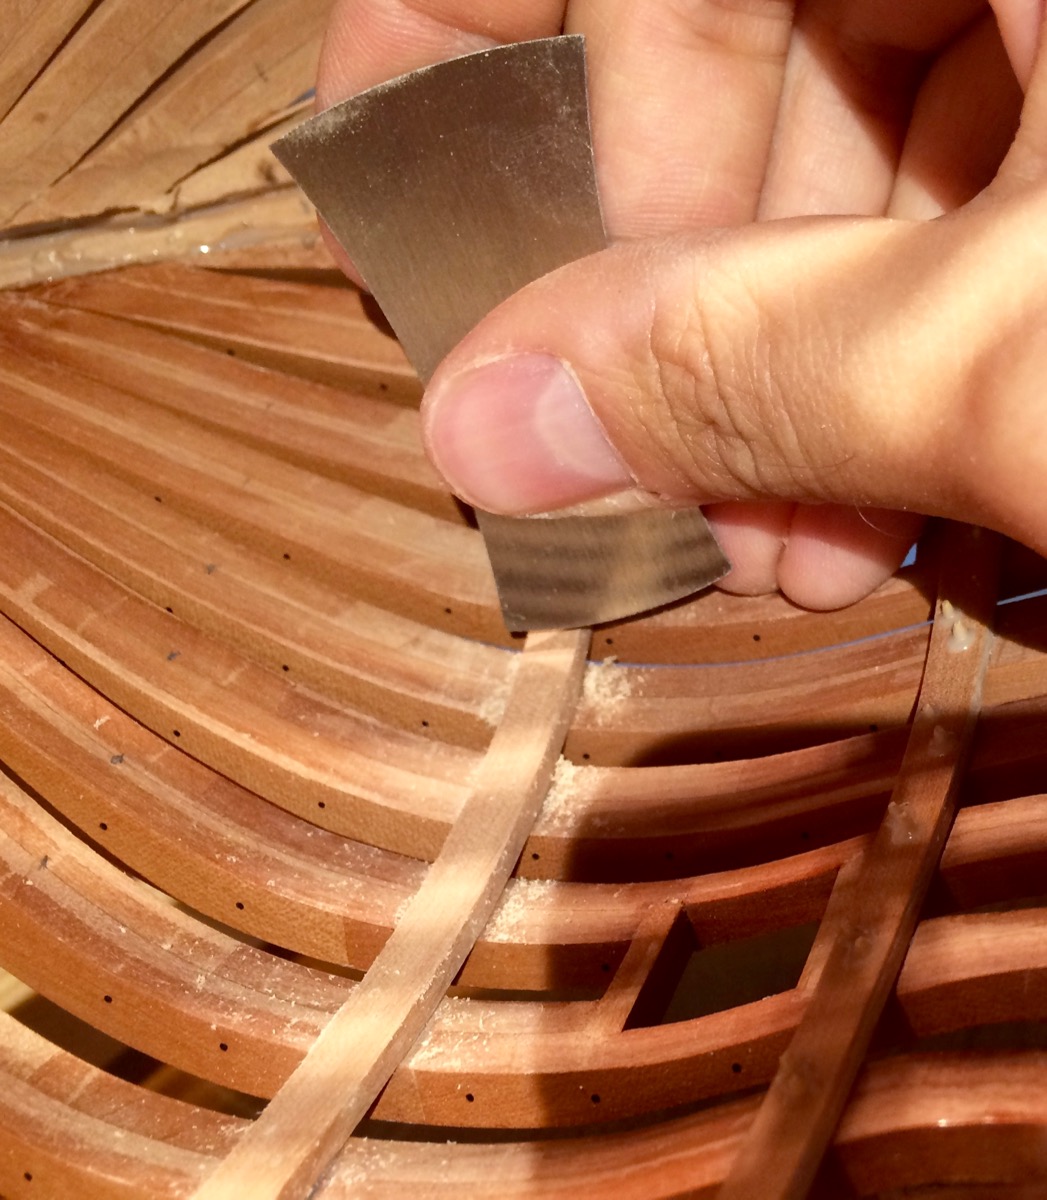
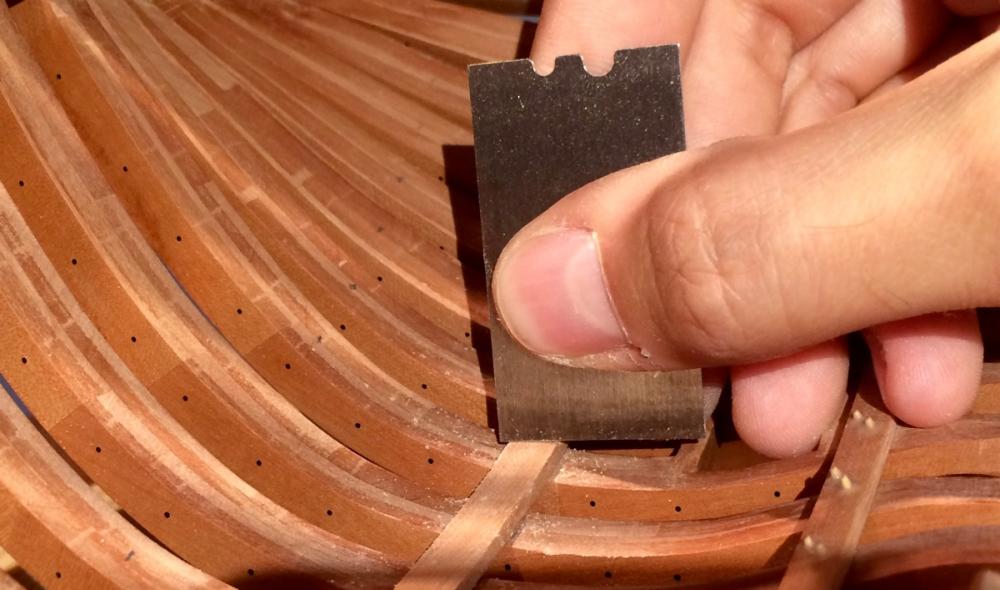
My modelling progress is quite slow, barely find few hours per week to work on it. Still installing various deck clamps: Using scrapers to make the final shaping of the clamps when they are already installed. Straight or curved, depending on a section: And a final polish with a straight xacto blade, it barely removes any material, but leaves a nice finish, better than sandpaper for such tight locations:


- 969 replies
-
- 29
-
-
- hahn
- oliver cromwell
- (and 1 more)
-
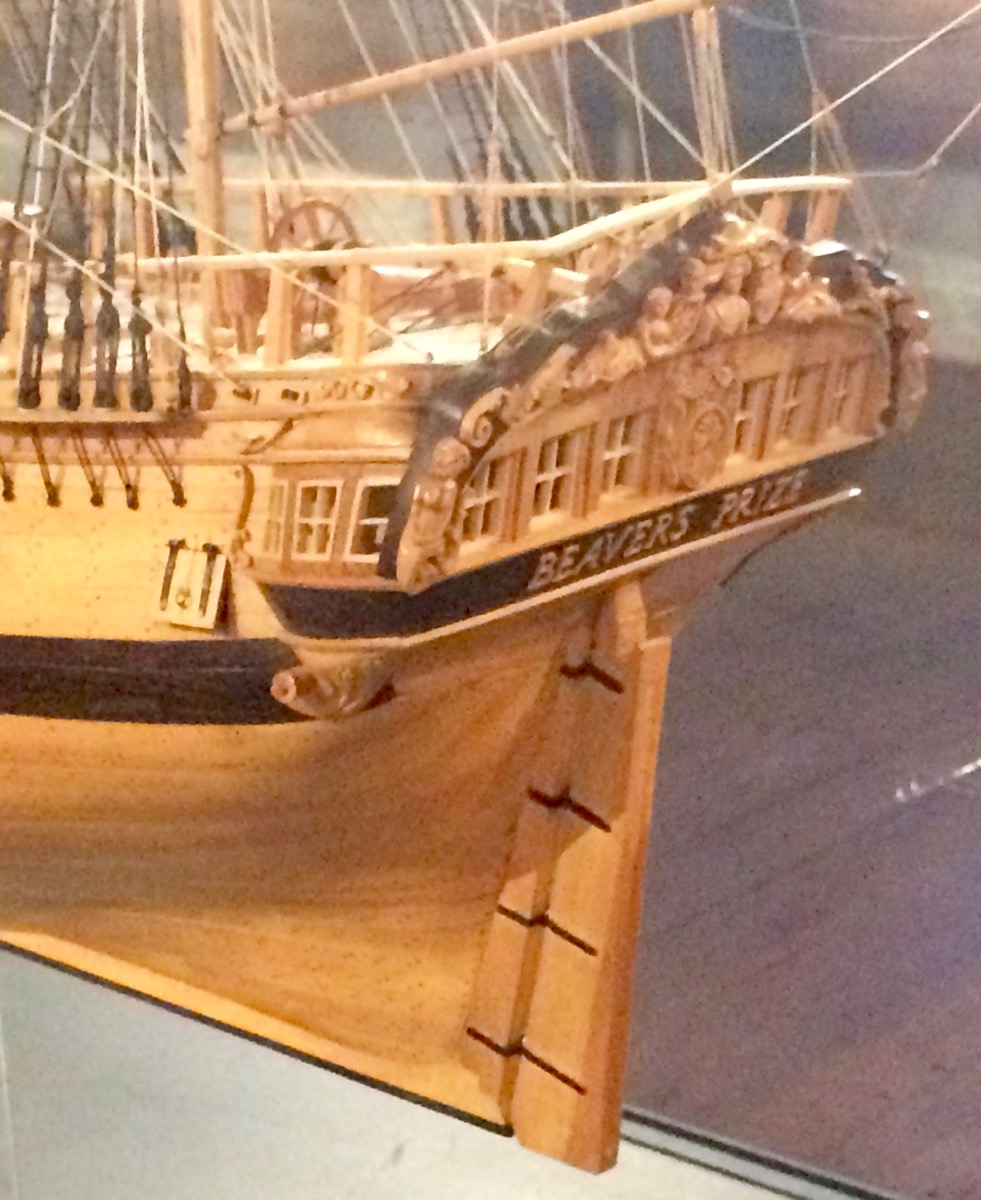
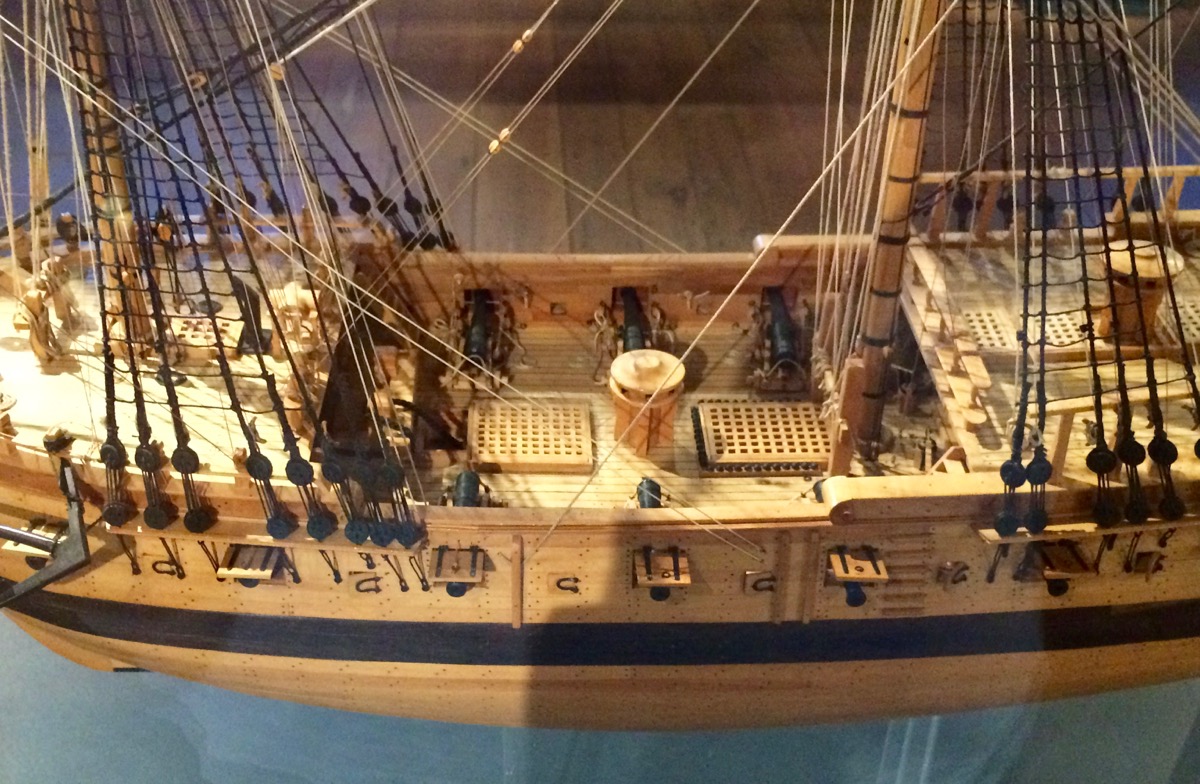
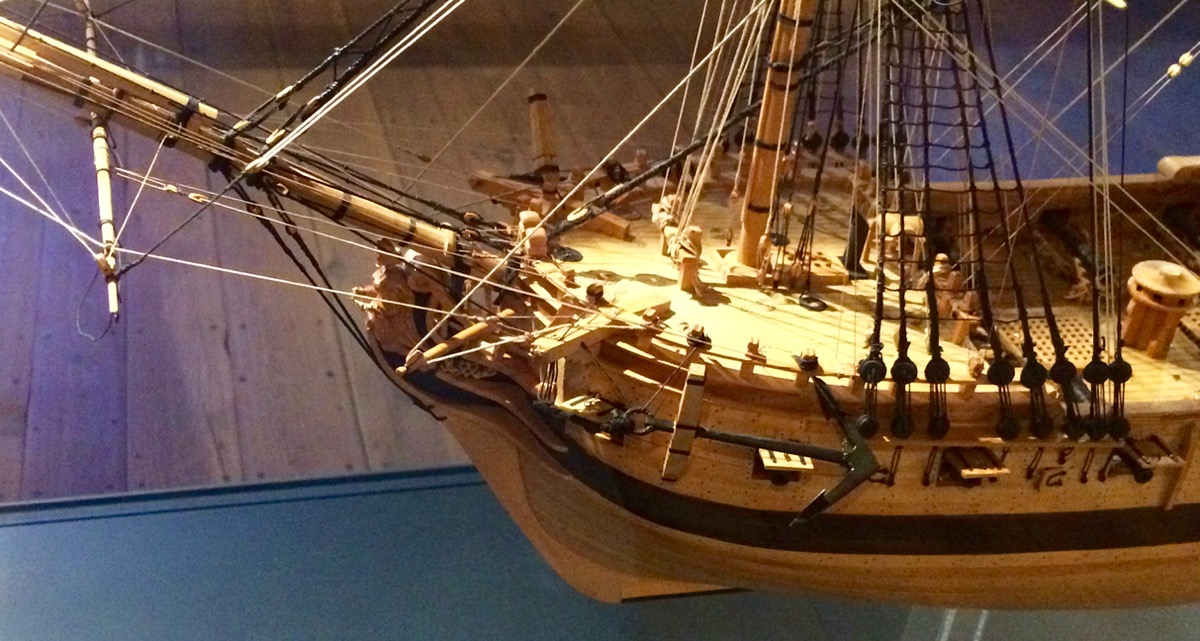
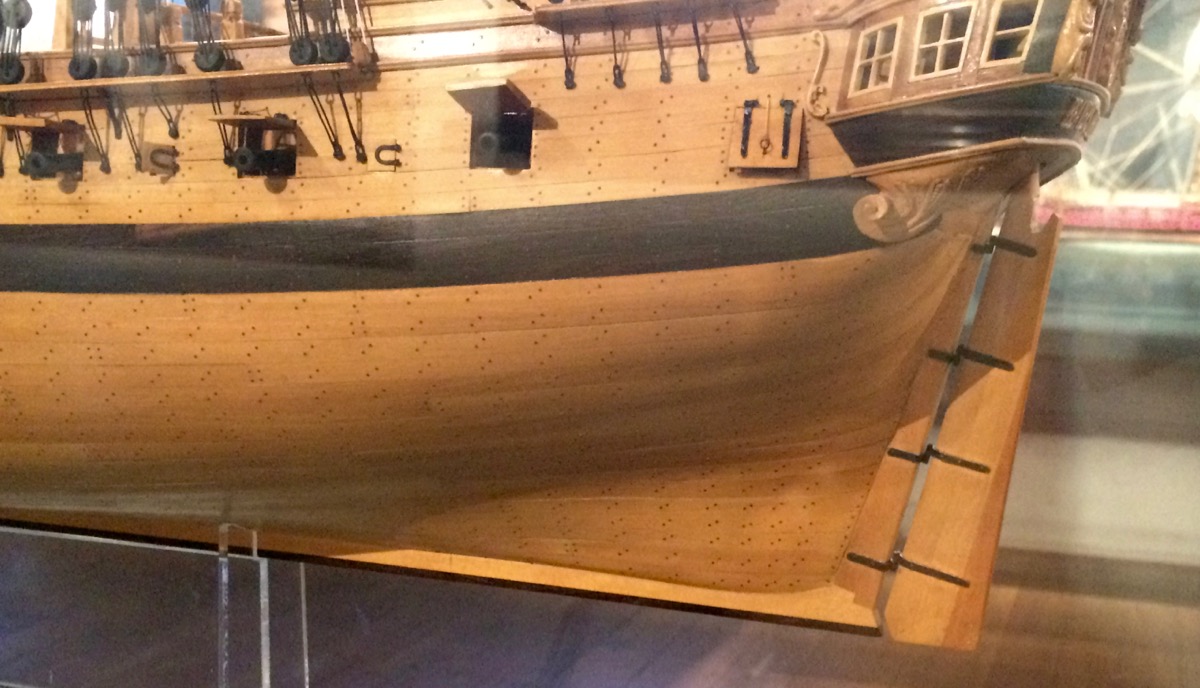
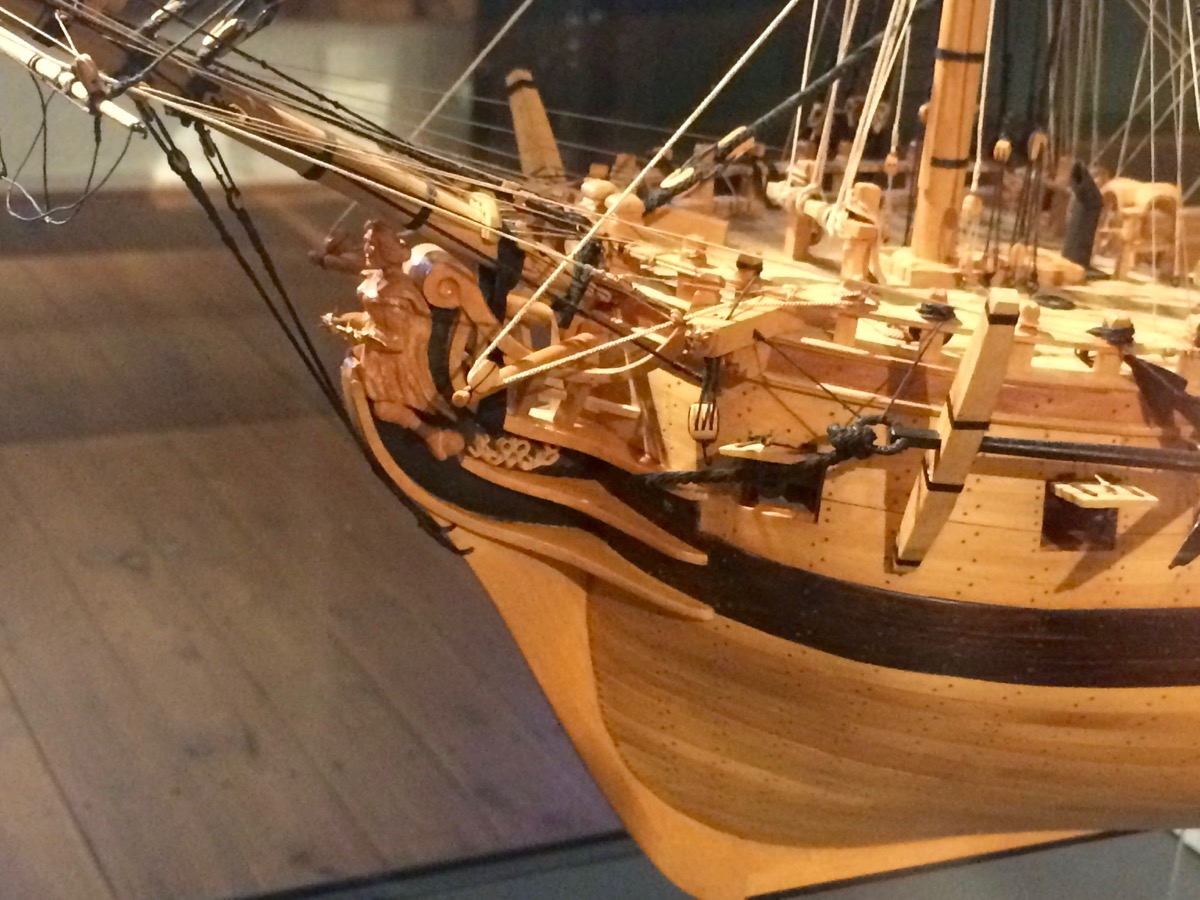
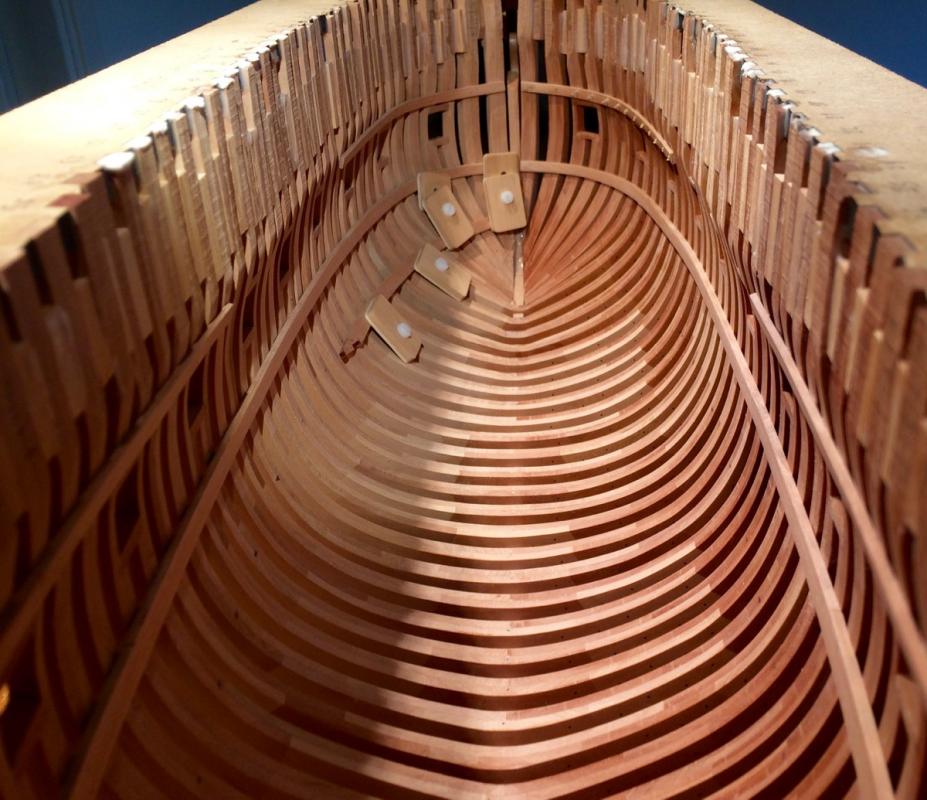
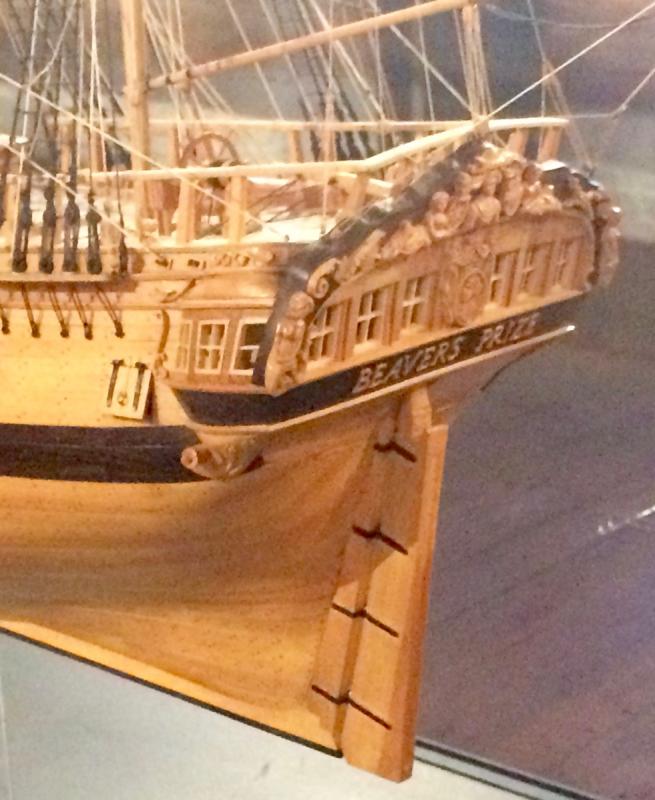
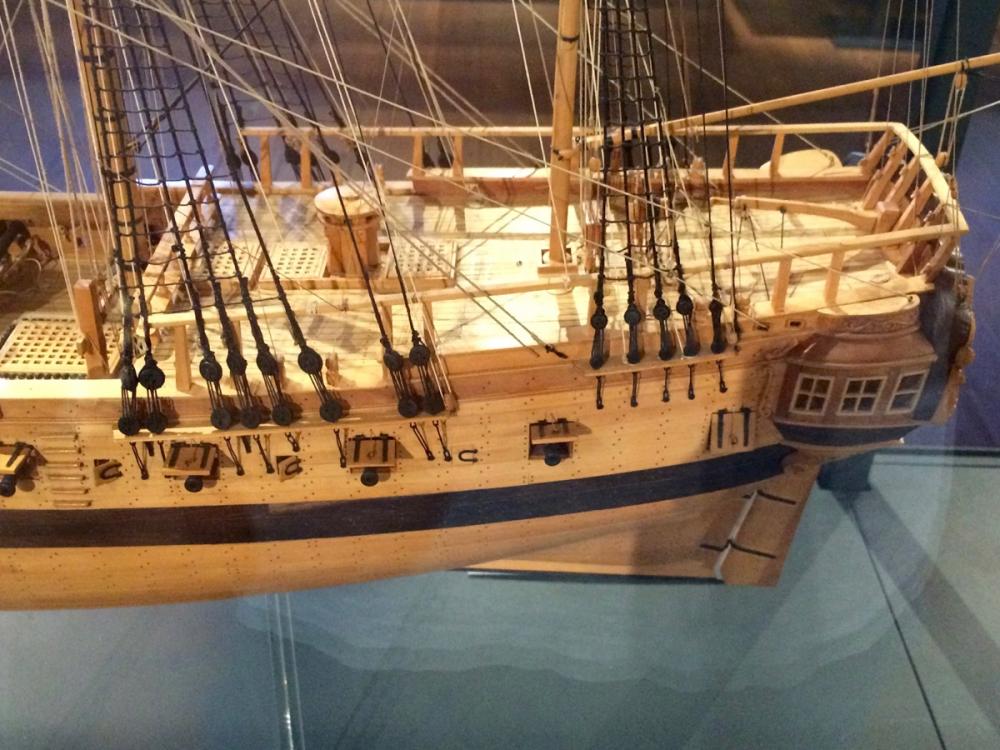
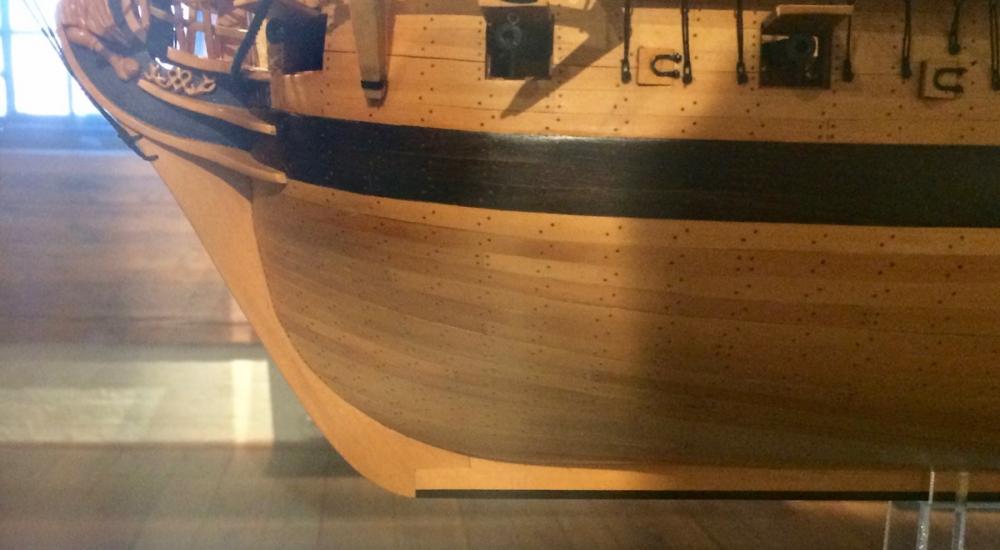
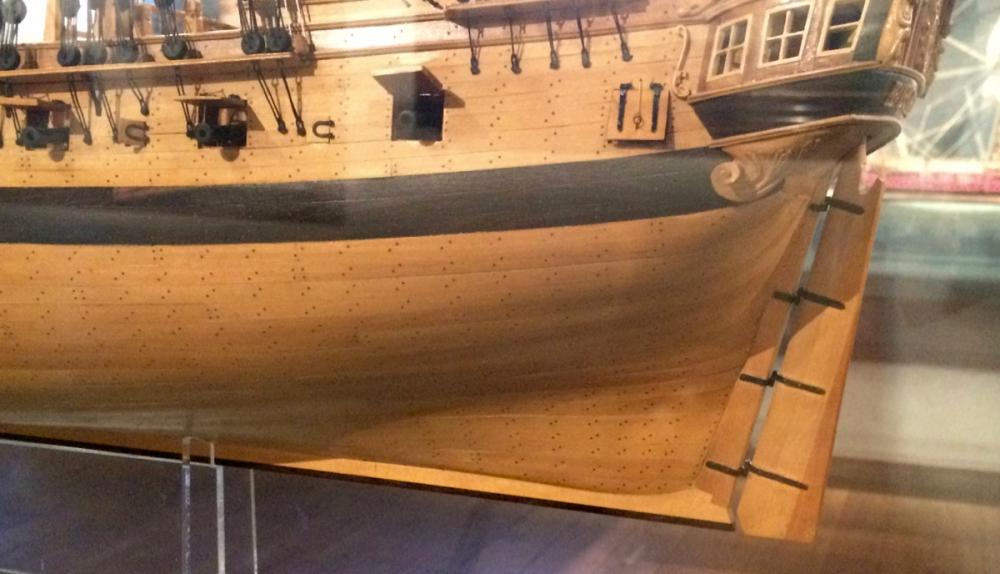
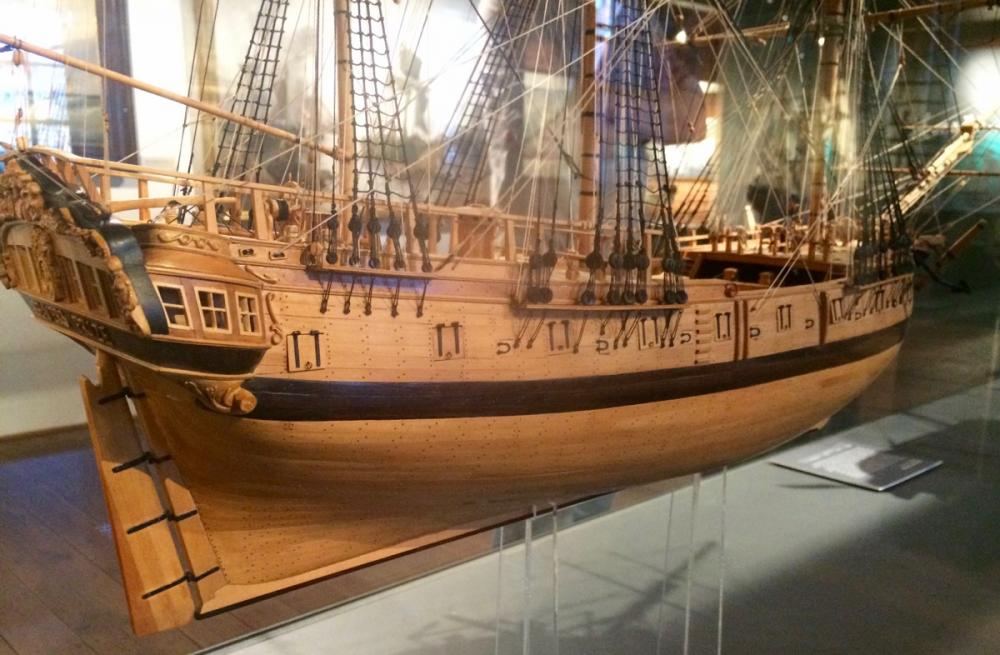
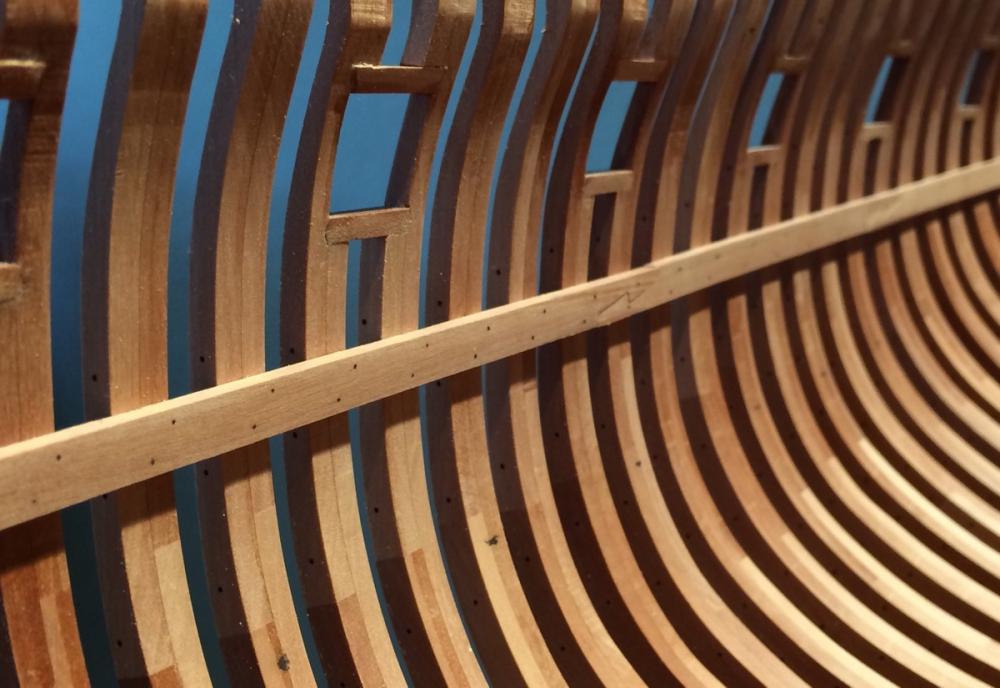
Quite unexpectedly ended up in Hamburg maritime museum. Unfortunately I only had 45min to visit it, and the museum is big - 9 floors of maritime history! It was also full of great models, including Oliver Cromwell! I was really surprised to see it in the museum, considering a very boring history behind that ship. The model is good, seems to be done in a fully framed manner, but 95% planked. There is a small opening in the bottom of the hull, which is barely visible. Sorry for the poor photo quality, museum has a soft light which makes it cozy, but hard to make photos (especially on a phone) Decor:


- 969 replies
-
- 22
-
-
- hahn
- oliver cromwell
- (and 1 more)
-
scarf joints
Mike Y replied to dennistestagrossa's topic in Building, Framing, Planking and plating a ships hull and deck
True, and it is also a matter of taste - some prefer to master the hand tools, some prefer to use mills for such precision tasks Well, this sort of task does not require any milling experience - it was my first thing to cut, worked like a charm from the first attempt.Just fix the plank in the vice, follow the steps, re-measure twice if not sure, done! No intricate setup. -
scarf joints
Mike Y replied to dennistestagrossa's topic in Building, Framing, Planking and plating a ships hull and deck
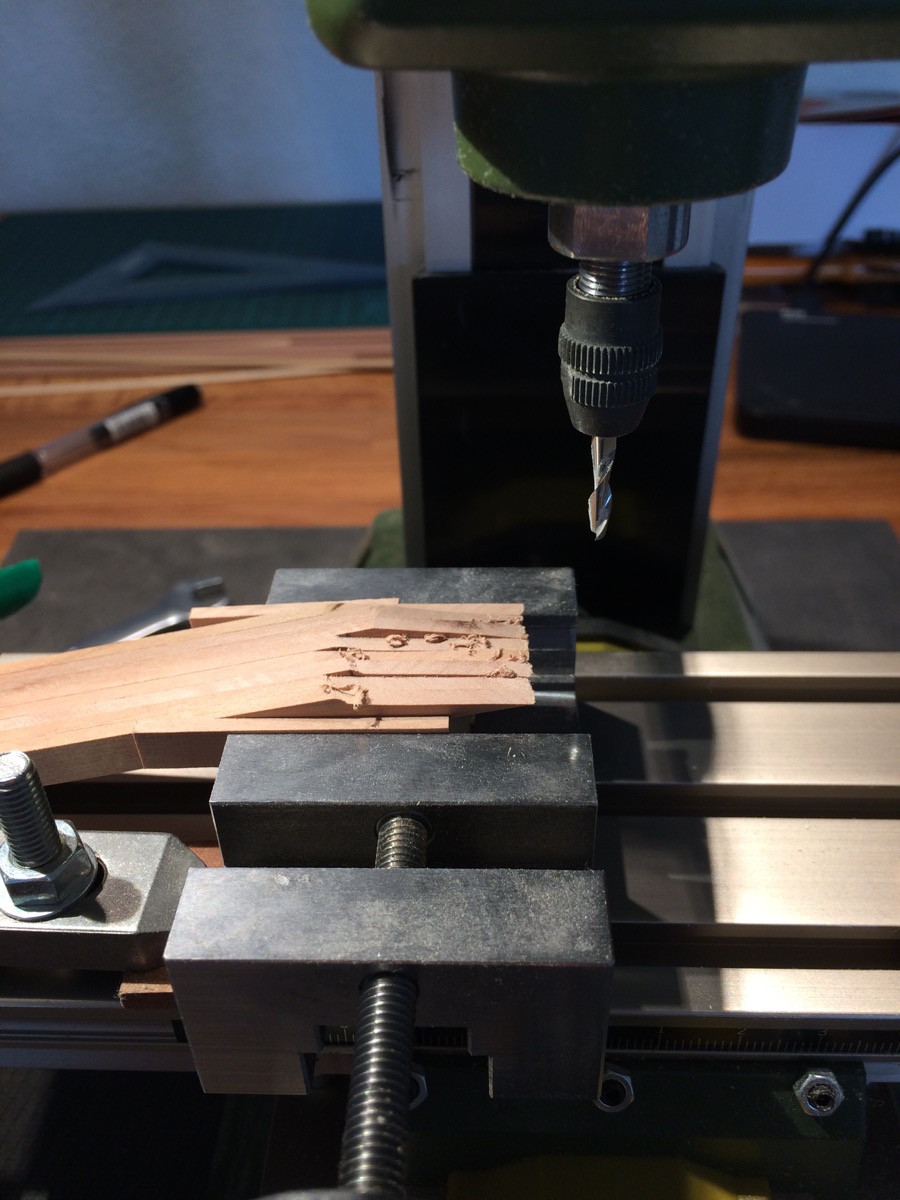
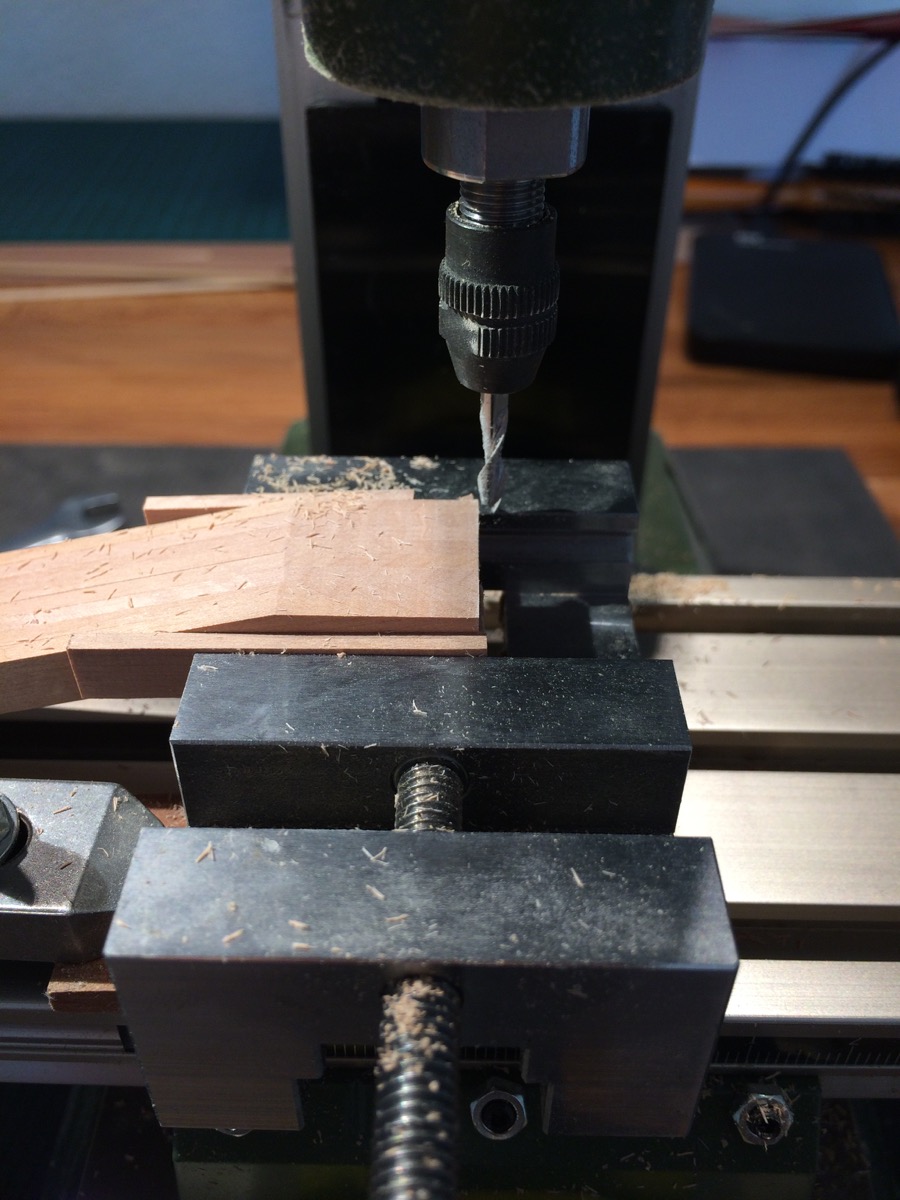
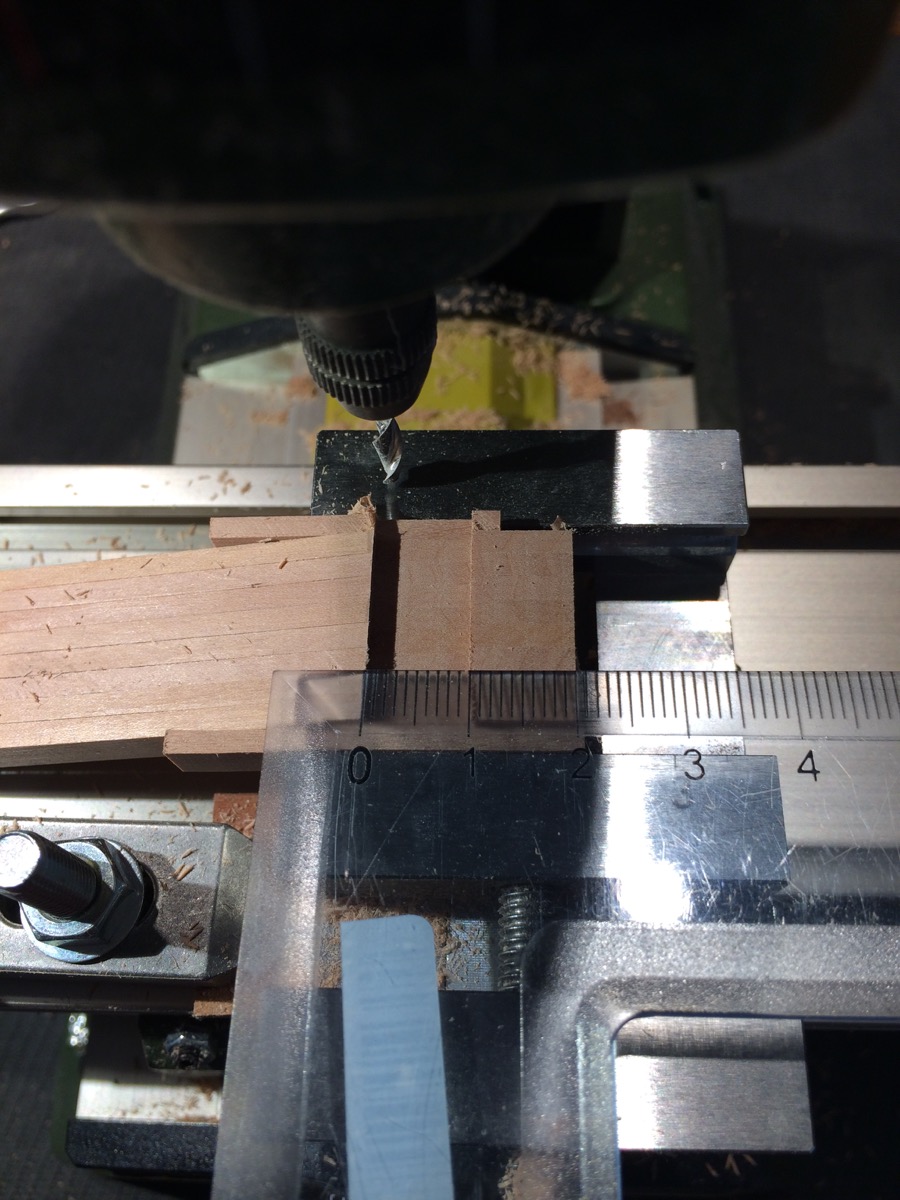
This is where mill is very handy - I can easilly make joints on 2-8 planks at the same time (assuming the same thickness), and they would be perfectly fit in all dimensions, tight and with a consistent angle. It takes about 8-10min for the batch including the setup. And no need for the careful markup - just make sure that all planks have the same angle in the mill vice. Without mill, it was a lot of fitting, took around 30min per joint (instead of 10 for a number of joints), and it was hard to get tight fit on a thick stock. Cutting perfect scarfs by hand is a skill to learn, doing it with a mill is a simple procedure that does not require any skill. Easy-peasy! One of the biggest reasons that pushed me to buy the mill. Here are some basic pictures of the process. I use a wooden "template" that fits under the planks inside the vice to ensure correct angle.


-
Impressive model! Still trying to figure out how the mold would be disassembled. Very nice wood as well!
-
Looks great! The bolts are tricky, luckily you just got close to them. One should have a corage to touch such an elegant hull with 80 grit!
- 504 replies
-
- 3
-
-
- washington
- galley
- (and 1 more)
-
Chocks form a nice contrast "dotted line", good idea!
-
Hm, gently push the bit up after untightening it - and it would be released. The reason why it gets "stuck" is because the collet is getting squeezed into the chuck when you tighten it. Never tried to hit my mill with a mallet, that sounds a bit rough MF70 is a tiny mill that looks quite gentle.
-
Really like your approach, it is a pleasure to read. So organised! The build board is truly great, I am envious
-
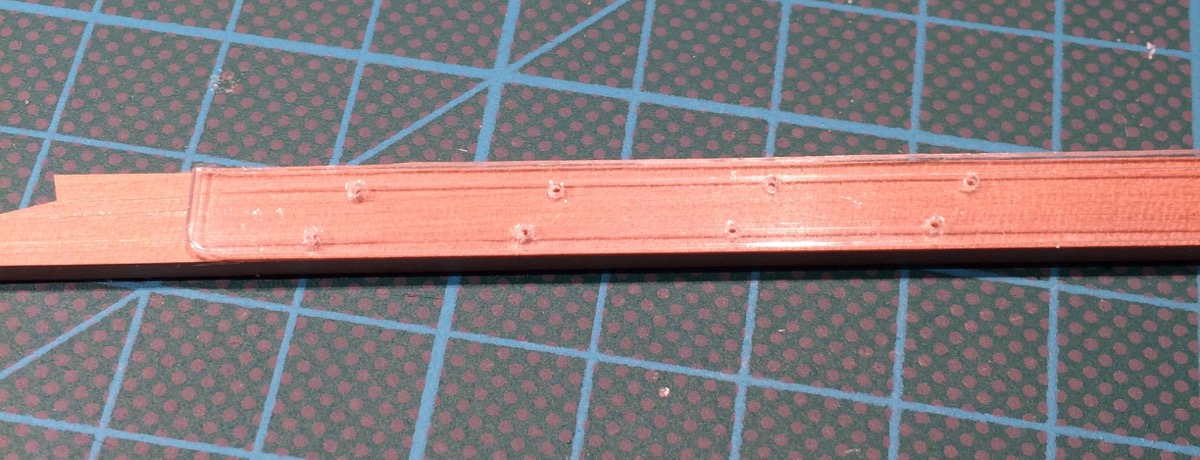
Thanks for all the warm words, it is very encouraging! Ugh, I am ashamed to admit, but this is just a pencil marked locations for the nails. Not the real nails. The treenailing itself is in progress and mostly done, but no photos yet. Realised that hand drill is not the way to go - takes 15-20sec to drill each hole, and fingertips are hurting after a hundred of holes. Building process should be a pleasure, so need to change the process to make it enjoyable Not enough space to use the rotary tool, even the mini dremel. Ordered a tiny chuck and a small motor, should be enough to make a micro drill.
- 969 replies
-
- 3
-
-
- hahn
- oliver cromwell
- (and 1 more)
-
It was a pleasure to follow, your website is now my goto link for people interested in modelling! Looking forward to follow your next project!
-
Been busy with apartment renovations - painting, painting, painting, and replacing all floors with a nice oak hardwood Finally back to modelling! Treenailing the deck clamp, with a plastic pattern to mark holes accurately:
- 969 replies
-
- 23
-
-
- hahn
- oliver cromwell
- (and 1 more)