


Mike Y
-
Posts
1,437 -
Joined
-
Last visited
Content Type
Profiles
Forums
Gallery
Events
Posts posted by Mike Y
-
-
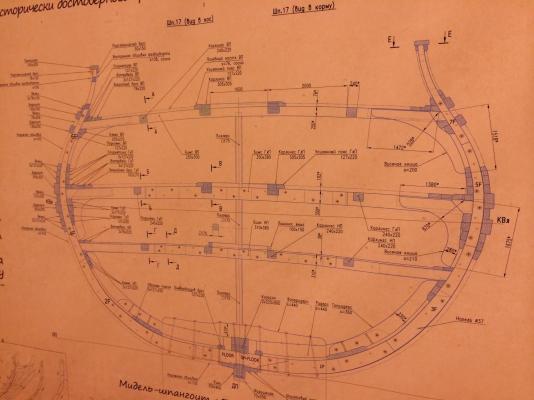
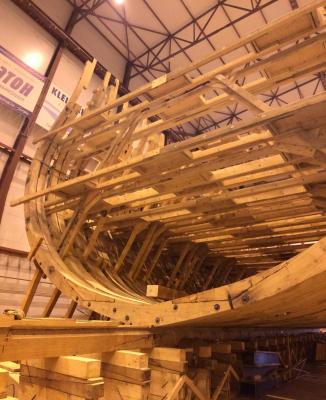
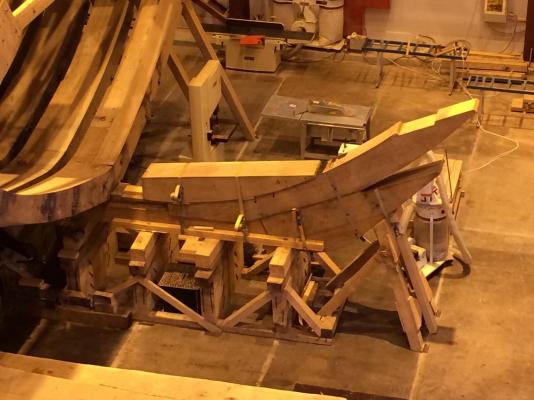
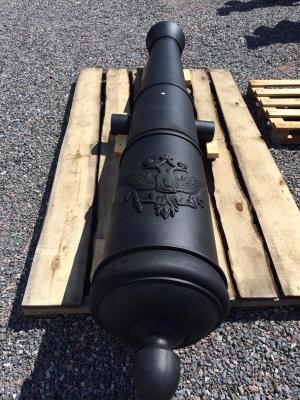
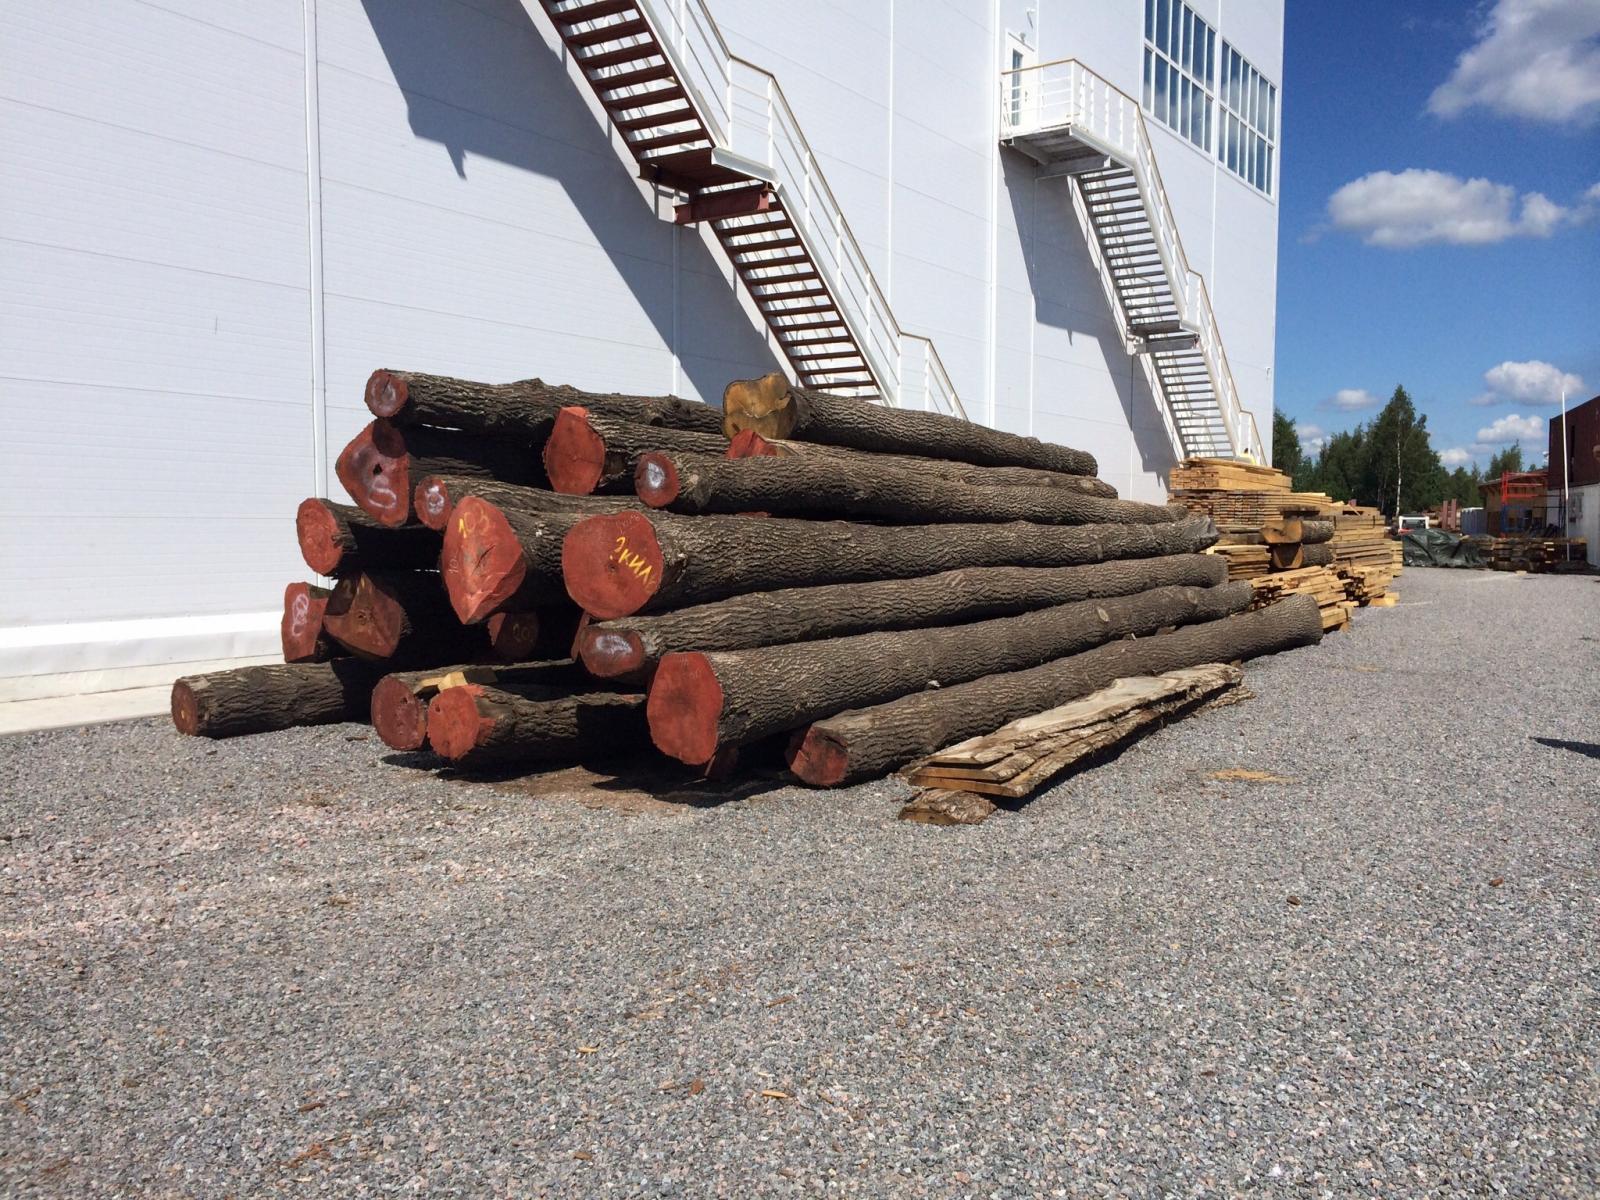
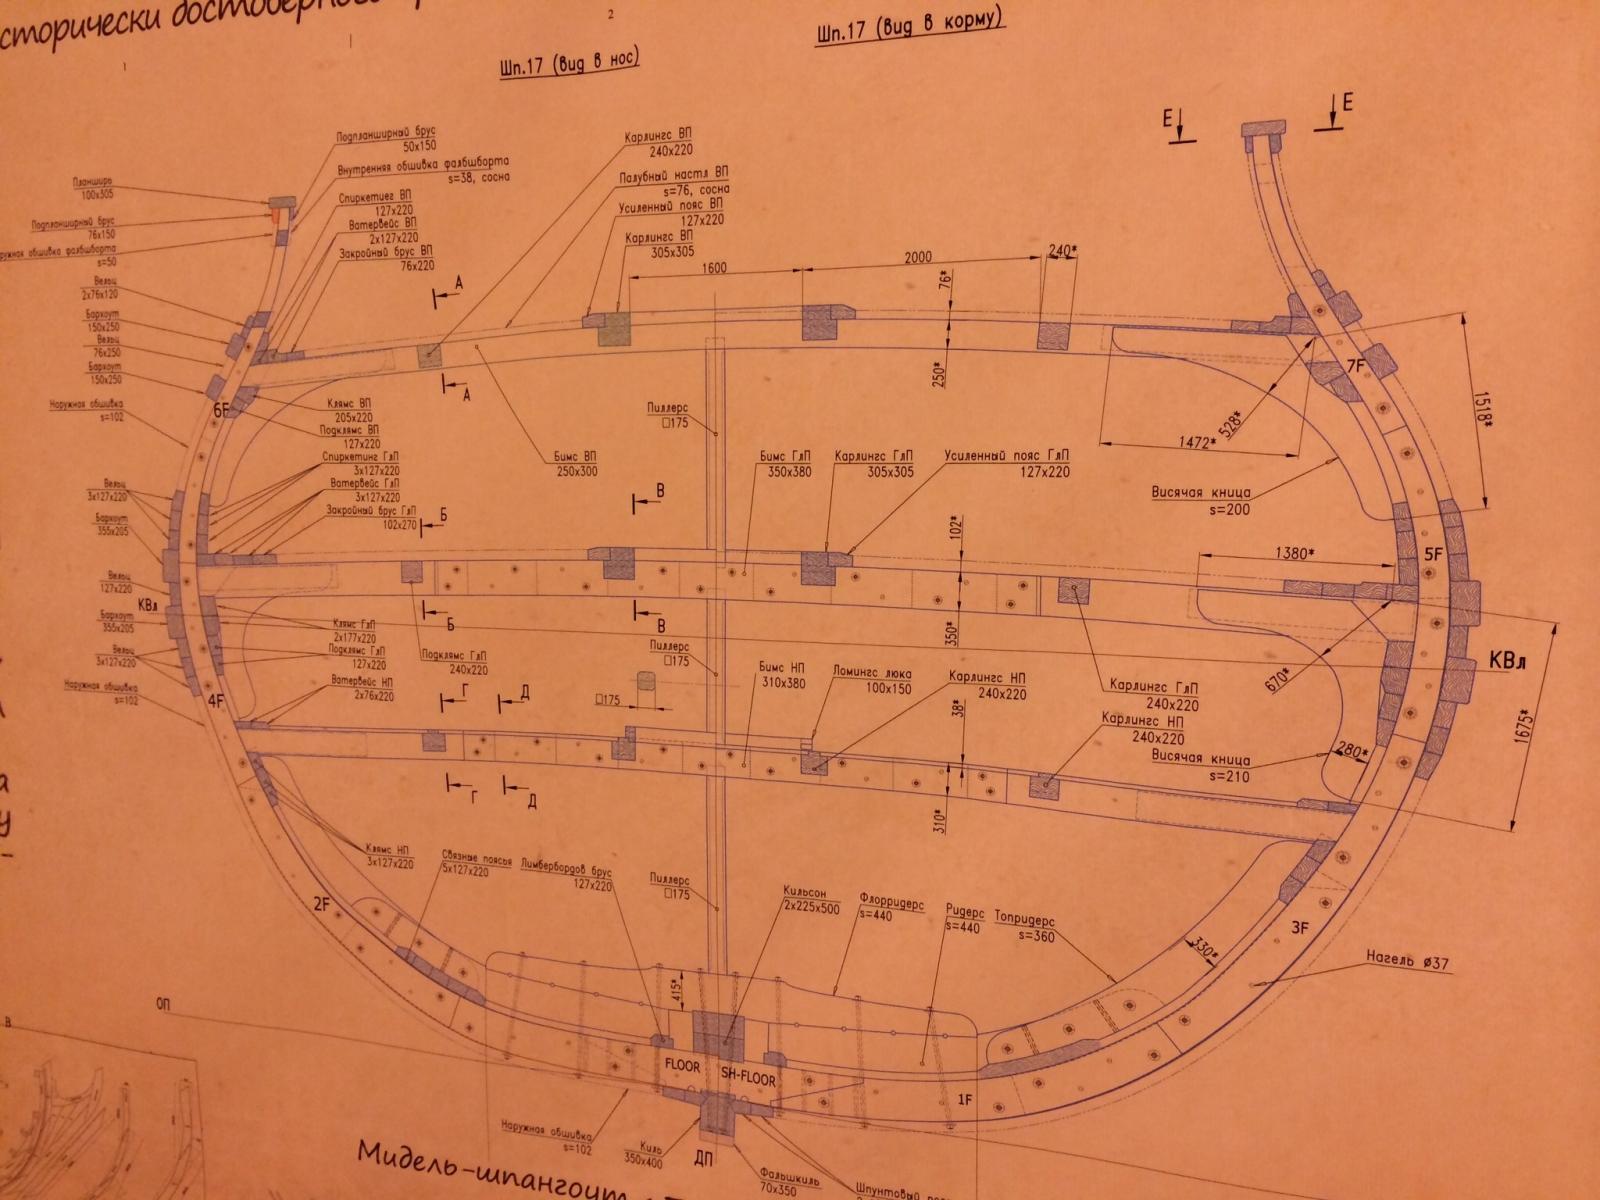
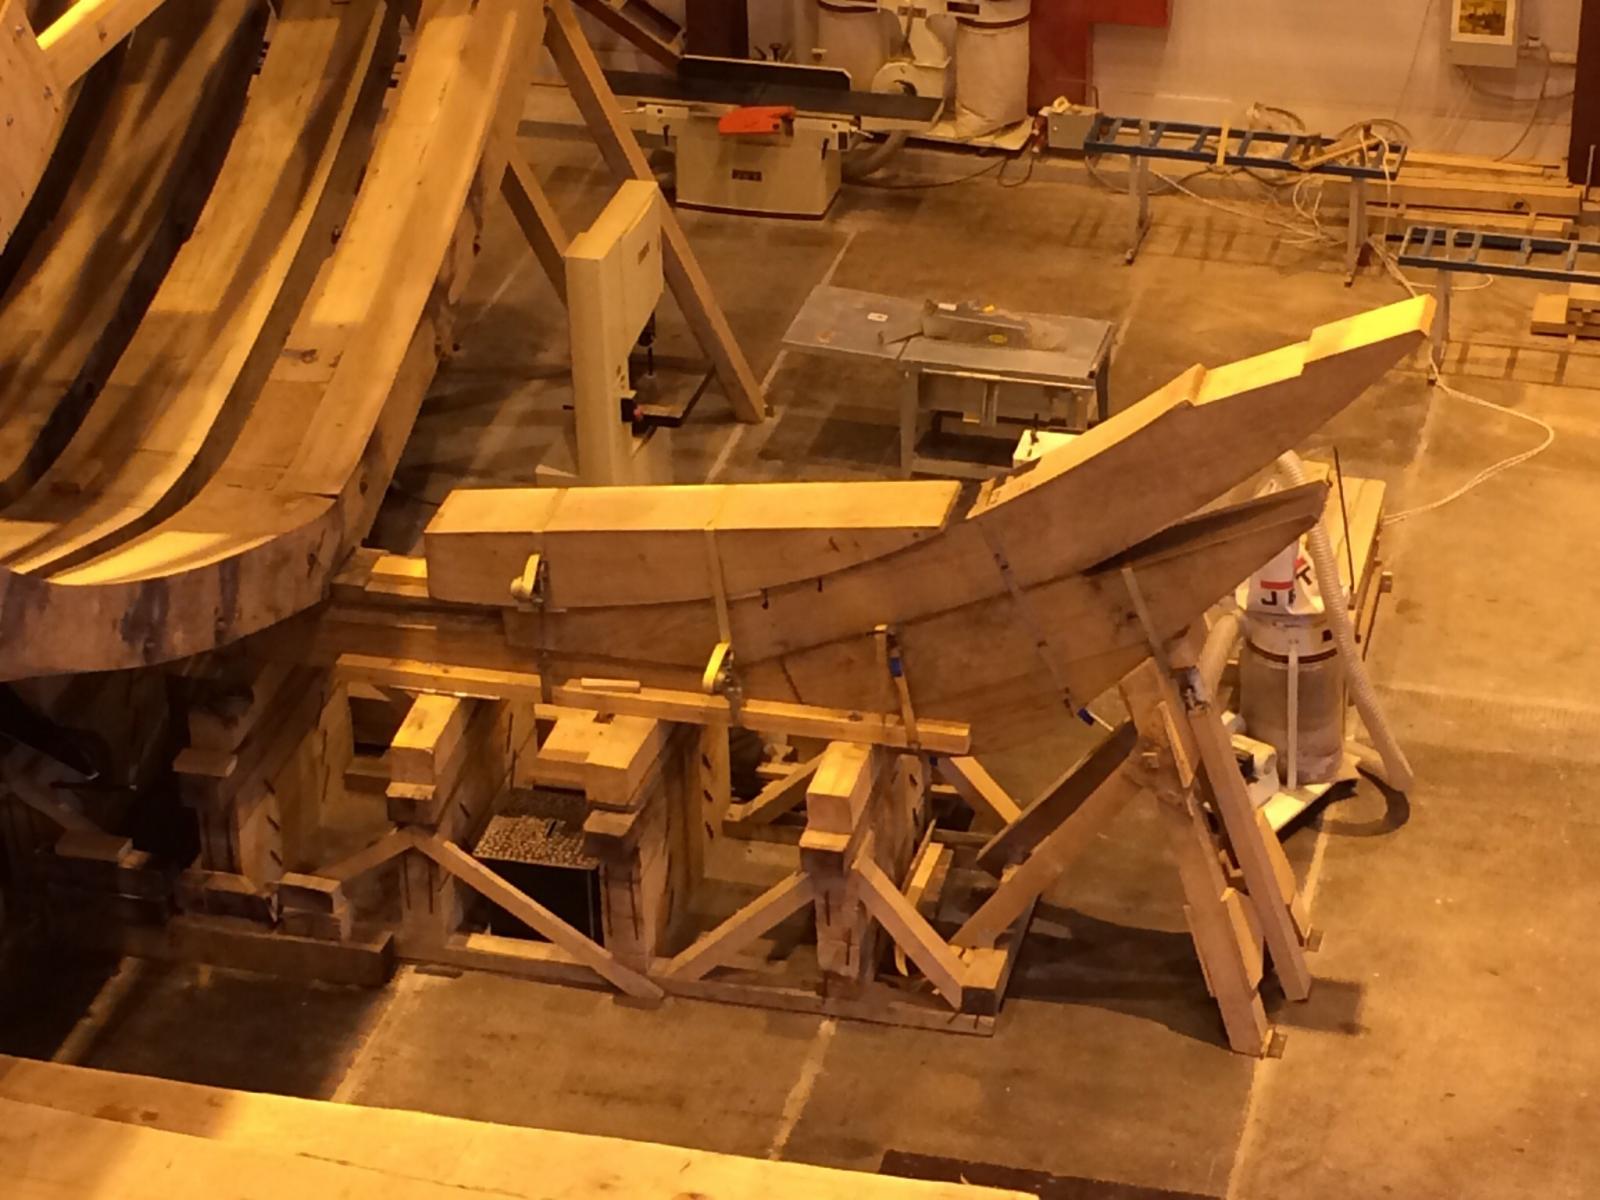
Speaking of a fully framed models - a friend of mine visited an interesting project today - 1:1 reconstruction of Poltava, 1712 ship, partially designed by Russian tsar, Peter I, who studied shipbuilding in Holland. See http://en.wikipedia.org/wiki/Russian_ship_of_the_line_Poltava_(1712)
The site is located in St.Petersburg, Russia.
Pretty interesting to see, looks very close to that build logs, and nearly-round shape of the hull make it look like Triton


-
Dave, I wanted to build a fully framed model, and there are quite a few kits offering this. Basically, POF kits in a good wood - none. Only sets of timber + plans, like Admirality models / HobbyMill or Lumberyard. And I like the challenge of blueprint interpretation
Hahn jig is documented in some logs here (like Licorne by mtaylor), or here: http://modelshipworldforum.com/resources/Framing_and_Planking/HahnMethodnew.pdf
You build the hull upside down, and jig helps to align frames properly and space them evenly.
-
-
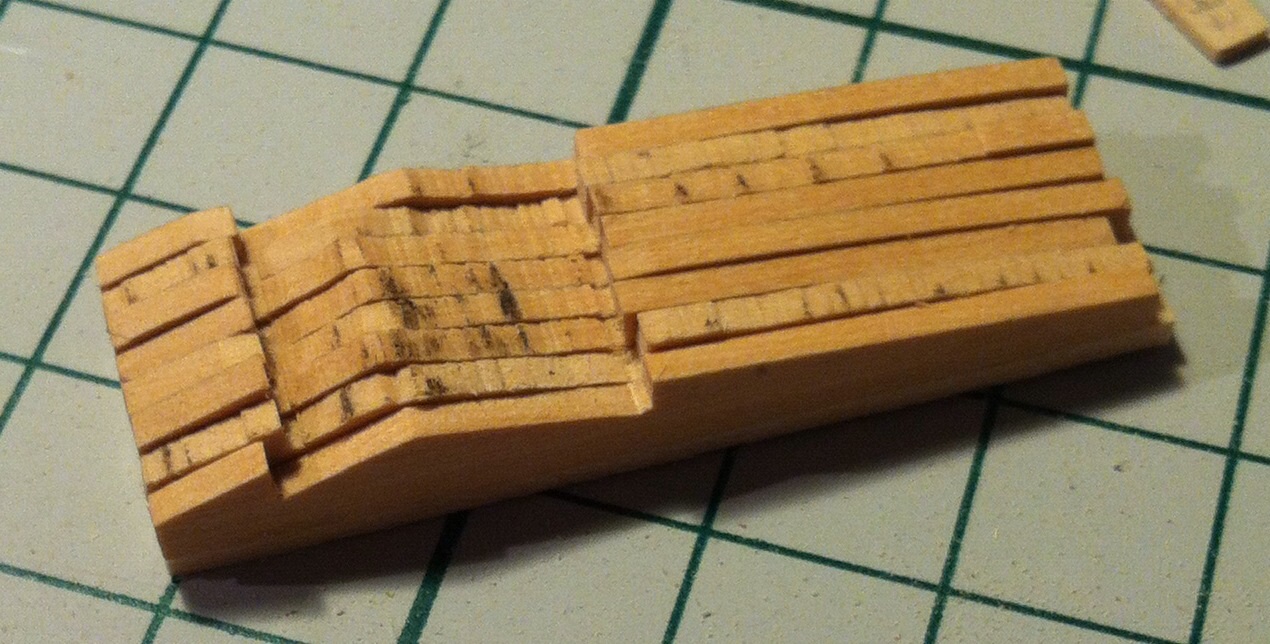
Time for an epic fail!
I had an idea to plank sheer strake in a anchor stock pattern, like the one I saw in Anatomy of Pandora book.
So I took a sheet of wood a bit thicker then regular planks, cut lots of pieces on a band saw:
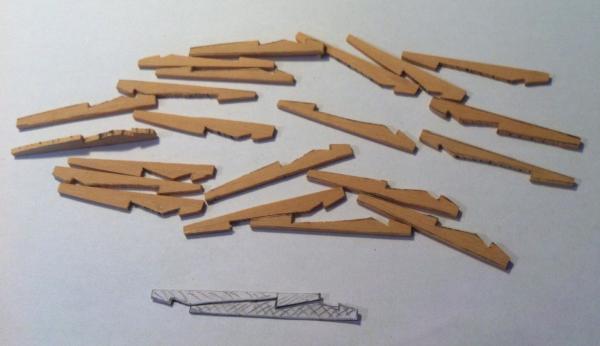
Glued them together to shape all at the same time:

Then shaped them with files, knife and chisels until I managed to make a nice joints...
Glued shaped patterns on a paper strip to see how it will look like... (Ignore small gaps, final fine fitting would be done while gluing. Dots are just marks for treenails, there would be a real treenails later.)
And it looks ugly - too heavy for a light model of that size. Hope that experiment will give you a good laughs
So I wrote it down like a scarf carving exercise, and need to think again how to make a sheer strake. Still don't want friezes.
Probably just plank as usual and add some light moulding? Any ideas are welcome, even the crazy ones!
- mtaylor, fnkershner and Cap'n Rat Fink
-
 3
3
-
I have one, can mail it to you.. Where you are on a globe?
P.S.: but frankly, that booklet is quite useless, better use build logs here as an instruction. It is full of self-explanatory steps like "now plank the hull".
-
There is no kit for that ship (and there are not so many POF kits out there). This is a timbering set - plans, required amount of wood milled to a proper thickness, and some laser cut parts (Hahn jig, keel, some small parts). There are also no instructions, only plans. I have Hahn's book, but most "instructions" are build logs on that forum. See http://www.dlumberyard.com/shipkits.html
Scroll/band saw is a must for that build, lots of frames to cut from that wood!
You can also look on Licorne build as a good example of Hahn's method. Or Triton build (there is a sub-forum for it). Or just any other POF scratch build.
It is not a 100% scratch because you skip the step of preparing 3d model of a hull based on old plans, and you already have a proper amount of wood in a sizes that you need. But that deviation is acceptable on that forum
- stevenclarklanger, daHeld, Omega1234 and 1 other
-
4
-
-
Things will slow down a bit, because I got a new and a looooong project - Oliver Cromwell - 1:48, POF, Hahn / Lumberyard
However, I will do longboat in parallel - especially since I have a lot of frames to produce, so when I would be bored - Longboat would be very useful to switch
-
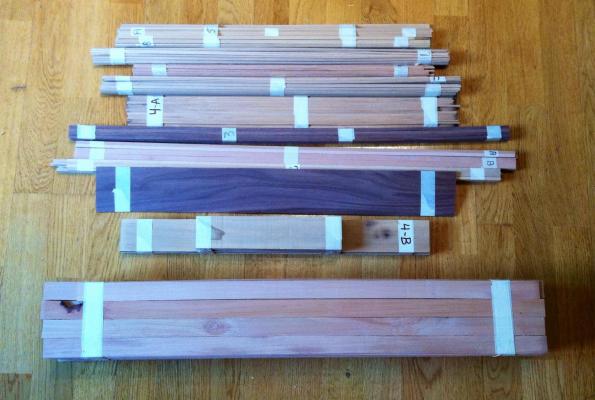
And here is what you get inside the timbering set from The Lumberyard.
Various planking and frame wood. Notice that wood color is pretty varying, so needs to be sorted.
Framing, keel, deck beams/knees would be in swiss pear, planking - boxwood, fittings - mixed. I also got beech, walnut and cherry for some parts, but not sure if I'll use them. Will see!
Laser cut parts. Planning to make my own deck beams with a cute scarfs, instead of using these. But they are a good backup, if my scarfs will turn into failure:
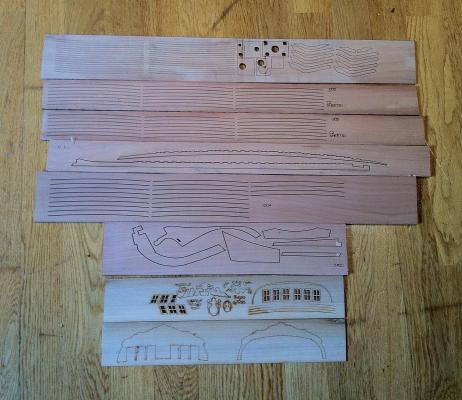
And plans, lots of them!
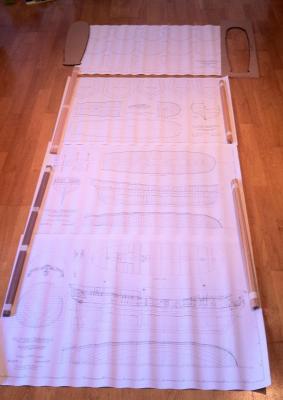
Don't mind the small size of the photos, it's 11.5 kg of wood!
Let's unpack the blueprints and make some sawdust!
- Wishmaster, Nirvana, harvey1847 and 10 others
-
13
-
Why scratch?
I always had a high requirements for a wood quality and fitting quality. Unfortunately, even expensive kits were never that close. After getting a first pack of boxwood, I would never go back to any inferior wood. Hence, only scratch. Not that scary though, I do most of the parts from scratch anyway.
It's a pity that kit producers do not offer a wood upgrade. For a serious build, cost is spreading over a number of years, so is it really so important?
Speed of the build is not important, I enjoy the process. As Remco says - "Treat each part as if it is a model on its own, you will finish more models in a day than others do in a lifetime".
Why Hahn?
For a weird reason, don't like the realistic framing style, like David Antscherl suggests. First - you don't see anything between frames, and second - uneven spacing and shape of frames make me feel dizzy when I look on them. Physically. I know it sounds weird, but I just can't. So - frames would be spaced evenly, even if it's unrealistic. So what, I'm not adding a rocket engines to my model

Also, Hahn's method for a frame construction looks easier. Yes, the wood usage is higher, but again - why that matters? I will build it for 5 years at least, so paying a bit extra for additional wood is not a problem. And I truly like the design of Hahn's jig!
Why Beavers Prize / Oliver Cromwell?
This ship has no honorable history. It was built in 1777 in Philadelphia, started a pretty good career - capturing 7 ships in 3 months after a start - but then was defeated by british HMS Beaver. Was downgraded from 24 cannons to 12, and served remaining time guarding british coast. Died in a hurricane after a number of years, slowly degrading and having a continuous problems with discipline onboard.
But there is something in the lines of that ship that touches me. Look on the model - hull proportions are pretty nice. It's not too high, and not too low, and I was looking for that photos a lot, admiring its beauty:


-
-
-
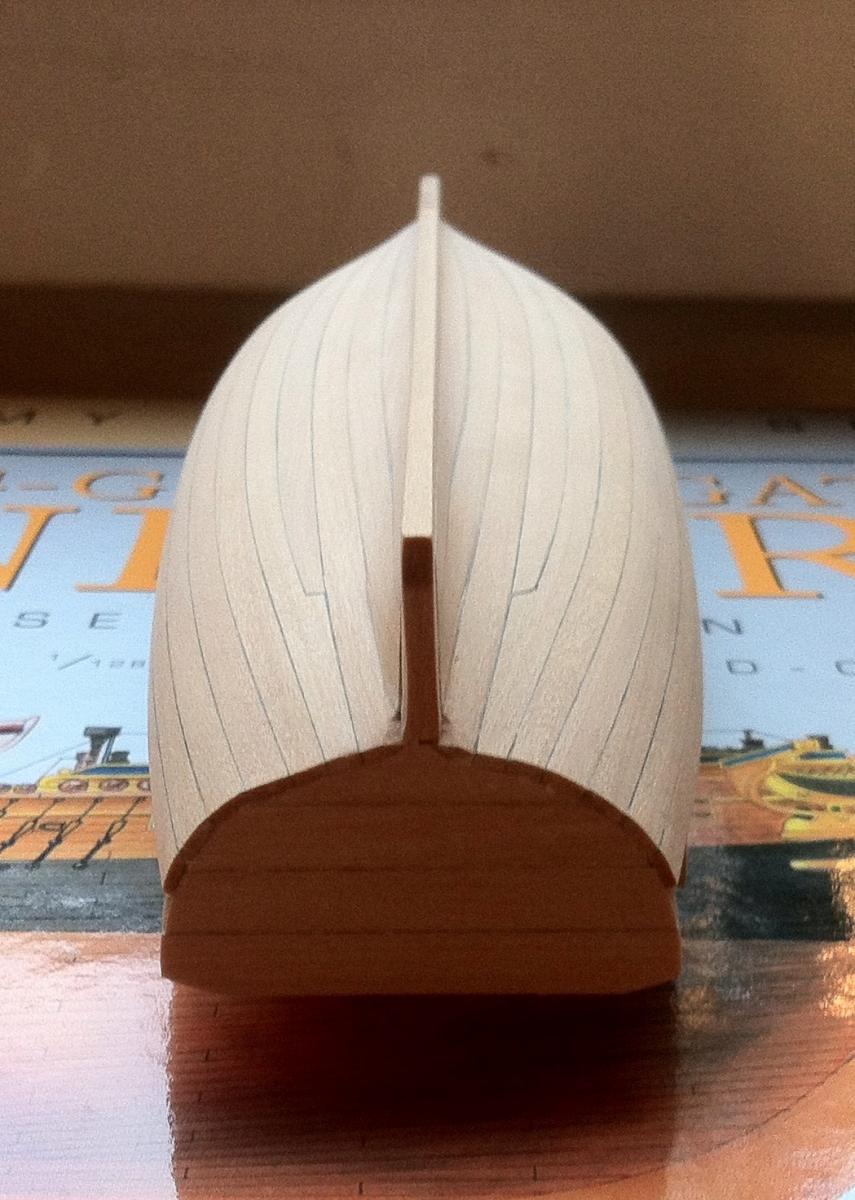
Floyd, is that the photo you was looking for? Looking straight on the stern?

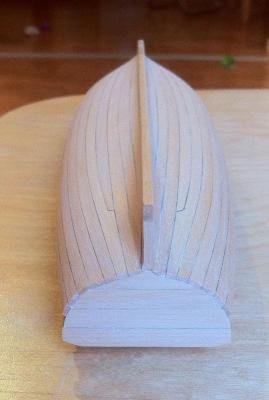
P.S.: there is a slightly wrong angle of a triangle thingy between transom and a keel - I know, will fix it
- Cap'n Rat Fink, fatih79 and fnkershner
-
3
-
Yep, I already understood that, but too late

Would be good to add a bit of filler wood there, to make it smoother. Too late for my build, but maybe Floyd will do it?
-
But Pinnace also have a very smooth rear frames, so no drop planks necessary:

On Longboat, they are joined on a very difficult angle:

But, of course, it could be done properly without any drop planks, I mostly screwed that area
-
Floyd, no problem, will make that shot today.
P.S.: I just have an immediate mail notification for each reply in that topic
-
It is terminating around the joint (though I made my own keel and stem, hence the joint is in a bit different place).
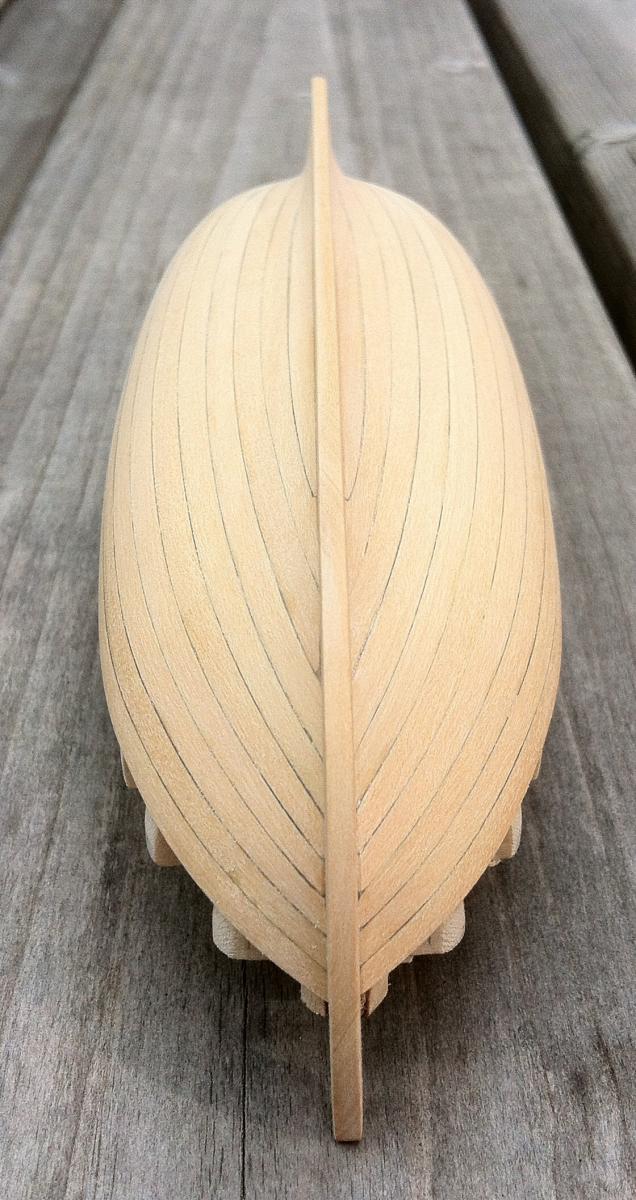
But Floyd asked about stern, and not sure I understood the question, because gardboard plank continues until the end of the hull..
-
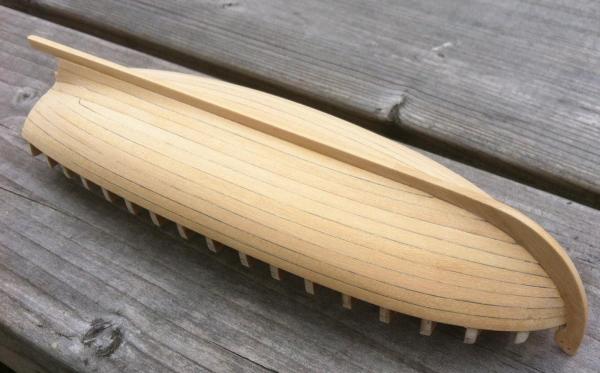
Gardboard plank continues to the end of the stern.
Here is a close-up of the stern:

Please let me know if you want a photo from some different angle, I will make it in the evening. I'm not really sure what kind of photo you are looking for
-
I did it with gel CA (gel super glue). Regular or extra thin CA is very liquid, and will flow away from the tiny metal pieces, gluing your fingers to the planks. Terrible thing!
-
Floyd, I'm not sure about the plank count - because I still have a space for two planks remaining, where I will have a decoration wale plank. But I think it's closer to 11 - real planks turned out a bit wider then reference lines, and reference lines were done for 12 planks.
I tapered some planks in middle streaks, only at the bow.
All planks were edge bent, but the bending was pretty easy, and done right on a hull, clamping wet plank to the frames.
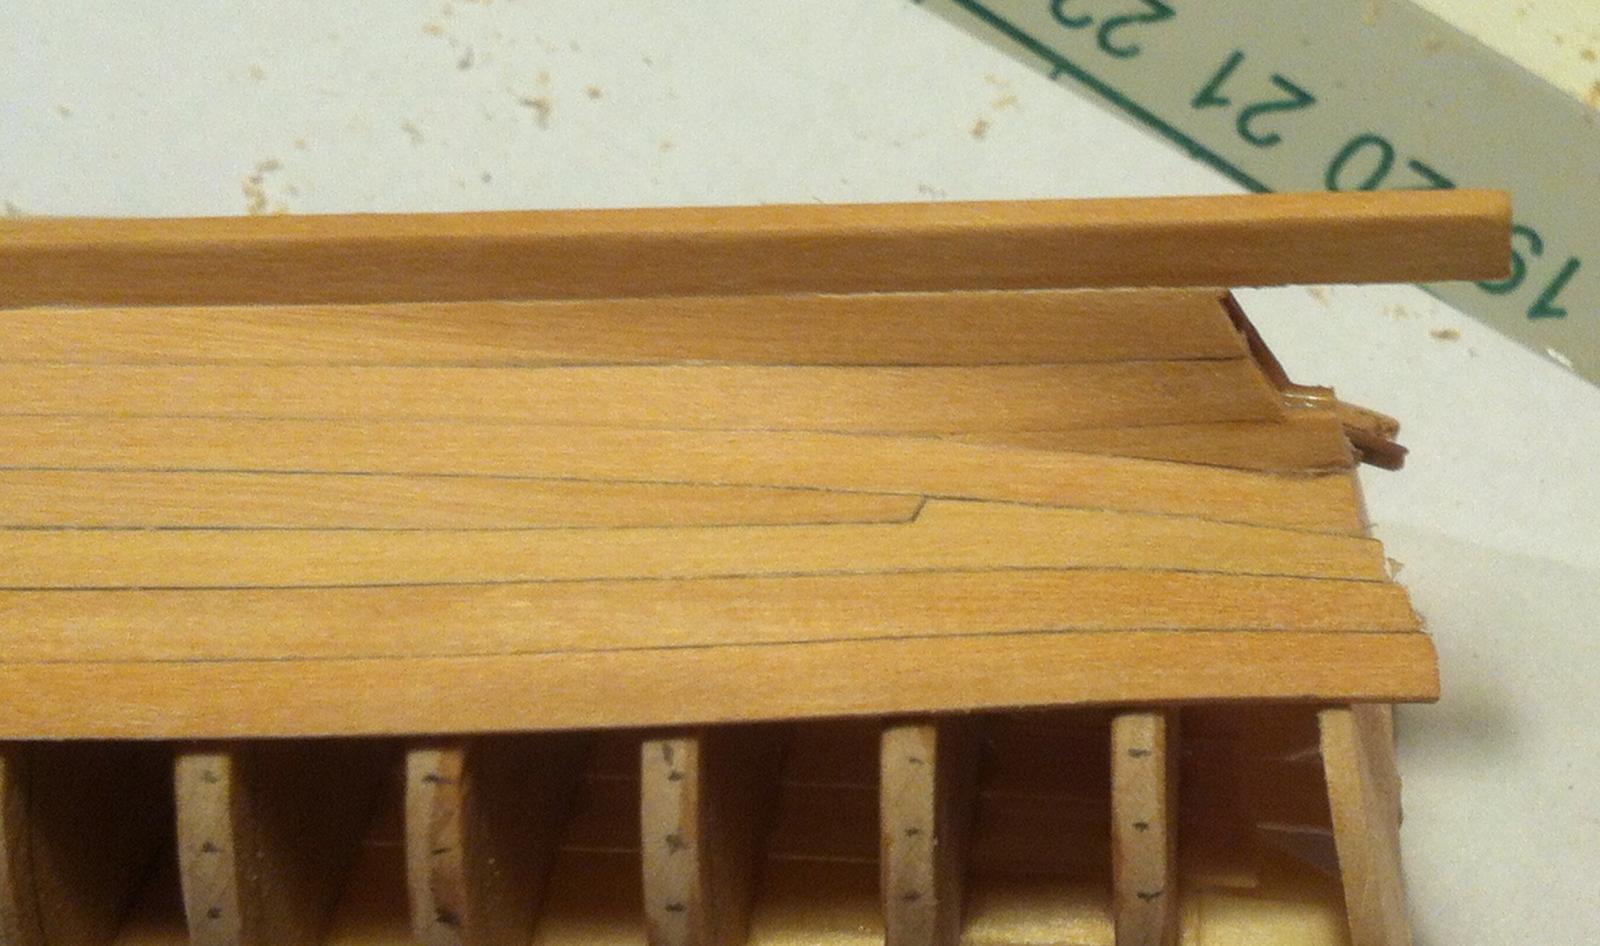
The gardboard strake - hm, not sure how to explain, see the photo
It ends much earlier then the bow.Yes, one plank at the stern is terminated earlier, and there is a tiny drop plank there. Not ideal, but in the end looks ok, and I don't have any gap between frames, planks and false keel, everything fits together. I have a more detailed photos of the stern earlier in the log.
Good luck with your planking! Looking forward!
-
Pops, it is also a lot due to the different wood - planking with boxwood is so much easier! It is elastic, but strong - so you will not skew it while gluing, it is still a plank with clear edges. Basswood planking is harder due to that.. Plus boxwood strips provided by HobbyMill are a bit thicker then the ones in the kit (because kit planks are getting thinner after initial cleanup. Hence, you have much more room to hide mistakes with sanding and scraping.
So next time - try planking with some hardwood. Would simplify the planking process and make it less nervous!
-
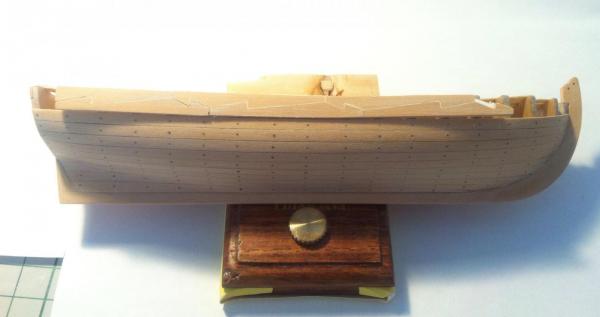
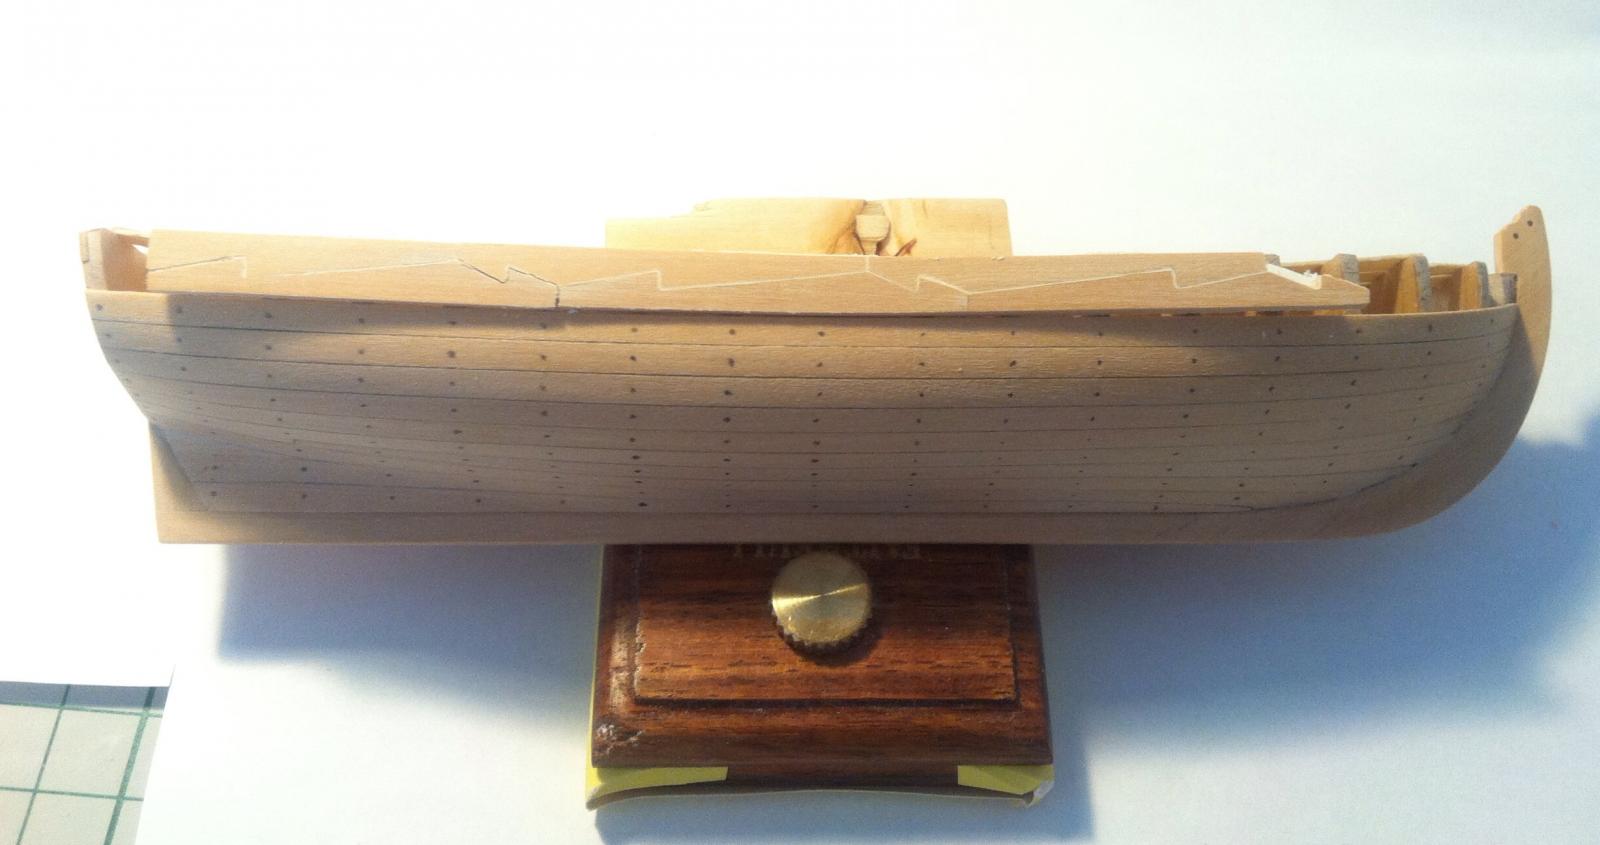
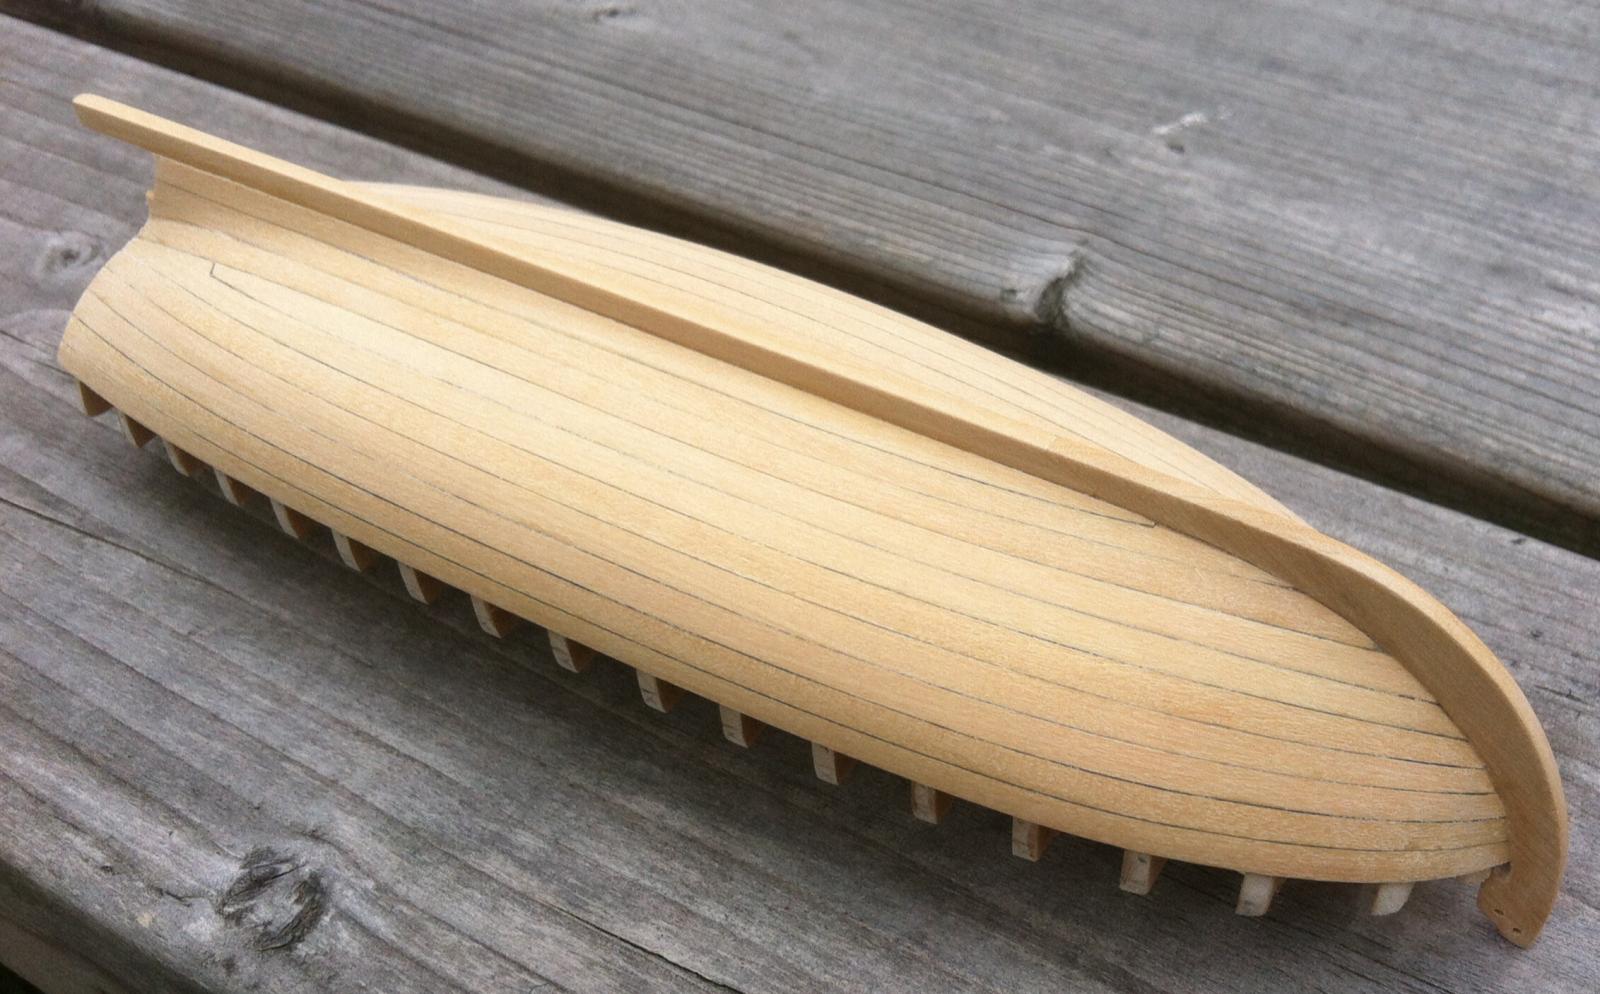
Completed main part of planking. Now the decorative top planks left, they would be a bit special and I will add them after a treenailing and final sanding of the hull.
The hull was just rough sanded, final smooth sanding would be done after treenailing. So please pardon that "hairy" look of the wood!


Currently experimenting with various treenail sizes. Probably will go forward with single treenail per plank, 0.8-0.9mm in diameter.
Half offtopic:
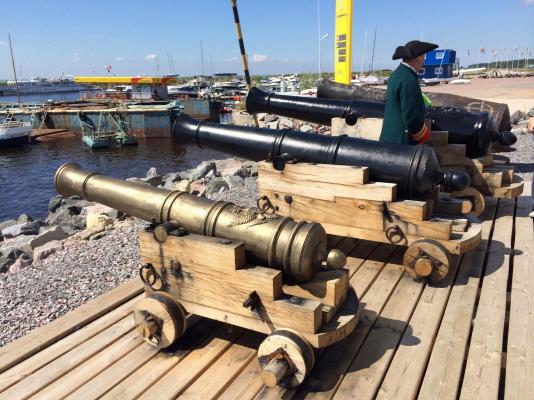
I was walking on one of my favourite islands in Stockholm - so called "Ship Island" (Skeppsholmen). There is a boat building club there:

They do teach how to build and maintain historical boats.. Some very fine examples are tarred and parked nearby:
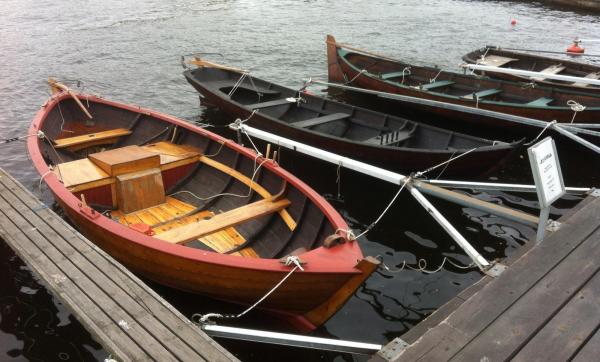
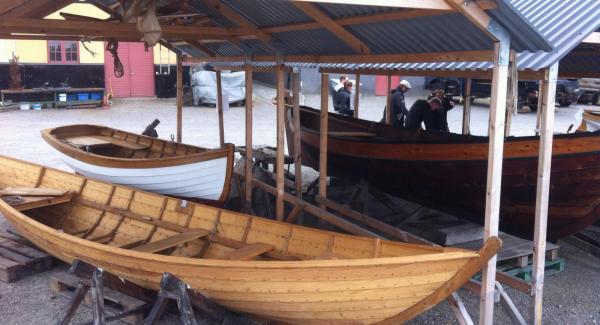
One day, when the kids will grow up and I will have plenty of time, I will build such boat just for fun.. Very fine workmanship!
-
-
They are a regular paper clips, of the minimum size I could find.
It is a brilliant idea from Floyd, see http://modelshipworld.com/index.php?/topic/611-easy-planking-clamps for details
They are very useful for planking!


18th Century Longboat by Mike Y - Model Shipways - 1:48
in - Kit build logs for subjects built from 1751 - 1800
Posted
Yes, it looks nice separately, but it definitely do not belong to the light Longboat Will think of something lighter.