Wintergreen
-
Posts
1,002 -
Joined
-
Last visited
Content Type
Profiles
Forums
Gallery
Events
Everything posted by Wintergreen
-
Hi Vaddoc! I've just scrolled through your log, impressive I must say, given the surrounding circumstances with family and all. Congrats to the milestone of finishing the hull! I think you will find all the detailing that now comes so much more fun. And laying the deck will be a breeze ;-)
-
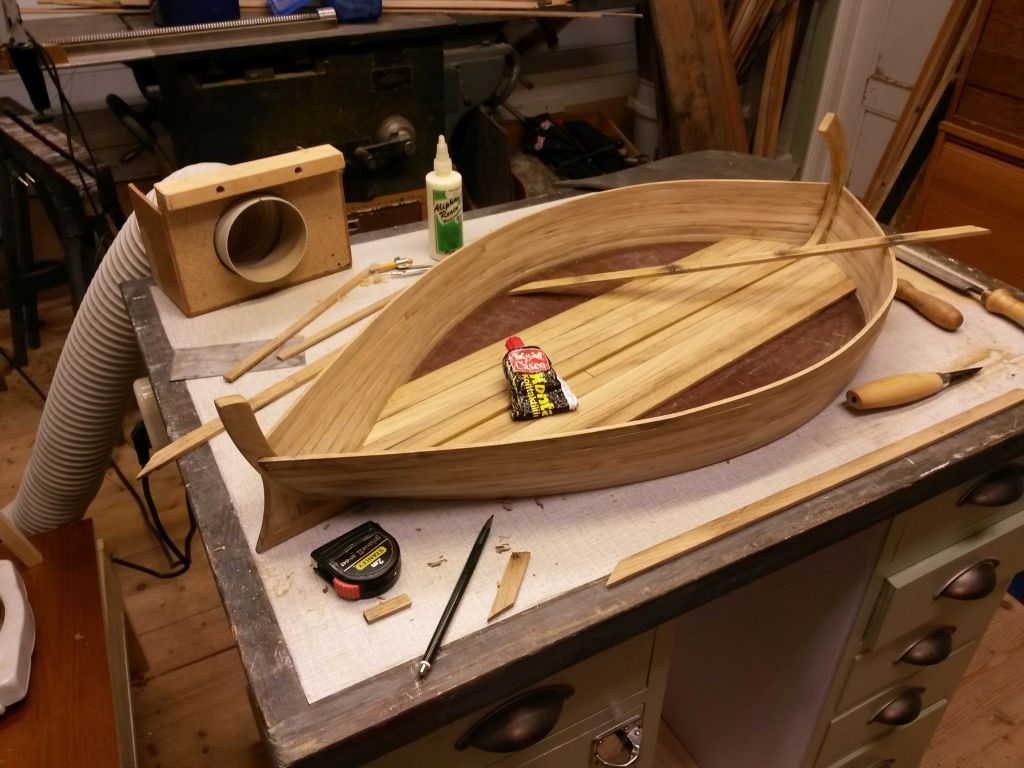
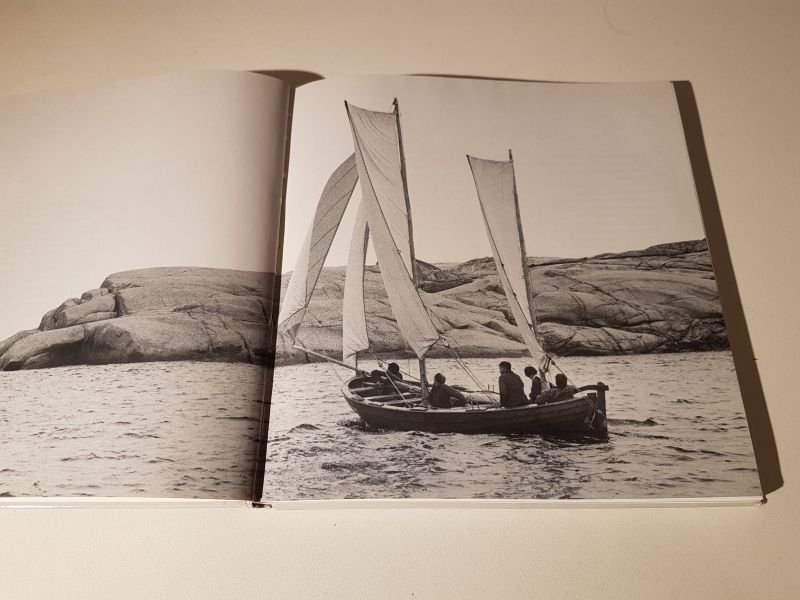
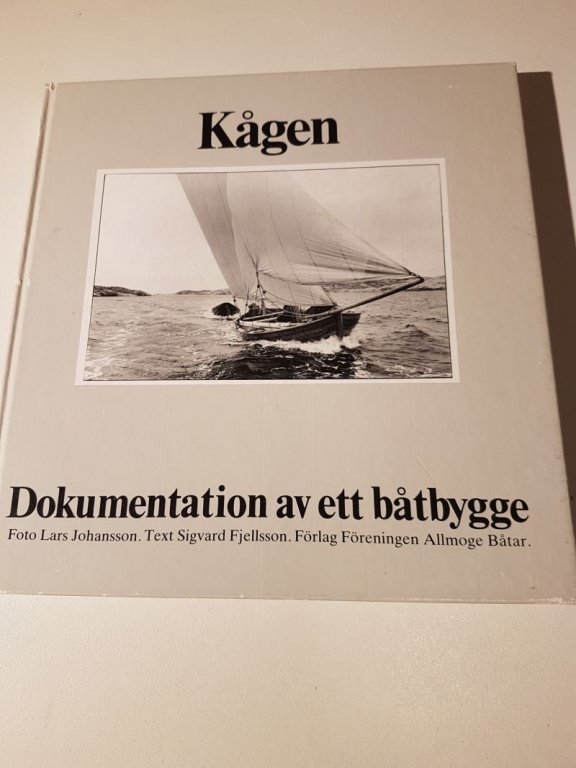
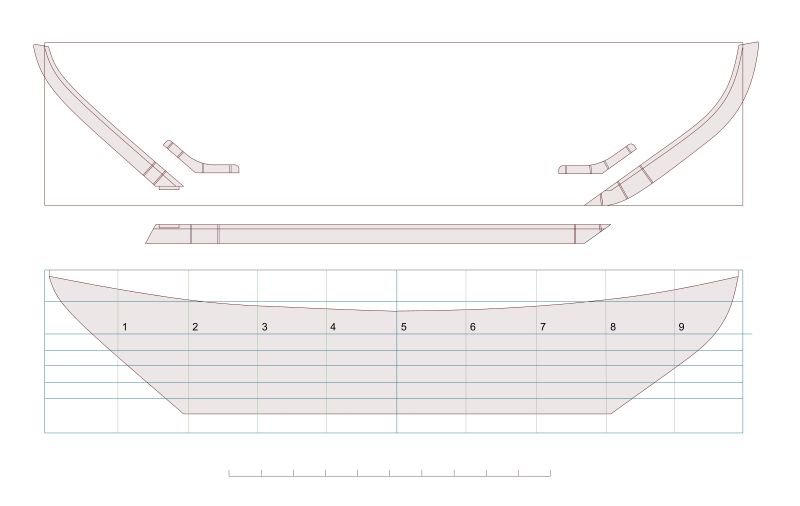
It is not with little hesitation that I know start a build log. For me it is somewhat of a Pandora's box of feelings since I've been away from MSW for quite some time now. One thing caught my attention when I read the foreword in Ed's "Naiad" book, it seems that it is quite an accomplishment to build anything to scale between your graduation and retirement. Life tends to interfere all the time. Anyway, here we go... The object for my build log will be a working vessel from the Swedish west coast dated at about 1900. I've learned "Go small, go simple, go now" when it comes to long distance sailing. Applied to scale model shipbuilding that would translate to something of small real world dimensions and a rather simple type based on some source that you already have. In my case it panned out to be a "Kåg". For those not familiar with Swedish pronunciation of words (most are not, so don't worry) it originates from the Dutch kaeg or cog. Basically it is a fishing vessel. It was all about herring during 17th to early 20th on the west coast of Sweden. By the way, swedes are still a lot about herring marinated in more or less fantastic ways. You will find them on any decent "smörgåsbord". Included in my source is a couple of plans and the first tasks include some CAD to create plans that can be used to build something. Real world dimensions for this particular vessel is some 22 feet between perpendiculars with a width of 10 feet. Length over all will be some 9,5 meters. Scaled down 1:30 the hull will be 225 mm stem to stern with a moulded width of 96 mm. The clinker boards will be just shy of 1 mm thick, which I think is the smallest I could manage. Real world materials were oak for basic structure, top strake and details. The lower strakes were of pine. Mast and spars of fir. Materials for the scale model will be apple for basic structure, mast and spars and probably birch for the boards. So far the introduction. Over to the build. At this moment I have not produced any dust yet, only managed to create templates for the hull, keel, stem and stern. Starting up with CAD has a steep learning curve... The book: A picture of the vessel sailing (maiden tryouts): Keel, stem and stern. I will happily try to answer any questions and will also of course gladly take on any help and suggestions to aid in the building process.
- 240 replies
-
- 22
-

-
*just snuckin in for a free seat at the front, shhh, don't mind me, I'll only watch while you carry on*
-
Hi Keith! I had a subscription for one of the magz about classic boats for several years. I find these classics just so beautiful to look at and yours is no exception. The deck structures are really coming along nicely. I think the key to success in regards of Mahogany, is the finish. Enough coats to fill every little crevice (or wood structure or what its called) to get an absolutely smooth surface is a must. If one fails in that the appearance will be dull and a bit dirty. The gentleman I bought our blue water sailing yacht from did not have time to varnish the interior teak more than once when he built the boat. It looks horrific. Also Chucks paintwork is extraordinary even though he uses regular brushes. Several thin coats instead of a couple of thick ones. Keep up the good work!
-
A belated "Well done", or maybe a "Pass with distinction" applies better. I just spent this Saturday evening browsing through this blog and your work, albeit on a simpler construction, is up to you usual standard. It tickles my mind that I need to return to the workshop doing small work instead of handling wall boards, floor sanding equipment and alike on my spare time... Many thanks for your inspirational work, Ed!
- 191 replies
-
- 3
-
-
- young america
- clipper
- (and 1 more)
-
Yes, I'm still alive. But no time for modelling or even to follow along all the beautiful logs here. Life, you know... my oldest daughter moved back to our small town and made med grandpa last Feb. Happy days! They live just down the road (1km) from us and I'm so so glad. An adorable girl (aren't they all) named Agnes.
- 745 replies
-
- 5
-
-
- francis pritt
- mission ship
- (and 1 more)
-
Baggy wrinkle??? But it most be those catepillars crawling their way up the lifts, right? To minimize shafe on the sails I presume the intention was. I cant say much else about your build than it looks than it looks picture perfect. Keep it up John!
- 745 replies
-
- 3
-
-
- francis pritt
- mission ship
- (and 1 more)
-
On the contrary - You are an excellent model-maker Druxey! I did not mean to be nosey or anything, it just made my mind tick when I looked at the oars. The barge is a piece of art all together.
- 641 replies
-
- 4
-
-
- greenwich hospital
- barge
- (and 1 more)
-
I surely Cant tell you to do it any other way, Mario ;-) (sorry, couldn't resist the pun) Looks great to my eye.
-
Exellent work, as everyone else already have stated. Truly excellent. Maybe a little late about the sweeps and their artwork. From one picture it is clear that all dolphins are painted equal on all twelve sweeps. Doesn't that imply that half the population will swim up-side-down when the sweeps are at their stations? Unless you've painted them on both sides and the picture fooled me somehow.
- 641 replies
-
- 6
-
-
- greenwich hospital
- barge
- (and 1 more)
-
"Happy wife - Happy Life" ? True that, my friend! Glad to see you back here Mario. Whatever the build, virtual friends are always a treat to meet.
-
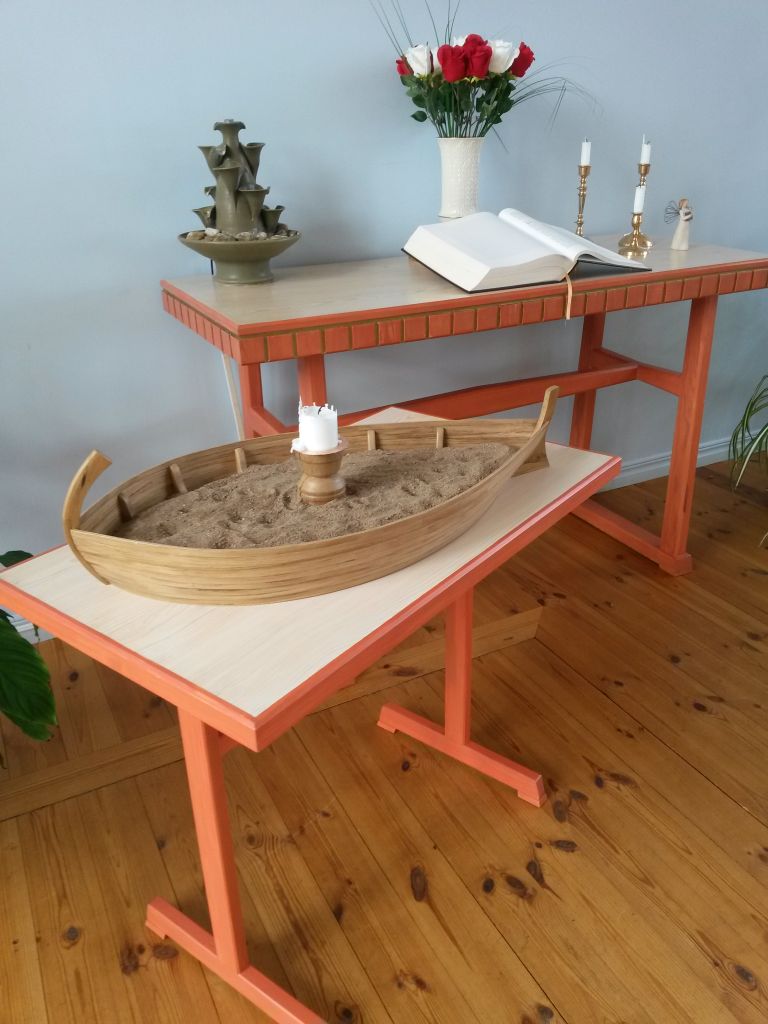
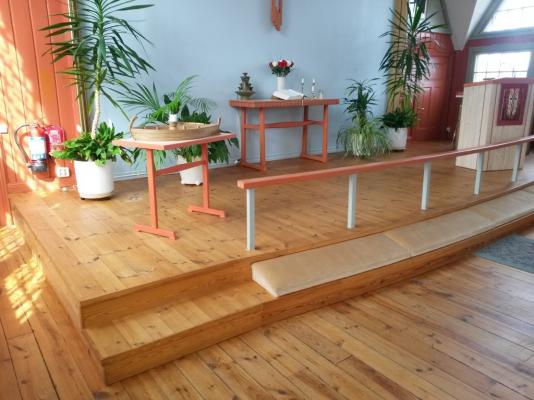
Jan, well the larger table was the source of inspiration for the smaller one that I made for the boat. They also asked me to build a communion table in the same style. The large table was initially purposed for this but was made static with the water fountain at rear left corner. So, I will make them a table, that fits under the larger one, for them to use in the services.
-
Thank you Carl and Patrick! Next build? I will go small, clinker and 19th century Swedish west coast... In Swedish they are called "kåg" which stems from Dutch "kaag" and translates to English "cog". Google will give you wiki results and images.
-
Thank you mates! Next build will be quite different...
-
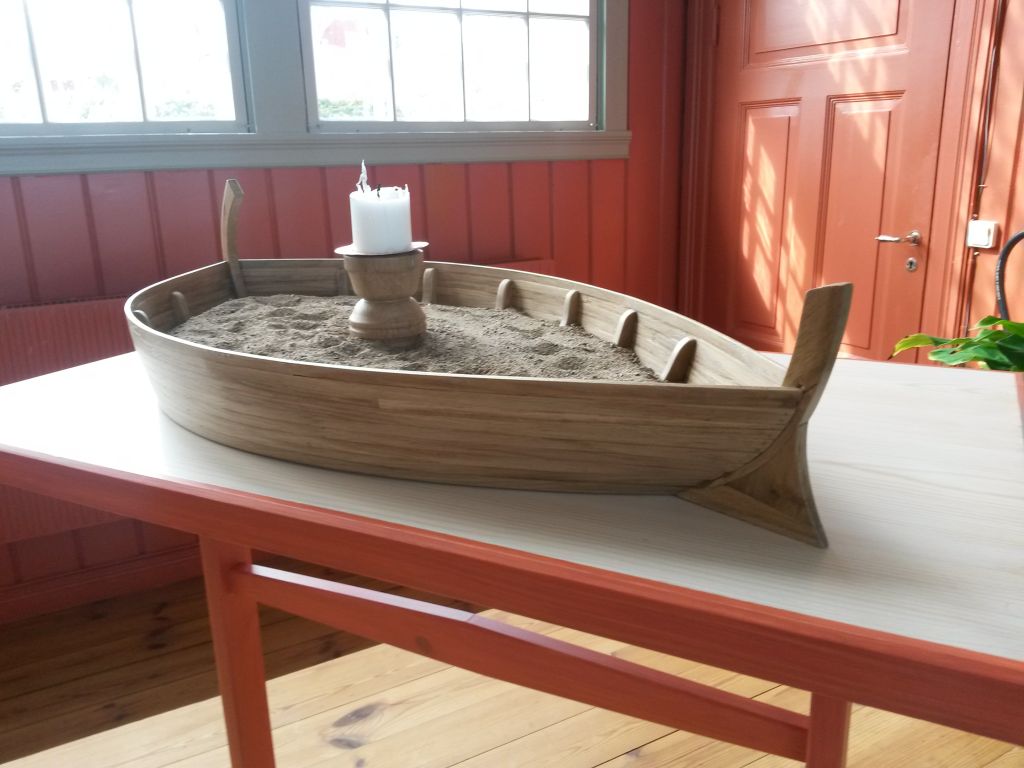
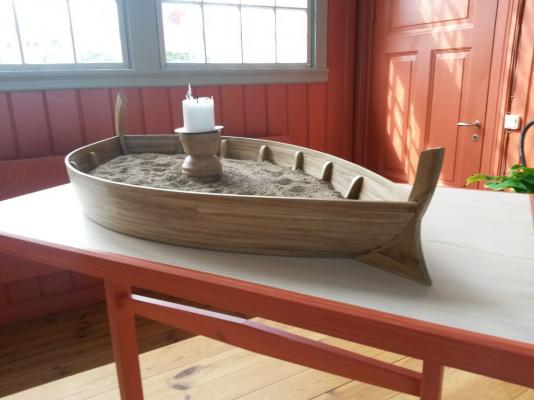
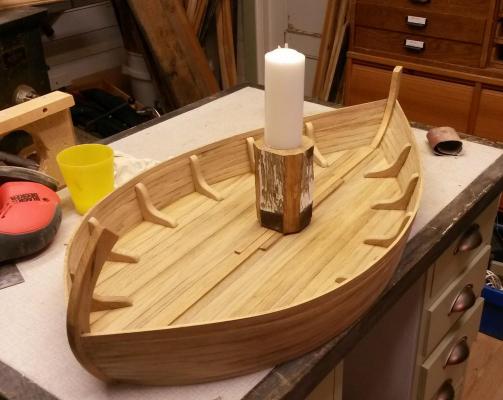
So, time to conclude this thread...boat and table in place finally! It took some takes to get a close match on the color. First I had matched it as good as possible with these small samples you can get from the painters. That was far off when it came to reality. So four or five tries later I was very pleased with the result. AS you can see from the candle it has been in use a couple of weeks (they were so so eager to get it that they didnt care about the table not being ready ) Thank you for following this small build, and thanks for all the "likes" as well. Til next time - Ta!


-
ancre Le Rochefort 1787 by Niklas - 1:36
Wintergreen replied to Niklas's topic in - Build logs for subjects built 1751 - 1800
Hi Niklas! Looks as you're off to a good start, as previously noted. From the photos, I take it that this is not your first build, right? "Niklas", that sounds very Swedish to me.. -
Lovely! Yes, the blue sticks out a bit too much. But I wouldn't go with regular black. Instead blend green with black or go with some blue-black. The main thing is to keep in the color range of the green and red. I cant express in words what I mean, but the blue and green as of now doesn't play together in my eyes. There is probably some university degree in color matching (which I don't have) but think cars. "Wow, that is a black car." and then you go up to it and discover it is actually very dark green och very dark blue. Something like that.
- 641 replies
-
- 7
-
-
- greenwich hospital
- barge
- (and 1 more)
-
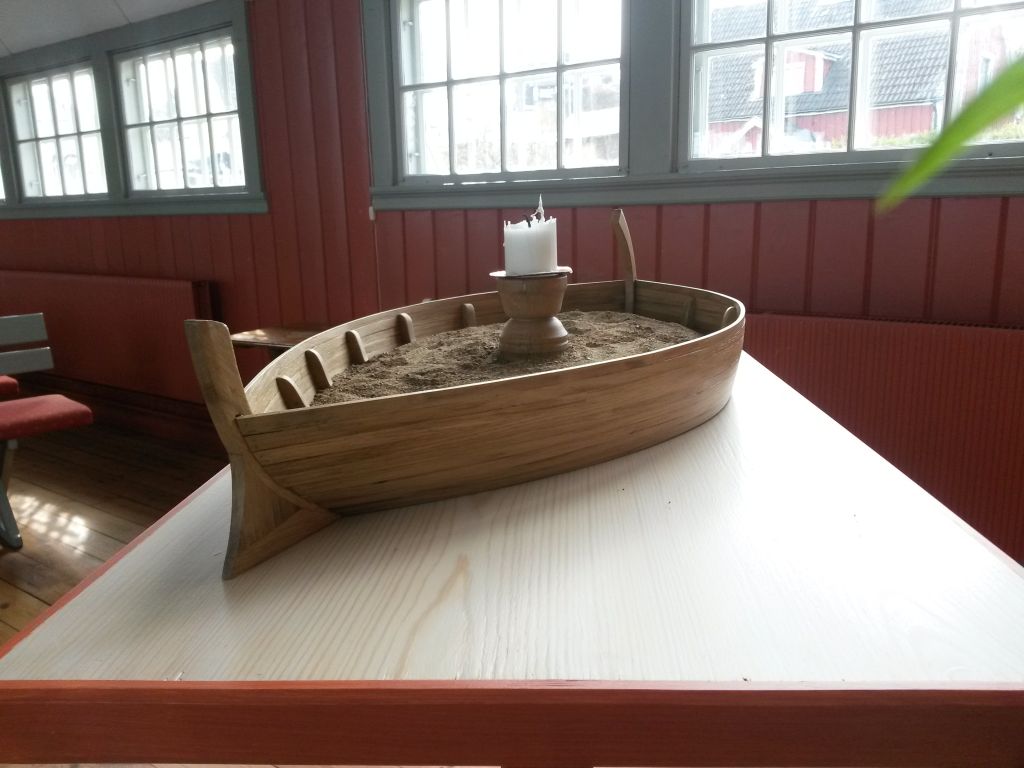
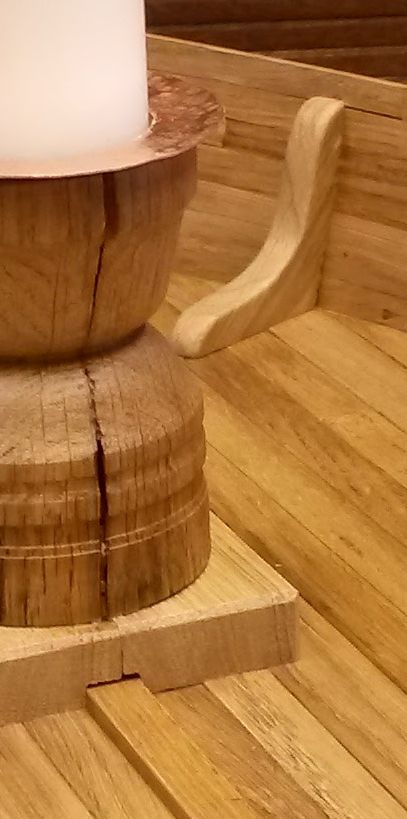
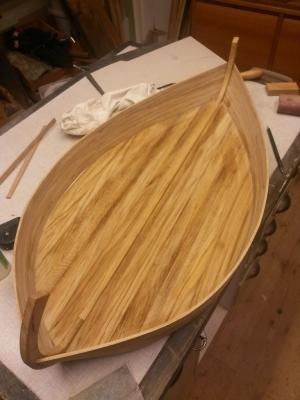
So, the "boat" is finished. However, I wont publish any overall pics until I have the surrounding items in place. The boat will have a dedicated table to sit on. The table will match the other items at the podium. It also needs a small box to have the candles in. The first one I put together were far to chunky in appearance to please my eye. The finish is a clear lacquer, matte or satin. This to protect the wood from the anticipated far too many greasy fingerprints... The candle-ring is just some plain copper that I went over with a ball point hammer. Nothing on this boat is "perfect" in the meaning of alignment, appearance, finish, wood texture (for instance, see the crack on the candle holder...). Why? Well, my thought is that we, as persons, are far from "perfect". We all have our small dents, cracks, soft spots and so on. And the boat reflects all that... (Rev 21:5) Nuf said. To be continued...

-
I find it interesting...there is nothing in this build log that whatsoever reveal that there is somewhat of a temper involved. On the contrary, you seem to have all the patience, perseverance and endurance in the world when I look your ruler straight deck structure. Meticulously made long boats and everything else. Inspirational!
- 3,618 replies
-
- 8
-
-
- young america
- clipper
- (and 1 more)
-
Well Thank you Carl :-) The light and the image resolution works in my favor to hide all dents, gaps and other short-comings of the build. Next will be to fashion the square base and finally add some coating. I am thinking of matt varnish to enhance the wood structure.
-
So, I just randomly clicked the "San Felipe" link in your signature. I must say, every now and again I get dumbfounded of the skill some people show in their logs. It didn't look like much in the beginning with the big chunks of lumber resting on your big table saw. I read a few pages and then skipped to the end...and Wow! What a ship you have build! Hats off and bow deep!
-
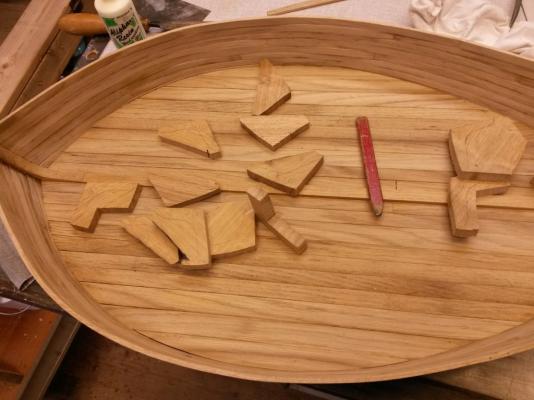
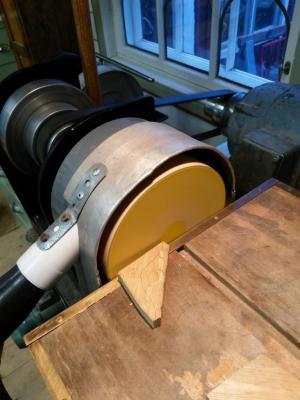
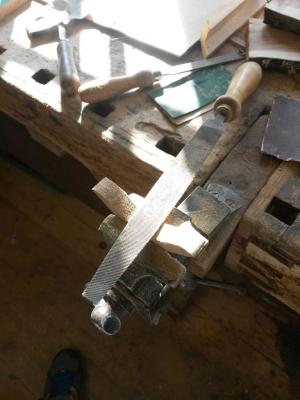
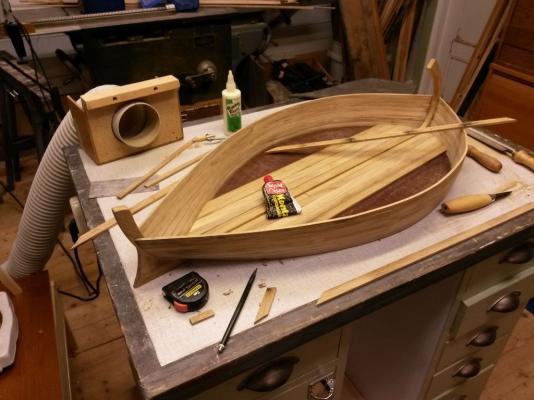
Work continued with the internal supports. First I used card to make a template for each support. Then rough cut the blanks on the band saw. Next was a grand premiere for my disk sander...it even have dust extraction... When the mating faces were decent, again off to the band saw to cut the shape. And continued shaping. After that focus turned to the central candle holder. I had an idea and needed some lumber to fulfill my need. The oak piece is actually the old samson post from the same boat as the other oak I've used... After some trial and horror (a couple of close calls due to the porosity of the old oak) it looks like this. It is not yet glued in place. The square base needs some attention even though it will be hidden under sand.

-
Thanks for the "likes" and comments. Alan, regarding my dust extraction system. The motor unit sits in the adjacent room, aka "garage". From there the outlet is led to the gardening tools store. That area is not insulated and well ventilated thanks to crappy door and walls.
-
Hi, an update again. Work is progressing rather good now. To show that I care for my health since contact cement smells heavily. I mounted the big sucker (I know, I know, it is called something like dust extractor, not as fun though) on the edge of my work area. The second picture shows the floor glued in place. A bit damp in the picture after wiping off dust. Next up will be "frames", or more like "L"-shaped side supports. To be continued...
-
10000 hrs? Yes, I have heard that too. Means I only have like, what... 8000 more to go... Splendid work, Druxey.
- 641 replies
-
- 7
-
-
- greenwich hospital
- barge
- (and 1 more)