


popeye the sailor
-
Posts
16,007 -
Joined
-
Last visited
Content Type
Profiles
Forums
Gallery
Events
Everything posted by popeye the sailor
-
 oh....oh........someone's going to the 'quiet room' hey there Jeff.......catching up on your progress I see you have made much.........even some small work on the over spray there... it's a good thing the deck wasn't cemented on. she's looking very nice.......the detail and paint is really good. I did have to laugh.......in one of the pictures, I noticed that your using Humbrol and White Ensign paint { I saw the tins}. I have quite a selection, that I got from grumpy Lou >snicker, snear, and chuckle < ...I do have some that is for IJN ships........I got to do some research for the colors used for the Shokaku. she's coming along great mate........great job!
 -
I'm still relatively new with PE as well........please don't give up. the larger stuff can be added.......and to me.....if one can't see it, then I won't add it. some is better than none, and if it enhances the model, the happier you will be. so far, I have dealt with a couple brands of PE, and yes.......there is a difference in tinsel and thickness. I wish you well with the project and look forward in seeing more
-
my word Alan........she quite a ship your building! I think you and I share the same thoughts about PE..........daunting to add, but not adding it would leave the model looking bland. your doing a spectacular job the detail is awesome! I'm trying to branch out and look at some of these projects. I used to look at so many, I hardly had time at the table. the more I look at these projects, the more envious I get.......I have three ships....a 1:350, a 1:450, and a 1:500 in my stash. I'm itching to start one, and seeing these projects isn't helping my moderation, considering the projects I already have in the works. but I do enjoy the eye candy, and glad to include your to the list
-
the deck looks perfect! really pops on the model the weathering and detail looks so good.......top notch job!
-
hi Mobbsie........I am so happy to have stumbled onto your log! I see your back at it in your usual style.......she is an awesome looking model! is that how they show to stow the cannons?......I like how it looks.....it's a whole new take on their position on deck very nice and very ornate.......the masting looks great as well. pleased to follow along mate! Popeye

-
the admiral saw some of the wagon kits on Model Expo.......she looked interested {or at least, one can hope}. I've got two kits in the stash.....the Lindberg Stagecoach and the Clydesdale wagon {Budweiser}........hoping to get to then one of these days. are you thinking about having horses?
-
your off to a good start.......quite a few parts to this model
-
catching up on your antics OC............so sorry to hear about your admiral glad to hear that she is doing better......I hope she makes a full recovery. I can sympathize.......my admiral fell back in 1994. the surgeries and the meds have been her life........the drugs are now beginning to have adverse effects however, and that's what we're dealing with now. I've worked very hard through the years to keep here from needing a wheel chair, preventing her from doing anything that might trigger it.........but we live in the wrong part of the country {snow is the big hurdle}. she had digressed to using a walker, but she refuses to use it, stashing it in a closet.......she's so stubborn! be on the look out though for post problems......injuries that don't show up right away. I wish you both well........ nice progress on the farm.......I sure hope you got the right size case for it.......sounds like it's growing like a weed love the paint work.......very nice!
-
sweet look'in model..........very nicely detailed!
-
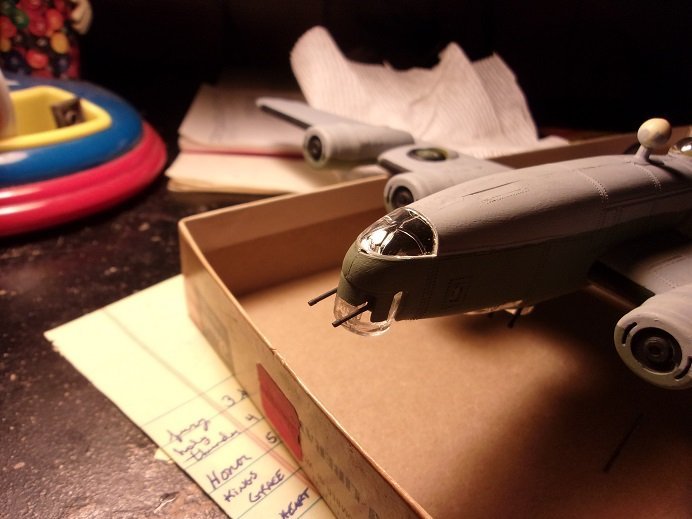
there's an update coming...........it will be the end..... at the moment, the plane has been decaled.........with a couple give and takes considering the scale differences, but it worked well in the end the stand.........well.......let's just say that a jot of cement took care of the issue. it was like a dead fish....this one is definitely a tail dragger! the props are the last parts to go, and once they are in place, I can present her to you. the log will continue with the Pacific Raiders model. I've yet to look up a suitable victim, but it will finish as an American Bomber . more on Sunshine when I present the update. thanks to all who have looked in
-
the can doesn't look too old though.........it didn't do it when I laid the paint over the testor's paint.......just when I gave the upper section the second coat. the body has had quite a bit of time to dry......I could try buffing them out. I'll have to look at it....... thanks for the kind word folks!
-
really nice job on the plane.........even more impressive is the lighting shaping up for a very nice display!
-
yepper! she does look great in bare aluminum I get some of my graphics from the net too.......really cool stuff out there very nice!
-
unique looking coach.........looking good so far
-
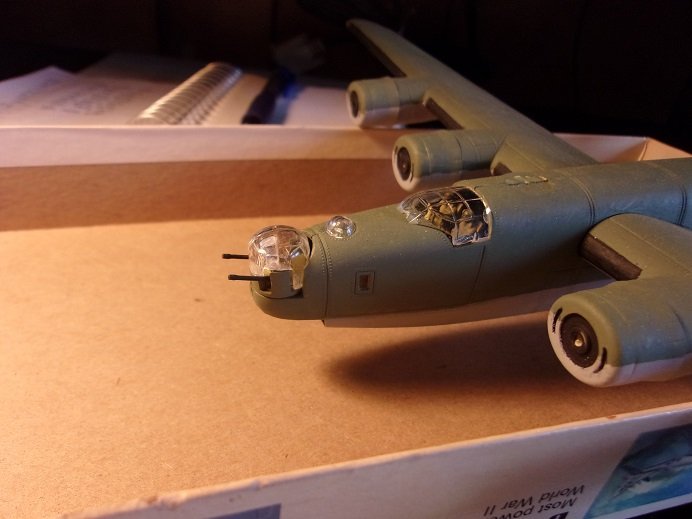
thanks Ken........before the work week kicked in, I managed to get the belly glass in place. not too much left to go now I changed the paint around the outer edge of the belly turret........I wondered if I should have changed the color inside, but the glass was in place, so I called a "too late" on it more soon

-
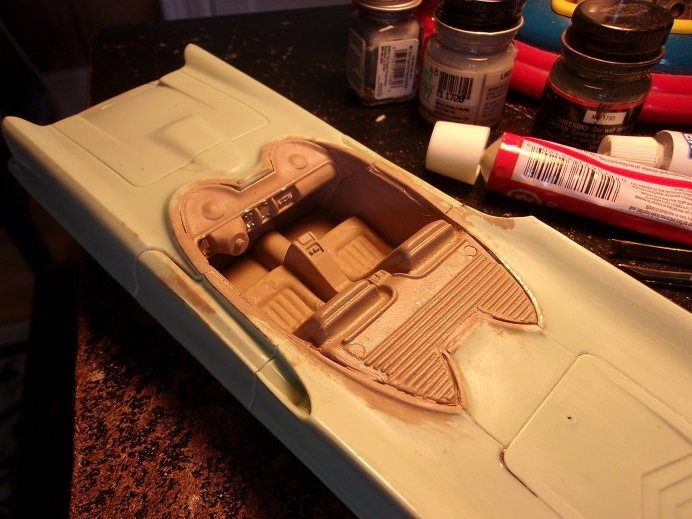
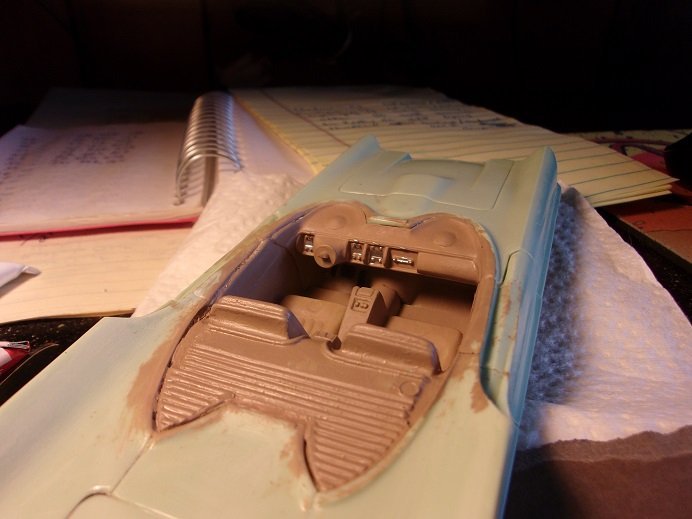
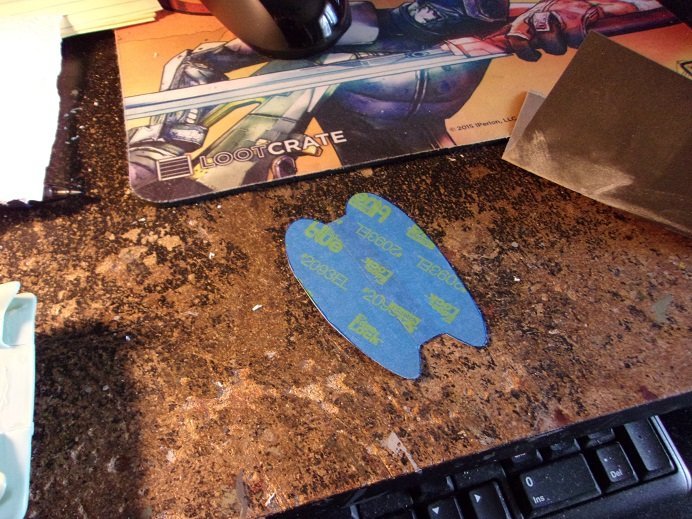
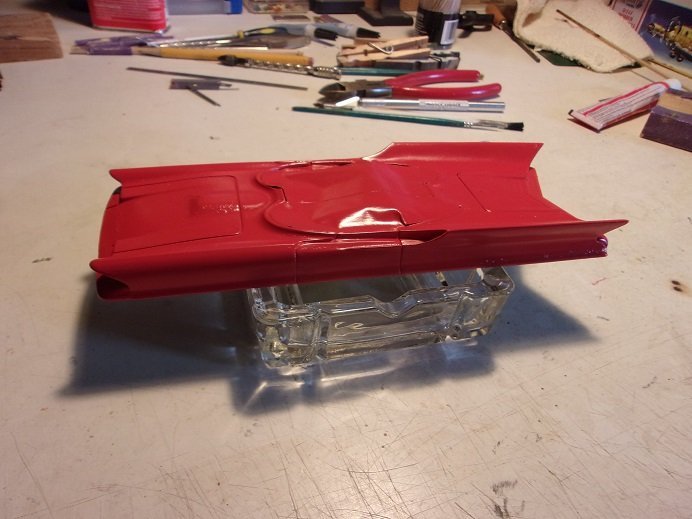
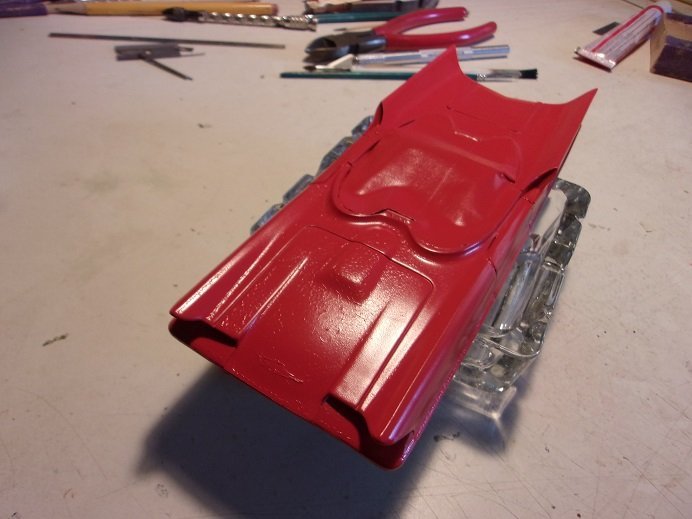
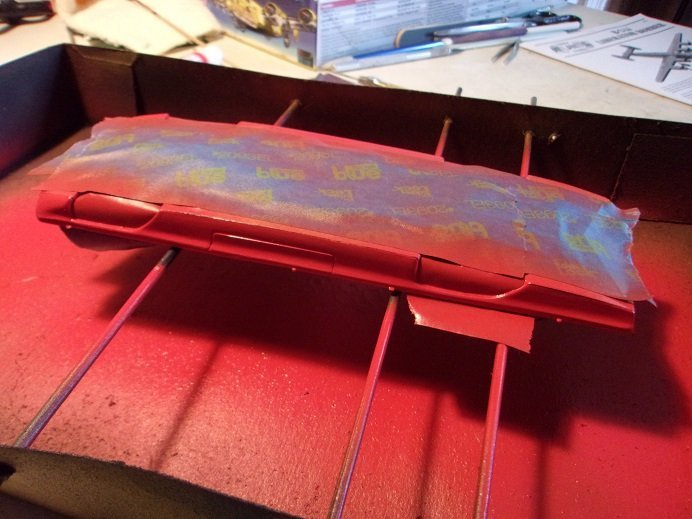
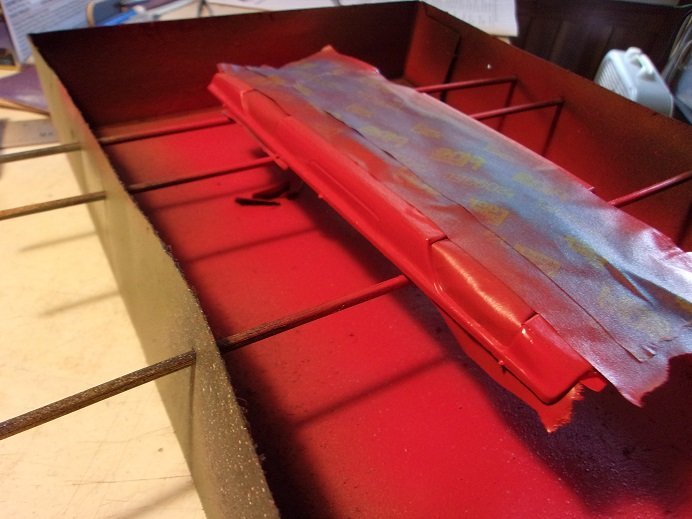
I hope your right OC.........a fly did land in the ointment. there are some models that are best to avoid. ......not say'in this is one of them, but for lack of a high parts count, there is an abundance of challenge here so, as was decided, the interior cockpit was cemented to the top section of the body, I did put some putty on from the inside, in an effort to smooth it out on the outside. sanding the dash area, which jutted up from the body, and scribing the ripples on the back deck, was part of the task. I did note that the canopy will cover these areas around the cockpit, so it should look OK. now......I used testor's paint on the lower portion of the body and the canopy, using a brush to do it. to paint the upper body will require a mask for the cockpit. I had a bumper sticker hang'in around, and after finding a good place for the sticker, I took the backing and laid down two pieces of tape. the cockpit was then traced on the tape, and then cut out. peeling the tape off the backing, it was laid over the cockpit, and it worked out pretty good.......I may need to do some tiny touch ups. I remembered that I had that rattle can of red........I decided to use that instead. inspecting it after spraying it show lighter areas and ghosting.........so I gave it a second coat. this is where it all went bad. inspecting it a bit later showed that the first coat became active and 'wrinkled', much like a previous model I did. I crossed my fingers and hoped it would calm itself down. it did to some degree, but the blemishes are still noticeable. this red has a sort of Scarlett hue to it............doesn't match the Testor's color hue at all. so after agonizing over it for a moment, the decision was made to repaint the bottom body section. I was afraid that it would happen to it too, since it already has a coat on it, but it didn't do it. best guess as to why it happened, was that I didn't use a primer on the upper body..........but then again, neither did I use it for the bottom half either. more on her soon

- 19 replies
-
- 11
-

-
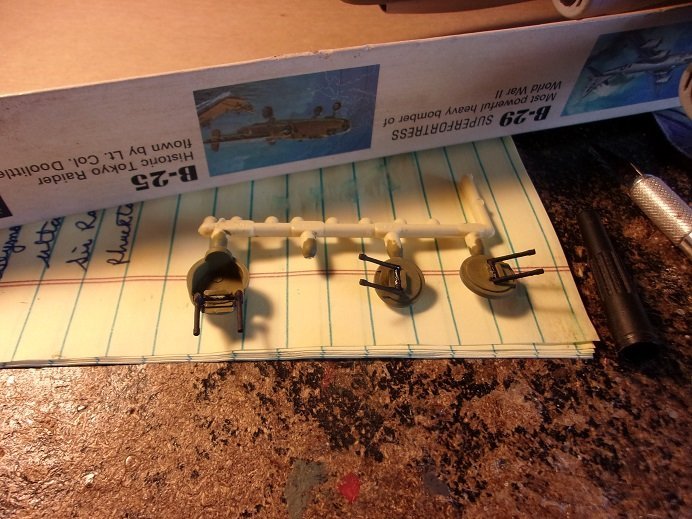
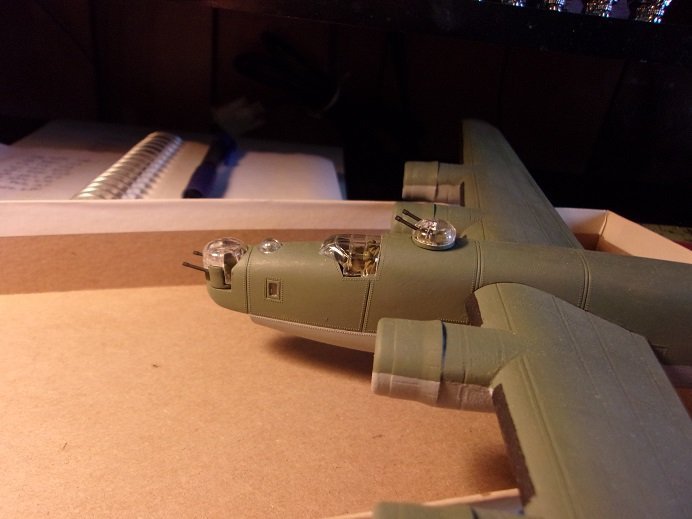
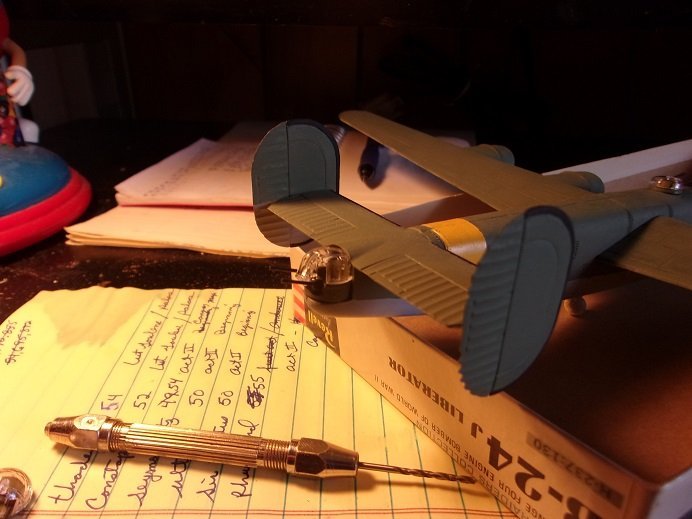
I made some progress on this 'ole girl while I was working on the Futura. I use the Pacific Raiders cockpit to test out painting the framework and saw how it looked.......I decided not to do it. since the Pacific Raiders B 24 is the same model, I'm gonna piggy back it on this log.........the Warbirds B 24 is a larger model, and I'll do that one on the existing Revell log I started. I'll have a bit mode freedom with it, since its the D variant onward with the update! as usual, there are fitting issues........but they aren't too much to take away from the model.......doesn't look too bad the next step was the armament, assembling the turrets and trimming the glass from the injection pin marks. the nose turret and cockpit glass were added to the model. the top turret and belly turret were assembled ......top turret added to the model. the tail turret was assembled and set aside to dry a bit before installation........the fact that the stabilizer is in place on the model, gives it a resistance point when putting the turret in place. it wasn't too tough...a gentle push and it fell into place without any fanfare. these parts will sit a while to dry.........I have the bombardier glass and the belly turret that requires the plane to be turned upside down to add. of course, there is the errand to do later.....that should be more than enough time. if more is done, I'll be sure to show ya on an unrelated note........I told Brandon about the Wright Bros. Flyer. he was disappointed that the model is not complete, and that the company won't supply me with the instructions. I told him that I've bought wood to replace what's missing, and that I still intend to build it. I did ask him about the ship kit he said he has........he told me of his conversation with someone he's met along the way, and he may have an outlet for all the train stuff and other things he acquired. he added that he has a few more thing for me.......I'm very curious. I'll find out soon
-
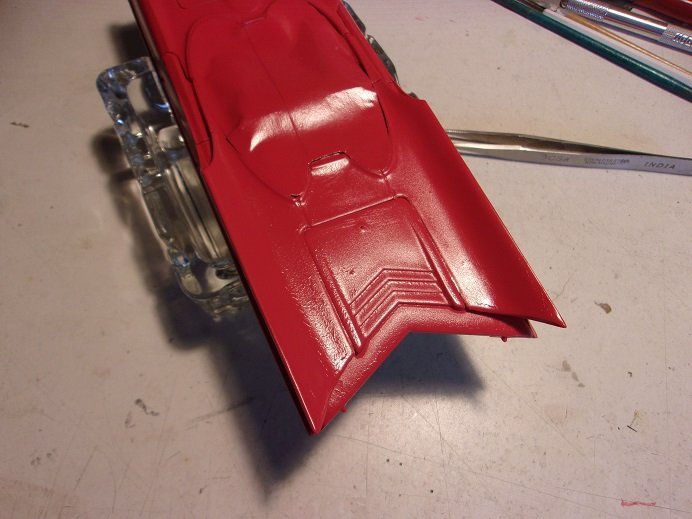
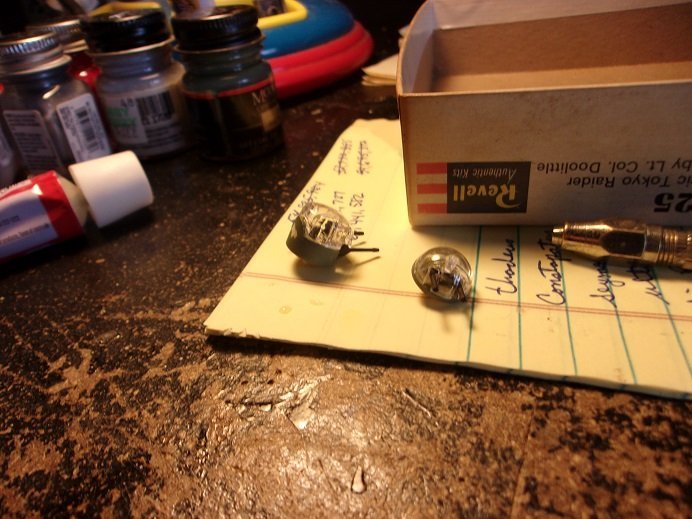
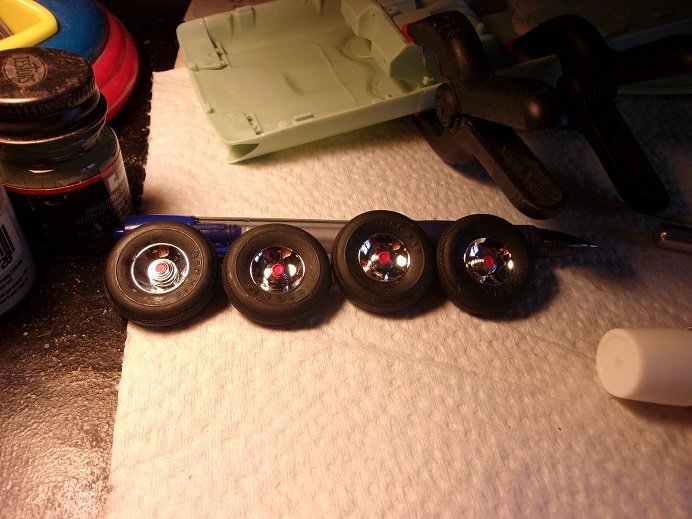
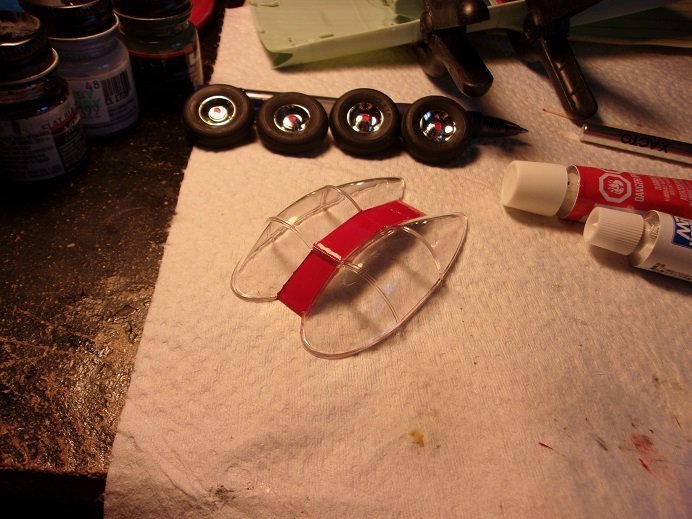
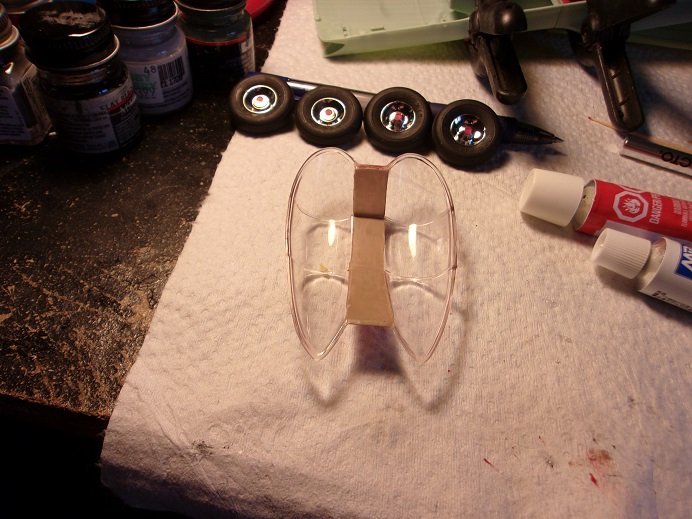
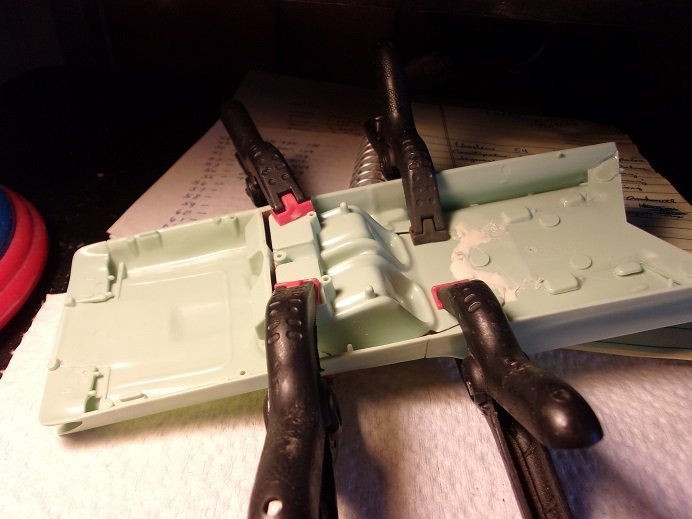
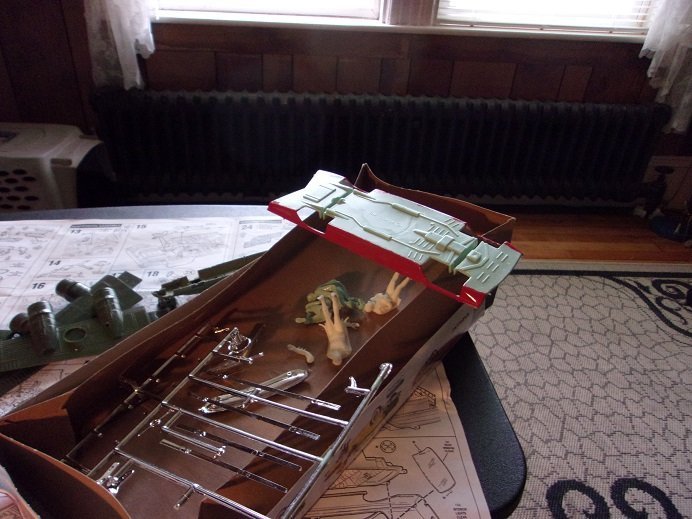
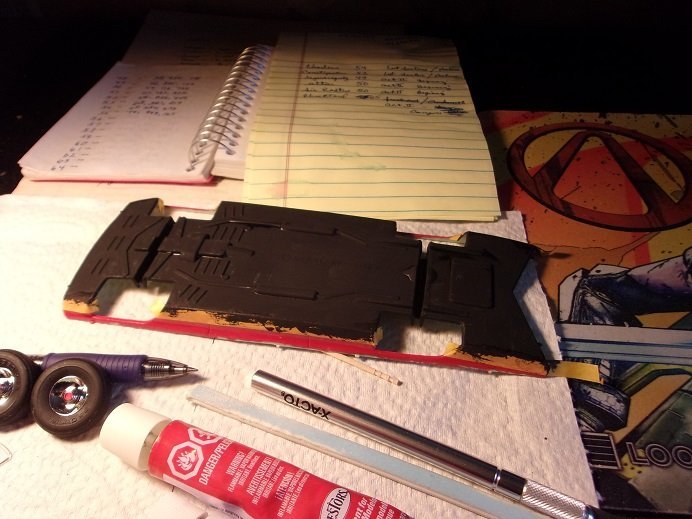
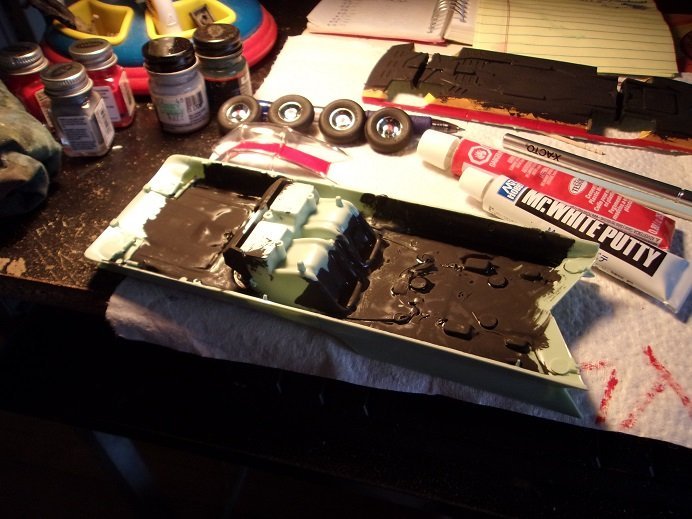
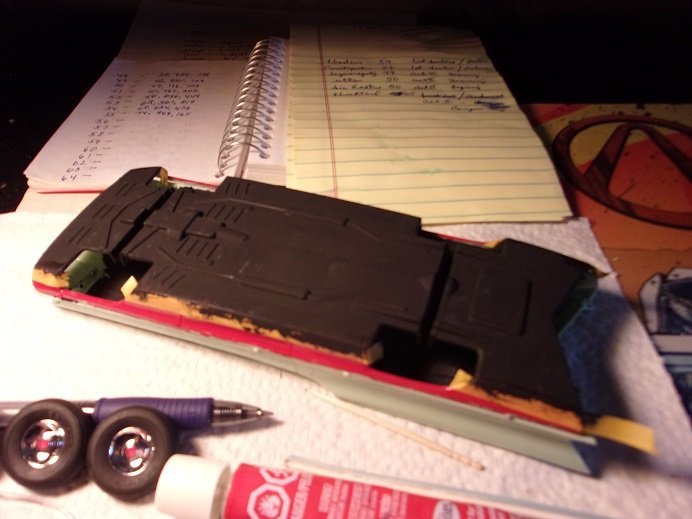
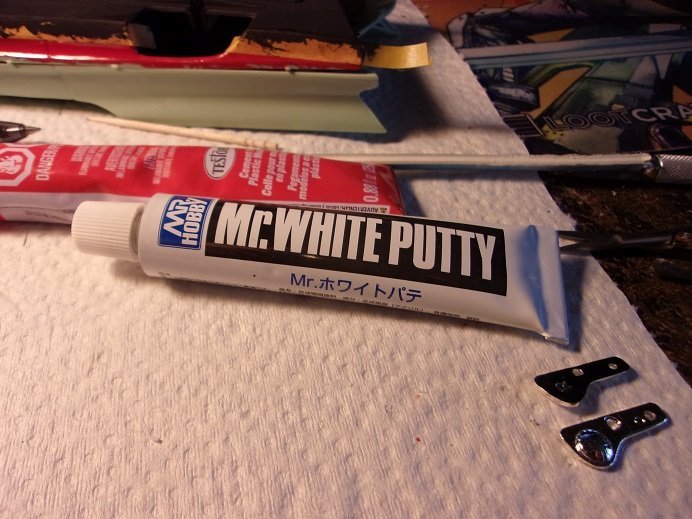
I'm still working on this one..........the word primitive is a subtle description. it definitely shows how model kit have evolved through the years the fit isn't that great, and I've had to do quite a bit of trimming and sanding. so much in fact, that there are some gaps that need to be filled in. since I started with the tires, I did a bit more to them to start off this update. I gave them a red center....I may try to paint the lettering on the tires. I also decide to paint the center part of the canopy........it gives away the car color. I also painted the inside surface the same as the interior.......I went with a tan color once this is dry, I will do the framework. I was going to try and cut the side portions of the canopy out......but I chickened out 🐓 the interior is supposed to be cemented on pins on the bottom pan, but given the fit, I decided to cement it in the upper part, so I can use filler around the perimeter and try to make it look better. I already filled in some of the gaps with the putty I bought. I started to paint the bottom pan. after it had dried well enough, it was masked off and the bottom was painted flat black the underside of the upper body was also painted with the flat black, where the wells are. you still can see some of the base plastic in the front........the headlight parts aren't in place yet..........I want to remove the chrome. I painted the back parts of the tires / rims, and chrome is a terrible receptor for paint. this is the filler I bought. it seems to be pretty good........gotta work with it fast though 'cuz it wants to skin over fairly quickly. there is no applicator / nozzle for it........I'll have to figure out something to aide in that respect. those are the headlight parts off to the right. a cap of brake fluid will be perfect I'll post more should I do more today.
- 19 replies
-
- 10
-
-
I see..........so that's why misinformation is being considered correct in modern society. I must have miss the gullibility class in high school.
-
or you talk to your hobby supplier and order it through him. I used to have a great rapport with the folks in the past........now, the only one I know of is Hobby Town, and I don't go there to often anymore. good that you didn't find any damage........
-
looks like it might be a nail biter to get the deck fastened down.......always nerve wracking to get it lined up.......especially since you'll be using Ca. your paint and weathering is top notch as always.......amazing model
-
jeeze........hope you were able to get that Flyhawk kit back in the box! that's a lot of stuff! great finish for your model..........you've done an out standing job on the log and the model as well! very....very nice!
- 225 replies
-
- 4
-
-
- I Love Kit
- Hood
- (and 2 more)
-
your going to shoot them .........after you paint them oh dear..........the life expectancy of an infantryman was rather short 'round here . ...'an to think, the poor chickens had to see this.............

