popeye the sailor
-
Posts
16,007 -
Joined
-
Last visited
Content Type
Profiles
Forums
Gallery
Events
Everything posted by popeye the sailor
-
 super looking build Bob..........this should be a fun build
 -
I have a rule of thumb with cases like this.......if it can be done without damage, then I 'd change it. but, if there is a chance, I wouldn't. sounds to me like you had a good reason to do it this way........I wouldn't change it.
- 755 replies
-
- 1
-

-
- finished
- caldercraft
- (and 1 more)
-
nice progress........looks very good you can use varnish........I use a clear lacquer
-
yepper.......it's strange, but the pictures don't lie. in earlier times, rigging was distinct with every country.......through time and war, it changed.......some saw a style of rigging was better than their own....others saw it as a way to mimic their enemies. I'm glad you like it.... thanks!
-
then your going to like what one of the trio is going to be hope it gives you many ideas! glad you found the piece of windlass.....a part is a terrible thing to waste
-
your too cool John.........too cool {you have a trowel at 1:20 scale........even cooler!} your a busy guy Adam........gotta slow down and smell the sawdust............*ach....choo!*......on second thought....don't do that {use a mask} thanks for the good word!
-
Cutty Sark by NenadM
popeye the sailor replied to NenadM's topic in - Build logs for subjects built 1851 - 1900
too bad!! glad you made it home in one piece -
this should be a neat little build........some really cool bash work going on. I'll look forward in seeing what you do with this one
-
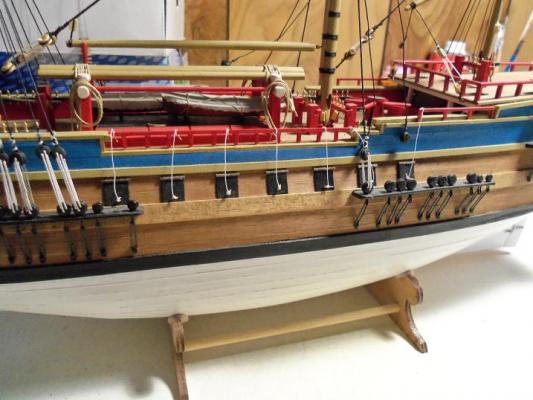
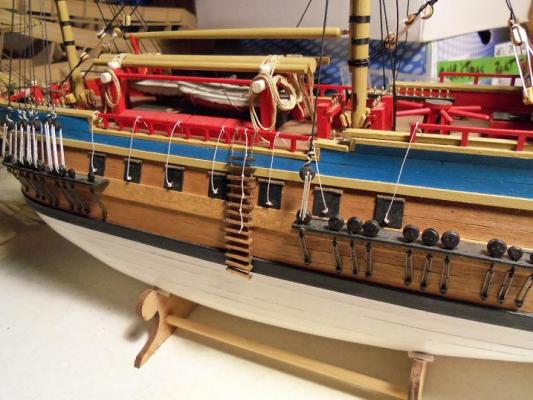
thanks Frank and Bob.........I had been wanting to do these additions for a while now.......finally they are done! back to the shrouds now thanks for the good word! I'm not sure........if you do the railings like I did, instead of the cap rails, you could do it with no trouble at all. either that, or you would need to install extra cleats. I do know that the port lid ropes were done this same way.......glad you like it
-
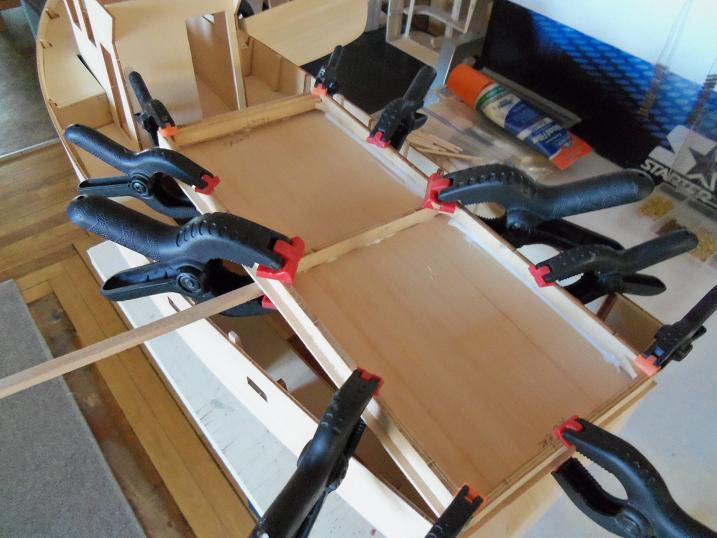
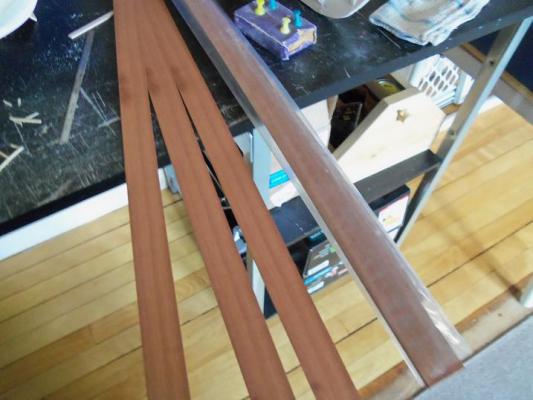
the last segment is cut and cemented in place......even though there is a 1/32 difference, it looks much better. I am thinking of using some .5mm strips to make up the difference. it would cover those nasty seams and it would look a bit better. I ran a center line down the middle. I have some 5mm wide strips.......but then I thought of the dark mahogany strips I have. these strips are an inch wide {about 25 mm}......the insert is about 5 inches wide. it will save me from dealing with all those smaller strips. not to worry about that cover I wasted my time on.........I'll put it to good use......somewhere


-
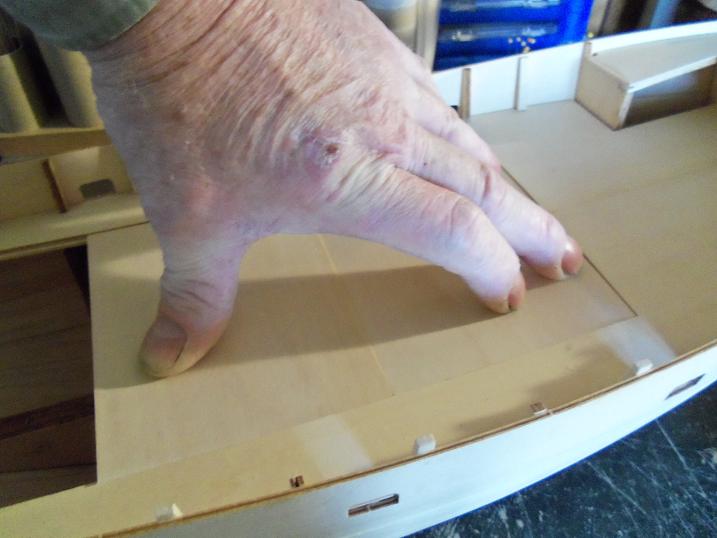
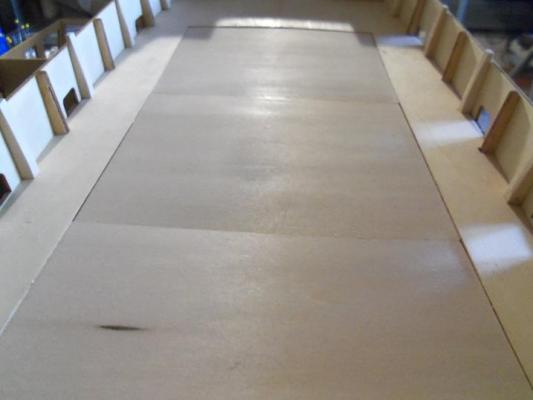
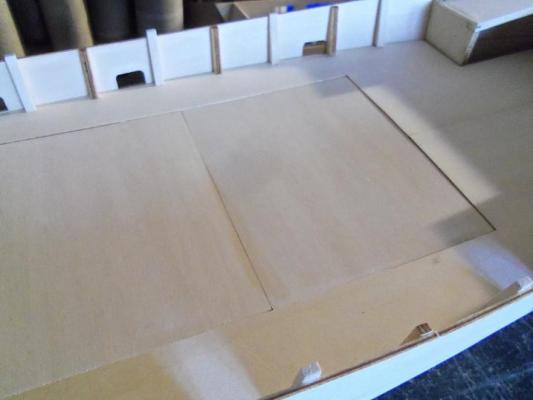
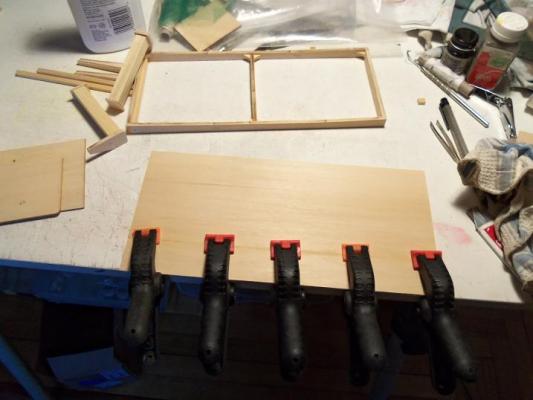
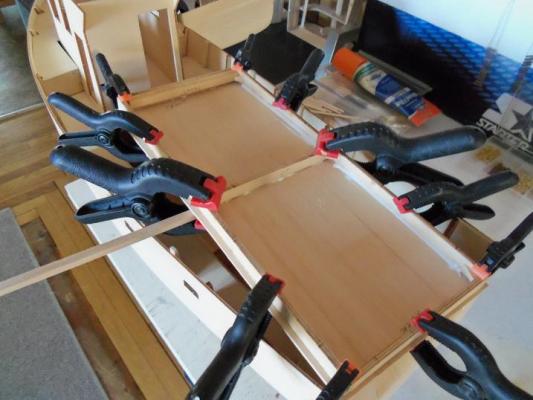
well Bob........you did say you wanted to see me back at work on my builds :D ...careful what you wish for I found out that I'm not on Santa's nice list........I guess in a way it'll be good......I'll need all the coal I can get to power the heaters at the wharf never a dull moment Adam.........never a dull moment I love it as well! well.......the cover is dry now. I fitted it in place, and to be honest, I'm not happy with it. it sticks up in places, the curvature isn't right, and there's gaps. I could add a border strip around it, raising it up a little, but then I'd have to contour it to the deck curvature.....too much work, in my view. since there is a lip around the hole, and I do have some 1/16 flat stock, I decided to go the route I should have done in the first place. the cover will have to be made in three pieces......so I cut the first segment. the decking is 3/32 thick.....I'll have to make up the difference somehow. I cut the second segment, and held it in place. it looks pretty good........I cemented them down. for the seam in the middle, I reinforced it with a strip of wood, so it would mate flush. now to cut the last segment......I reinforced the seam here as well.


-
thanks John........SUV is still in the shop.......haven't heard anything yet {probably a good thing}. the hulls are about 22 inches long, they mimic the Boulogne build at 1:20 scale. still pretty much in their beginning stages for now.....need to get some flat stock for the decking. hey........you got experience........how are you at making scale fireplaces? just wondering............ :D thanks for the good word, my friend!
-
it'll get better now John........I can do the planking one at a time. I have the hallway to store the others in while this is going on. this will take some time to do........I'd better have the stands ready as well. thanks for the good word hey Ed.......sorry to hear of your computer woes........hopefully you'll be up and running soon thanks for the good word as well. thanks for the likes gents.....I really appreciate it
-
everything starts with a shape...the rest is up to the mind's 'eye' such a cool idea you have brewing.......
-
thanks John. seems odd, but that's how these ropes are tied. this does fill out the mid ship quite well......it doesn't look so bland now thanks Piet! I was going to use another color, but I look at some of the running rigging bits I've done so far, and it seems to have lost the white 'white' look......I'm a bit happy about that. I used the regular thread since I saw the diameter of the rope used on the actual ship. I am quite sure that they will 'dirty' up...but when I get the other side done, I'll look into maybe touching them up with some light stain. I tried to get some of that Revell thread that they supply in their kits......I like the color.......it's somewhat of a polished thread and doesn't fuzz out, like the kit supplied thread found in these wood kits.........also, from my experience, I've seen around six different diameters of thread. with a kit of this scale, compounding thread diameters would seem rather 'over doing it' ......a lot of trial and error, and the threat of going out of scale is greater. it nice to have choices though.
-
sorry I missed your post John......I keep forgetting to check {I should remember how fast you folks are :D } I did a little sanding on the hull as well........I think I'm going to wait till the other three hulls are ready. then I can have a HUGE paint fest there is a lot of sub assemblies to do on this one.........yea, that gallows is going to be pretty neat, once it's done thanks for looking in. thanks for the like, Augie
-
looking sweet Ron.......very nice update!
-
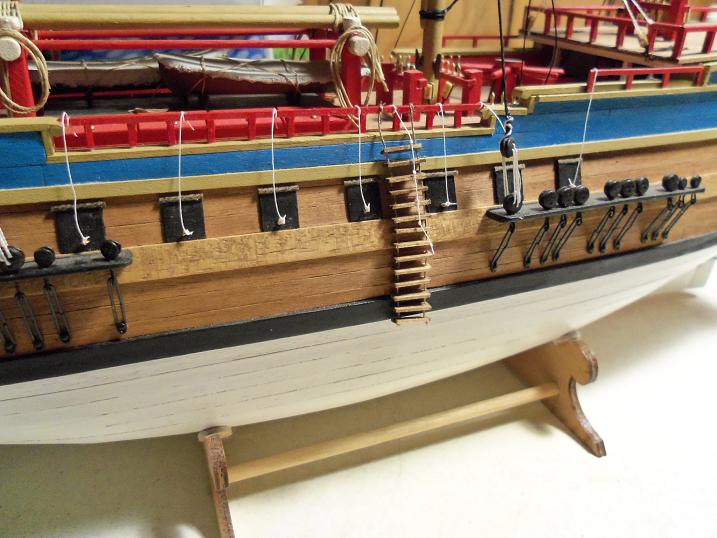
picking up where I had left off..........the ladders were stained and the given a coat of semi gloss lacquer. the gun port ropes were tied on first. then the ladder was tied into place, adding a short rope to aide in climbing up. I had a pair of shrouds done, so I tied this side first, but didn't tie them off just yet. I want to make sure that are all done before I do that. off I go to do the other side

-
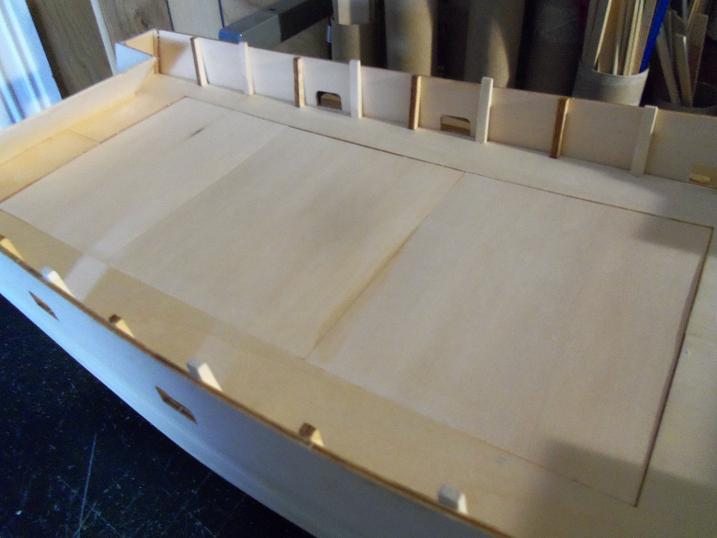
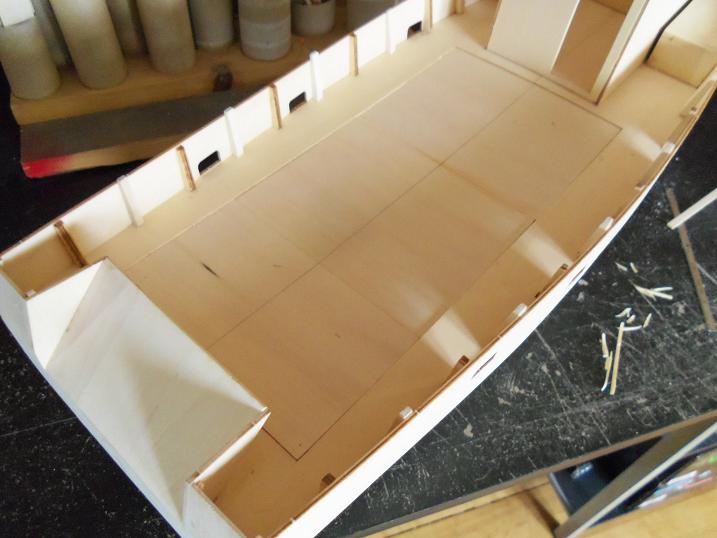
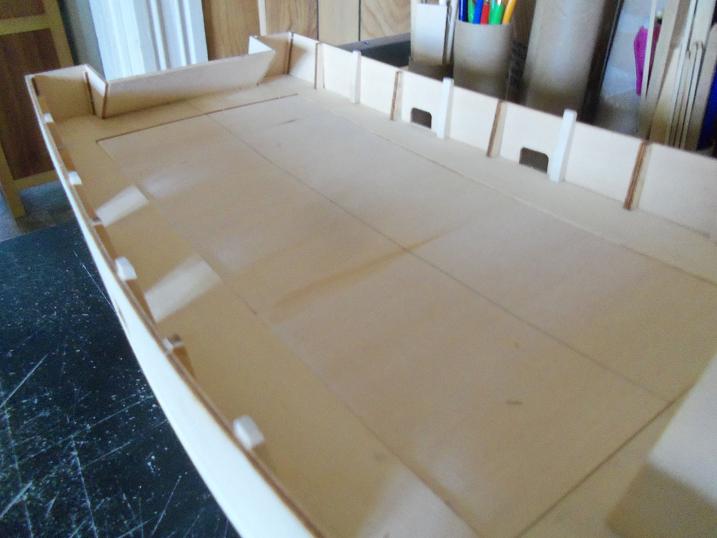
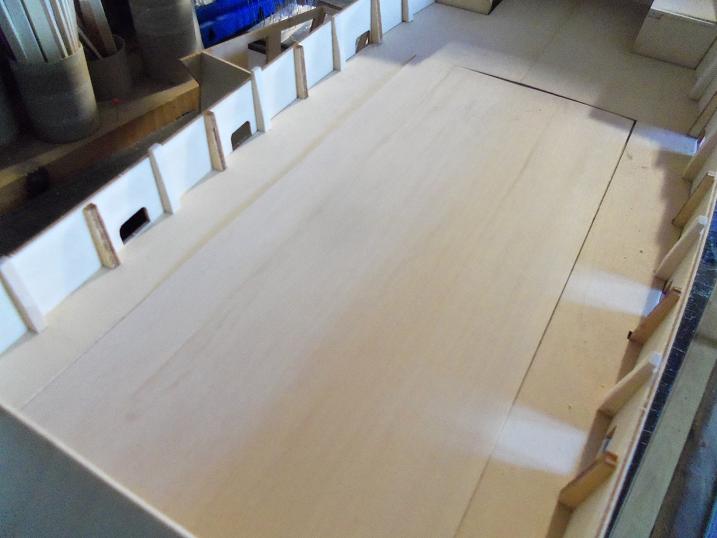
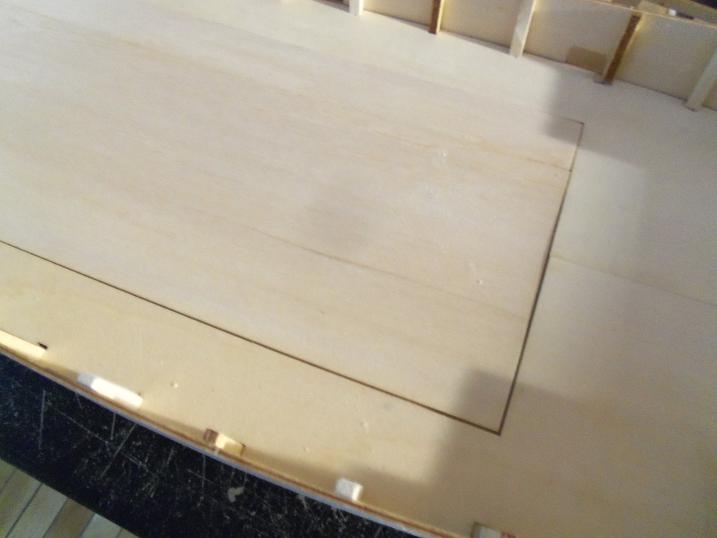
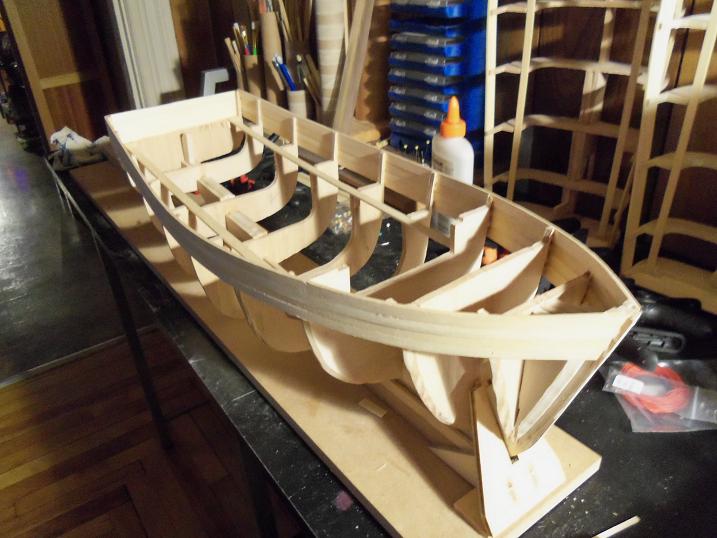
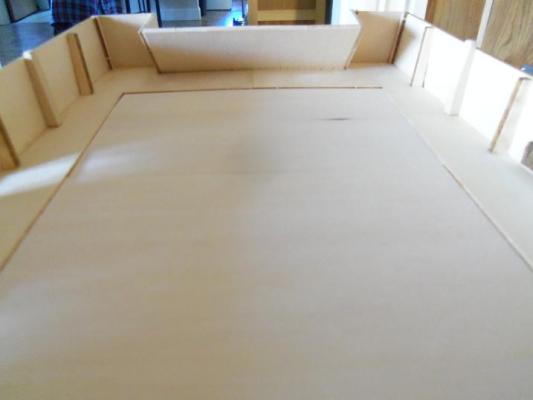
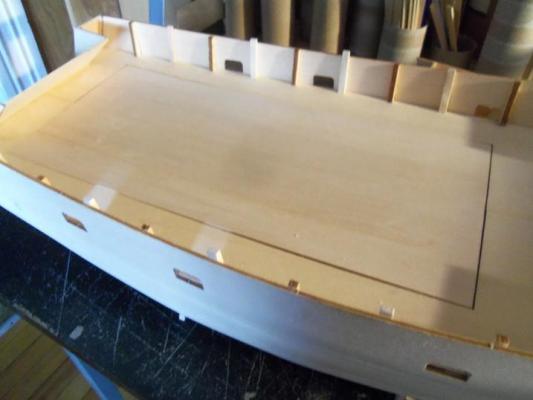
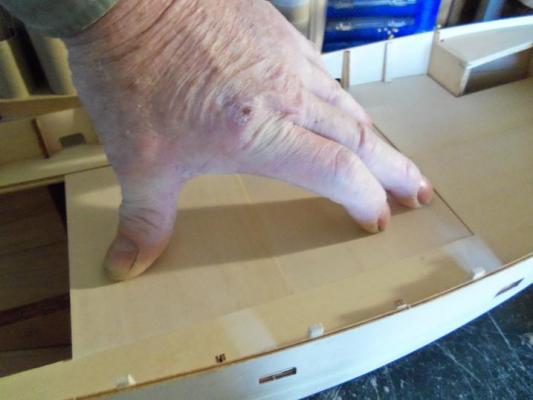
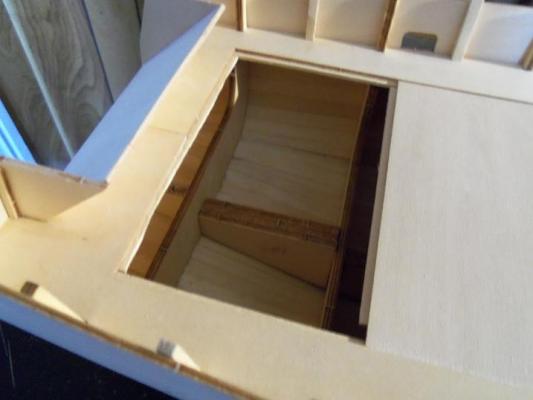
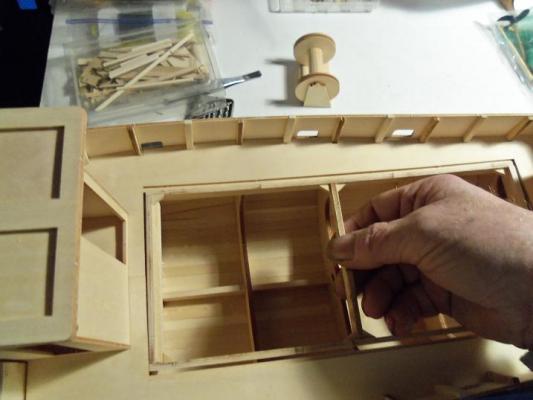
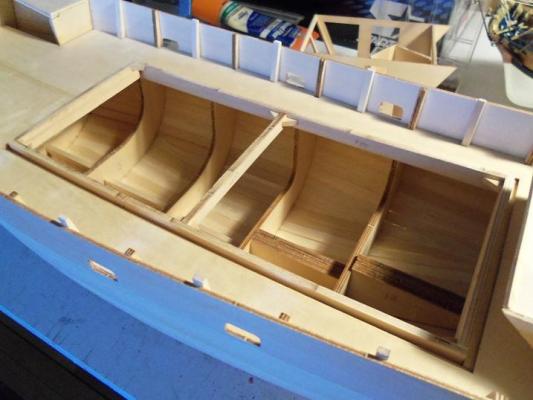
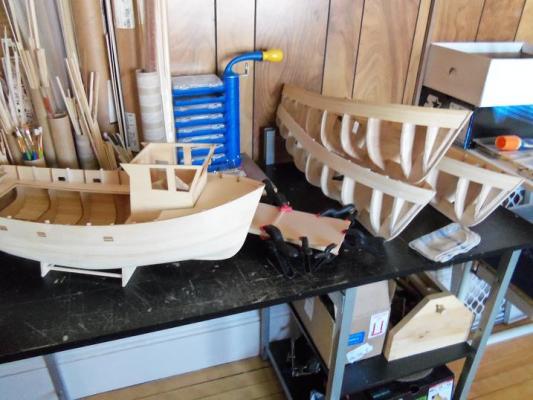
....and what of the big hole in the deck. I was a bit puzzled how this was to work out. I first built the frame for it. .......even put some corner pieces in it to strengthen it. I saw one part........#14.......this is the platform, set in between #5 & #6 ribs, that one would affix the motor to......I didn't put it in. the way the frame is made......it is to be removable, to access the innards, in the event it was made R/C. I was looking for part #22....the top for the frame. this was not included in the kit. if the parts panels could have been done with this in mind.......refer to the beginning of this build, for the parts arrangement in the panels...you'll see what I'm talking about. it's OK..........I made one. when it fit well enough in the hole, it was cemented onto the frame. centering this assembly was a real pain........I'm sure I can make adjustments. yepper...........looking at all these hulls together.......makes me think of the work I have ahead of me. I like this hull design......too bad I may never get another one from the templates. the fun continues

-
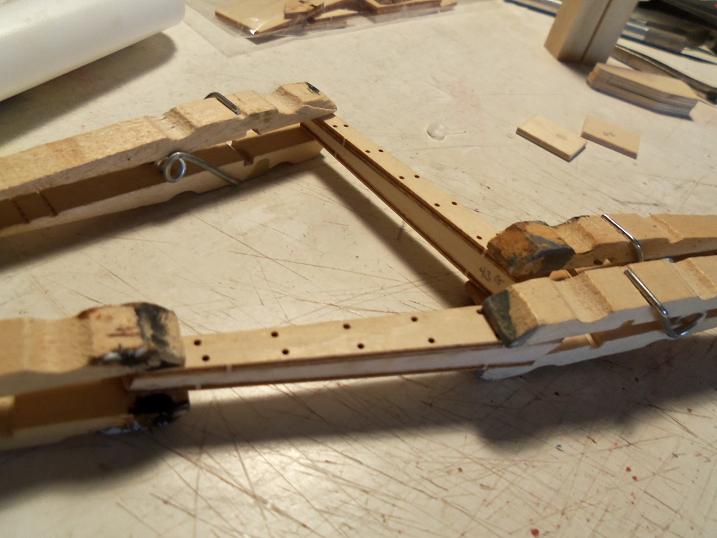
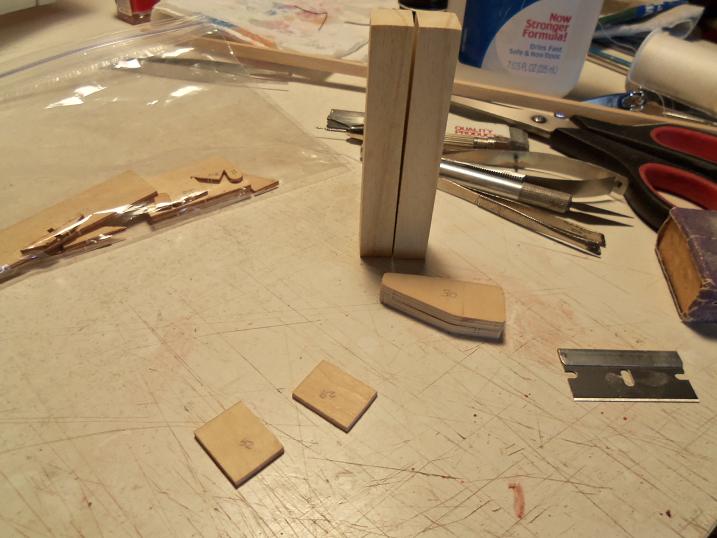
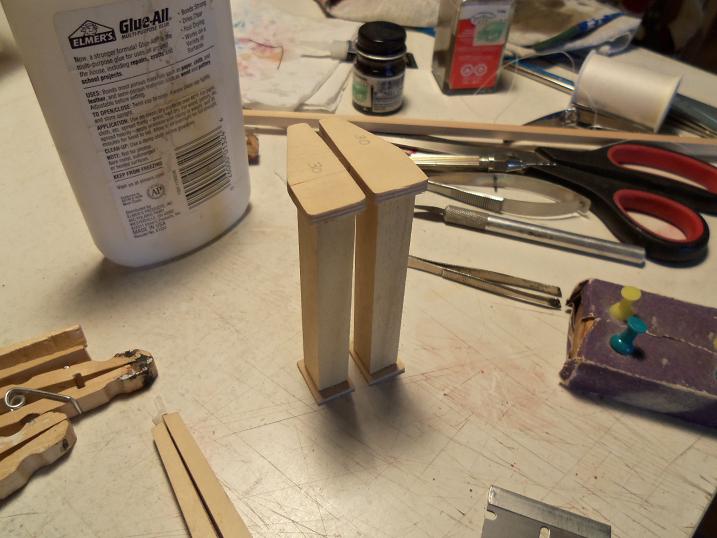
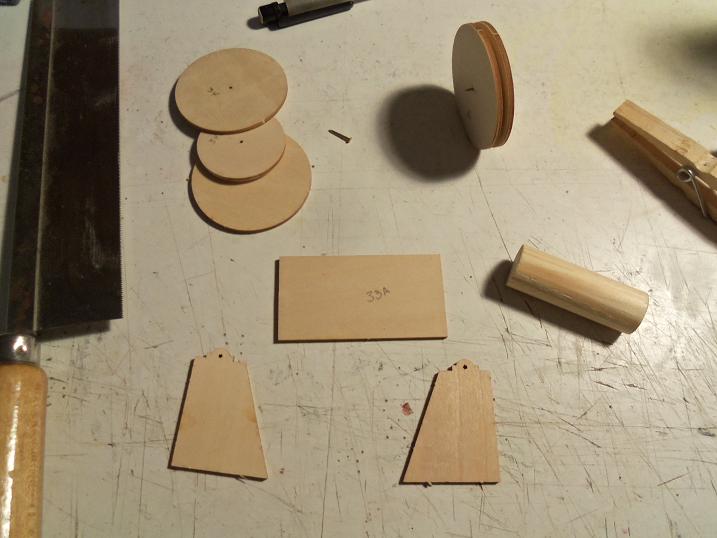
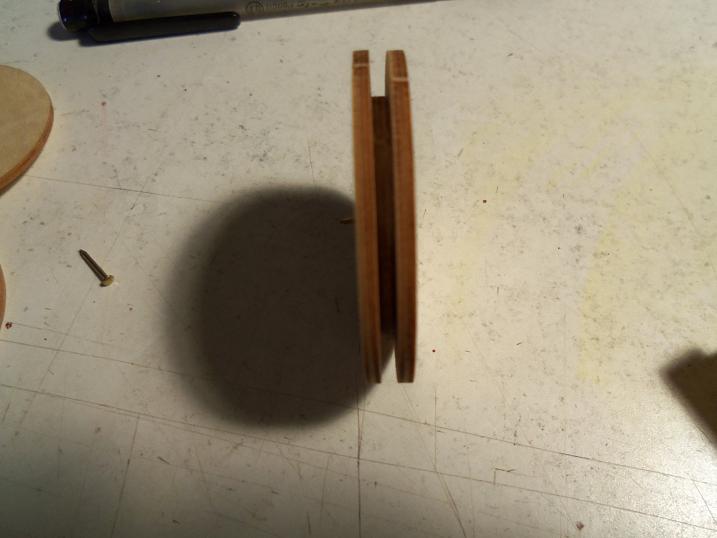
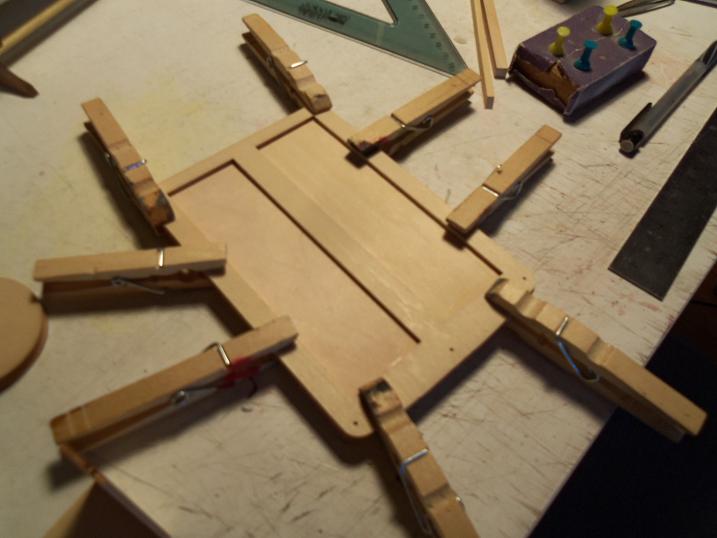
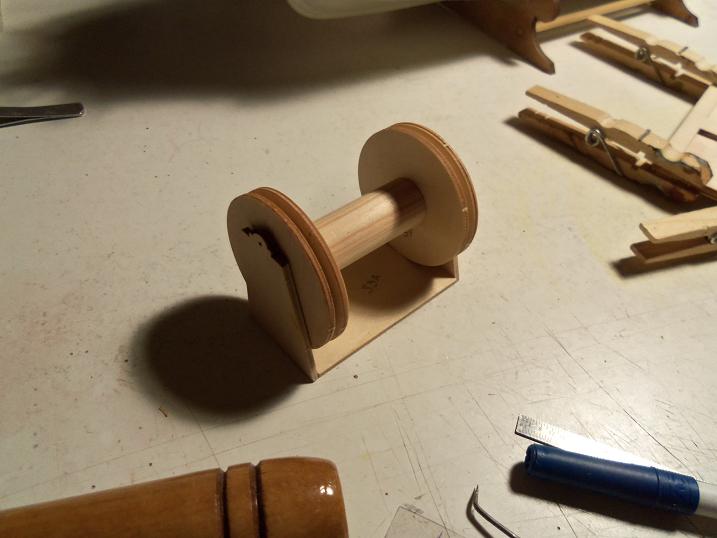
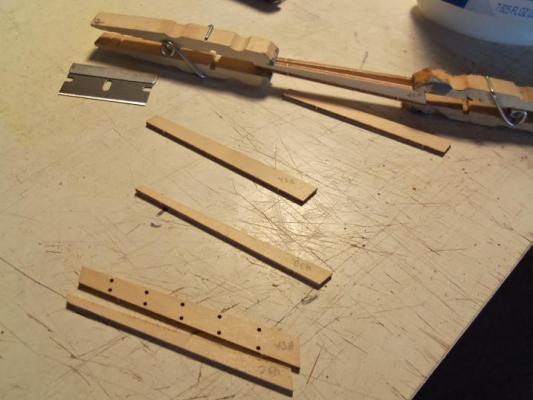
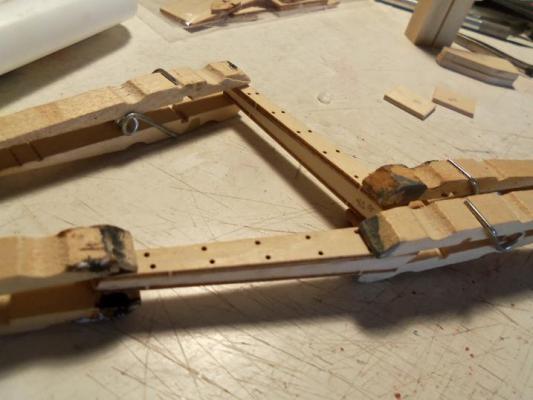
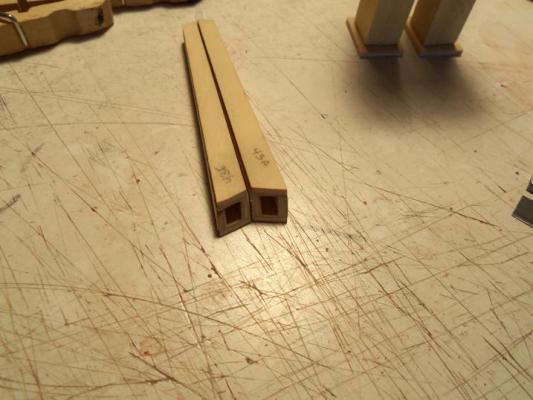
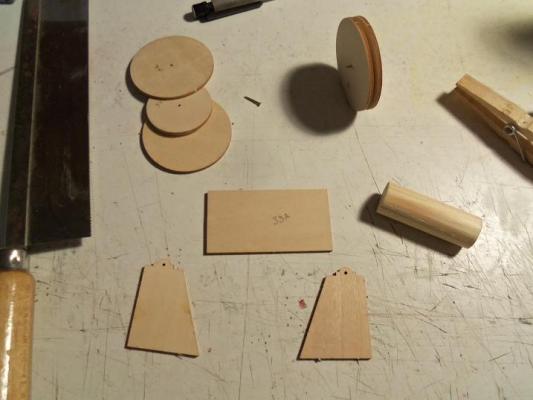
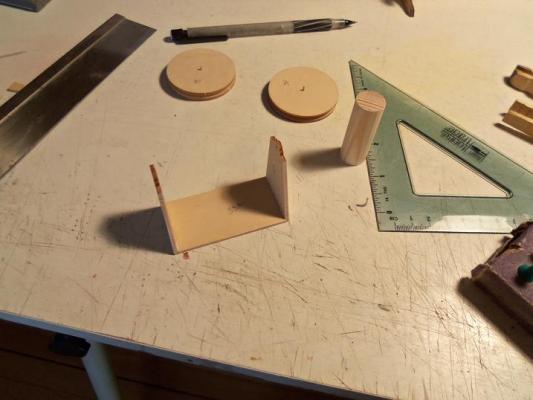
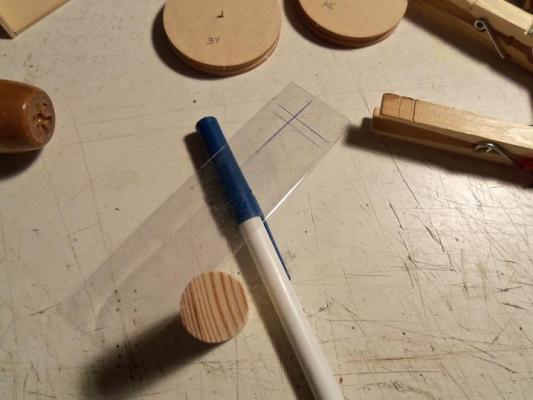
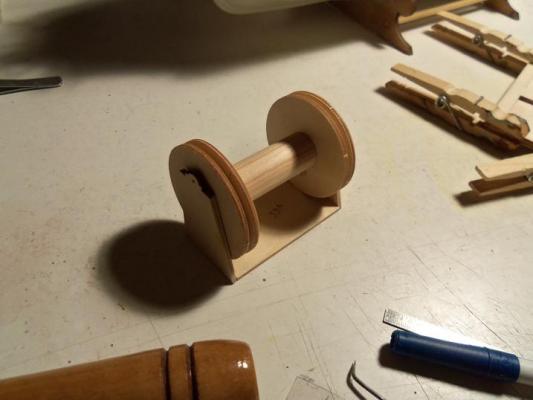
yes......the multi - build is under way.......most of the cat is out of the bag. towards the end of the partial planking job I was doing.......I thought I'd dust this little bugger off and work on some of the sub assemblies. I started off with the gallows......plenty of small assemblies involved with it. the upper part of it is nothing but a bunch of bits and pieces. hopefully I can do this without much painting.......if any at all. then there is the bottom section of the gallows... and the tops again...... then....there is the net spool the large pulleys are in three parts......to align them, I used a brad. looking in the kit, they only supply these really thin ones, so I dug out a couple of 10mm brads to do it. later I can file and sand the edges round.......I can do all that when I get around to painting. the carriage for the net spool was assembled next. the pilot house roof is in two parts..... the center shaft of the net spool, needs to have holes drilled into both ends......to center these holes, I took a piece of clear cello, and drew cross hairs on it. after measuring and adjustments were made, the holes were drilled. I noticed that some separation of the plywood plys had occurred with the lower gallow post tops. some cement was used to glue them back together.


-
looks very good Andy..........I watch with keen interest. you know.....you mentioned the conveyors, and now I have them in my head. I already got a design for them :huh: .....this is a very scary thought! I meant ...for you though........I've never worked around them have a good trip.....I'll look forward in seeing your next update
-
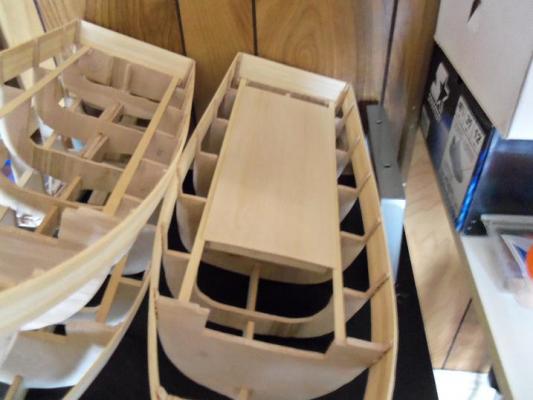
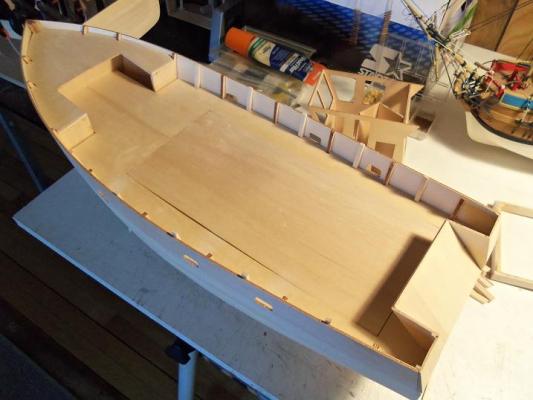
the journey continues with the bulwark planking. I'd do a little here, and a little there.....in between, messing with other things. since I had the one called Larry on the slip, I continued with the planking until the bulwarks were complete. I even did a little sanding, along with the sanding at the stern, to eliminate the plank stubbles. next was the one called Moe.......it was refreshing to work with real plywood, even though it was a bit harder to use pins the third row on each one of them has the butt joint in the same place. it was time to lay the fourth row. last, but not least, was the one called Curly. I got tied up with 'other things'.........but I did manage to get all the planking done. I did say that I was going to bounce around and do some sub assemblies. I decided to do a bit of work on the Boulogne Etaples........the host of this little fiasco. it was pretty cool to see the four hulls together. with all the bulwark planking done..........I can move on


-
Cutty Sark by NenadM
popeye the sailor replied to NenadM's topic in - Build logs for subjects built 1851 - 1900
looking great Nenad..........all you needed was the right day -
you'll have to do a cut-away version of this model..........bet that would be a really cool build!
- 382 replies
-
- 1
-
-
- stadacona
- sylvan scale models
- (and 1 more)