HOLIDAY DONATION DRIVE - SUPPORT MSW - DO YOUR PART TO KEEP THIS GREAT FORUM GOING! (Only 72 donations so far out of 49,000 members - Can we at least get 100? C'mon guys!)
×


popeye the sailor
-
Posts
16,007 -
Joined
-
Last visited
Content Type
Profiles
Forums
Gallery
Events
Everything posted by popeye the sailor
-
 naaaawwwwww! you only get that, if you've confessed to seeing UFO's and little green men :D :D I went to the site.......all they show is a description and a few pictures........nothing to really download I feel bad for those who have lost the instructions. the plans show things that are not in the Billing's plans...kind of neat to see. thanks for posting them Anja. I can always come here to view them ......I tried to 'save image', but it won't let me. not to worry Sjors.........they'll let you build your ships in jail........you just don't get the luxeury of sharp things and power tools
 -
hey!!!!!!............there goes a streaker???!!?? :D
-
send me a PM........I'll give you my address. I have plenty of planking....I can give you some what size planking are you using?
-
that's some very nice work Evan.....Revell left out a lot of detail
-
so, then I guess the Corel plans aren't any better than the Billing's plans. is the PDF on the Corel site? the "all rights reserved" pertains to piracy issues for the most part.......no one can copy them. I've posted the Revell Cutty Sark instructions on another forum for folks to download a copy......Revell has made no attempt to stop me from doing it........heck, I'm doing them a favor, because they don't list it in their model PDF page. they have quite an extensive list. I don't see any problems posting pictures of them here. got to go to work now.........I'll be back this evening
-
Cutty Sark by NenadM
popeye the sailor replied to NenadM's topic in - Build logs for subjects built 1851 - 1900
as you said........all is not lost. it does take some getting used to though...........this is scratch building, at it's best I'm sure you will straighten all this out- 4,152 replies
-
- 1
-

-
- cutty sark
- tehnodidakta
- (and 1 more)
-
BRAVO!!!!!!!! it looks great Daniel! I had to show this to the admiral...she was equally as impressed as I am simply fantastic.......so hard to believe it can be done.........and the dory is a real nice touch! so glad to see this
-
thanks Mobbsie...I appreciate the way you've summed it up thanks Bob........in layman's terms.......a model builder is a person who has the ability to paint themselves into a corner.......and come out of it smelling like a rose! :D I wonder what Bashman would do in a case like this? thanks for the good word.........we'll have to see in the next episode .........same bash-time........same bash-channel :D
-
I was contacted by a gentleman......he would like to purchase a kit of the half Moon, and the question was asked which manufacturer would be best...Corel or Billing's. I know very little about the corel kit, or the instructions, does Corel have a PDF page on their site, so the instructions and plans can be seen? I'd be verey interested in seeing them.
-
you be whoever you want......."he who is truthfull to himself, is a humble person" .......besides, you have the Gnomes to blame........your covered
- 1,873 replies
-
- 1
-
-
- occre
- san ildefonso
- (and 1 more)
-
thanks Adam! when I install the post supports for the lower deck, I will pull it together then. this way I'll be able to do the entire wall. I find that there are a few more glue blotches inside than outside...I'll remedy them before it gets the seal coat. I think that's the coolest thing about our builds........thanks very much for the concern.......but it needs to be done when I got the kit Sjors, it was said that I could just use it for junk and spare parts. bit, with so much of the kit intact, I thought "why not build it".......I love the challenge. it will teach me so much more this way. thanks for the good word my friend......I'll be back to the shrouds soon
-
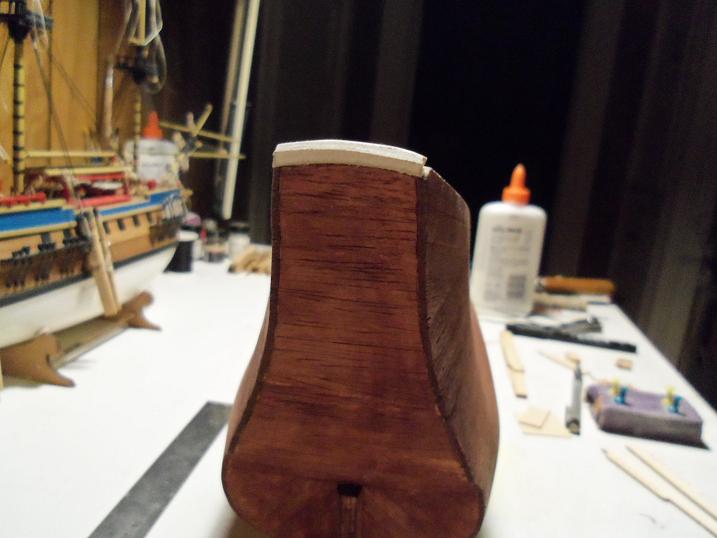
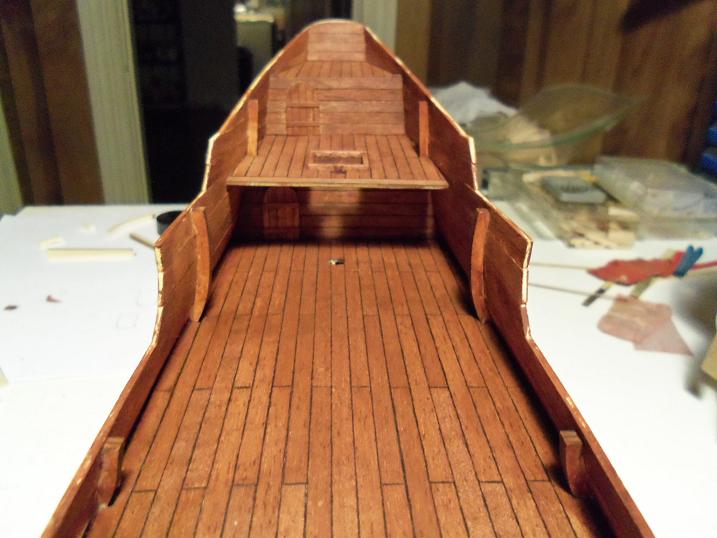
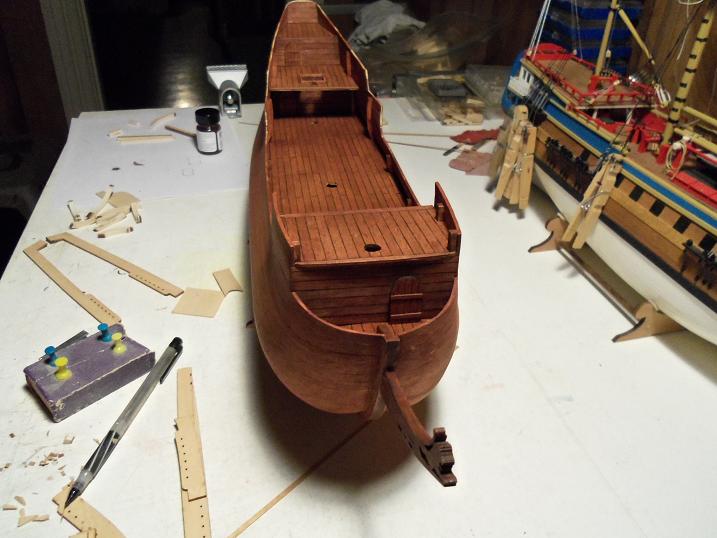
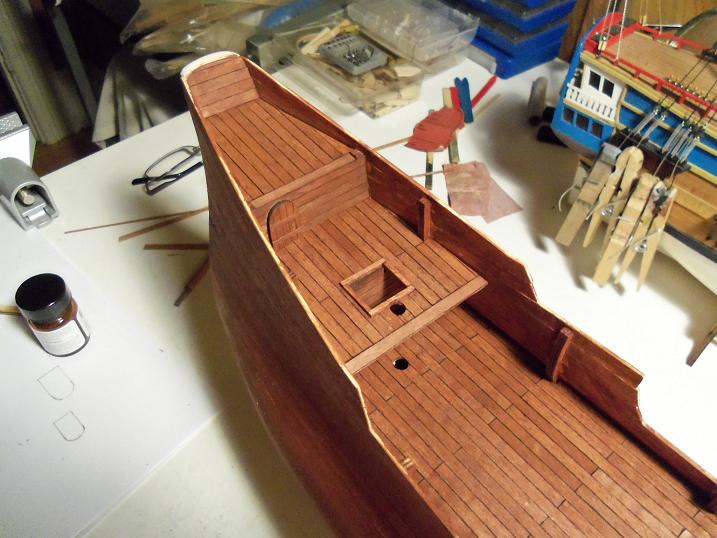
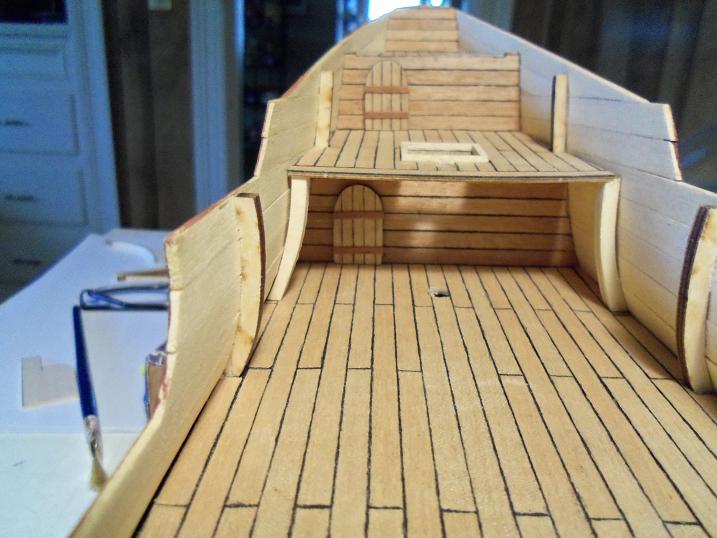
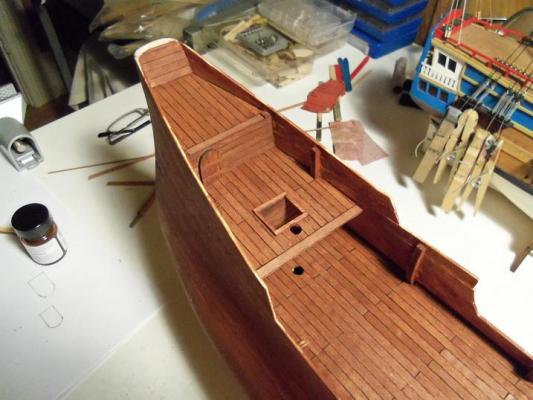
thanks Sherry and Edwin.........yes it is I hope to make a bit more, before I go back to the Gothenborg. I had test fitted the stern rails earlier........I have a serious gap under the rail. to fill it, I made up a piece of curved plywood and will later sand it down to match the incline. the stern rails are dry........and the curvature is good and finally..........the interior is stained at last! ....more good stuff to come soon!


-
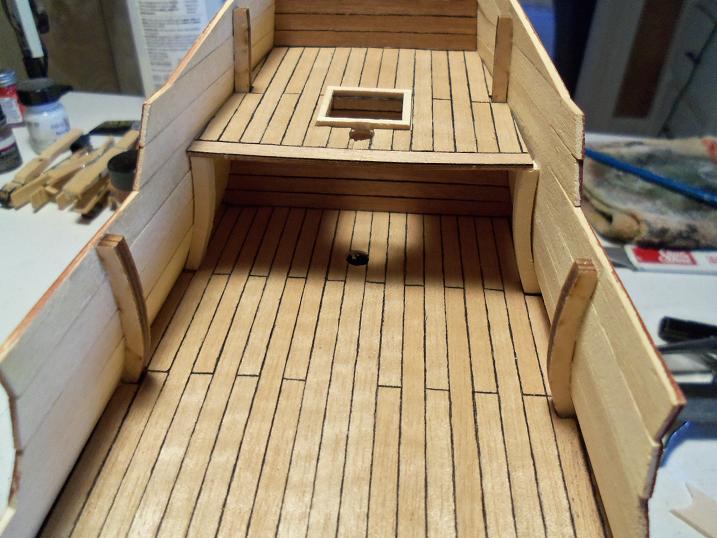
well.........I thought it was going to be a chore to get the bulkheads changed over. this area is still going to be open, till I can get the interior stained. the hardware is going to consist of a pair of tiny hinges {still have to make them} and some sort of handle. I'll just tweezer them in place after, before I do the clear seal coat. tricky, but that's how my cookie is crumbling.......so I kinda have to go with it. thanks for the good word and concern John..........
-
did you fix the pipe.........or am I talking to a lake?
-
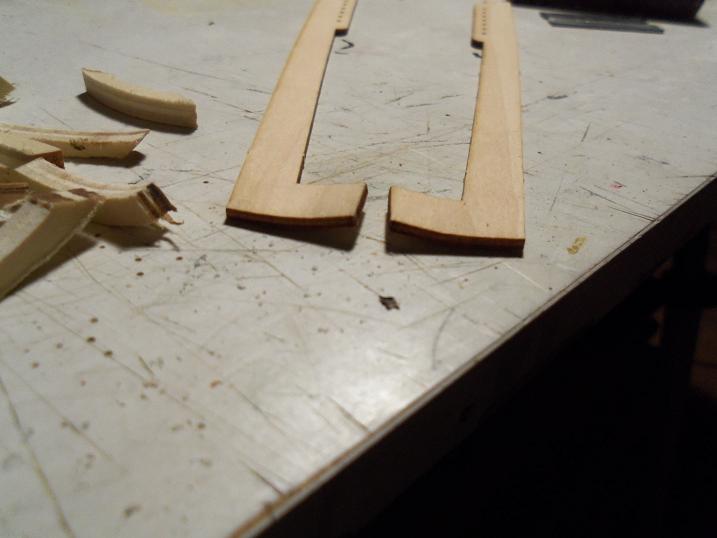
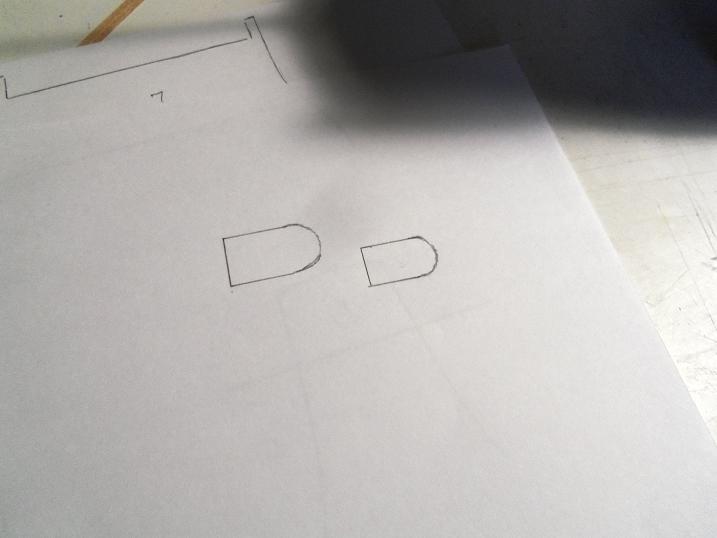
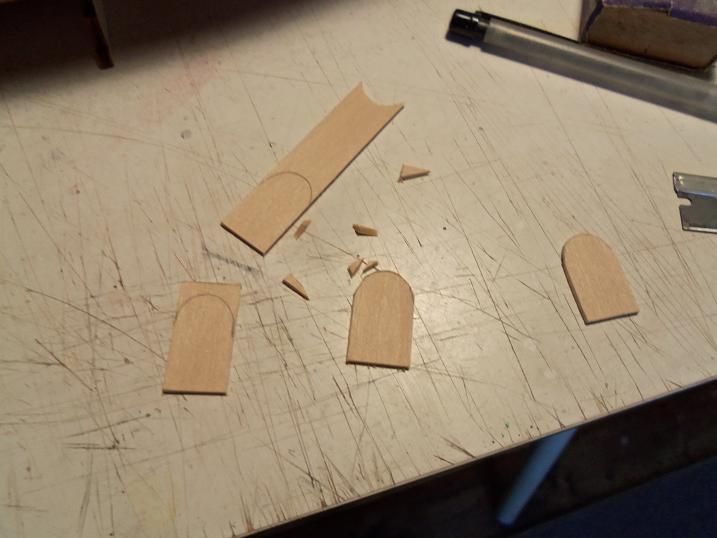
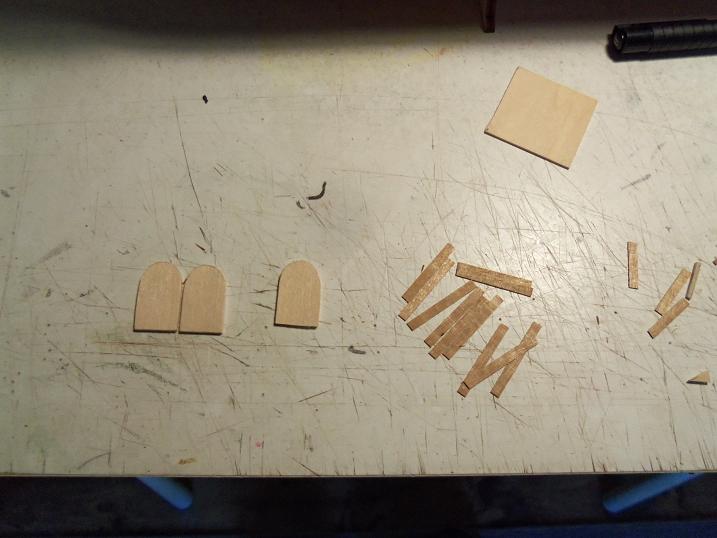
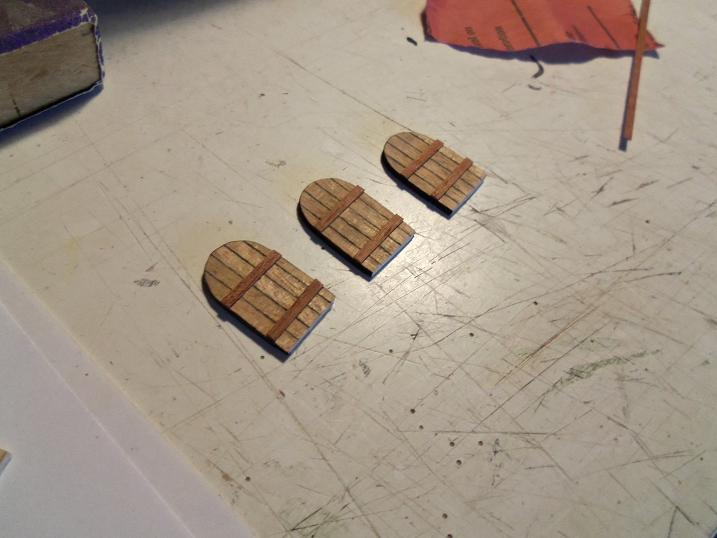
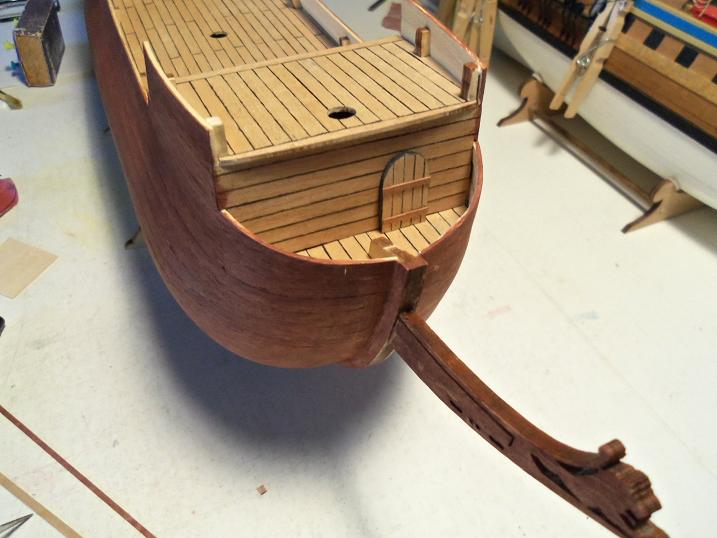
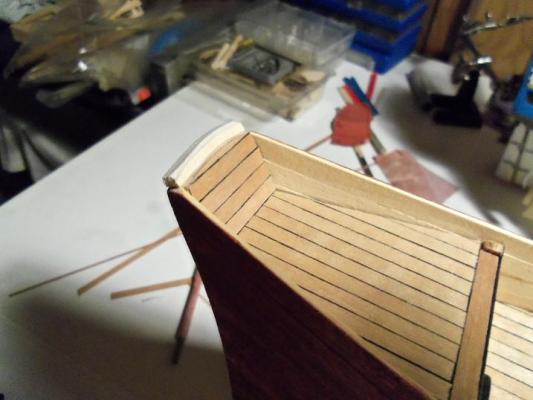
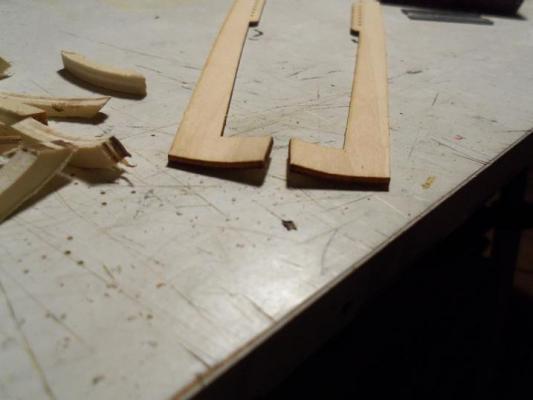
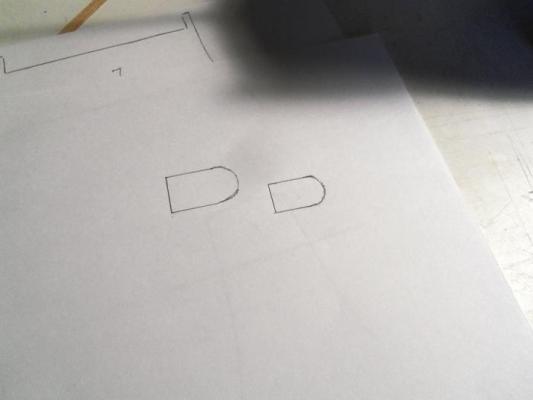
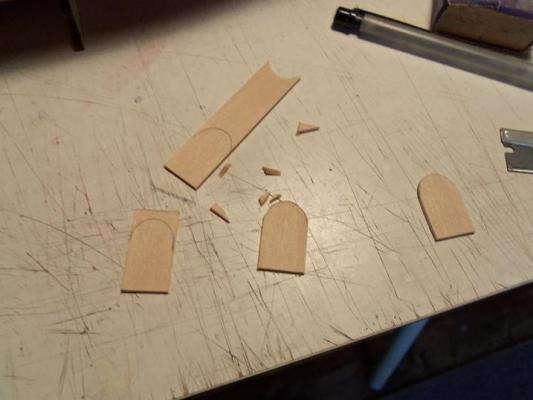
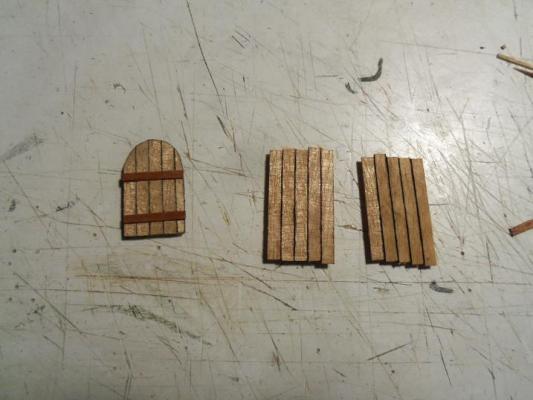
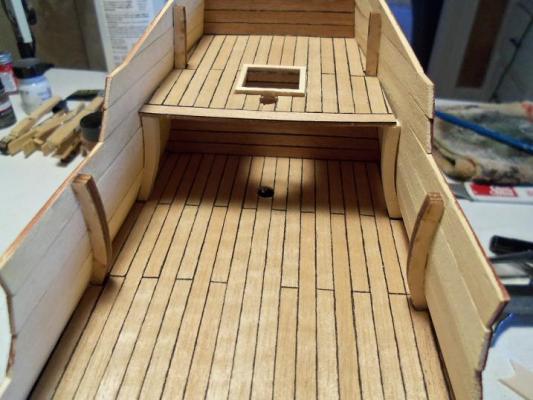
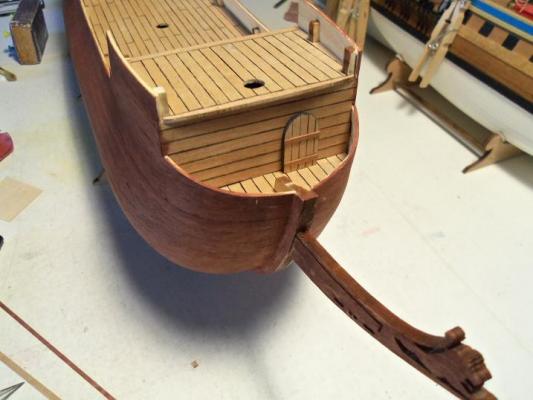
the doors as I mentioned, are missing in the kit........an entire sheet of parts is missing. the rigging sheet is 1:1 with the model, so I was able to trace the doors from the over view diagrams, on the other side of the sheet. I cut them out from a left over piece of 1/16 flat stock. I made a couple of extra, so I can select the better of them. there are two large doors and one small one......they were sanded and shaped. I intend to cover them with .5 X 2mm strip Annegre. the edges will be penned in. once they were done, they will be trimmed and sanded. the outer edges will be done with the archive pen, and given the dark mahogany bars. I took a couple of miniutes and used the scroll saw to cut the posts for the lower aft deck. there needs to be a beam along the underside of the deck......there is a noticeable curvature of the deck lip. it will also need to be pulled together......the walls sort of splay outward. the doors were cemented in place...when the interior is stained, they will be stained as well. then I can put some hardware on them then. in preparation for the cap rails, the stern edge needs to be shaped with a curve. the ends were wet down and wedged between two glasses and allowed to dry.


-
I do the same thing.........never take them off the sprues until you use them. I do like to clean up my parts though, if there is a lot of flash. for this, I stick pins into them, or hold them with clothes pins......you'll develope your own technique. flats will be your friend, as for sails, it up to what you want to do.........if they look too shiny and white, dull them down with some flat light gray......or you can mix equal parts of flat white and flat tan. experiment with your hobby.......you'll be surprised with what you can come up with
- 118 replies
-
- 3
-
-
- jolly roger
- lindberg
- (and 2 more)
-
I think your apprenticeship is over Sjors.......you've completed one ship already it's guys like me, who are playing Ketchup.......and I'm trying, with all the gusto I have mustard!
- 1,873 replies
-
- 2
-
-
- occre
- san ildefonso
- (and 1 more)
-
now that's a thought..........do a search on this vessel. I remember seeing a dioramma of the part in the movie where he sails the ship through the desert.............I wish I still had the site book marked curses! foiled again by my own house cleaning!
- 118 replies
-
- 1
-
-
- jolly roger
- lindberg
- (and 2 more)
-
Bismarck by NBP - 1:100
popeye the sailor replied to NBP's topic in - Build logs for subjects built 1901 - Present Day
oh my god.........YES!!! I can't believe the level of detail.......it is fantastic! your doing a superb job..........look forward in seeing more! -
I agree with Crackers...........it's your ship there is absolutely nothing 'dumb' about any kit. I haven't had the chance to do any research on this vessel {kit}..........I an SO glad you brought this kit to light! now that I've had the chance to see some information on it, I see it as a kit with a lot of potential.........it can be done in a number of ways. I can't wait to see what direction you take with it
- 118 replies
-
- 2
-
-
- jolly roger
- lindberg
- (and 2 more)
-
could also be Obechi wood....real cheap Africcan wood.......very rough stuff.
-
thanks to all for your kind words. I have been working on the doors for the bulkheads........should be finished with them today. I can then do the stain job to the interior and begin on the cap rails. that will be a cool feature....I hope hello Alex! nice to see you.......hope to see more on your fine build thanks John......it really wasn't that bad.....that will teach me not to follow what my initial thoughts were. I should have done this in the first place thanks Mobbsie......yea, there really isn't any difference......problems VS setbacks. I've read a few logs where folks knock the kit for these inconsistancies....sadly, some even end up being scrapped, because of them. this kit is already missing a few parts.......it already suffers it's own handicap.....not an impossible task for "Bash man" the Billing line of paints aren't that old........they've had 'em for a few years now. they also have the metallic paints as well....copper, silver, and gold..........they are unique, because they don't have the luster that Testor's paints do. it's a nice antique look when they are fully cured. as for stains, the only one is the mahogany stain, that I know of. so far, this is only one application, but after the interior and cap rails are done, it will get a second application, and then sealed. I'm not concerned with the archive pen calking, by the time I get around to doing the clear finish, it should be long dried and won't become solvent. the hull work still has a way to go yet. thanks Patrick..........so far........so good