HOLIDAY DONATION DRIVE - SUPPORT MSW - DO YOUR PART TO KEEP THIS GREAT FORUM GOING! (Only 13 donations so far - C'mon guys!)
×


popeye the sailor
-
Posts
16,007 -
Joined
-
Last visited
Content Type
Profiles
Forums
Gallery
Events
Everything posted by popeye the sailor
-
 quietly following along.......nice job with the frame. I think the logs of this ship were on the old site. they are still coming in slowly.....you might get lucky.
 -
since I can be of no help either.......I'll just cheer you on......GOOOOOOOOOOO....Mobbsie!
- 1,279 replies
-
- 1
-

-
- agamemnon
- caldercraft
- (and 1 more)
-
nawwww.......he just had to adjust his 'rabbit ears" Hee........Hee!
- 1,873 replies
-
- 1
-
-
- occre
- san ildefonso
- (and 1 more)
-
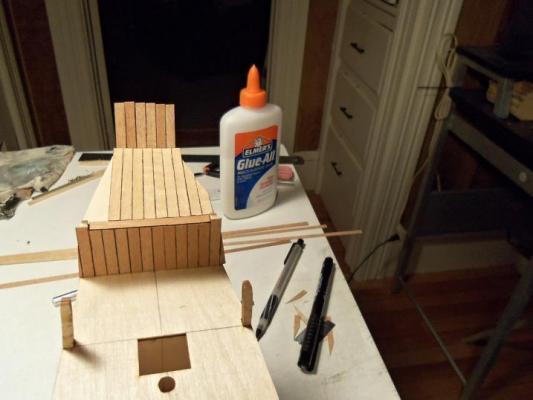
thanks Mark......I'm using my archive pen with india ink. haven't used crayon since John mentioned this to me. I think Danny uses it as well these are 0.7 x 5mm strips. like I mentioned to Anja.....it will be interesting to see the differences in these two kits thanks to you.....and to you as well, Anja thanks Augie.......I wouldn't even try to keep up.......if they are there, have a gander. always glad to have you drop by, my friend
-
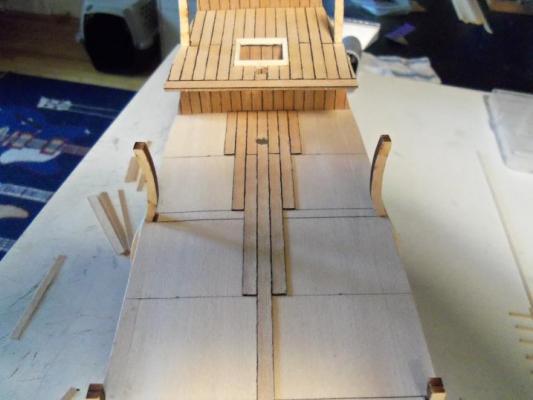
thanks John.......I enjoy building....what can I say! I've even had the urge to bring out the Syborn and do a little on that one. you probably noticed the cross plank on the fore deck........I was going to cement it in place the way I notched it out, but that edge is curved and would show a little. so, I flipped it around.......I'll have to trim it, but I won't have to fill anything in that would other wise be exposed. I'm hoping to get away with single planking and stain thanks again John
-
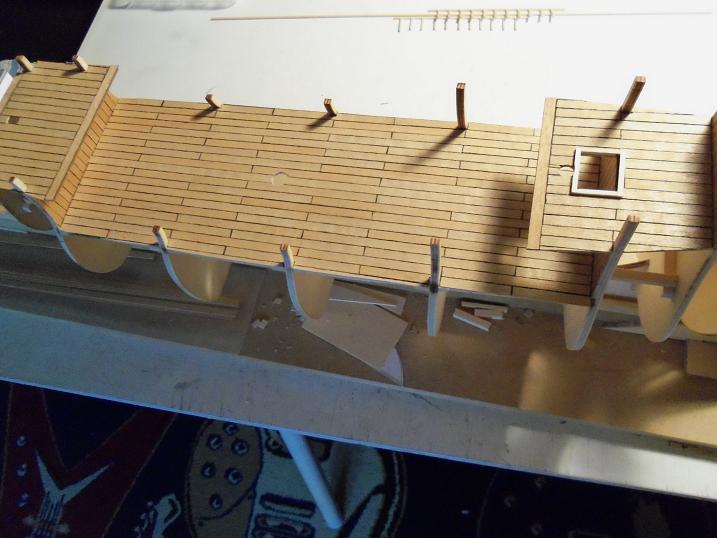
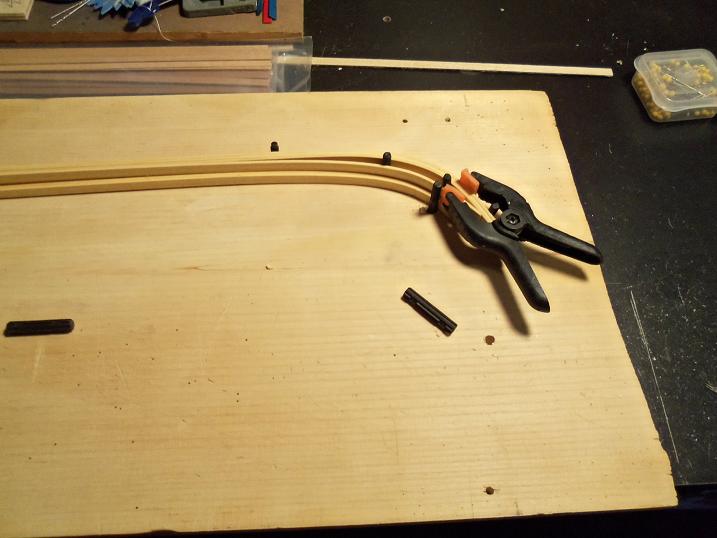
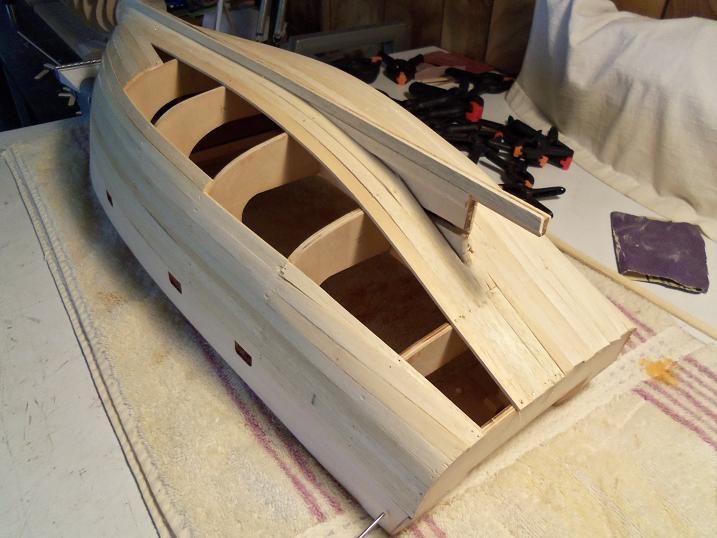
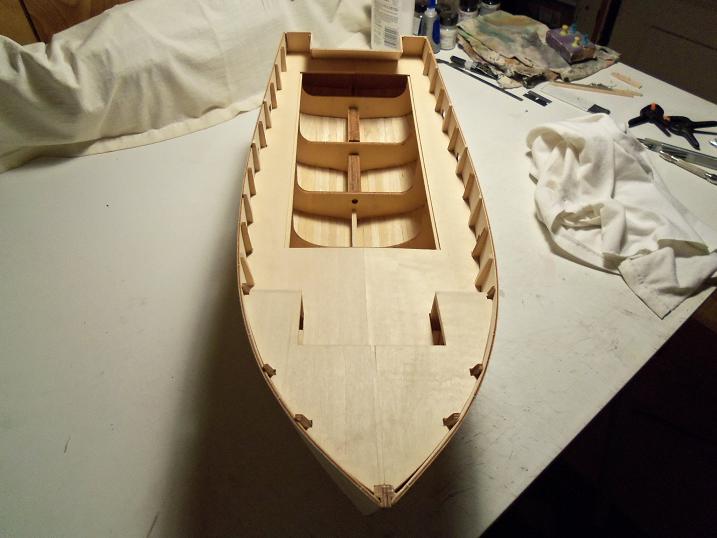
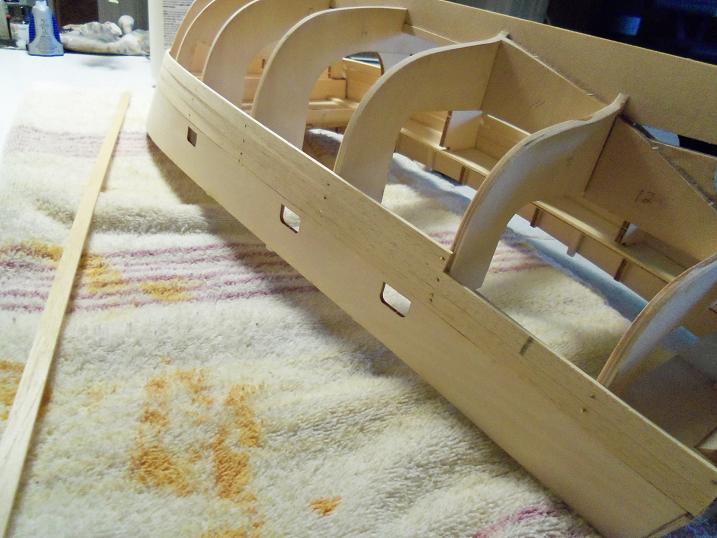
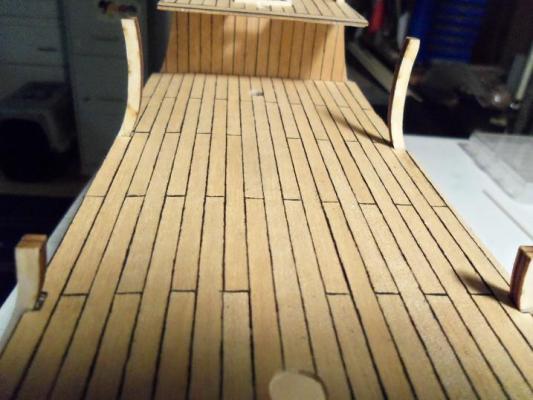
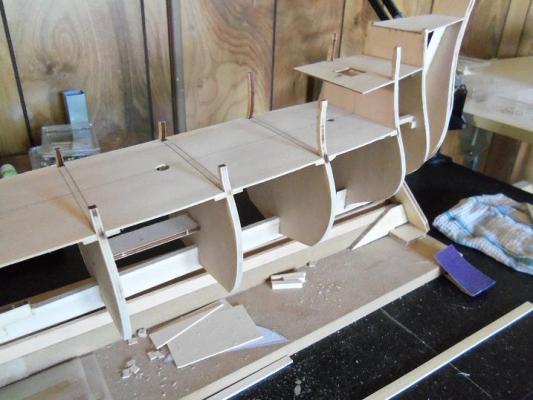
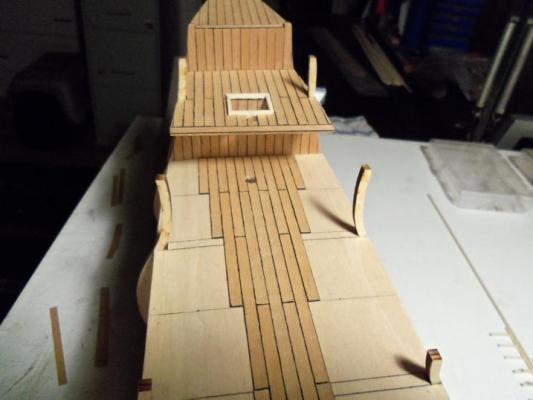
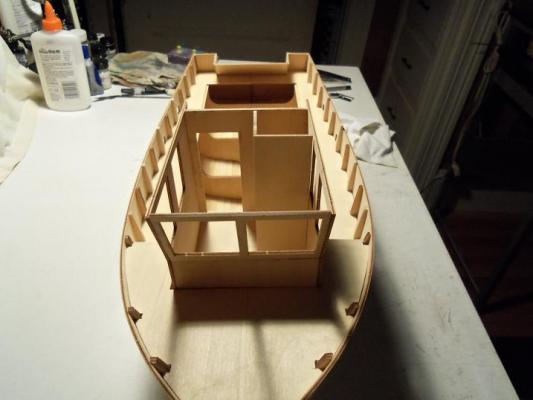
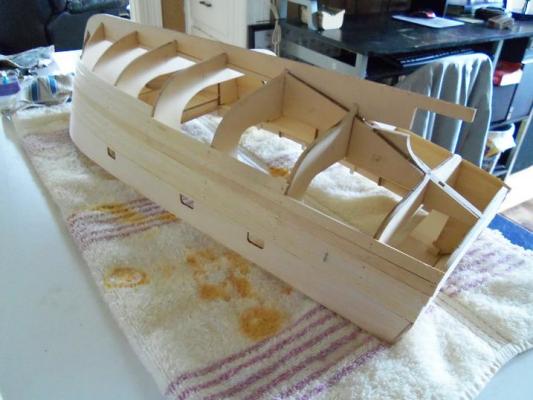
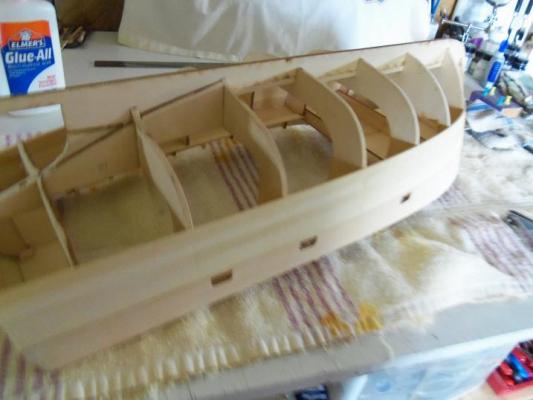
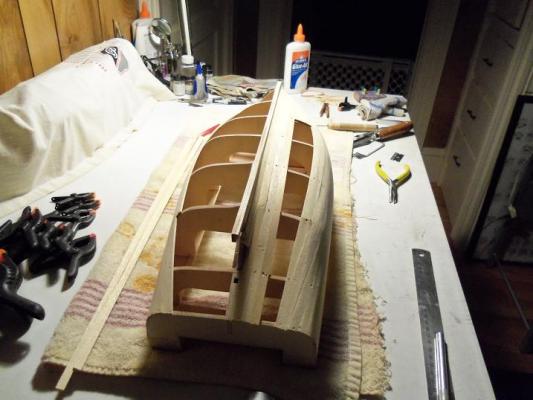
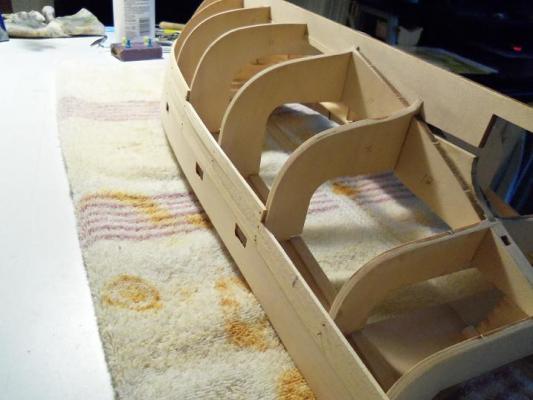
the planking coniinued the next day......very easy to fit planking around the bulwark posts. I might wait on the bow planking.....but am thinking better of it. there is a bit of a wall built up around the bow stem. the doors are missing in the kit, so I have to make them from scratch. I can't seem to find the jig for bending the planks, so I'm making another one.


-
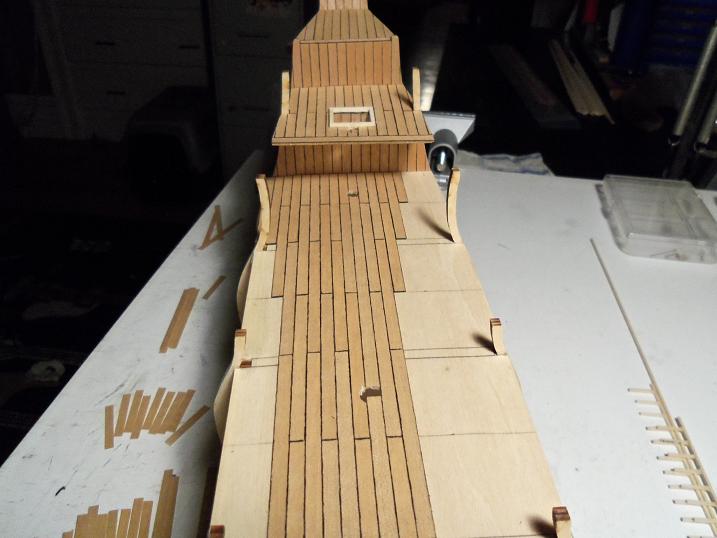
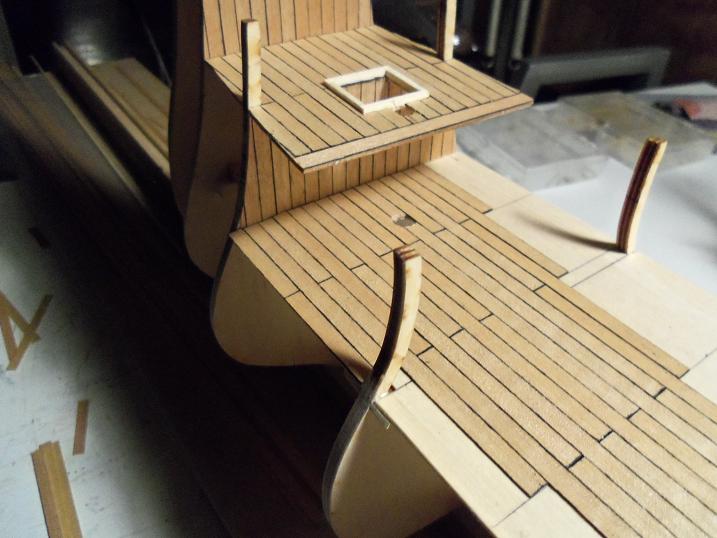
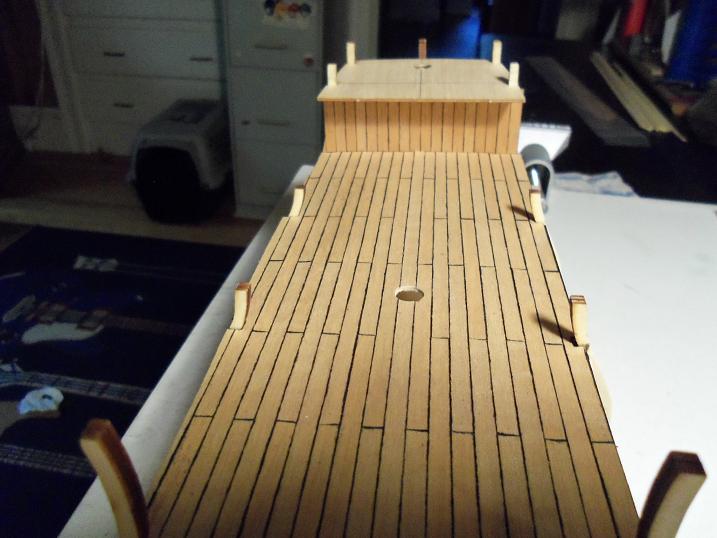
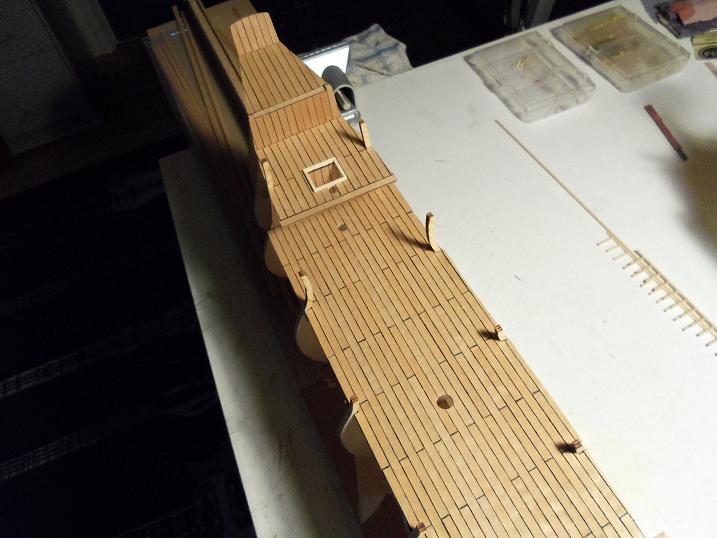
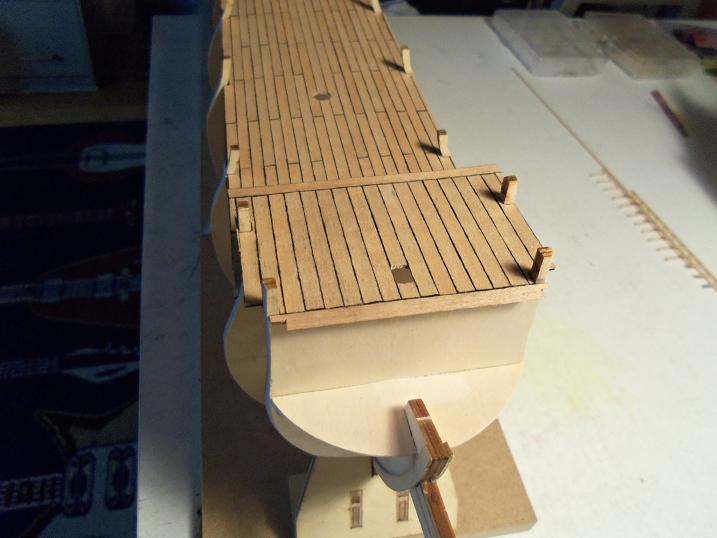
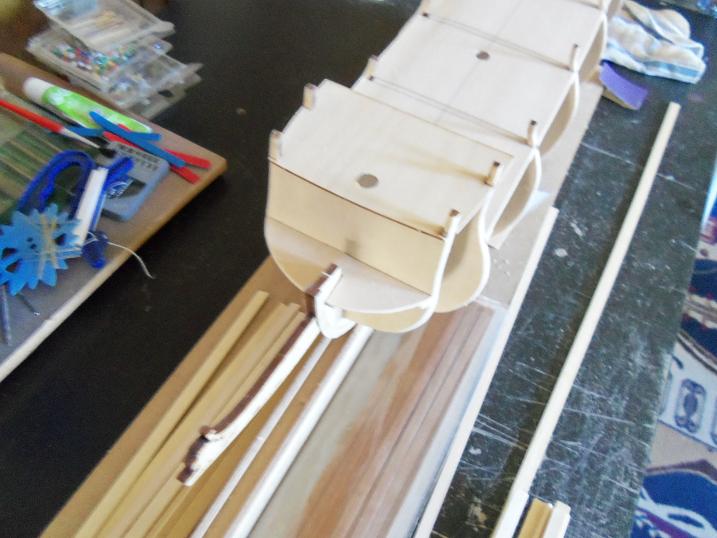
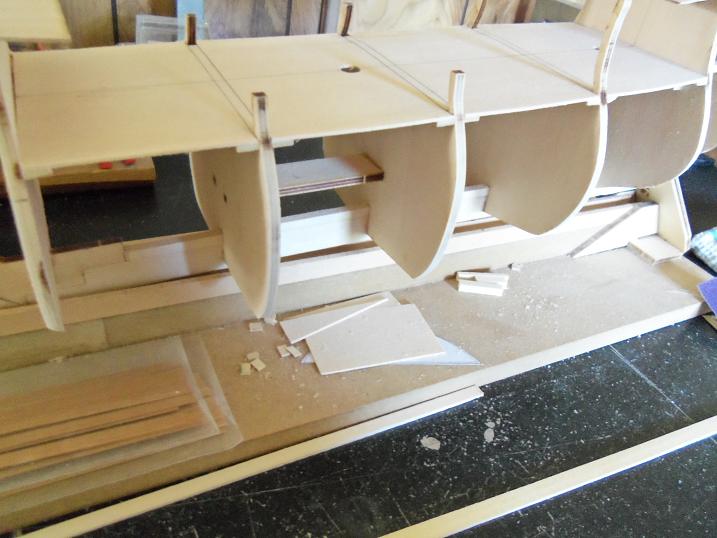
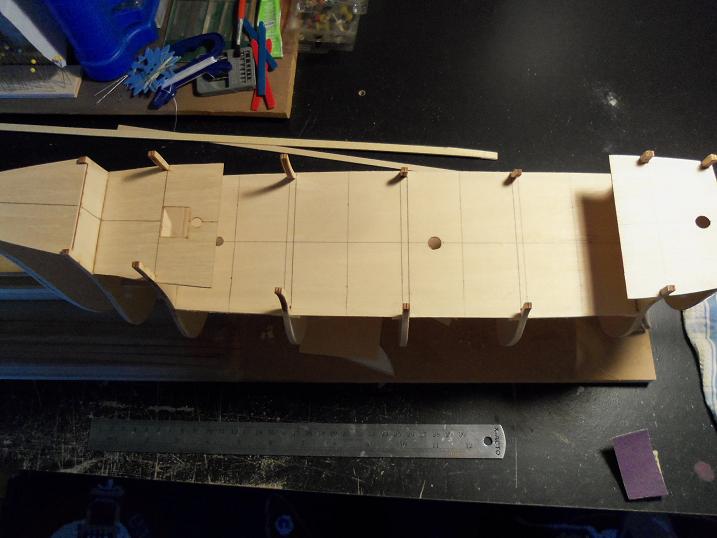
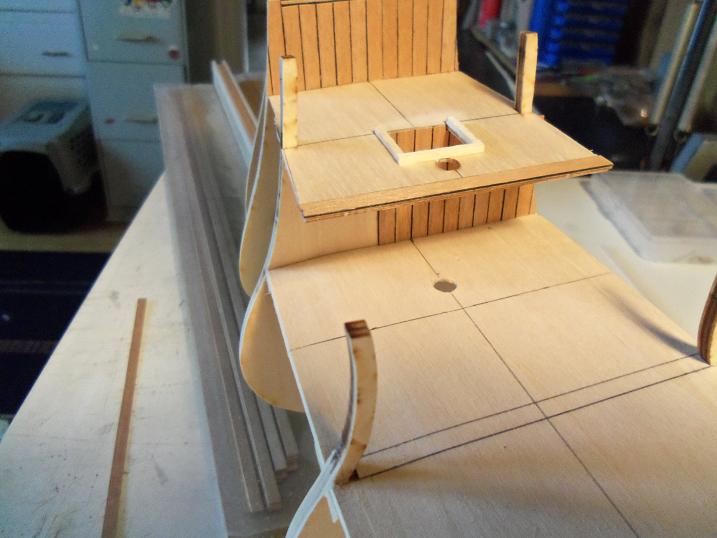
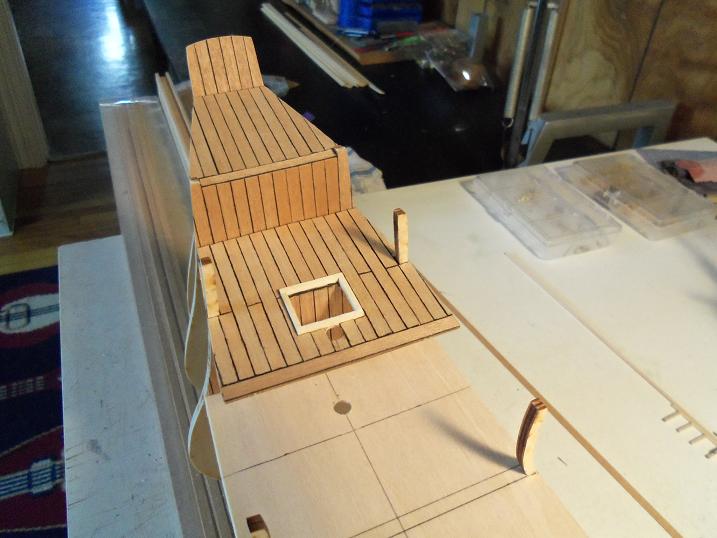
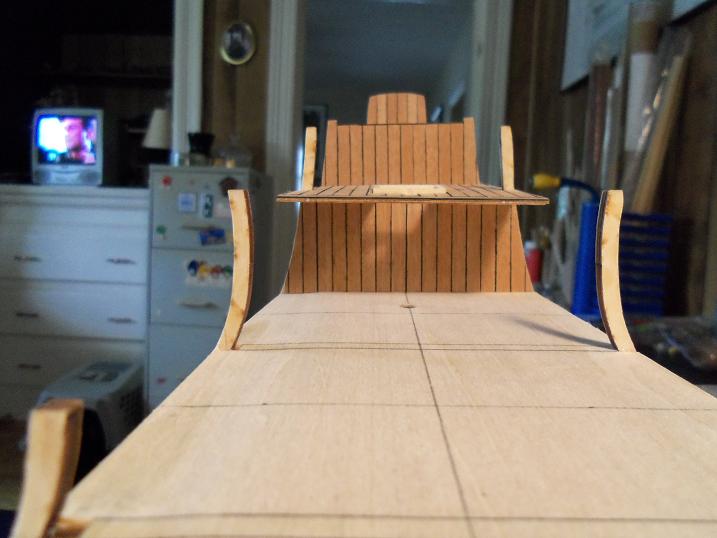
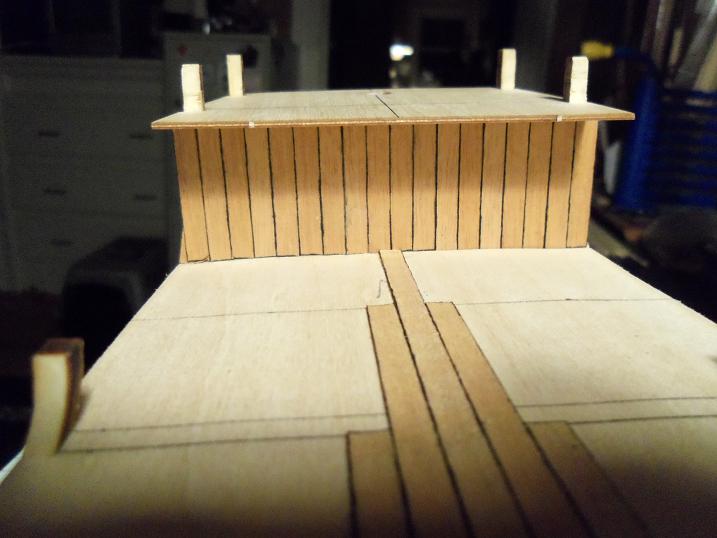
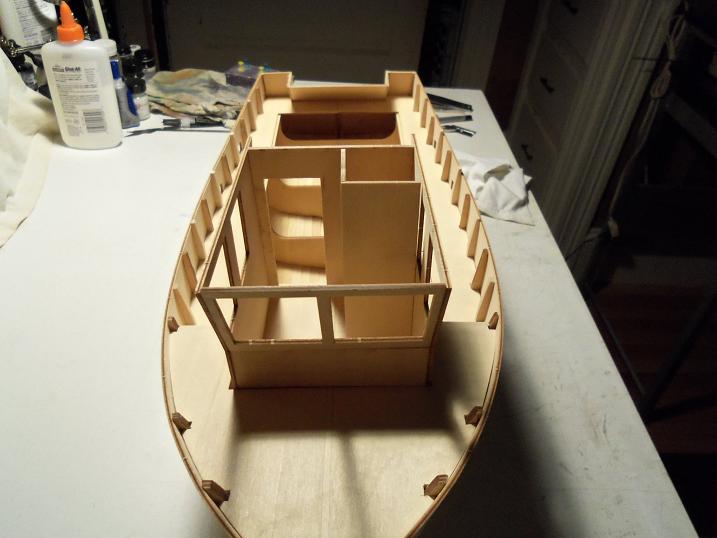
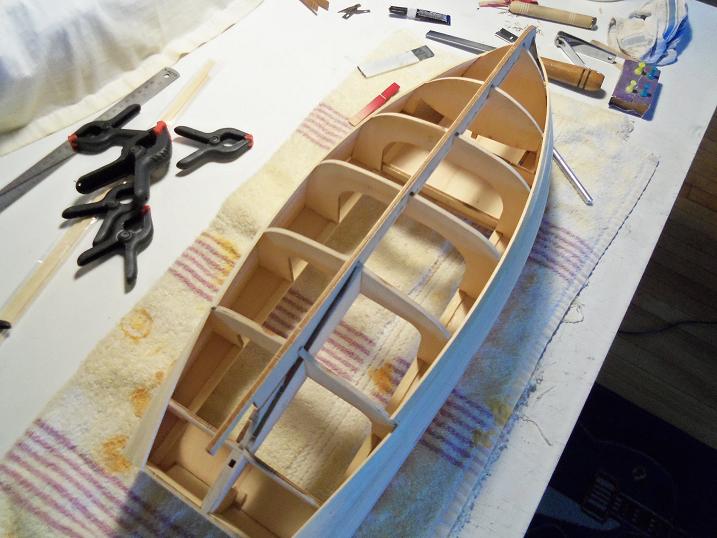
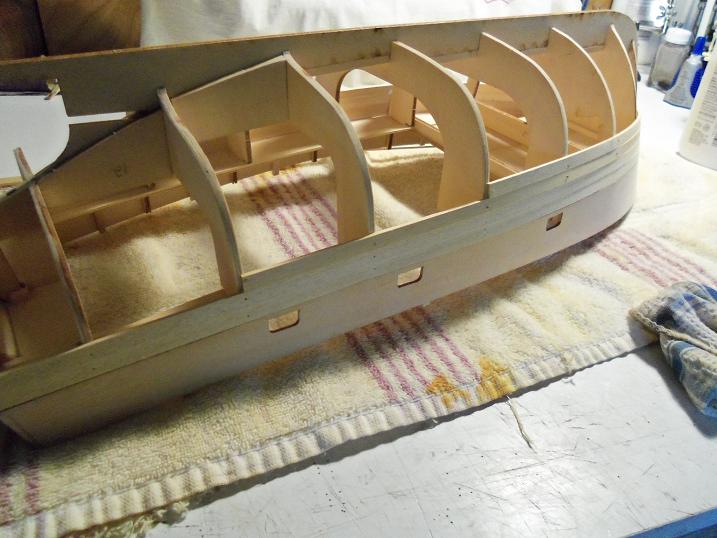
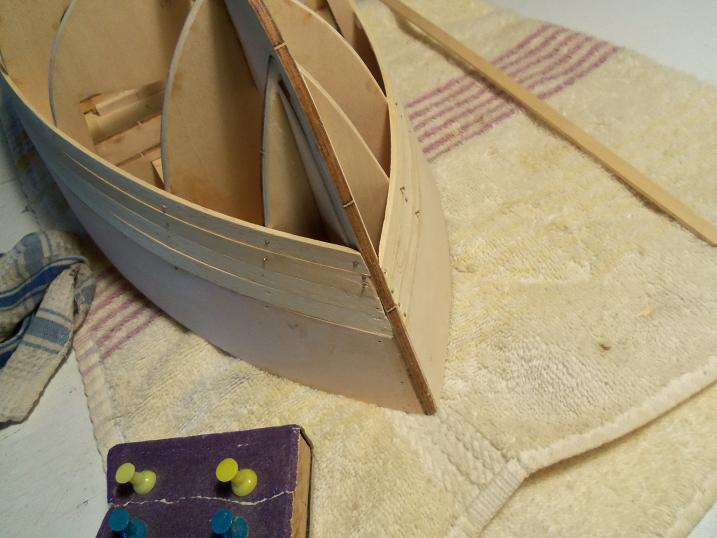
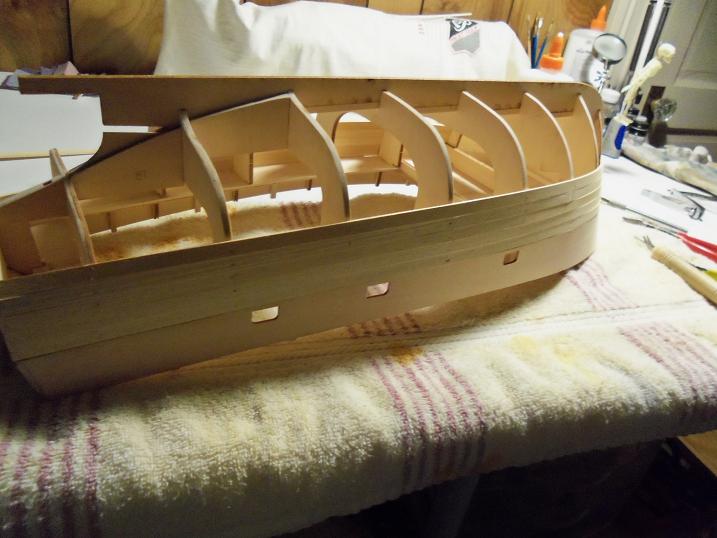
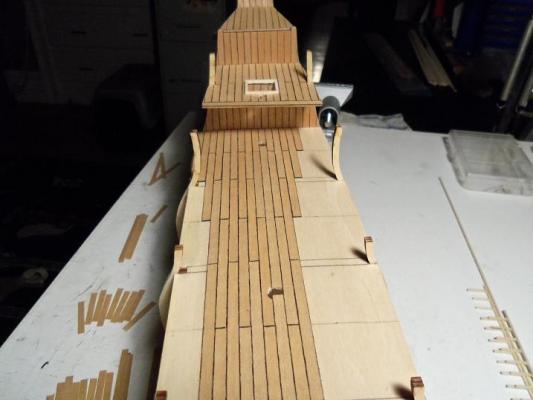
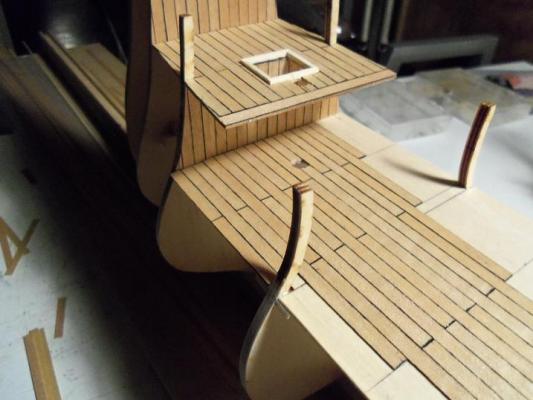
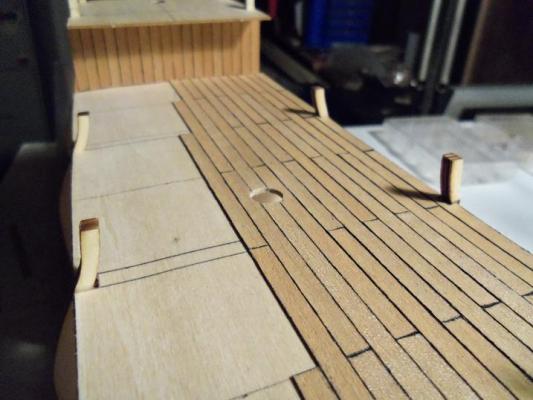
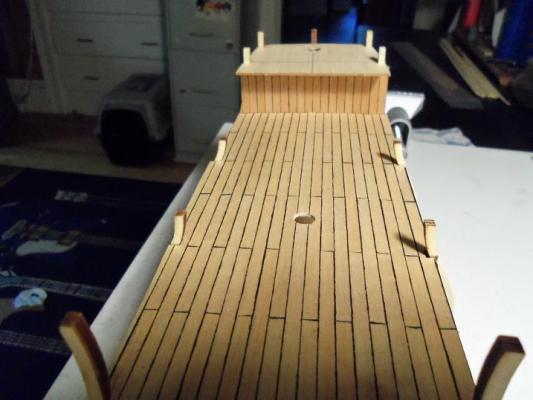
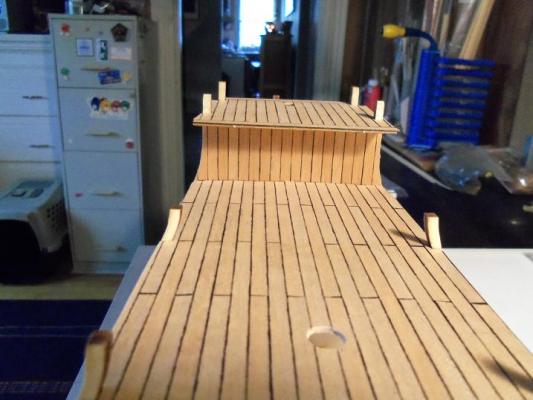
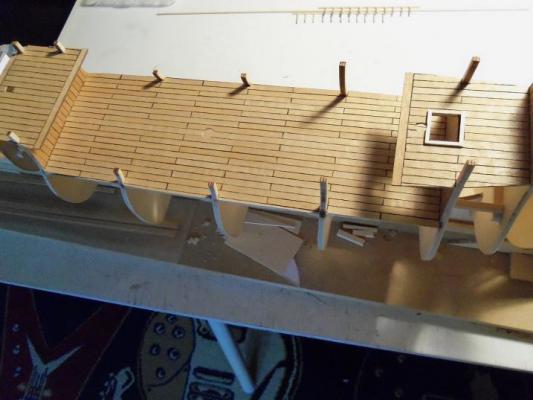
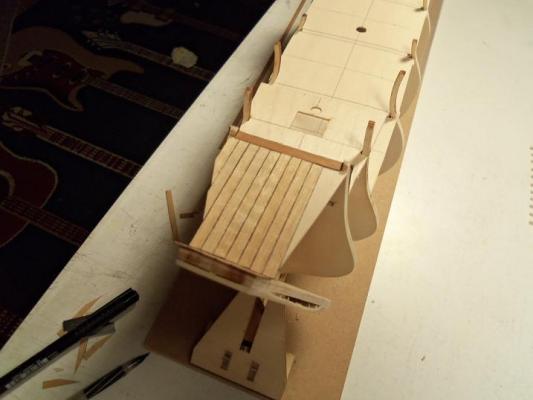
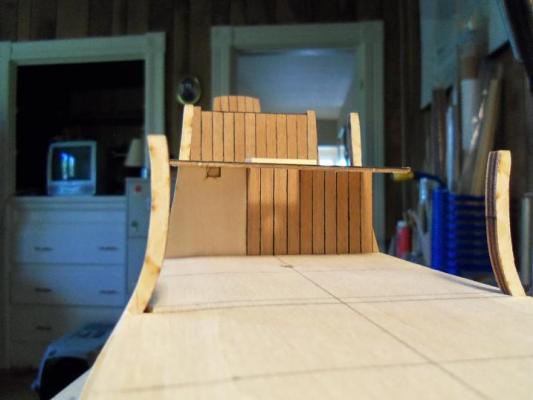
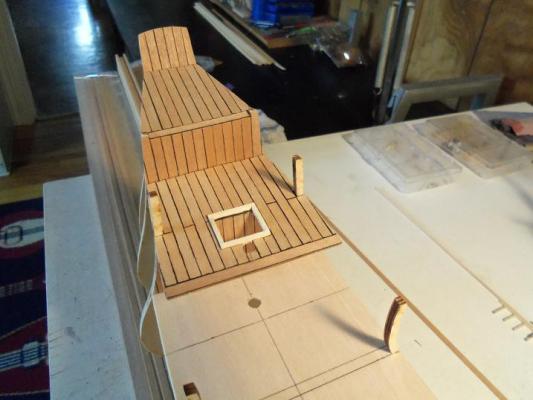
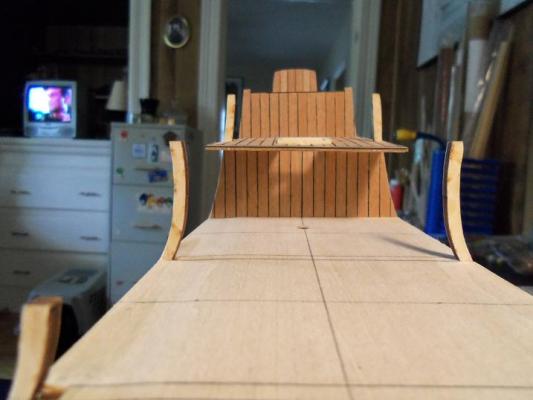
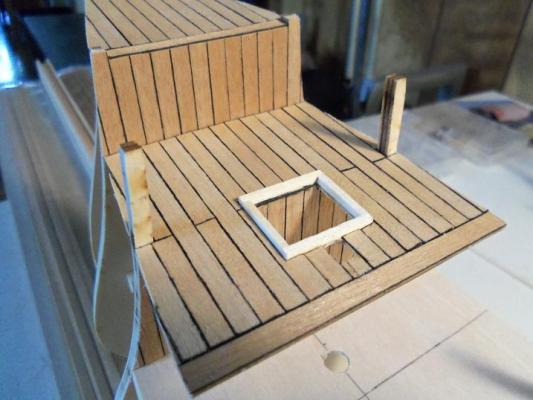
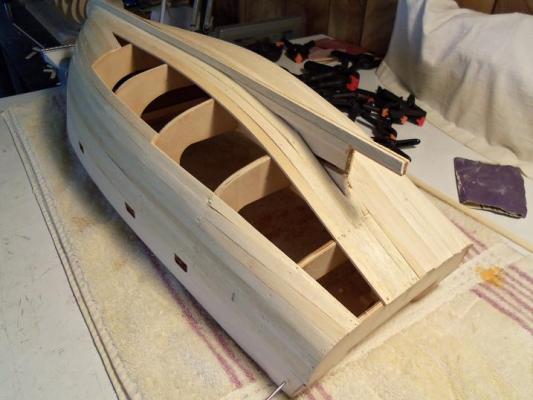
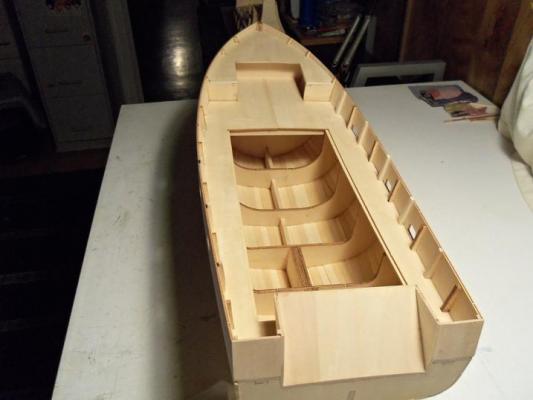
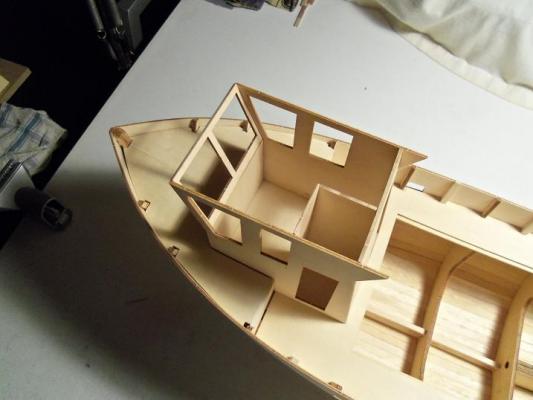
I thought I would do the deck planking ......and also get to the point where I can get the hull planking on as soon as possible. I ended up have to put this off, due to breaking one of the aft bulwark posts....on rib #11. first, the hull faring. I was going to divide the deck spaces 2x, but opted to do it simpler. then planking began with the aft section. the deck surface will be planked with light Annegre.....the cabin walls done in a darker mahogany. I made up a frame for the upper deck hatch opening.......it is to be left open. I'll need to see if anything else is to be done with it. there is a grating and a hatch to be added to the main deck. I'm going to throw caution to the wind, and just plank the entire deck before putting them in place.......I hope it's not a mistake. now it's time for the main deck the fore cabin wall was done so the king plank would meet it. note that I have offset the wall planking and the deck planking. in the plans, they are in sync, but I thought I'd twist this a bit.


-
that's the spirit!
-
it might be wise to do the hull planking before more structures are added. then it can be taken out of the jig........although making the structures now is a good ideas as well......it well protected. just keep them removable for now, if you choose a different route.
-
thanks Sherry.......I love the size of this build. I think you can see why I want to base the multi build on this hull.
-
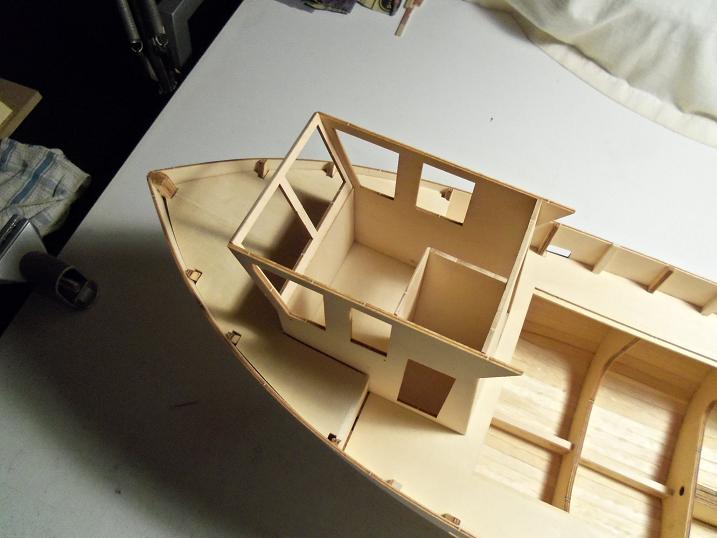
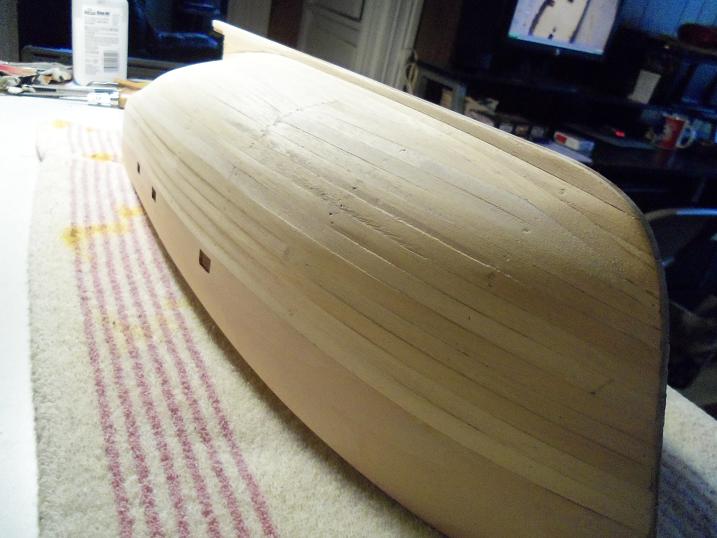
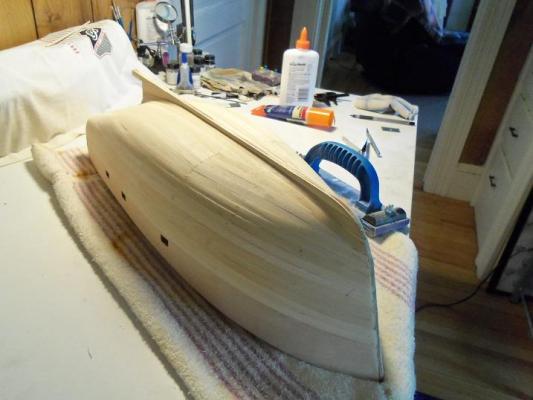
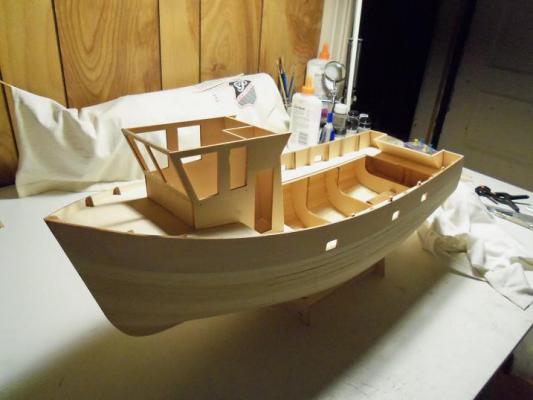
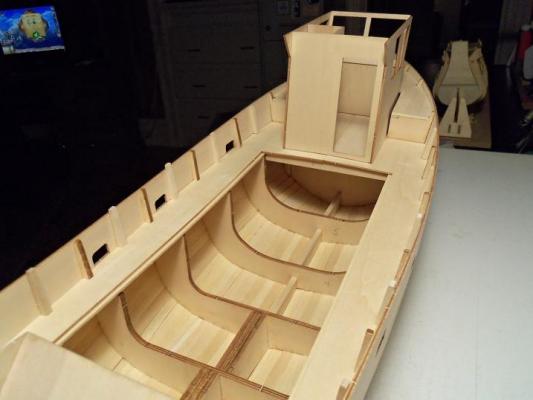
I fixed that crap at the rudder shoe.........the starboard side was done the same way as the port side. it was filled in in good time. after some sanding, it was put on it's stand. the pilot house was fitted on....... this brings the build up to date.........


-
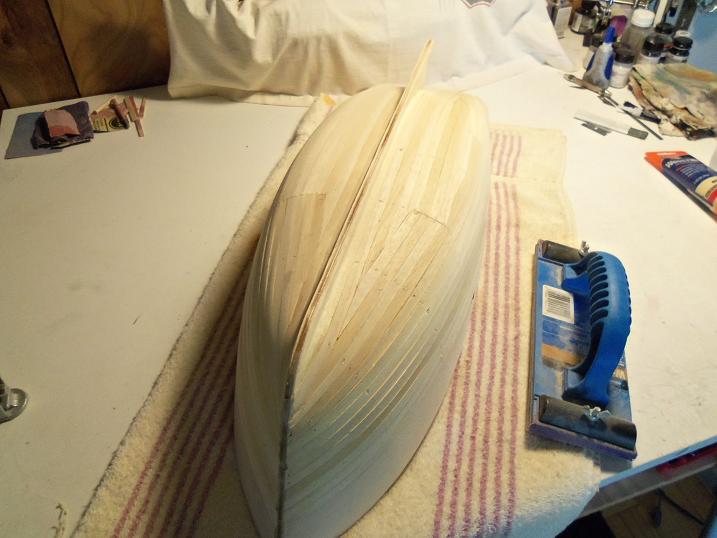
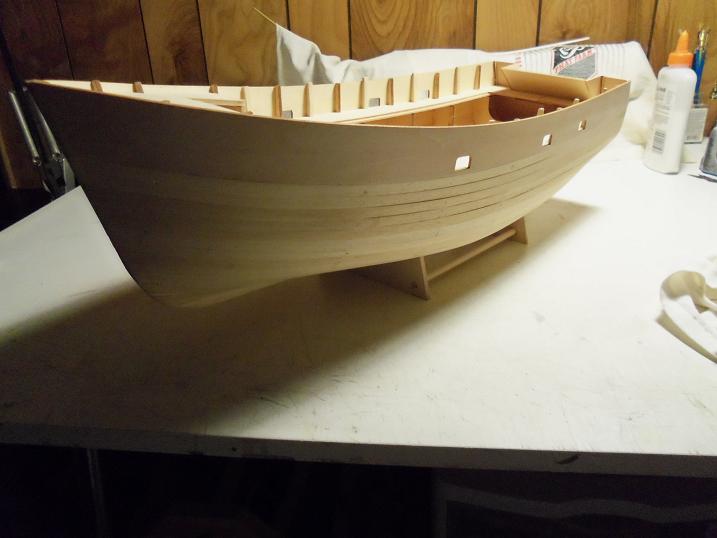
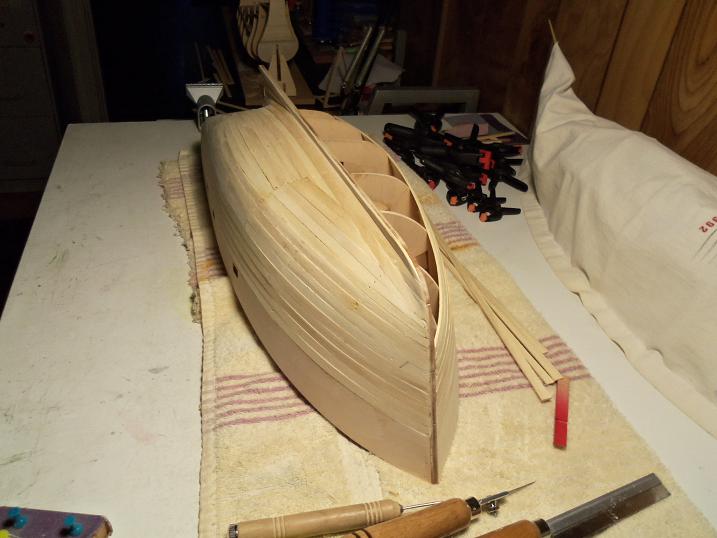
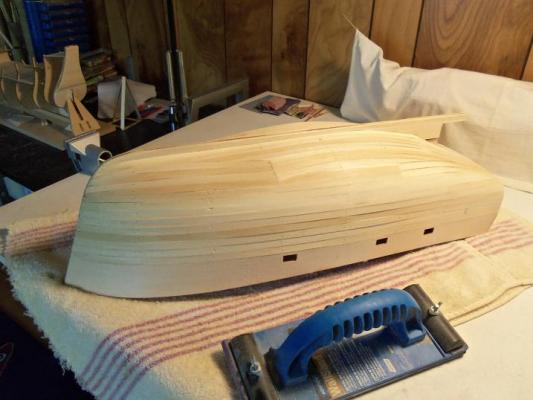
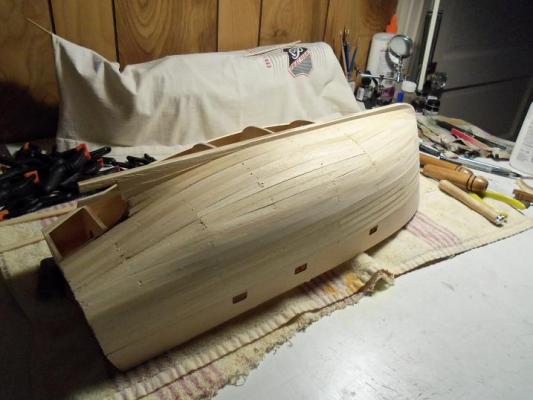
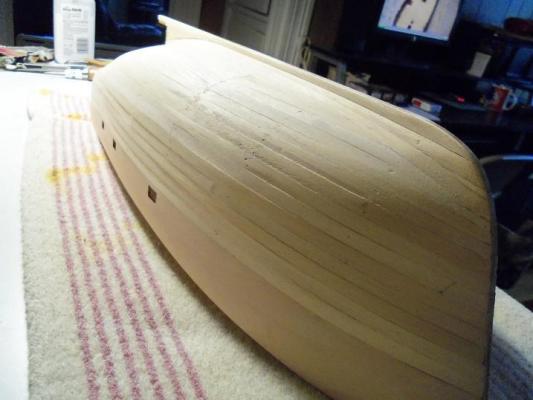
the planking continued..........of course, my habit of pulling out the brads after the planking dried took time as well. from here on........I just filled in the gap, one side at a time. the stern was evened out. I did some sanding.......I'll do the rest later. the port side finished, the starboard side was next.


-
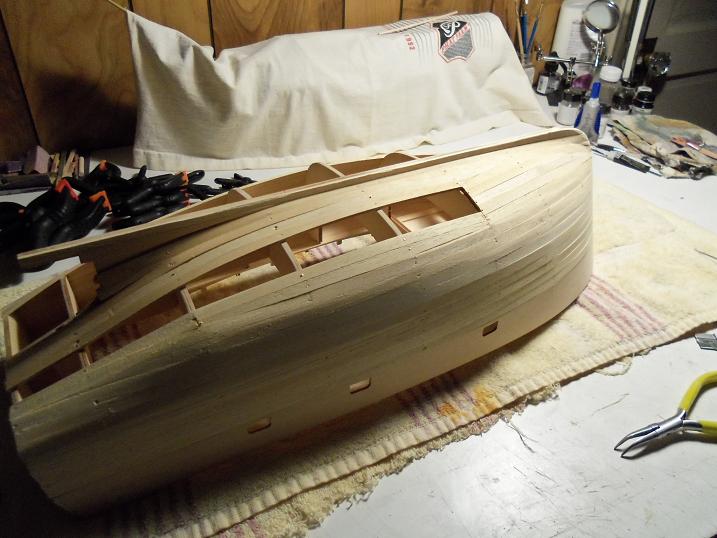
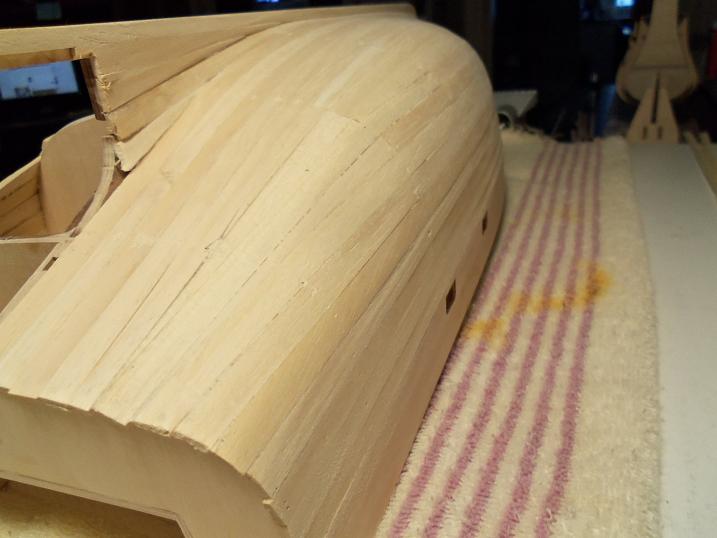
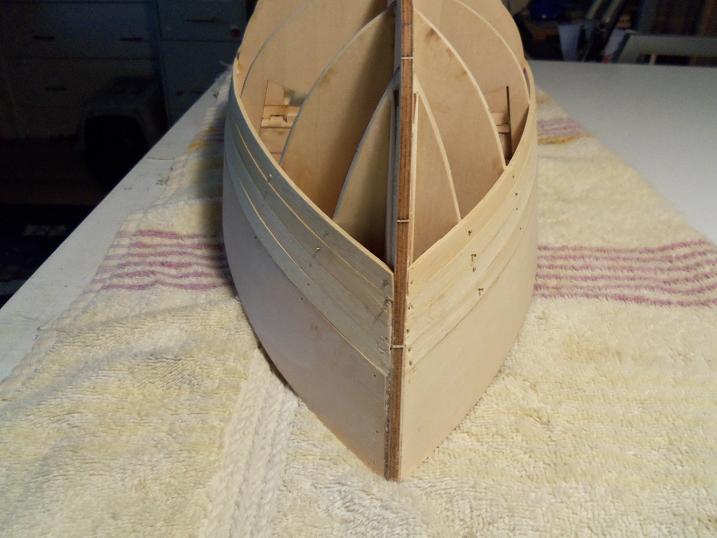
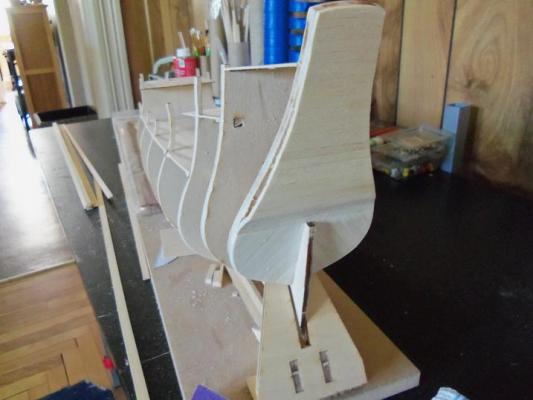
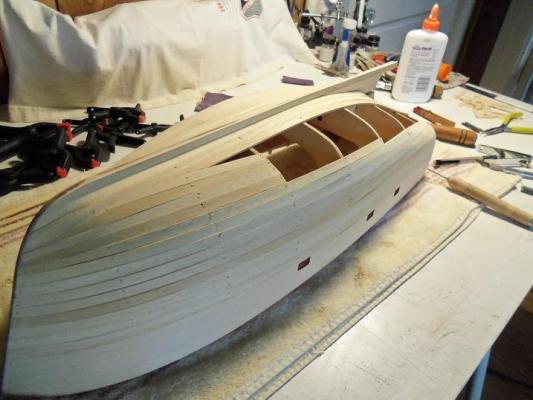
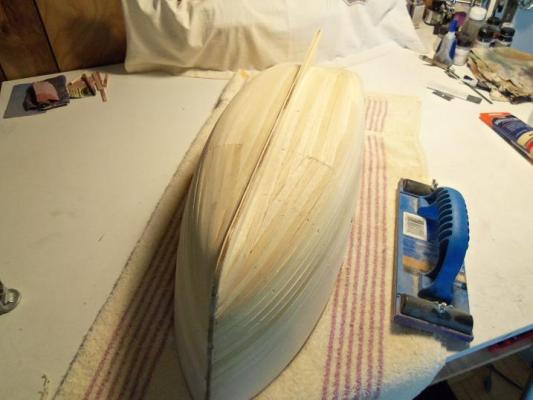
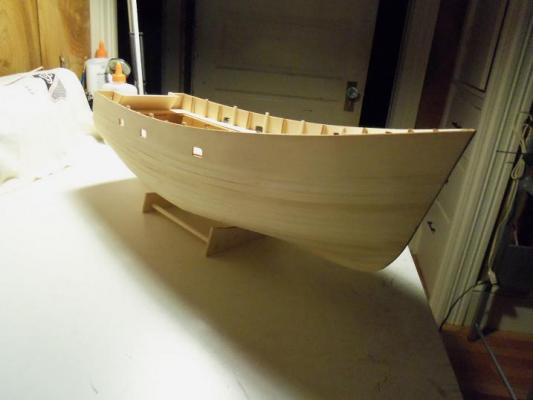
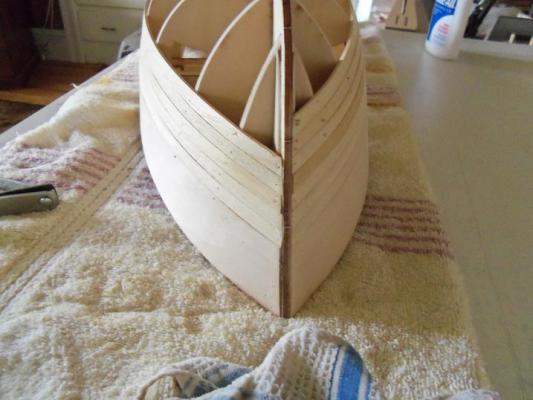
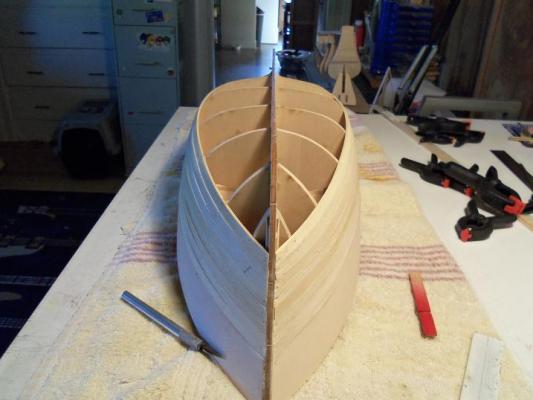
so.....this begins the planking. with the shape of this hull, I figured that I could get away from tapering so much. the 1mm difference in the planks should have tipped me off. when I realized this, I chose to do the planking to preserve the shape, rather than come out with a clinky looking hull job. the beginning went pretty good.......it wasn't until I got to the turn, when I realized I might have a problem. in the last picture, you can see how the plank wants to stick out at the stern. I can sand this down, but I knew by this time, that I had better think about tapering........even if it was just to regain the line. the rest of the planking can be done without being too picky.......filler needs to be added, and it is to be painted anyway. when I get around to doing the multi build.......I will have a better idea, since they are based on the same hull design. at the moment, I have one frame ready to assemble......I have two more keels to frame out. it's funny........the admiral asked me the other day, where I was with starting them. she mentioned that I should be starting them soon, if I wanted to get them done in the time I specified. .....a modeler's work is never done


-
awesome job Augie............just a few more parts to go......but a lot more work to get them where they need to be! simply superb!
- 1,668 replies
-
- 1
-
-
- syren
- model shipways
- (and 1 more)
-
looking good there....Bob! very interesting way to make a hull
-
nice capstan Mark...well worth the effort!
-
I don't even want to talk political....but I think our fore fathers are turning over in their graves, over here. what I'd like to say, no one wants to hear
-
I see some have begun their hobby with solid hull.........to me, I would think that they are much harder to build, due to the way in which the hull is shaped. my hat's off to you folks I also believe that the level system is a bit off.......to a person just starting out.....they ALL are equally daunting. but, to tell the truth, I would recomend an advanced beginner's kit {billing's}, over some of their other kits. gee, I started my venture with what they considered, an expert level kit, and to be quite frank.......I couldn't tell the difference. I agree with Mark, that Midwest has a pretty good kit......their instructions are very good. for those who followed the build of the lobsie twins....you know the mistake I made, and how quick it was to scratch out another boat using the plans they supplied. but this exposes the other side of it all. the builder: the plans alone, are enough to scare the bejebbers out of anyone. this would be especially daunting for a person with no previous modeling experience.......but that's not to say that it can't be done. you folks have covered it quite well......do you want this? do you have even a speck of creativity? if you do, then your going in the right direction. this hobby is so multi-facited....it is a mix of sculpting, painting, and wood working.....there's something in here for everybody. you get out of it what you put into it. it is said that one would need knowledge in general.......I think the willingness to learn is better though.......you'll get more out of it. folks don't craft as much as they used to.......everything is bought in a store......someone elses concept of what they think would look good in your home. some of it is butt-ugly.........displaying something you made yourself......is much better.
-
awesome!!!! so much detail in a little package!
-
she's looking super Mobbsie........the paint makes her look fantastic! I also wish you well on the coppering.......I have plenty of copper paint, if you should change your mind
-
.......you mean......you don't call it December over there? ........funny how the globe spins.......huh! LOL!
-
I'll make sure you don't miss a thing Andy........you'll see it, I'm sure {I'll save your seat} sure thing Bob........I'll run right out there........LOL!!! I wonder how they treat folks in a Swedish Jail.......especially someone who was caught trying to deface a national treasure
-
thanks Sjors and John with the top rails on......there will still be plenty of room for the gallow.....I'm pleased that it didn't change. as for the sanding.........I wouldn't be too sure about that. I'll tell ya when I post the next update
-
it's gotta be the glue in the plywood.........Sjors.......how many times do I have to tell you that you HAVE to pull out the slivers....as soon as you get them
-
now your going to have to come up with a 'maxi-me' to get up there! I bet you still need a step ladder.......LOL! tell you what......you keep building, and I'll keep being amazed...........OK?