
HOLIDAY DONATION DRIVE - SUPPORT MSW - DO YOUR PART TO KEEP THIS GREAT FORUM GOING! (78 donations so far out of 49,000 members - C'mon guys!)
×


popeye the sailor
-
Posts
16,007 -
Joined
-
Last visited
Content Type
Profiles
Forums
Gallery
Events
Everything posted by popeye the sailor
-
 no I just have to get working on the two lovebirds again........that'll put everything on an even keel. I made the sail for the Denny-Zen today........progress soon........I will try
 -
can't wait to see your progress, Augie...........hmmmmmmmm.....eye candy!
-
that small an increment probably wouldn't have been noticed.......only you would have known that you did a great job with the stern..... and the waterways look terrific! can't wait to see her planked!
-
primer is not a bad thing.........I follow a simple rule. for light colors, I use a light primer......for darker colors, I use a darker primer. it doea help to seal the wood........the paint won't get sucked up so much. Obechi is an African wood, from what I heard.......and it's rather rough. it is easy to sand though, so that's a plus. it is possible to bend basswood to the shape you need. then wait until it is almost dry to install it. use pins to keep it tight against the other plank.....you should be alright. I tried just using clamps......they just don't have the holding power that simply pinning it will do.
-
wouldn't have to worry about trees..........eh.....Buck
-
the waterways look really good larry! I like the way you shaped them at the bow........very nice indeed! I do my planking on the moist side as well. I cement on the first plank and let it dry before I continue. when I pin the next one, I cement in between the planks and press them against the other.......I don't seem to get that degree of gapping. is that basswood?........that might be an explaination why, because I use obechi {kit supplied}. if your going to do a second planking, I wouldn't be too worried about it..
-
yepper Bob.........
-
yepper Bob........that's what I'm getting ready for! funny to see my table cleared.....LOL! I'm also going to do the sail for the lobster boat as well........I seem to have lost the diagram for it, but I just took measurements, and I've drawn it out.......all is good the admiral will be shocked to see the sewing machine coming out of the closet......perhaps she'll do them for me.........nawwwww, not a chance.....I'm on my own, good buddy. thanks for the good word.......
- 377 replies
-
- 1
-

-
- america
- billing boats
- (and 1 more)
-
I've never read the book........I hear it's pretty good. I've rigged many plastic builds since the early 70's.....I've had more questions about proper placement, than about the art in itself. two things I have learned is to understand what 'absolute zero' is in string tension and how to apply it, and what lines will counter each other.......back stays counter fore stays,,,,etc. I find that wood kits are different.....I am happy to find though, that most of the same theories can still be applied. don't get me wrong........I don't knock books........but what works for one, may not work as well for another. now, if they came out with a book of common rigging diagrams, complete with the names of each line.......I'd be all over that in a heart beat!
-
you gotta laugh Mario.......if you don't, it'll take all the fun out of it. I finally have some breathing room, and can look through the site nice job your doing so far........keep this up, and you'll be doing a scratch build before you know it! really looking good!
-
love how you do some of these structures Paul.......it just goes to show you how much detail is not there, when smaller kits are built. it also shows just how many parts are involved! great job!
-
just like a kit...........hurry up and build the boat..........so we can hang you up with the rigging! LOL! that's the major difference between plastic and wood kits..........if they showed you everything, you'd end up with a very thick volume! we'd be building these ship with chapters, rather than steps.
-
perhaps I could start up a new business Augie " Popeye's Bobbers" LOL!
-
in light of all this.........can you imagine the stress the skier would be under.......grabbing a buoy while holding onto the rope...........holy dislocation Batman!!!!! "bring'er around Ralph.......Bobby tripped on a buoy again!" I always knew that guy had two left skis!
-
thanks Frank, John and Patrick! they'll look even better when I get them striped and in place. you know.....this really isn't such a bad idea.......posting a dual build like this.... my only suggestion for anyone planning a future build of this nature, is to do 'like' builds.... battle ships, sail boats......etc. this sort of a taffy pull brings up some pretty funny comments...... I can see that anyone who read this build log in the future better have the bathroom close by........'cuz their gonna wet their pants browsing through it! LOL! love you guys...........I love a great sense of humor
- 552 replies
-
- 1
-
-
- maine lobster boat
- Midwest Products
- (and 1 more)
-
thanks sherry.....the kit assembles quite well. now I can get set up to do some sail making........progressing right along. thanks for the good word.
-
thank you everyone for your kind word! I'm almost there......one more big push, I think! Patrick and John : you can see how thin those decals really are. I have dealt with ones like them in the past......but not like this! I was pretty bummed when the decal broke into pieces on the backing........I thank Tom and Susan for getting me the decal replacements so quickly.........thanks again everyone!
-
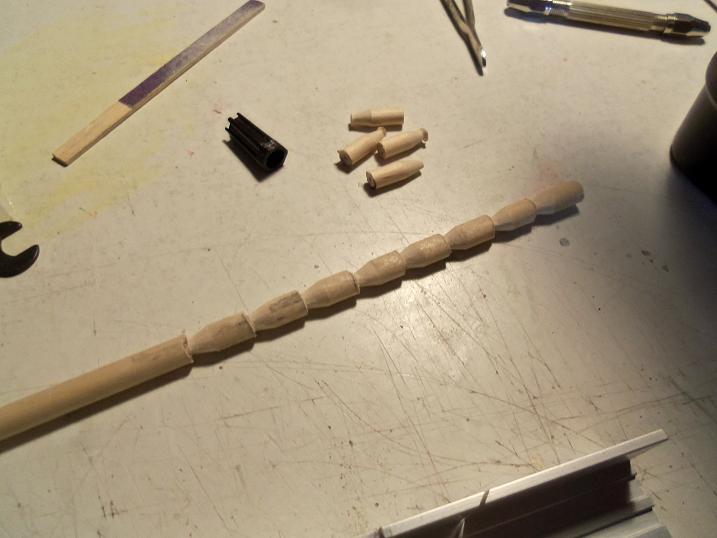
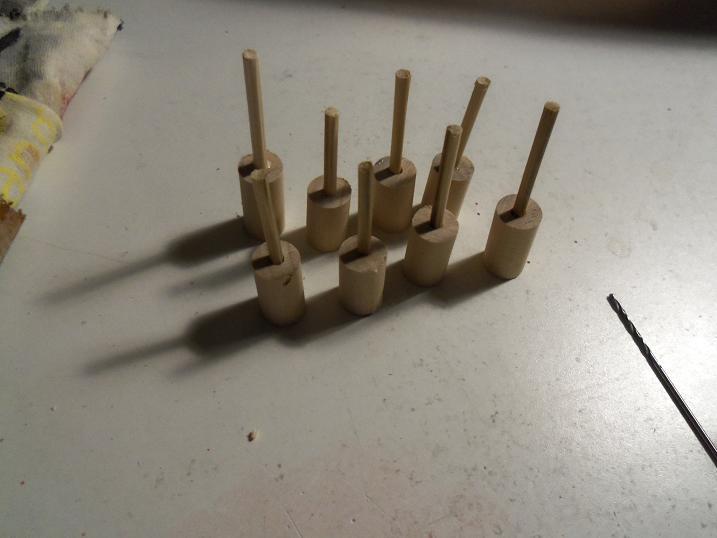
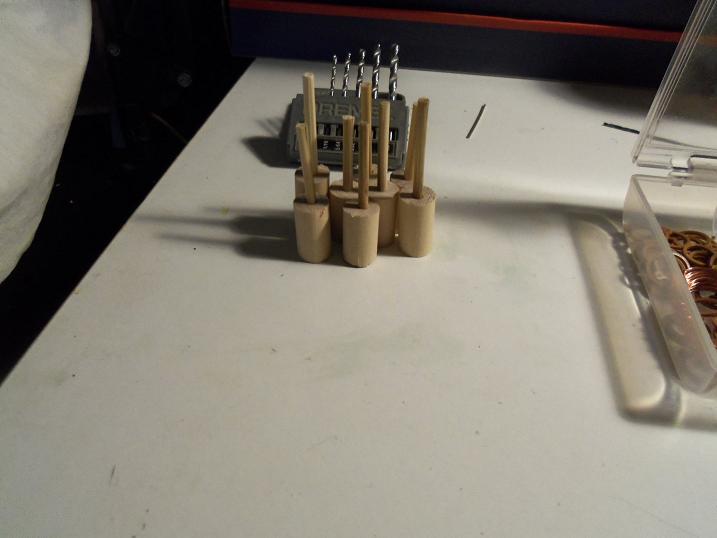
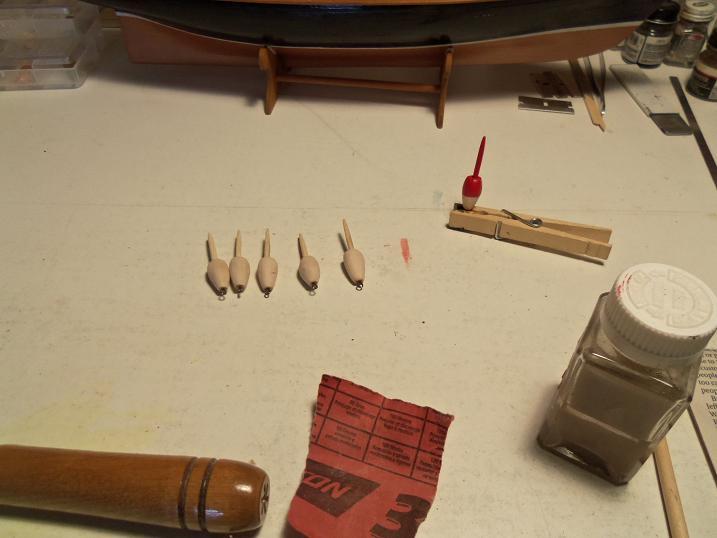
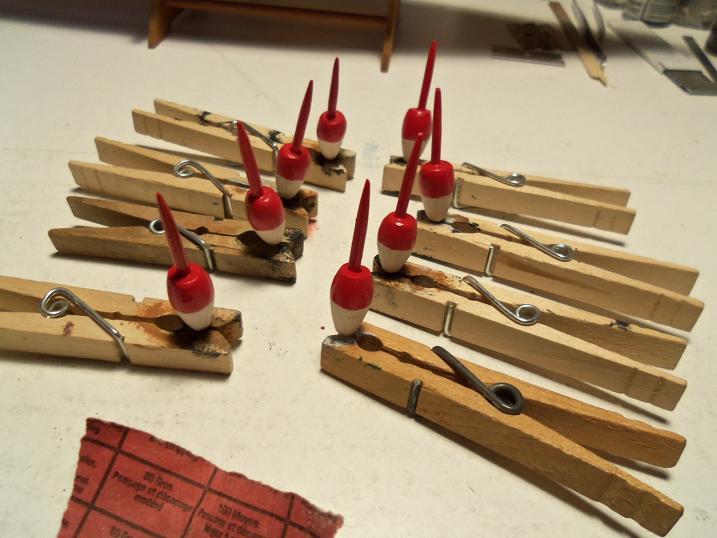
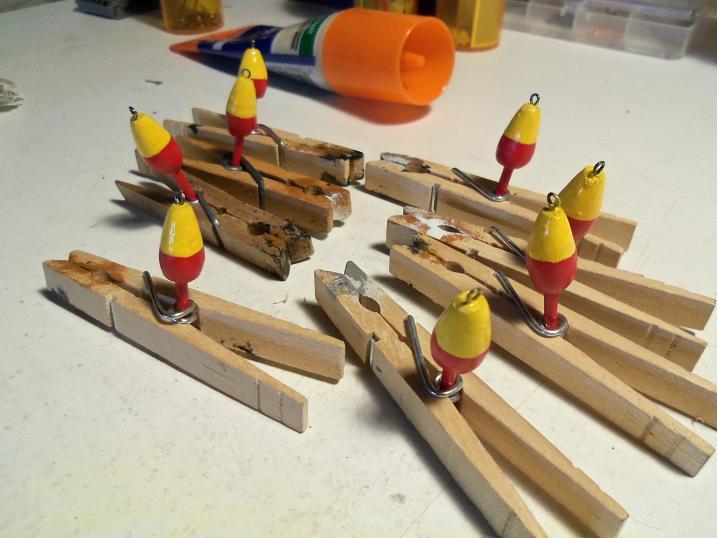
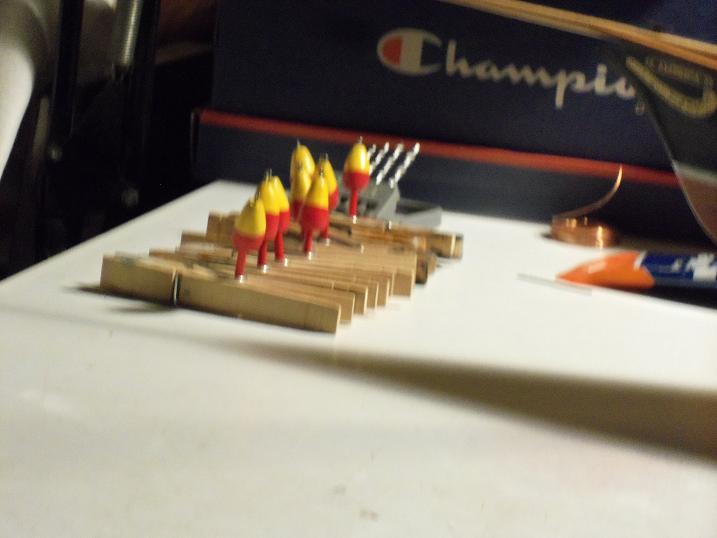
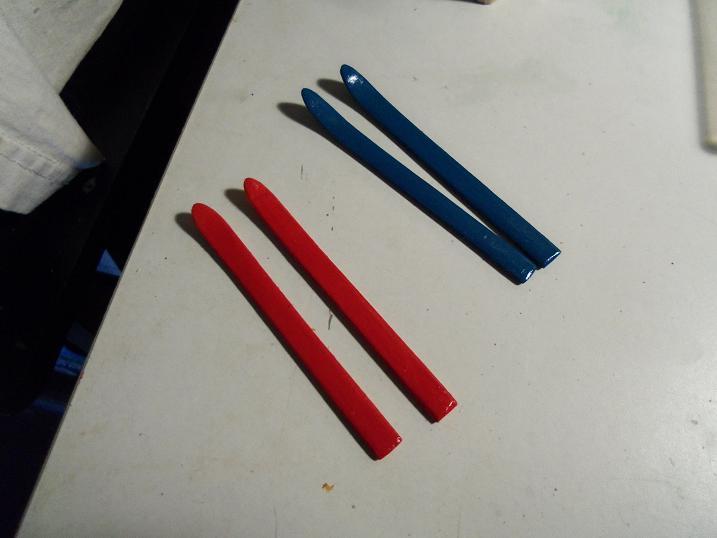
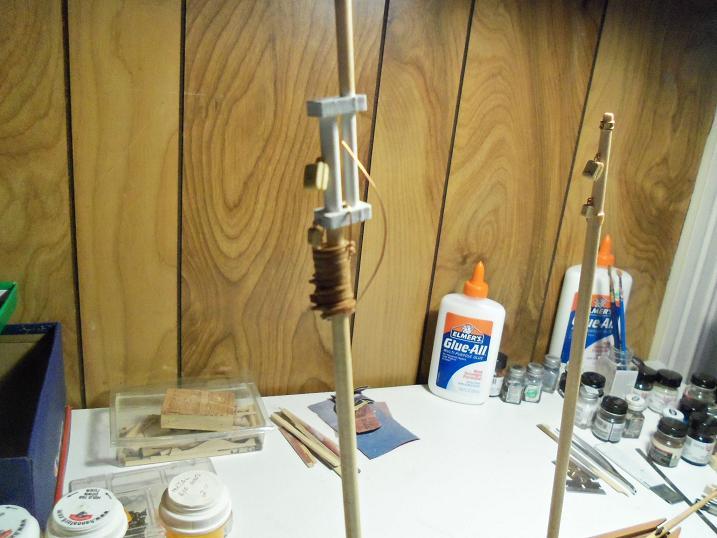
While I've been playing around with the AmericA build, I took a little time to work up the buoys for the traps. the ones supplied in the kit are too big..... I took different size dowel and cut up a bunch of billets. I don't have near enough of the really small dowel.......so I scaled up just a little.....I have plenty of bamboo skewers. I was going to drill through to the other end, but I didn't have a way to get them on center, so I just drilled one end. After shaping them with my dremel......I had to sand them the rest of the way.....I made eight of them. I already put the first color on one of them after they were all sanded, they were painted the first color then they were given the second color later I will band them with white, and paint the eyebolt on the end, a flat black. I'll have the five for the traps, and extras to stow in the compartments with some rope. I hope to find some time tomorrow to make other fittings for the lobster boat. as far as the Phylly C .......I didn't do much with her at the moment. I did manage to pair up the skis and paint them. I want to do a bit more to them, as well as the bindings. I'm still thinking of other aspects to put in the build.......I'll get back to these two soon!


-
thanks Augie..........I almost forgot......I have to get the rudder on there too!
-
I think you'll find that most instructions are pretty vague........Billing's seem to get the high honors with this.... the thing is to understand what it is that they want you to do. it is good to read well ahead of the step you are on, so you'll get a good idea how the step your doing affects the build later on. not to worry though.......after you've done a few, you'll start to draw your own conclusions, as for what to do.....and when. I get a kick out the the 'suggested level' that a kit is intended for. the kits I've built so far {except for the Nordkap} have been advanced beginners kits. you not going to see a wood kit that is 'snap together'.......even a seasoned veteran, would find challenge in most of these kits.
-
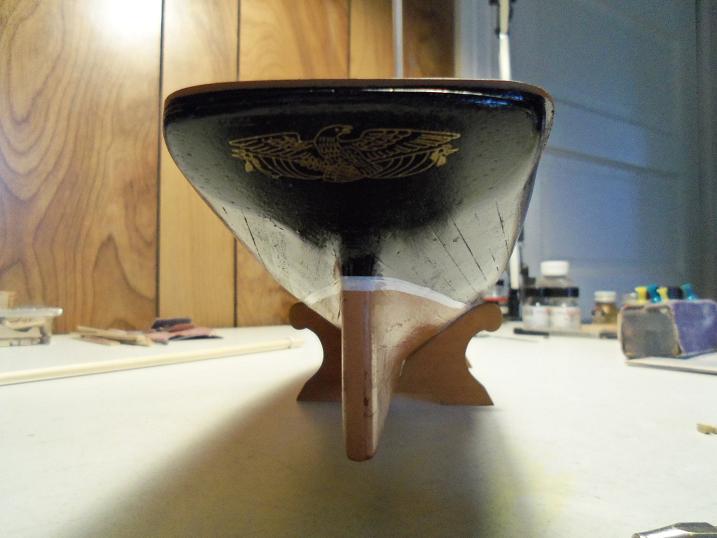
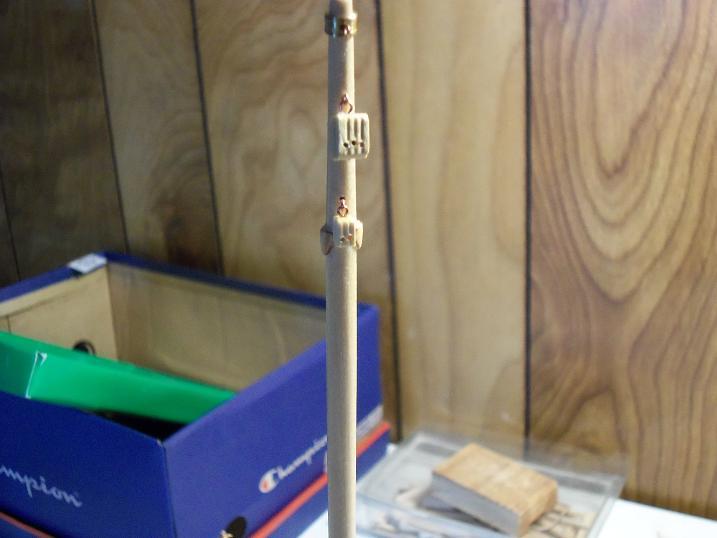
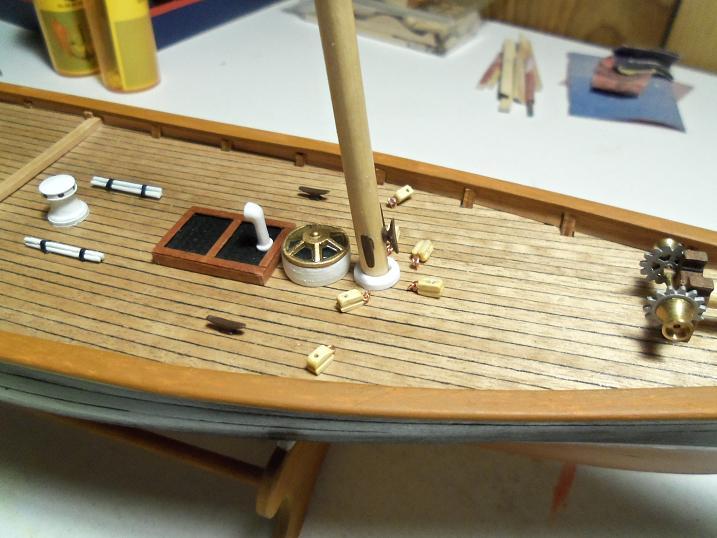
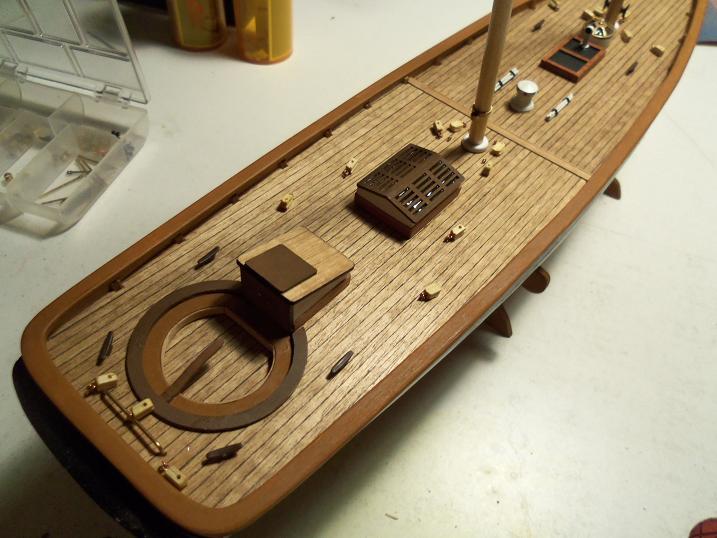
well.....anyway.....I have not been idle. I would have liked to see more done, but I did as much as I could fit in. to start of with..........the eagle has landed! I sprayed the decal sheet with bonder, and I affixed the eagle in place. blocks were set in place at the aft section of the deck the fore mast has already been painted with clear gloss to bring out the wood grain, and fitting are in place. the tripple block and the double block is in place as well. blocks were placed at the fore section the main mast was fitted and painted as well....when it was dry, it too was cemented in place. the only fittings left to put on.....are the cleats for the main mast. I did forget one little thing though.........can you say..........mast hoops the fore mast was easy.......all i had to do was remove the triple block. but, for the main mast.....it was a bigger project. I had to remove the mast and the mast step, in order to put them on. footnote: no model was harmed in this process the hoops were wired to hold them at the top of the mast, so it could be cemented back in place and the cleats installed. the booms have to be done......and then, I guess I'll have to bring out the sewing machine again.......I be mak'in sheet!


-
I have seen some drawings.....but they are inconclusive to me John. I am going with the double blocks for the boom lifts, and I am going to add a third shroud for the main mast {it seems logical that it should have them}. pictures I've of a Mamoli kit shows that it doesn't even have a main sheet horse........just two sets of double block pulleys.....one port and one starboard. seeing that I already have the horse in place....I'm going to leave it.......I'll see how it looks. that's funny Pat........I need all the help I can get! I's a landlubber, don't forget.......
-
looking good John
-
it's not a big problem Augie........just a few thing that don't add up. same goes with the shrouds......on the main mast, they show three shrouds........I'm going to put the extra one in.......since there are two steps to the main mast......it sounds logical.
-
I'm like Sjors...........pictures........pictures........pictures......PLEASE!!! I love eye candy@!