Adrieke
-
Posts
1,625 -
Joined
-
Last visited
Content Type
Profiles
Forums
Gallery
Events
Everything posted by Adrieke
-
 thank you Popeye, Dragzz and Robert Popeye not sure what location pins are . will look it up thanks for the suggestion Dragzz , i have thought about velcro but there is only minimal space between the deck and the celing inside . thats why i had to insert the magnets into the deck the problem is that although the front and back have a magnet to stick the middle bit is loose. in the end i might have to just gleu the deck down and not worry about ever opening her up
 -
i l be following closely too
-
thank you John . i am still learning to be more patient and take more time .
-
thanks Dragzz but when i started the lights i didnt know anything about it myself.
-
she is about 95 cm just over 3 feet
-
i have glued the first 2 painted parts on to the deck. they still need a lot of work. i am adding all the detail to it now (doors,windows,handrails) instead of following the instructions as i think it wil be more difficult
-
i am slowly getting back to the king . cleaned up my desk so i can work on both my current builds i have sorted out the big steam stacks. they wil lfit nicely now. the deck with the steering cabin is giving me a bit of trouble as the idea of holding it down with magnets isnt working out too well.
-
I l be joining in too
-
hello Dragzz it looks good but it is actually not a window but a vent . the 2 big steam stacks will be right on the inside of them
-
either color looks good to me Robert
-
no building update worrying about my mother in laws place . (she passed away last year but my brother in law is still living there) its at Lake Munmorah and they are trying to contain the fire there just behind the house also other relatives of my wife live in Winmalee and we are trying to get to know if there place is ok (we know they are alright since we saw them on TV when they where interviewing some of their neighbours)
-
looks really good . the extra framing of windows and doors makes it look so much better
-
first of all thanks all for the comments. no bushfires near where i am at this moment so i am safe but keepign updated on the rfs website Wayne. i think i confused you i was talking about the part i was painting . i will take a picture soon so i can show you what i meant hello Popeye they sit on top off the deck the 2 side bits is where 2 off the lifeboats will fit on. there is no cutout for it
-
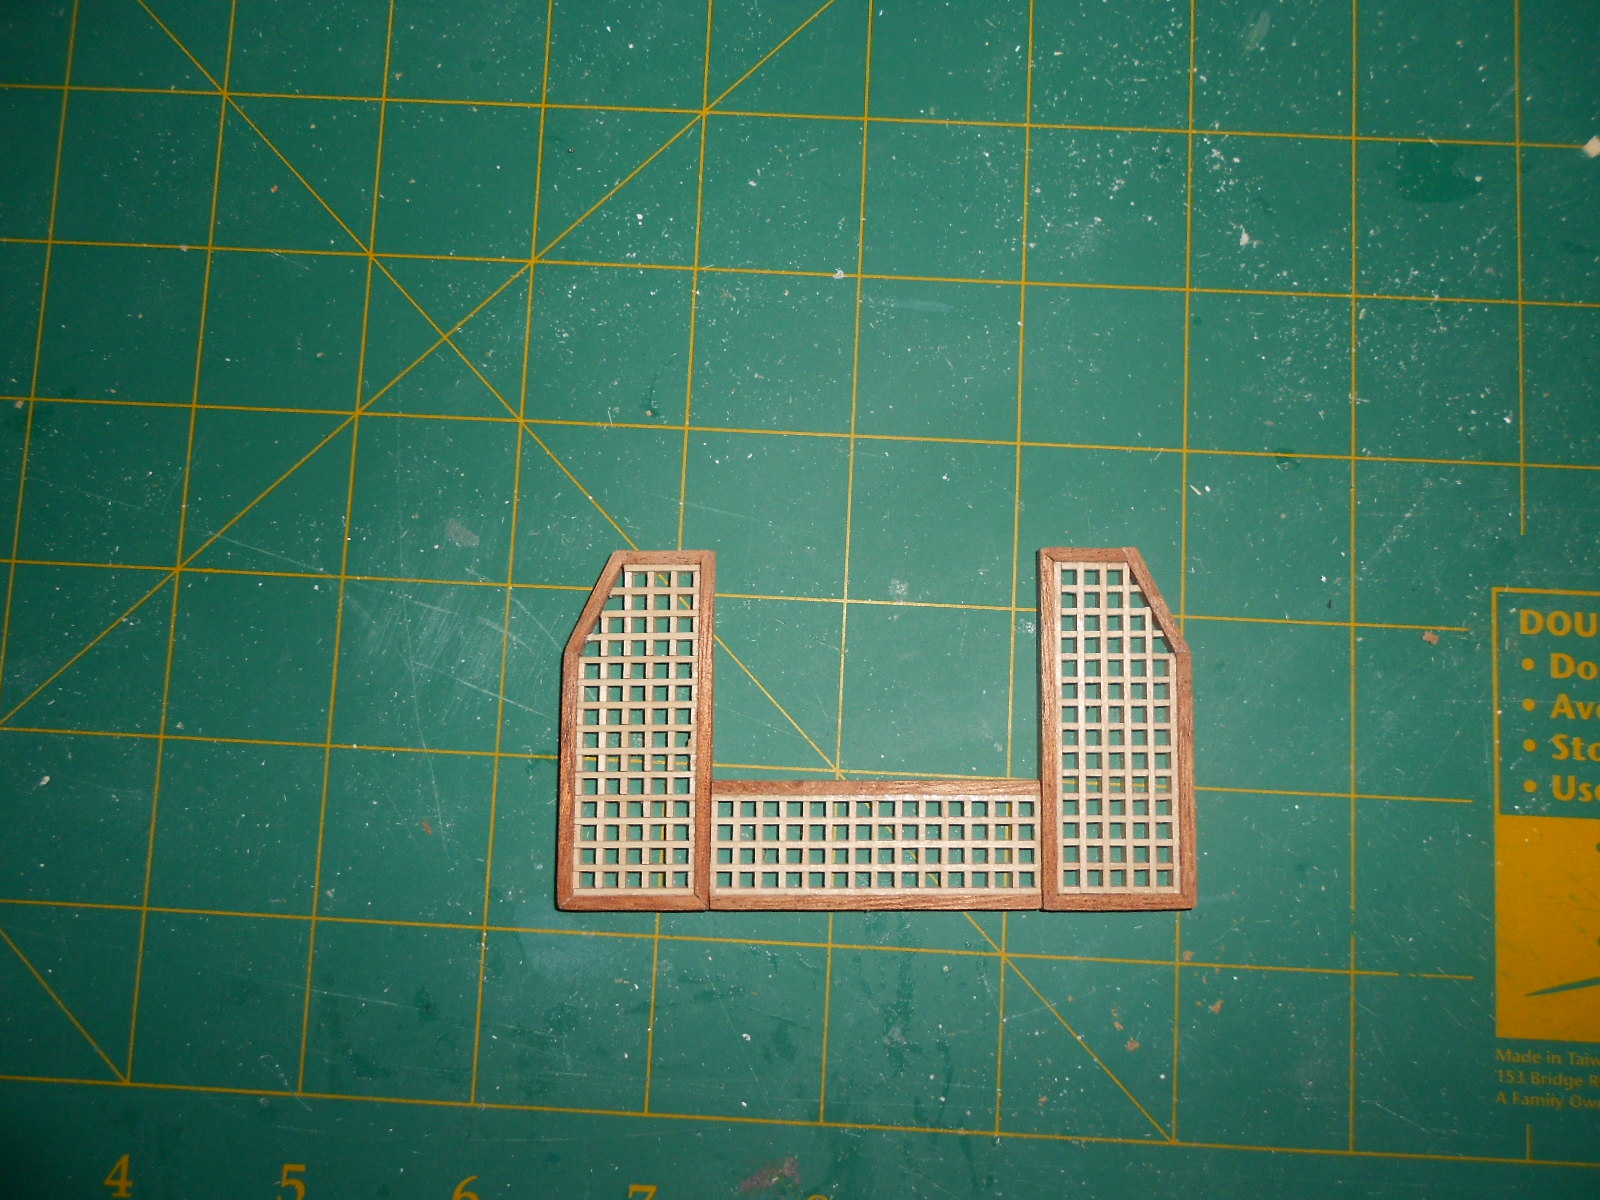
finished more of the gratings tonight i am still practicing the spray painting. i was going to show some parts but the photo turned out blurry. i cheated with this part as instead of removing the previous paint i just turned it over (the back wont be seen once the model is finished)

-
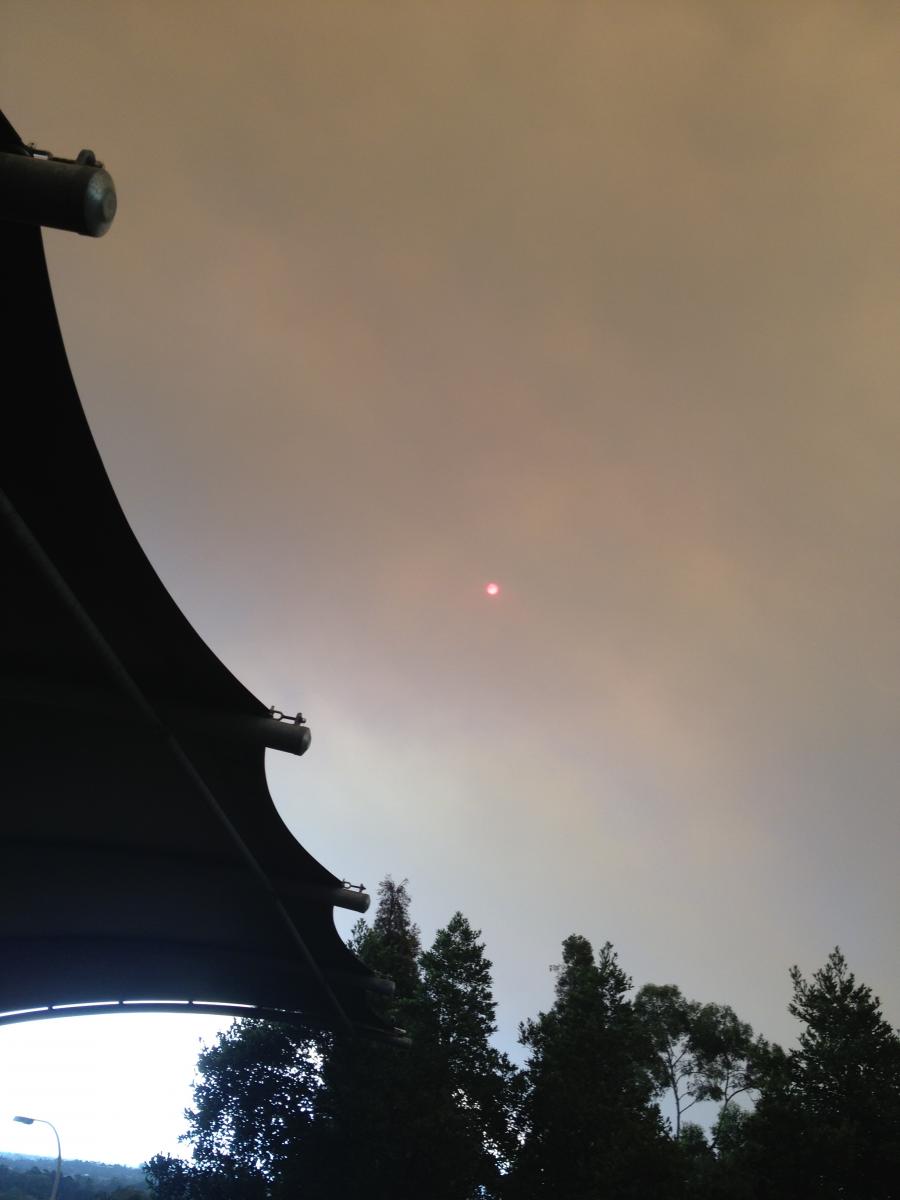
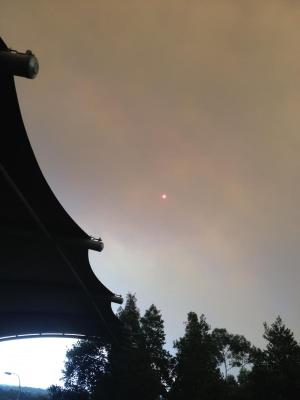
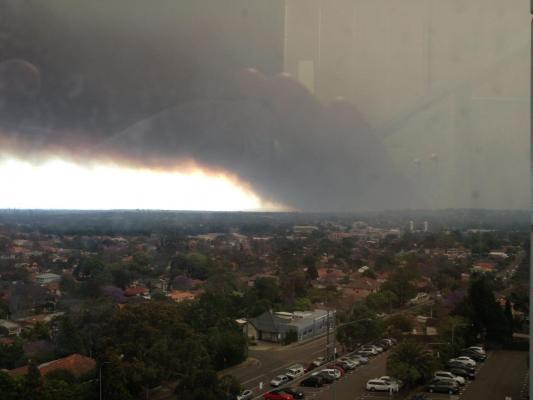
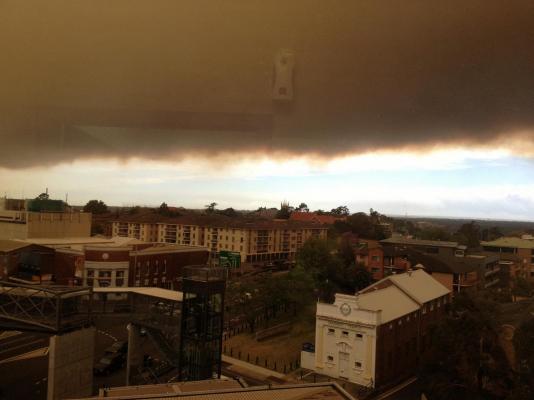
I am sure most of you are aware of the devastating bushfires raging on at the moment properties are lost but hopefully no lives some pictures I took from my place of work this afternoon the sun barely visible as a red circle rising smoke from one of the fires near the blue mountains (far far away) the smoke cloud drifting towards the centre of Sydney
-
when i was in the early stages of building my kom i got lots of help from people here on the forum so i am happy to help out where i can you have tackeld the warped deck pretty good . i cna see this is goign to be a very nice model when you finish it
-
better check the doors too as with mine the openings where not high enough
-
hello Richard you l need to submit a post for every 10 pictures
-
hello Al i varnished the lower 2 decks after adding the rooms. i marked out where anything need to go and drilled some holes they give more grip when gleuing them to the deck for the top one i am waiting til i have the furniture inplaces as they are too small to use this method
-
hmm i saw your post Popeye when i put my last one in (and yes it was a hoot ) no this is the paint work on the structures that need to be in place before the top 2 decks can be atached ( ill take a picture of it when i am home )
-
hmm seems Ferits last post is gone i am totaly not satisfied with myu painting efforts so far. i thought i sanded the piexes well enough before spray painting but there are too many irregularities. i am seriously thinking of removing all the paint and starting again the gratings on the other hand are going well
-
very nice work on the masts Sjors i wonder if there is a website that can pronounce ducth words or maybe find one of the old SJors and Sjimmie movies :P
-
thanks Ferit the instructions only say to cut off the corner but it might look better if i do what you suggest . i might have a look doing that on the other piece and if i am satisfied with it i can redo the other one thanks Mick they where actualy easy to make . OcCre instructions make you assemble them first then apply glue with a brush on top. this makes the glue soak into the cracks. when cutting to size i used exacto knife to carefully cut them then apply some more glue with a brush on the sides to keep it all together Sent from my work computer coffee next to me waiting for the daily mayhem to start