-
Posts
1,036 -
Joined
-
Last visited
Content Type
Profiles
Forums
Gallery
Events
Everything posted by No Idea
-
Hi wefalck - I agree but I think that this is a bit too simplistic when ship building. If you have finished the framing and also the inside planking on say a sectioned model it would make sense to apply a finish to the inside. However this finish will inevitably run onto the outside of the frames and also if you want to finish a lower deck it is far too easy to apply your finish higher up the hull. The finish is also a preservative in my mind so I personally would like to apply it in places that are hidden too. Glue also plays a part in this as it tends to show after the event. I would also like to say that I have no idea what the best time to put a finish on is hence my post. I was just interested what other builders do.
-
Hi Roger I'm building a ship and I want a matt finish and I'm probably going to use shellac - the question for me is when does a builder start applying the desired finish? If the frames have been raised and faired does the builder apply a finish on these parts before the planking? If so how does the glue do its job through the finish? At what point in a build is the most desirable time to start applying a finish as some parts will be very difficult to get too even though there is so much more to do? This is the most important question for me - as the finish itself is more a matter of personal choice.
-
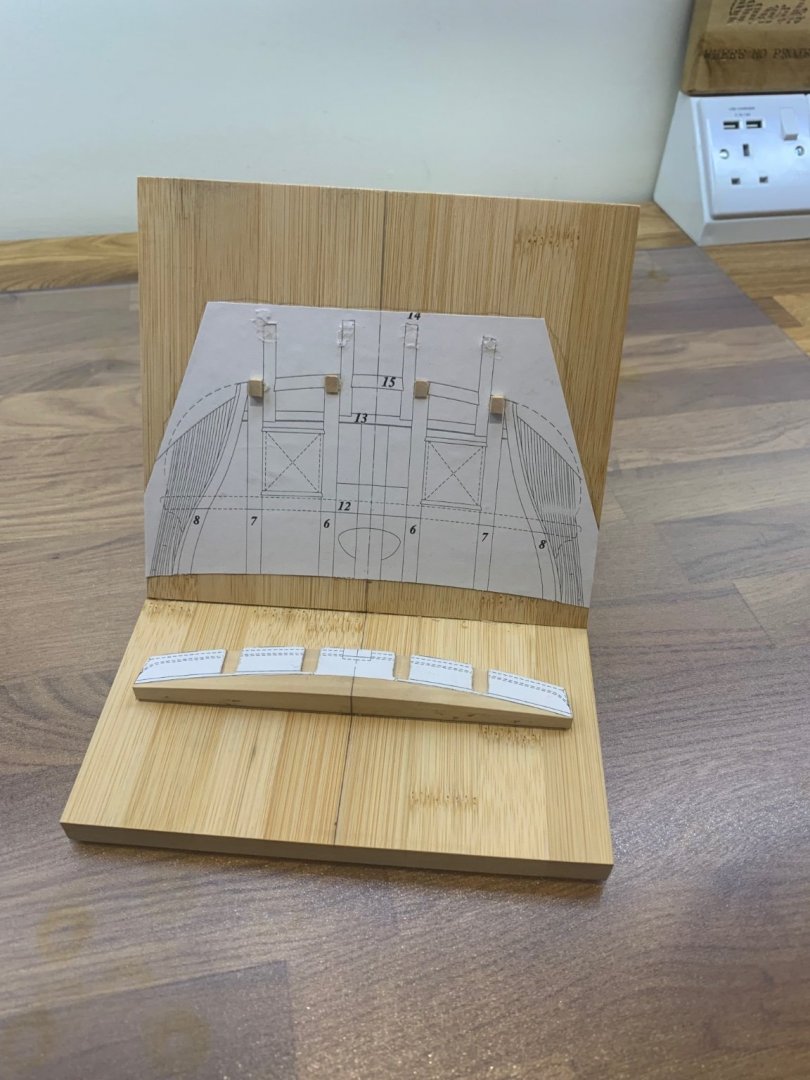
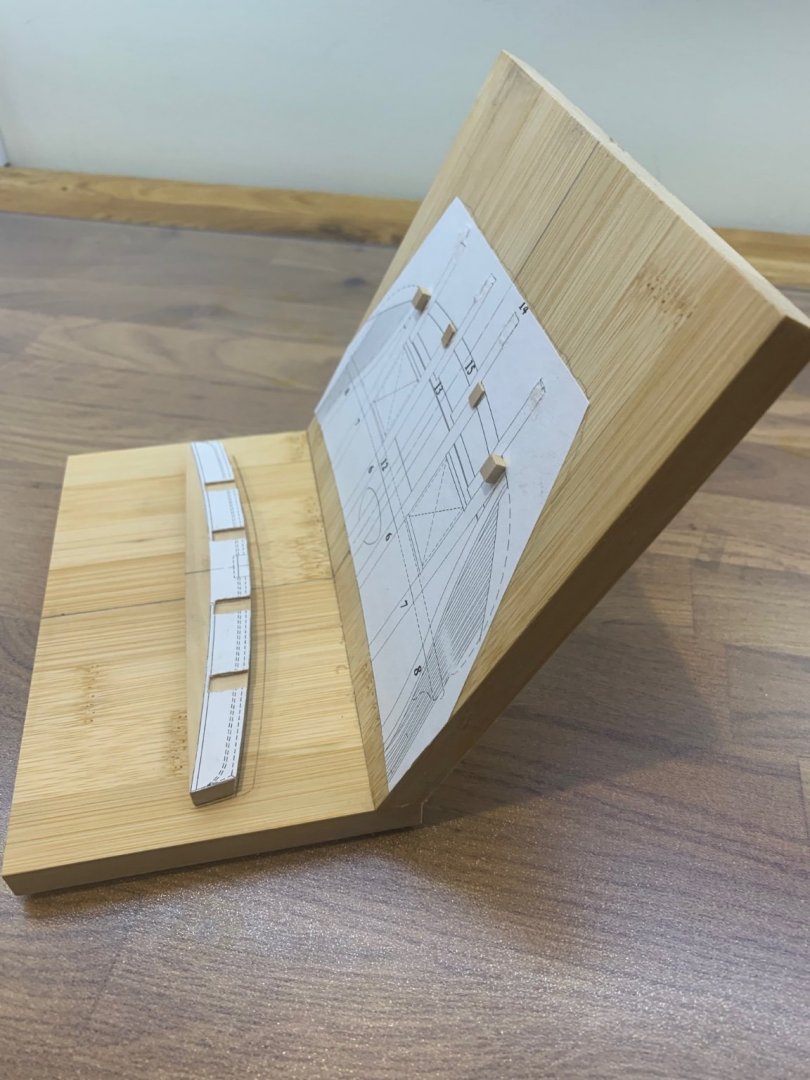
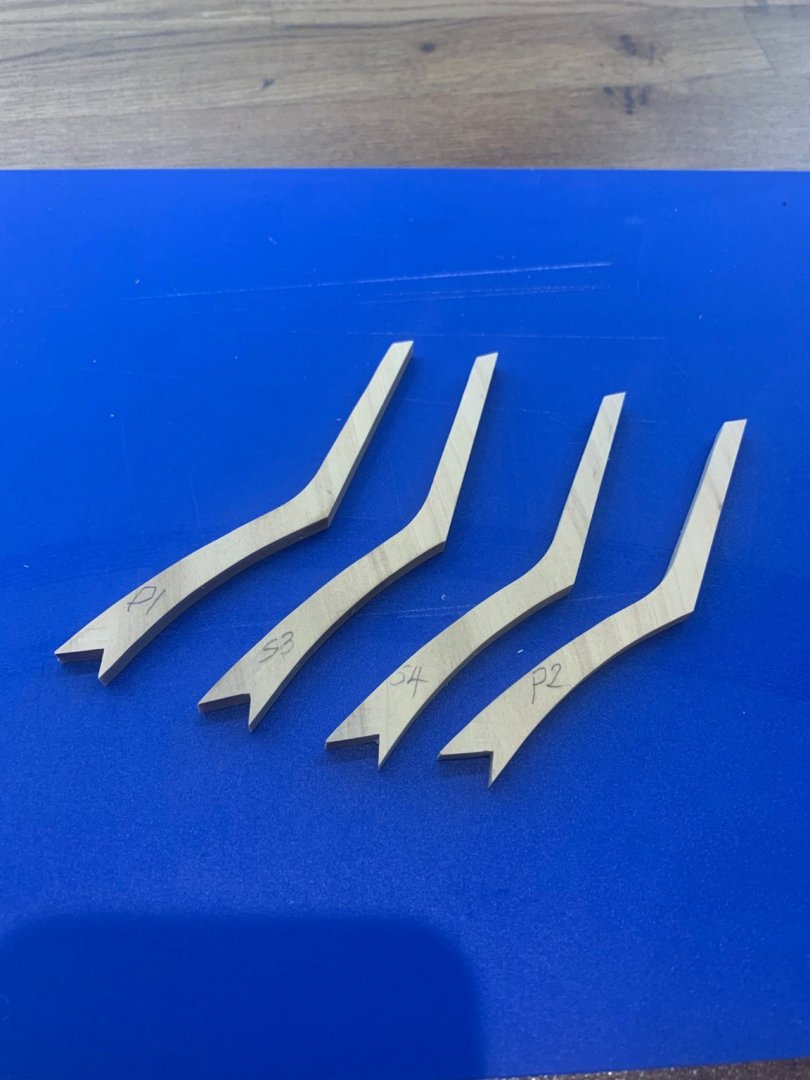
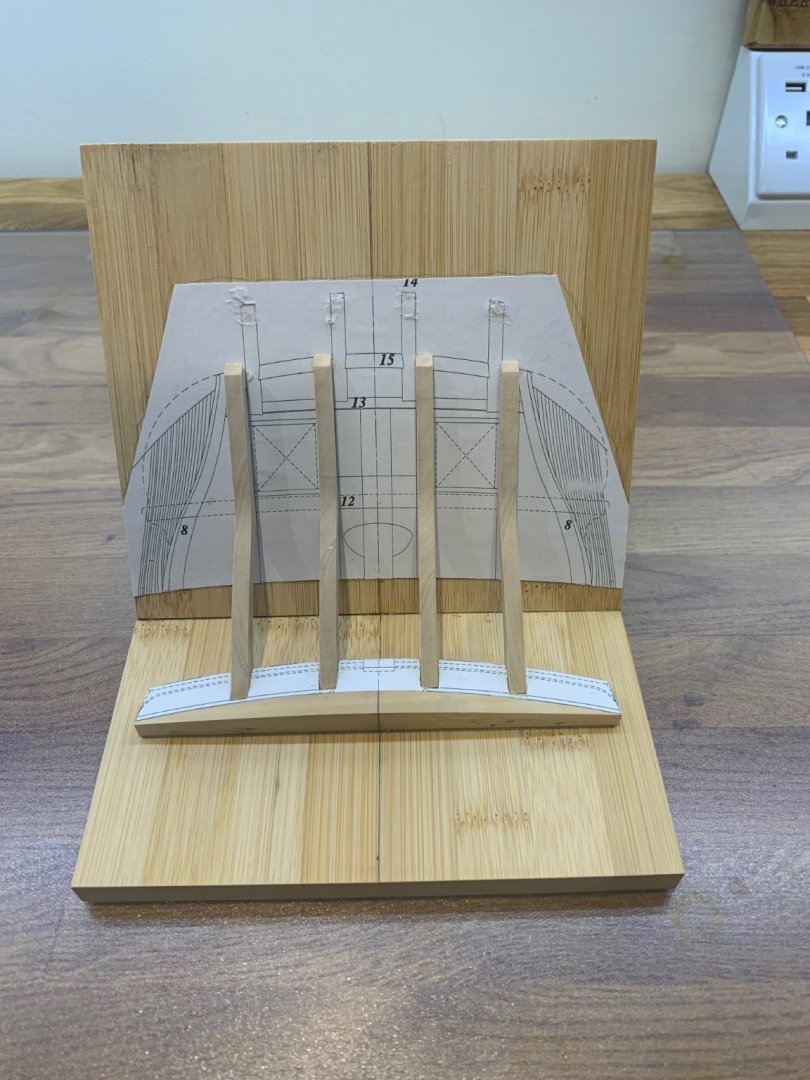
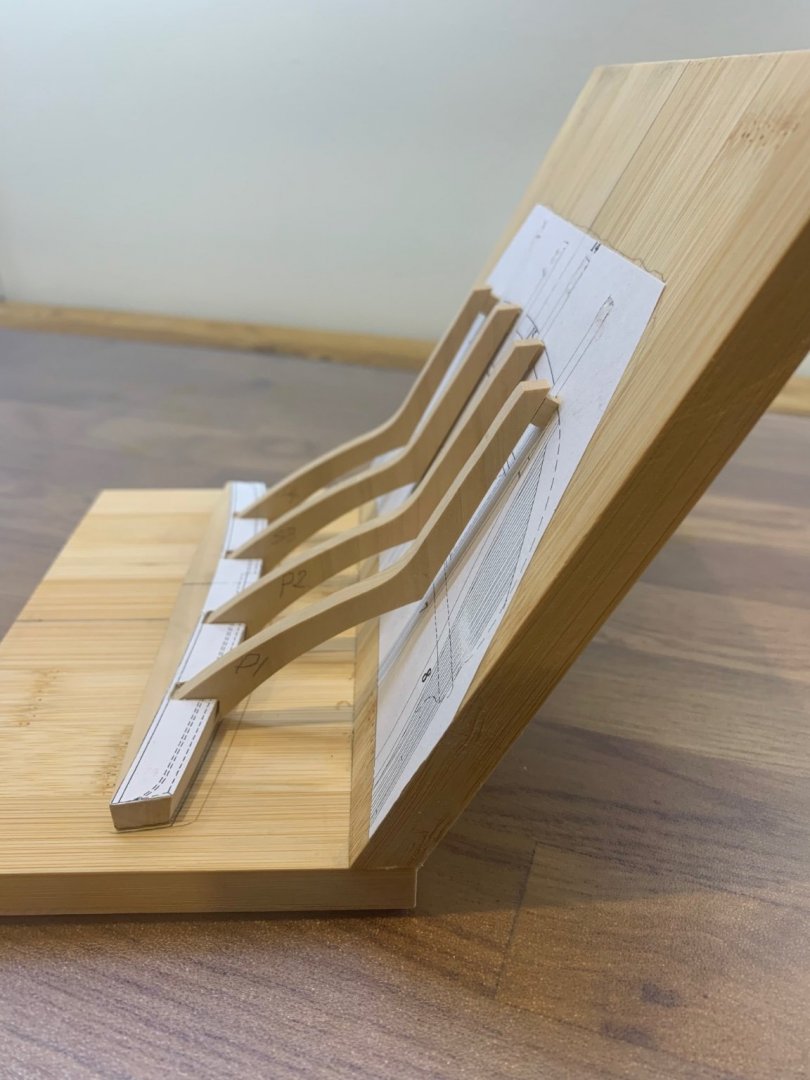
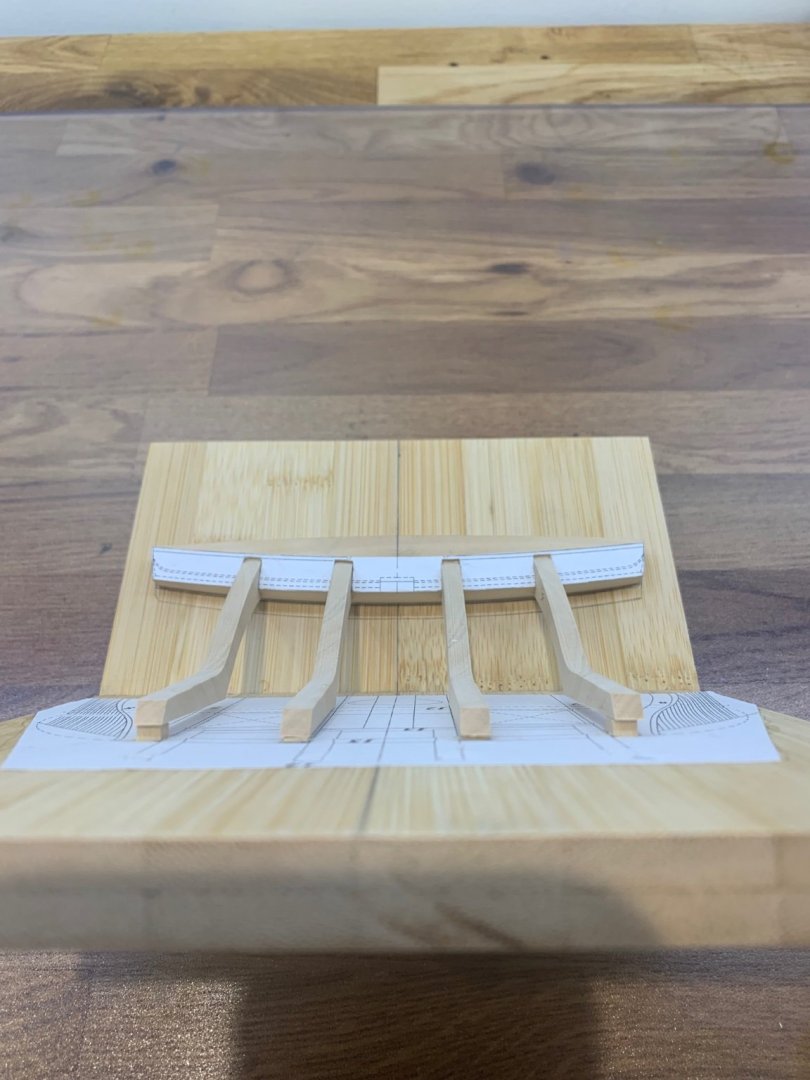
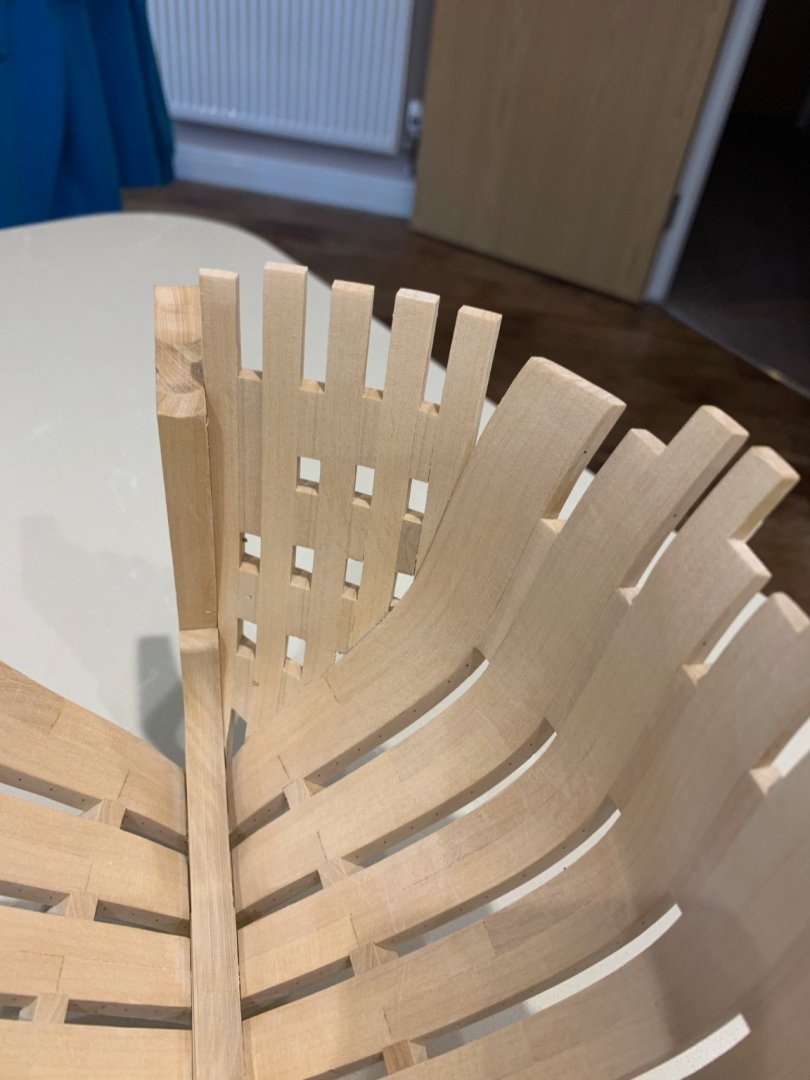
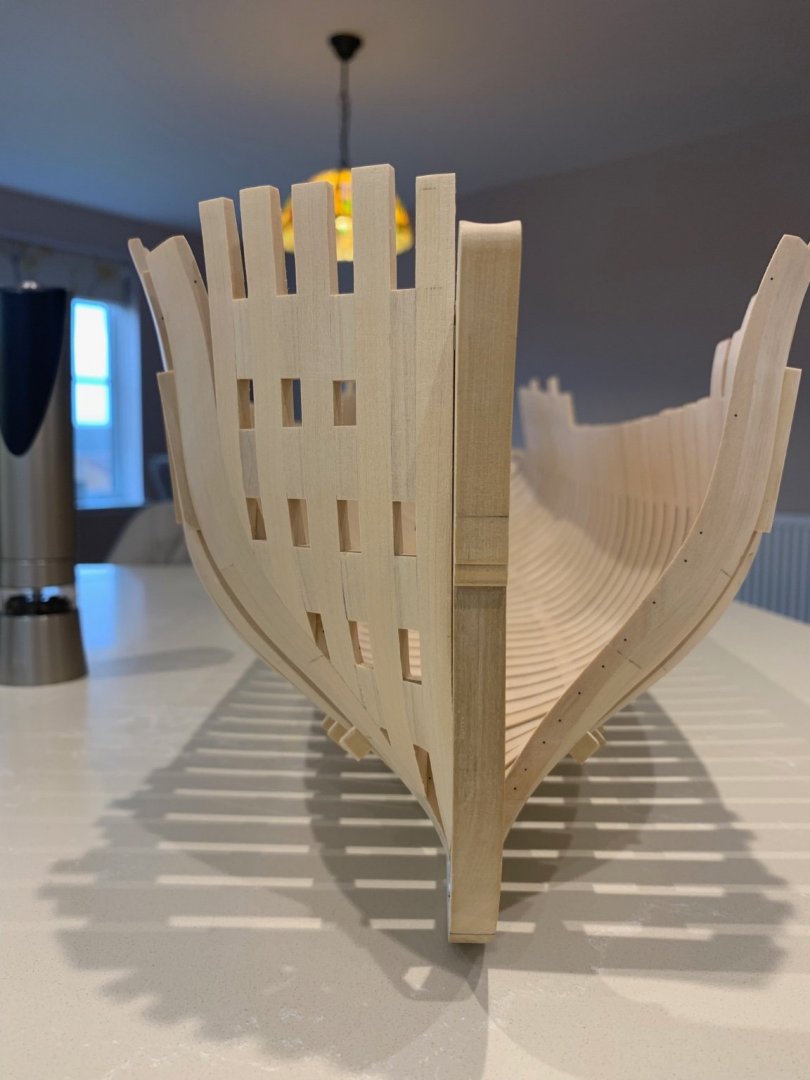
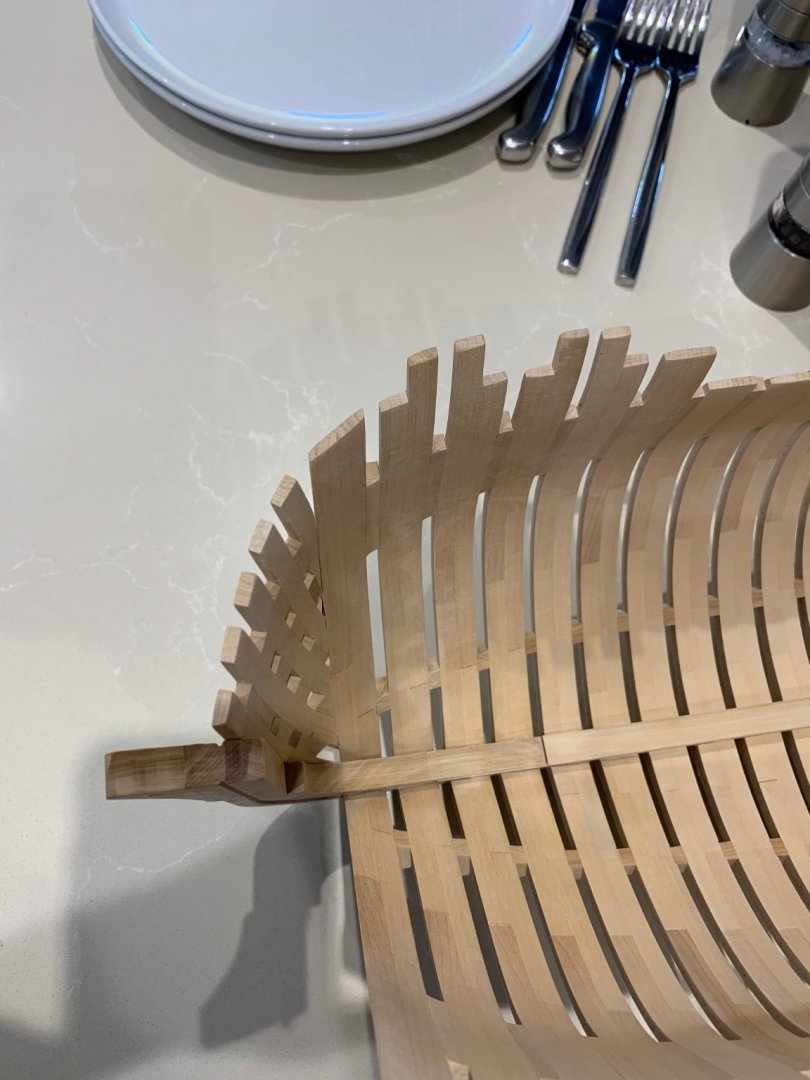
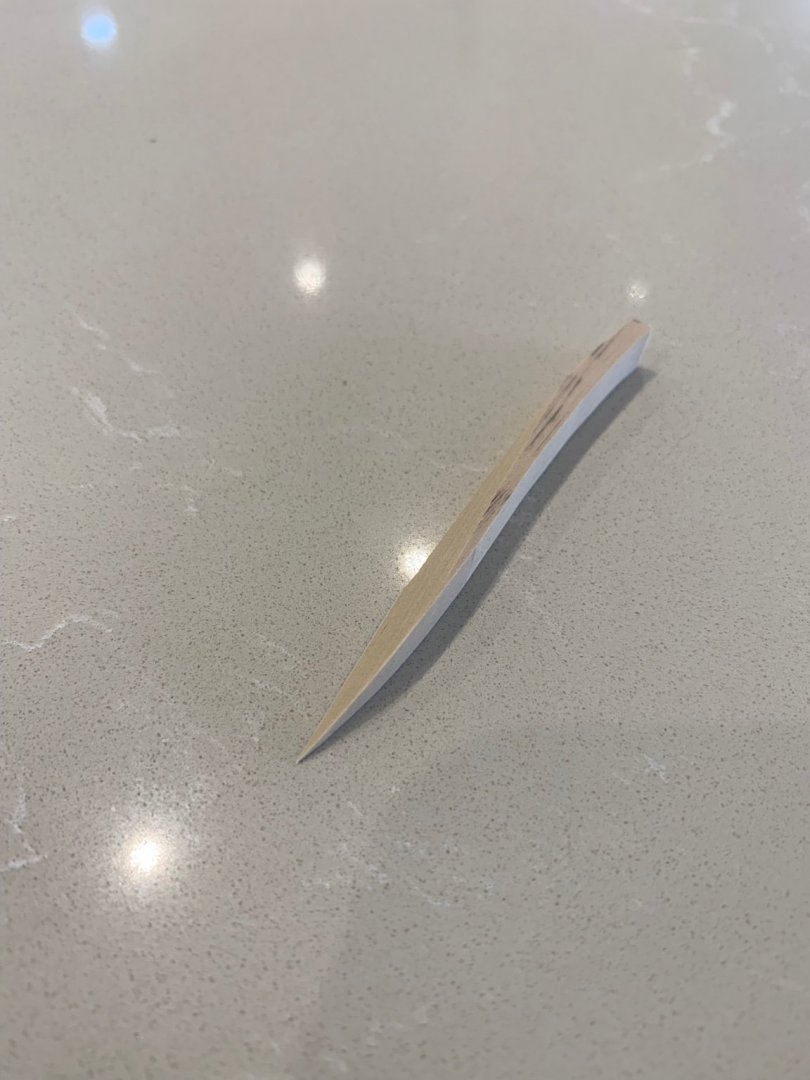
Hi All I've made a start on the counter timbers and I'm back to following Adrian Sorolla's excellent book. He suggests making a jig which involves making another although less intricate wing transom and an angle plate to set the timbers. Once the assembly is complete it is then transferred to the ship. So I set out to make this jig which is actually a bit more tricky than he lets on. Not only do you have to obviously set the exact angle there is a curvature in the stern too. I think the pictures explain this far better than my words but the jig took many hours to make compared to the hour it took to make the counter timbers. So having made the jig I next made the four counter timbers which were by now quite easy for me to make. The results are below and I just hope that they are right. Next up is to make the quarterdeck beam to begin to tie the counter timbers together. Cheers and thanks for the continued encouragement - Mark
-

Brass piano hinges
No Idea replied to Chariots of Fire's topic in Metal Work, Soldering and Metal Fittings
Is this any good? https://www.dollshousemania.co.uk/brass-hinges-12-pcs-5-x-10mm-when-opened-up-diy96801.html -

HMS VICTORY 1765 by albert - 1/48
No Idea replied to albert's topic in - Build logs for subjects built 1751 - 1800
Hi Albert - I'm a bit late to your build but wow!!! Such beautiful carpentry and I love your workshop. Good luck with your Victory and I'll be following along -
Hi mate - you know what they say; measure twice - pray 5 times and just pull the trigger on that drill 🤣 Would you believe I started off with a 0.5mm drill and then progressively went through each size until I got to 6mm. My thoughts were that I could maybe adjust it a bit if I needed too. Mind you lining up 4 holes precisely on a curved surface; you don't need much of an imagination to see the pit falls there!
-
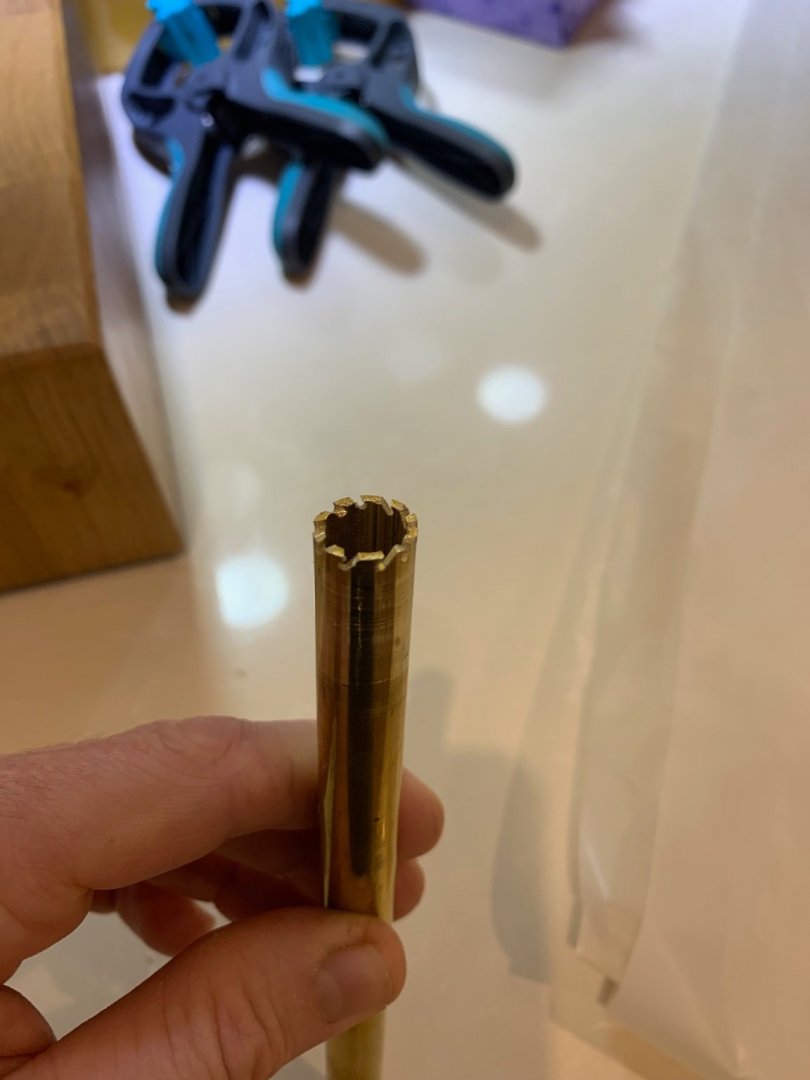
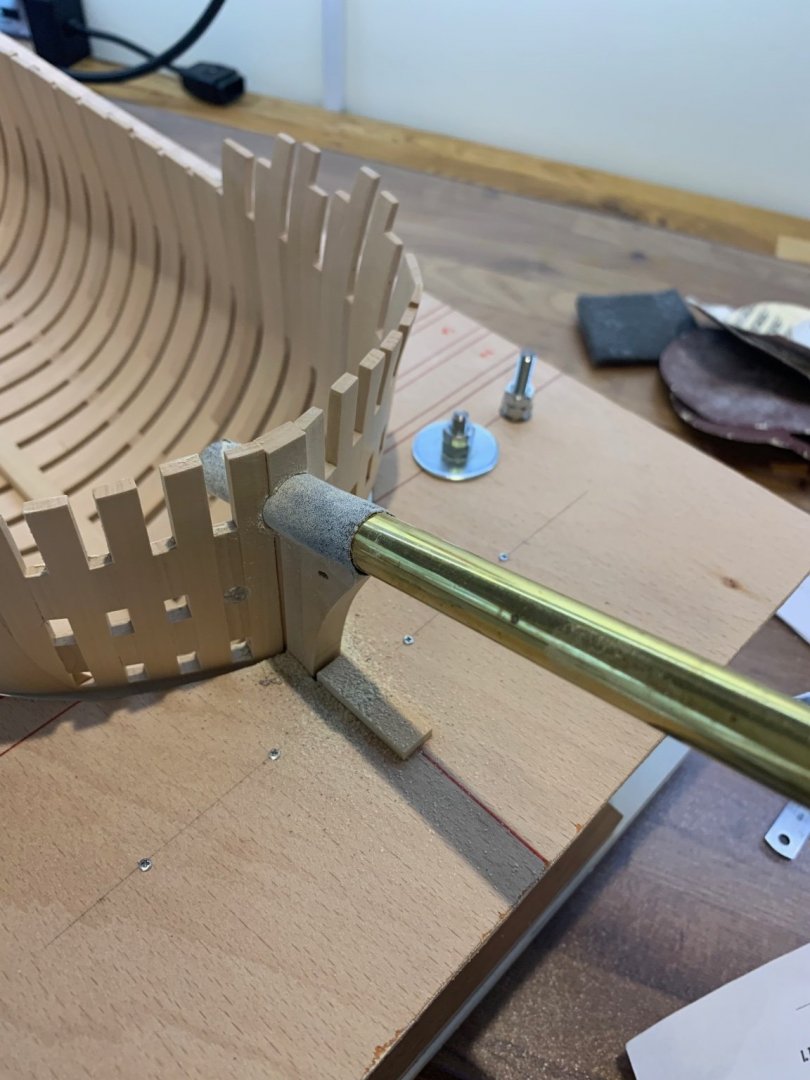
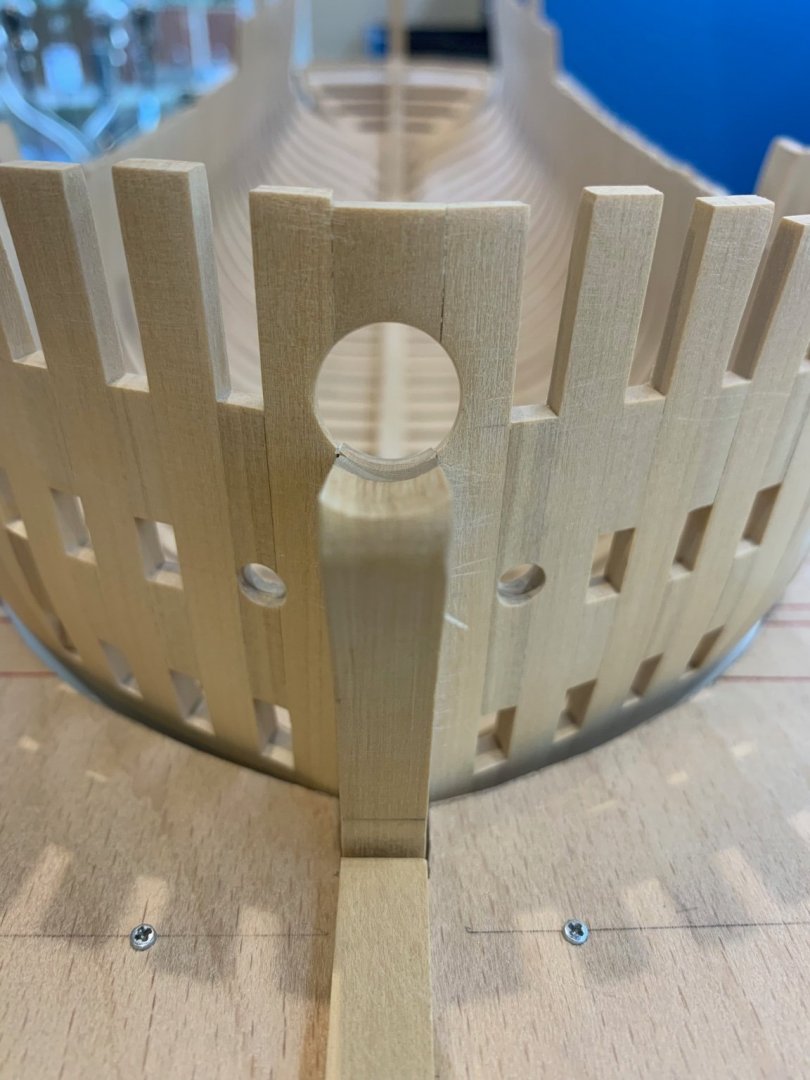
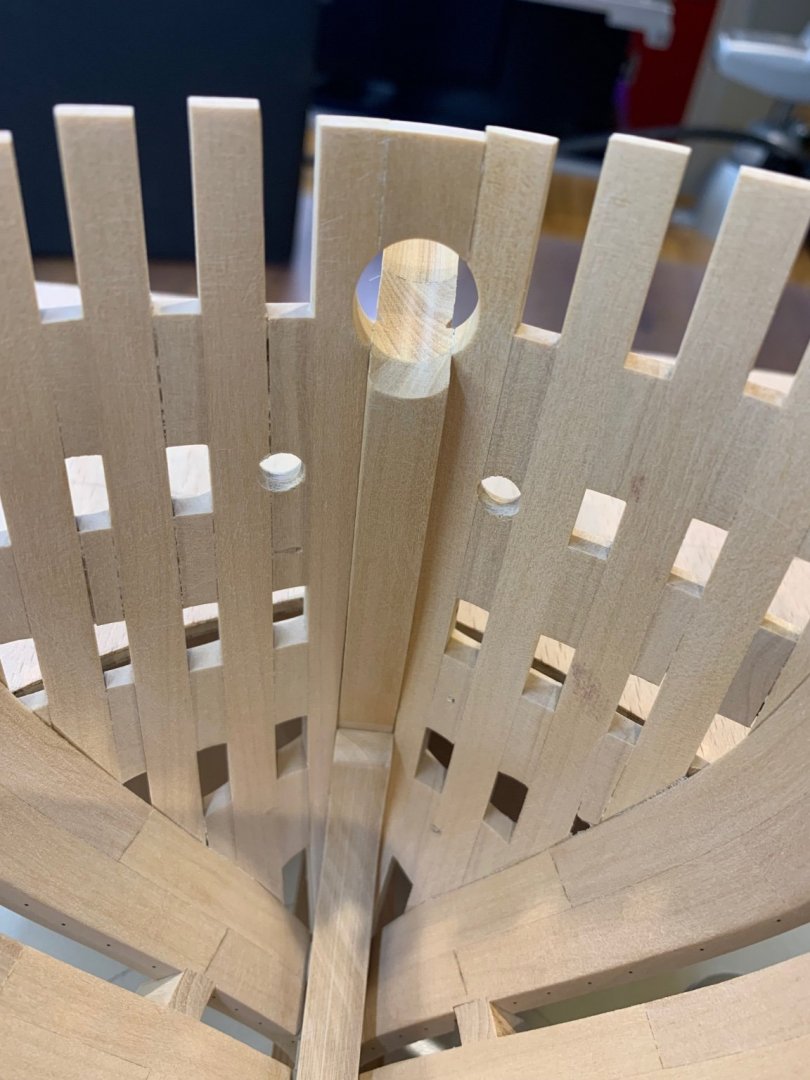
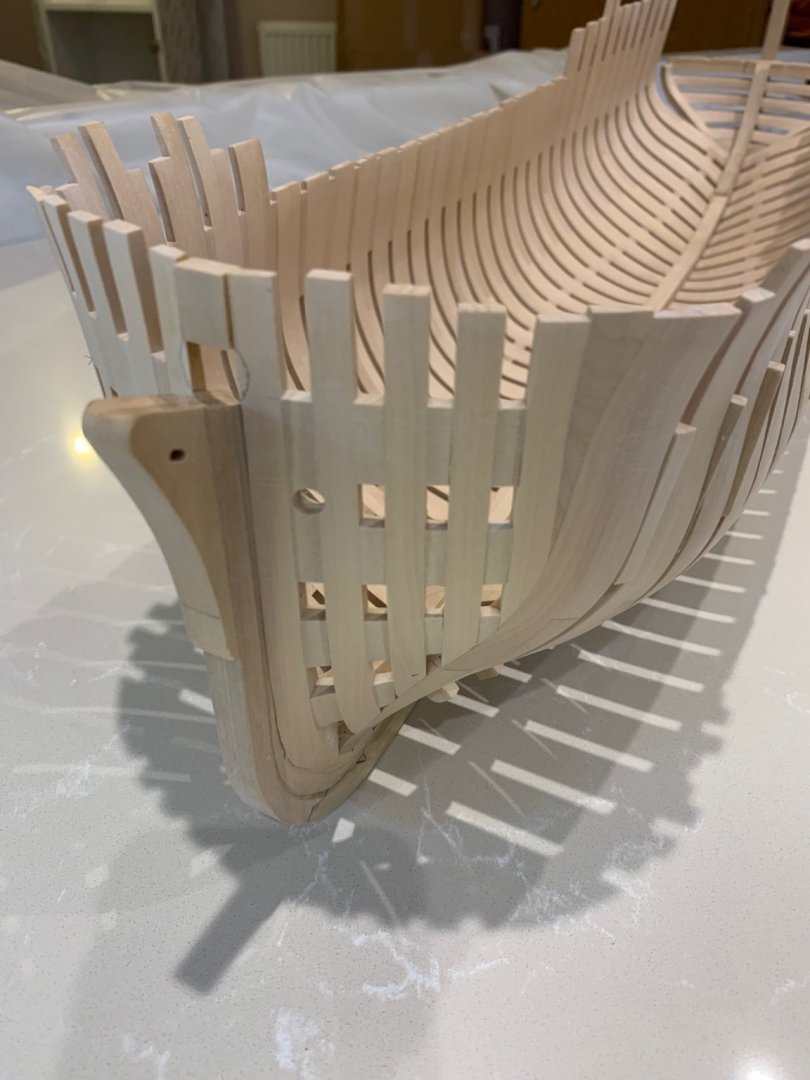
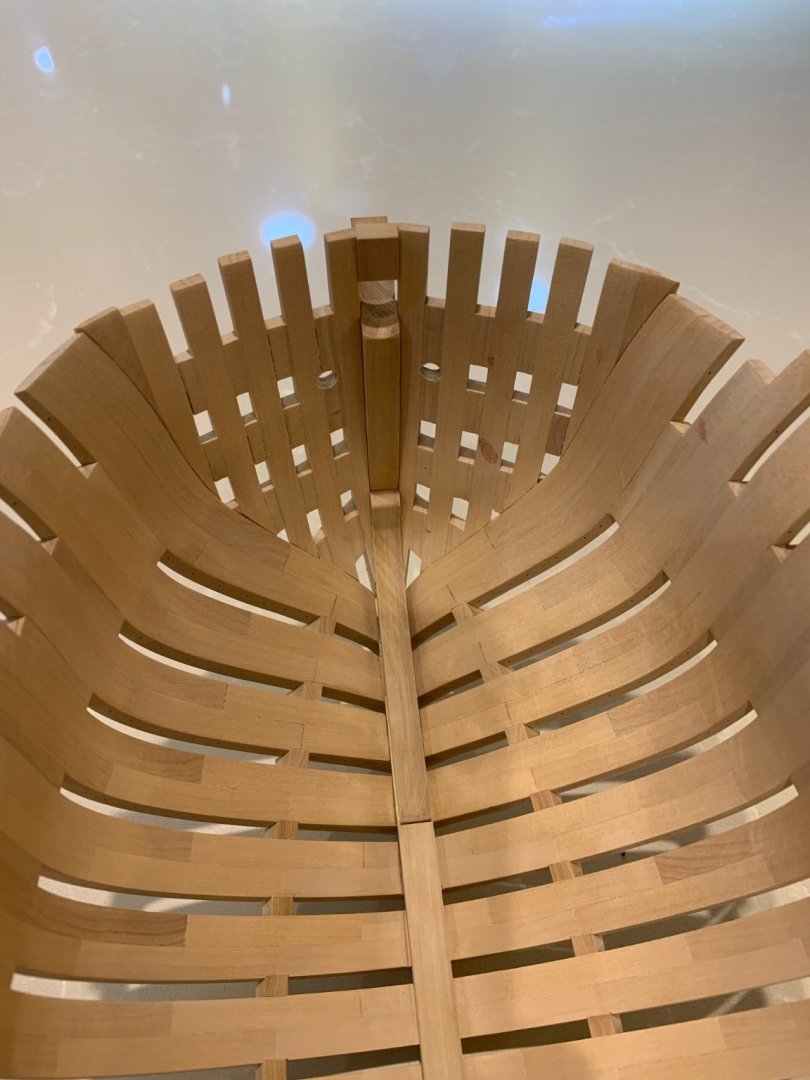
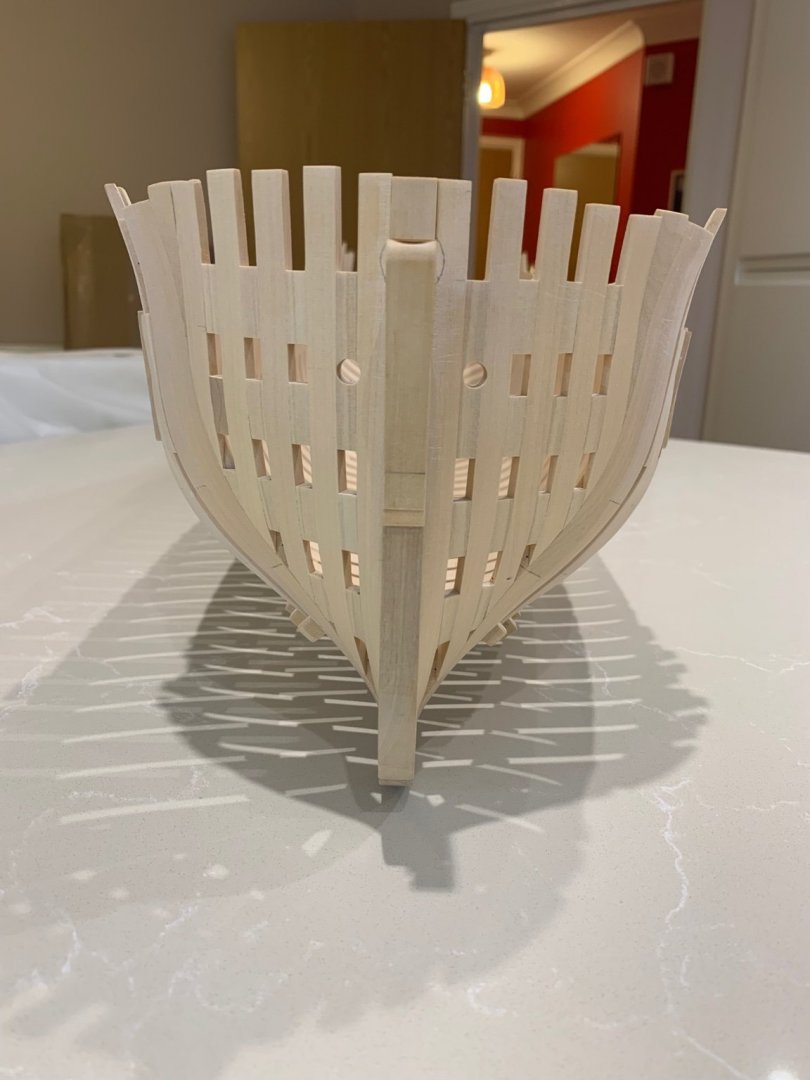
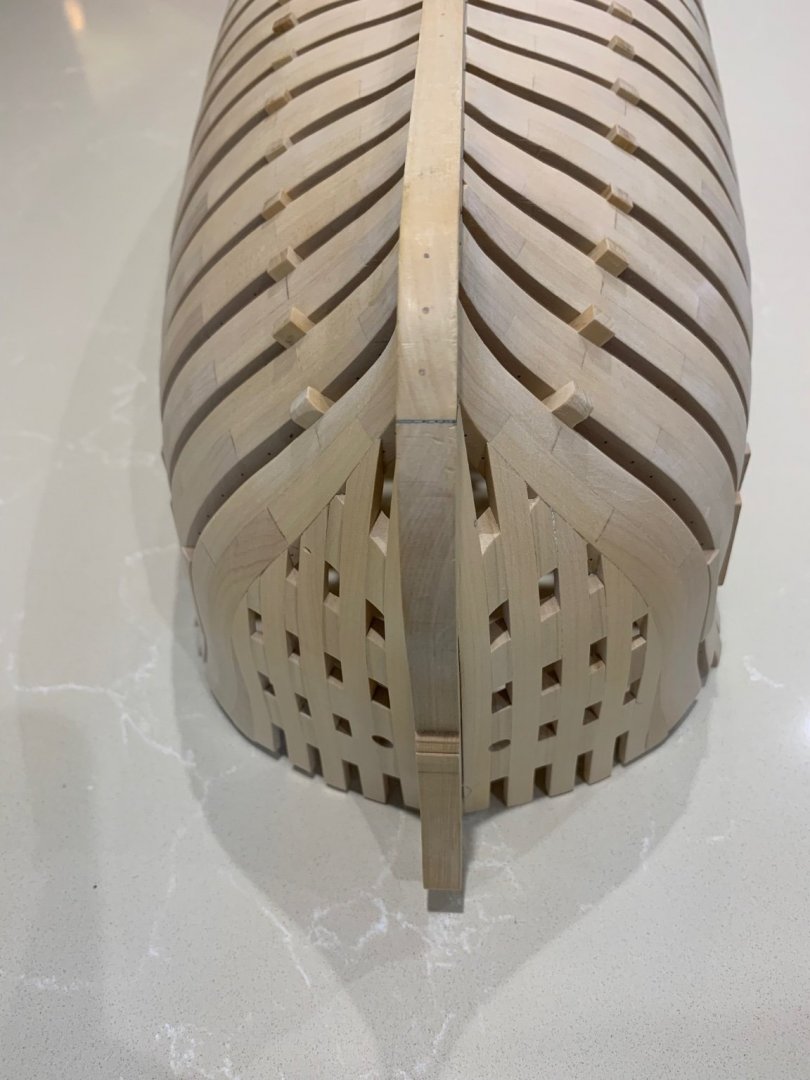
Thanks for all of the comments, likes and advice 👍 I cut the hole out for the bowsprit this morning which like most things required a solution. The hole required needs to be 14.70mm in diameter or there about's 🤣. I'm sure that many of you have looked at this hole like me and thought I really need to keep the correct angle or it will just look bad. So what I did was made a hole saw out of a piece of 13mm brass and used the bowsprit saddle as a guide. I popped the hole saw into a power drill and ran it through nice and slowly so as not to split the wood. To get to the final size I just kept on gluing sand paper to the brass until the correct diameter was achieved. So that's the bow now closed in so its onto the counter timbers at the stern for me next. This will have to wait to next weekend now and I'm looking forward to the next challenge. Mark
-
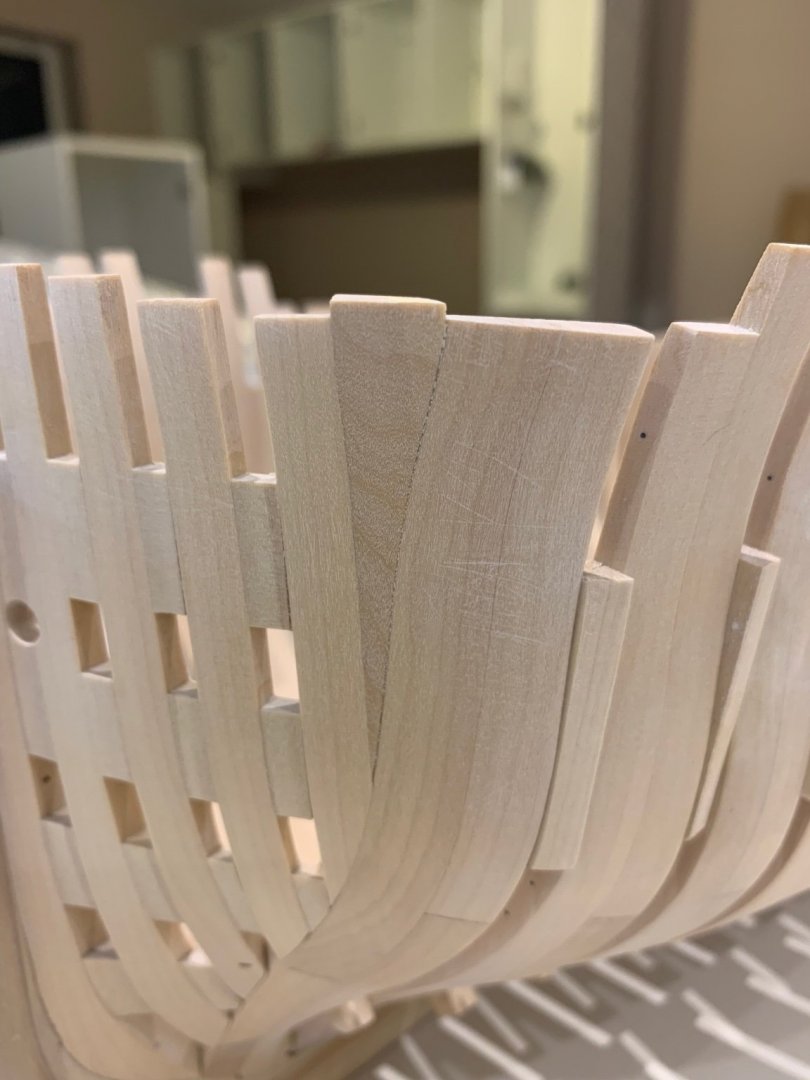
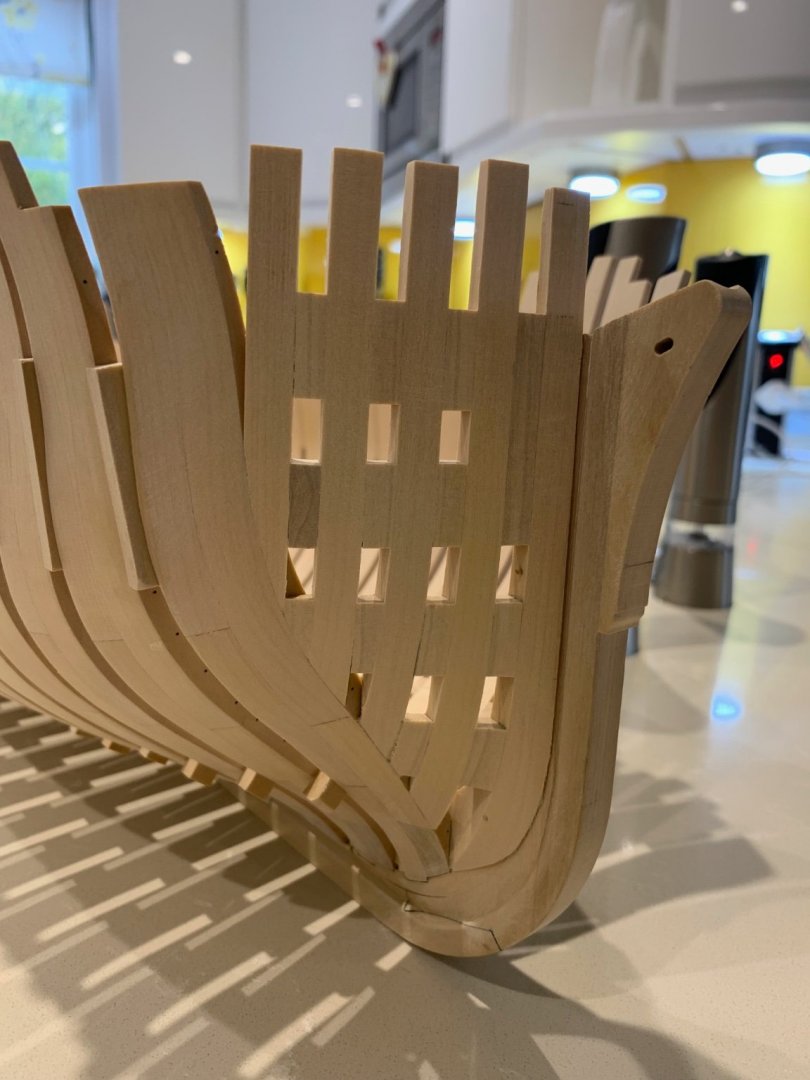
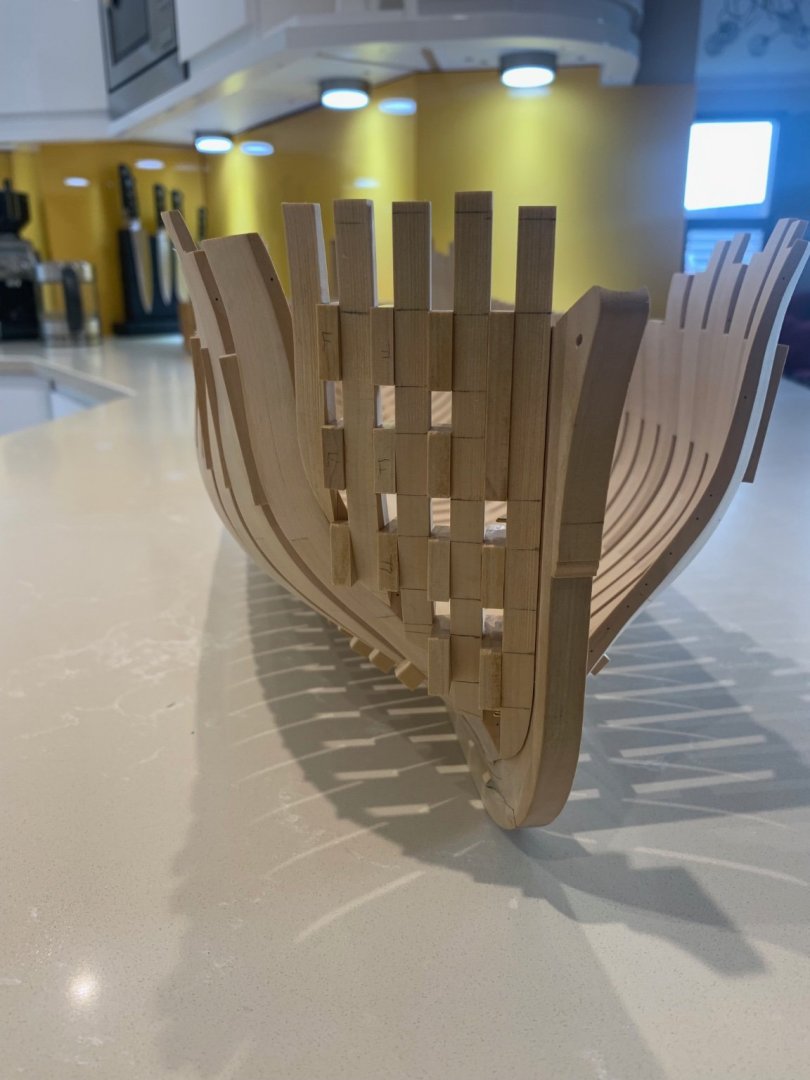
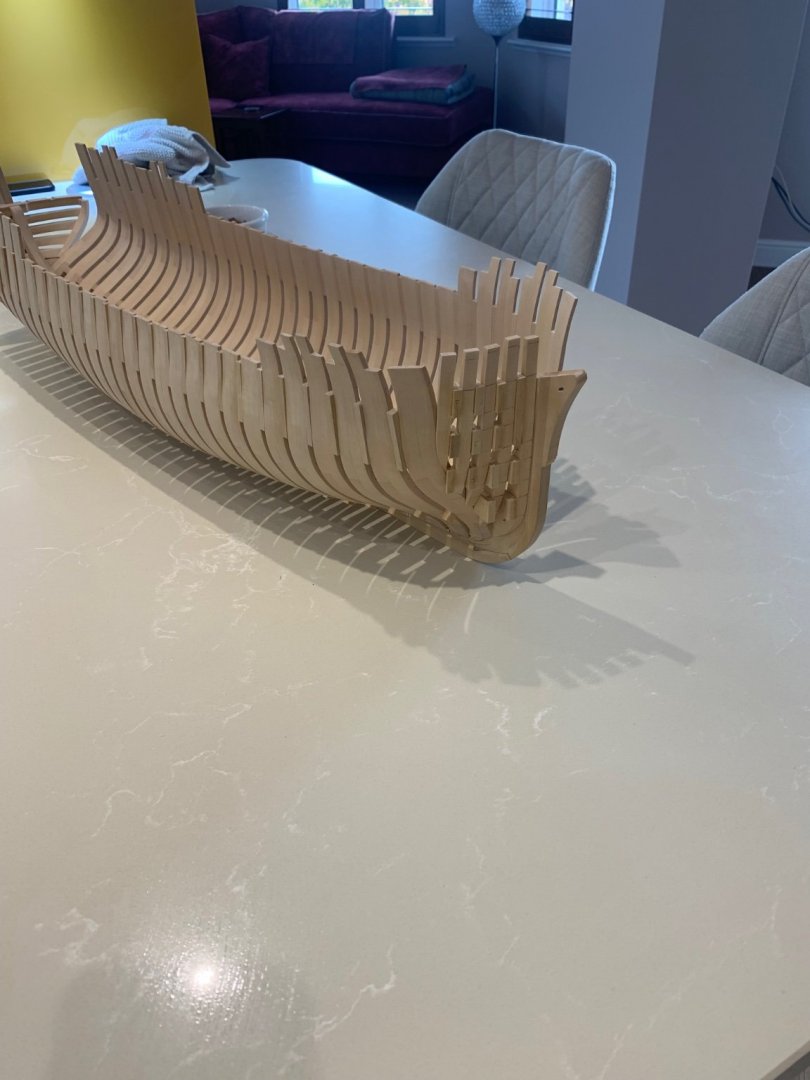
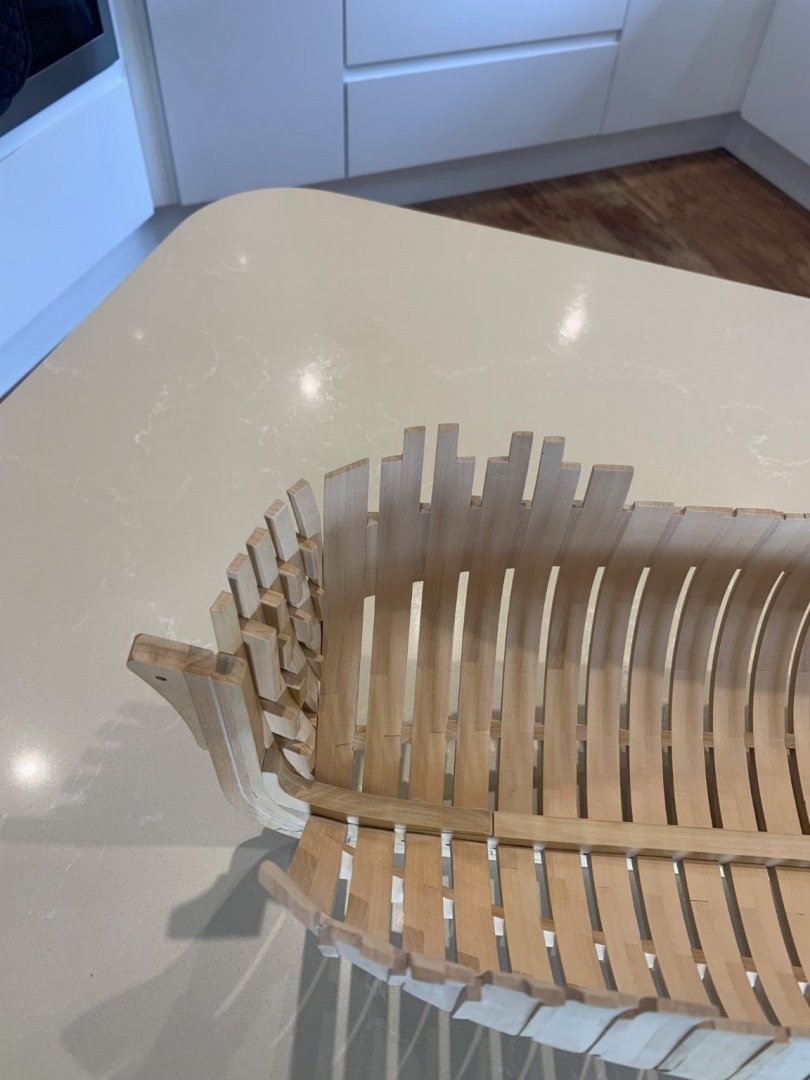
Hi All Well at last I've now completed the other side of the hawse timbers 😃 I must be honest and admit that I have found these few timbers to be the hardest on the build so far. The drawings are complicated and yet very precise and complete but the translation to the wood was difficult for me. I think that this was partly due to the way each piece is stacked onto the next piece. Assembly without glue is hard and yet the dry assembly is critical. I can now see the shape of the bow and its another milestone for me. I have not yet cut the top timbers to their finished height as this will wait until the outside of the hull is faired. I have made the hawse holes and also made the small triangular filler piece that fits between hawse timber 1 and the top of frame 1. I need to finish the hole for the bowsprit and I'll try and get that finished tomorrow; if I do I'll get some more pictures up for you. Phew I'm so glad that this is done even if they are not the best joints I've ever made. Thanks to you all for the encouragement - Mark 🙂
-

Miniature Russian carving tools
No Idea replied to druxey's topic in Modeling tools and Workshop Equipment
He glues 1000 grade and 2000/2500 grade paper to a very flat piece of hardwood. He then uses this as you would a whetstone or diamond stone. His pictures paint a far better picture than this though. -
Your welcome mate - I have found this supplier to be extremely good and they really are proud of their products. I wouldn't go anywhere else in the Uk now. As for the kerf - I have found that we lose 50% of everything we buy its just one of those things. Its better to cut what we have correctly then try and save a few quid here and there. If you need a really good supplier of fantastic wood in the UK let me know and I'll pass on their details. Happy building buddy
-
Hi Glenn thats was me mate and I stand by what I said. I have found a few suppliers that can supply me blades but I buy mine from Jim and Donna. I live in the UK and the postage is high but so what. Support your supplier and they will be here for your children's children. If you don't our amazing hobby will become a thing that people used to do.
-

Miniature Russian carving tools
No Idea replied to druxey's topic in Modeling tools and Workshop Equipment
He provides full instructions on how to sharpen his chisels when you buy them. Its not hard to do just a bit different on some of them. -

NAIAD 1797 by Bitao - 1:60
No Idea replied to Bitao's topic in - Build logs for subjects built 1751 - 1800
bitao your work is just incredible........wow 👍 -

NAIAD 1797 by Bitao - 1:60
No Idea replied to Bitao's topic in - Build logs for subjects built 1751 - 1800
The detail on those beams 😎 Just such inspiring work 👍 -

Proxxon TSG 250/E disc sander
No Idea replied to DaveBaxt's topic in Modeling tools and Workshop Equipment
Hi Dave - I really think that this comes down to budget. I have seen sanders similar to the Proxxon sander for less than £100. I have no doubt that in the right thoughtful hands it can do the same as the most expensive sander that money can buy. The difference for me has been ease of use, accuracy and repetition. Would I have know this 5 years ago probably not. This comes with experience and actually when I consider how much it costs to import Jim's tools over a 5 year period they are not that expensive for what you get. Also you would never need to replace it either. -

Proxxon TSG 250/E disc sander
No Idea replied to DaveBaxt's topic in Modeling tools and Workshop Equipment
I’ve had both of these machines. The Proxxon is a very capable sander and can do every job that we builders need it to do. I had mine for 5 years and then gave it to a friend who is still using it. I now have Jim’s sander which is simply much better in every way. It’s better built and more powerful too. The table does tilt and has the advantage of pin locked increments which you can go to time and time again for exacting angles. For me it was just an evolution in my building and I love Jim’s sander and wouldn’t change it now. However when I first started building the Proxxon was more than adequate and still is an excellent sander. I guess we grow as builders and change our gear accordingly. -
Thanks very much Eric 😃 Now for a change of plan yet again. After having built up the starboard side I couldn't quite see how hawse frame 1 blended into hawse frame 2. I wasn't sure whether I had built them correctly so I decided to roughly fair these parts first. This was a bit harder than I thought that it would be due to the parts being quite flimsy added with a lot of material that needed removing. I removed 90% of the material from the hawse timbers off of the ship which meant that I had to try and imagine the finished shape. It's one of those jobs that just seem to make sense as you remove material. I'm glad to say that all looks ok. I've not taken it back to its final finish I'll do that when the outside of the entire hull is faired. Mind you what a mess I made of the square holes on the hawse timbers. They are all different sizes and I could have done better. I now need to replicate these odd holes on the other side Now that I know that I'm on the right track the port side will be next Cheers Mark
-
Thanks for the really nice comments 😀 I've now fitted the last two hawse timbers on the starboard side. Timber number 5 is a sliver of a timber (try saying that without putting on a pirate accent 😆). The spacers had to be tapered and I had to pretty much guess their location by eye but I think it looks ok. I've also taken out the brass rod and replaced it with treenails and its all glued together. When the time comes I've a lot of excess wood to remove before I even start shaping it but at least its straight. The tricky bit starts next weekend and that's trying to replicate it on the port side Cheers Mark
About us
Modelshipworld - Advancing Ship Modeling through Research
SSL Secured
Your security is important for us so this Website is SSL-Secured
NRG Mailing Address
Nautical Research Guild
237 South Lincoln Street
Westmont IL, 60559-1917
Model Ship World ® and the MSW logo are Registered Trademarks, and belong to the Nautical Research Guild (United States Patent and Trademark Office: No. 6,929,264 & No. 6,929,274, registered Dec. 20, 2022)
Helpful Links
About the NRG
If you enjoy building ship models that are historically accurate as well as beautiful, then The Nautical Research Guild (NRG) is just right for you.
The Guild is a non-profit educational organization whose mission is to “Advance Ship Modeling Through Research”. We provide support to our members in their efforts to raise the quality of their model ships.
The Nautical Research Guild has published our world-renowned quarterly magazine, The Nautical Research Journal, since 1955. The pages of the Journal are full of articles by accomplished ship modelers who show you how they create those exquisite details on their models, and by maritime historians who show you the correct details to build. The Journal is available in both print and digital editions. Go to the NRG web site (www.thenrg.org) to download a complimentary digital copy of the Journal. The NRG also publishes plan sets, books and compilations of back issues of the Journal and the former Ships in Scale and Model Ship Builder magazines.


