-
Posts
13,301 -
Joined
-
Last visited
Content Type
Profiles
Forums
Gallery
Events
Everything posted by druxey
-
Amazing joinery skills! I get a smile on my face every time I look at your progress photos, Amalio.
-
Congratulations on completing a long and painstaking restoration, Michael! You've done a beautiful job on Albertic. I can only hope that your client is truly appreciative of the craftsmanship that has gone into the model. P.S. In the second photo (starboard companionway grating), is that bilge keel slightly loose?
- 749 replies
-
- albertic
- ocean liner
-
(and 2 more)
Tagged with:
-

HMS Naiad 1797 by albert - FINISHED - 1/48
druxey replied to albert's topic in - Build logs for subjects built 1751 - 1800
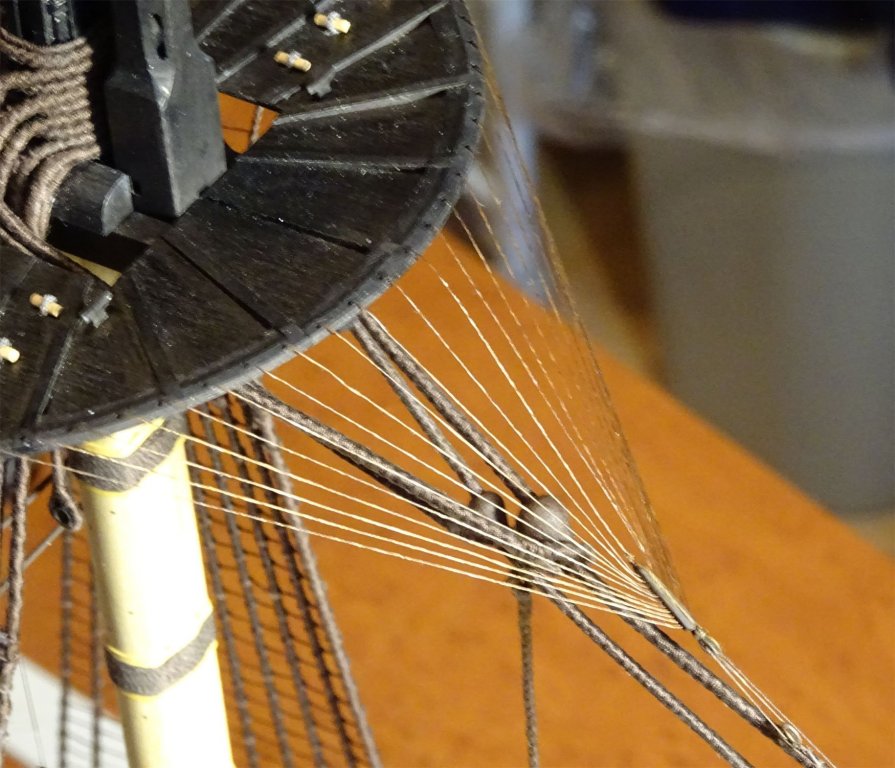
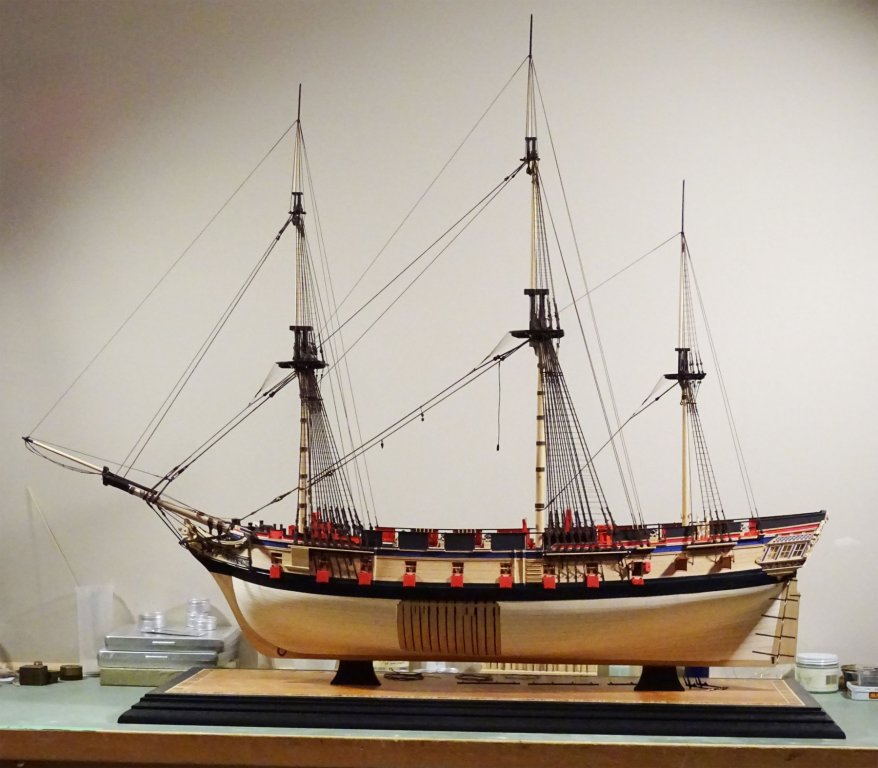
Congratulations on completing your fine model, Albert! Now what is next, I wonder? -
Manual handling is far less risky than a fork lift or other mechanized method!!!! Unless you want to do the restoration all over again.... Heavy duty castors might be a better alternative.
- 749 replies
-
- albertic
- ocean liner
-
(and 2 more)
Tagged with:
-
Yup, that looks like a serious crate. How far does the model have to move?
- 749 replies
-
- albertic
- ocean liner
-
(and 2 more)
Tagged with:
-
I've used a mechanical pencil for many years for drafting and for marking out. One can keep an extremely fine point on them, and hence a very thin line. This minimizes error, particularly when fitting joints. I generally use 4H leads. The pencils are still available at places like Michael's (U.S. and Canada) and one can still find boxes of harder grade leads on eBay.
- 749 replies
-
- albertic
- ocean liner
-
(and 2 more)
Tagged with:
-
Not a perfect match? That nav light looks nicer than the original, Michael!
- 749 replies
-
- albertic
- ocean liner
-
(and 2 more)
Tagged with:
-

HMS Naiad 1797 by albert - FINISHED - 1/48
druxey replied to albert's topic in - Build logs for subjects built 1751 - 1800
A very nice presentation, Albert. -
Nice yokes for the swivels, Toni. Well done. They are a beast to make!
- 1,449 replies
-
Looks very plausible, Cathead. Nicely done! I had no idea that the wreck was so deep down. Thanks for posting that photo.
- 599 replies
-
- sidewheeler
- arabia
-
(and 4 more)
Tagged with:
-
Don't forget the myriad deadeyes, the various hearts, euphroes, and other assorted odds and ends! I always use the 'just in time' approach as I go: it's much less boring than turning out dozens and dozens of blocks all at one time. I use the same approach for spinning up cordage.
- 1,215 replies
-
- sloop
- kingfisher
-
(and 1 more)
Tagged with:
-

Rigging a Swan class Sloop, what is needed?
druxey replied to Remcohe's topic in Masting, rigging and sails
Check all the information given in Volume IV, The Fully Framed Model, HMN Swan Class Sloops 1767-1780. -
Nice to see the boat deck being re-populated, Michael!
- 749 replies
-
- albertic
- ocean liner
-
(and 2 more)
Tagged with:
-
Beautiful! I was anxious seeing the earlier photos, as a horseman leans forward as the horse jumps, and the Vale painting shows him upright. However - whew! - I see you corrected that in the final photos. Bravo!
- 1,035 replies
-
- royal katherine
- ship of the line
-
(and 1 more)
Tagged with:
-
Well, I guess I learned a thing or two today as well!
- 749 replies
-
- albertic
- ocean liner
-
(and 2 more)
Tagged with:
-
Well stayed, Michael! What remains to be done now?
- 749 replies
-
- albertic
- ocean liner
-
(and 2 more)
Tagged with:
About us
Modelshipworld - Advancing Ship Modeling through Research
SSL Secured
Your security is important for us so this Website is SSL-Secured
NRG Mailing Address
Nautical Research Guild
237 South Lincoln Street
Westmont IL, 60559-1917
Model Ship World ® and the MSW logo are Registered Trademarks, and belong to the Nautical Research Guild (United States Patent and Trademark Office: No. 6,929,264 & No. 6,929,274, registered Dec. 20, 2022)
Helpful Links
About the NRG
If you enjoy building ship models that are historically accurate as well as beautiful, then The Nautical Research Guild (NRG) is just right for you.
The Guild is a non-profit educational organization whose mission is to “Advance Ship Modeling Through Research”. We provide support to our members in their efforts to raise the quality of their model ships.
The Nautical Research Guild has published our world-renowned quarterly magazine, The Nautical Research Journal, since 1955. The pages of the Journal are full of articles by accomplished ship modelers who show you how they create those exquisite details on their models, and by maritime historians who show you the correct details to build. The Journal is available in both print and digital editions. Go to the NRG web site (www.thenrg.org) to download a complimentary digital copy of the Journal. The NRG also publishes plan sets, books and compilations of back issues of the Journal and the former Ships in Scale and Model Ship Builder magazines.


