-
Posts
13,298 -
Joined
-
Last visited
Content Type
Profiles
Forums
Gallery
Events
Everything posted by druxey
-

HMS ANSON 1781 by albert - 1/48 - 64 guns
druxey replied to albert's topic in - Build logs for subjects built 1751 - 1800
You are making rapid progress! -
That's good, Toni: she should be a bit more arched back towards the hair bracket. Make sure that the top of her head clears the underside of the bowsprit as well!
- 1,449 replies
-
Can you still bring her head and torso up so that her line of sight is to the horizon?
- 1,449 replies
-

HMCSS Victoria 1855 by BANYAN - 1:72
druxey replied to BANYAN's topic in - Build logs for subjects built 1851 - 1900
Pat: unfortunately my 'go-to' person for steering arrangements; the expert, John Harland, died recently, or I might have found out what you have discovered. I take the turns counted to be complete ones, not the partial entry/exit ones.- 1,004 replies
-
- gun dispatch vessel
- victoria
-
(and 2 more)
Tagged with:
-

French polish
druxey replied to DelF's topic in Painting, finishing and weathering products and techniques
Water will cause milky marks on shellac finishes (remember the table top with rings from glasses or mugs?), so be careful if you use it! -

HMS ANSON 1781 by albert - 1/48 - 64 guns
druxey replied to albert's topic in - Build logs for subjects built 1751 - 1800
Look forward to your laying of the keel! -
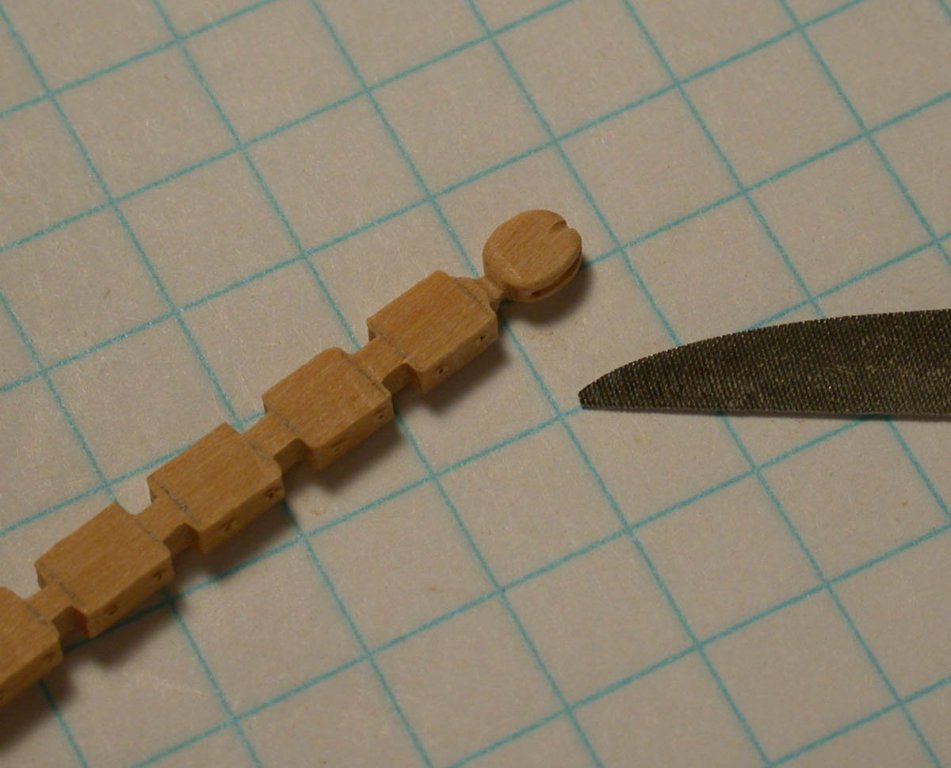
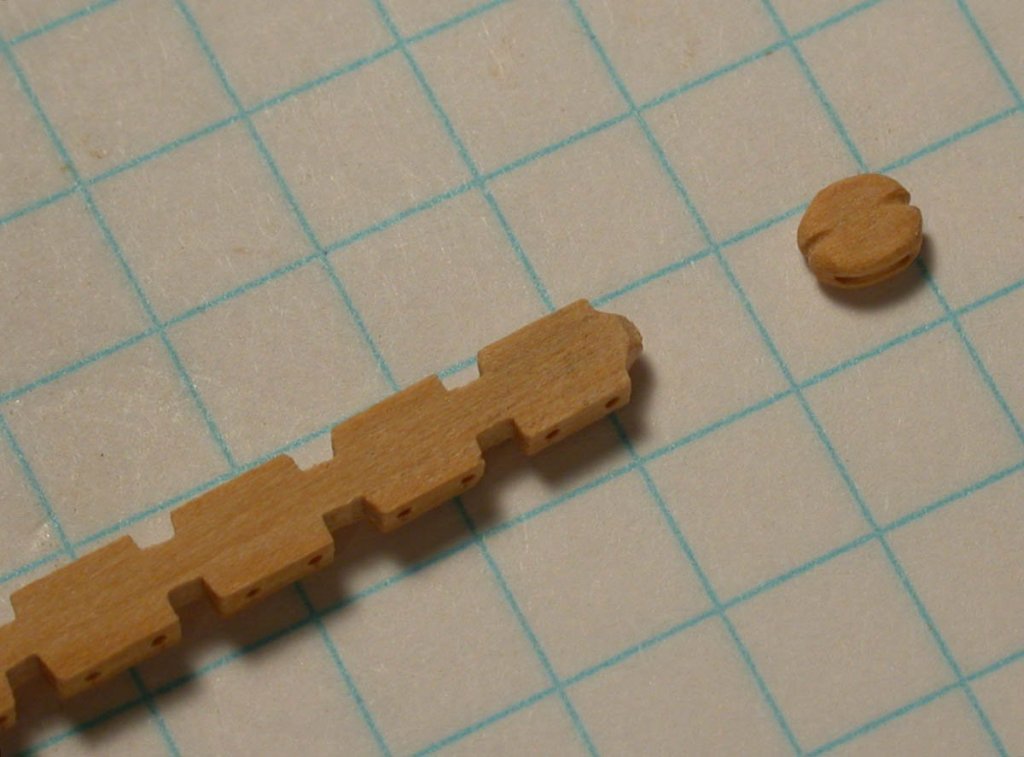
I find it easier to do nearly all the block shaping before cutting it off the stick, if that's any help.
-

15' Dinghy by Bedford - FINISHED - 1:1 scale
druxey replied to Bedford's topic in Non-ship/categorised builds
Congratulations on a successful launch! -
Nice progress and a good save, Ed! I wonder why the TG stays were rigged first?
- 3,618 replies
-
- young america
- clipper
-
(and 1 more)
Tagged with:
-
Every best wish while you are away attending to your health, John. We look forward to your return.
-
I don't know about Byzantine ships, but usually deck beams have the same round-up all along the deck and are simply different lengths.
-
What a repetitive job! Neat result, though.
- 287 replies
-
- michelangelo
- ocean liner
-
(and 1 more)
Tagged with:
-
Many early models show no bobstay, and I would agree that the jib outhaul passes through a block at the side of the stem.
- 102 replies
-
- speedy
- model shipwright
-
(and 1 more)
Tagged with:
About us
Modelshipworld - Advancing Ship Modeling through Research
SSL Secured
Your security is important for us so this Website is SSL-Secured
NRG Mailing Address
Nautical Research Guild
237 South Lincoln Street
Westmont IL, 60559-1917
Model Ship World ® and the MSW logo are Registered Trademarks, and belong to the Nautical Research Guild (United States Patent and Trademark Office: No. 6,929,264 & No. 6,929,274, registered Dec. 20, 2022)
Helpful Links
About the NRG
If you enjoy building ship models that are historically accurate as well as beautiful, then The Nautical Research Guild (NRG) is just right for you.
The Guild is a non-profit educational organization whose mission is to “Advance Ship Modeling Through Research”. We provide support to our members in their efforts to raise the quality of their model ships.
The Nautical Research Guild has published our world-renowned quarterly magazine, The Nautical Research Journal, since 1955. The pages of the Journal are full of articles by accomplished ship modelers who show you how they create those exquisite details on their models, and by maritime historians who show you the correct details to build. The Journal is available in both print and digital editions. Go to the NRG web site (www.thenrg.org) to download a complimentary digital copy of the Journal. The NRG also publishes plan sets, books and compilations of back issues of the Journal and the former Ships in Scale and Model Ship Builder magazines.


