HOLIDAY DONATION DRIVE - SUPPORT MSW - DO YOUR PART TO KEEP THIS GREAT FORUM GOING! (Only 20 donations so far - C'mon guys!)
×


druxey
-
Posts
13,299 -
Joined
-
Last visited
Content Type
Profiles
Forums
Gallery
Events
Everything posted by druxey
-
You might find masking off so much of the sail to be a pain, Wefalck.
-
 How very inconvenient of the wreck to have planking missing at the critical juncture. How much structural weakness would a straight line of butts have here?
- 599 replies
-
- 4
-

-
- sidewheeler
- arabia
- (and 4 more)
-
Yes, the 'lupins', Fabror. And, now we come to mention it, the grapes (that's why I thought they were vine leaves) appear to be anti-gravity and growing upwards. Must have been the influence of the pot.
-
Love the fun you're having, but the grape vine leaves on the stern look more like pot plant leaves! I'm sure that was entirely unintentional....
-
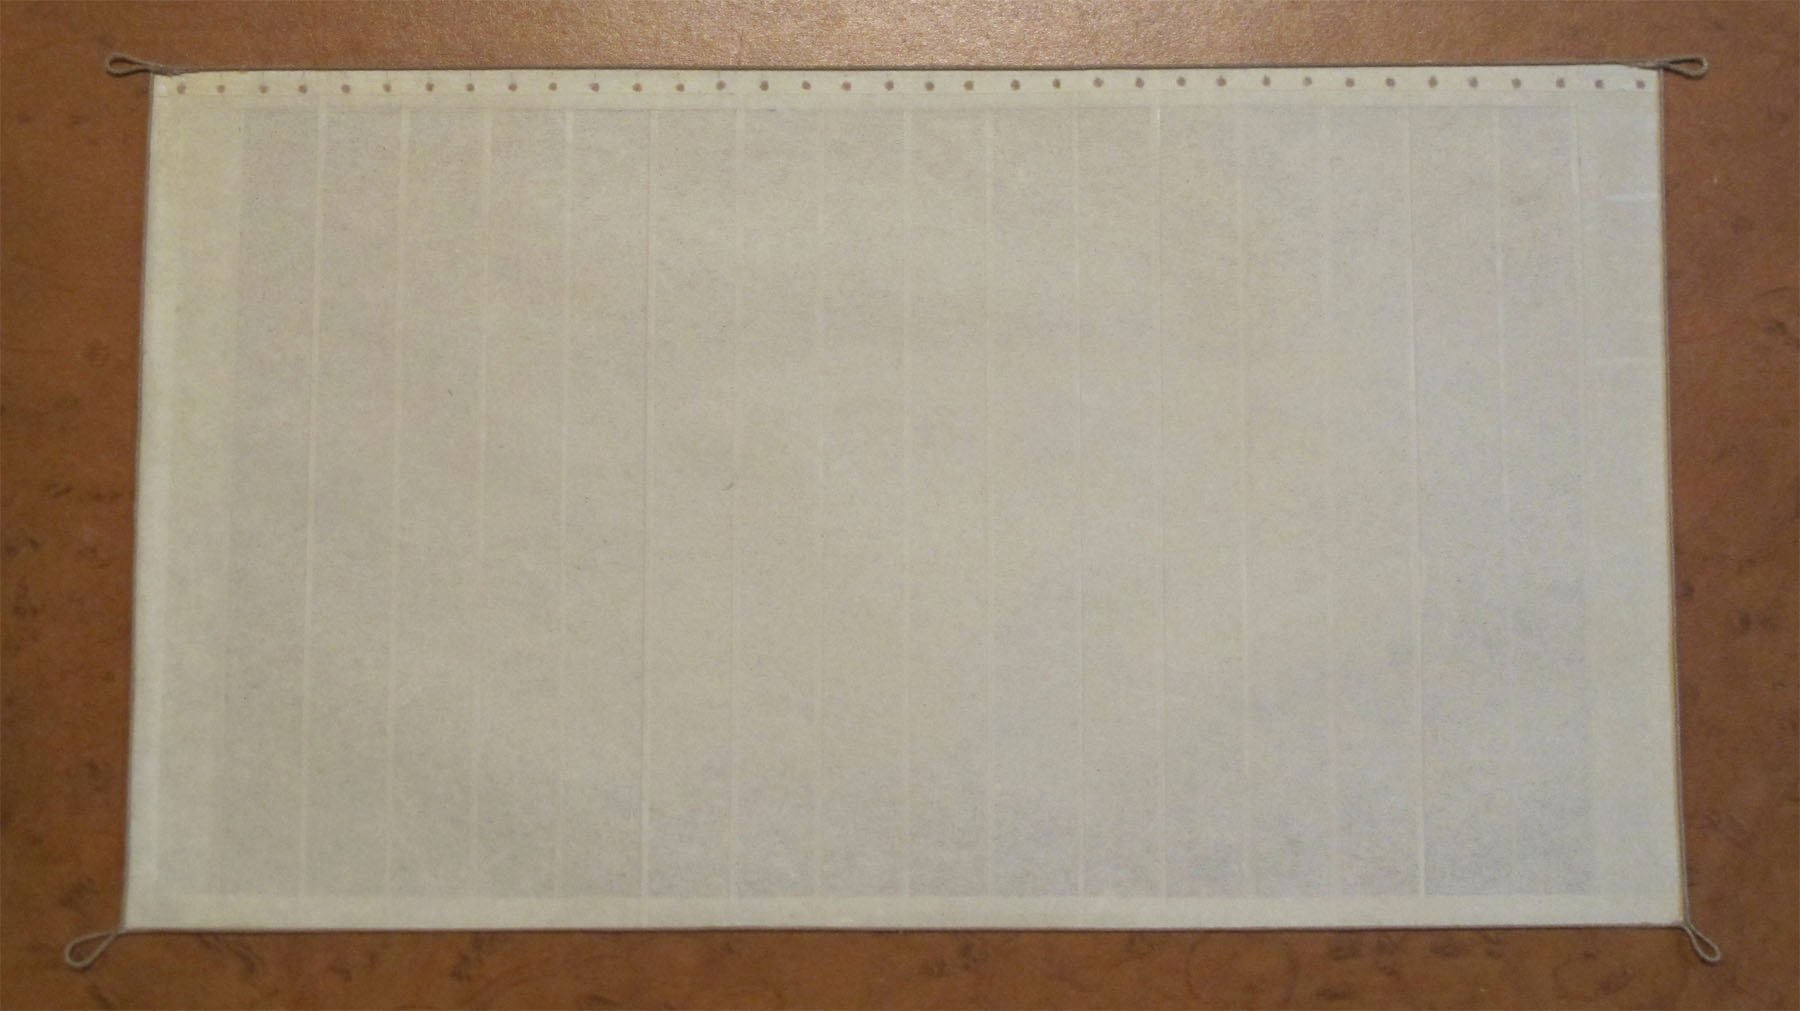
For better integrity of the sail, while I use a similar technique as Wefalck (April 20), my doublings of the seams are added with opaque acrylic paint ruled on using an old-fashioned draftsman's bow pen. Grommets are also of acrylic paint.

- 100 replies
-
- 11
-
-
Often marine archeological papers give measurements using the metric system. Get used to it, you duodecimal folk!
-
A later rule of thumb for fastener diameter was 1" for every 100' 0" in length of the vessel. Obviously the bolt head would be slightly larger. This might be roughly correct for you.
-
Must be some feeling of accomplishment at this stage, Michael. Enjoy your Canada Day weekend.
- 749 replies
-
- 6
-
-
- albertic
- ocean liner
- (and 2 more)
-
HMCSS Victoria 1855 by BANYAN - 1:72
druxey replied to BANYAN's topic in - Build logs for subjects built 1851 - 1900
I agree that full-size wood graining is different from scale work. However, (depending on scale) I've substituted old toothbrushes or worn out regular 'flat' brushes for graining tools effectively. For smaller scales, glazes over a base color as Wefalck suggests would be the way to go.- 1,004 replies
-
- 4
-
-
- gun dispatch vessel
- victoria
- (and 2 more)
-
I wondered whether the project had also foundered - hadn't seen an update in months. Congratulations to you and your crew for successfully completing Captain Teodor's ship and the Captain himself! A very convincing underwater diorama indeed, Sam. Now, what can you possibly come up with next?
-
Very nice work blending in the original paintwork with the new on the ship's side. It is so difficult to match both color and reflectance. Well done, Michael!
- 749 replies
-
- 9
-
-
- albertic
- ocean liner
- (and 2 more)
-
Thanks for this, Kevin!
-
HMCSS Victoria 1855 by BANYAN - 1:72
druxey replied to BANYAN's topic in - Build logs for subjects built 1851 - 1900
Painting faux wood is an art in itself. Look in the library for a book on faux finishes. That will get you the idea. I usually start with an undercoat of either raw umber or raw siena, depending on the kind of wood I'm imitating, then overcoat it with glazes of darker color, dragged or dry-brushed, depending on the look I'm after. Try this on test pieces until you get a look you like.- 1,004 replies
-
- 4
-
-
- gun dispatch vessel
- victoria
- (and 2 more)
-
Welcome back, Michael. And about time, too! We've missed you.
- 749 replies
-
- 6
-
-
- albertic
- ocean liner
- (and 2 more)
-
Lovely as usual. How will you get the dust off the lower deck?
-
Very impressive work!
-
mezza lune = 'half moon' or semi-circle (see Woodrat, post 359).
- 263 replies
-
- 1
-
-
- nave tonda
- round ship
- (and 2 more)
-
I have to agree with Roger's remarks. I've seen historic models with 'restored' or re-jigged rigging that is patently wrong. One I examined recently had an original line expended by wrapping it repeatedly around the heel of the bowsprit!
-
I'm sure that there were variances in cleat design from shipyard to shipyard. (You can always use that as an unanswerable argument!) Mast trucks had two small sheaves, one on either side, for hoisting signals or flags. They were attached to the mast head with a small square mortise and tenon. Steel describes them as 'an oblate spheroid'!
-
And you are a musician as well? There is no end to your talents!
- 1,035 replies
-
- 9
-
-

-
- royal katherine
- ship of the line
- (and 1 more)
-
Looking good, Mike!
-
The scuttle (rather than hatchway) to the bread room was a lid in two layers. The top layer is the thickness of the deck plank, then a thinner lower layer running crossways and narrower all round, providing the lip. There are two ringbolts on opposite diagonal corners for lifting the lid.