JesseLee
-
Posts
1,694 -
Joined
-
Last visited
Content Type
Profiles
Forums
Gallery
Events
Everything posted by JesseLee
-
 I completed my coppering some time ago but as I was doing it about a third of mine didn't stick like they should. I used CA glue. Since then many corners are lifting & folding up. I have been using CA (super glue) on mine. It is difficult to do without getting it on the outside where you don't want it. I put a little bit on the end of a pointed hobby blade & rub it under my lifting corners & press them down. Jesse
 -
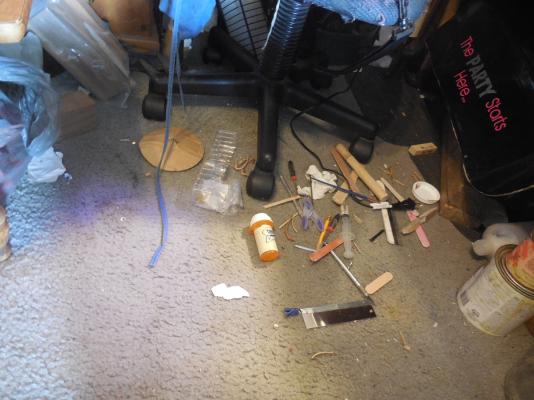
Work station clutter
JesseLee replied to Senior ole salt's topic in Modeling tools and Workshop Equipment
I have got to be one of the worst. I have clutter all over. I do seem to be able to find anything I need in my cluttered mess. When I do clean up I always cant find things. I also have a cat who likes to lay in my mess & she shoves stuff onto the floor. Sometimes I do try to clear a spot just big enough for het but when I do I always lose something in the process. My main problem is I don't have space. I am crammed in a small corner. The back of my chair actually touches the side of one of my aquariums. Jesse -
That looks great Piet! Jesse
-
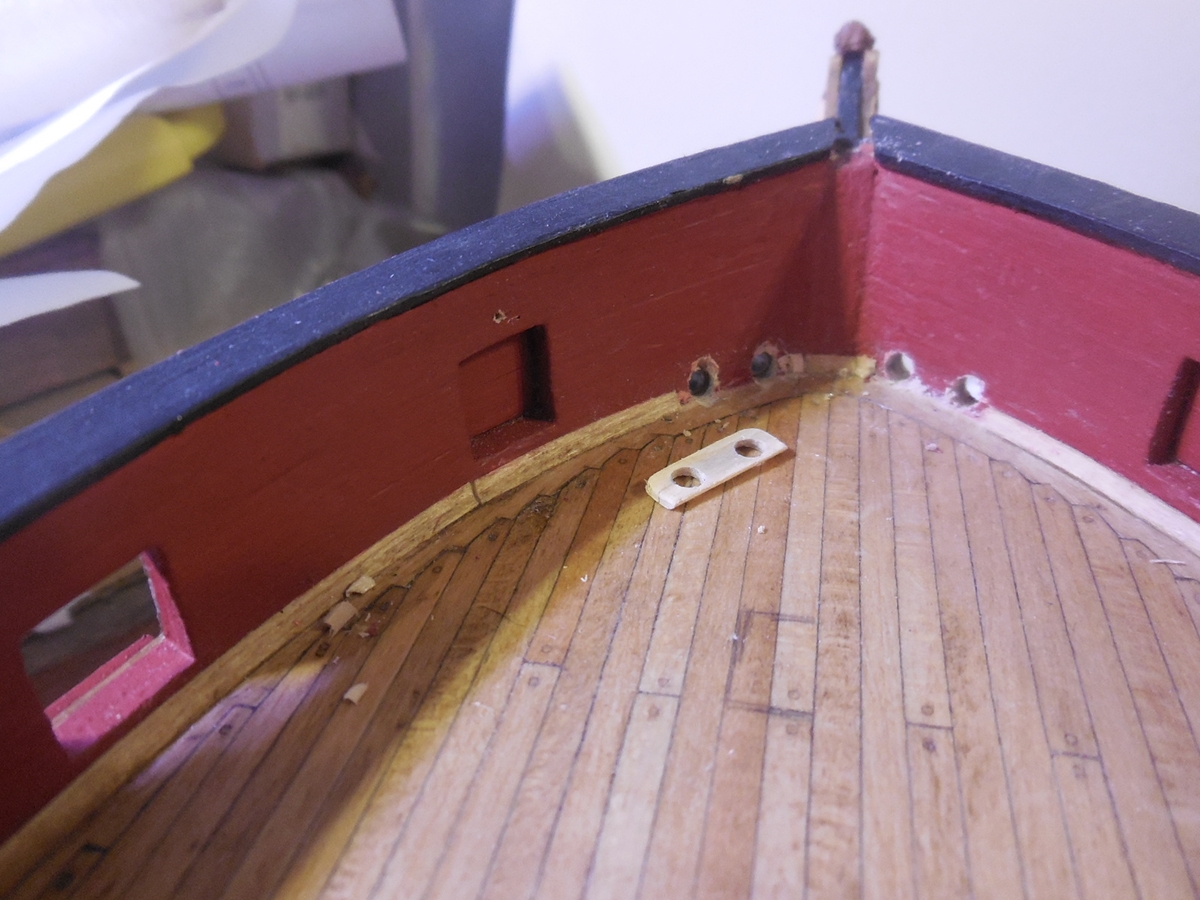
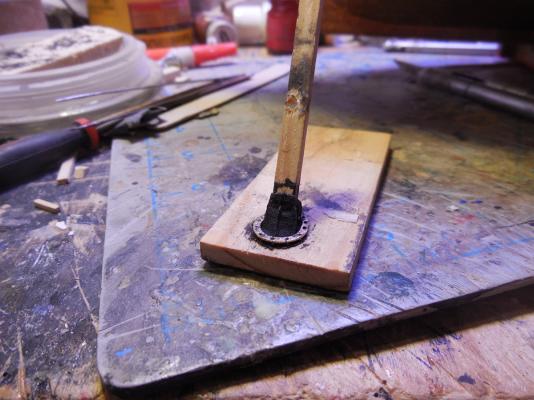
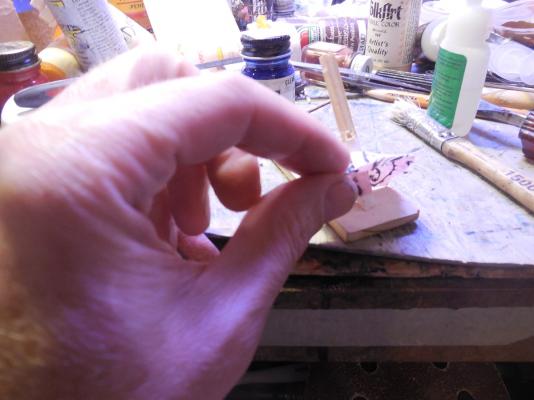
Thanks guys. It is something that I live with every day & will the rest of my life. A good day for me would be a sick day for an average person. I do what I can as best I can but when I have the bad spells it real tough. Anyway, progress on the rudder coat. Made a ? bracket/plate? (not sure what this thing is called). Tried to make it out of wood first but it kept breaking so I bent & hammered a brass wire flat to form it. Did a lot of filing to shape it & dilled holes for brass nails Jesse
- 1,306 replies
-
- 20
-

-
- syren
- model shipways
- (and 1 more)
-
Yes George, the cat & the dogs are very sensitive to this. The sicker (don't know if that is a proper word) I feel the closer they cling to me. One of our dogs will shove herself up under my bench even though there isn't really room for her under there on some of my bad days. Jesse
- 1,306 replies
-
- 9
-
-
- syren
- model shipways
- (and 1 more)
-
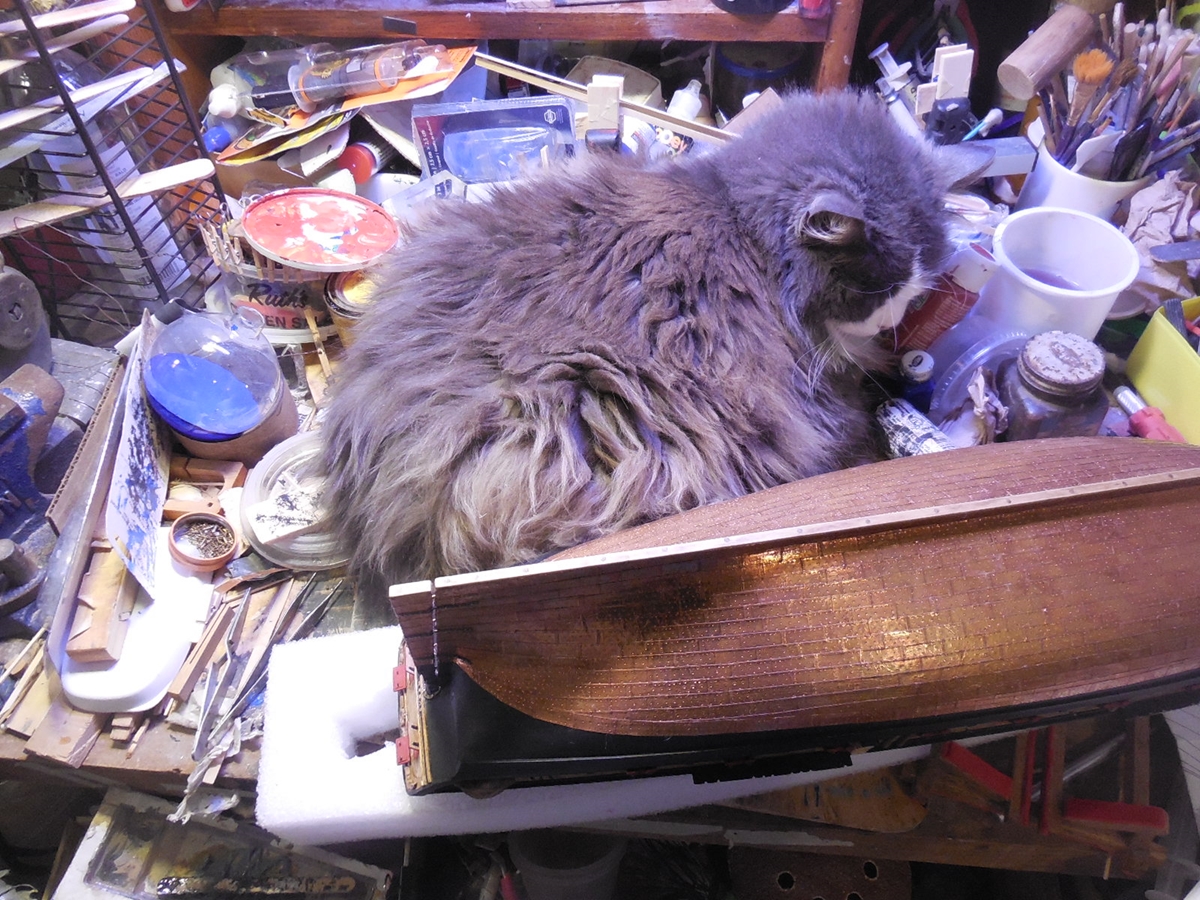
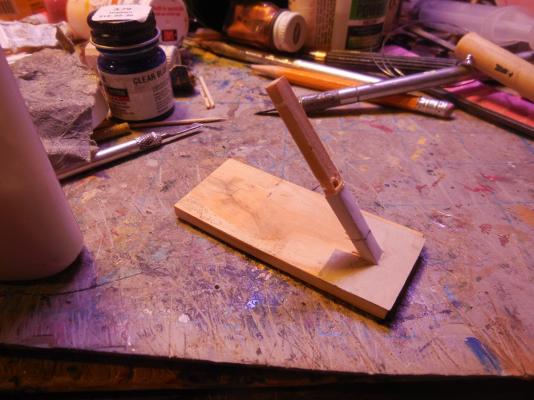
This took several do-overs before I got it to look & fit right. During this process one night our cat decided she wanted to lay as close to me as possible. She jumps up on the bench, steps over the ship as I'm working on it & lays down right behind it. I picked her up & put her on the floor. She jumps right back up & lays her head down. I am getting soft as I get older. In my younger days this would have resulted in the cat getting a flying lesson. I gave in & left her there & worked around her the best I could since I wasn't going to work on it much longer anyway. Jesse


- 1,306 replies
-
- 23
-
-
- syren
- model shipways
- (and 1 more)
-
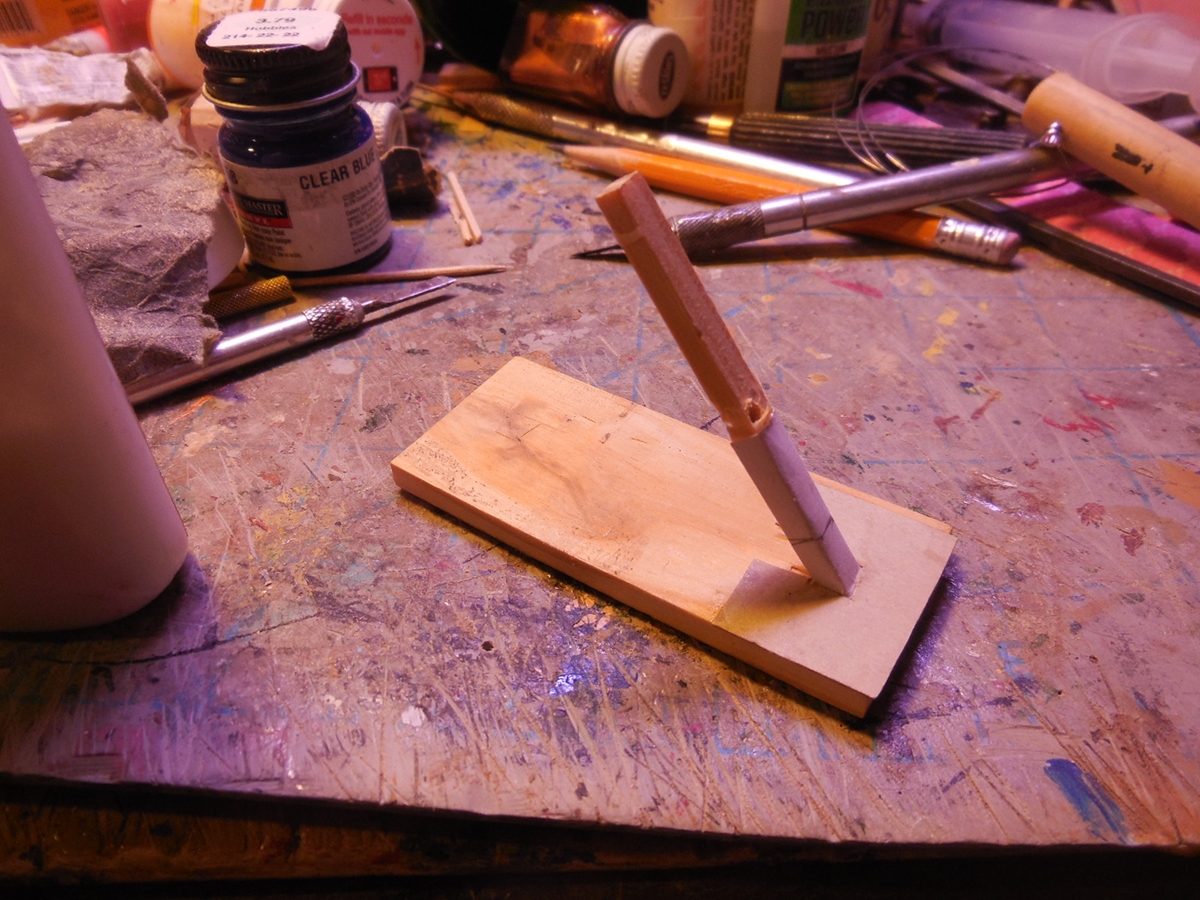
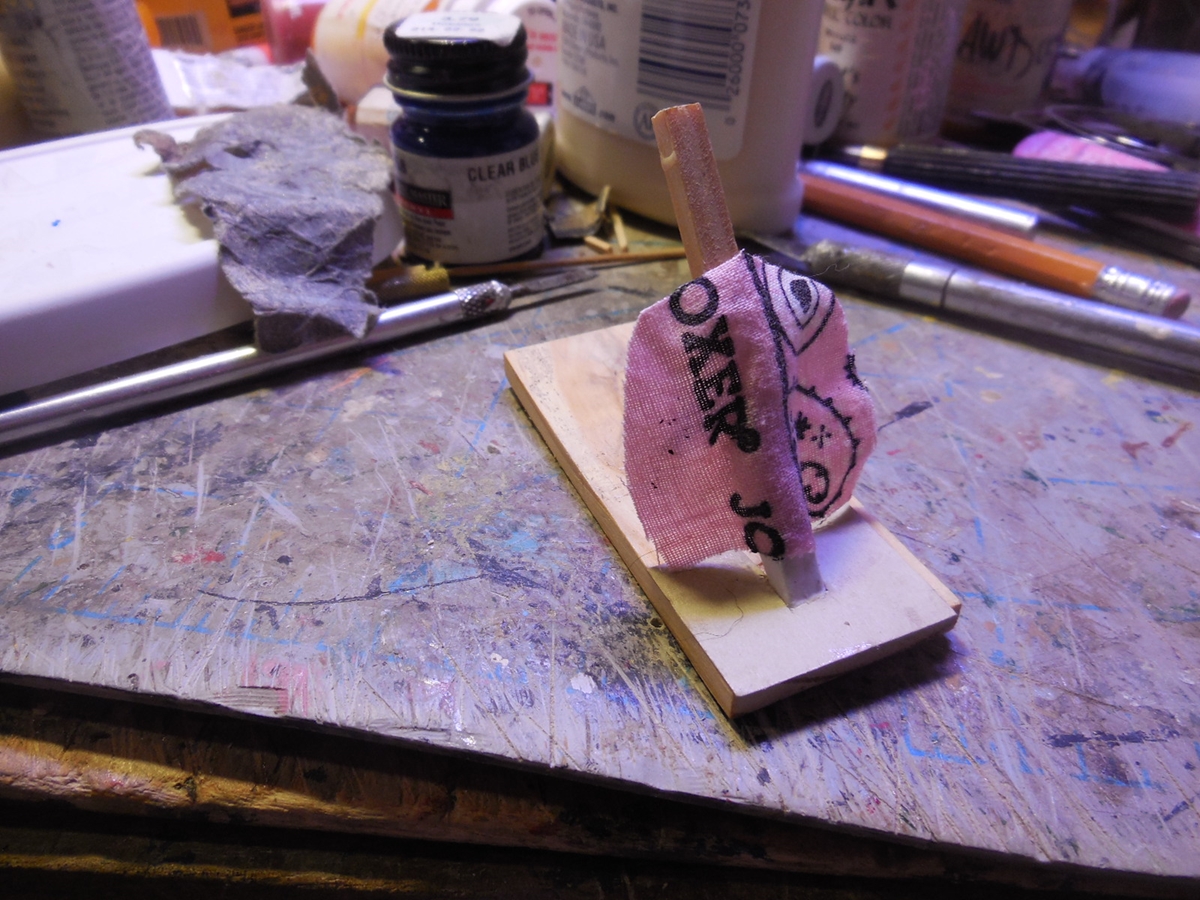
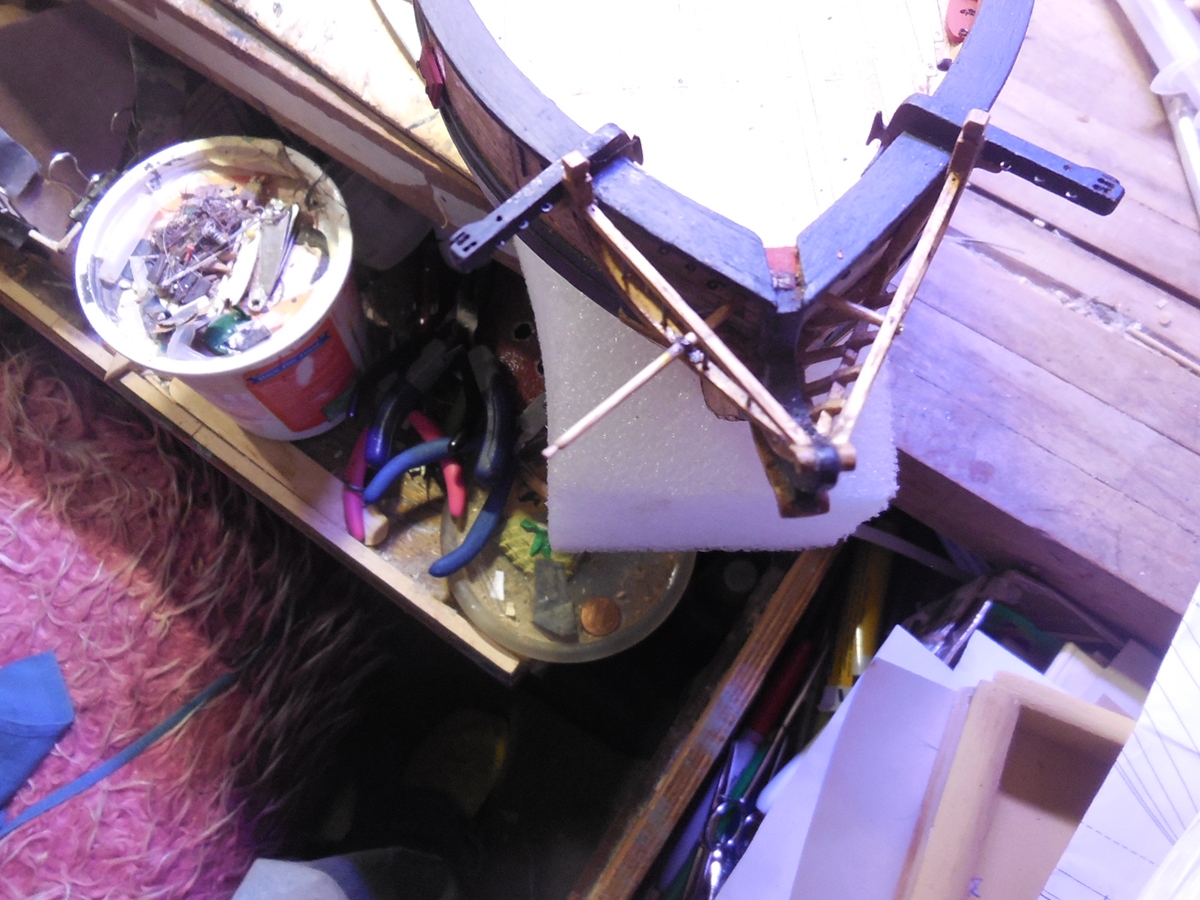
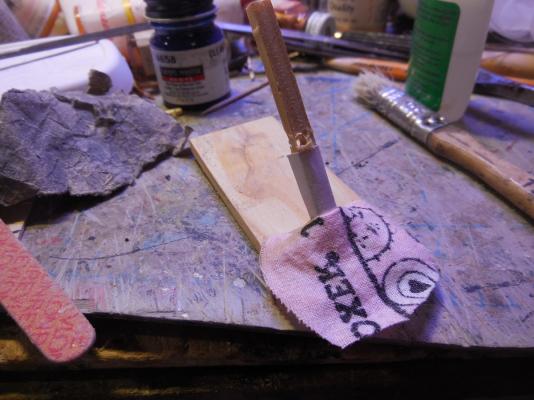
Been struggling to get much done. My illness has been acting up lately leaving me feeling pretty bad about 2/3 of the time making building difficult. I was about to start on the swivel brackets & pin rails. Looking at some others Syren build logs I see rudder coats being added. I tried to look up whether there was one on the Syren & found no info at all but I like what I see on the other builds so I decided I would do one too. I made a jig for making it off ship. Used an old bandana my daughter had thrown out. It will be painted black when done so it doesn't matter that it is pink right now. Began the process of trying to figure this out.... Jesse

- 1,306 replies
-
- 15
-
-
- syren
- model shipways
- (and 1 more)
-
Wow, wish I could get that kind of detail in such small scale. Looks really good Jeff! Jesse
-
So happy to hear Piet!!!! Jesse
-
That's a good start Piet! I think you'll do just fine with this! Jesse
-
Looking very neat & aligned properly. Good work Erik! Jesse
-
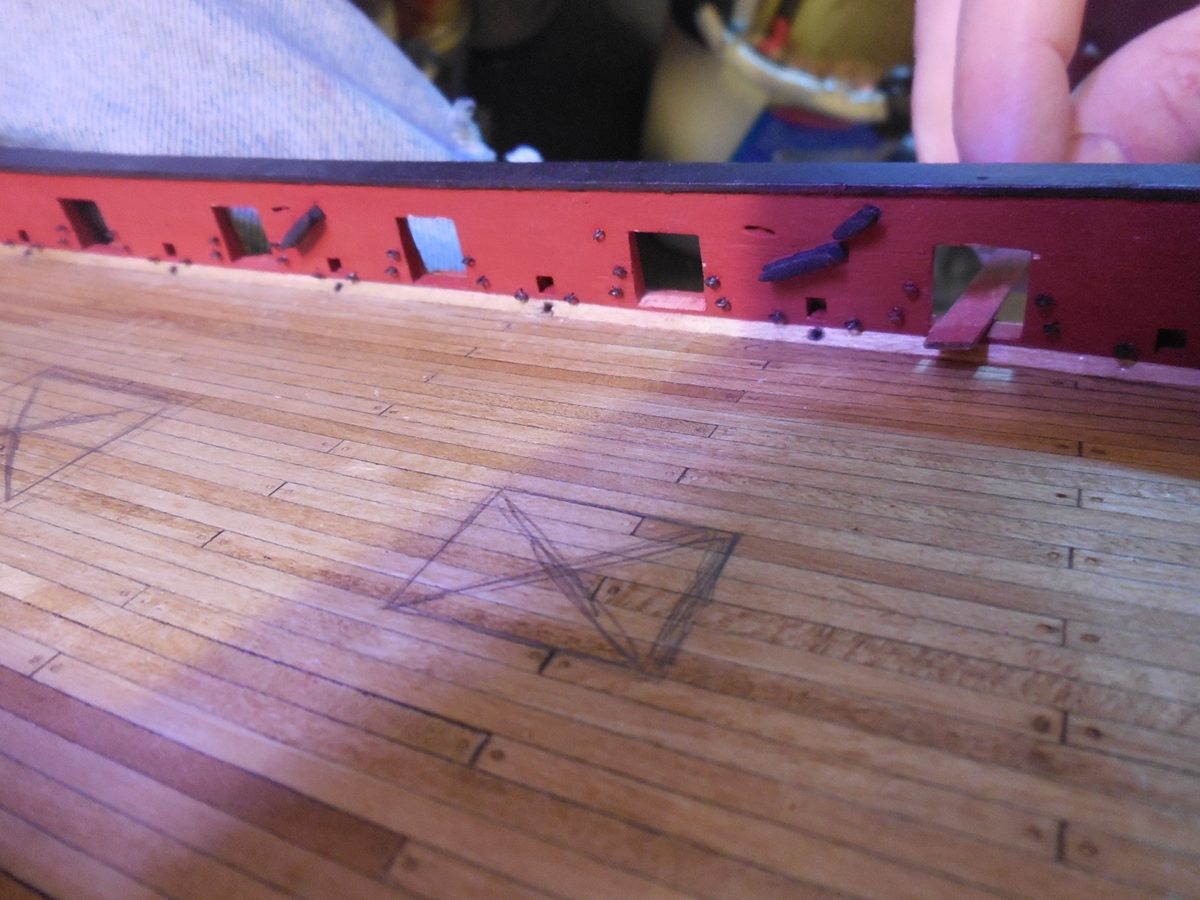
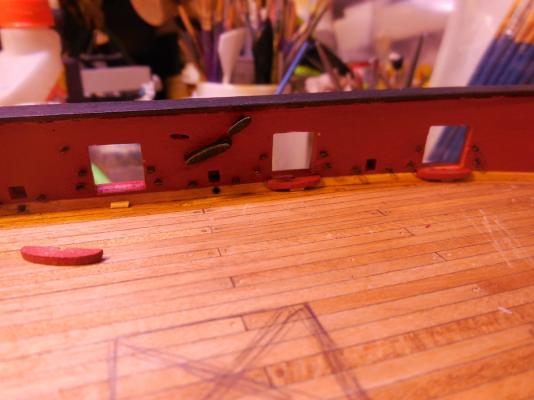
Thanks George, captgino, Elijah, Thomas, Sal, Grant, Ken & Piet - & thanks for all the likes also. I added all the inboard eyebolts & cleats before putting in the swivel brackets. I started with the supplied brass eyebolts. I don't have any brass blackening solution right now so I tried painting the brass with Testor's flat black enamel paint. This doesn't always work well. I found that I was constantly having to repaint any eyebolts that got rubbed or touched & then the paint build up was too much. Got tired of this so I ripped all of them out & made my own eyebolts out of black wire I have. I like that no painting is needed & the eyebolts are a little stronger than thin gauge brass but I could not get them as small as the brass ones were. I fear they will look too much out of scale (a little too big) but it's the best I can do at the moment. I used the metal cleats supplied in the kit - had to clean them up a lot & added wire pins in the larger ones because they had none. the instructions say to paint them red , black or to look like wood. I see that most everybody else who have done the Syren have gone with red but I decided on black instead (don't know why- just did for some reason). When I went to start on the swivel brackets I realized my gun port sides needed squaring up better. Hit them with a mini flat file for a quick & easy fix. The swivel brackets sit slightly above the deck & I had a hard time getting such a narrow edge to stay glued securely so I secretly hid small blocks up under them that the sit on but are not seen. They are more securely attached now. While working on the inboard stuff I managed to break one of the bumpkins & looking around I noticed I had broken off & lost the stern port lids & a few of the other gun port lids. I think it might have been better if the instructions would tell you to do the inboard work first & then a lot of the outer work but maybe I'm just too clumsy? Jesse


- 1,306 replies
-
- 19
-
-
- syren
- model shipways
- (and 1 more)
-
Can't wait to see how the carving turns out. I need to learn to do this too. A father & son at my church are both dentists so I think I am going to ask them for some worn out burs that they would be throwing out anyway. Jesse
-
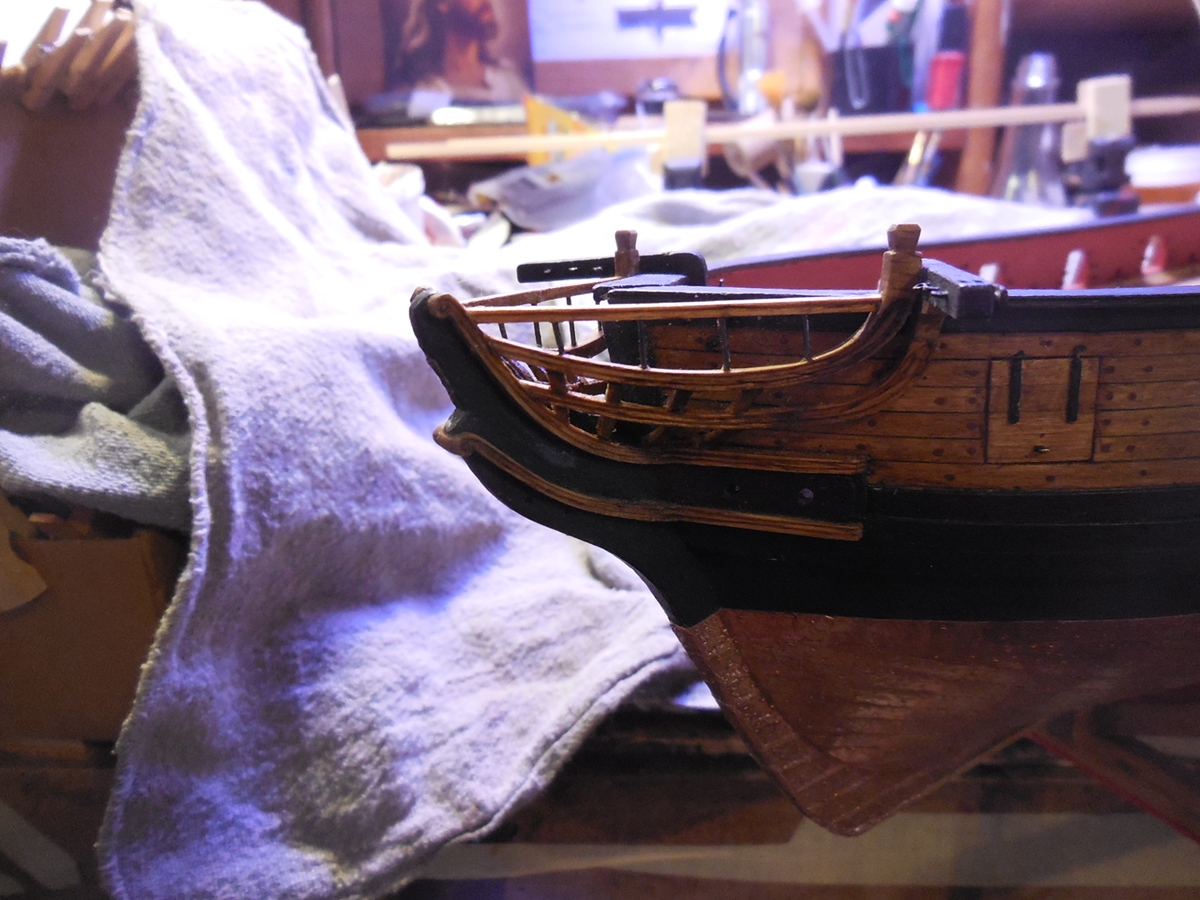
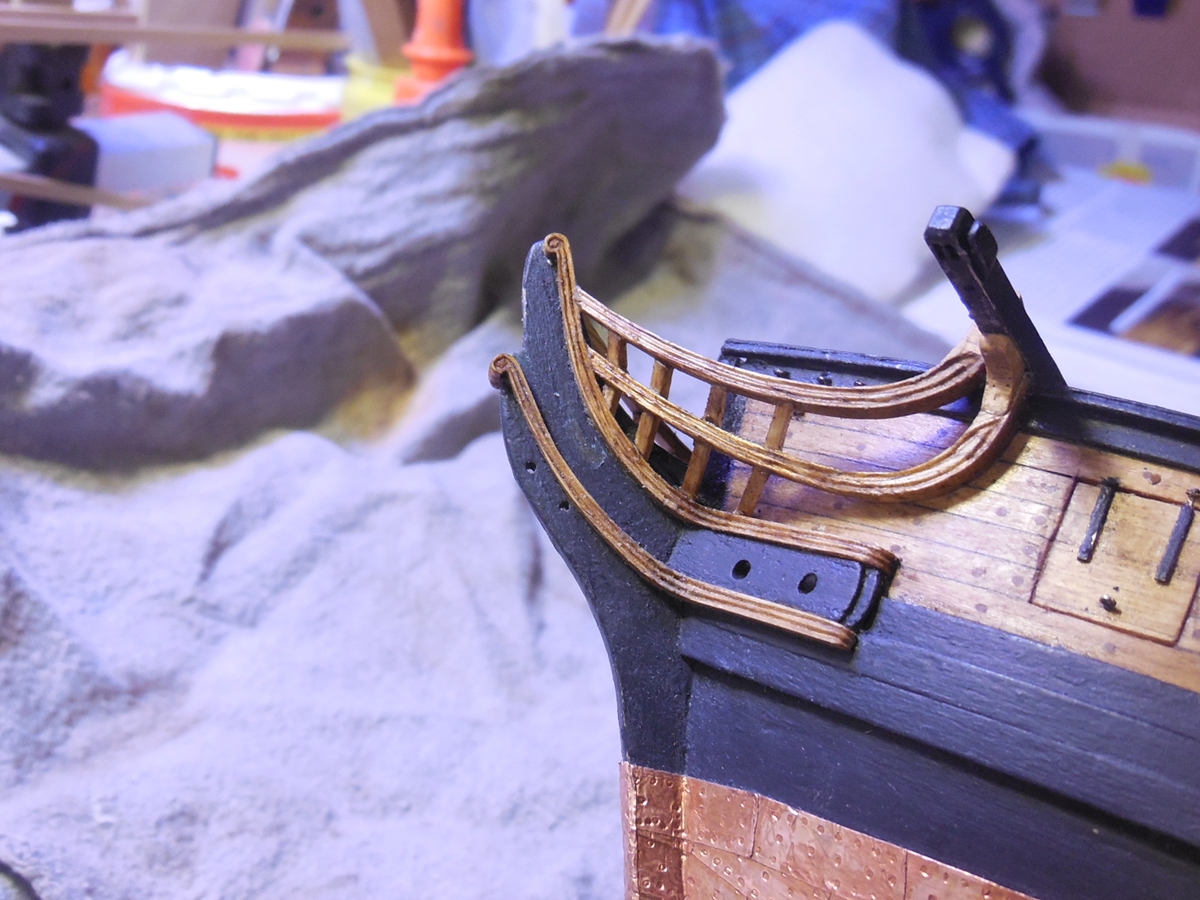
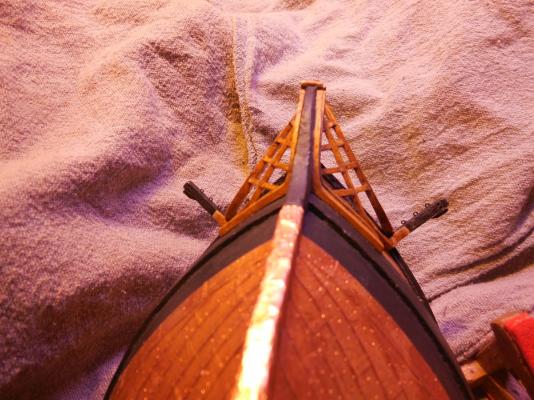
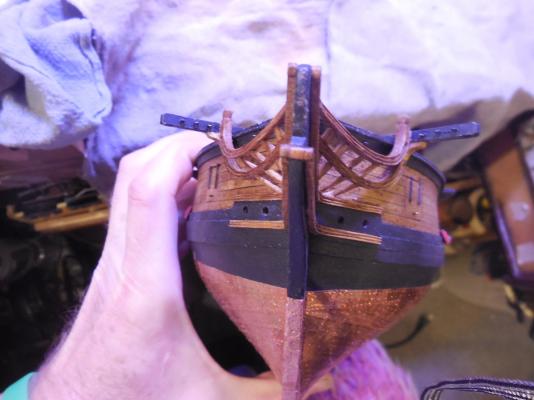
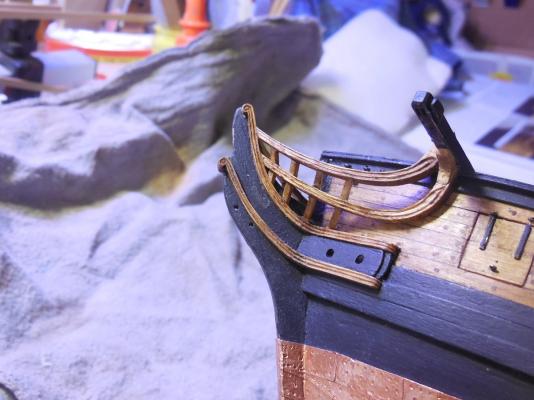
Thanks for all the positive feedback & all the likes. I made the top rails out of the same mystery wood & scrolled them the same way. The instructions say to drill the holes for the stanchions part way through the bottom of the top rails then glue wire stanchions (left a little long) in top rail holes, dry fit & measure wires against upper head rails to mark hole positions & get wire lengths. Drill holes half way into top side of upper head rails, clip wires off to right length & assemble all this. I found it easier to glue top rail on then drill from underneath straight through the upper head rails up into the bottom side of the top rails. I cut the stanchions to the correct lengths, pushed them up into the holes& glued them. Filled the holes left on the bottoms of the upper head rails with glue & sawdust mix. Worked very well & hardly shows at all. Then made the bumpkins & glued them on. Pinned them with small wires to hold better Jesse


- 1,306 replies
-
- 23
-
-
- syren
- model shipways
- (and 1 more)
-
That some mighty fine work Piet! I wish I had your metal working skills. Jesse
-
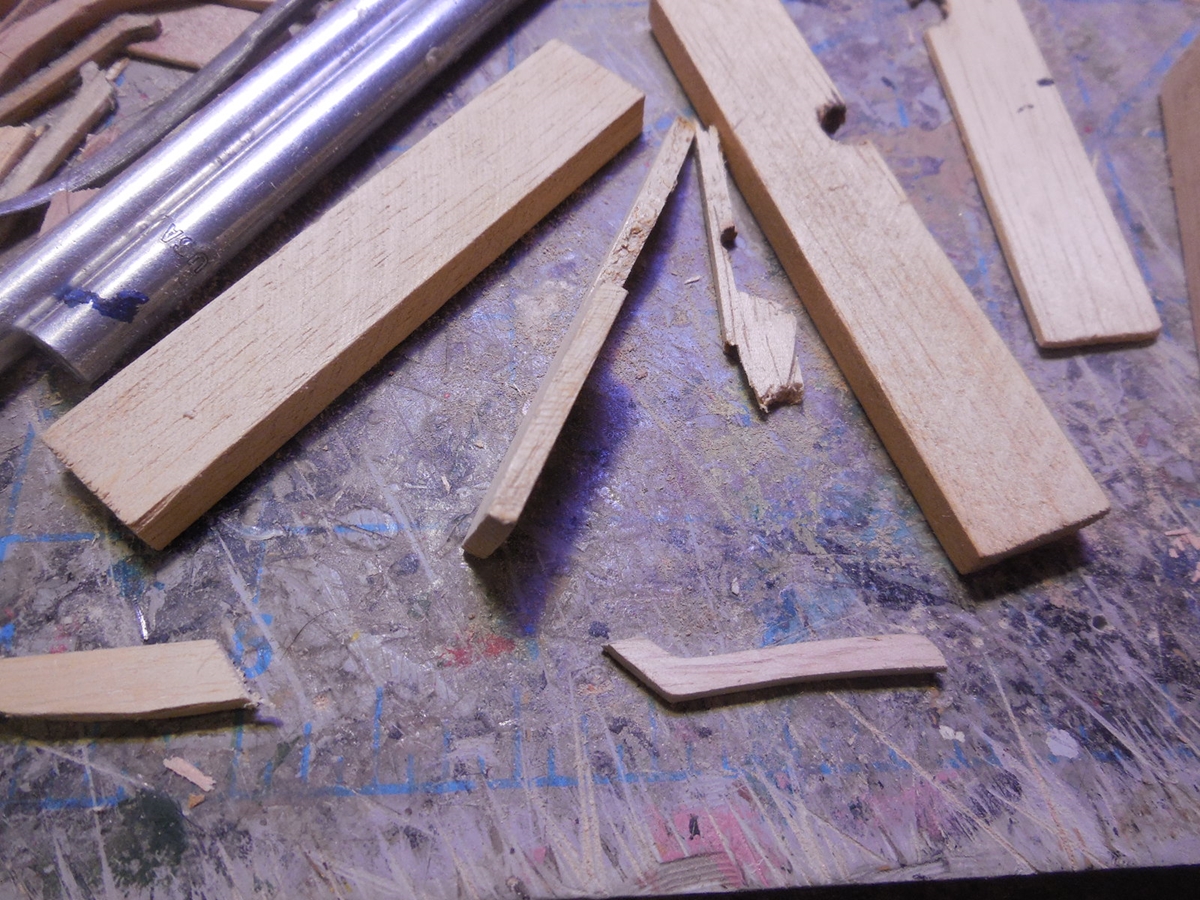
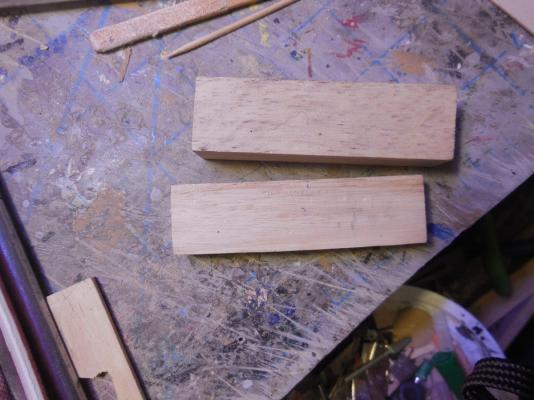
When I finally decided to tear off the cheeks & head rails I wasn't sure what I could re-do them with since I don't have a lot of milled wood to work with. I do have some lime wood & beech given to me by Dennis all the way from New Zealand. The problem with that was the upper head rail needs such a wide piece that none of these strips would work. I wanted to have all the cheeks & rails made out of the same kind of wood to keep the staining consistent so I had to find another option. I was going to look into getting a piece of poplar from Lowes like Piet told me about but I still haven't been able to get there yet (since being disabled from chronic lyme I can't drive anymore). So I rummaged through all the scrap I've got & found some blocks that were large enough for the upper rail. Don't know what kind of wood it is. It is hard but not real hard. The sawdust from it was yellowish. Anyway with nothing much but some small hand tools & a small hobby saw I painstakingly milled it down & cut & carved out the cheeks & head rails. This wood did so much better than the original basswood did but not as good as a harder wood would. I did have to harden it up some with watered down PVA when I cut the scroll lines. Much happier with these than the first ones. Used some aluminum tubing for the hawse holes. Still working on the deck side of them. Jesse


- 1,306 replies
-
- 19
-
-
- syren
- model shipways
- (and 1 more)
-
That's looking really good Mark. I'm in the middle of a re-construction myself. I was frustrated at first but I'm already glad I tore it off & did it over. It always ends up looking better & there's nothing like the peace of mind of the builder. Even if no one else would ever know or care we just have to satisfy ourselves! Jesse
-
Thanks Dirk, Dennis, George, Elijah, Ken, Gary, Steve, Dave, Bug, Richard, Carl for the encouragement & tips. Dennis, thanks again for the wood. I have used some of the Lime & Beech for several different smaller things but nothing big yet. I'm still amazed at how flexible the Beech really is. Thanks guys for the tips on picking up the fine parts- I'll start doing that. Did find a lot of my small eyebolts I formed with a magnet. I have learned to string my eyebolts on a looped wire. Gary, I feel your pain. I have been remaking those pieces out of other wood but it is going ...s...l....o.....w......!!!! Hopefully there will be enough progress to get back to some log pics soon Jesse
- 1,306 replies
-
- 7
-
-
- syren
- model shipways
- (and 1 more)
-
Maturin, enjoy clamping shirts (I just love that story) now. One day she will grow up & not want to spend her time with you & you'll miss it. My "little girl" used to be daddy's girl, always by my side. She became a teenager & almost forgot daddy. Jesse
-
I sat in my chair making eyebolt while I watched the game. Man was it a good one! Jesse
- 962 replies
-
- 7
-
-
- sovereign of the seas
- ship of the line
- (and 1 more)
-
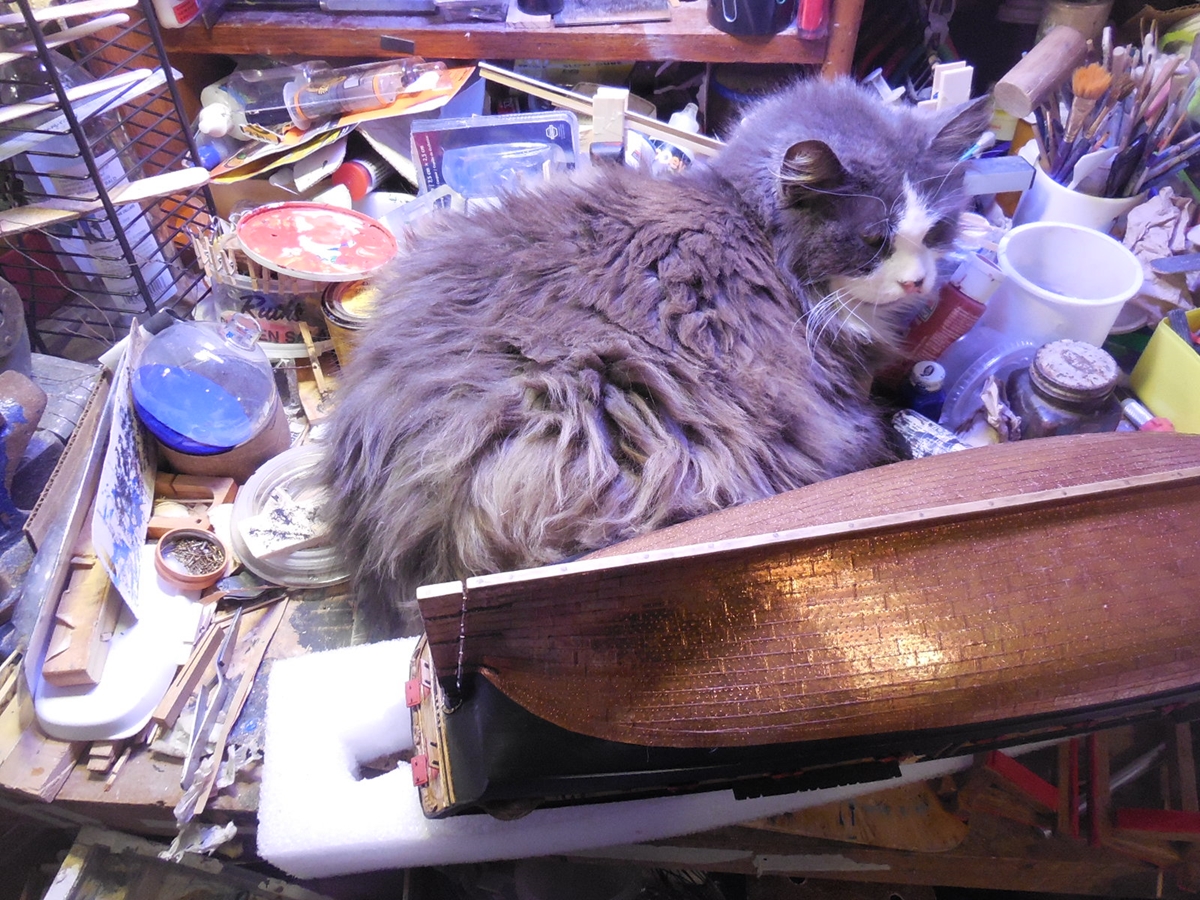
The family cat Izzy decided she wanted to sleep on my work bench last night so she cleared an area of it off to lay down. Along with sanding sticks & mini files she shoved all the wood scrolled molding I've been reworking & dozens of pre-made eyebolts & tiny things like that. Still cant find all the wooden parts. Will have to re-do again some of the head rail pieces again. The carpet has swallowed up many of the tiny metal pieces that will probably never be recovered. Weeks of fabrication lost!
- 1,306 replies
-
- 11
-
-
- syren
- model shipways
- (and 1 more)