.jpg.f26acc9a74319261612561bfa7da1303.jpg)
vaddoc
-
Posts
1,605 -
Joined
-
Last visited
Content Type
Profiles
Forums
Gallery
Events
Everything posted by vaddoc
-
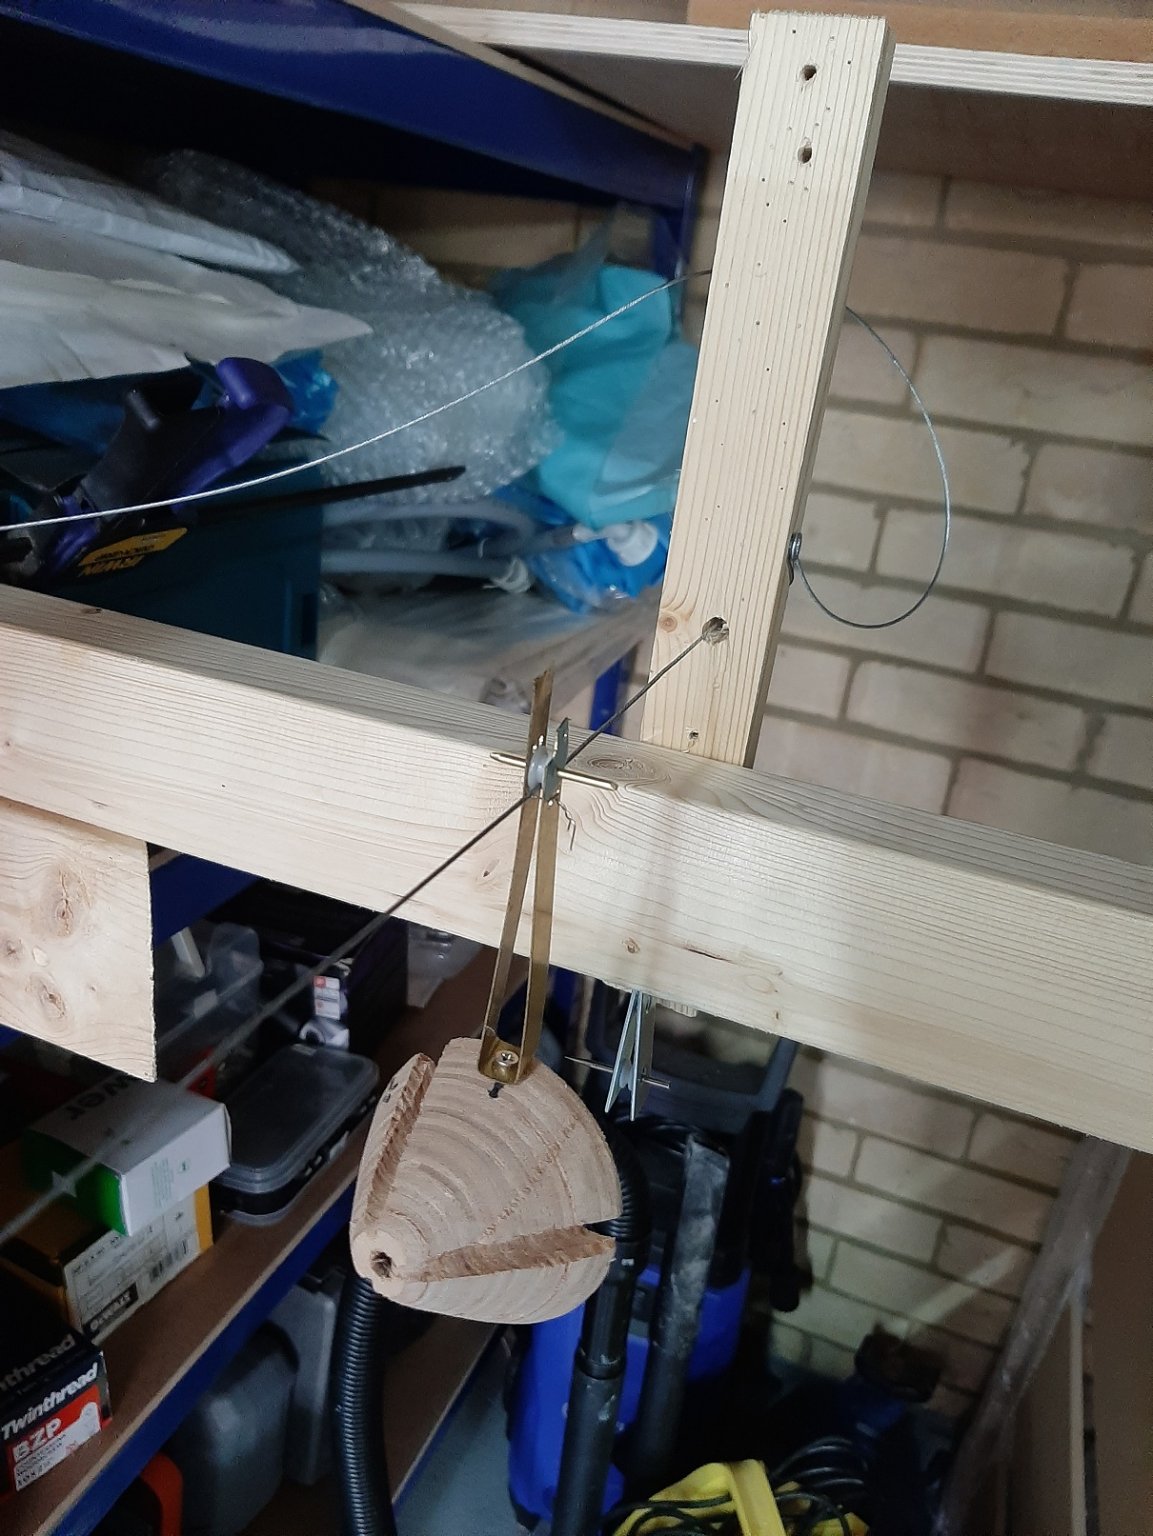
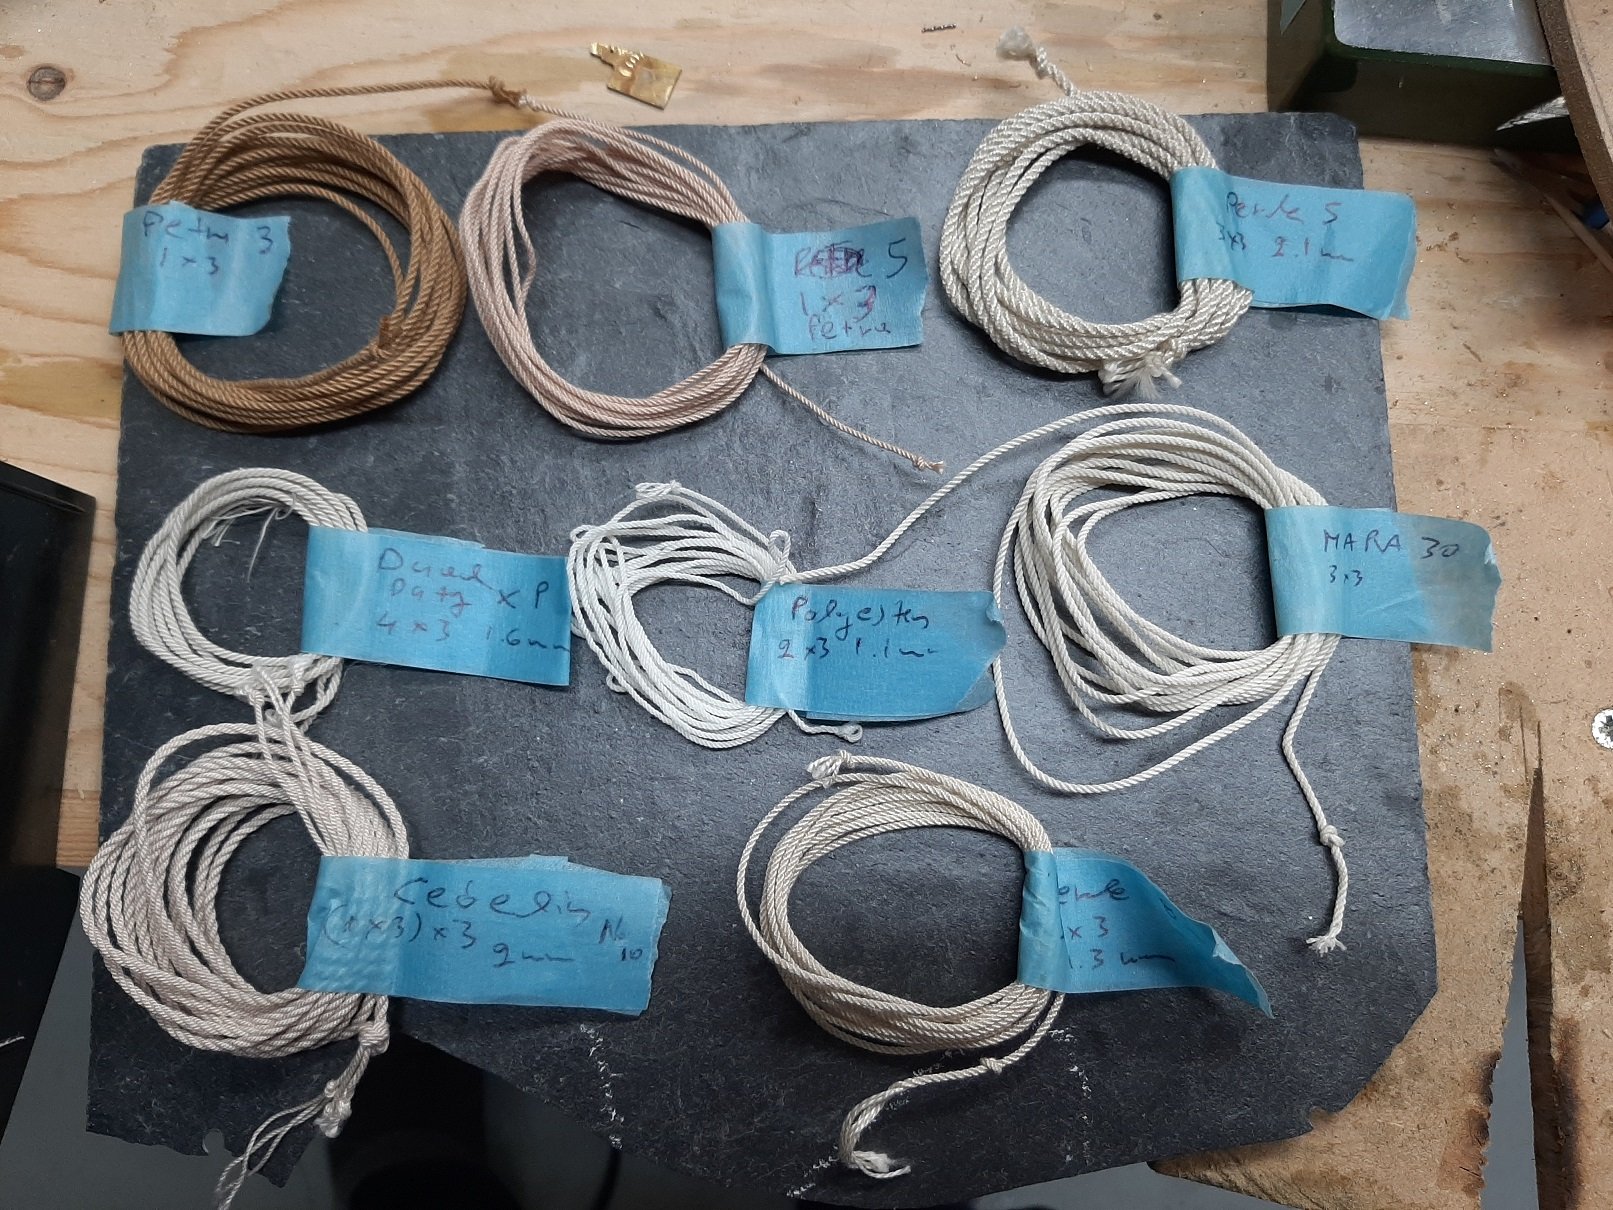
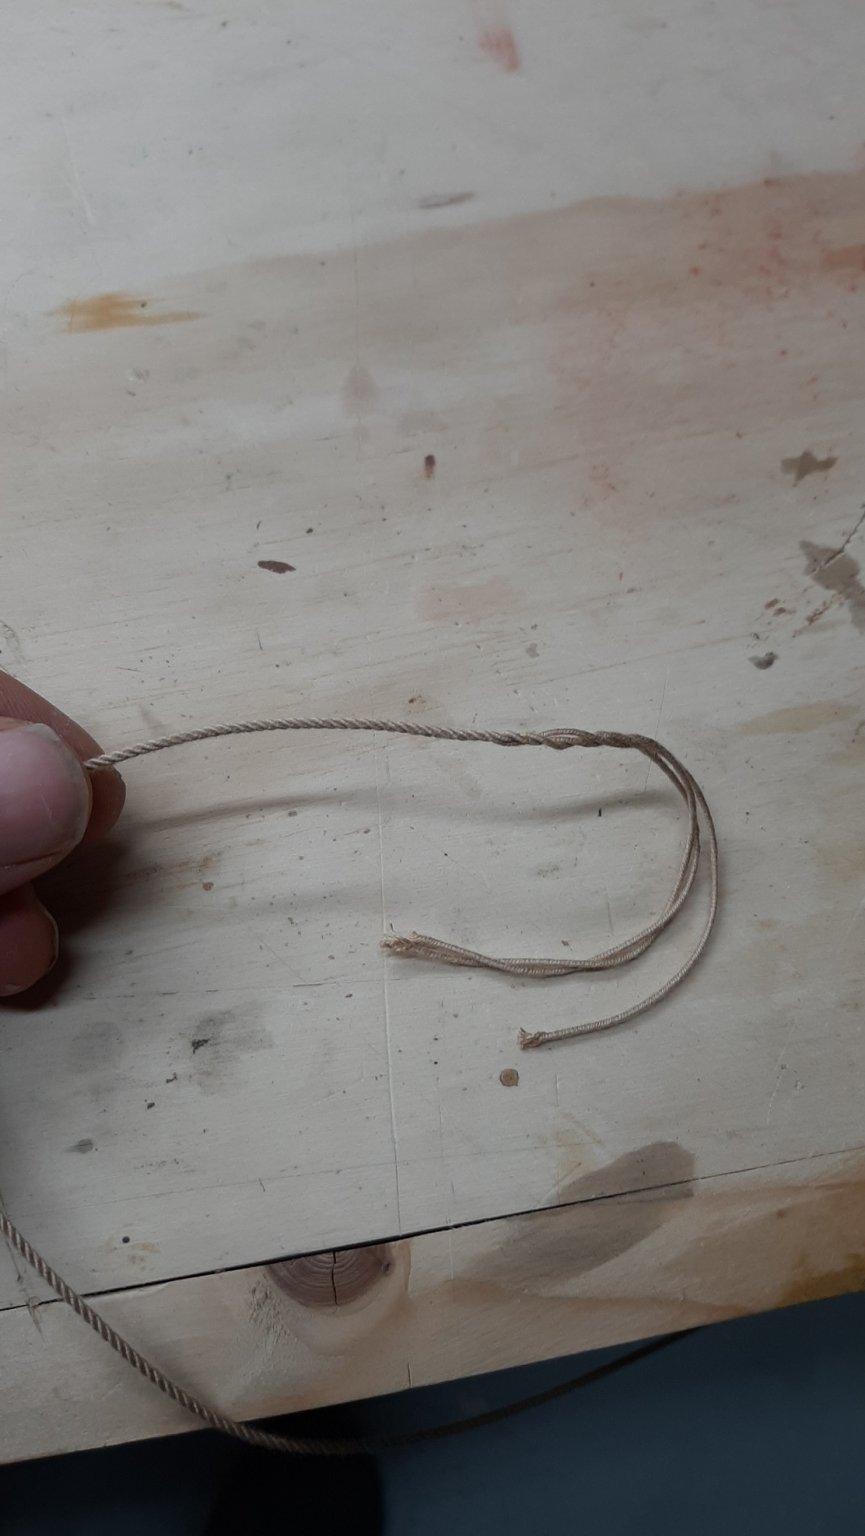
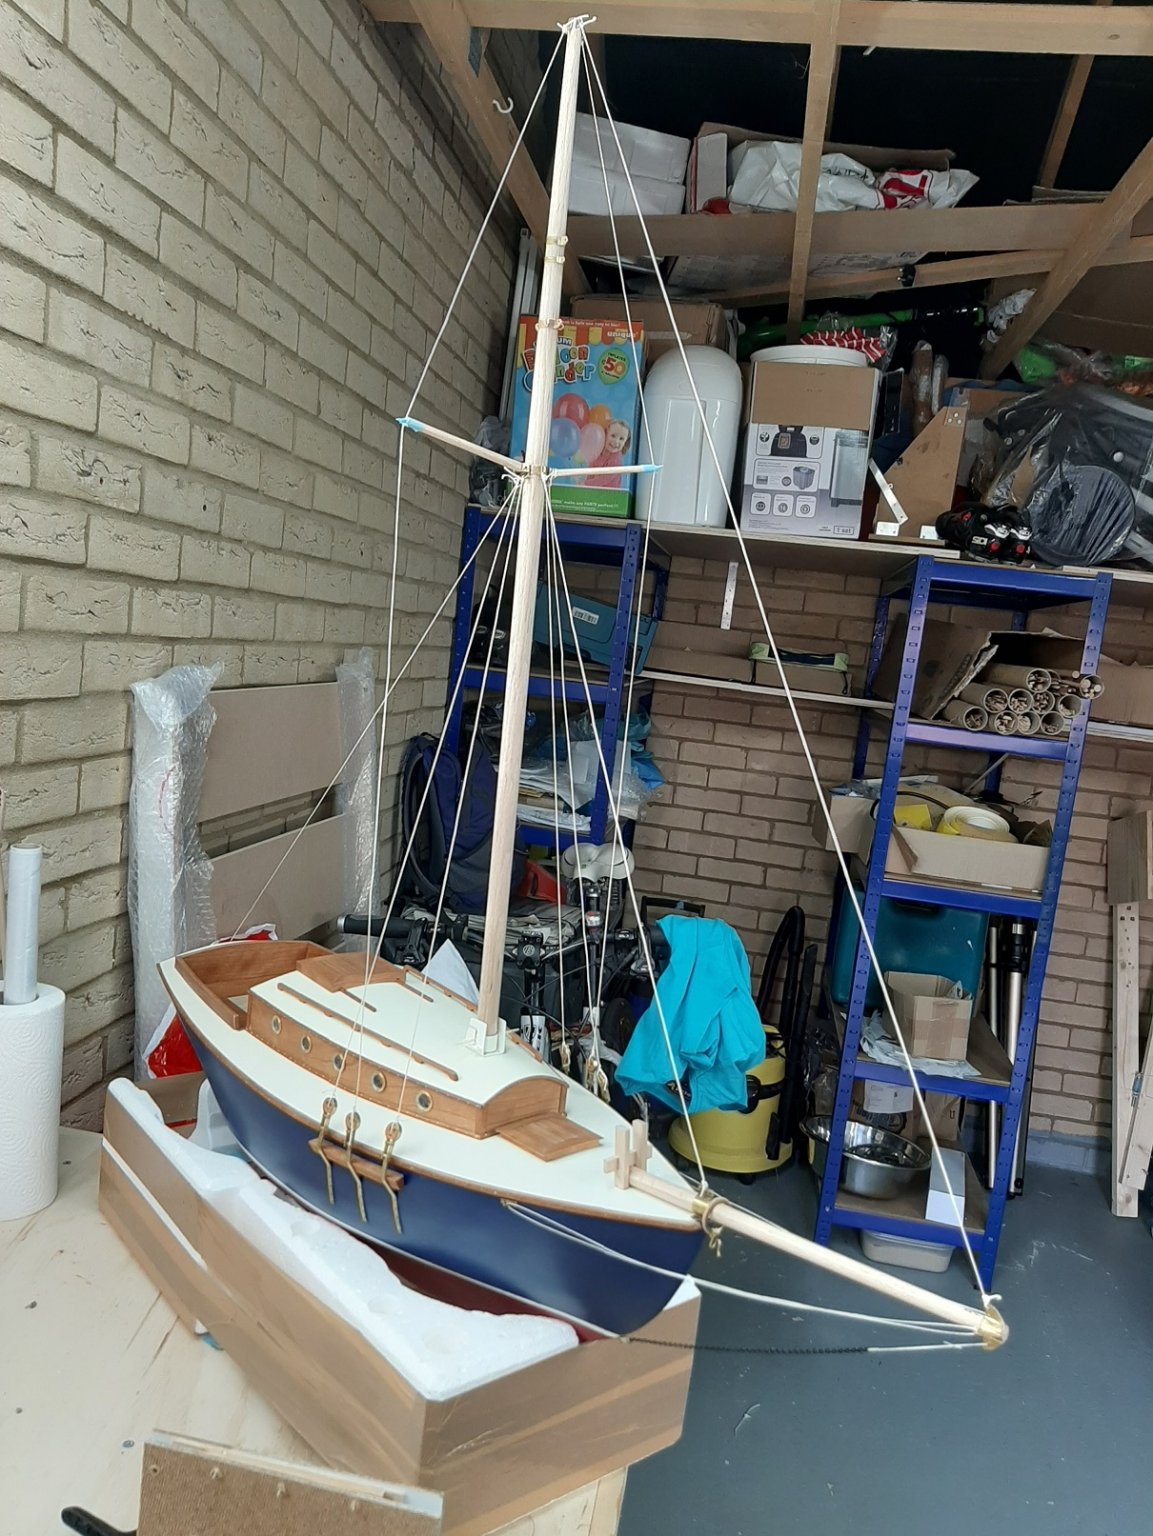
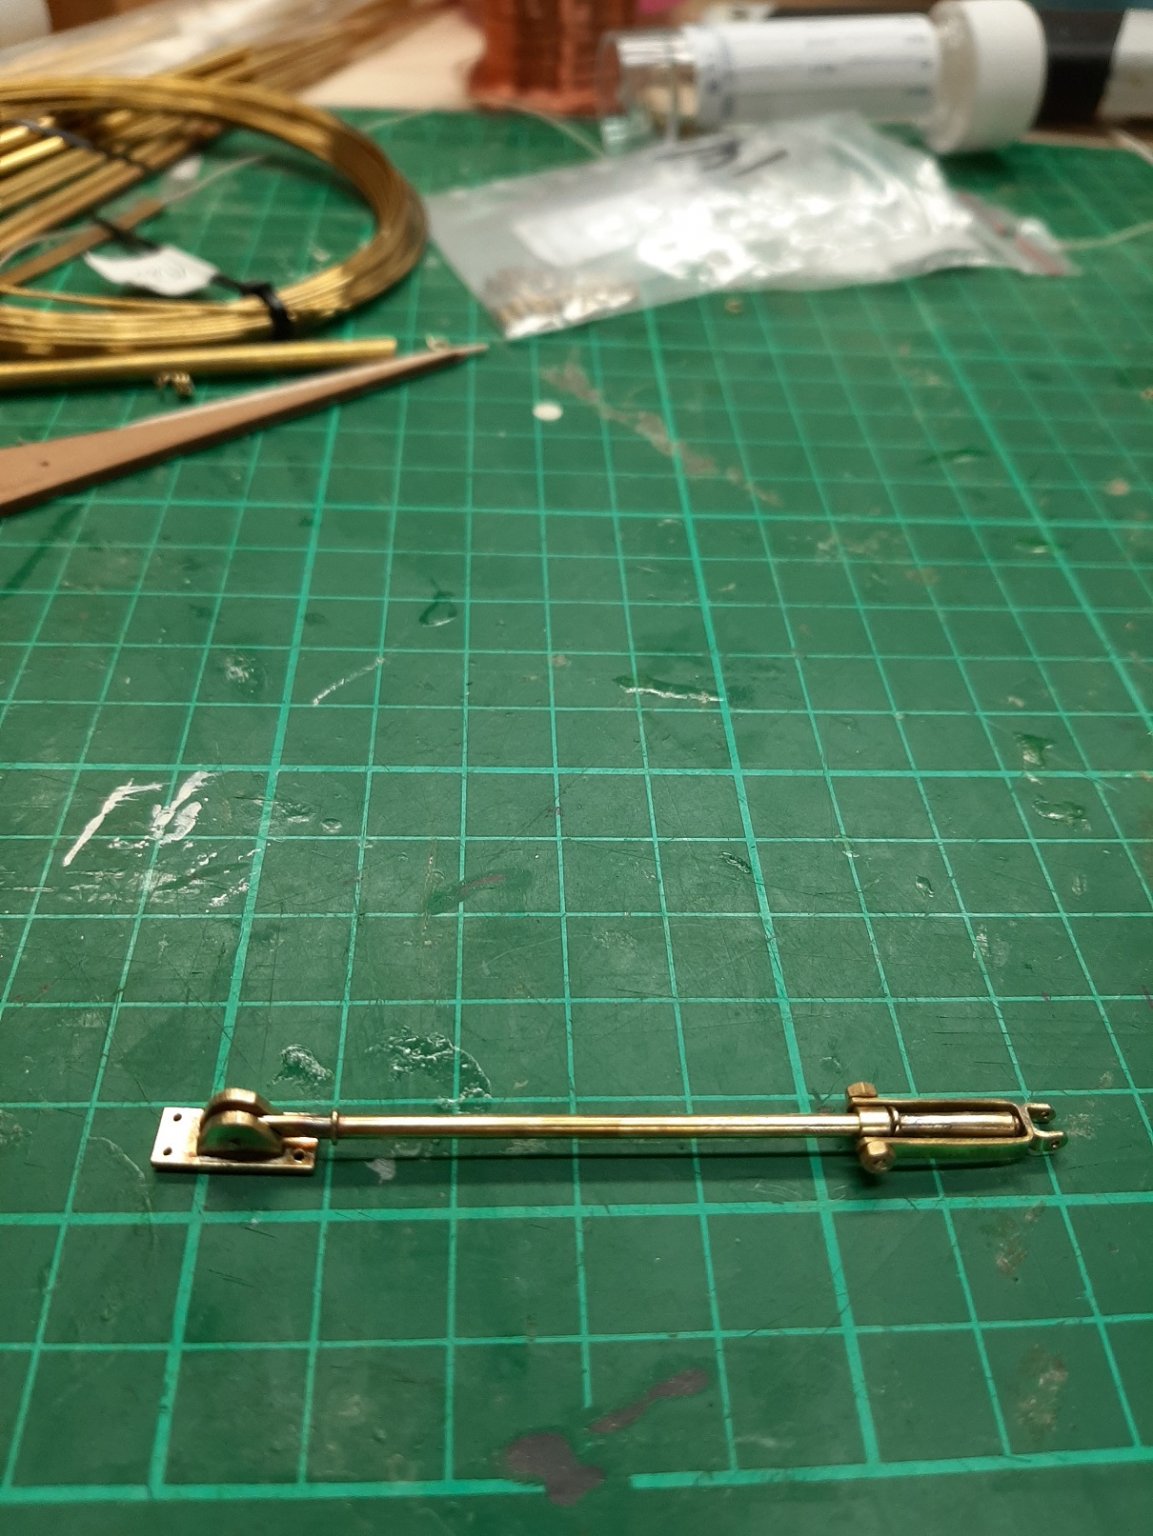
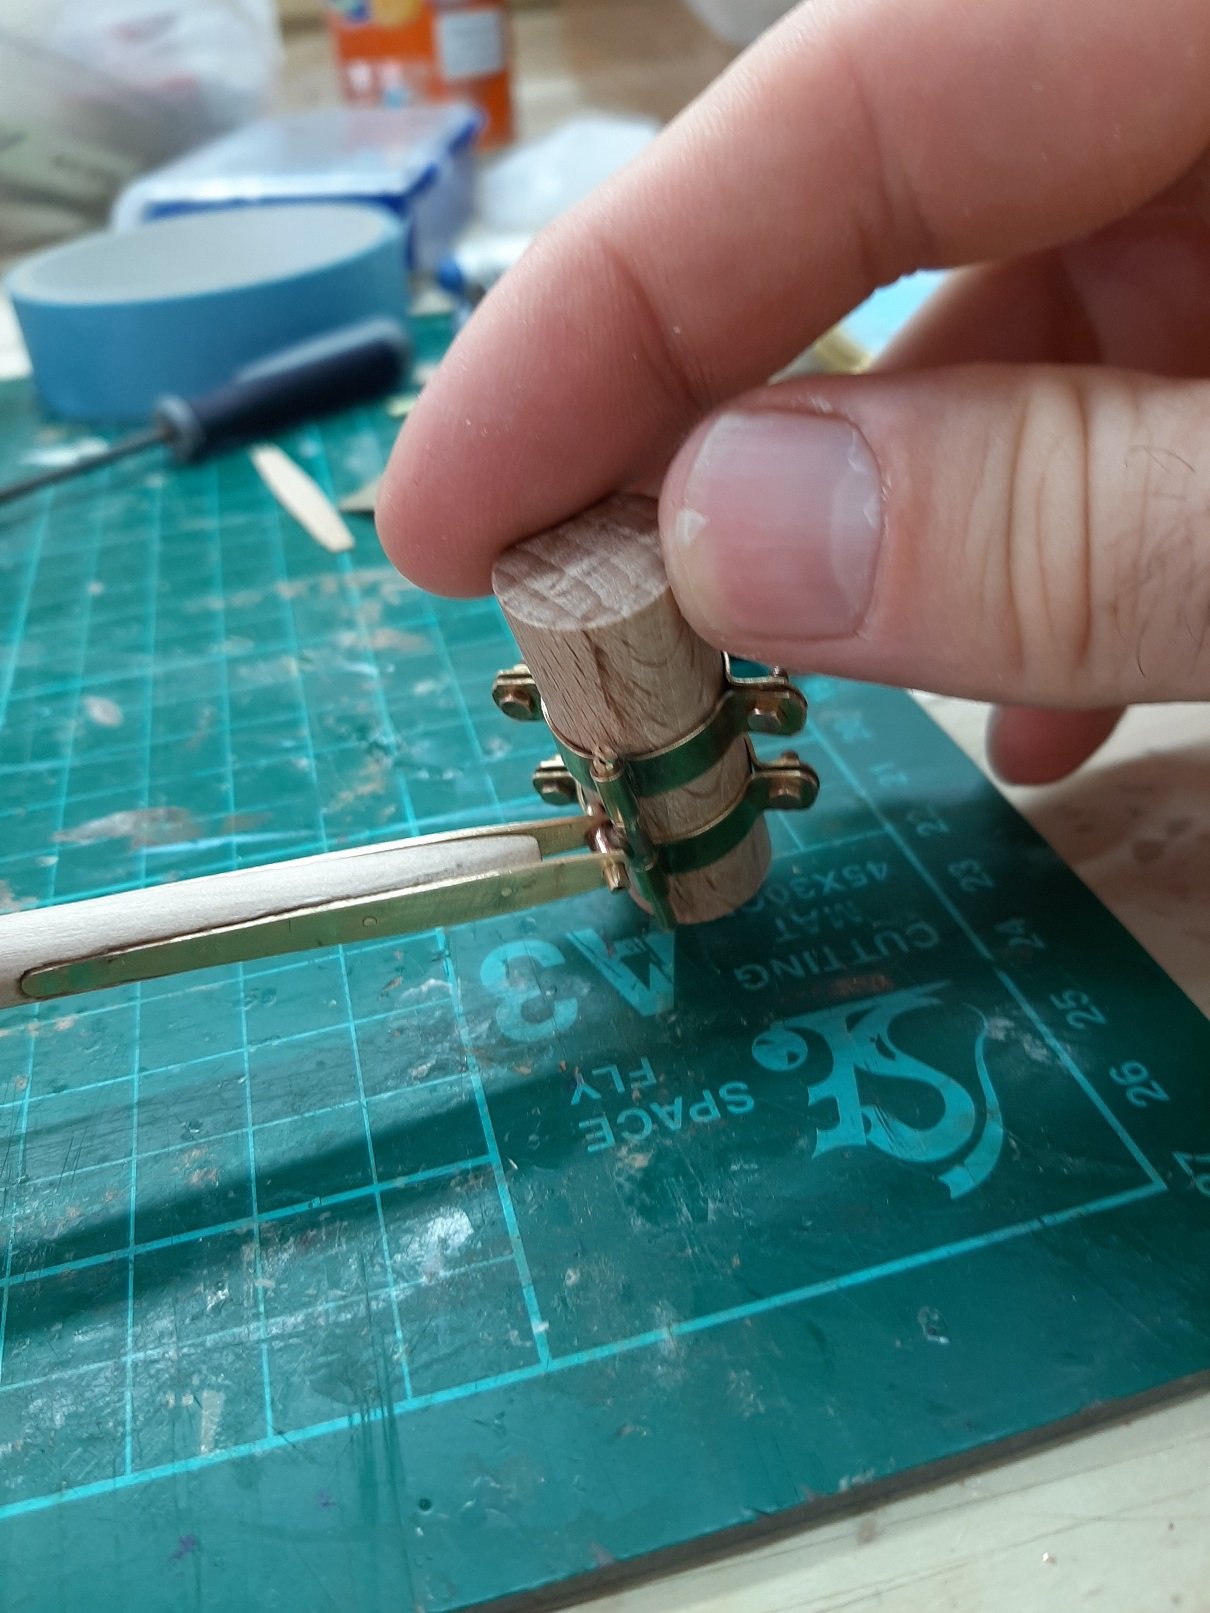
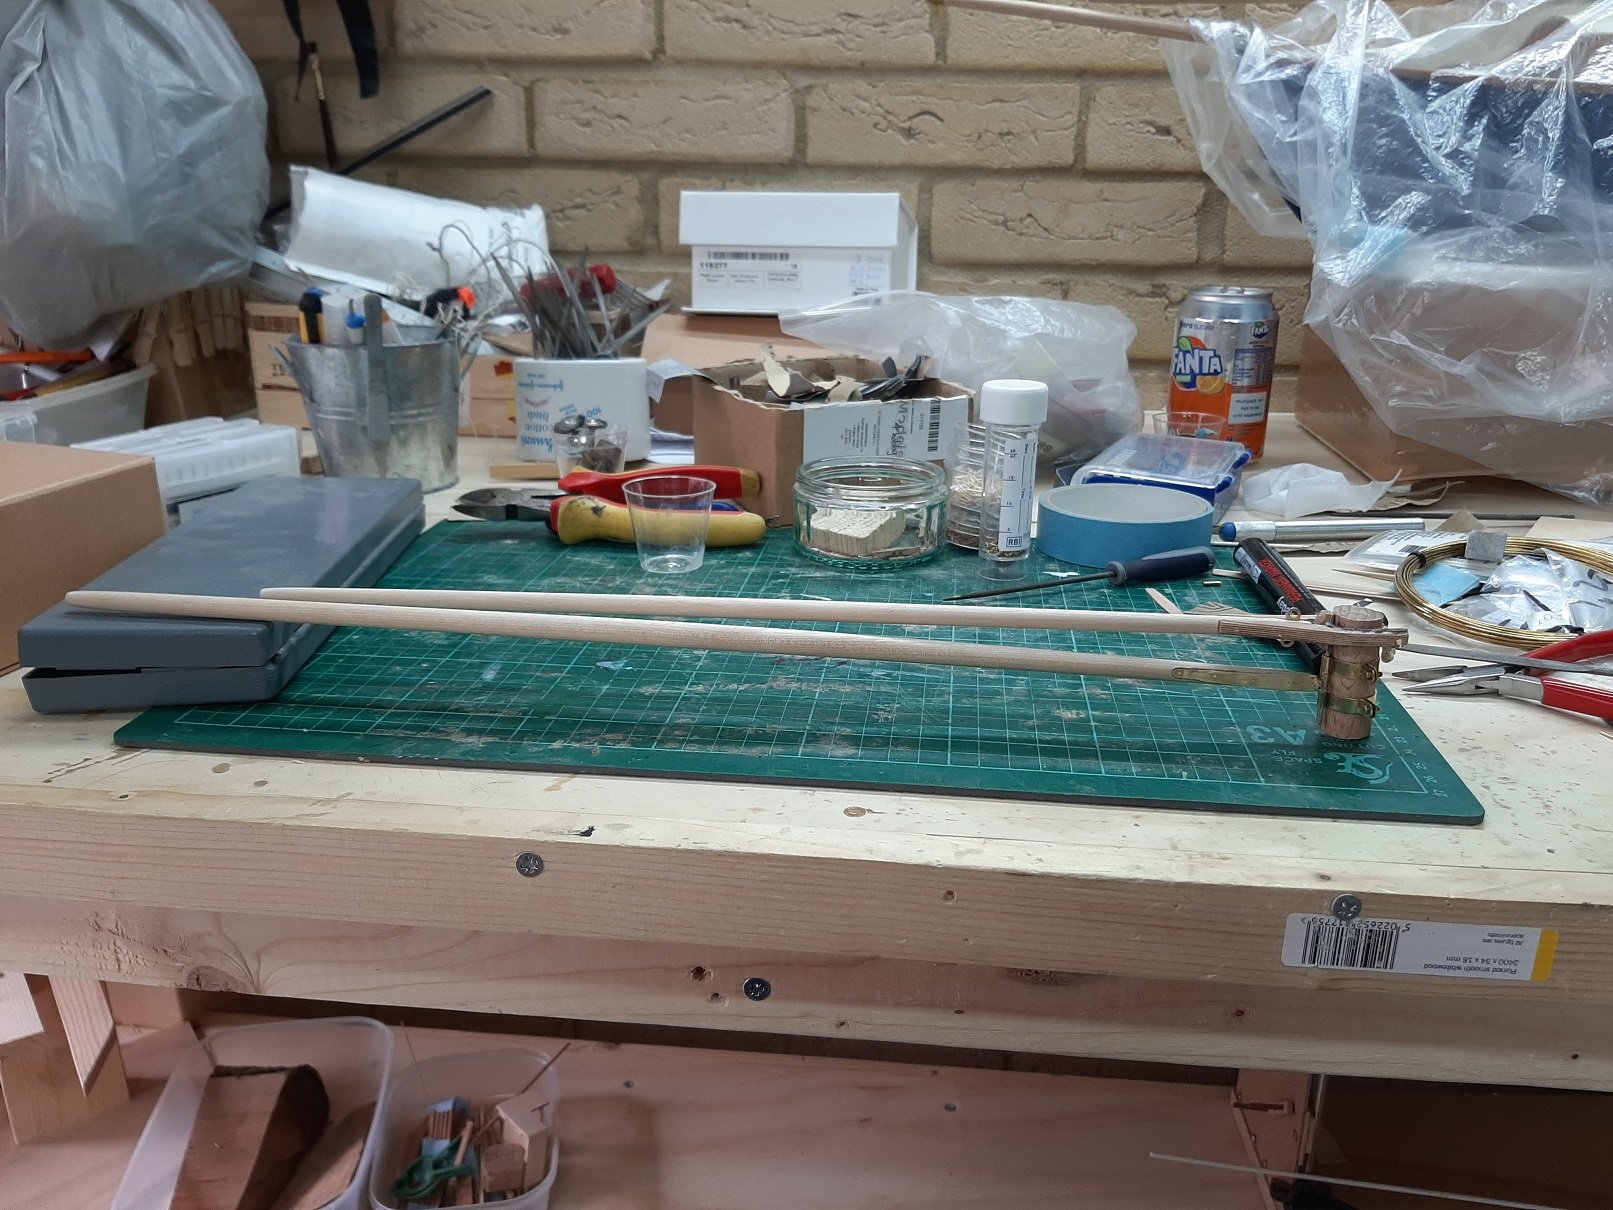
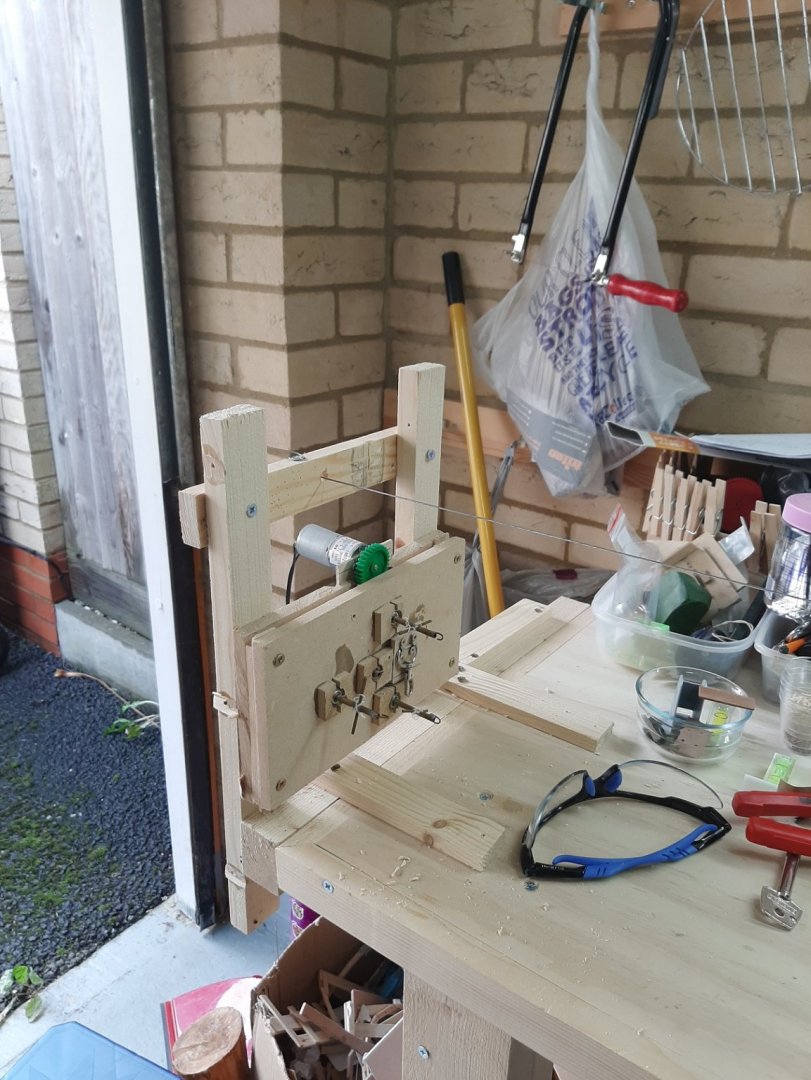
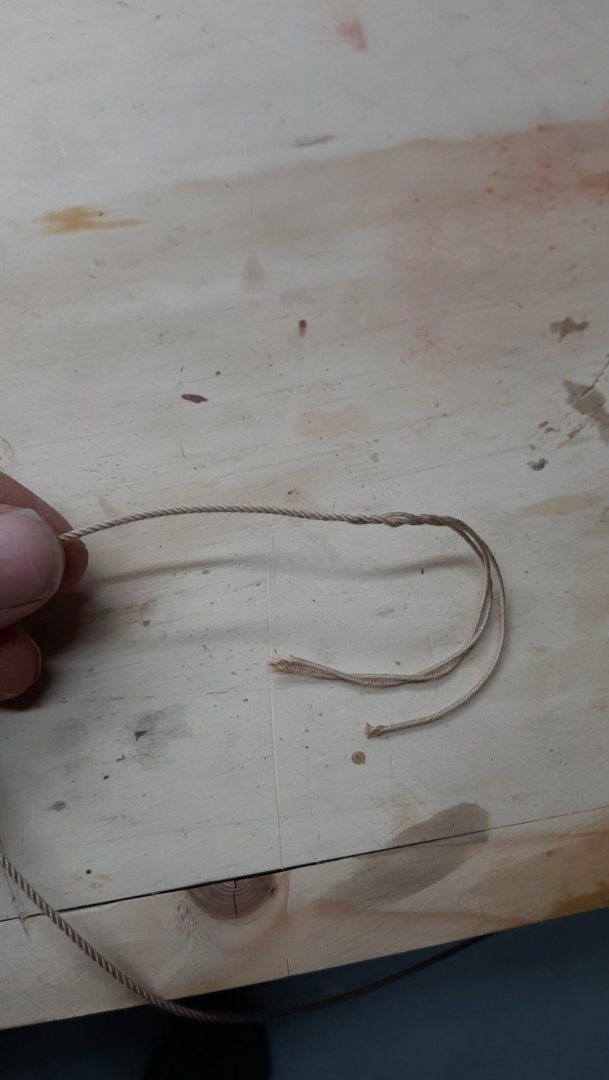
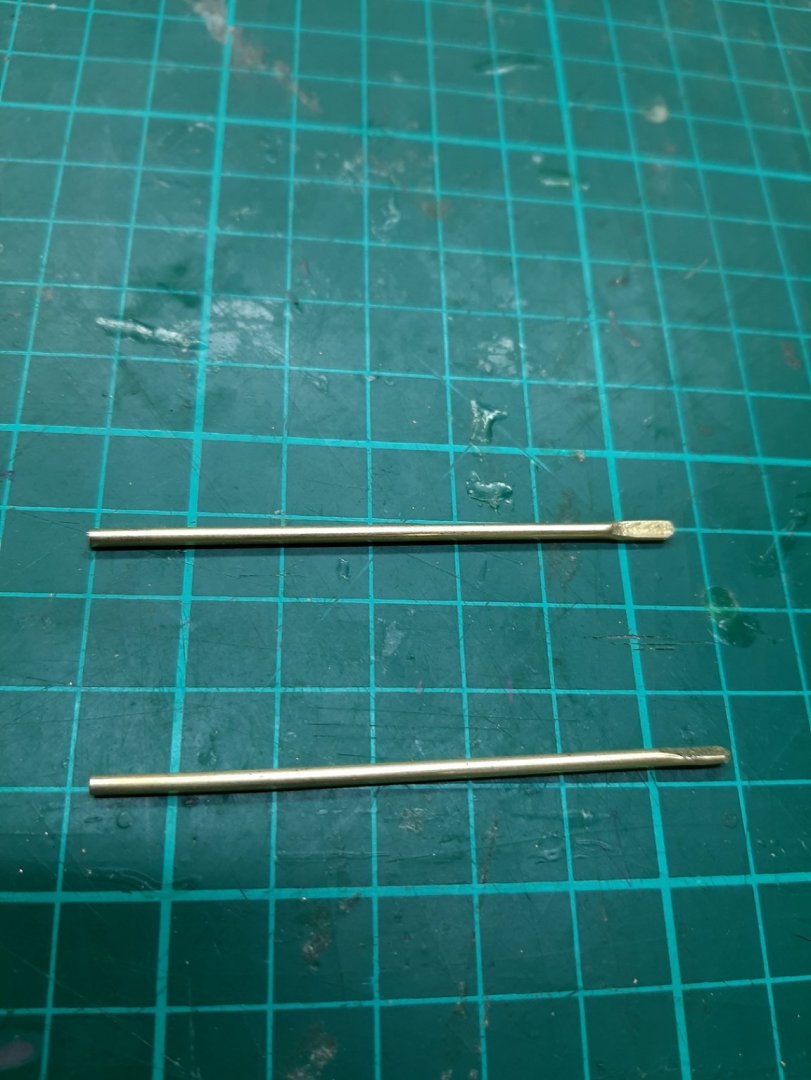
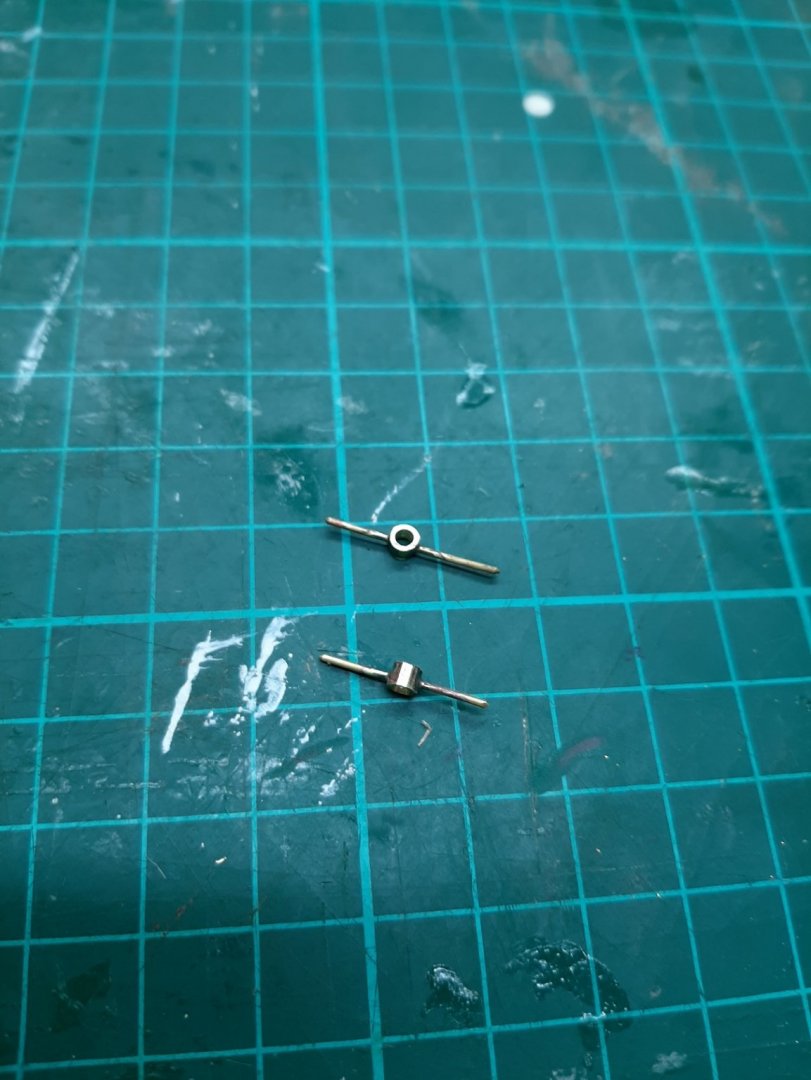
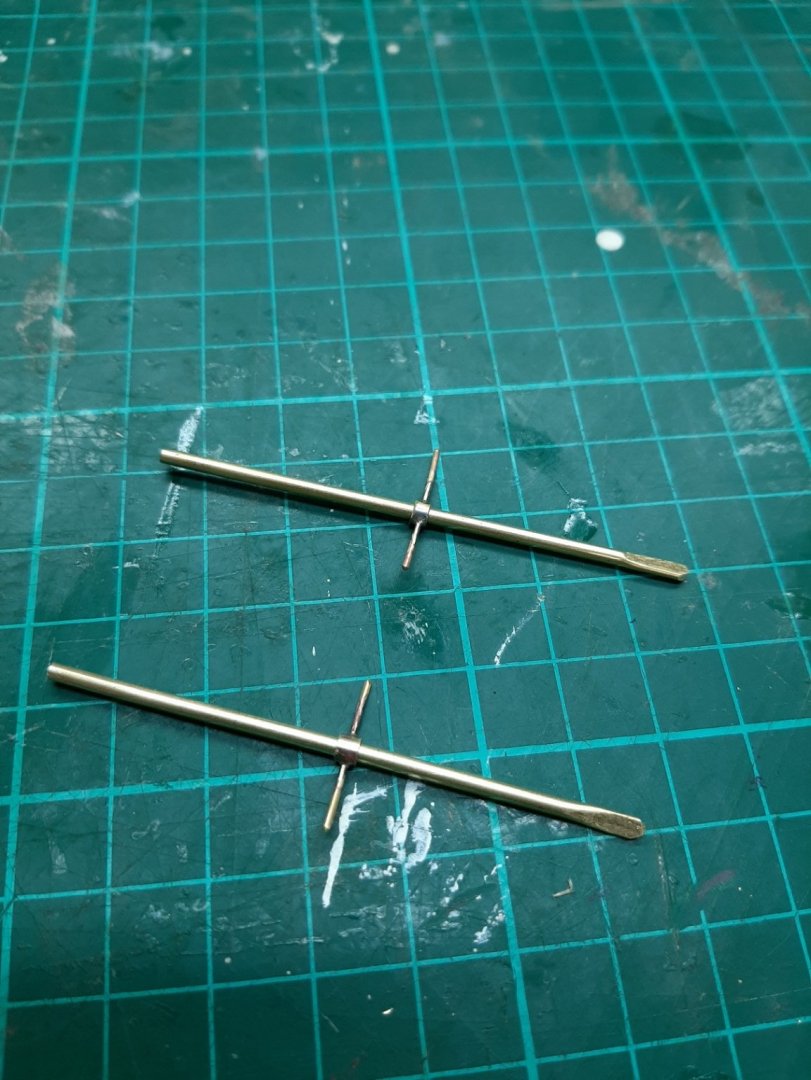
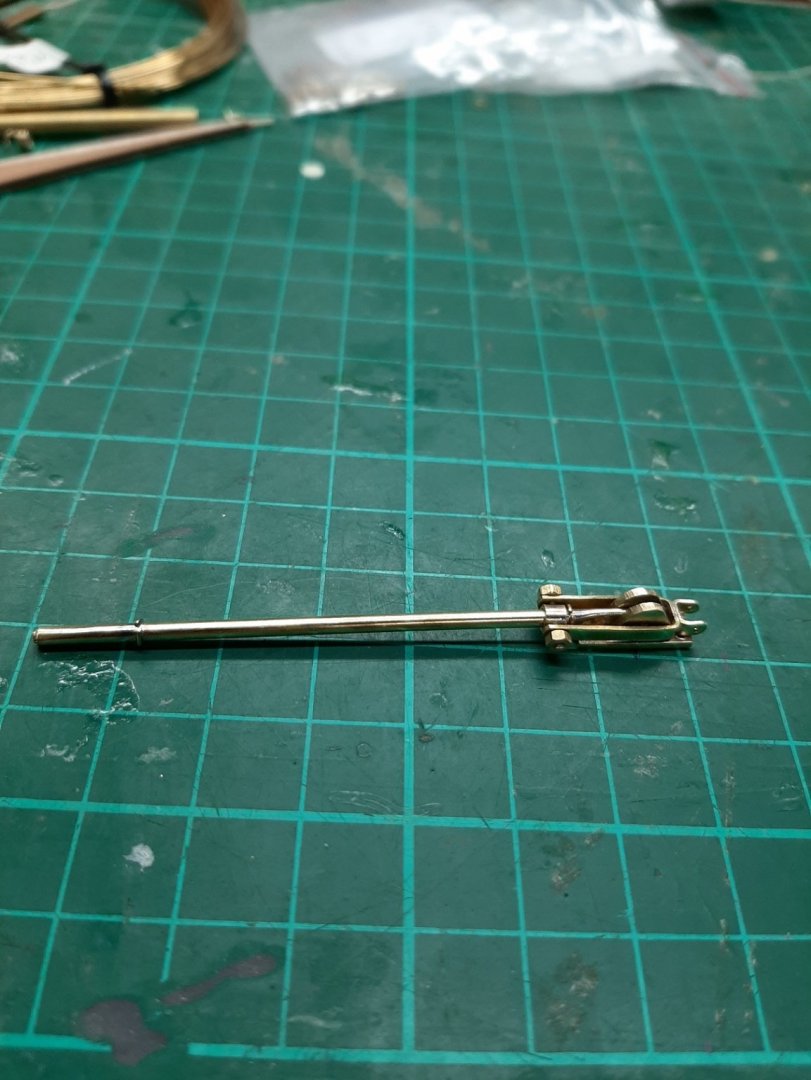
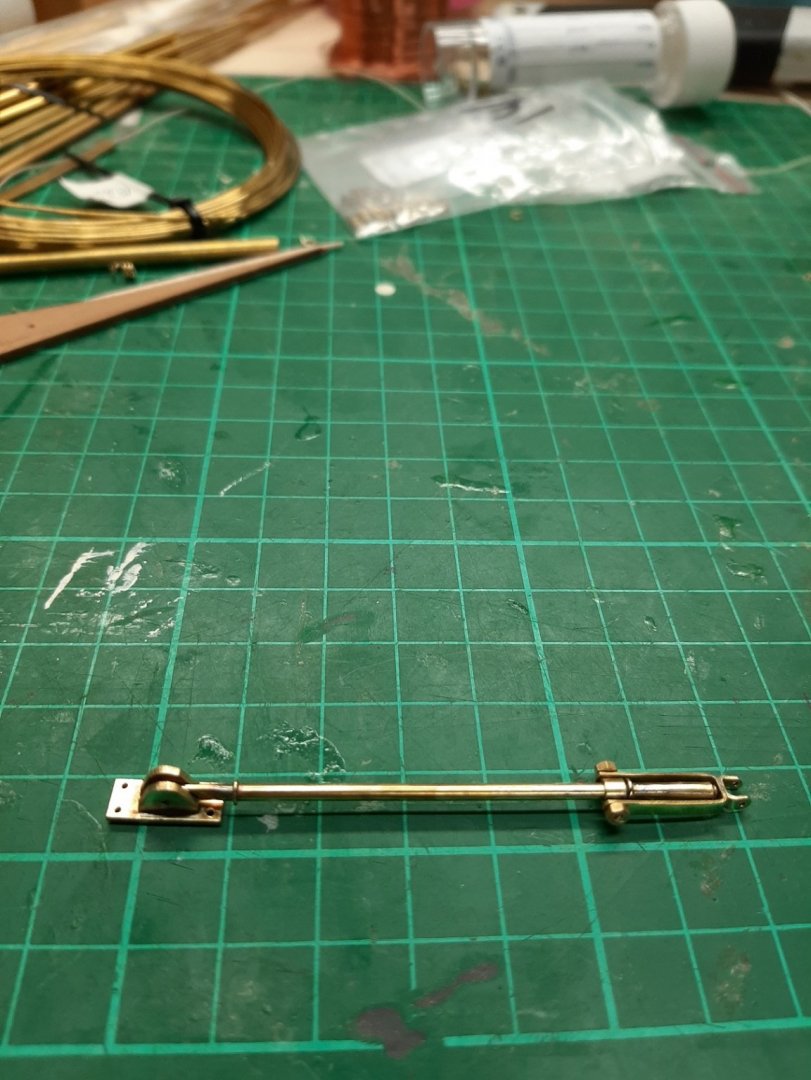
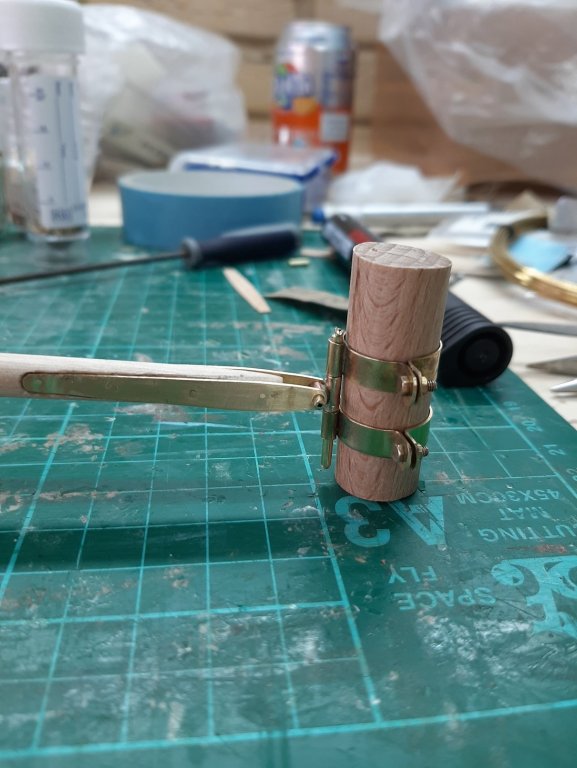
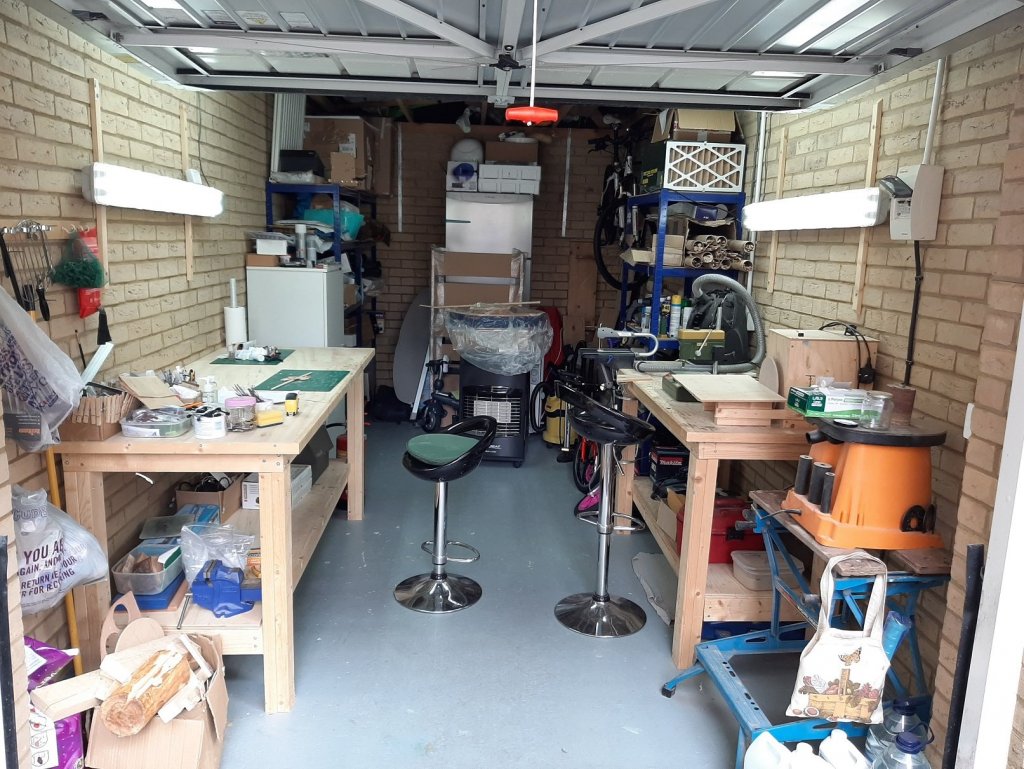
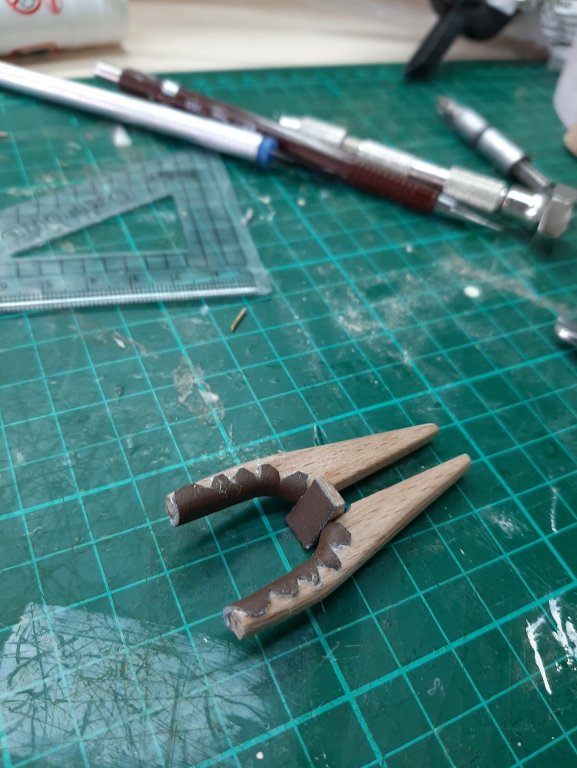
.thumb.jpg.6fd4c1b78768bb3efd745ab810936005.jpg) So I managed to find some time to work this Sunday, mainly because it has been raining for days and the admiral is busy looking for furniture. Still, to be allowed into the garage, I had to draw and render our living room and all the proposed furniture on CAD! Today it was all about ropes. I know, this subject is beaten to death but I will need a lot and I needed to standardise sizes and colours. First, I made the second Highfield lever which came out pretty much identical to the first one. I have though some concerns whether they will fall apart. The reason is that although this is a static model, the mast will all stuff on will be quite heavy and the backstays will be doing some actual work. The 0.6 mm wire rope is very strong and needs some tension to be taught. We shall see! I took out my rope walk and decided that it needed improvements. I was never happy with the way the cone moved and also the pulley design for the counterweight. After a bit of head scratching and a thorough search through the garage, I found solutions that seem to work pretty well. I also improved the cone, the grooves had to be sanded much deeper. Now I can make 2.8 m of rope on each use of the 3.3 m rope walk and things seem to move relatively effortlessly. I ve taken a video, it really takes probably less than 10 min to set up the ropewalk and produce the rope. I used the thread Chuck suggested, the Gutermann Mara and I liked it. However, I experimented with many others and I will use either DMC Perle (expensive) or DMC Petra (less so). The rope is beautiful, both threads are left twist and I am happy with ecru colour. Regarding the twist, this little list may be of help to others: DMC Cebelia is right twist DMC Perle left DMC Petra left Guttermann Mara right DMC Cordonnet Right Cotolin (Venne) is left The next photo shows some of the ropes I made. Apart from the cheap polyester and the expensive polyester/cotton mix, they are all very good and do not untwist. The Gutermann Mara looks indeed nice. Time to put the little ones to bed Regards Vaddoc
So I managed to find some time to work this Sunday, mainly because it has been raining for days and the admiral is busy looking for furniture. Still, to be allowed into the garage, I had to draw and render our living room and all the proposed furniture on CAD! Today it was all about ropes. I know, this subject is beaten to death but I will need a lot and I needed to standardise sizes and colours. First, I made the second Highfield lever which came out pretty much identical to the first one. I have though some concerns whether they will fall apart. The reason is that although this is a static model, the mast will all stuff on will be quite heavy and the backstays will be doing some actual work. The 0.6 mm wire rope is very strong and needs some tension to be taught. We shall see! I took out my rope walk and decided that it needed improvements. I was never happy with the way the cone moved and also the pulley design for the counterweight. After a bit of head scratching and a thorough search through the garage, I found solutions that seem to work pretty well. I also improved the cone, the grooves had to be sanded much deeper. Now I can make 2.8 m of rope on each use of the 3.3 m rope walk and things seem to move relatively effortlessly. I ve taken a video, it really takes probably less than 10 min to set up the ropewalk and produce the rope. I used the thread Chuck suggested, the Gutermann Mara and I liked it. However, I experimented with many others and I will use either DMC Perle (expensive) or DMC Petra (less so). The rope is beautiful, both threads are left twist and I am happy with ecru colour. Regarding the twist, this little list may be of help to others: DMC Cebelia is right twist DMC Perle left DMC Petra left Guttermann Mara right DMC Cordonnet Right Cotolin (Venne) is left The next photo shows some of the ropes I made. Apart from the cheap polyester and the expensive polyester/cotton mix, they are all very good and do not untwist. The Gutermann Mara looks indeed nice. Time to put the little ones to bed Regards Vaddoc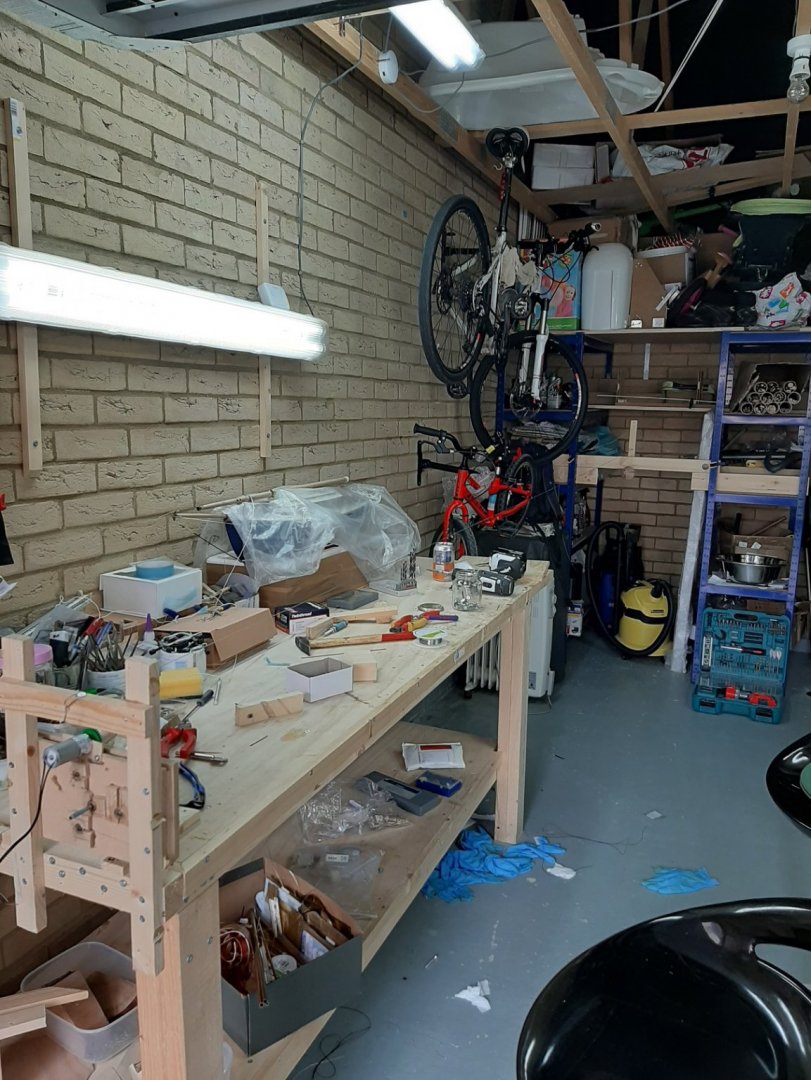


-
I gave this thread a try and I think Chuck is right, it looks pretty good. I ve used polyester threads before and after they are twisted into a rope, they generally feel like cheap nylon cord. Not this one, the rope it produces is quite supple and it retains to a large degree the look of cotton rope. It still is plastic though so the rope will retain whatever shape you give it, unlike natural fibre ropes that lay as they will. I somehow feel it will not stretch with time under load which is a big plus. Mara 120 is very thin thread. I ll stick to cotton for my current boat as I do not have a colour limitation but if I was making a period ship I think I would use this thread as there are endless colours to choose from and Chuck has provided the right numbers which can be found. Overall very positive results, at least on my home made ropewalk. Regards Vaddoc
-
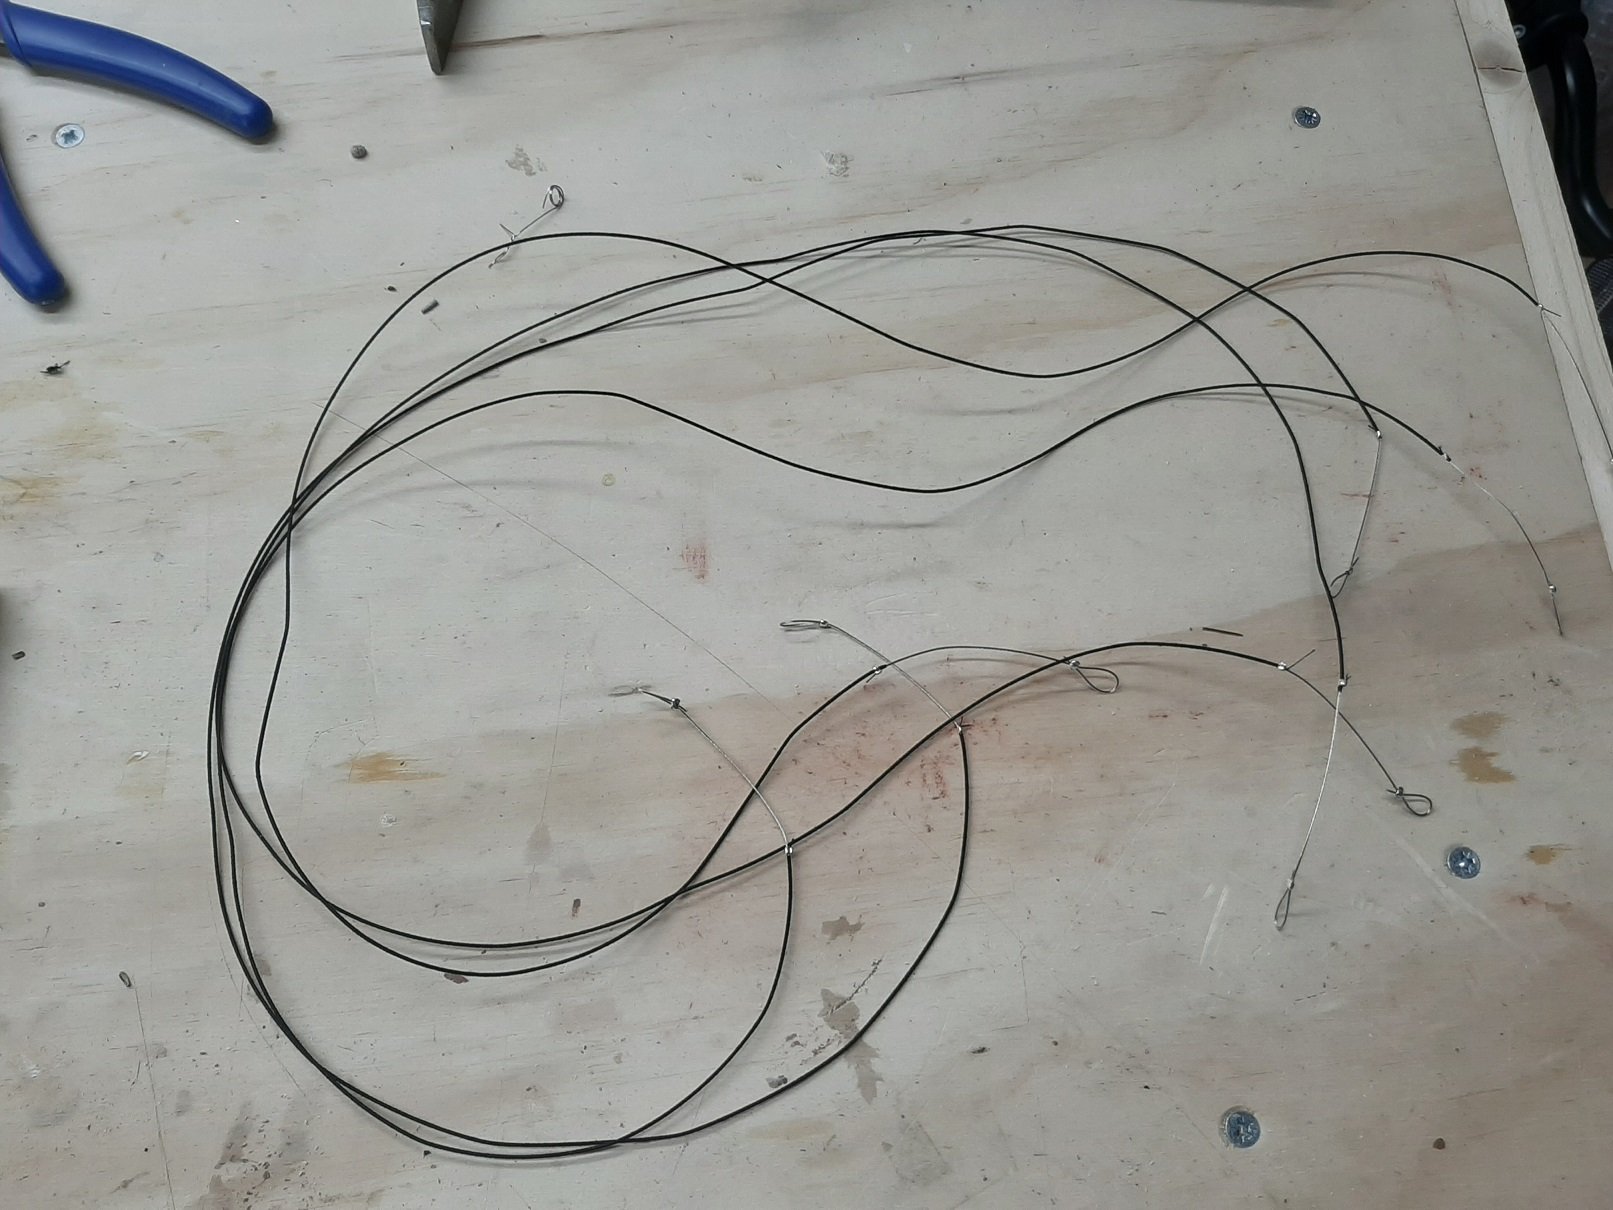
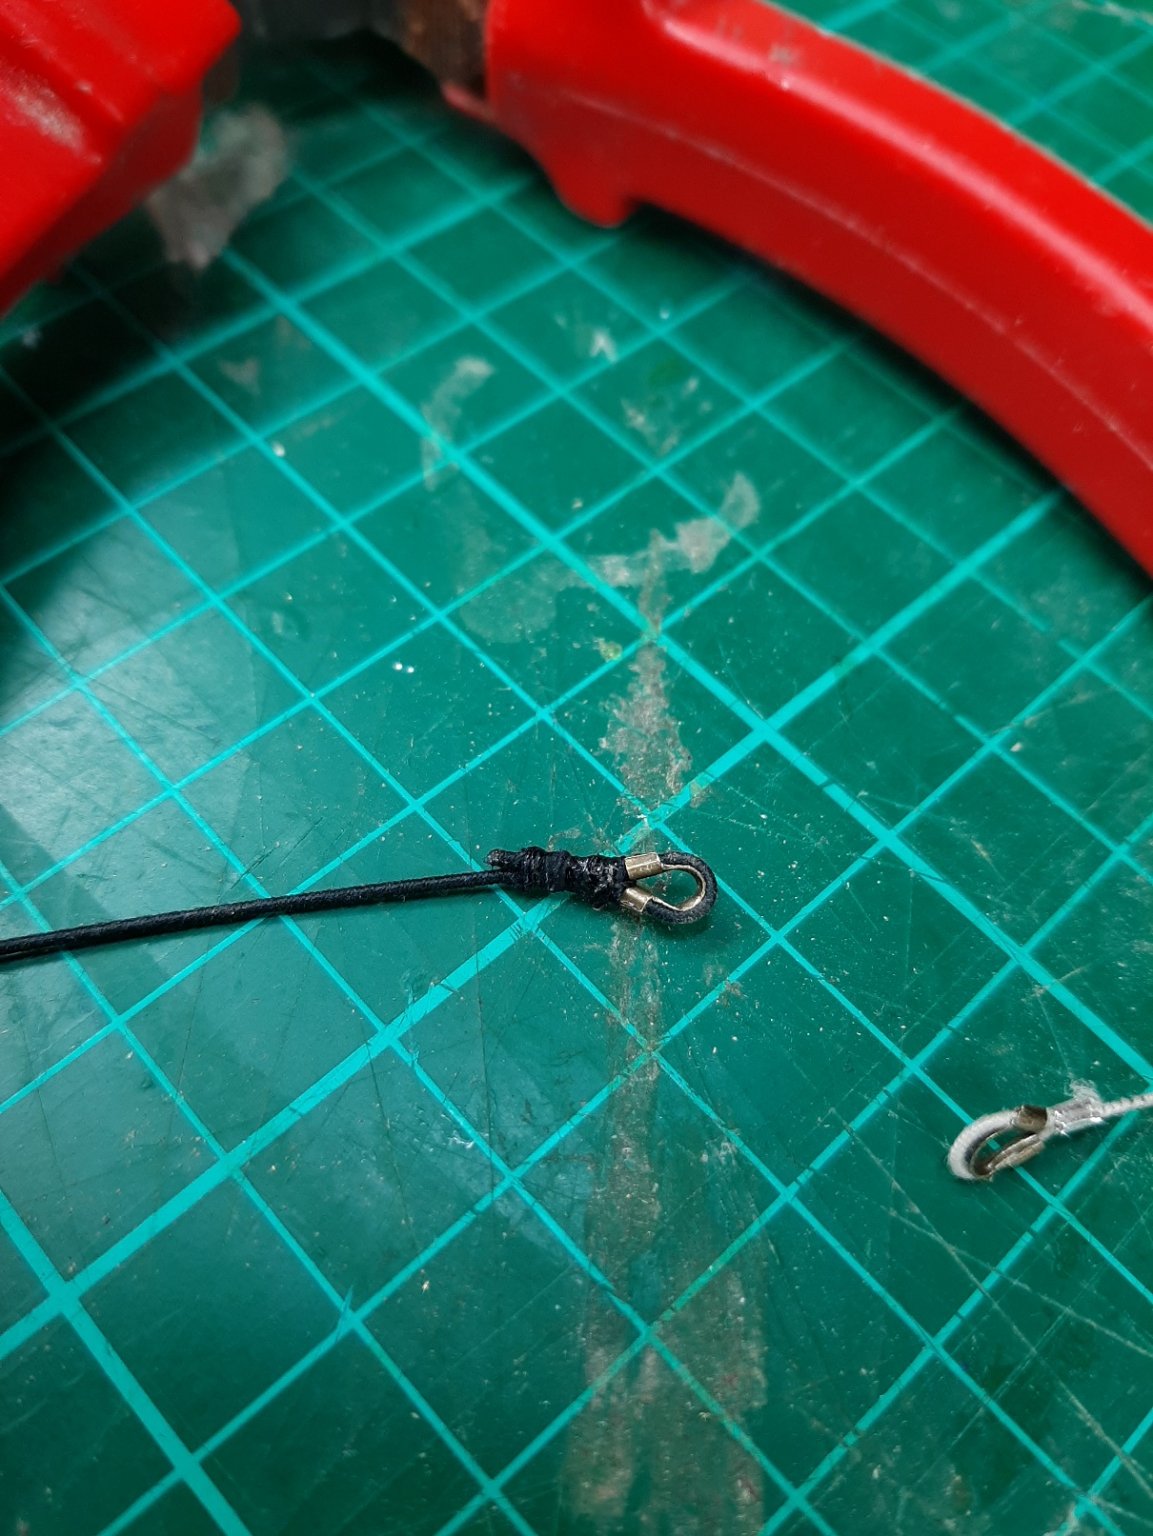
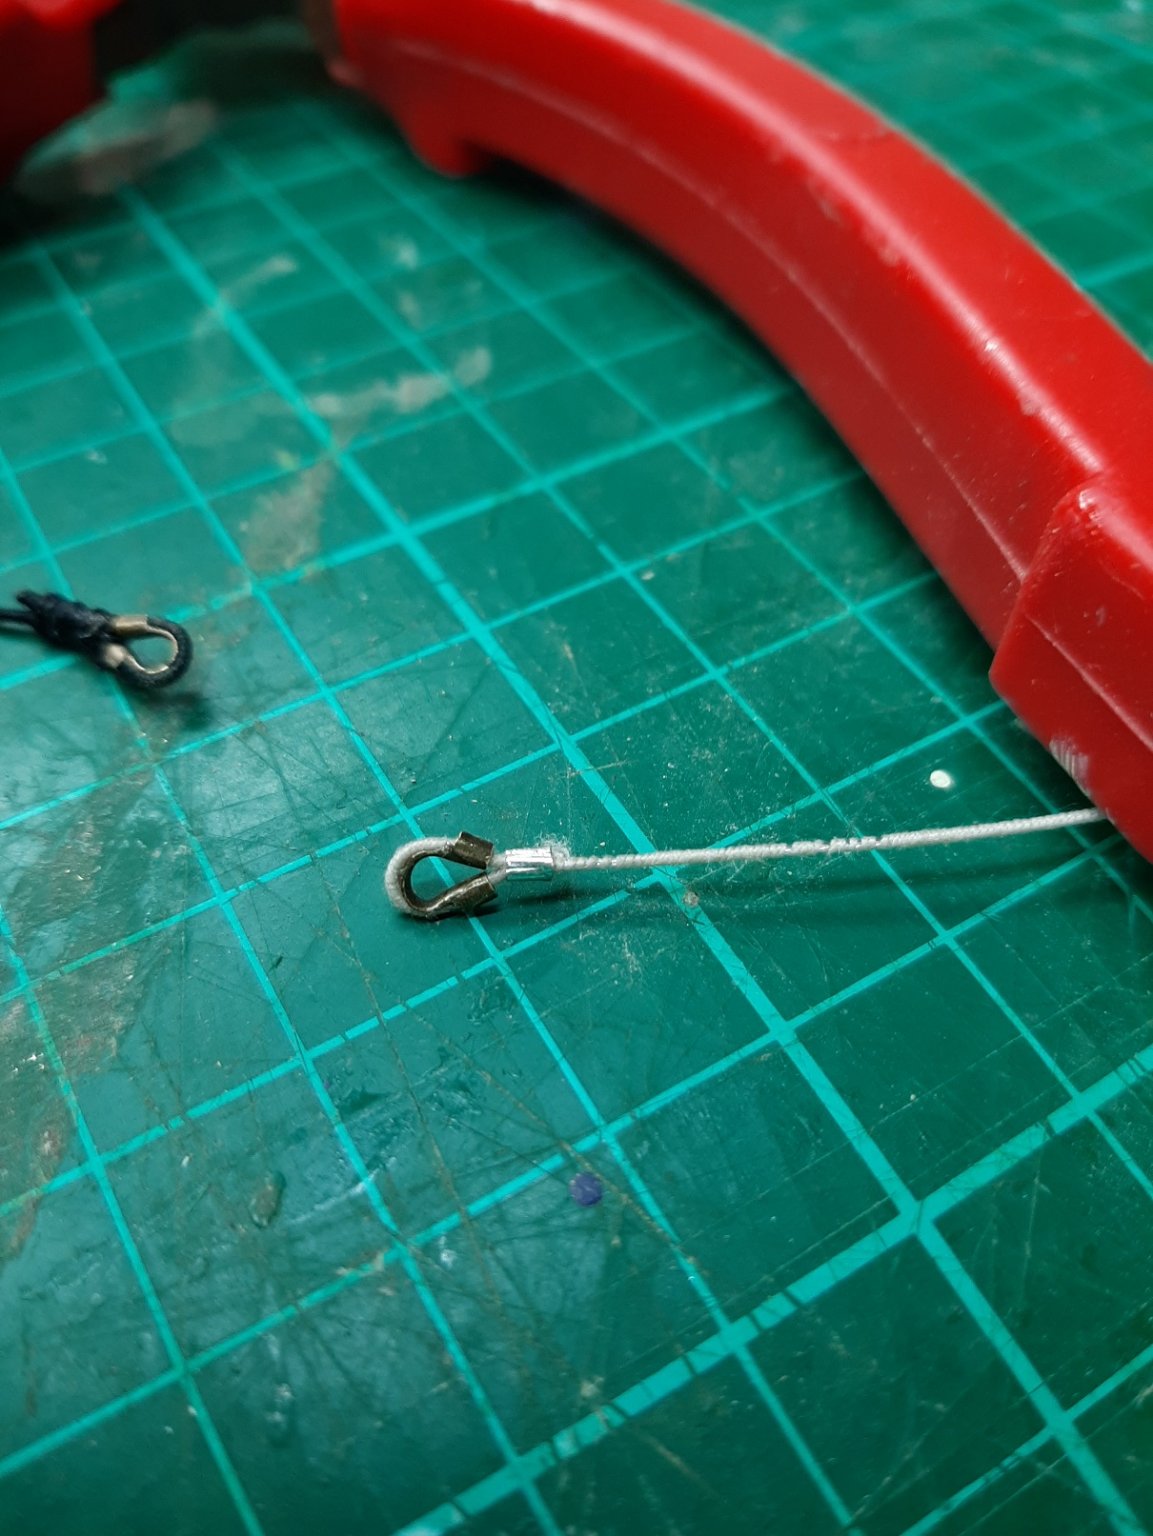
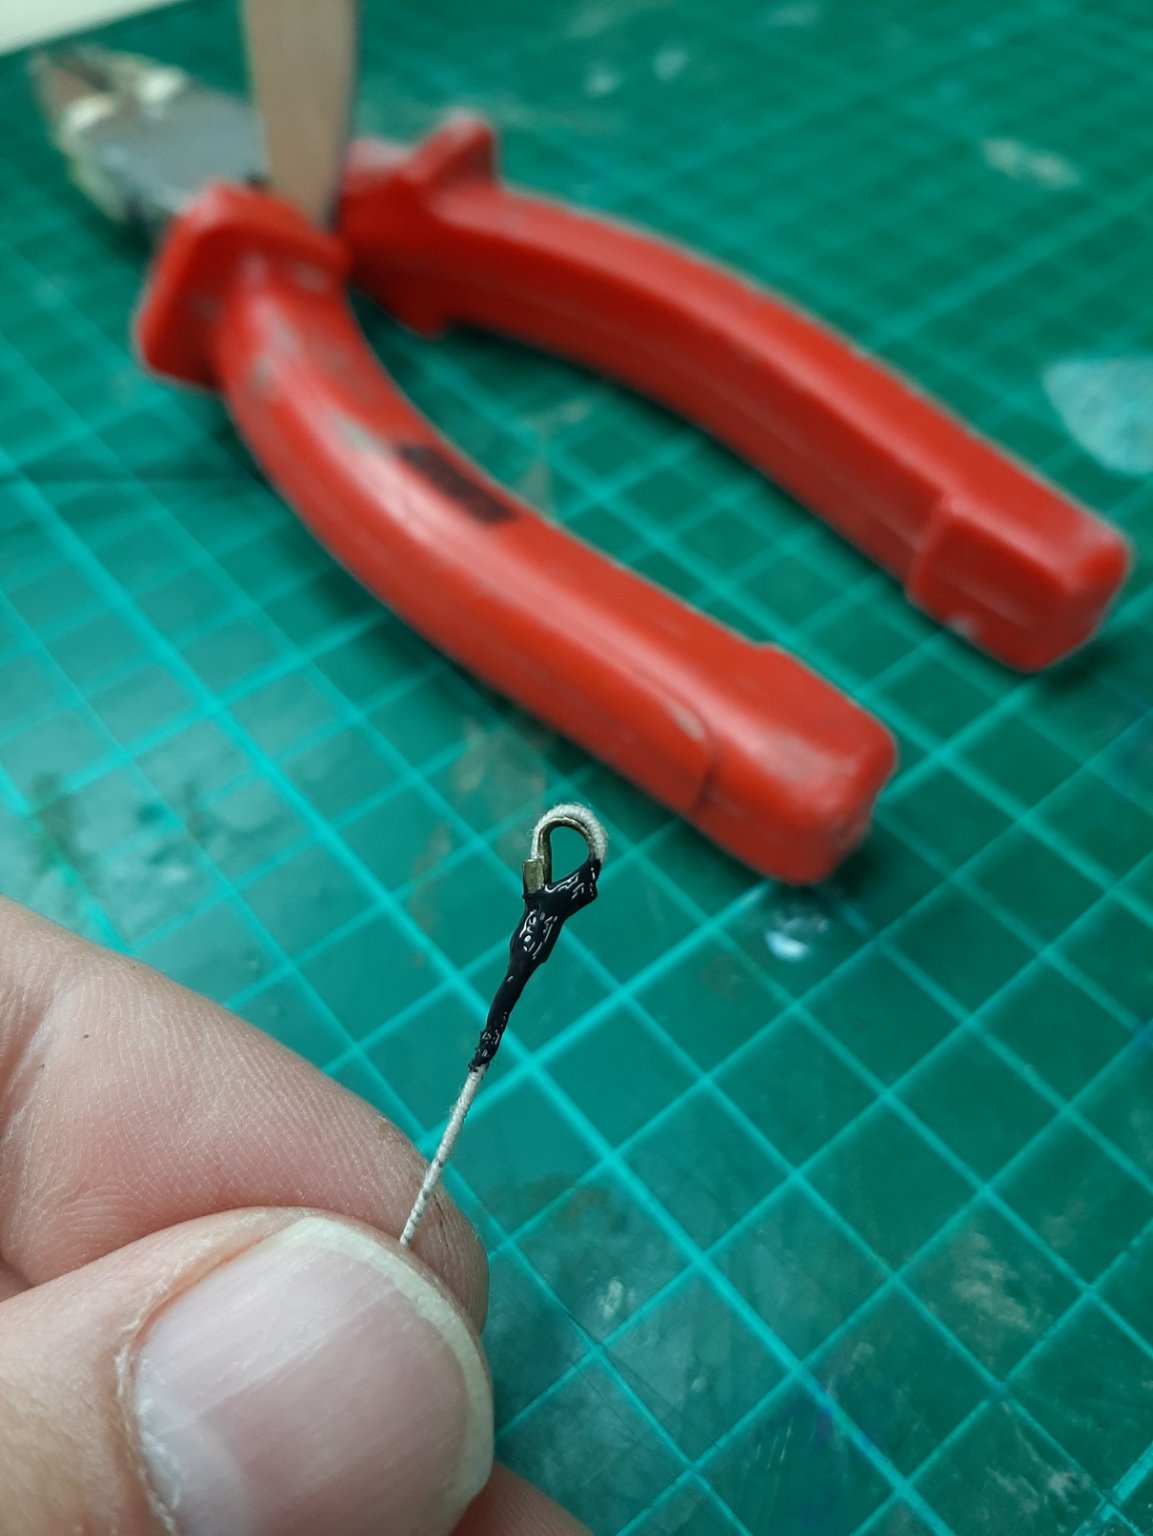
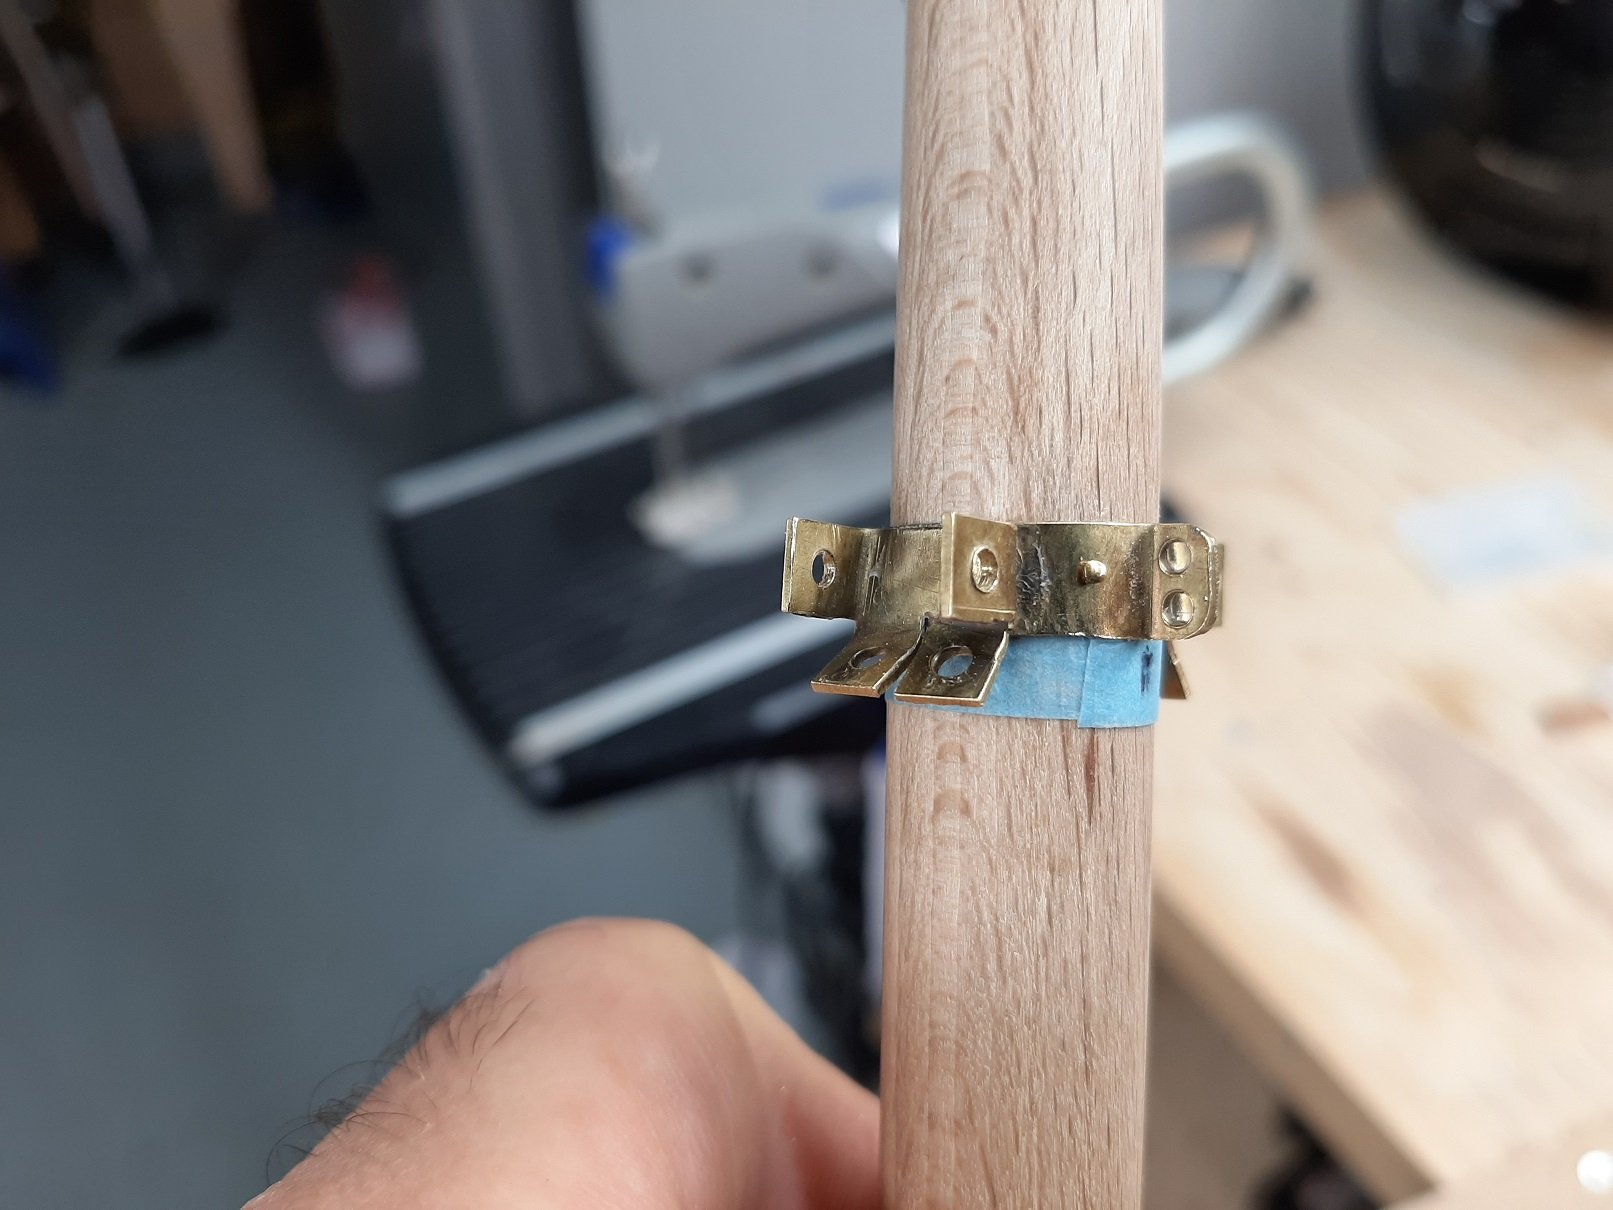
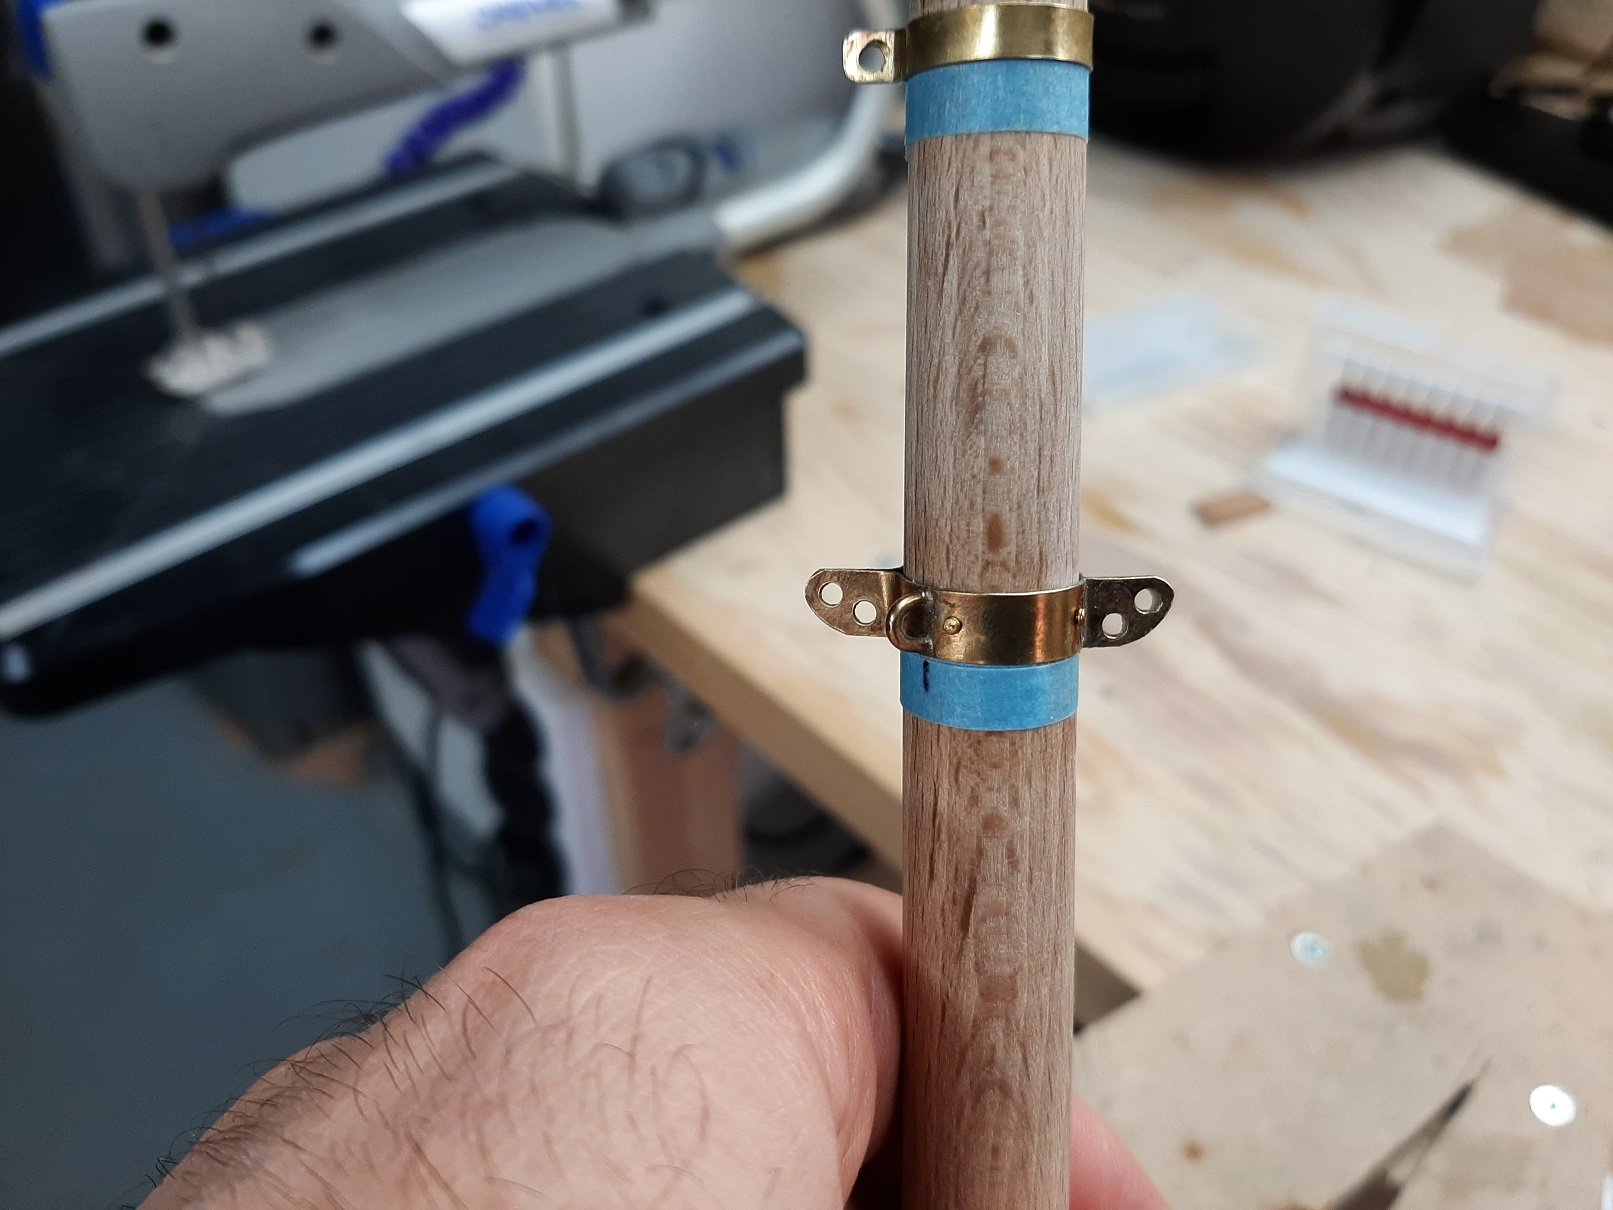
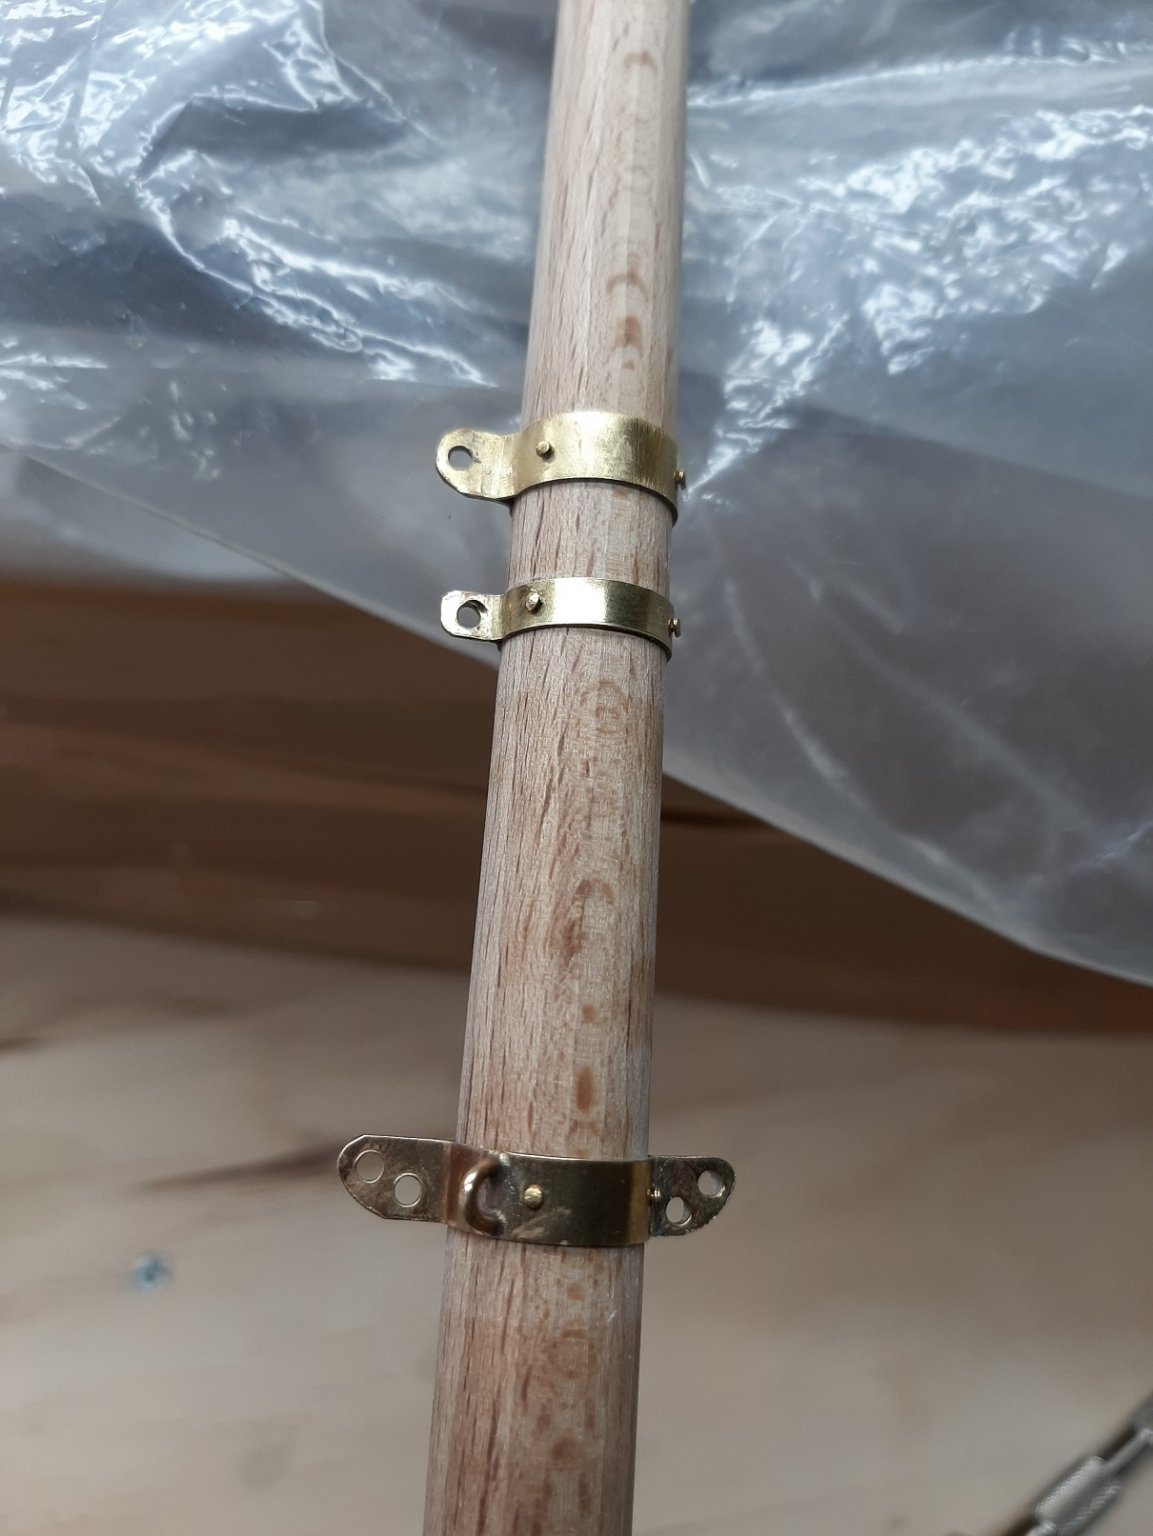
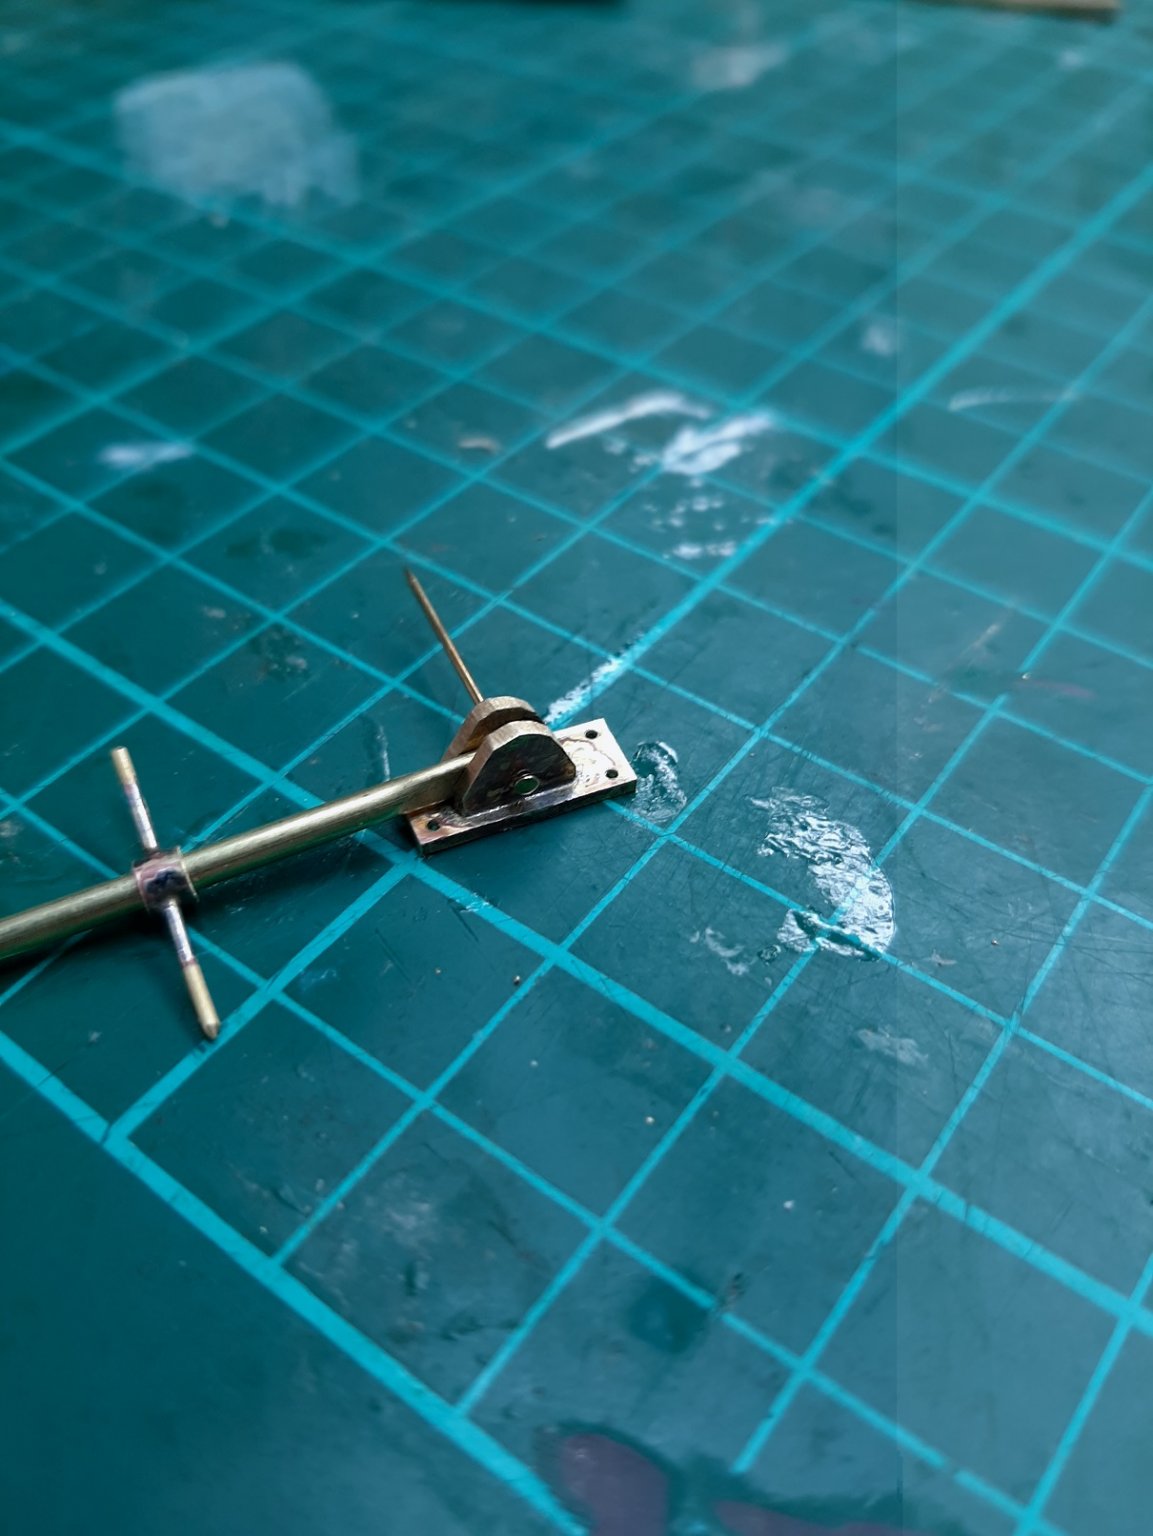
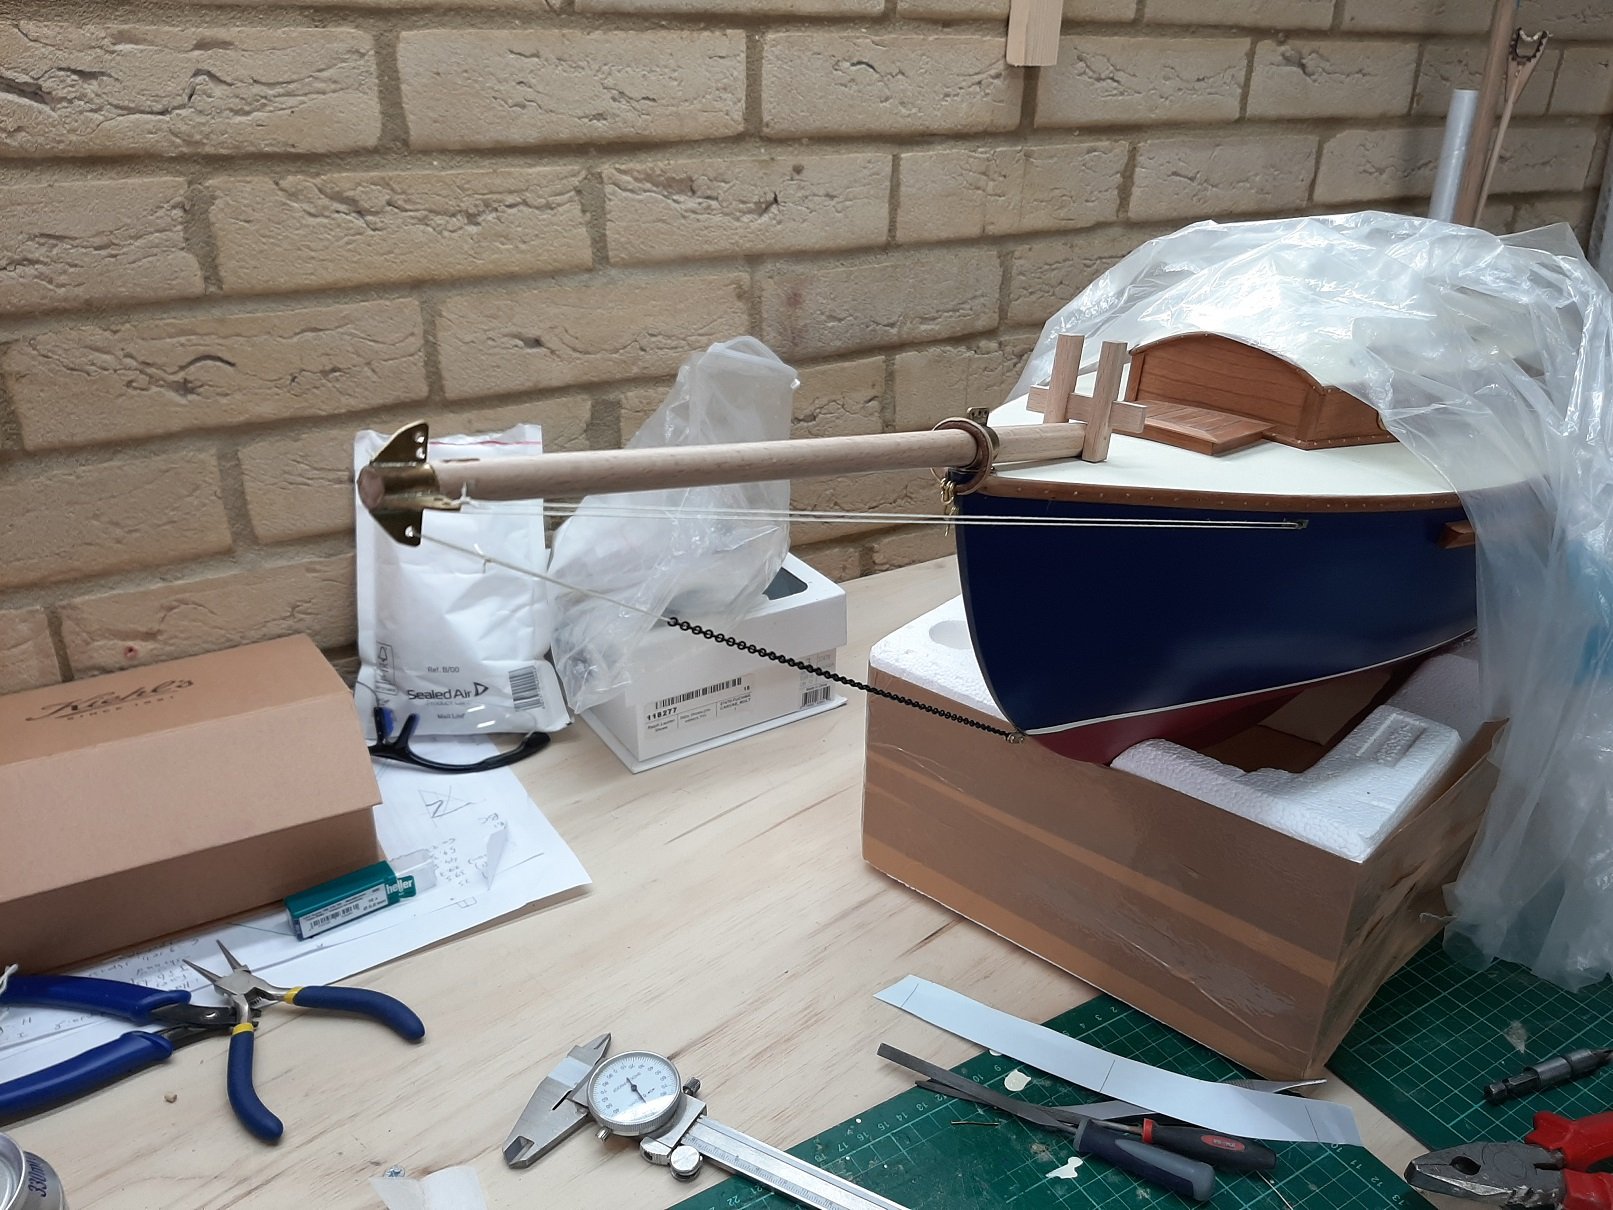
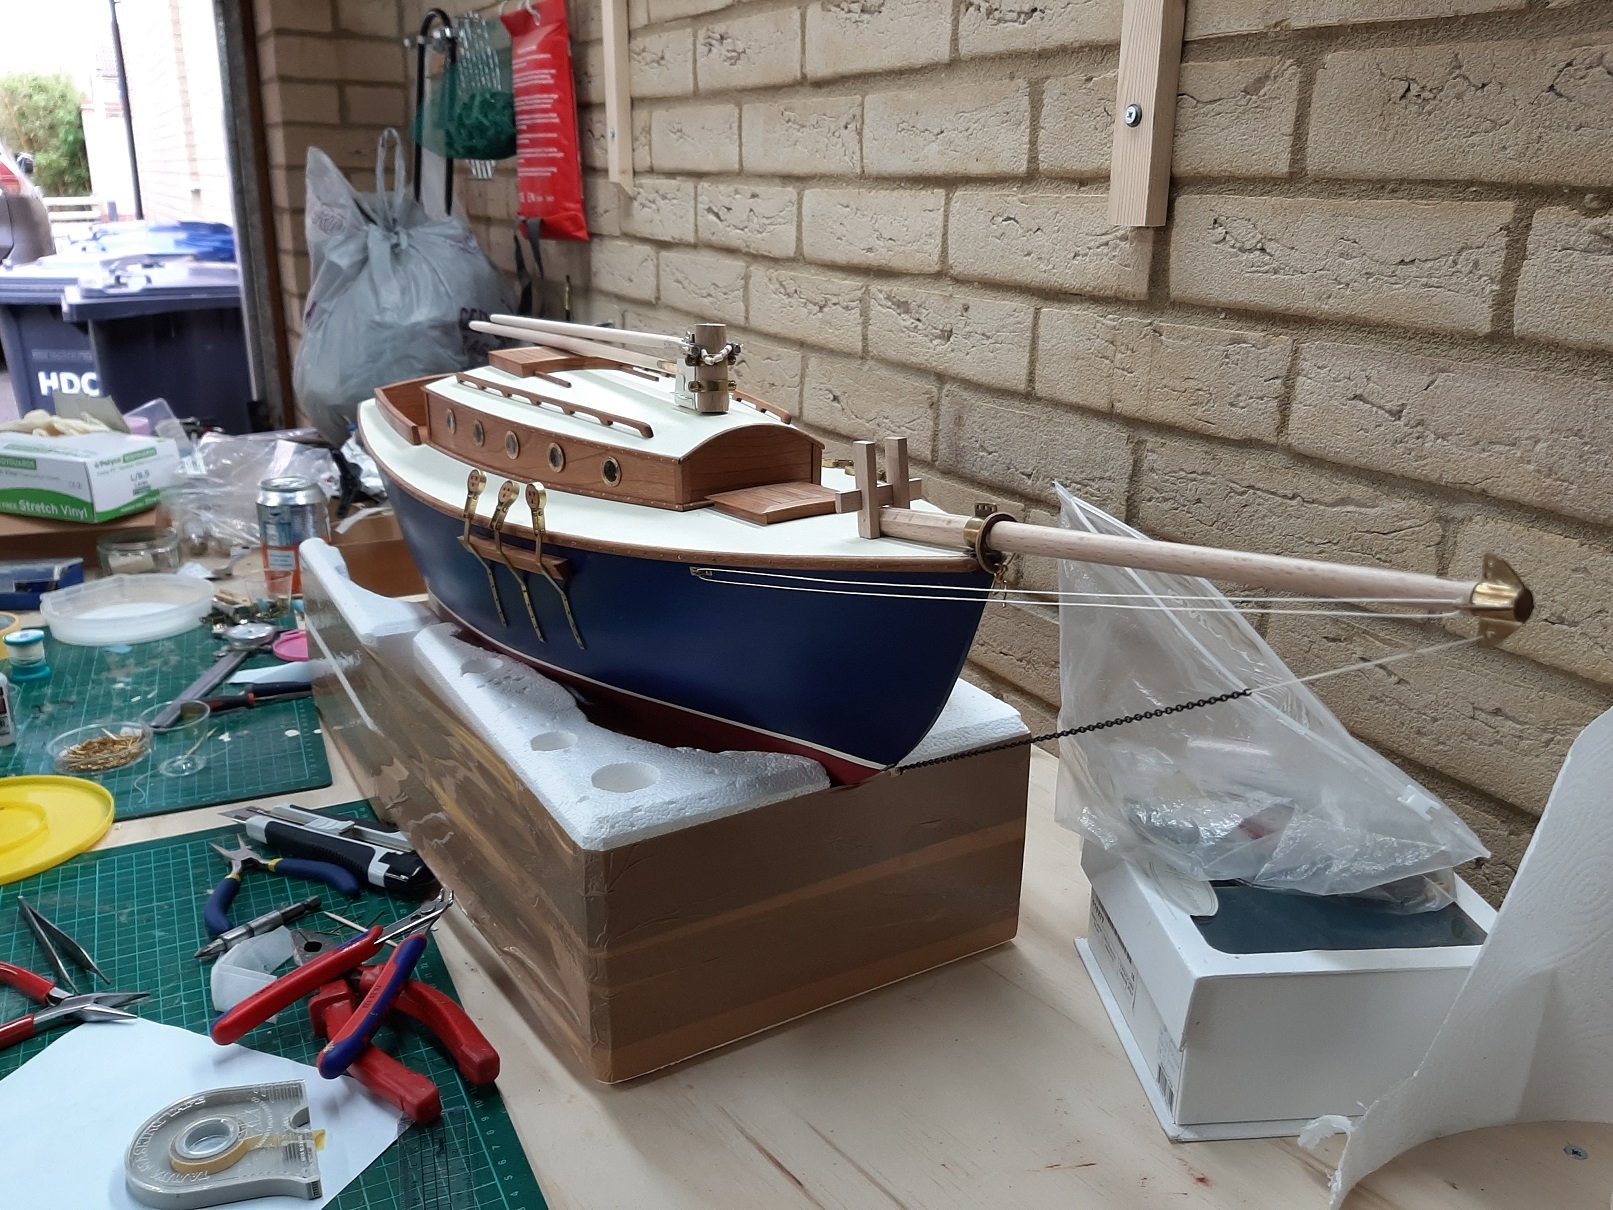
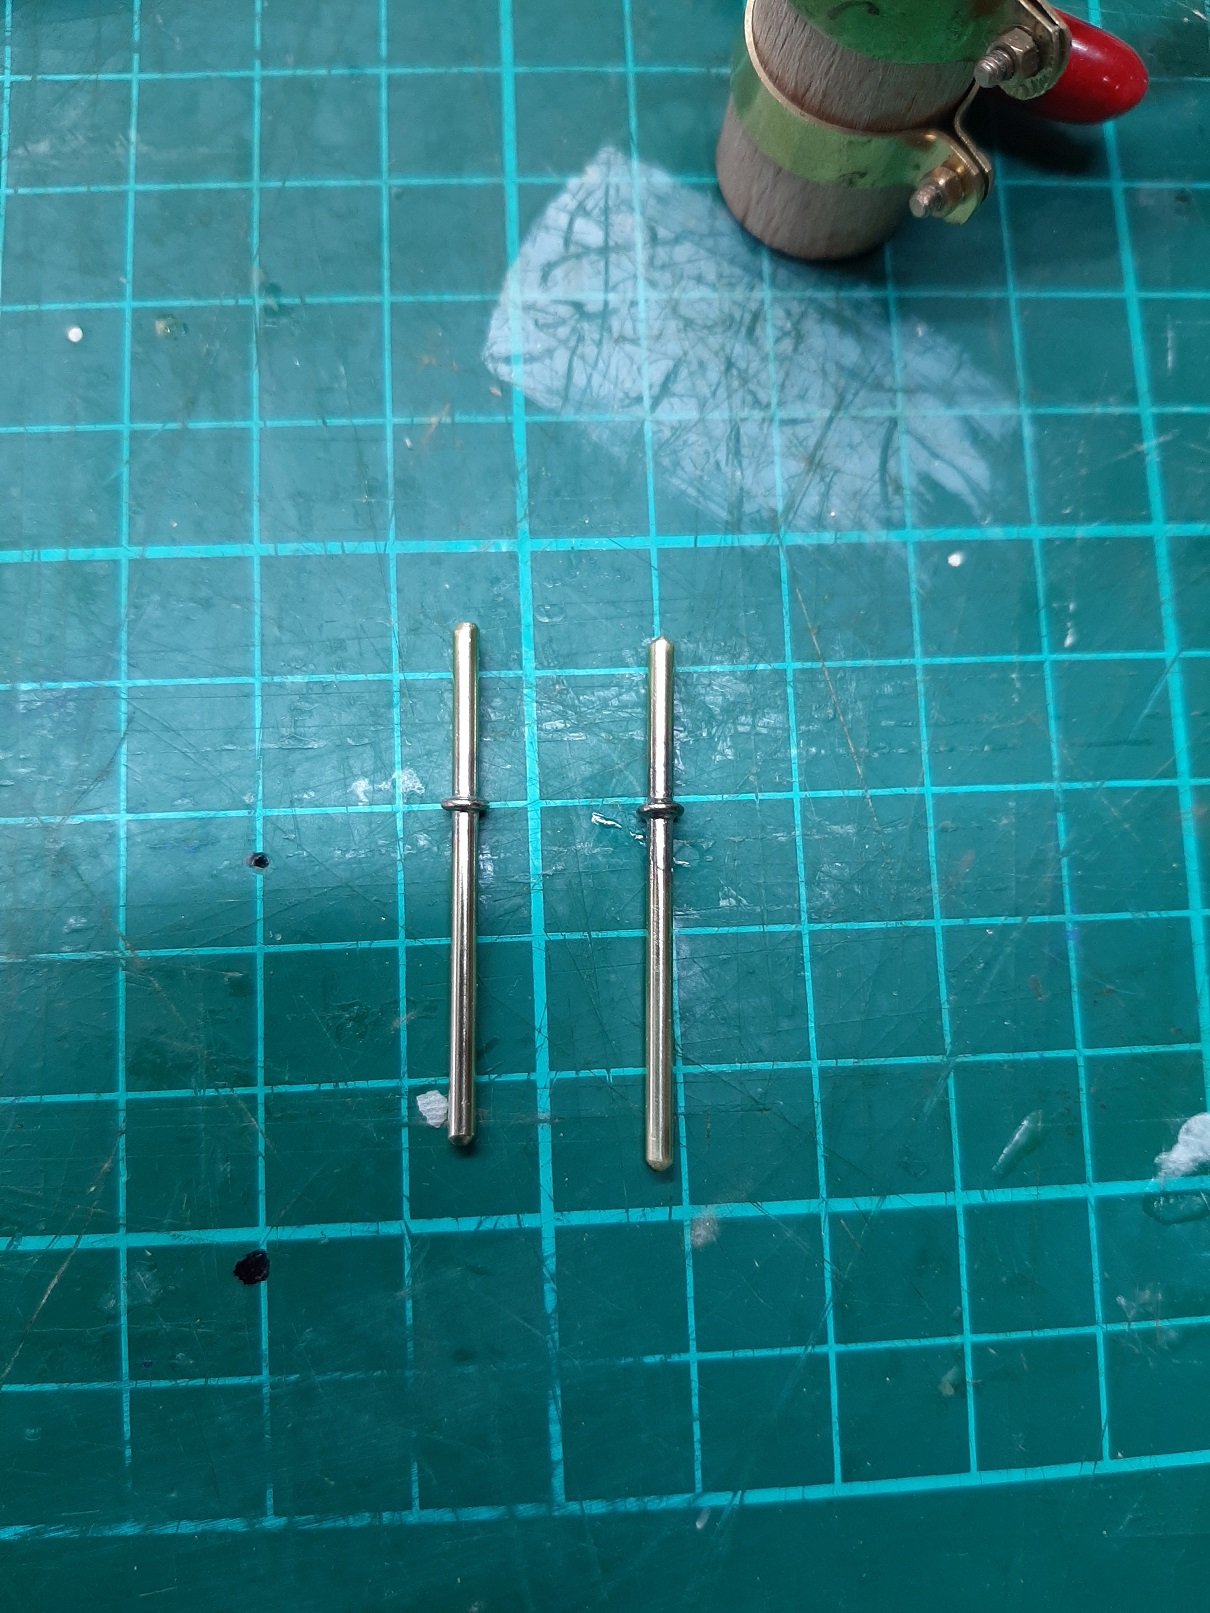
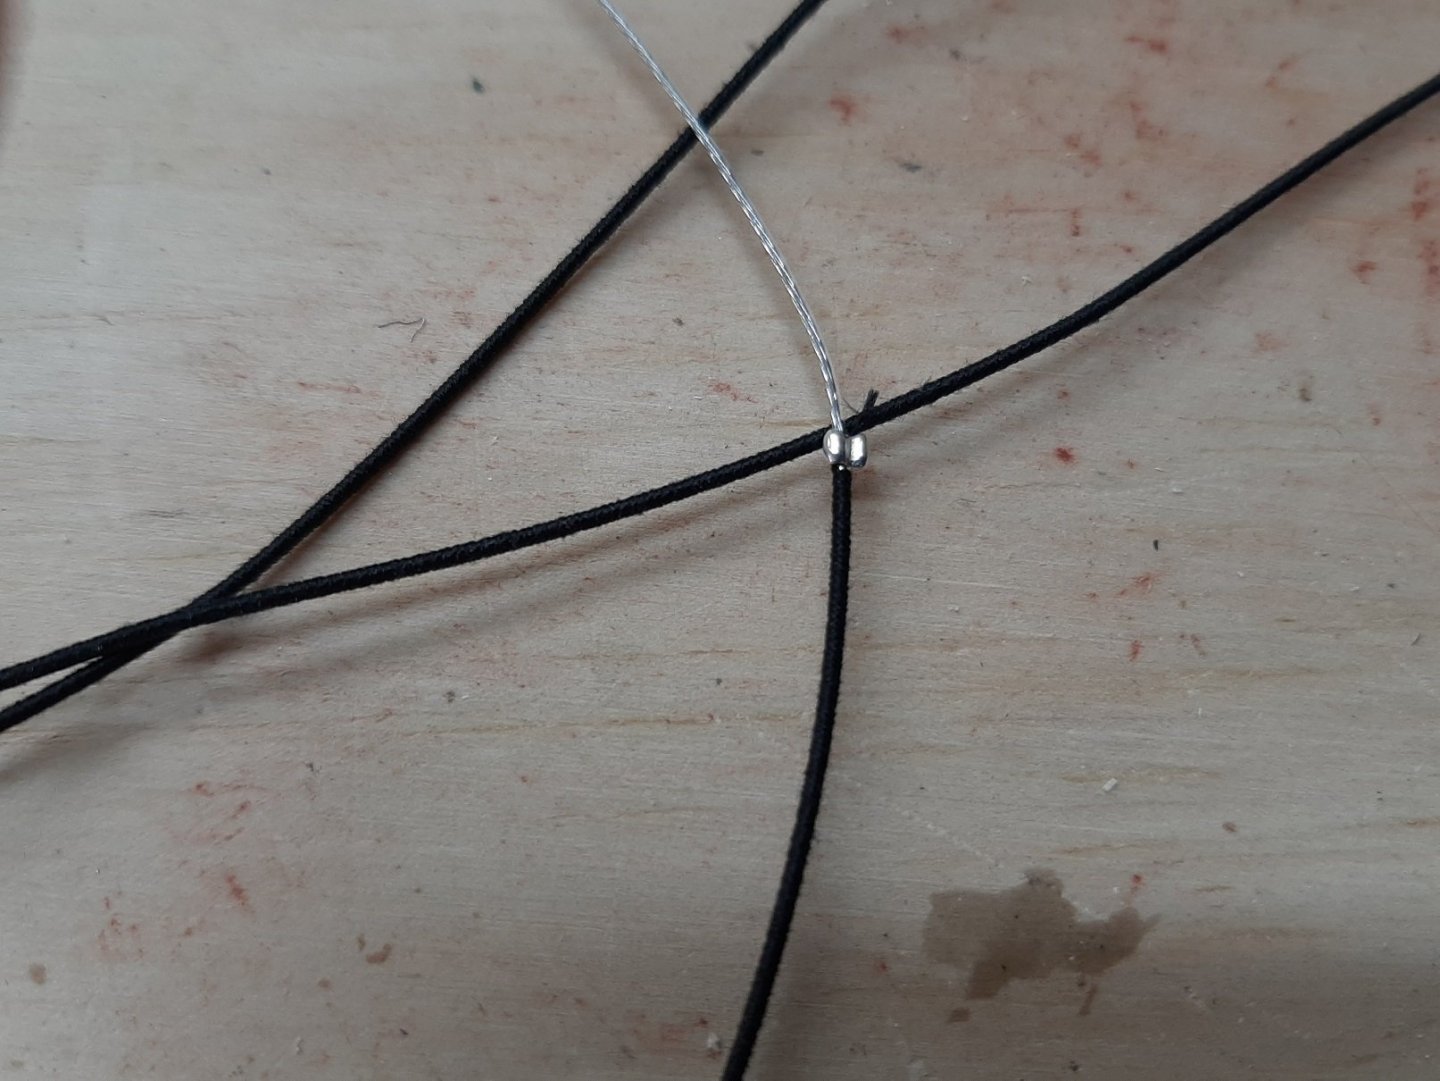
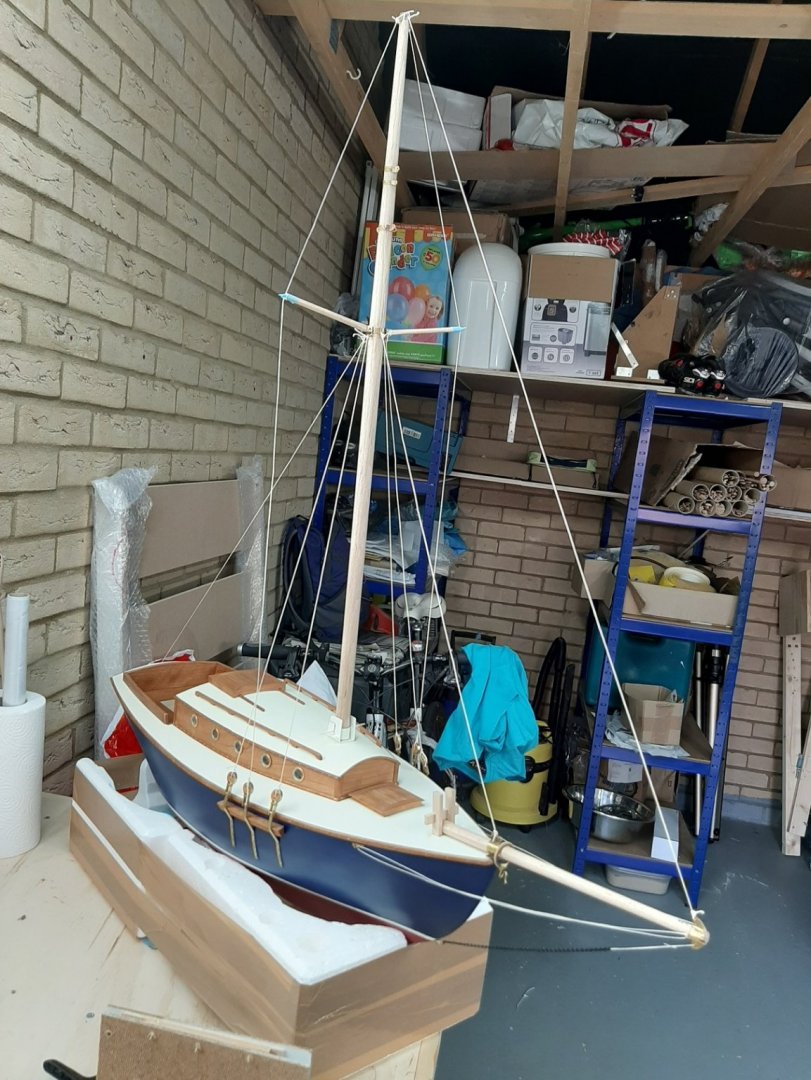
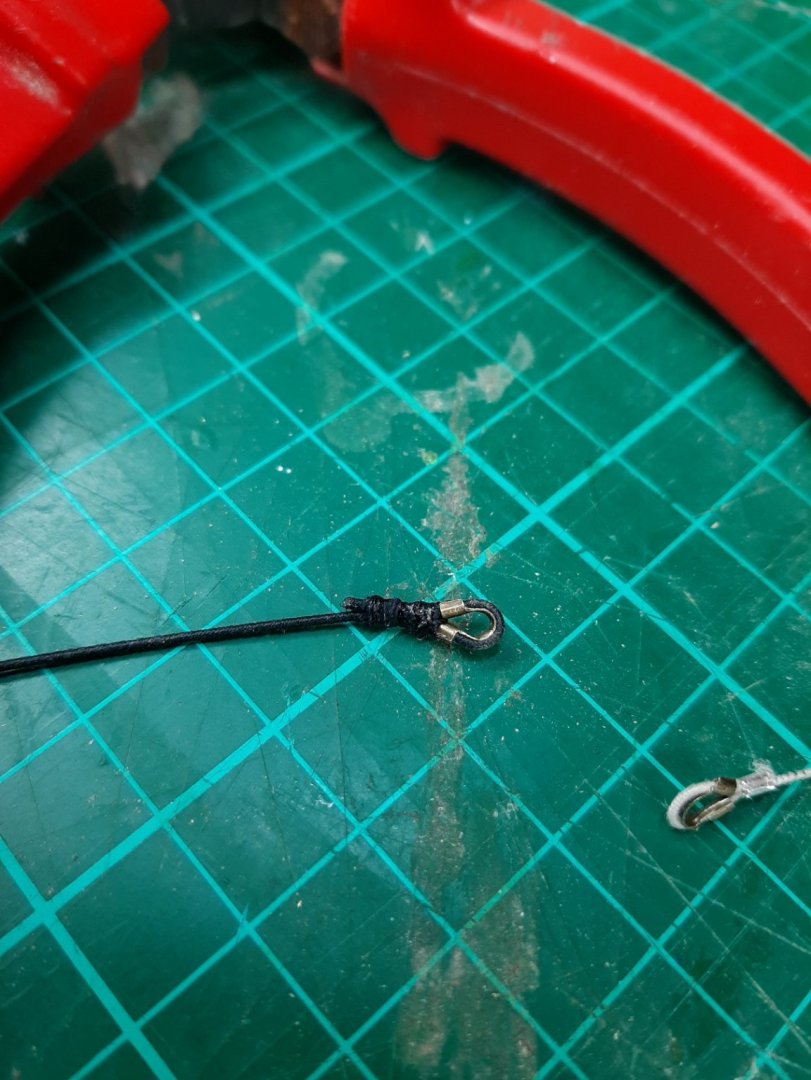
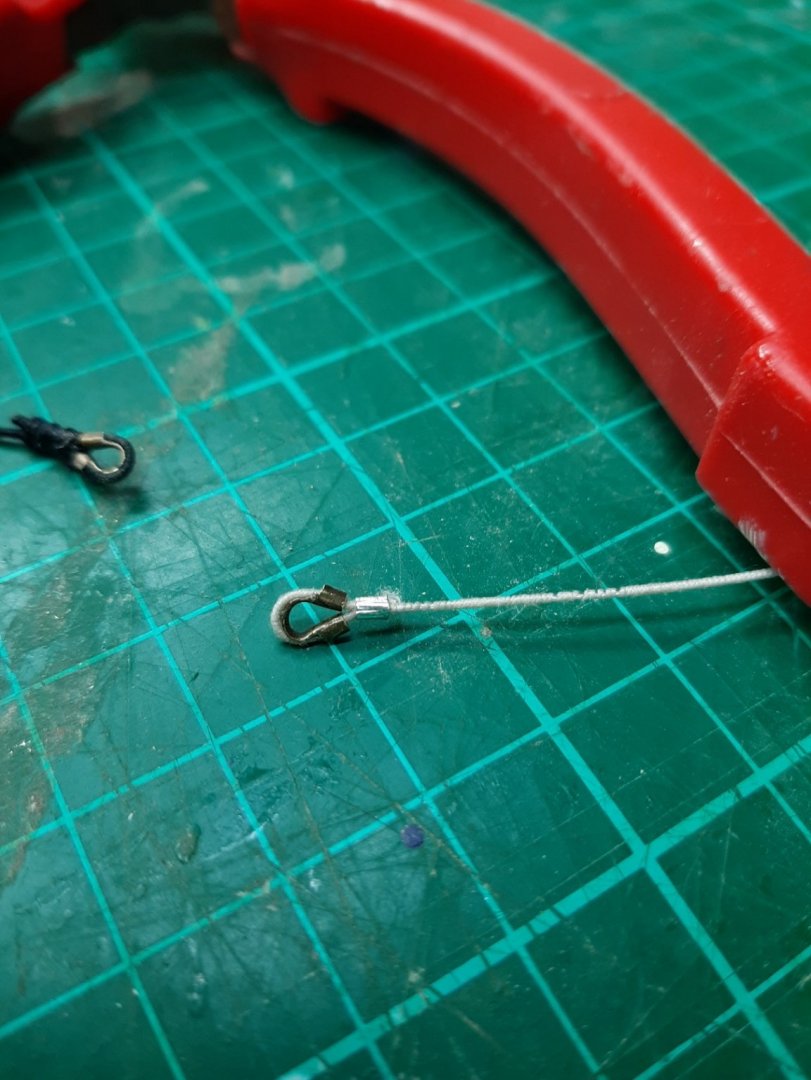
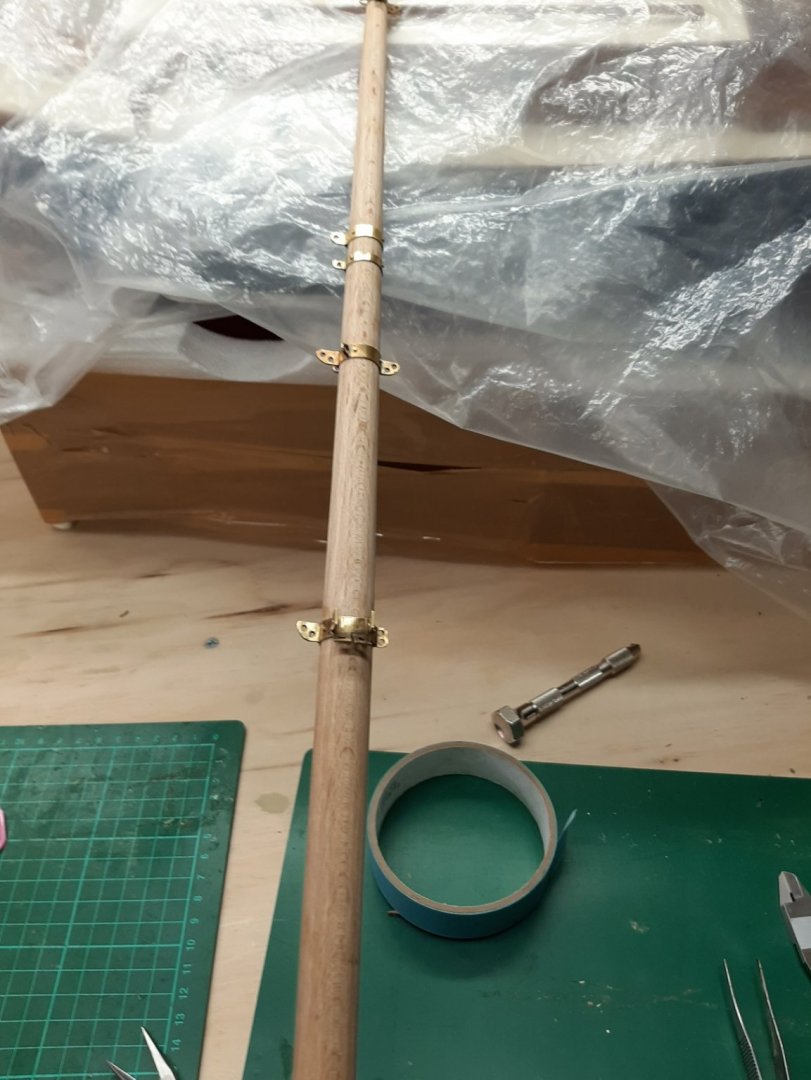
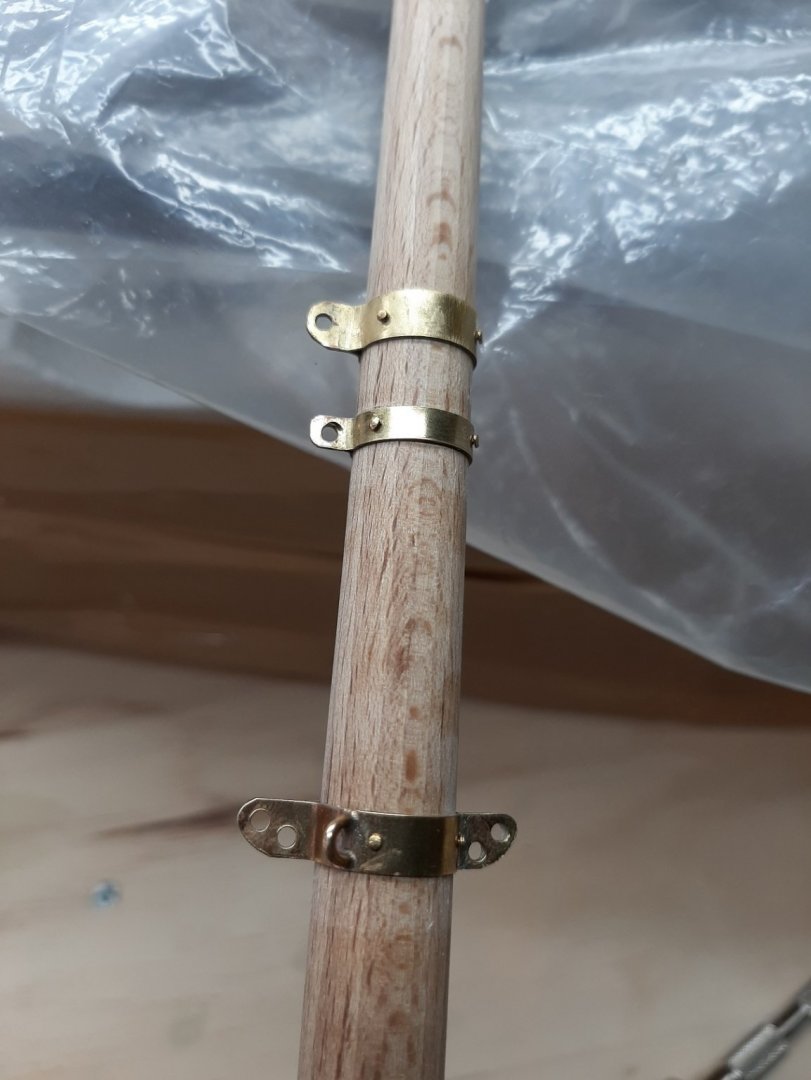
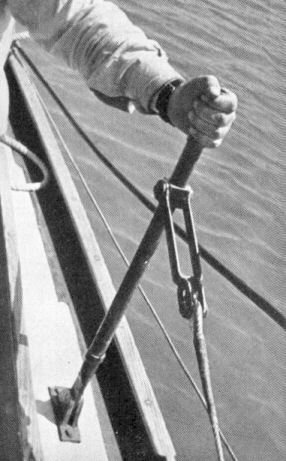
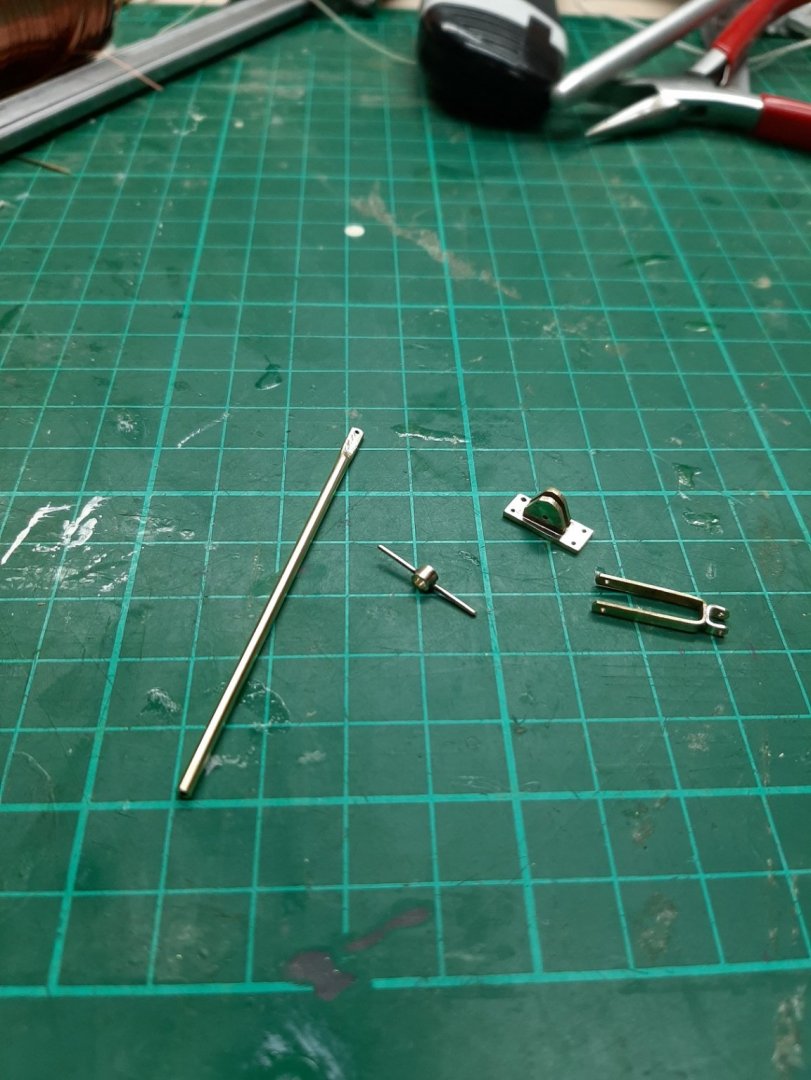
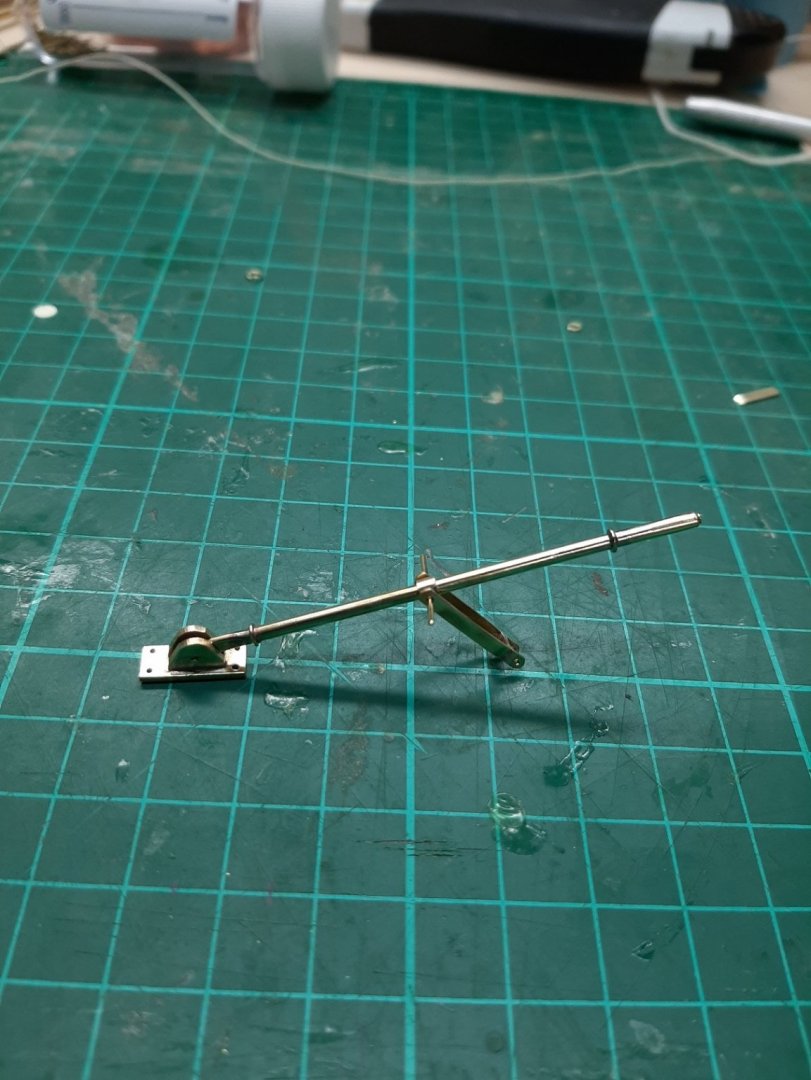
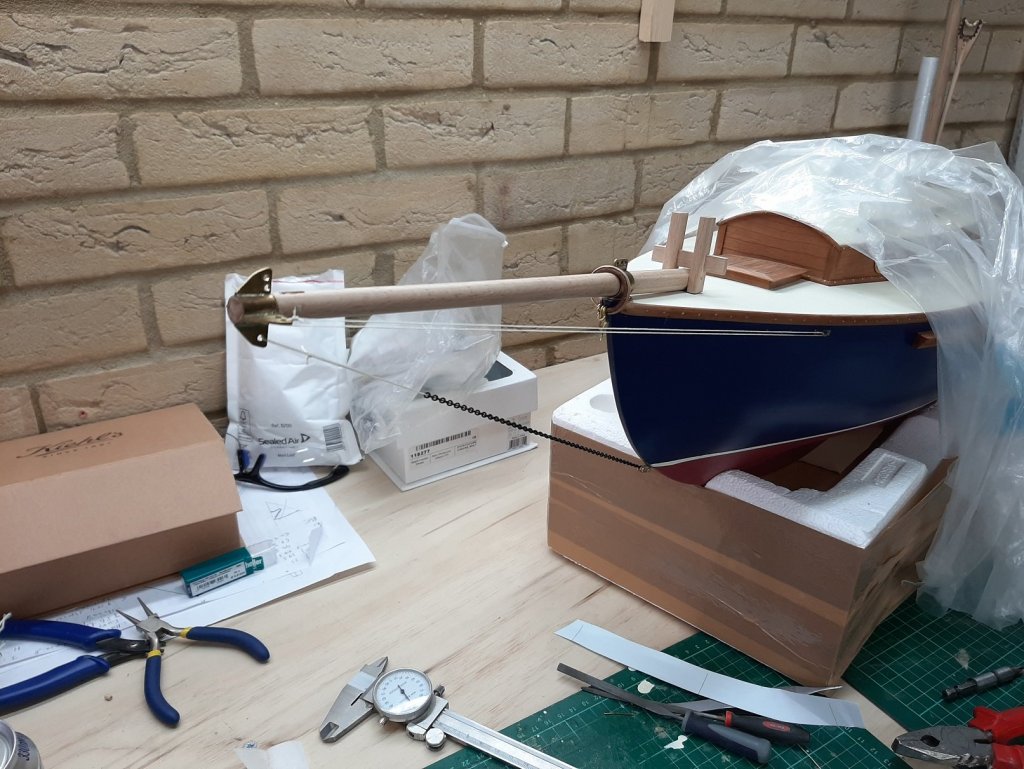
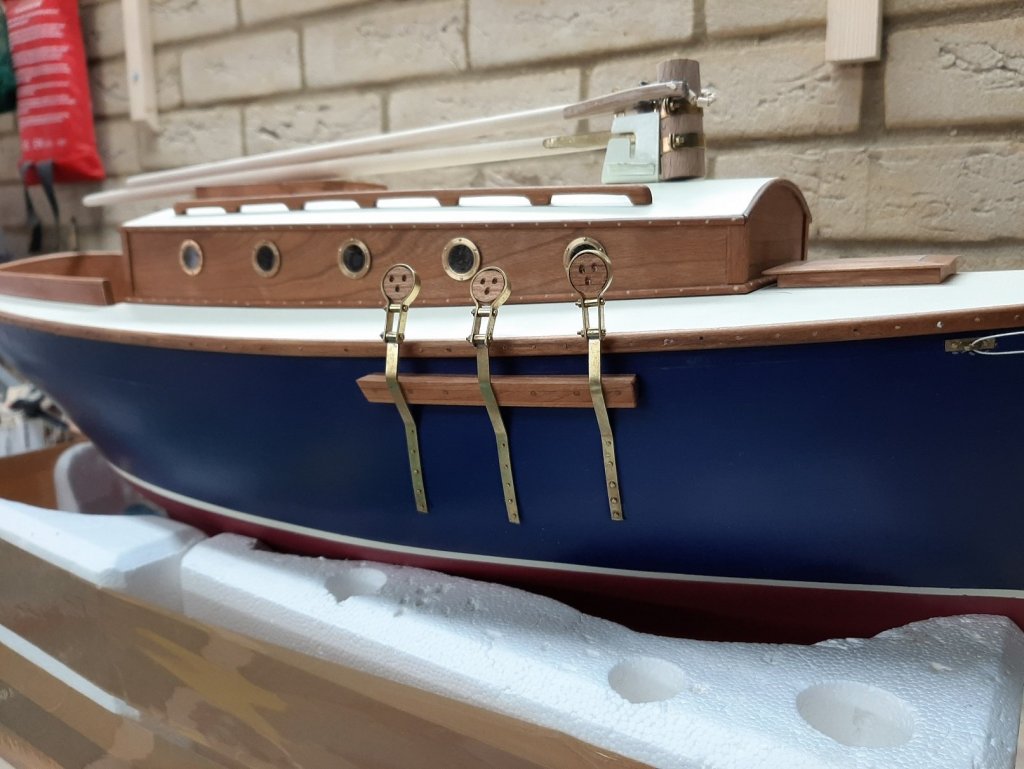
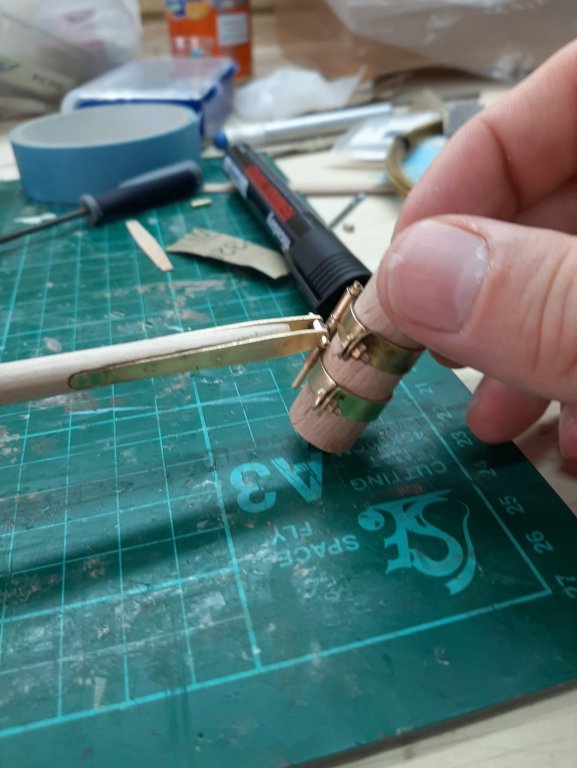
Oh dear! It has been a full 2 month since the last post. Life suddenly got into overdrive mode and it feels that 7 days in a week and 24 hours in a day are just not enough. Still, I have kept working on the boat. Today, I actually worked for a good few hours. Mark, apologies for the delay in replying. The plan is to have the gooseneck secured to the mast with two heavy duty brass bands and the belaying pins secured to these bands. I decided to concentrate on getting the standing rigging finished. I will need to take everything down at some point but I feel I cannot concentrate enough with both the standing and running rigging just in plans. I used thick thread to see how the stays and shrouds would look, it was nice to see the boat taking shape. I decided to use 0.67 mm wire, served with black thread. It probably is a bit too strong but the thickness looked more appropriate than the thinner wires. There will be two stay sails, three pairs of shrouds and two back stays so very long lengths to be served. My home made serving machine performed fantastically well and I got all done very quickly. I had to redo a few as I got the lengths wrong and I suspect I will need to redo the backstays as well. Next problem to tackle was how to attach the served wire rope to the mast fittings. I used brass electrical components for thimbles and this worked well. Using thread to tie the ends of the rope though took a long time and I did not like the result I used tube cribs and this was much quicker and consistent. I used black gesso to cover the bright silver tubes, it dries matt and although goes on initially thick, it leaves a thin film. I do not have a photo with the end result but it looks ok. The white serving is just a test piece I used. Next I worked on the mast fittings. They were a bit loose and with the thick wire ropes pulling down, they would not stay in place. I drilled holes and installed 4 brass nails in each one. This was actually not an easy task, overall today I mast have broken a dozen drills or so. I did not have to use any glue. All the mast bands are now very securely in place and feel rock solid. Next I started work on the Highfield levers. The ones that looked more appropriate were actually the simplest ones I could find on the internet. Once again the wooden boat forum saved the day! Picture from http://forum.woodenboat.com/showthread.php?93716-Highfield-Giles-Levers I think it came out ok, it actually took a long time but it will provide a lot of slack for the boom to clear the backstays. The end result, a fully functional Highfield lever. Now I need to make another one, preferably identical! Best wishes to everyone Vaddoc


- 536 replies
-
- 12
-

-
Proxxon jigsaw or a scroll saw
vaddoc replied to Edwardkenway's topic in Modeling tools and Workshop Equipment
Dear Edward Scratchbuilding can get very expensive quickly because there is always the right tool for a specific task. It can be done with fewer toys at the cost of accuracy and time. As I understand you need something to cut the wood. I think the cheapest and more versatile option is a scroll saw. That jig saw looks a bit...wrong! I have the Dremel moto saw and has served me well and done pretty much everything I ve asked. But each modeller has his one set up and the more tools you have, the easier to overcome the deficiencies of a single tool. I d say buy a cheap scroll saw, no way you will not find it useful. Scratchbuilding complex boats without any power tools is very difficult and really unnecessary. Regards Vaddoc -
Mark, initially I used the 3M spray glue, both the repositioning and permanent. Very expensive, messy and not too good. I then tried the ordinary children stick glue (Pritt this side of the pond) and haven't looked back. The paper can be peeled off or gently scraped off later. It is water soluble but does not penetrate the wood at all. If water is used to remove the paper it may need very light sanding to remove the sticky glue residue. I never had problems with distortion but indeed too much glue will wet the paper. Not needed as it is very strong. One of the advantages is that the paper sticks well. With the sprays, the edges were lifting when scroll sawing with dust getting underneath and the paper would half come off I bought three sticks for £2 last week!
-
Shop Fire Extinguisher
vaddoc replied to Roger Pellett's topic in Modeling tools and Workshop Equipment
Very grateful Kurt My extinguishers are indeed past the workbenches, next to the flammables, pretty far away from the door...will be fixed immediately. -
Shop Fire Extinguisher
vaddoc replied to Roger Pellett's topic in Modeling tools and Workshop Equipment
On top of the above I also have 2 large cylinders of butane for the heater. My garage is packed full of wood, fuel, paper, oil etc all in close proximity with naked flame present often enough! I bought 2 extinguishers, a CO2 and a foam one and also a fire blanket. Apparently the extinguisher that does all is the one that throws microscopic water droplets but it was far too expensive. I think a realistic expectation is to be able to extinguish small fires and to feel better with this knowledge. For a big fire, a camera to capture the scene would be more useful. -
I now only use deco art (americana) multi purpose sealer. Very cheap, very good, dries in 15 min. Better than shellac. No experience with polyurethane!
-
The small Proxon drill press is a wonderful tool, to be combined with cheap carbide drills and light motor oil for maintenance. Very highly recommended. We buy tools we need but often tools we get find themselves a use.
-
Power tools make modelling more accurate, maybe faster (as you start undertaking more tasks). They need space, solid work benches and some dust management system. (vacuum, filtration, masks). I also find my scroll saw, disc sander, and drill press the most useful, they are permanently plugged in and used constantly (scratch building). Dremel rotary tool also, but less. I built my own disc sander quite easily spending very little, 200 mm (8 inches) is I think the minimum, as you can only use half of it.
-
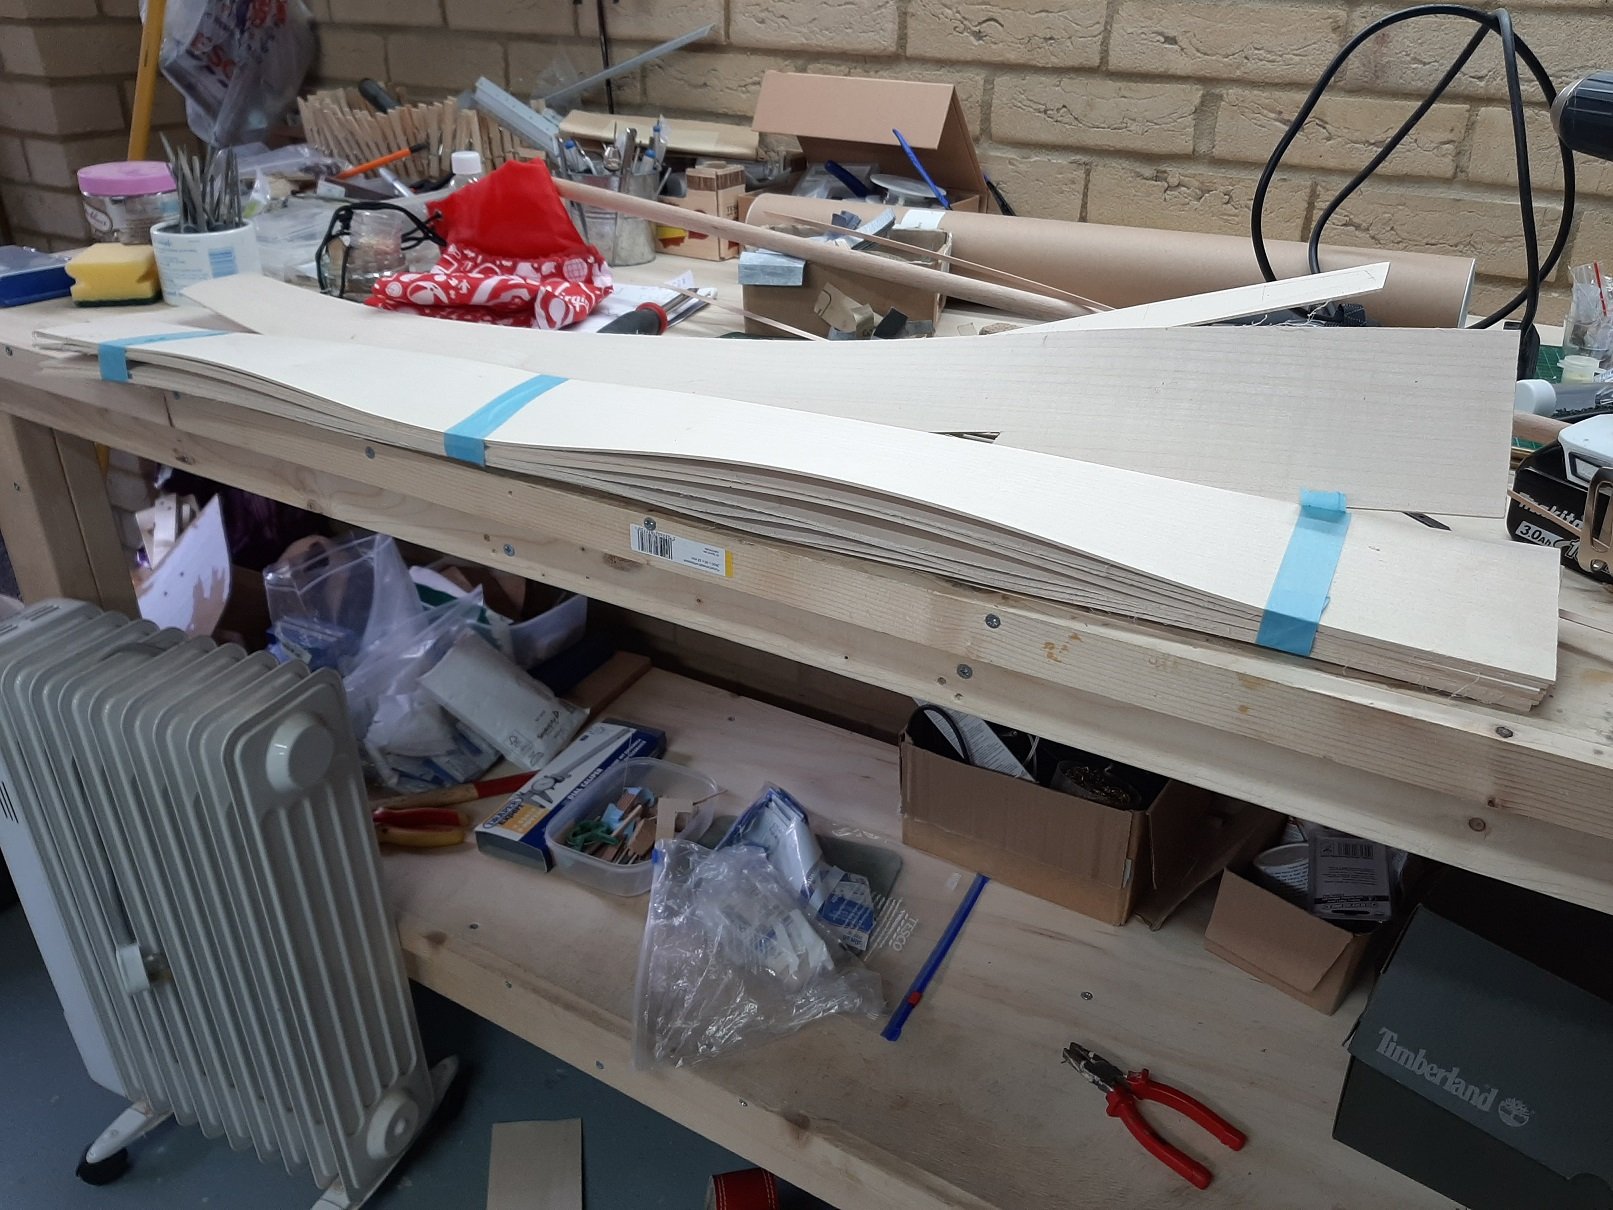
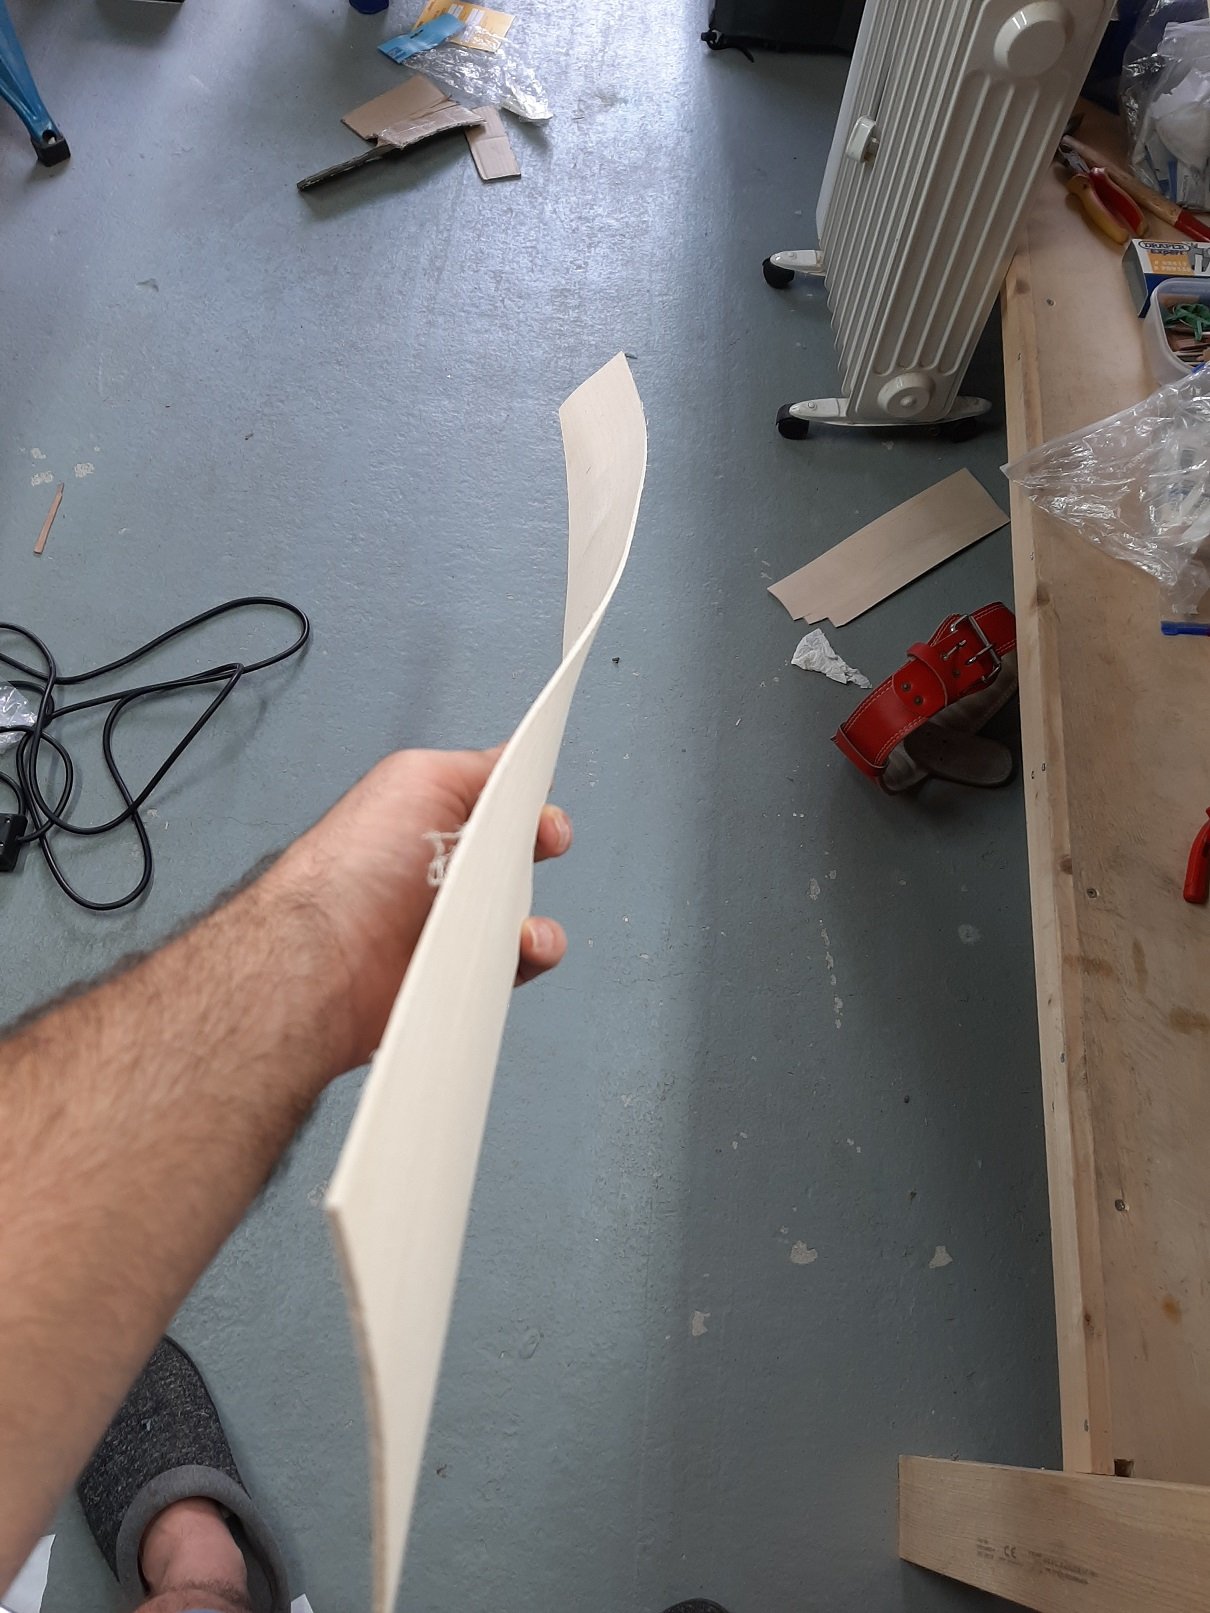
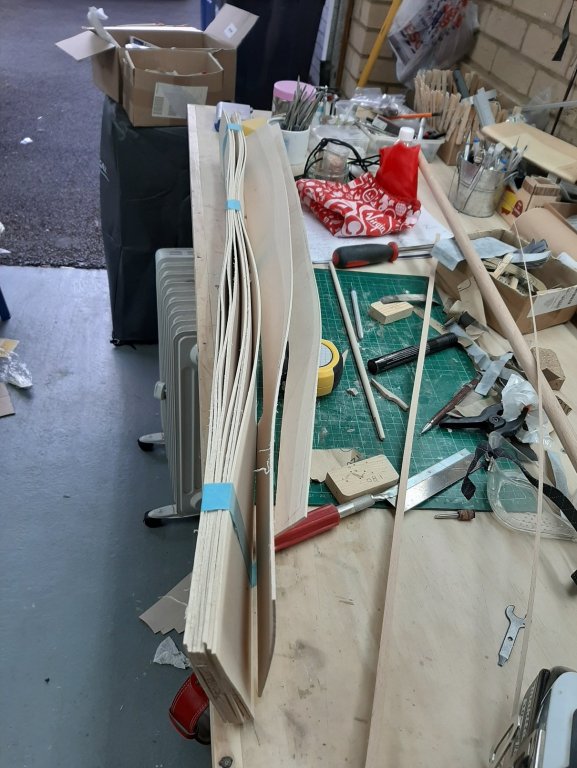
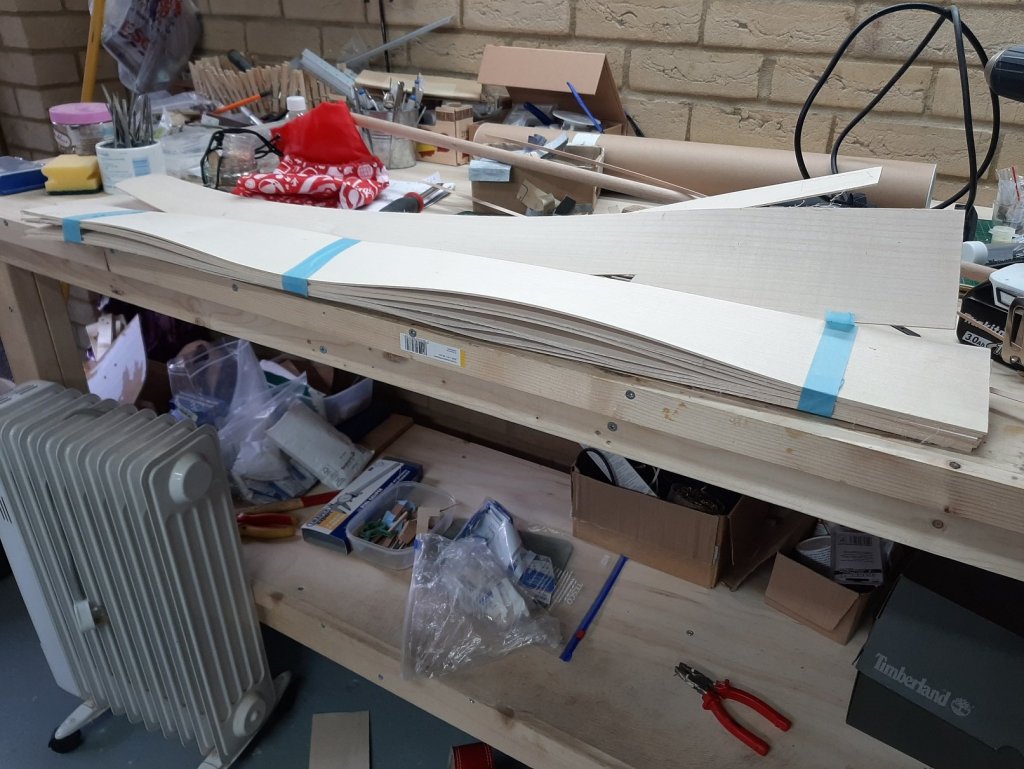
Thanks Bob I honestly do not think it is veneer. I bought from a well known high quality source and it is almost certainly sawn timber. At 2 mm thickness it is unlikely to be veneer and maple veneer is not really used very much. I think that either the tree had a hard childhood resulting in grain abnormalities or I stored it improperly. I ll thoroughly wet a sheet when I find the time and compress it, maybe it will flatten. I ll post the results
-
https://www.classicboat.co.uk/practical-advice/jib-traveller/ The inhaul is just a simple rope attached to the bowsprit traveller, no purchase/blocks needed. The wise books say it is not actually needed too much as the jib will push the traveller in, it is the outhaul that is more necessary. This is a subject a researched very recently. (for small boats only) Vaddoc
-
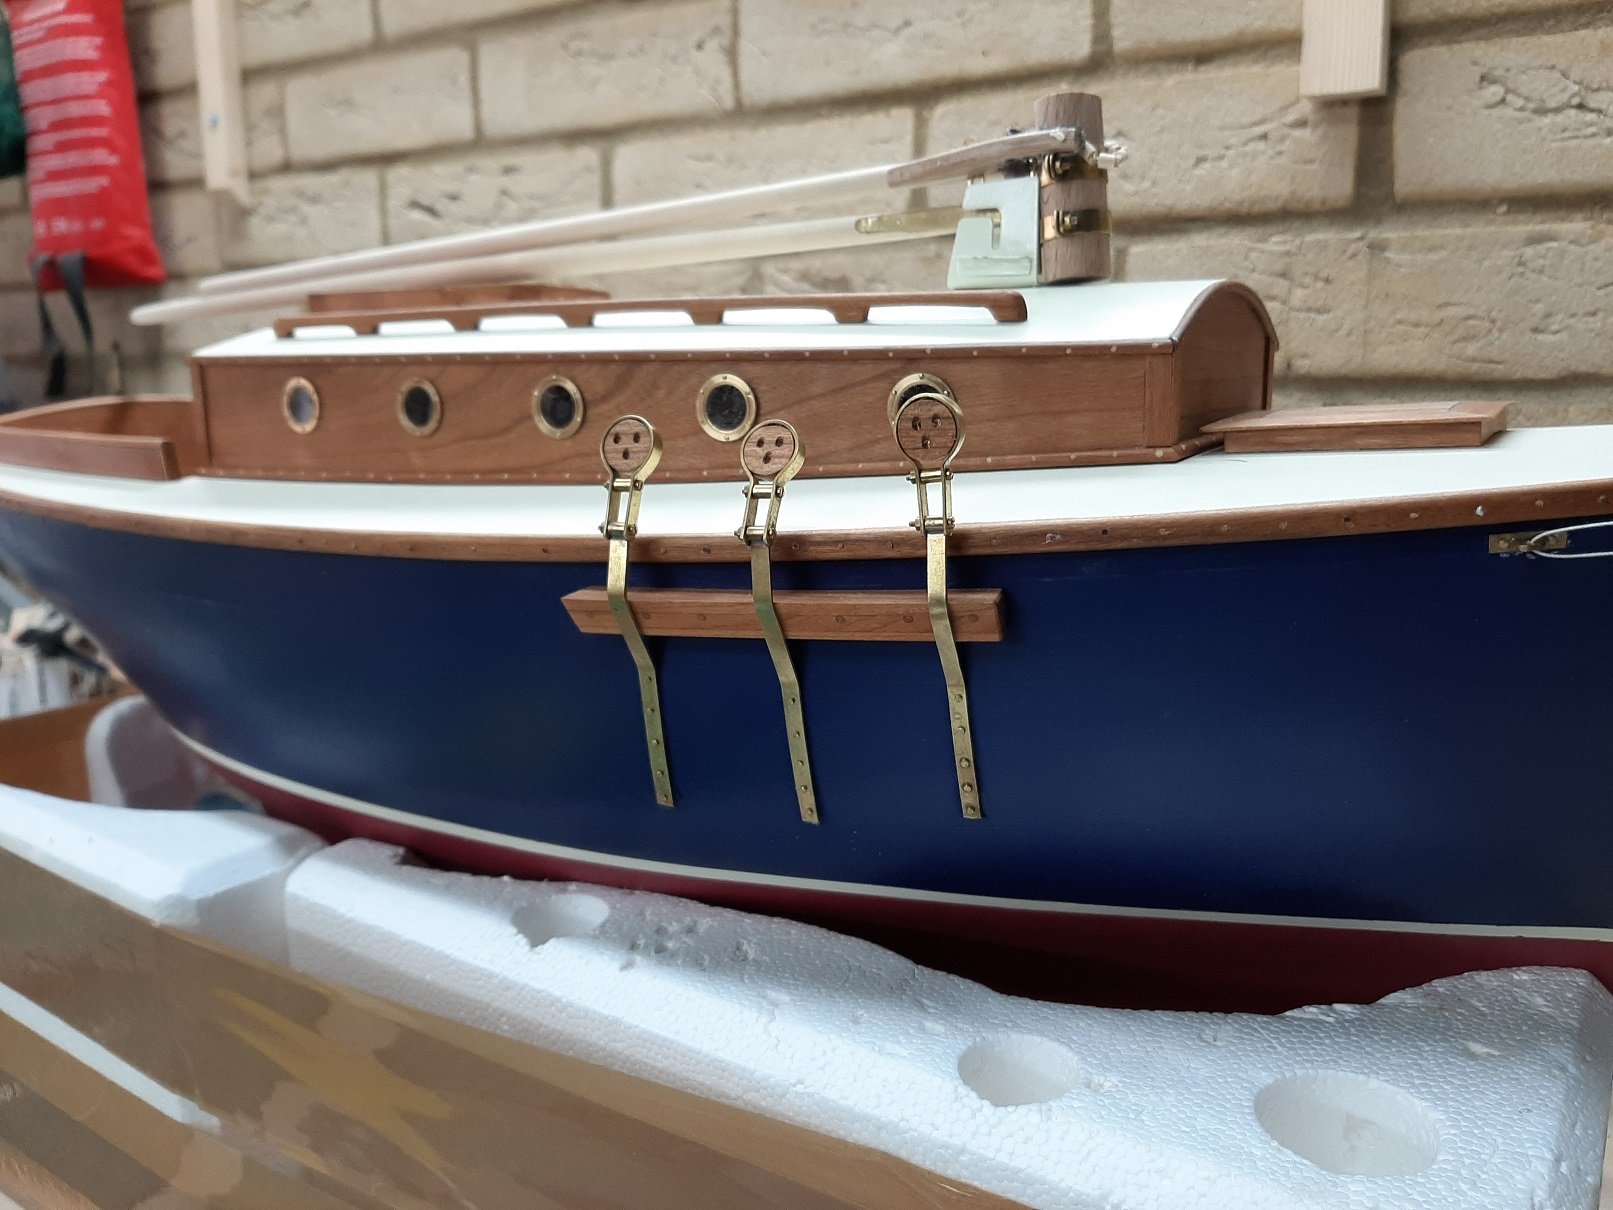
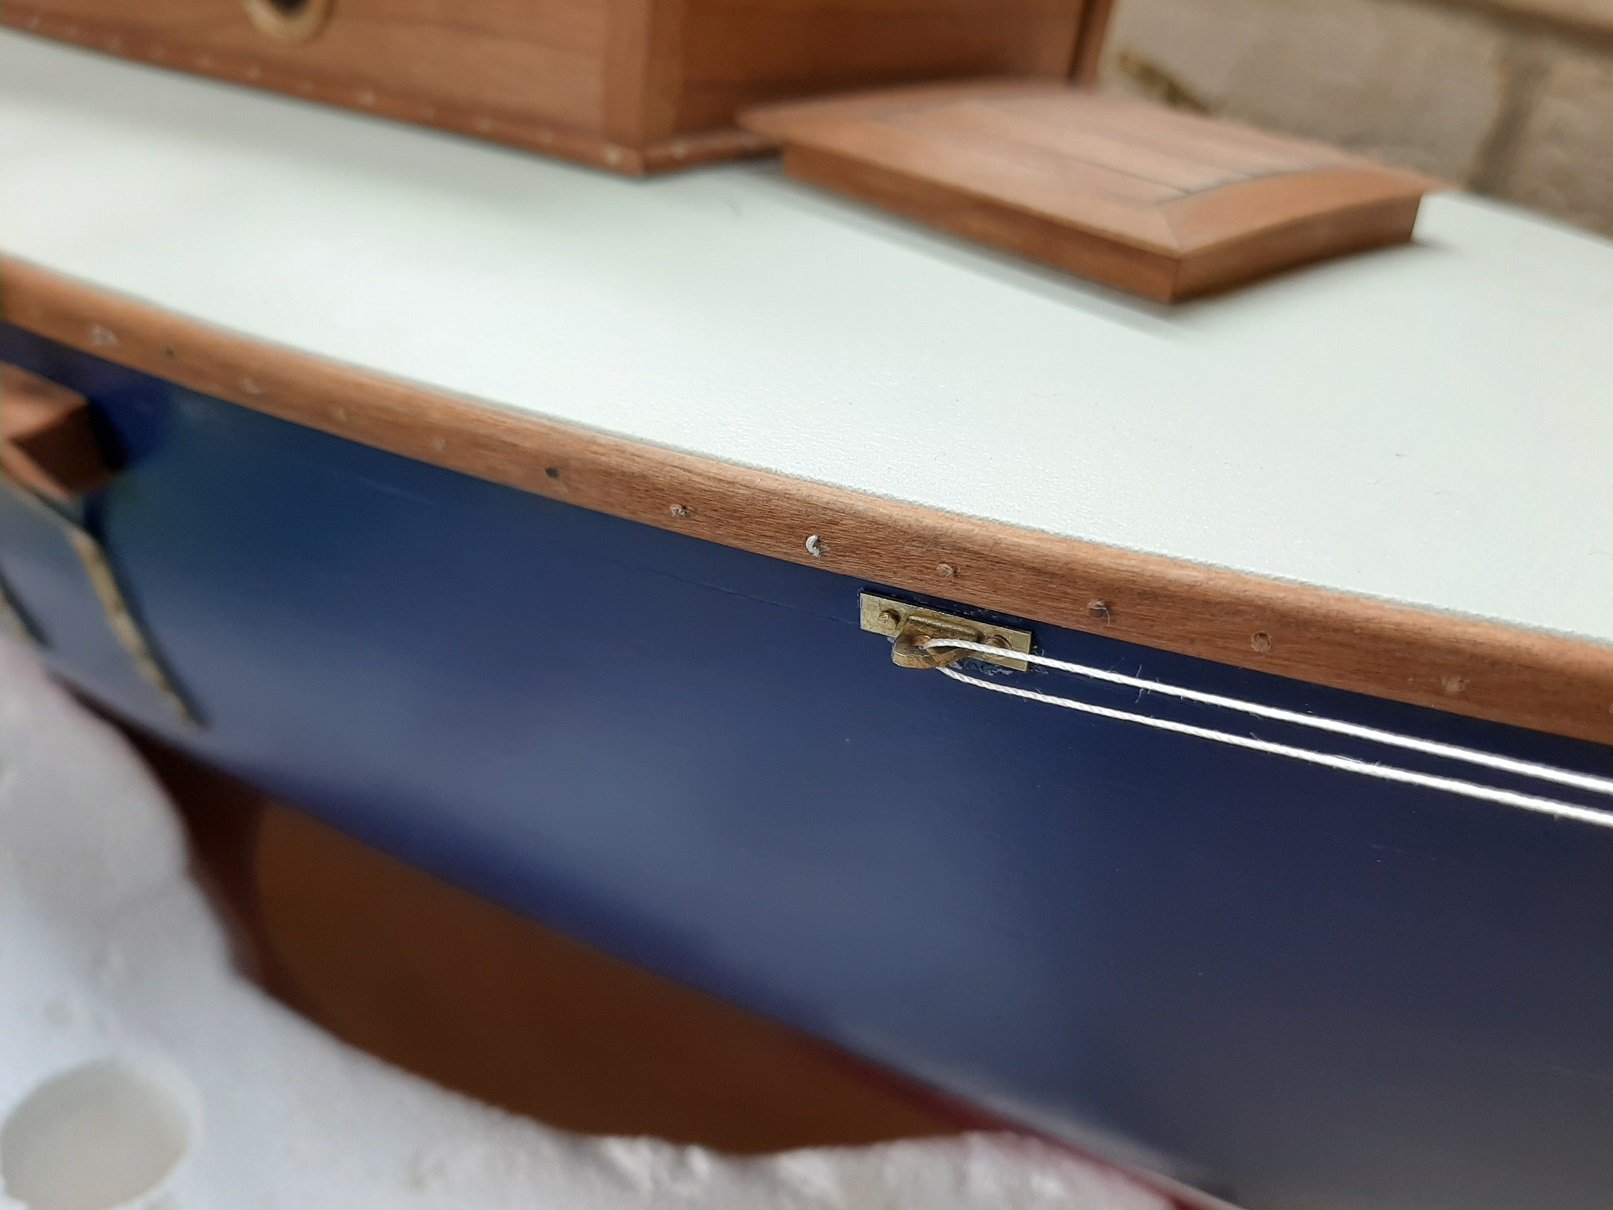
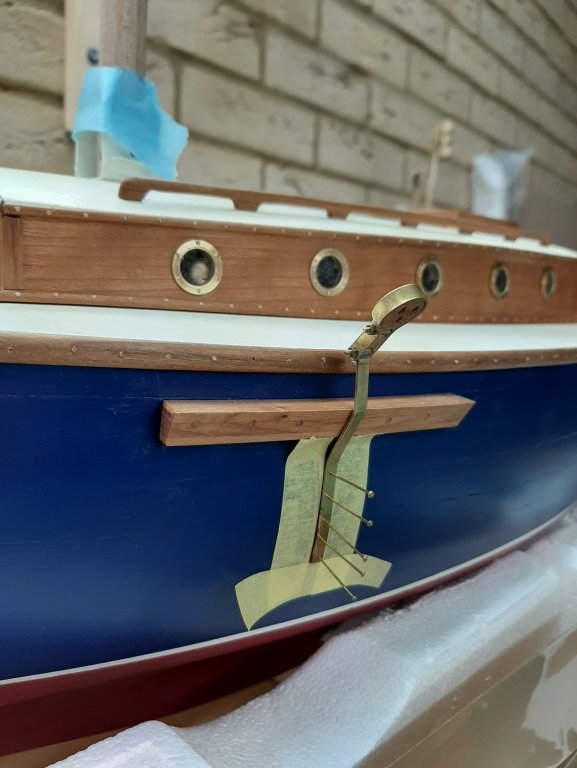
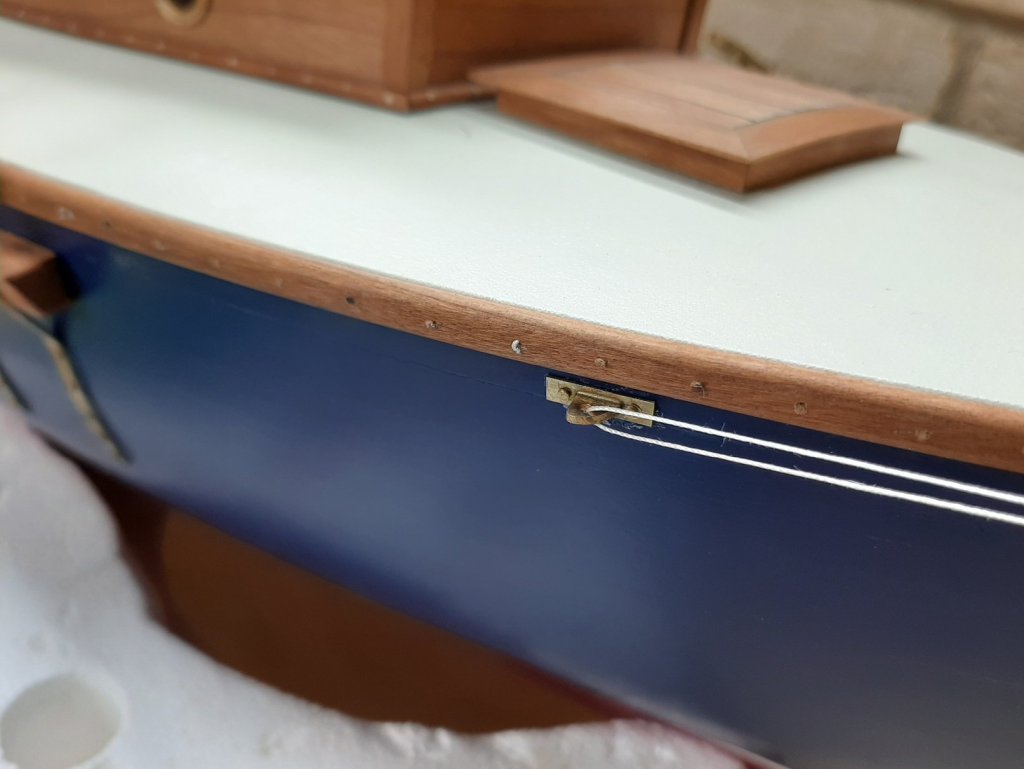
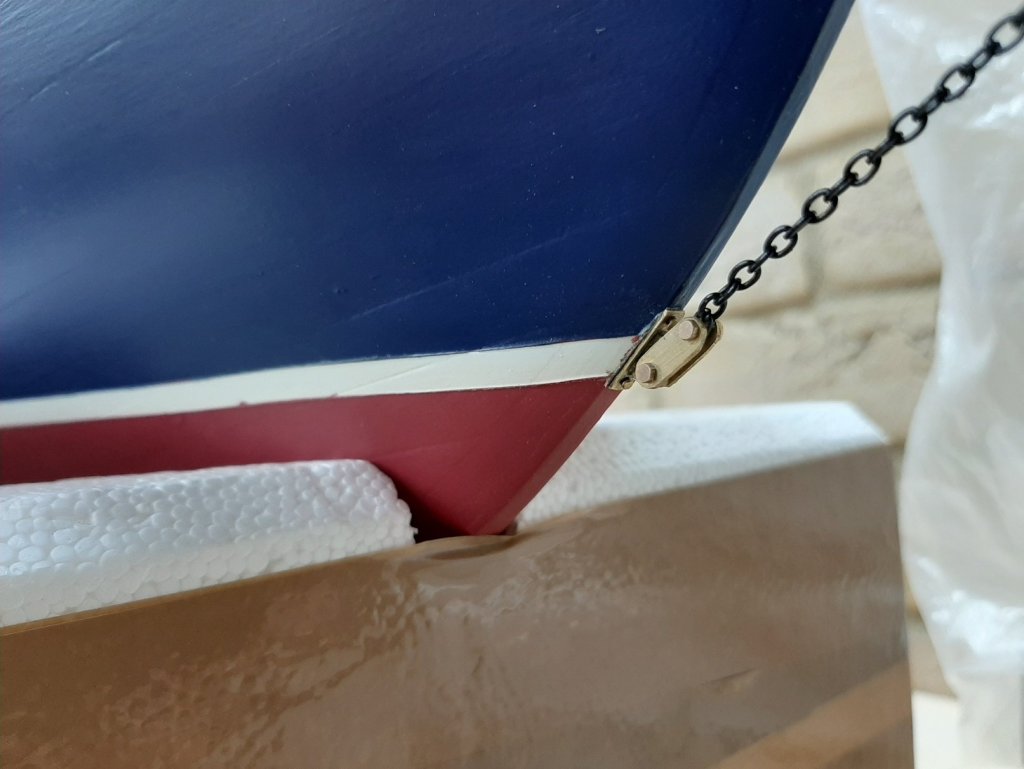
Another quick update! As family is away enjoying the summer, I found the opportunity to do a bit more work before I join them in a week's time. I attached the fittings for the bob and whisker stays using brass pins and CA glue. The thread is there just to show the lines, it will of course be replaced by ropes, blocks and shackles. Then the chainplates went on. I would like to somehow have a couple of brass belaying pins attached to the back of the gooseneck. I am not sure how this would work but in the meantime I silver soldered two simple belaying pins


-
Which varnish??
vaddoc replied to Edwardkenway's topic in Painting, finishing and weathering products and techniques
Try the water based polyurethane Valejo, not as tough as the enamel Humbrol but much easier to use and overall does the job well. No brush marks at all, no special skills needed, just slap it on! Amazing self levelling properties -
Which varnish??
vaddoc replied to Edwardkenway's topic in Painting, finishing and weathering products and techniques
Agree with Wefalck. Probably needs more thinning and more stirring but matt Humbrol is more difficult to apply than gloss and satin . Also do not go over the same area with the brush, trust the varnish. I think you need too thin much more -
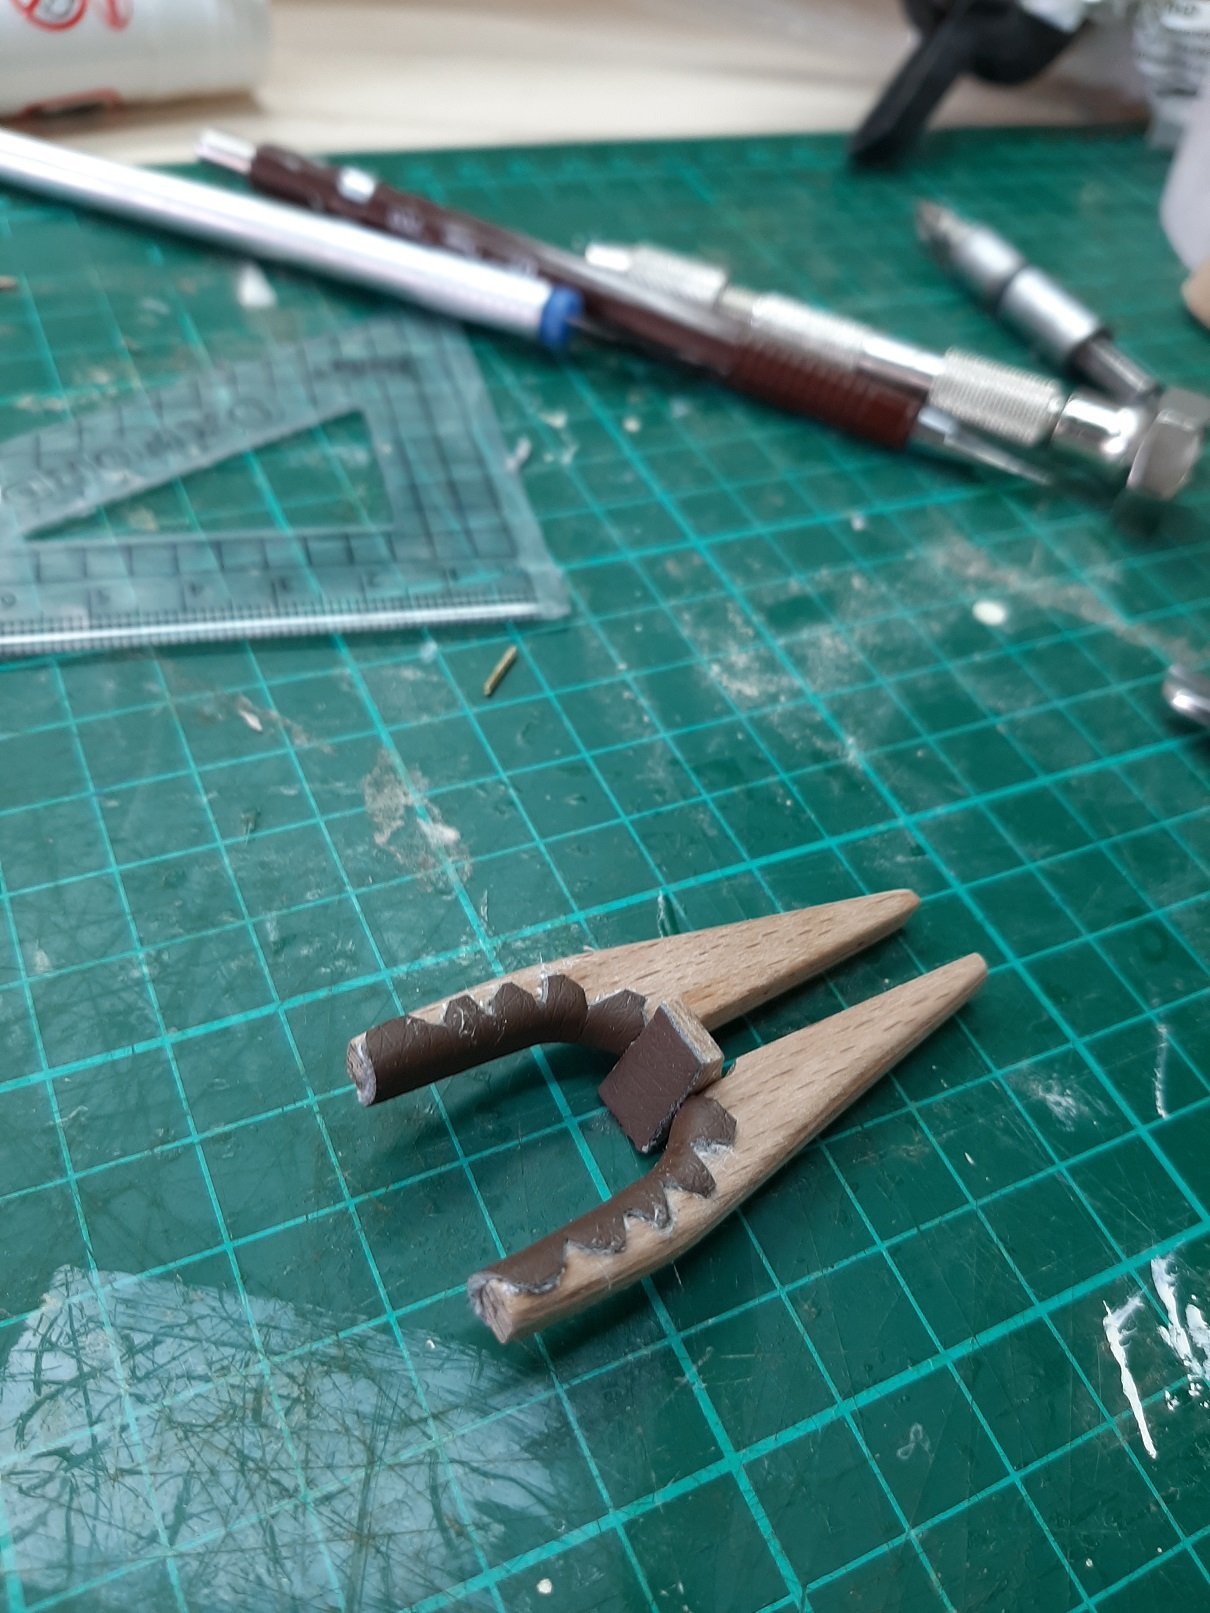
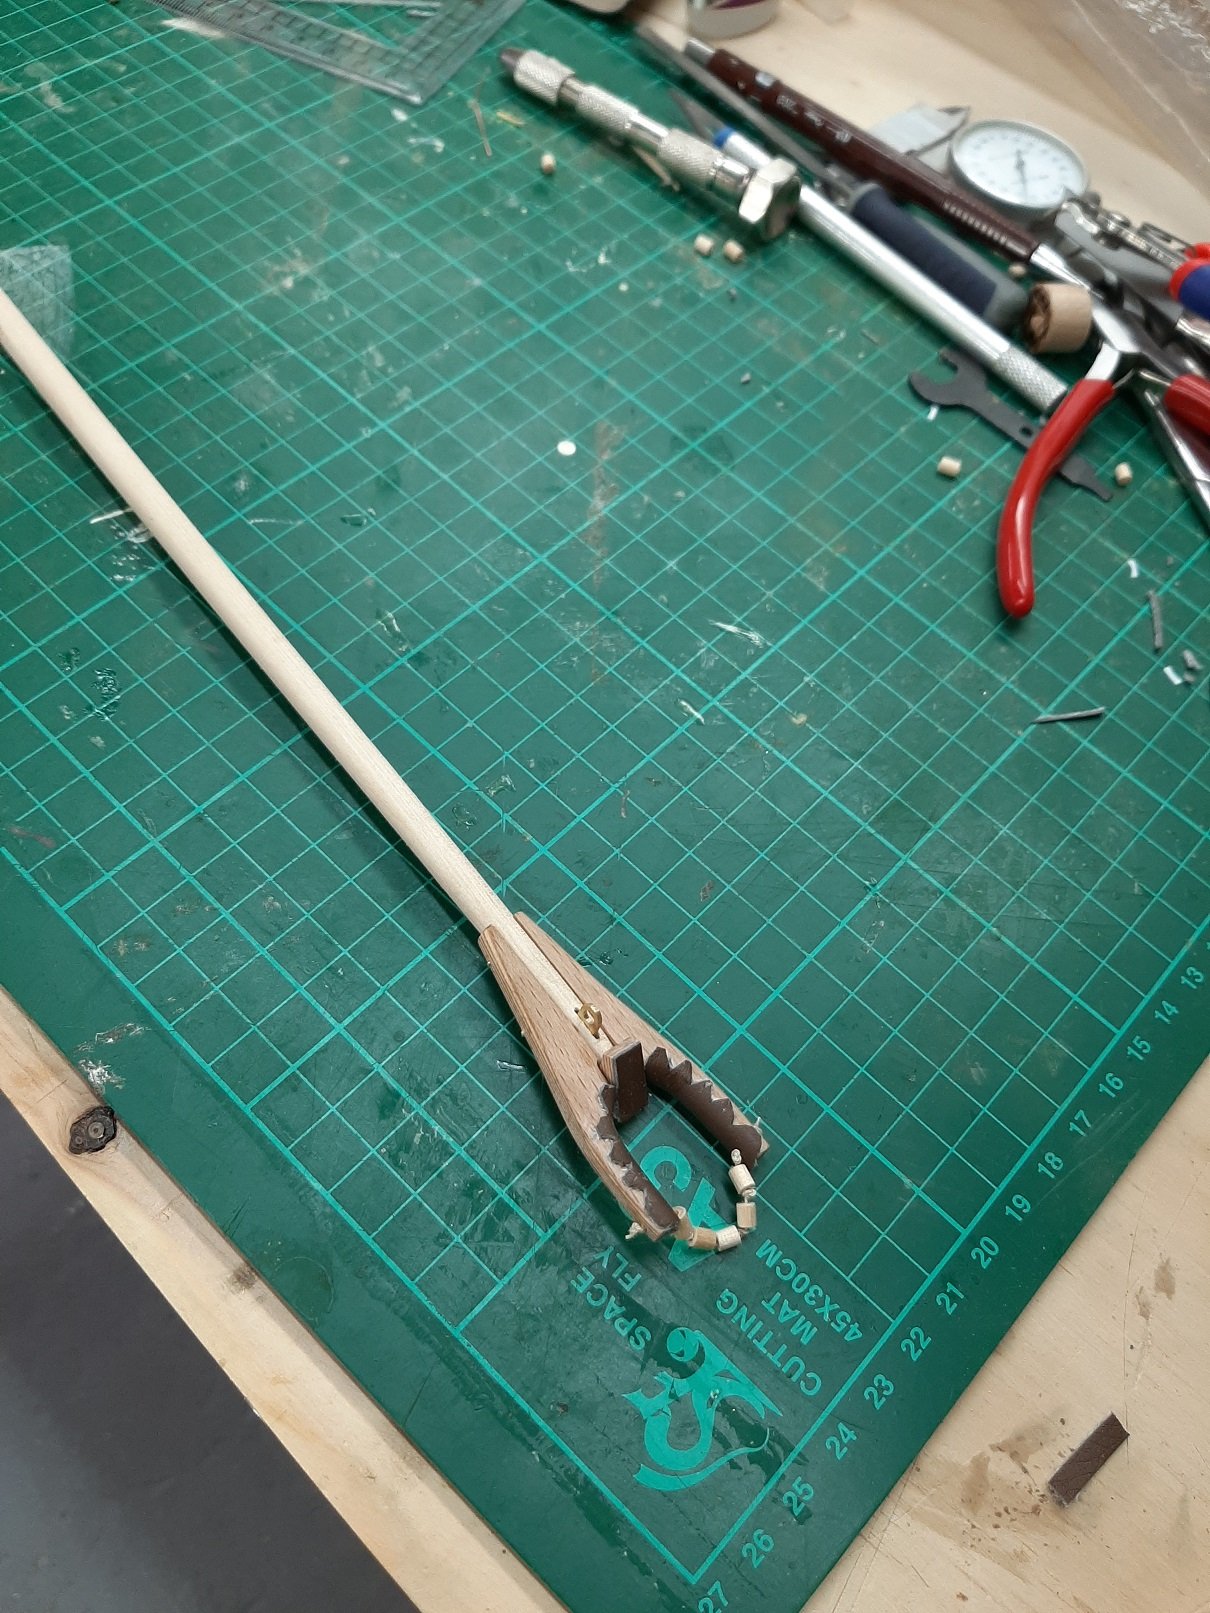
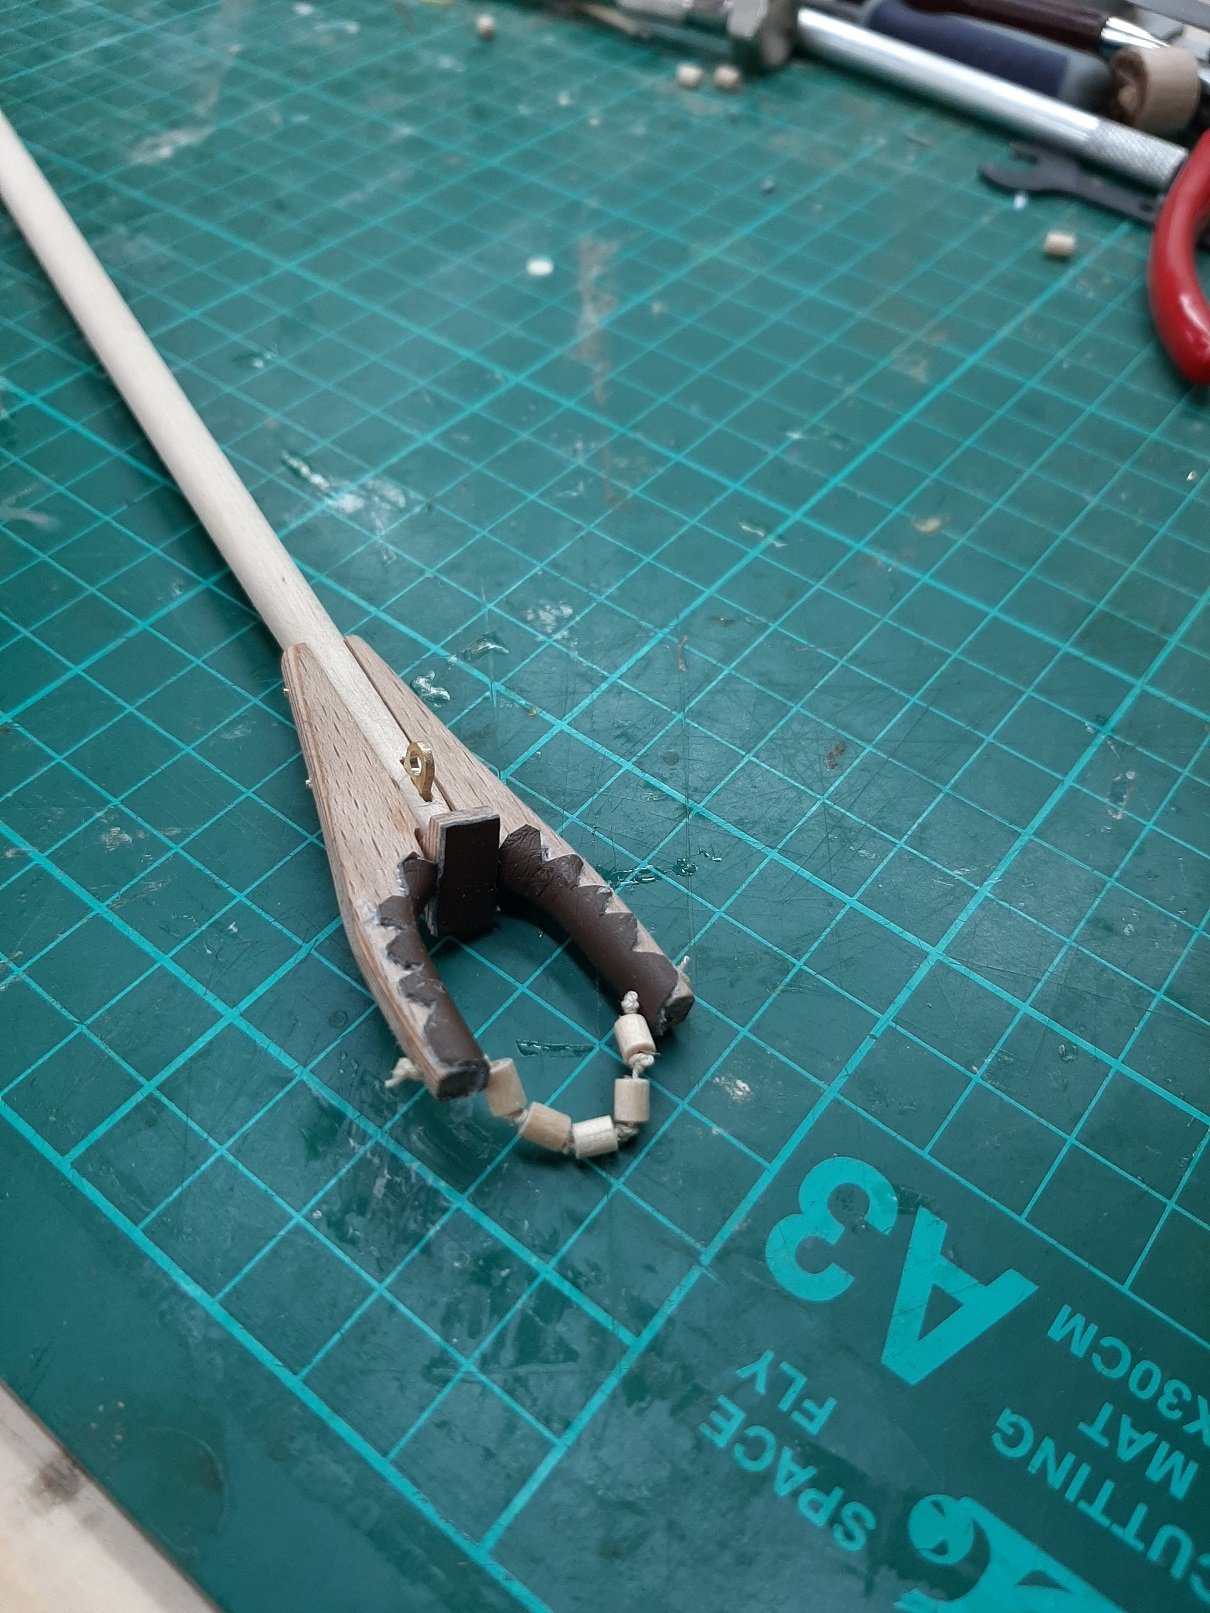
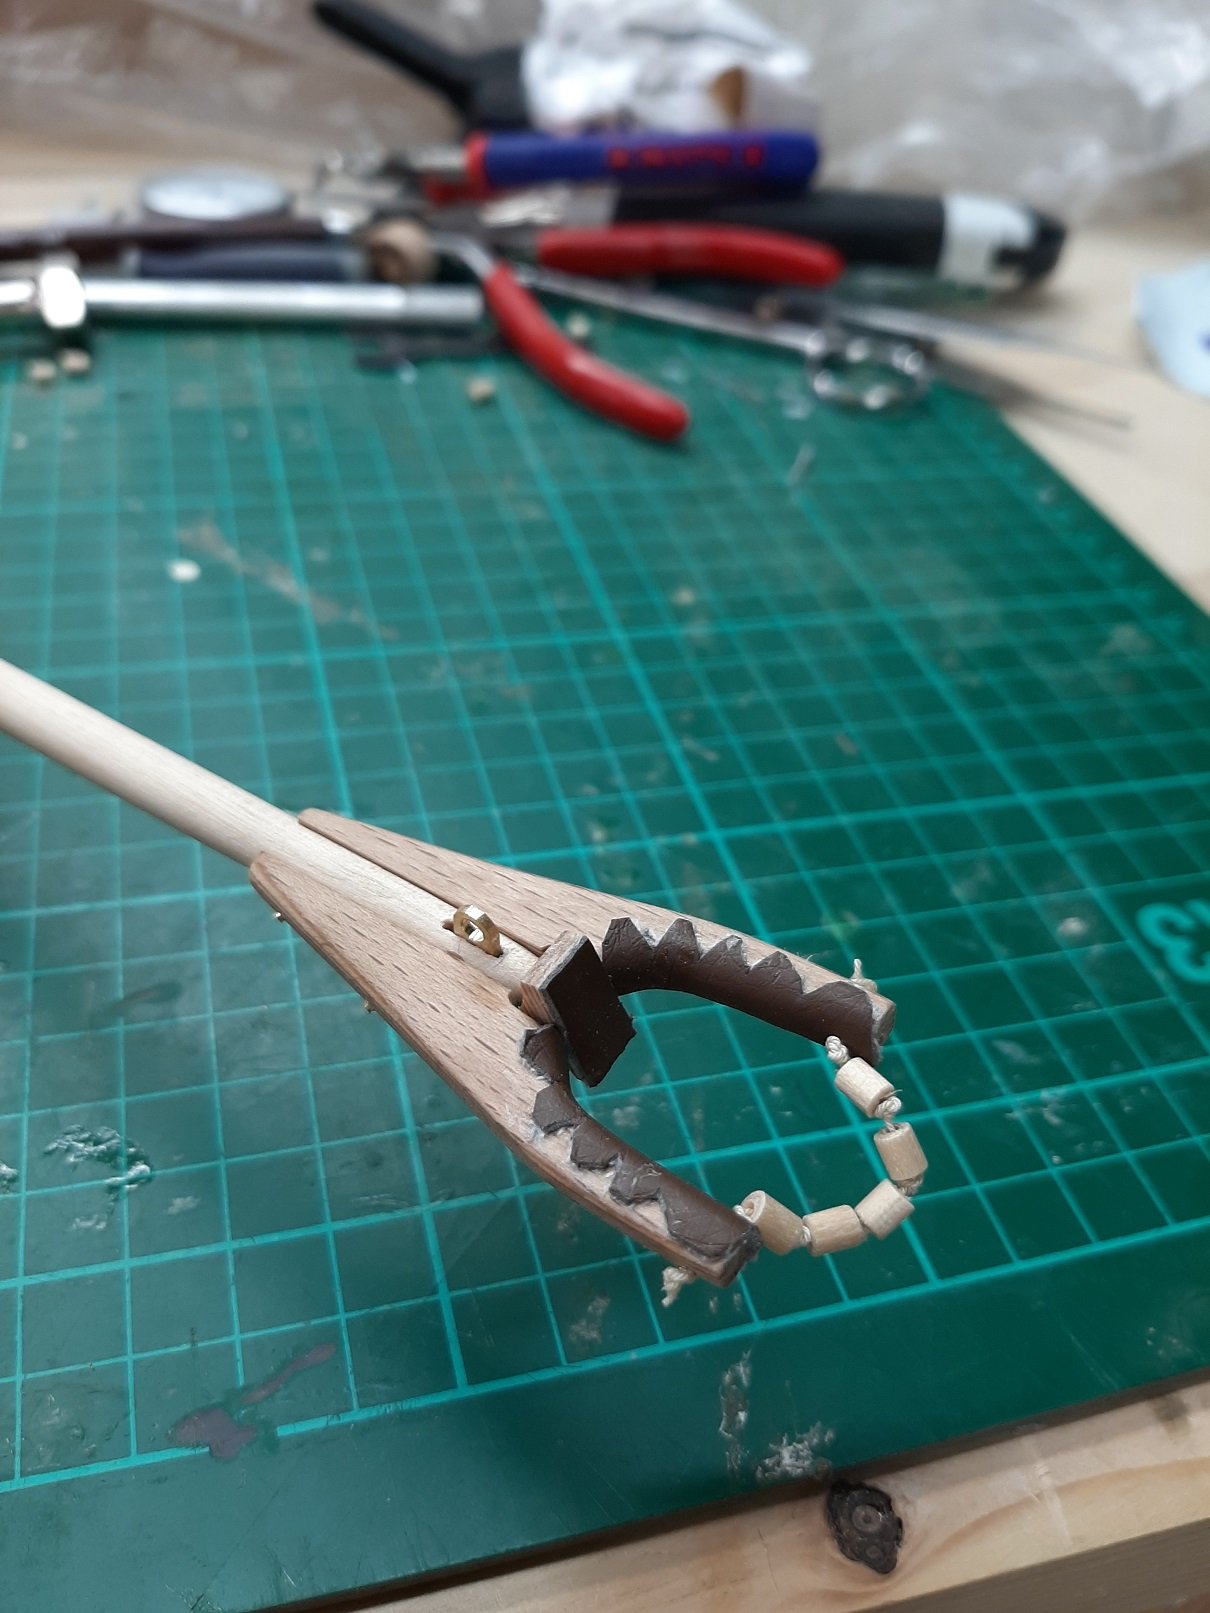
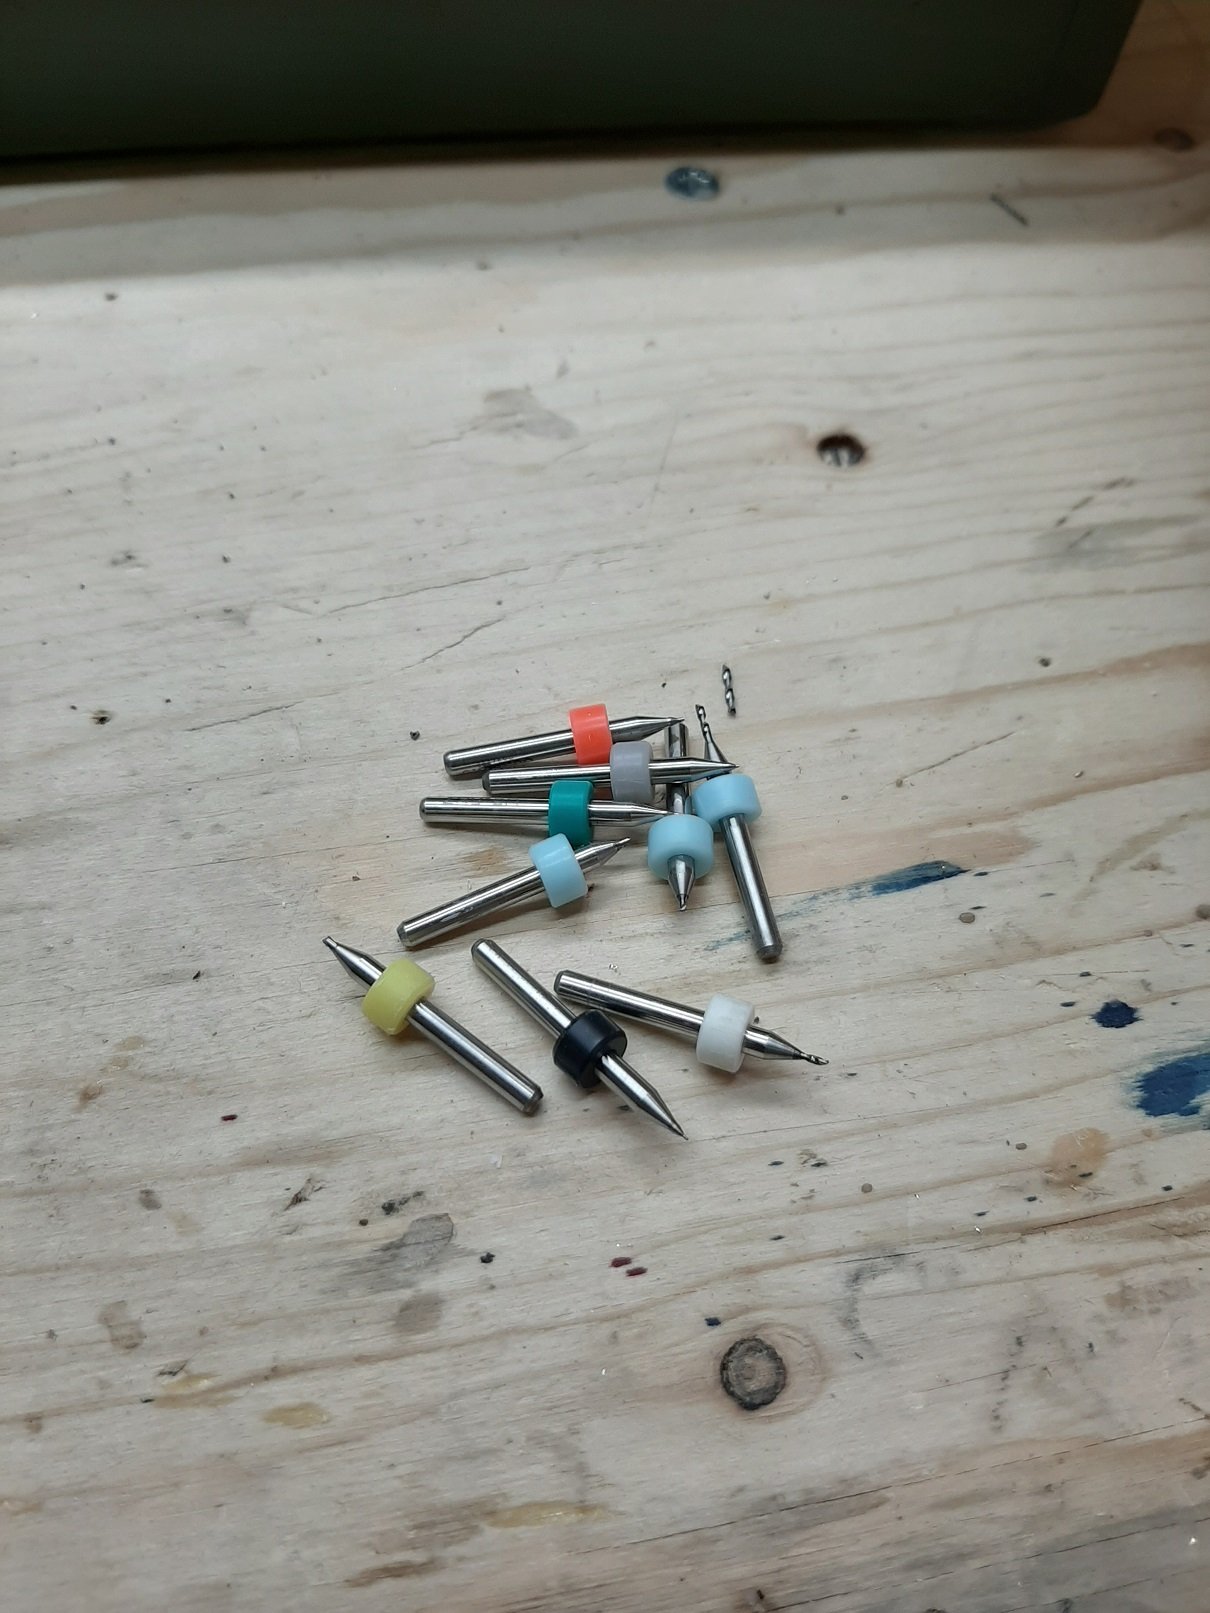
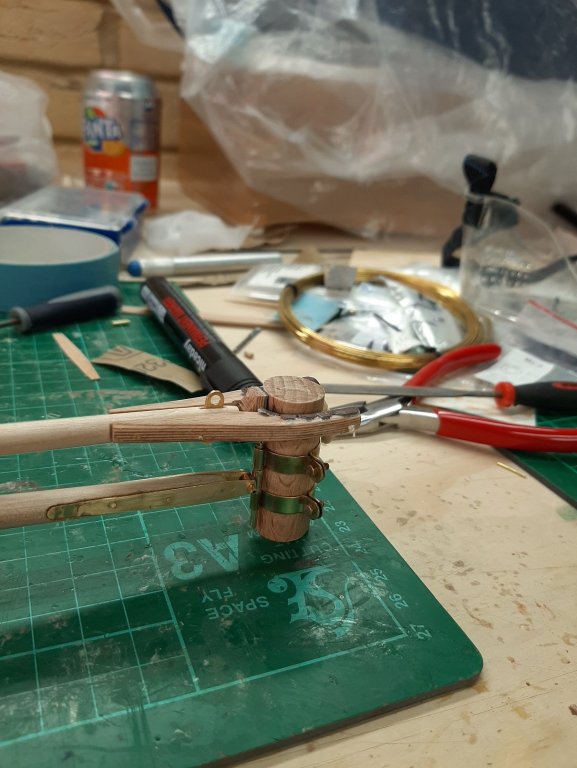
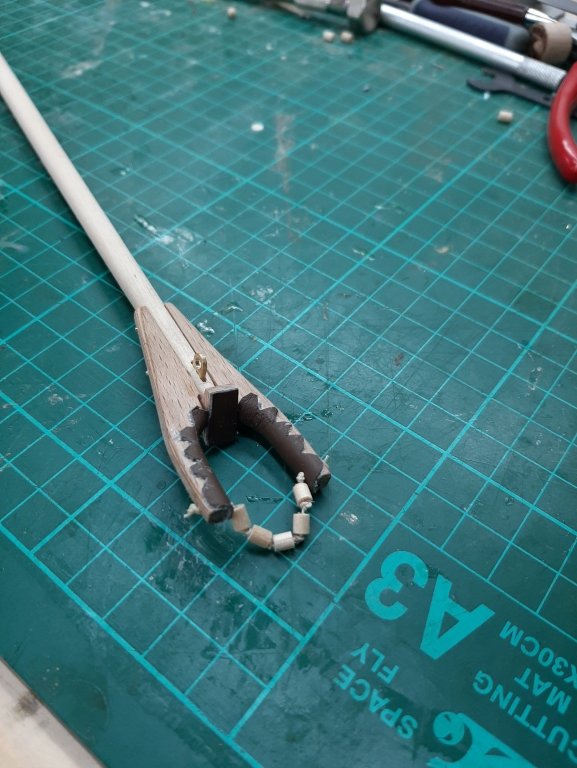
Well, a bit of progress today despite a temperature of 38C. No need to convert to F, it is a lot! Firstly, I ordered replacement drills (plus a few extra). You can never have enough drills. Then, I worked on the boom and gooseneck. I could really use some micro tools for carving as it was tricky to sit the arms to the boom. The outcome was not as nice as I hoped but I can live with it. It moves extremely smoothly but still needs a bit more work.


-
Yes! Closing the case, they slipped out a bit and got caught. All broke in a fraction of a second!
-
Many thanks to both This is left over wood from planking my current boat. I may have made a slight mistake calculating how much I needed! However I liked maple very much so will use in planking a future boat.
-
Dear all I have quite a lot of very nice maple sheets. They started off very flat and ended up massively warped. Any suggestions if these can be saved and how? I am thinking soaking for a couple of hours in water and compressing. Vaddoc

-
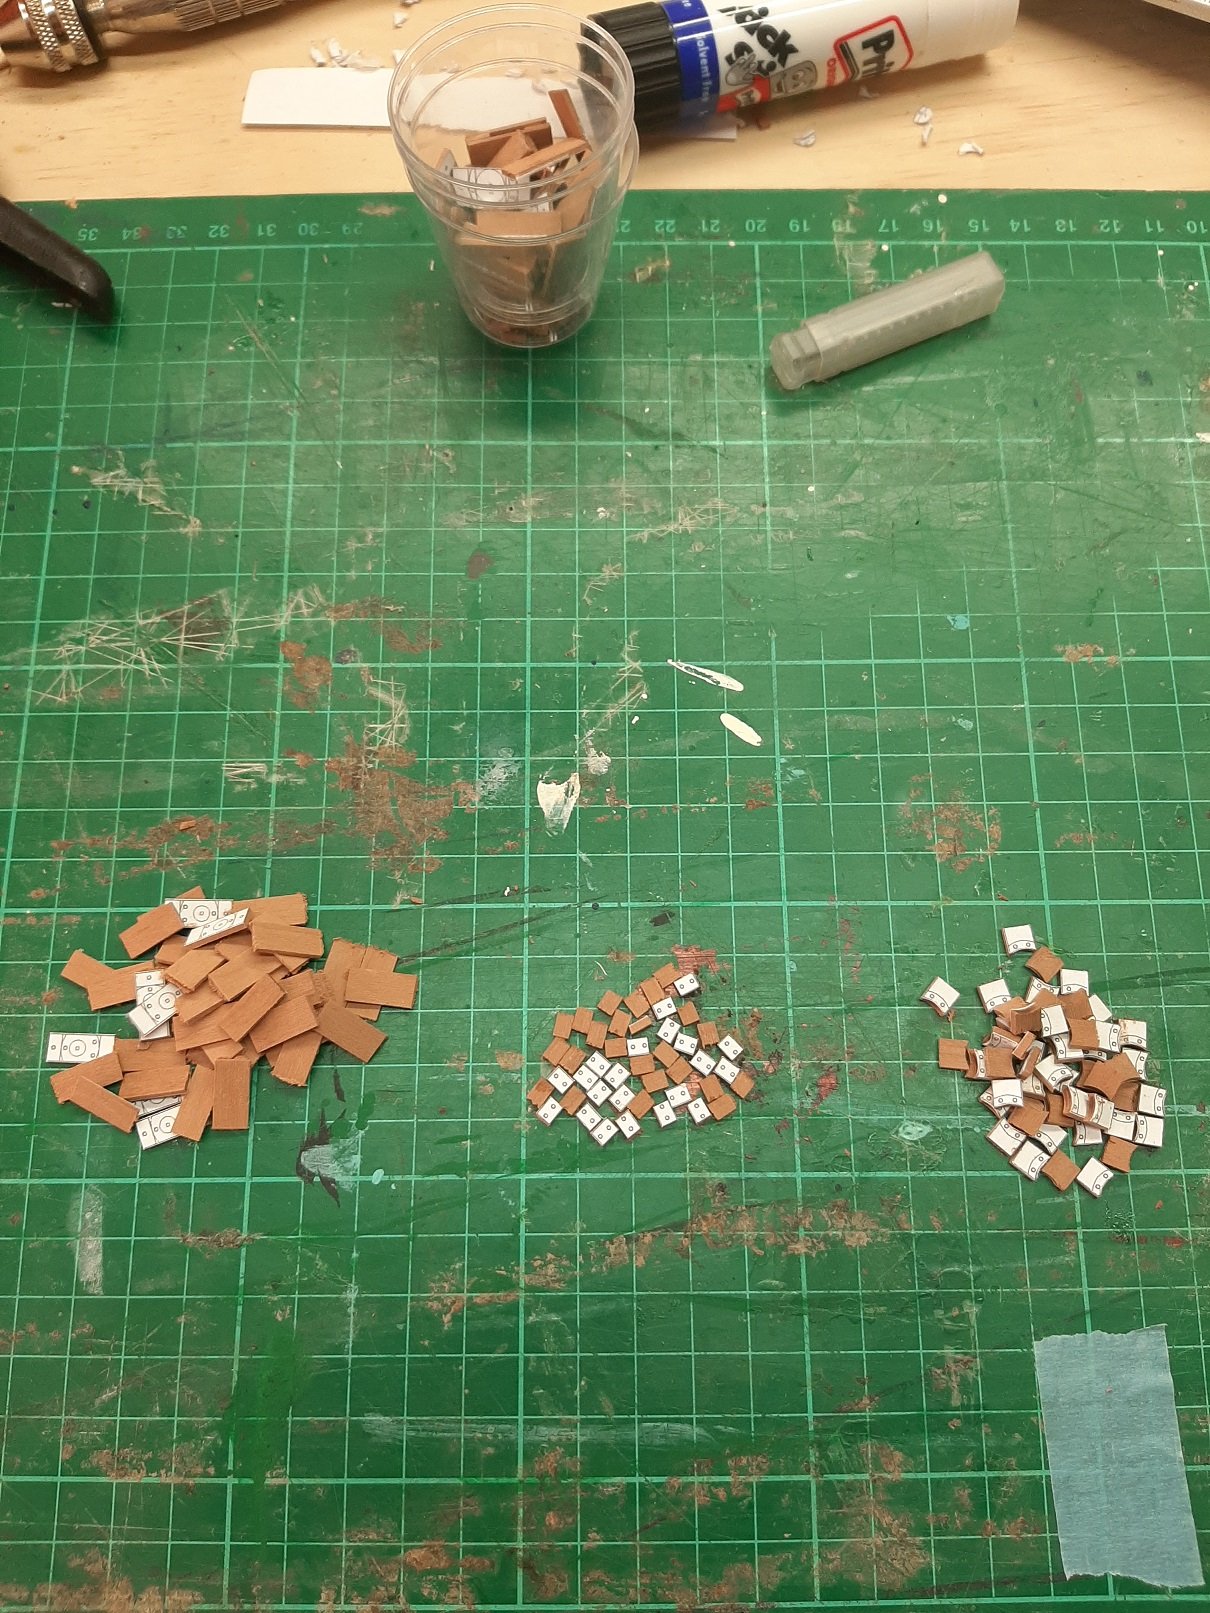
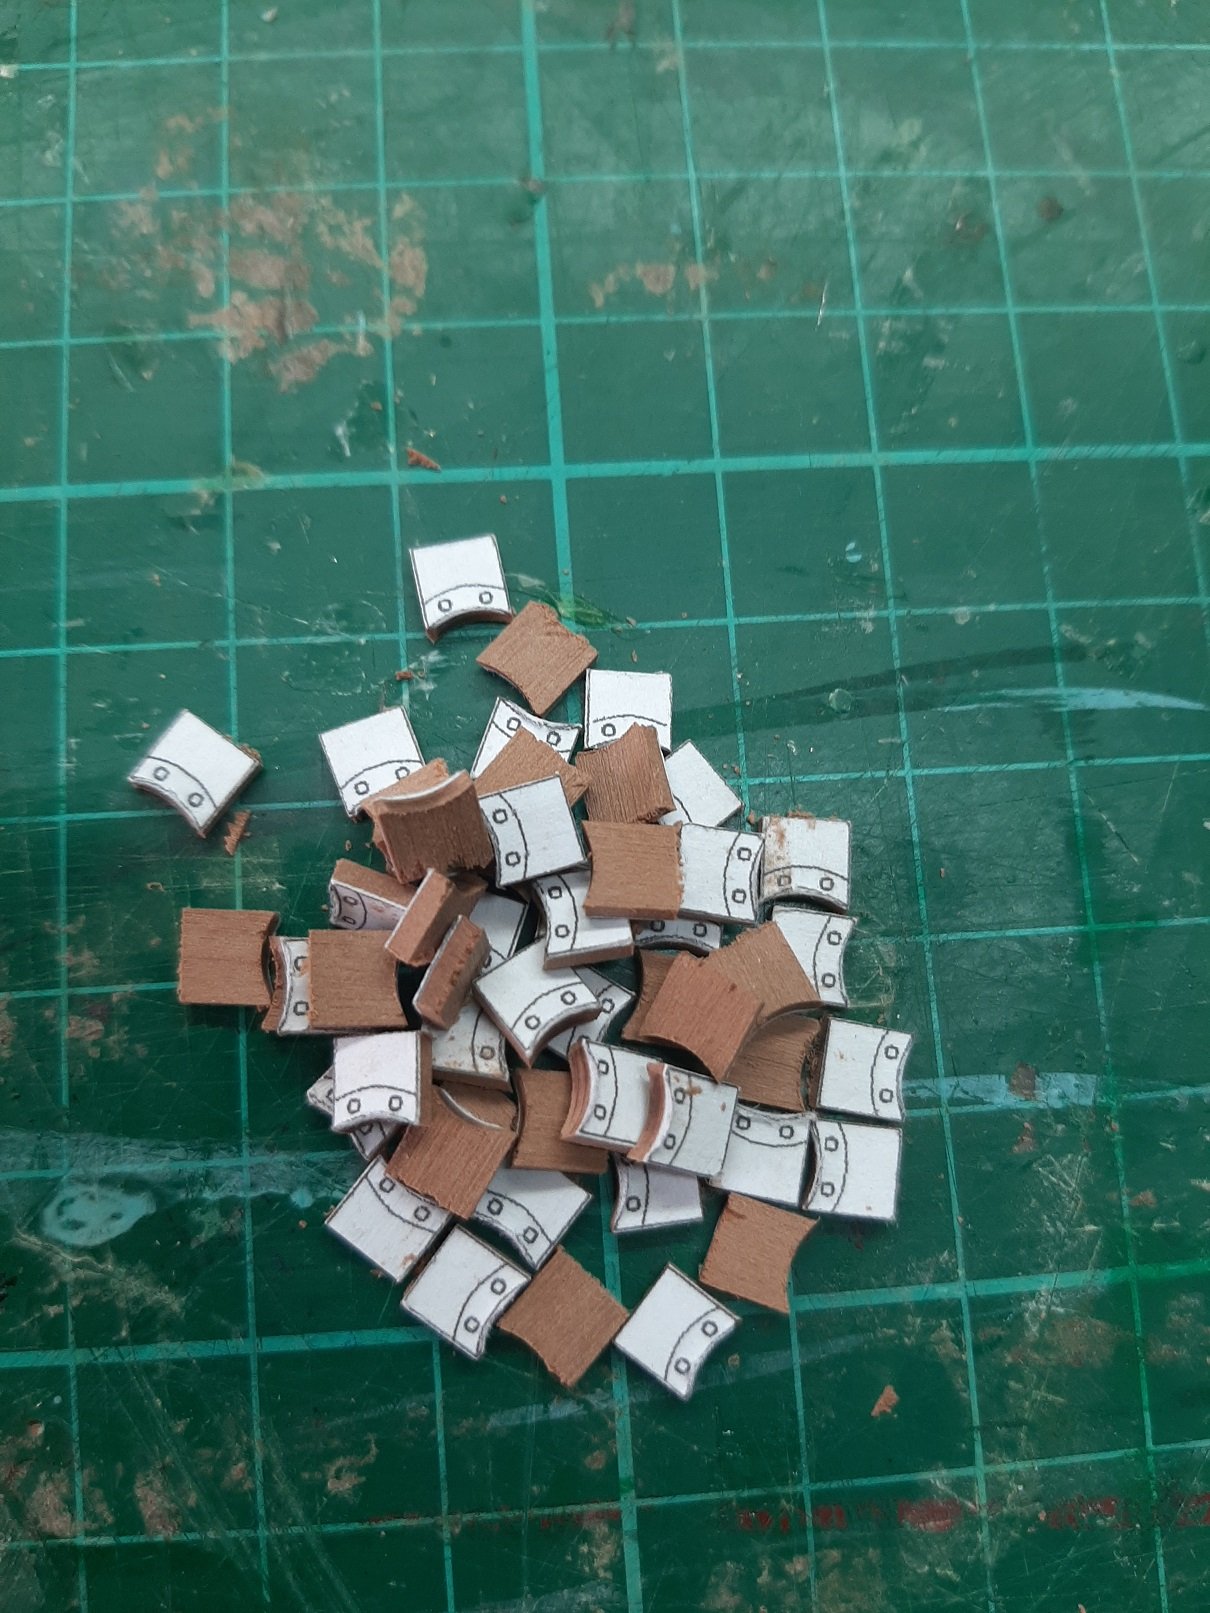
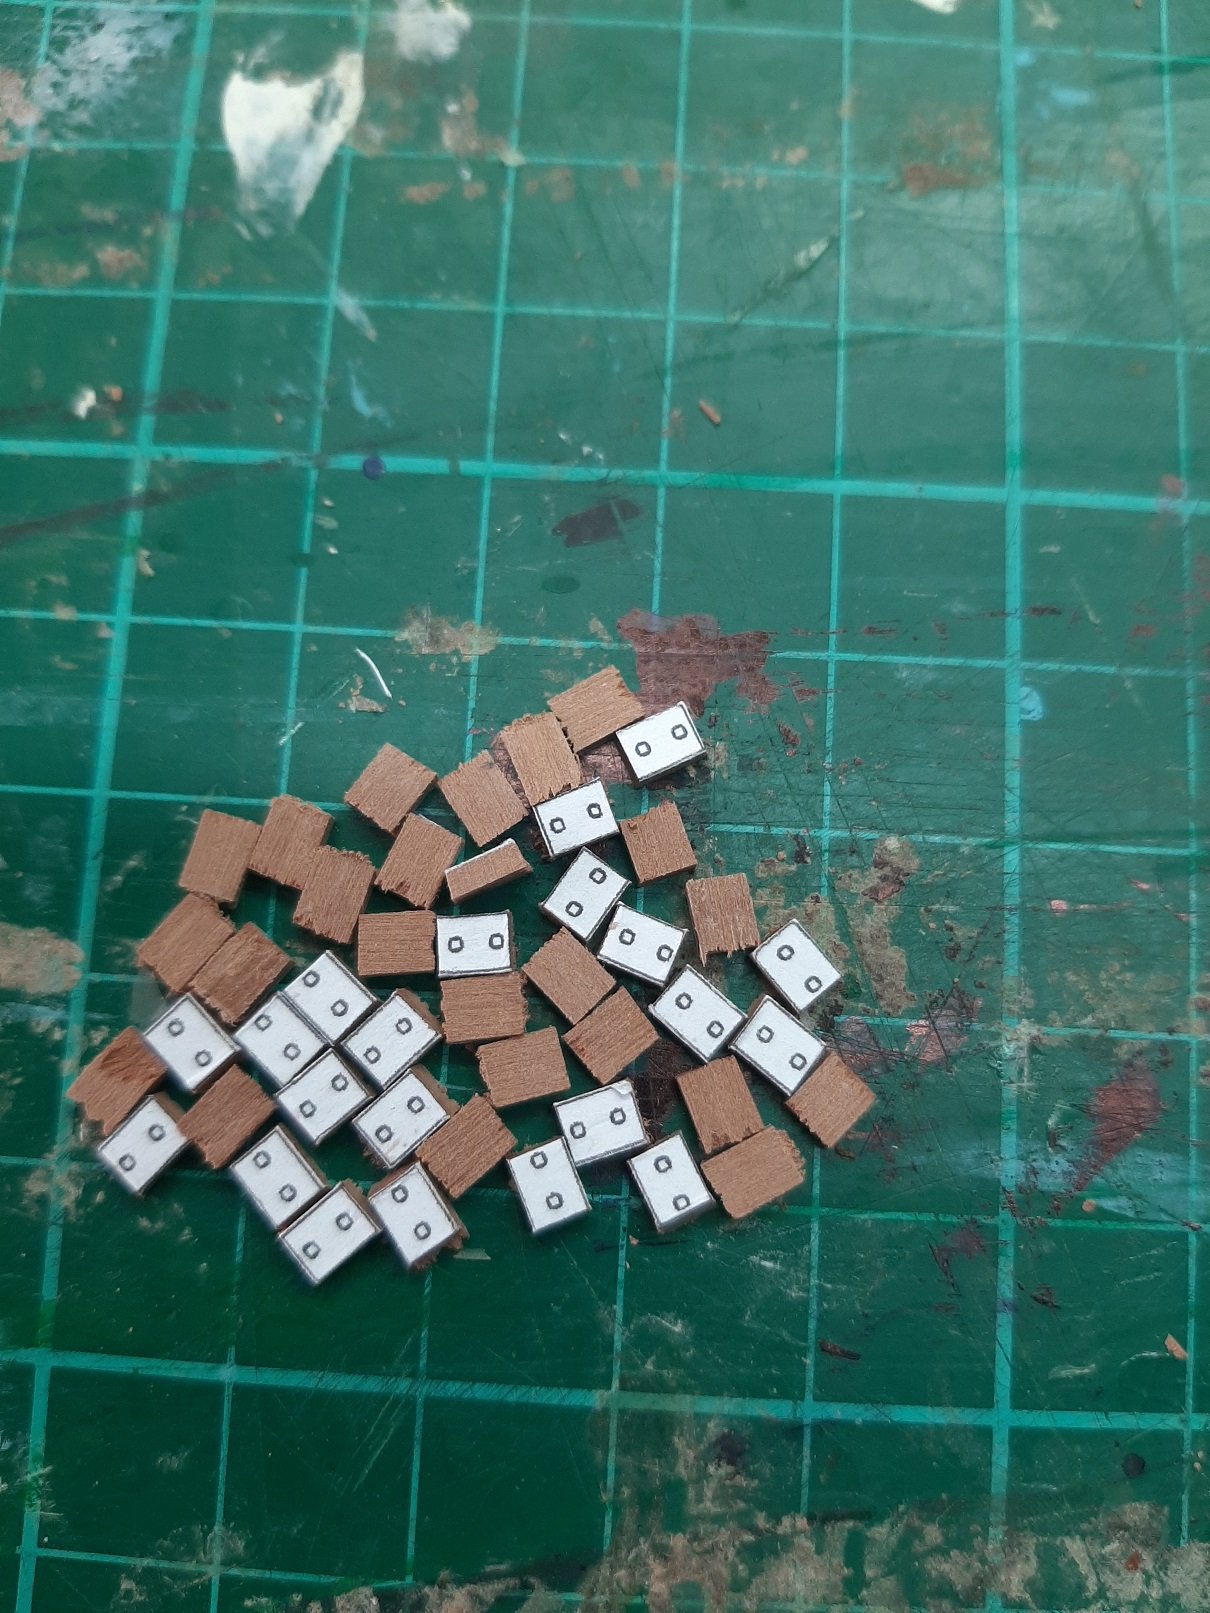
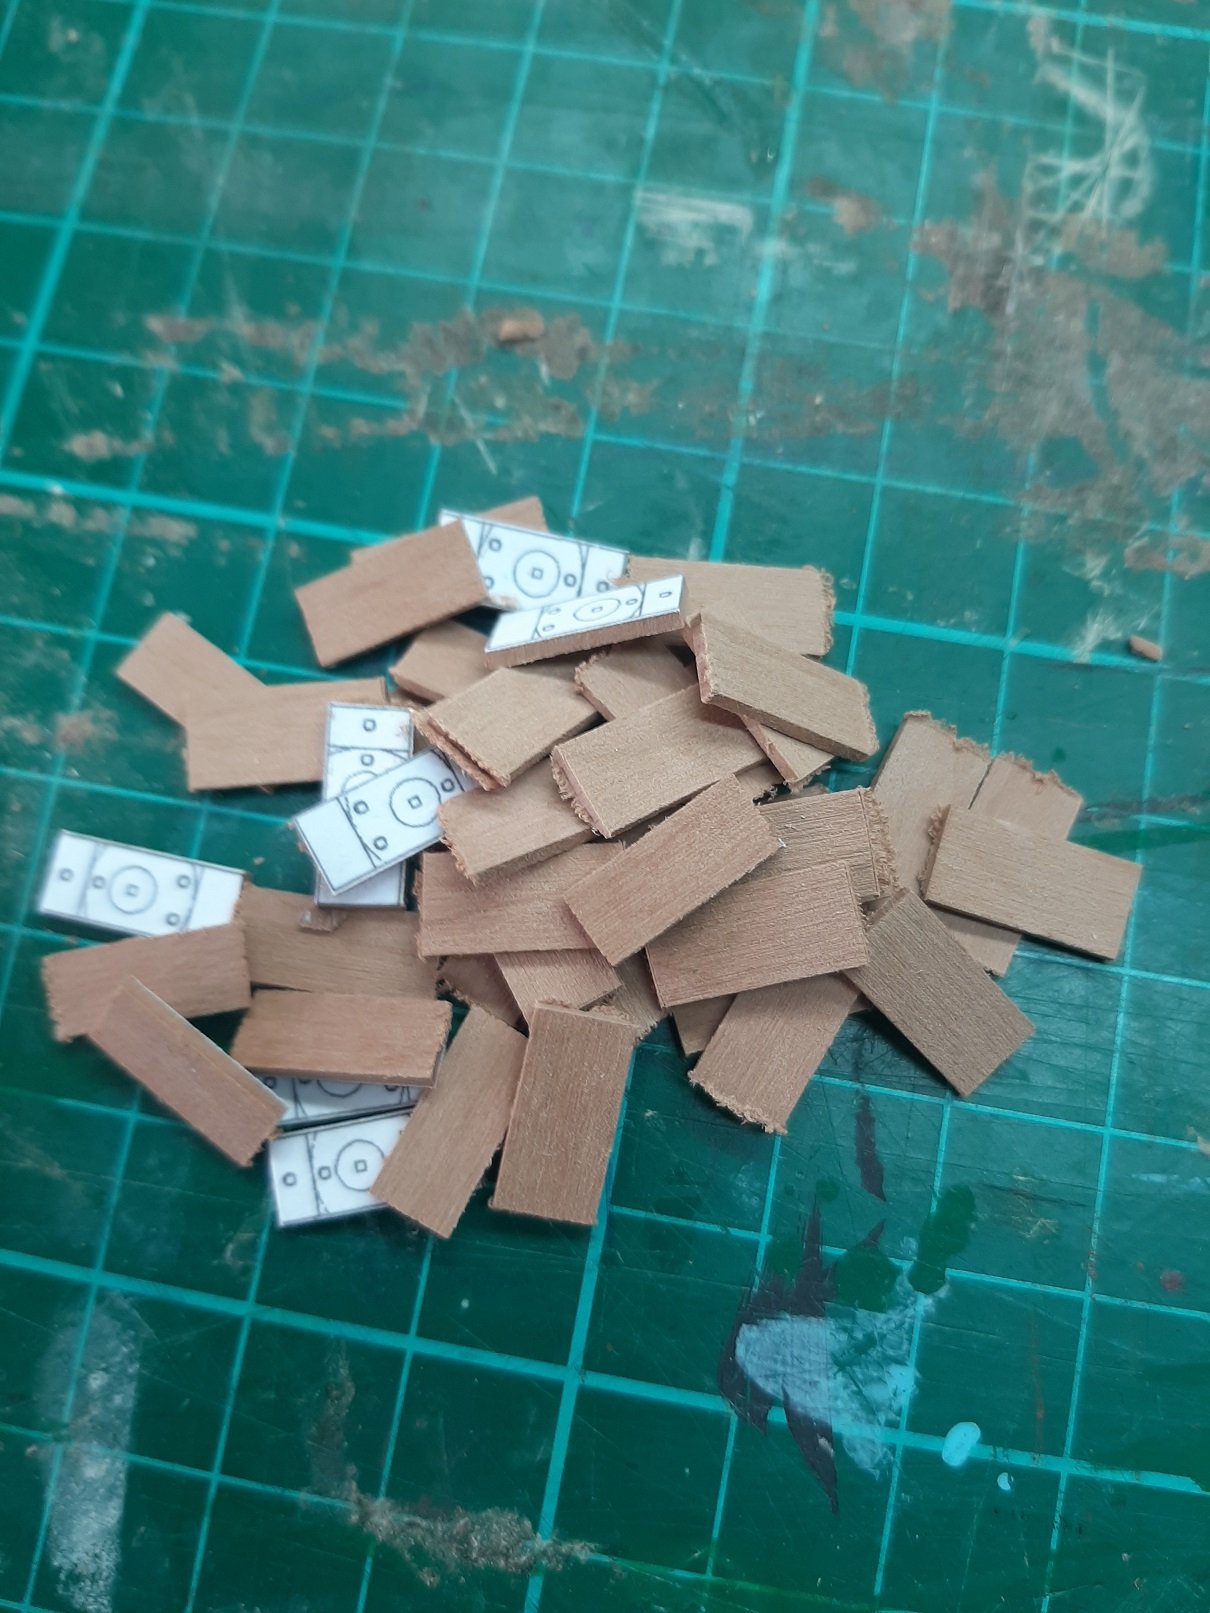
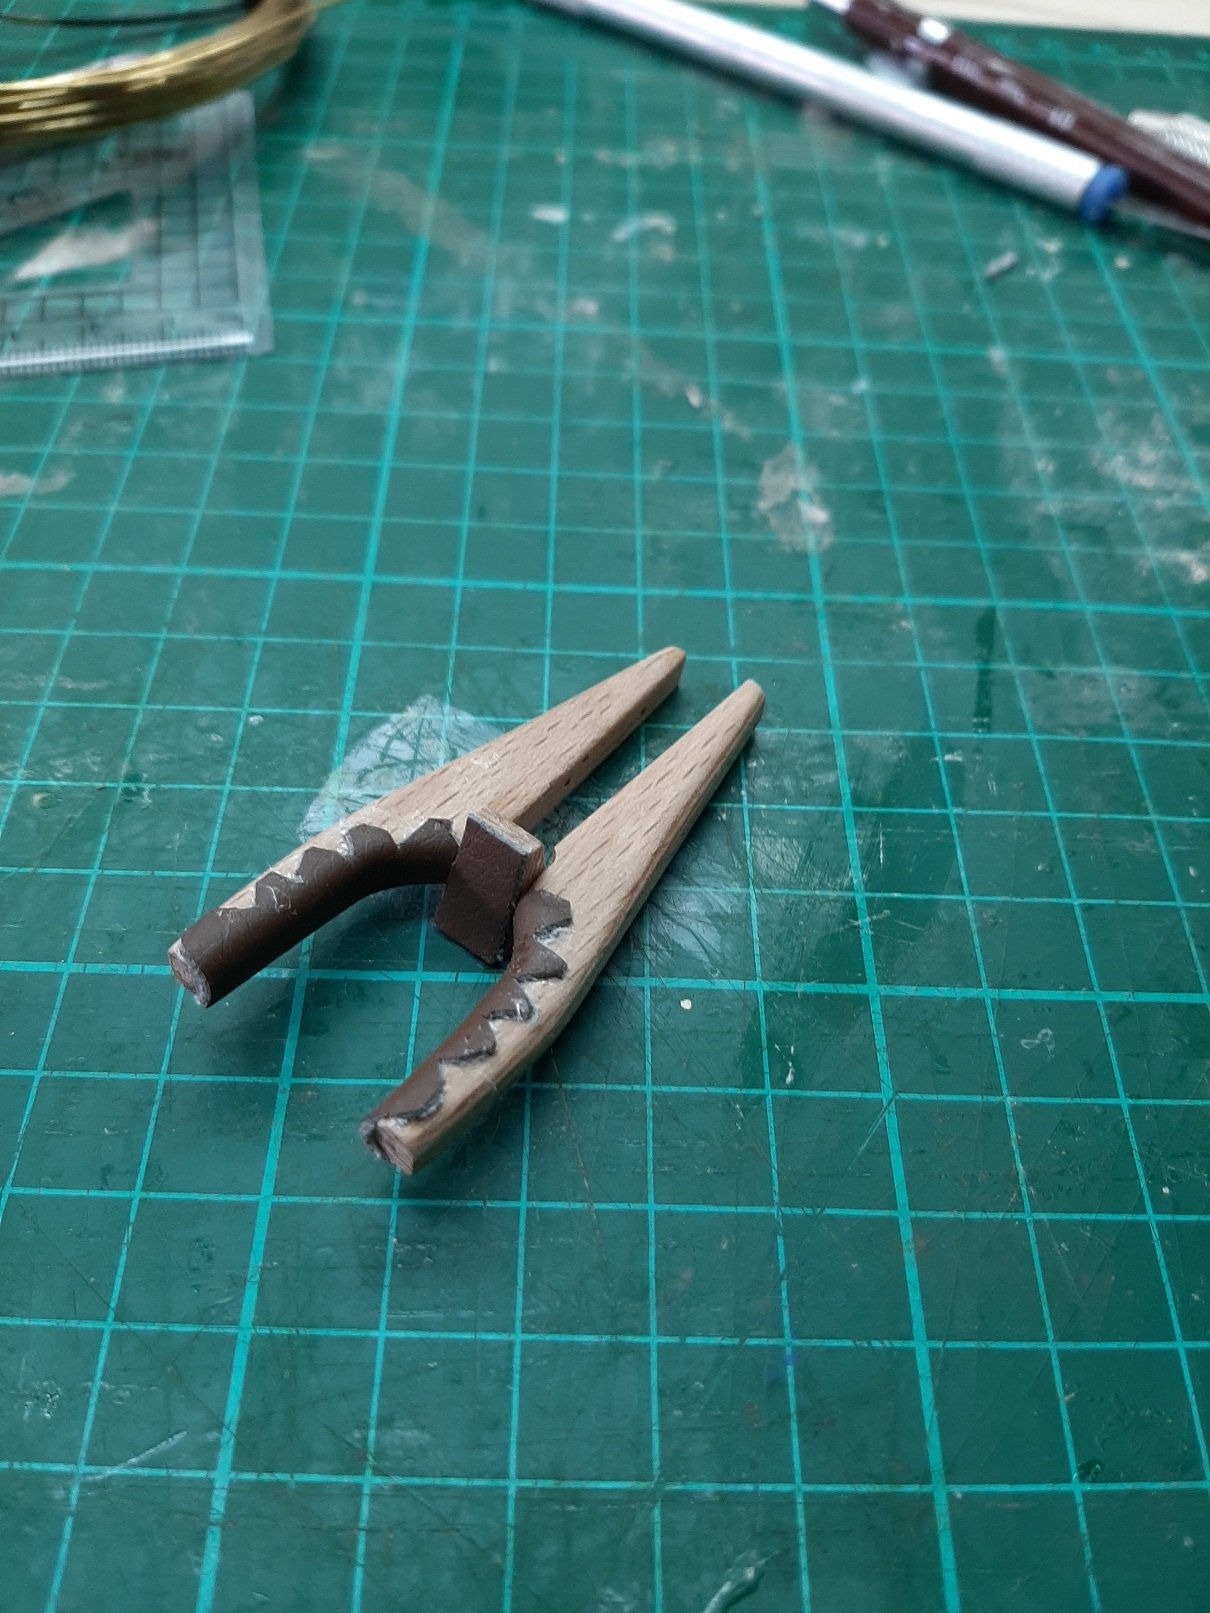
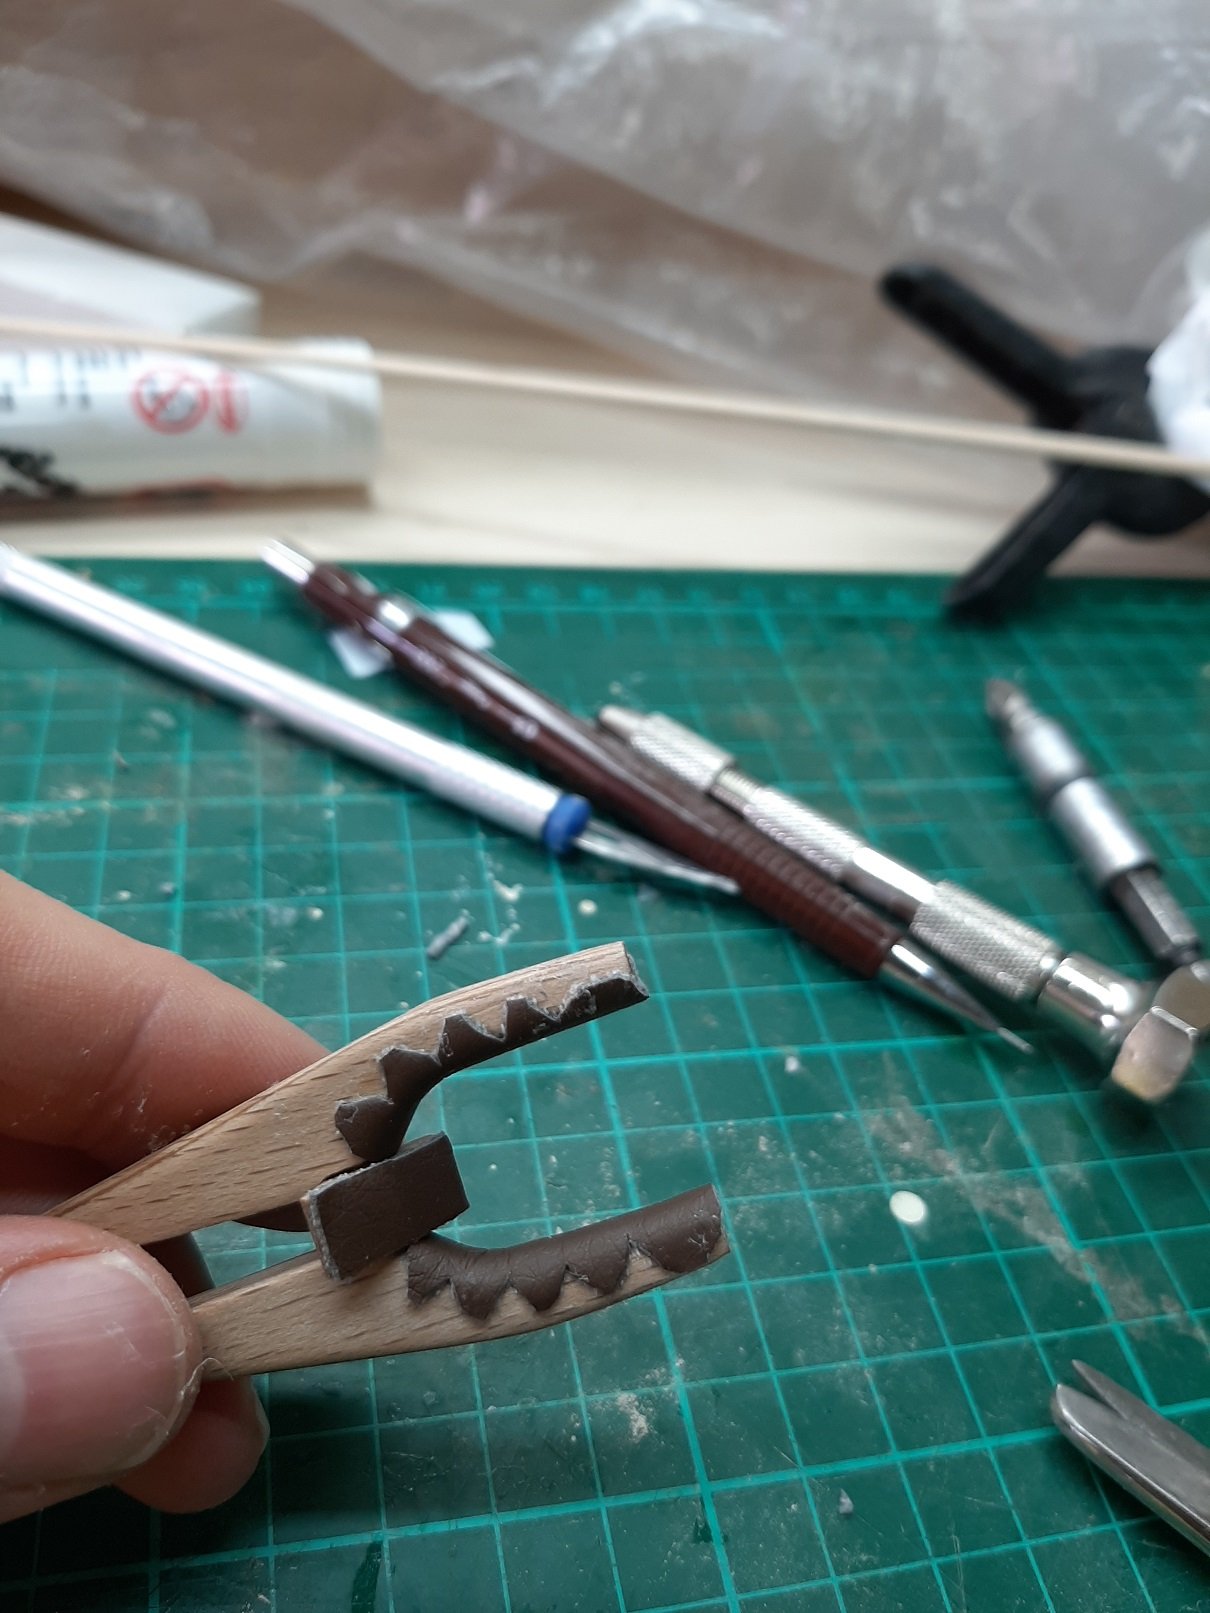
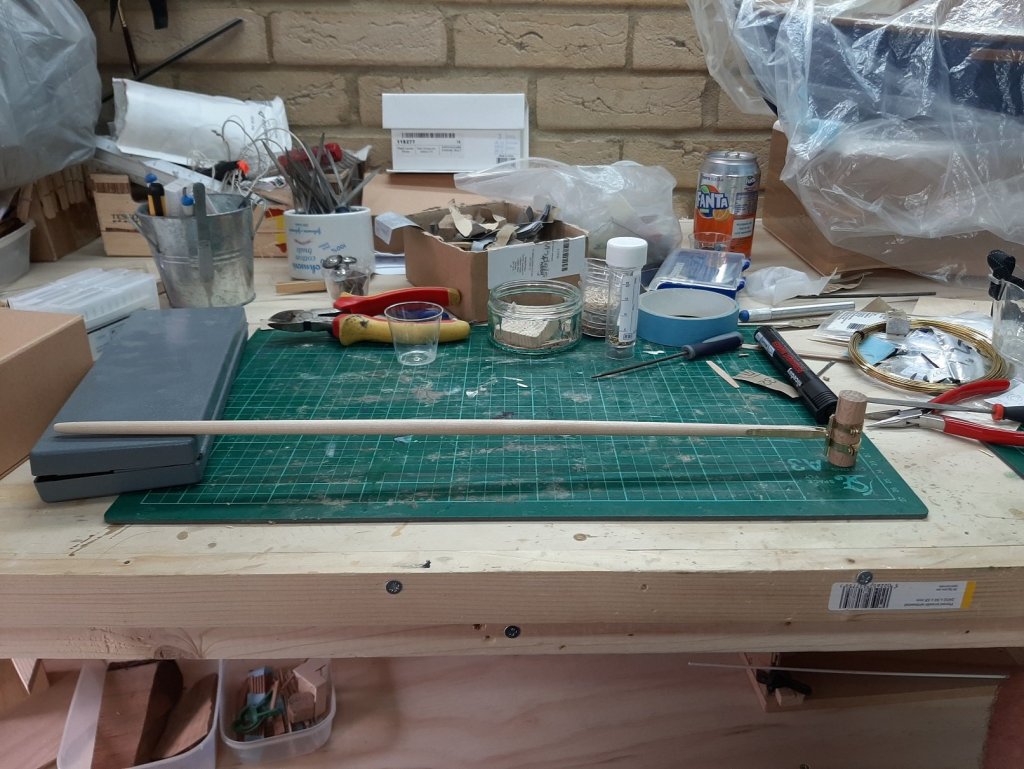
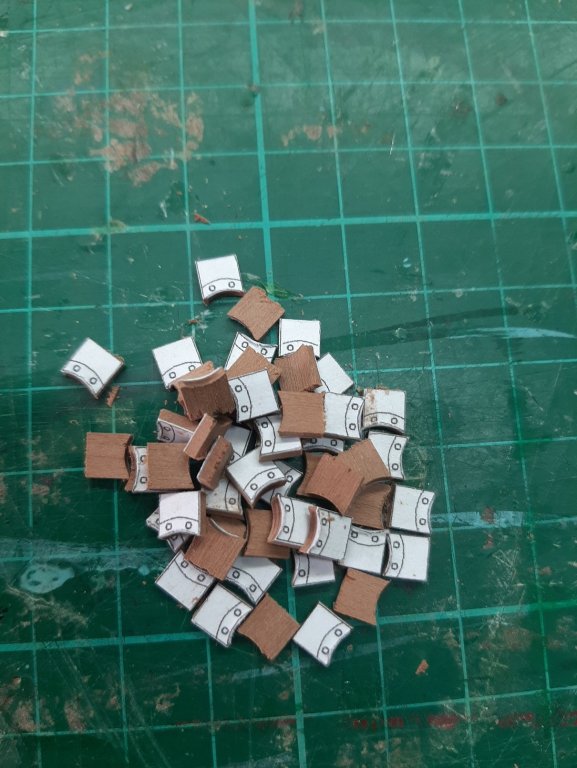
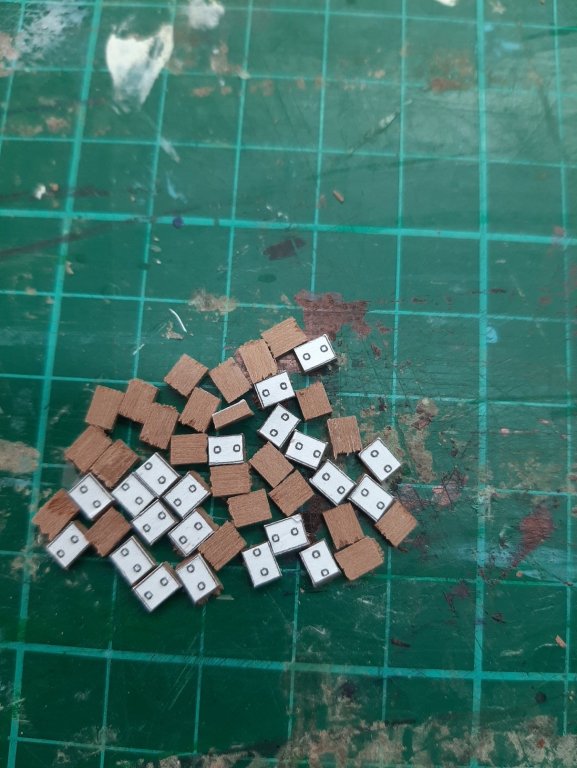
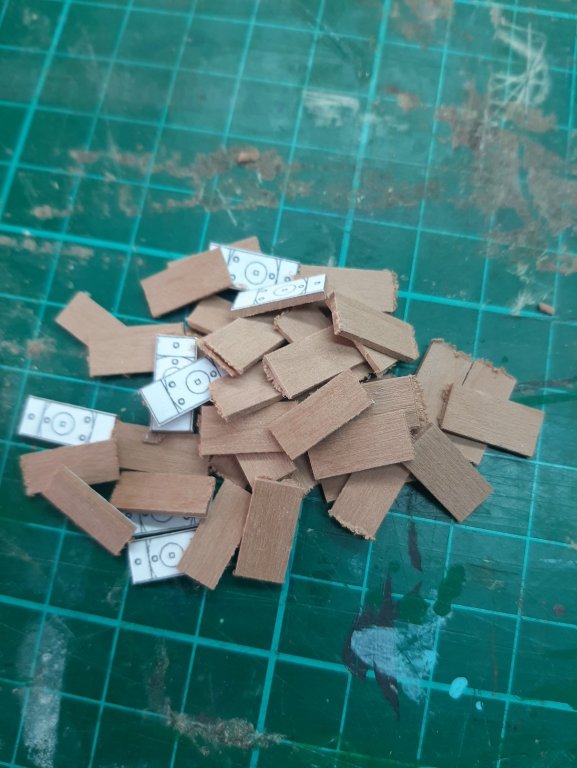
Time I think for another post Life has been very busy and certainly not boring, in between massive storms ("supercell" storm), earthquakes, minor home flooding etc. I have been working on the boat but had no time to post and also managed to loose some photos. I have a new phone though so photo quality should now be better. I invested a lot of time and effort and perfected my block making method. I made lots of components and I will be making blocks of various sizes and configurations on demand. Then, I decided to clean my garage. And as soon as I finished, I decided to completely reconfigure it and clear all unneeded stuff. I ll post a photo later but it now looks much better. It did take 3 days though. I also decided to add (when I can afford it) more lights, about 10000 lumens on top of the existing ones, this should make things easier. Then, in a clean tidy garage, I started working on the gaff. It actually took a lot of work but I think came out fine. Still needs a few more components but the gaff jaws are ready. Both the saddle and the brass fitting pivot freely. Progress is very slow but the finish line is getting closer, can't really be more than a year or two away... In the mean time, could I get the prize for breaking the most drills in a single day?


-
Beautiful Patrick. Your fleet is wonderful. The last sailboat you made with the cutaway section looks so fragile I would hesitate to even breath near!
-
So elegant lines, a very large boat that looks as light as a ballet dancer. Very nice work Keith!
-
Excellent, I am joining in Patrick. How do you shape the hull, I presume there are no lines available. The superstructure may be visible in photos but not the hull which seem to have complex chines.
-
Have a extra $100.00 to spend......
vaddoc replied to CPDDET's topic in Modeling tools and Workshop Equipment
So Dave, as you can see this $100 you had to spent could get you spending another $1000 for the bare absolute necessities of model building...😀 Just remember to fly under the admiral's radar...