Old Collingwood
-
Posts
12,104 -
Joined
-
Last visited
Content Type
Profiles
Forums
Gallery
Events
Everything posted by Old Collingwood
-
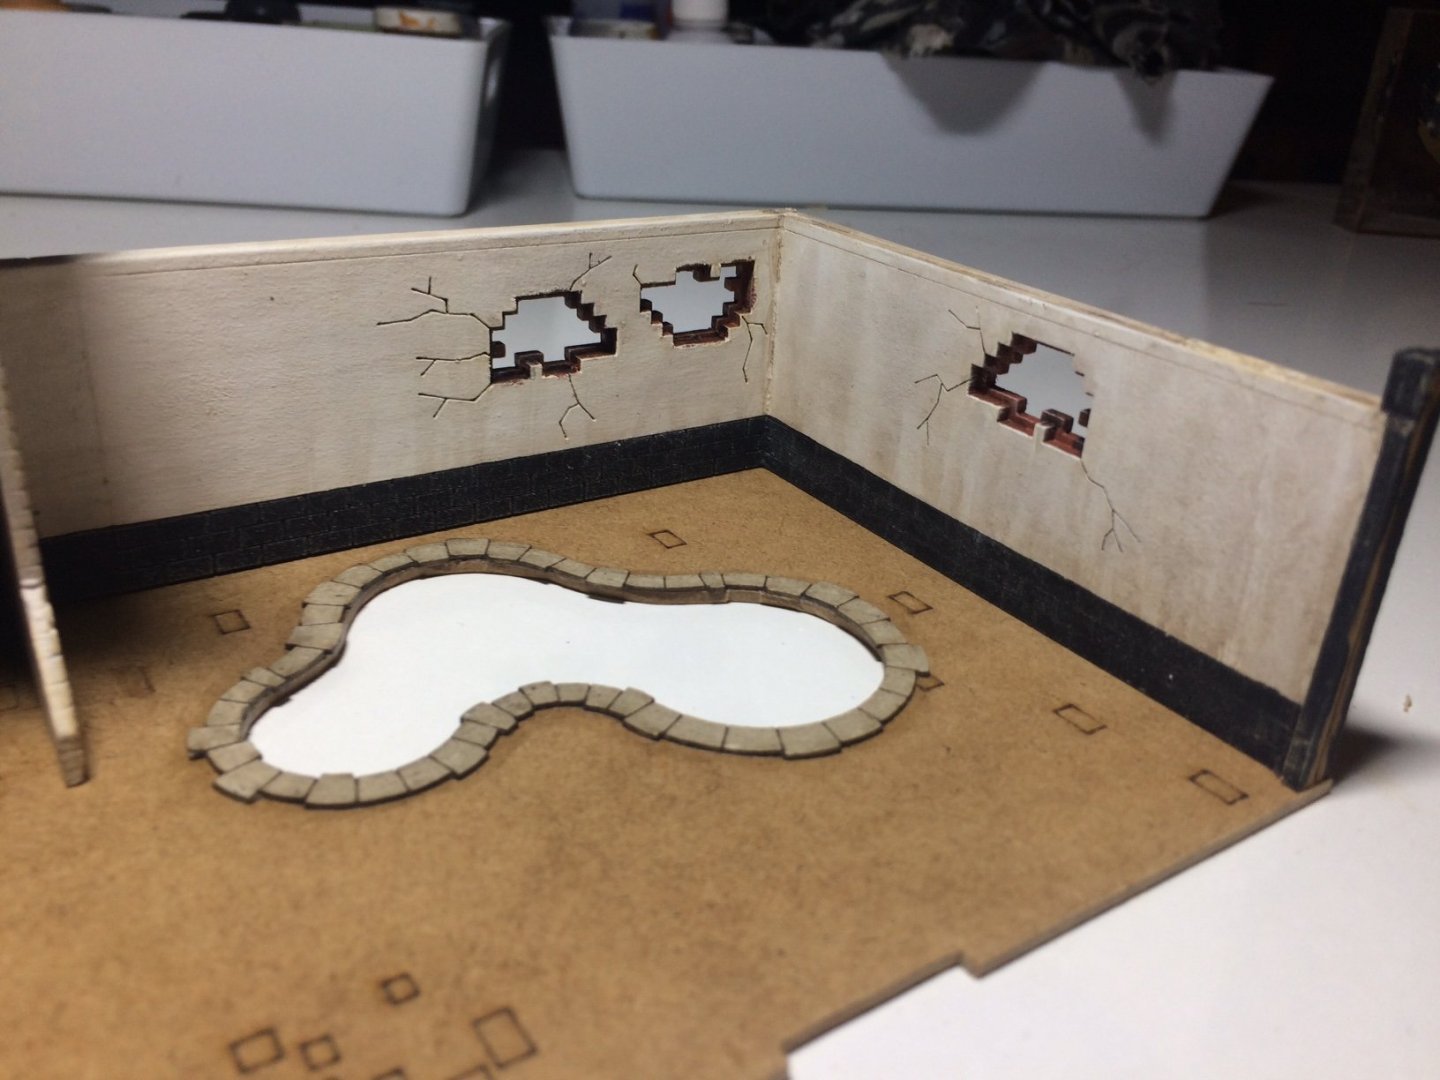
 Just checked the pond again - the paper has stretchered and not flat - I guess it needs something underneath it more solid - like the base its self, might need to cut this paper out if I can not get the paper to shrink and go flat again? OC.
 -
No worries - happens to me a lot, it should look a lot better when it has more detailing. OC.
-
Thank you kindly Jack. OC.
-
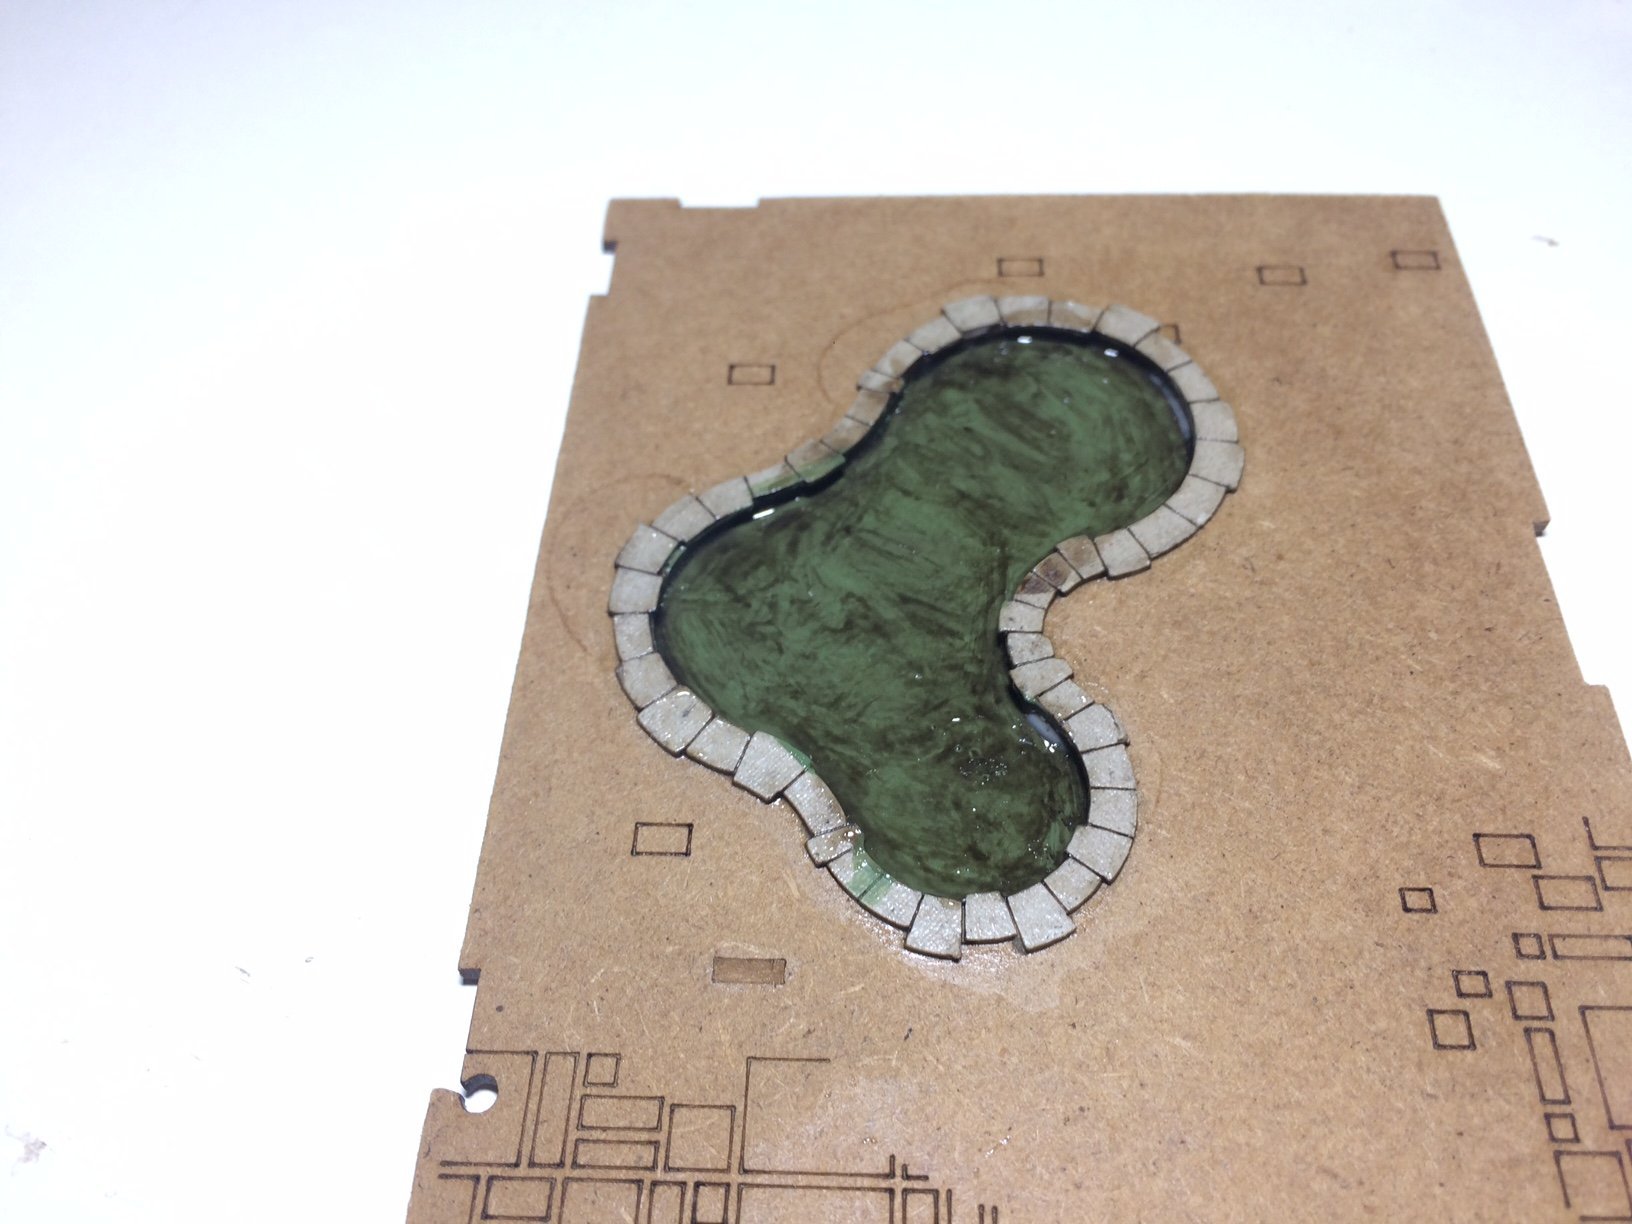
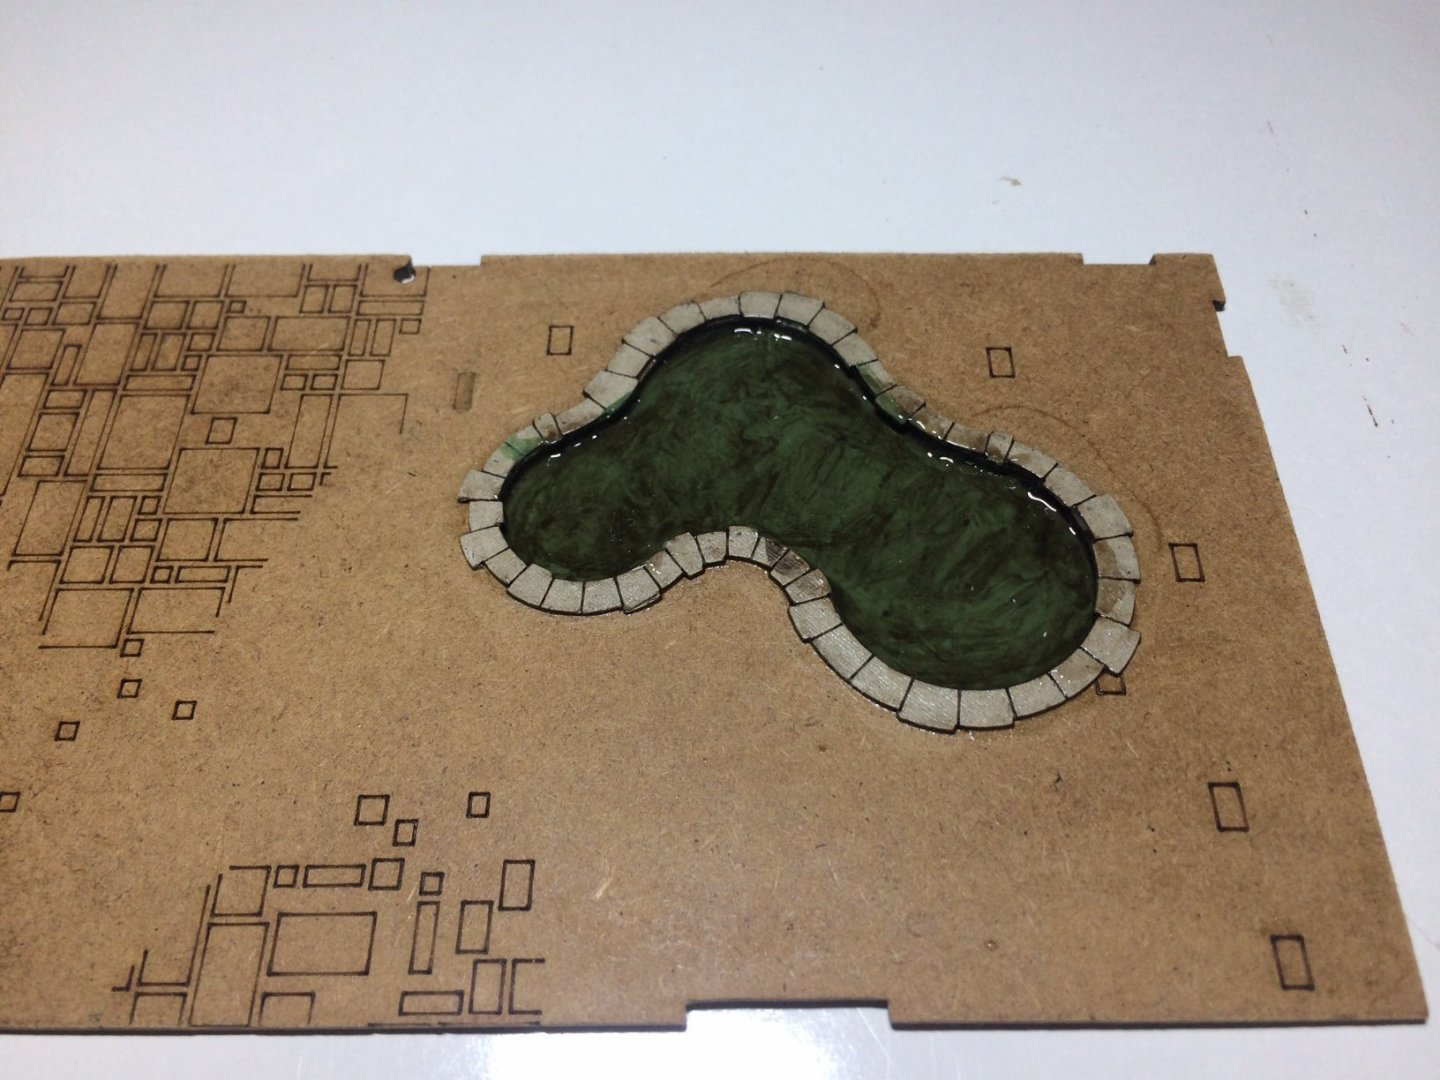
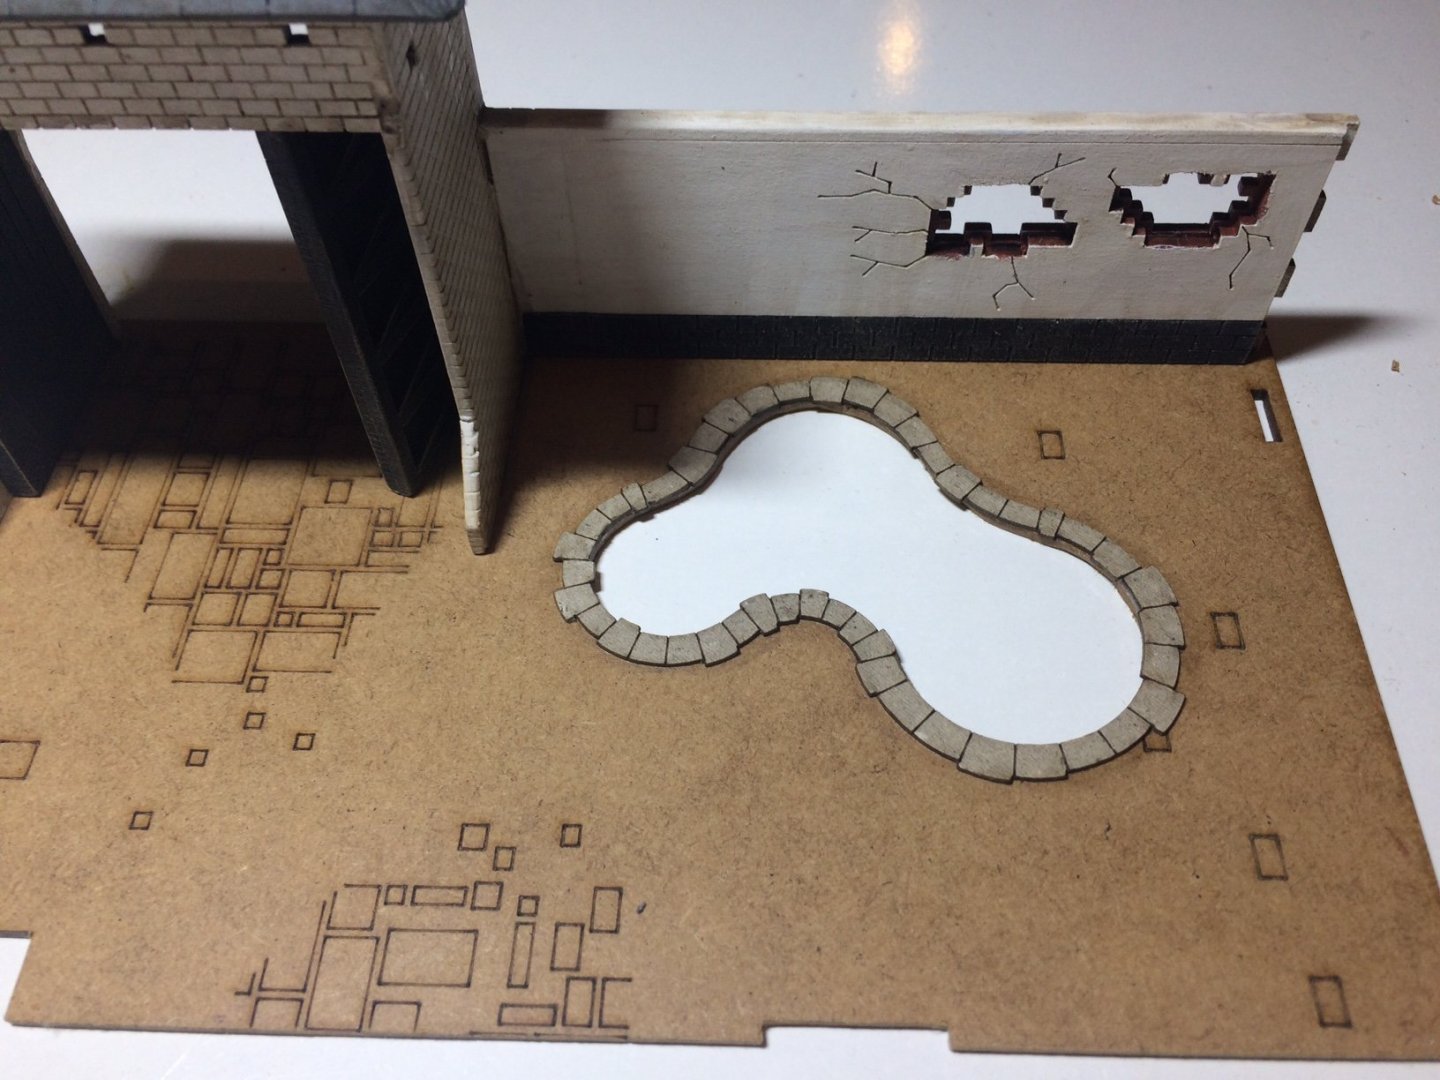
Evening all, I started on the pond today - first thing was to cut a sheet of paper then glue it underneath the base covering the area of the pond, I used PVA and applied a few coats inside also, this was the fully dried using the hair dryer, after I applied a few coats of mid Green the some washes. Then the fun stage - I emptied some of the Acrylic Resin into a smaller jar and emptied it into the pond - first mistake (I had put to much in and it was over the height of the edging stones) so before it had set I removed the majority of it - and re applied but a smaller amount that just covered the bottom. I used the hairdryer to speed up the setting process - I could gradually see the resin clearing from a white liquid to a clear water - this took about an hour of dryer work. Not too bad for my first attempt. OC.

-
Thats looking really nice denis - I Love the paintwork. OC.
-
I am keeping a lot of interest in this build (as I have the same kit - with the wood deck in my stash) I won't be starting mine for a good while yet - probably not till next year. OC.
-
Evening all, some more work detailing walls - bricks/whitewash/weathering/washes/dust and a bit of highlighting, its still not glued down to the base yet as the base needs painting/pond detailing. OC.

-
Thank you for your kind words Denis, tha admirals mobility is ok just real painfull when she sits down - over a week now and still painful, but I did read a bruise in that area can take a couple of months to recover. OC.
-
Thank you kindly Ken. OC.
-
Thank you for the kind words. OC.
-
Thank you for that advice Alan - I will make sure I cover it. OC.
-
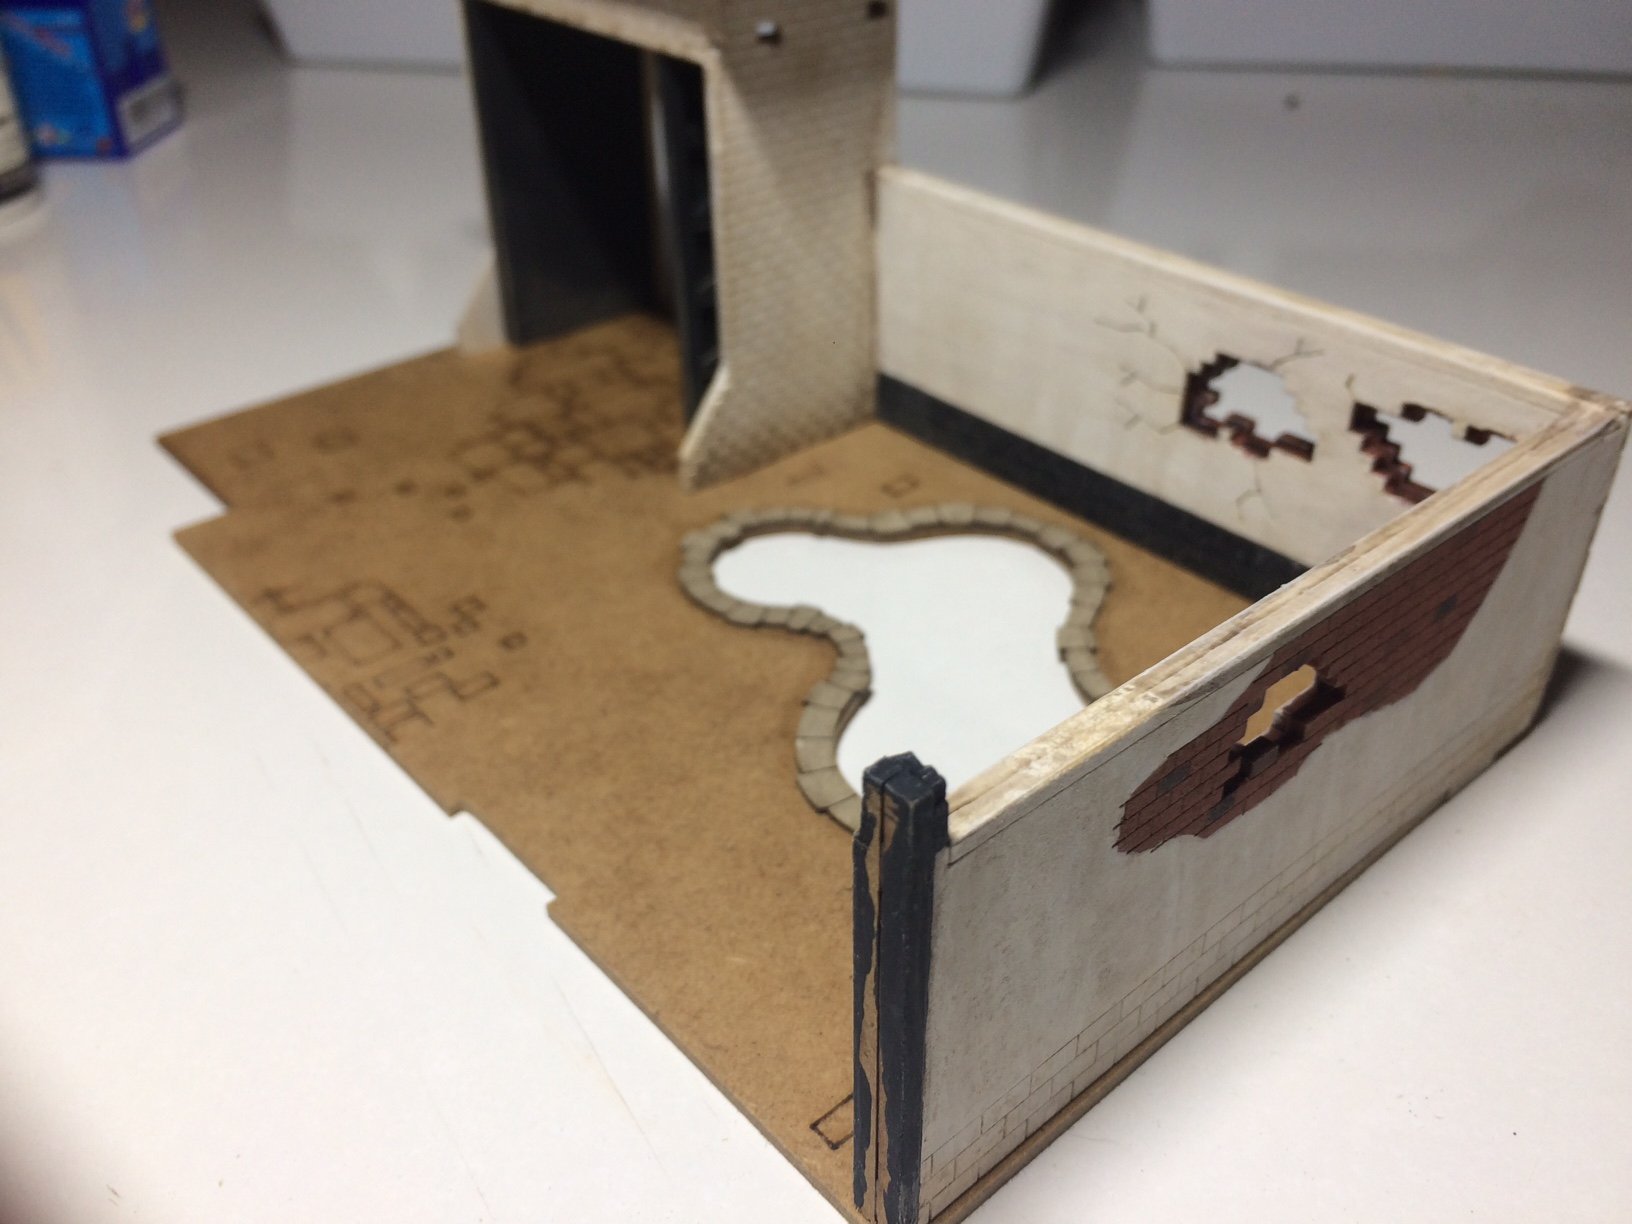
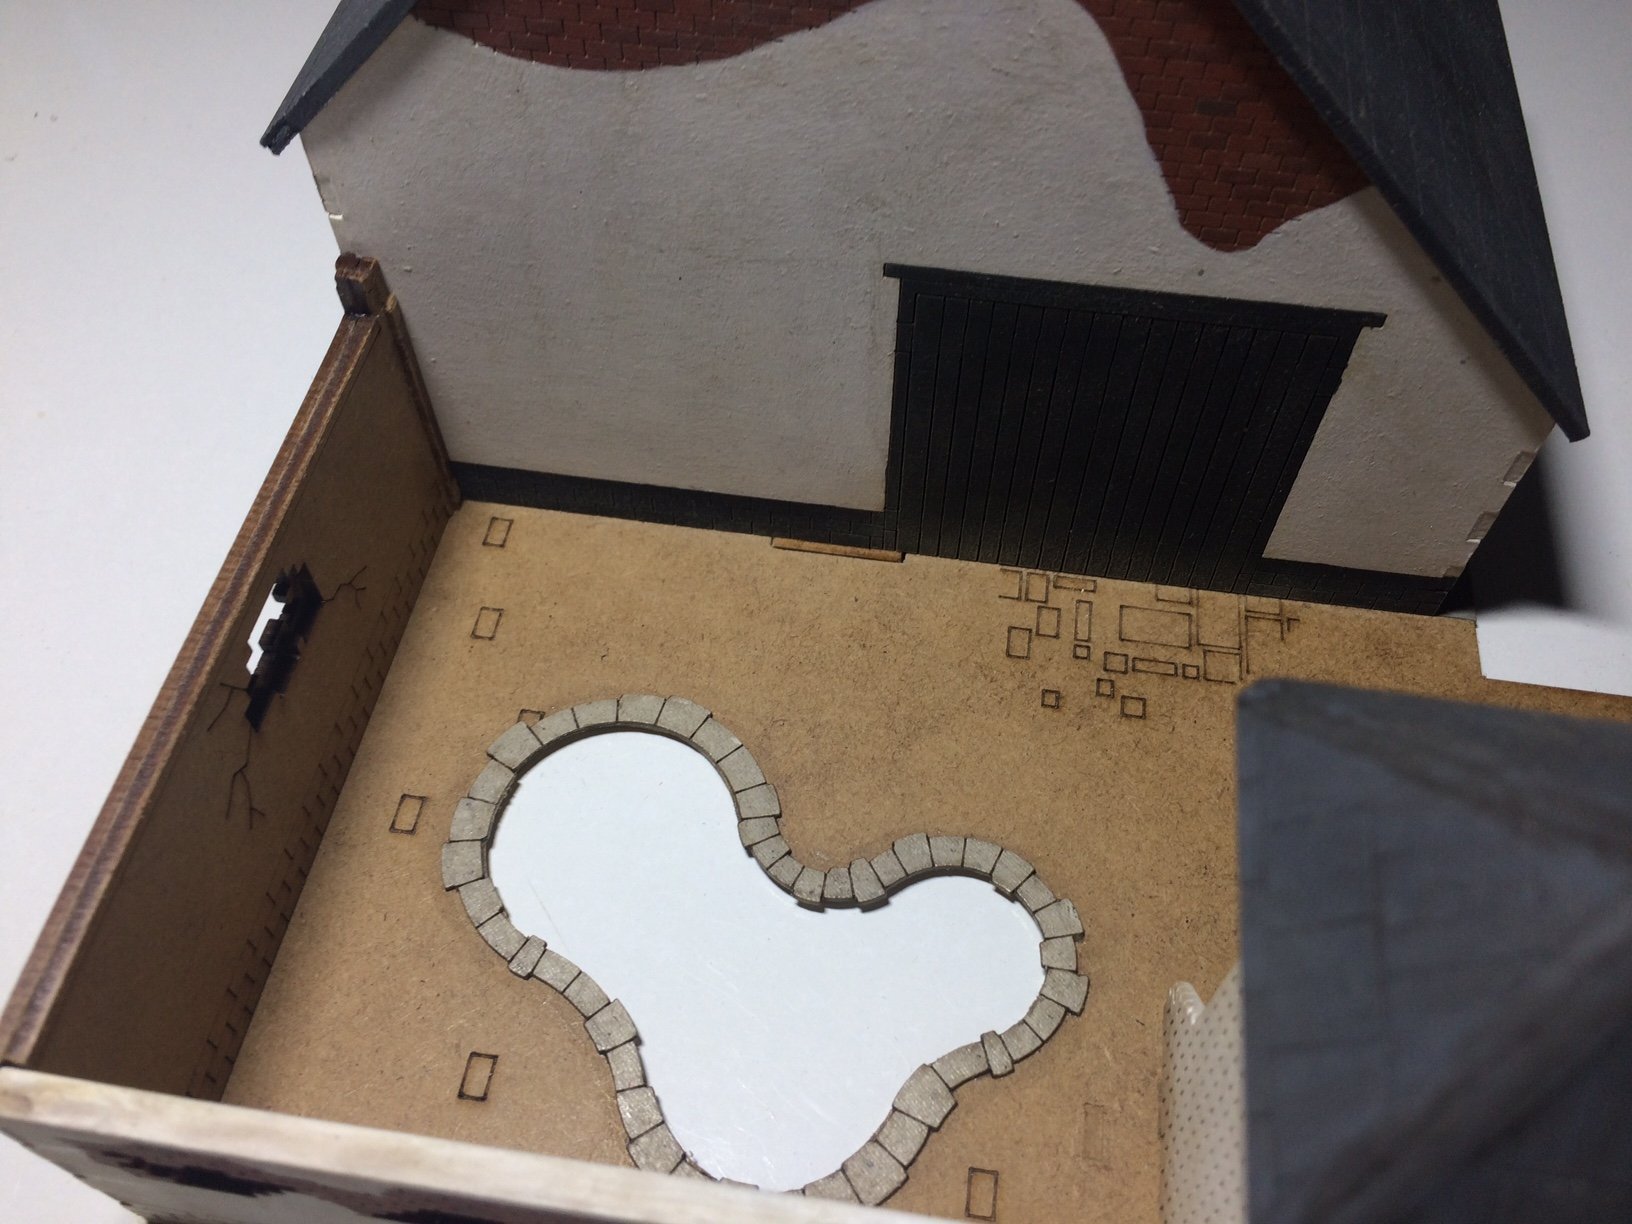
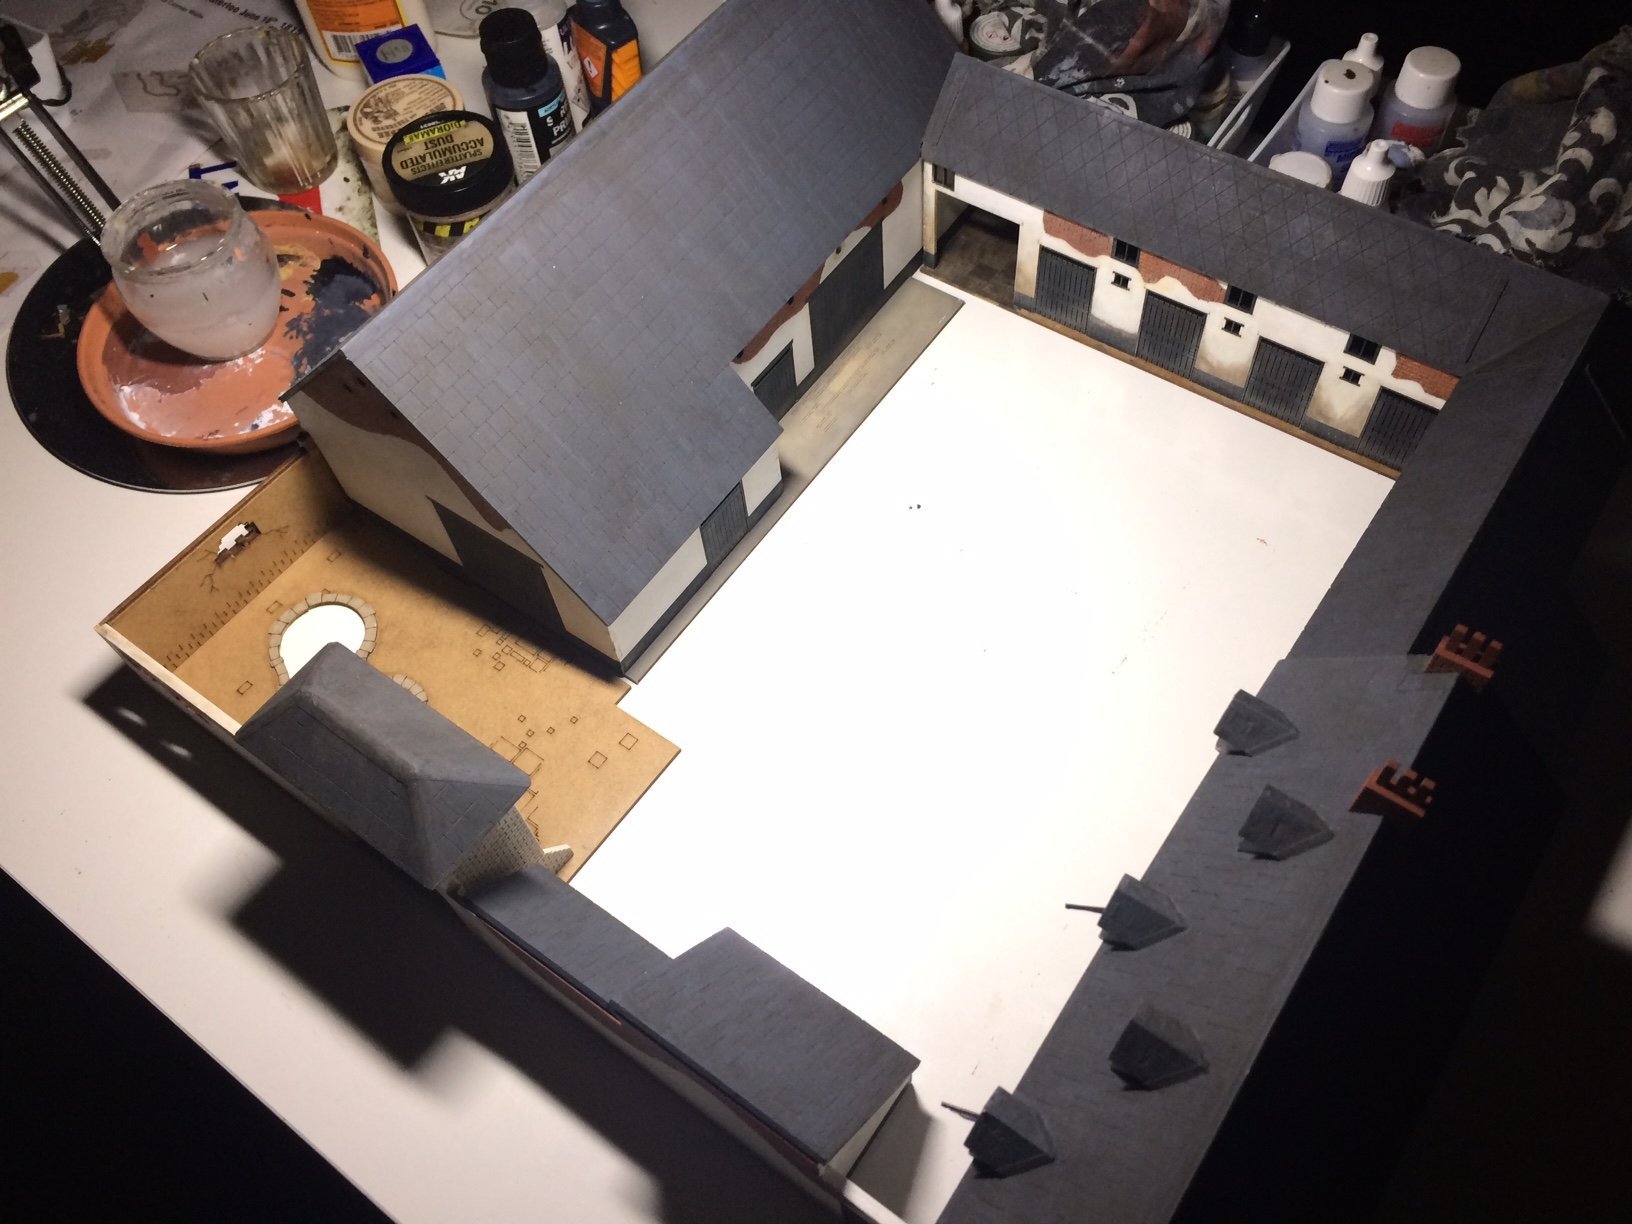
Evening all, more work on the frontal area around the pond - the wall from the Barn to the front wall needed shortening, to make it fit the new floor plan, I then trimmed the edges of the floor base where the outside walls meet. I then dry fitted all the buildings to check they all fit and meet as they should. OC.


-
I am going to use a piece of A4 printer paper, and cover the whole underside of section of base, then brush on a thined layer of PVA onto the paper inside the pond. Hope that works? OC.
-
So, if you are wondering about the pond? it will have a sheet of paper underneath, then I will paint inside a light/mid green then poor over an acrylic resin clear water I brought, its supposed to be "self leveling" and takes a couple of days to set, then I will add a bit of a wash and my normal rock/stone colours around it and on the base. OC.
-
That is looking so sweet. OC.
-
Amazing work Gary, so much fine detail. OC.
-
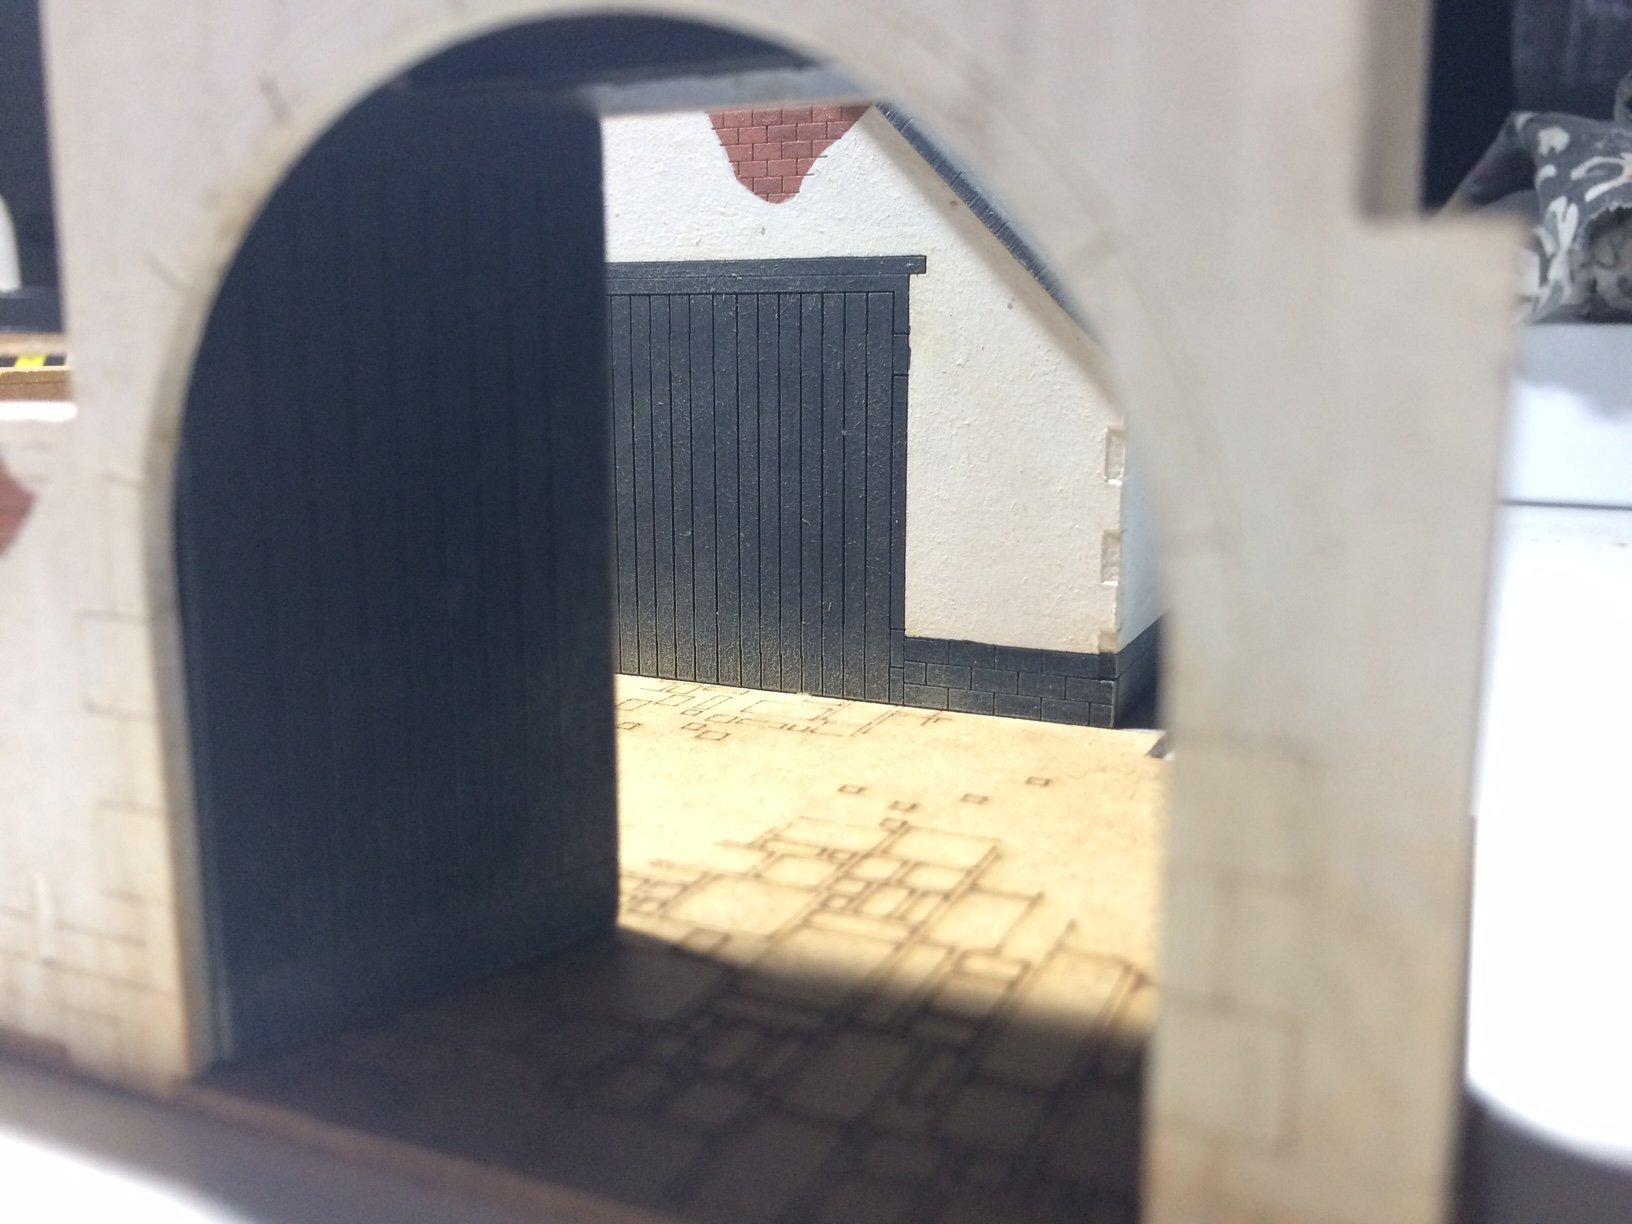
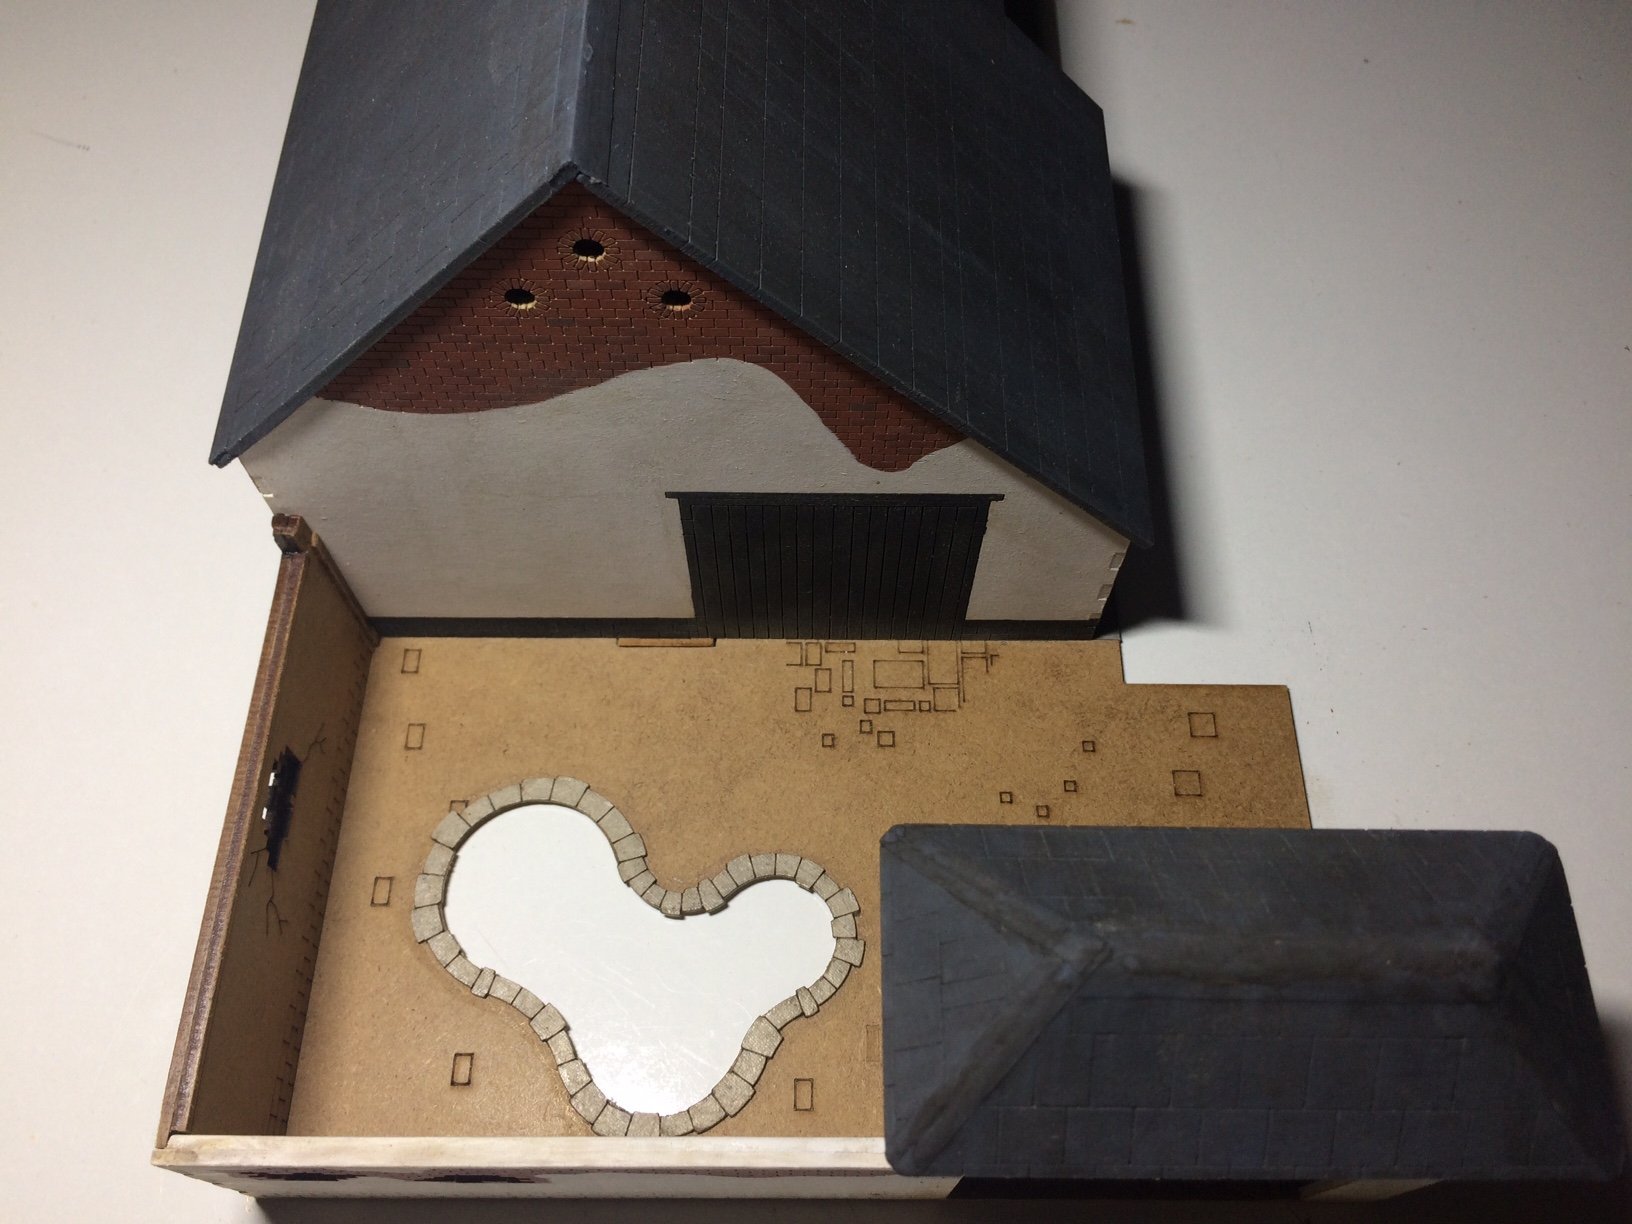
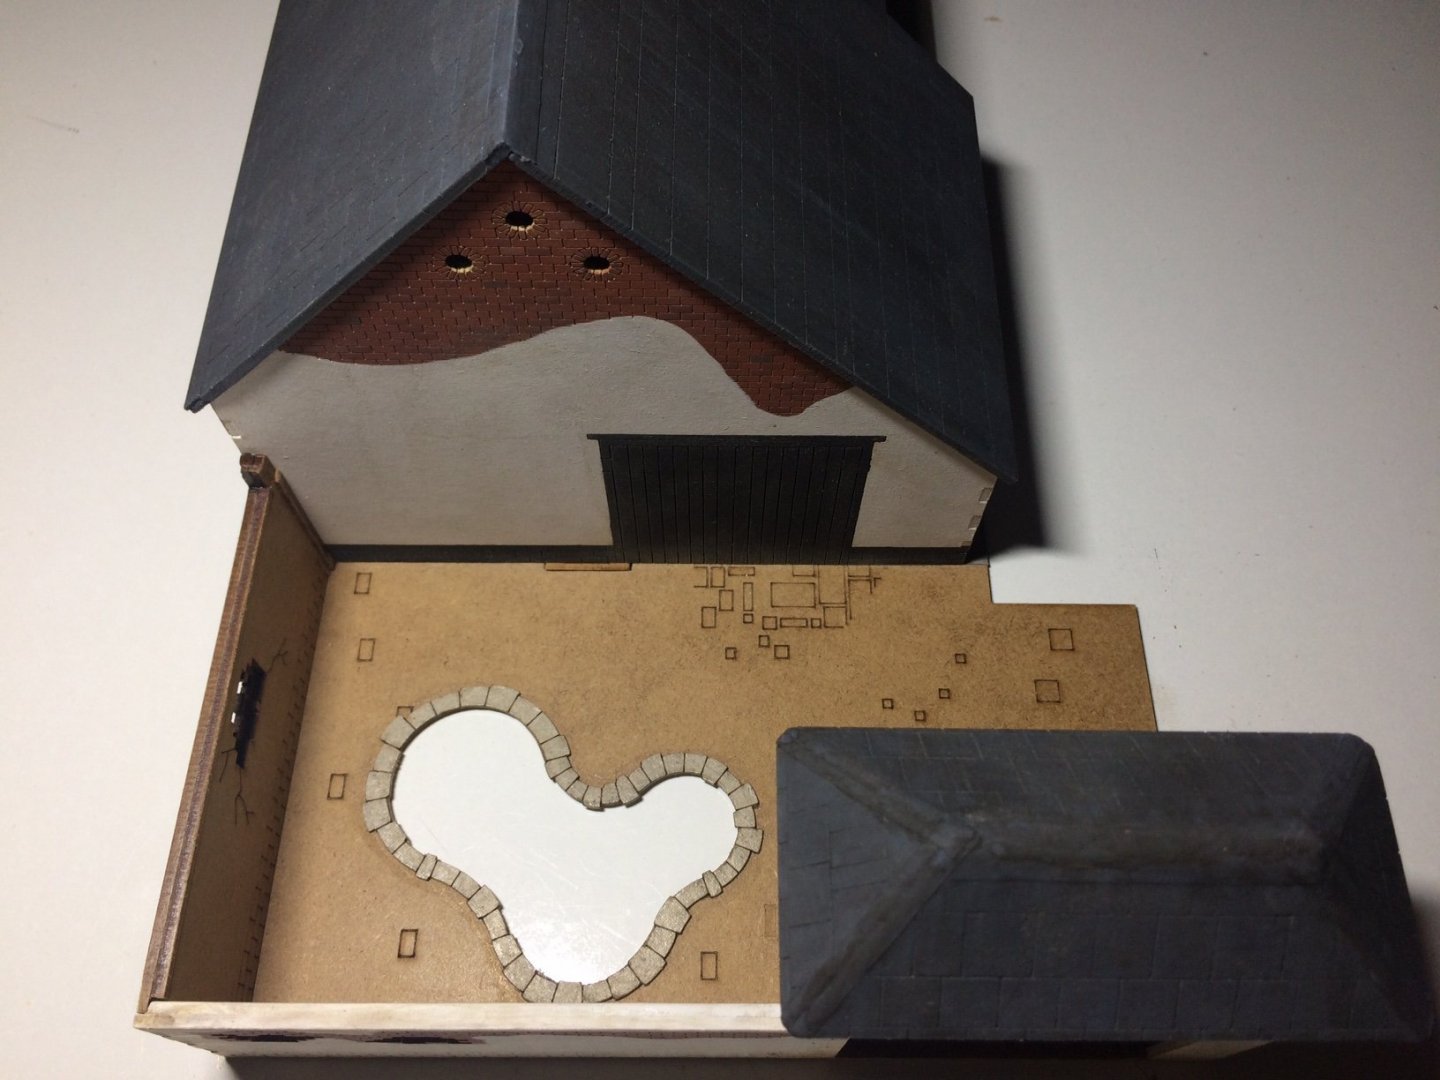
Evening all, onward and upward - the doors were painted and weathered and glued in place - one fully open and the other nearly fully open to show the detail framework on the back. Next I had to dry fit everything to get an idea where I needed to cut the floor down to (this will then influence how much the side wall needs shortening) the floor was marked and cut through using my blade and ruler - the a tab was cut into. Next off was the duck pond - this comes with a pre-cut cardboard outer that simulates the edging stones, first thing I did was to pencil the inner lines - then using my sharp blade I carefully cut around the mark - then when the rough cantre was cut out I carried on cutting away and dry fitting the out piece. When I was pleased with the fit - it was glued in place. This shows the dry fitted wall against the ground piece/pond. OC.
-
Thank you kindly Kevin, Yep not too bad - slow progress with the admirals back pain. OC.
-
Thank you kindly Craig - I have some newer better quality sable hair brushes and regular use of brush soap sure helps. OC.
-
Thank You Alan. OC.