Old Collingwood
-
Posts
12,104 -
Joined
-
Last visited
Content Type
Profiles
Forums
Gallery
Events
Everything posted by Old Collingwood
-
 Thanks Mark, yes if you think they help Craig - have a look (I know you do anyway). Best tip's are to to use washes to bring out the detail in the faces and hands - lots of purpose made acrylic washes out there, and with the uniforms again use a wash for the shadows and dry brush for the highlights (but very lightly) Its all about practice as most of our hobby is mate. OC.
 -
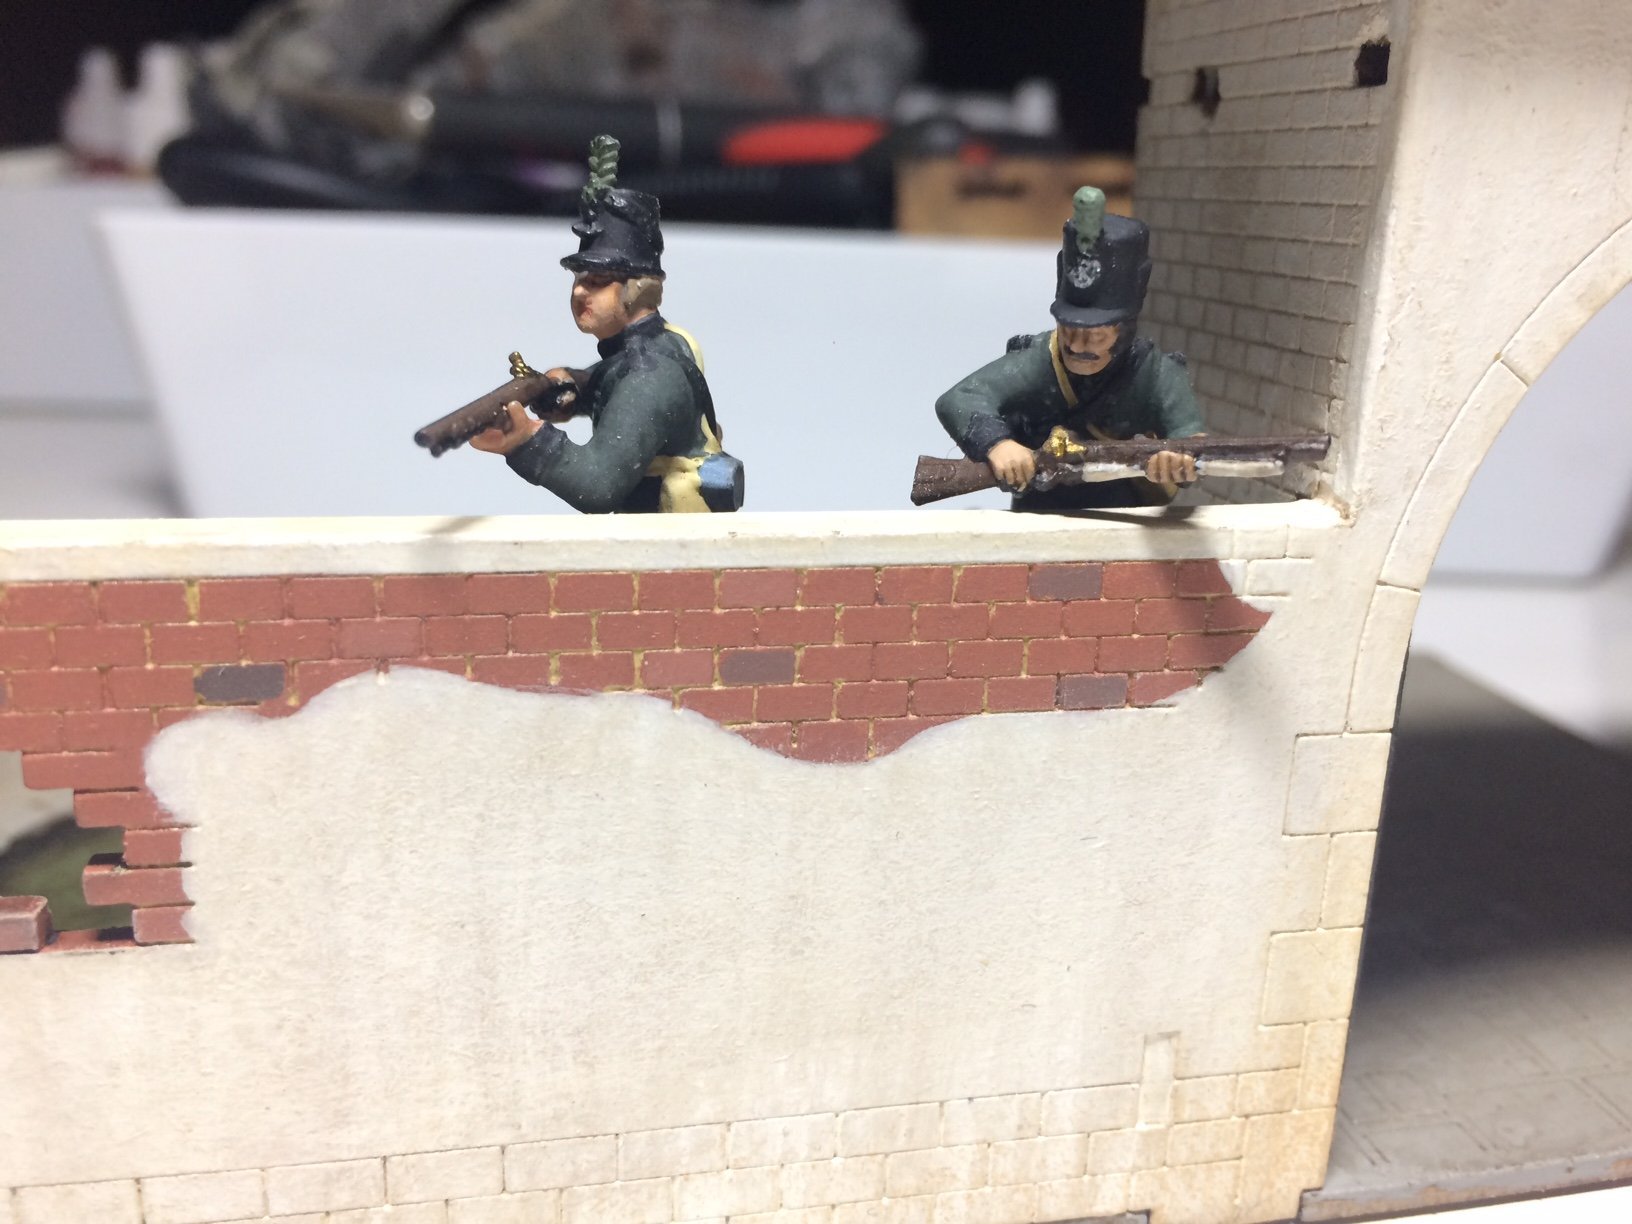
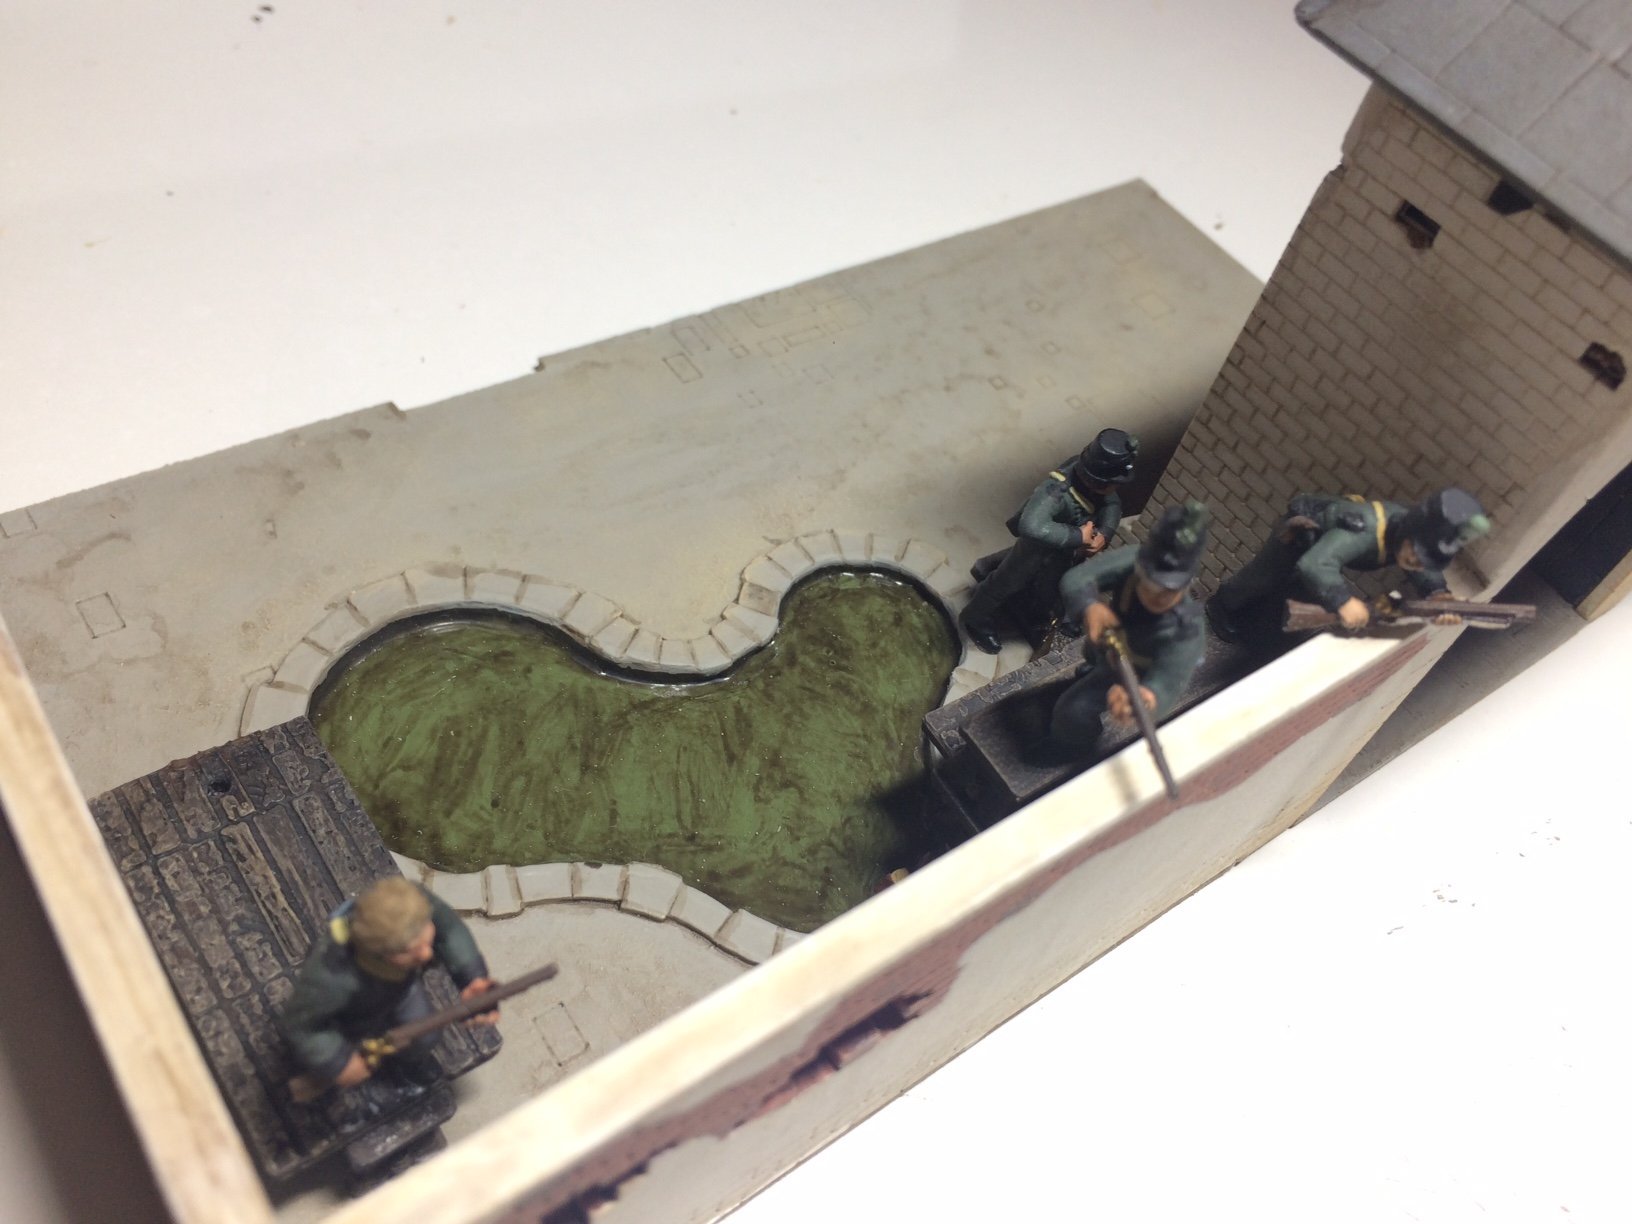
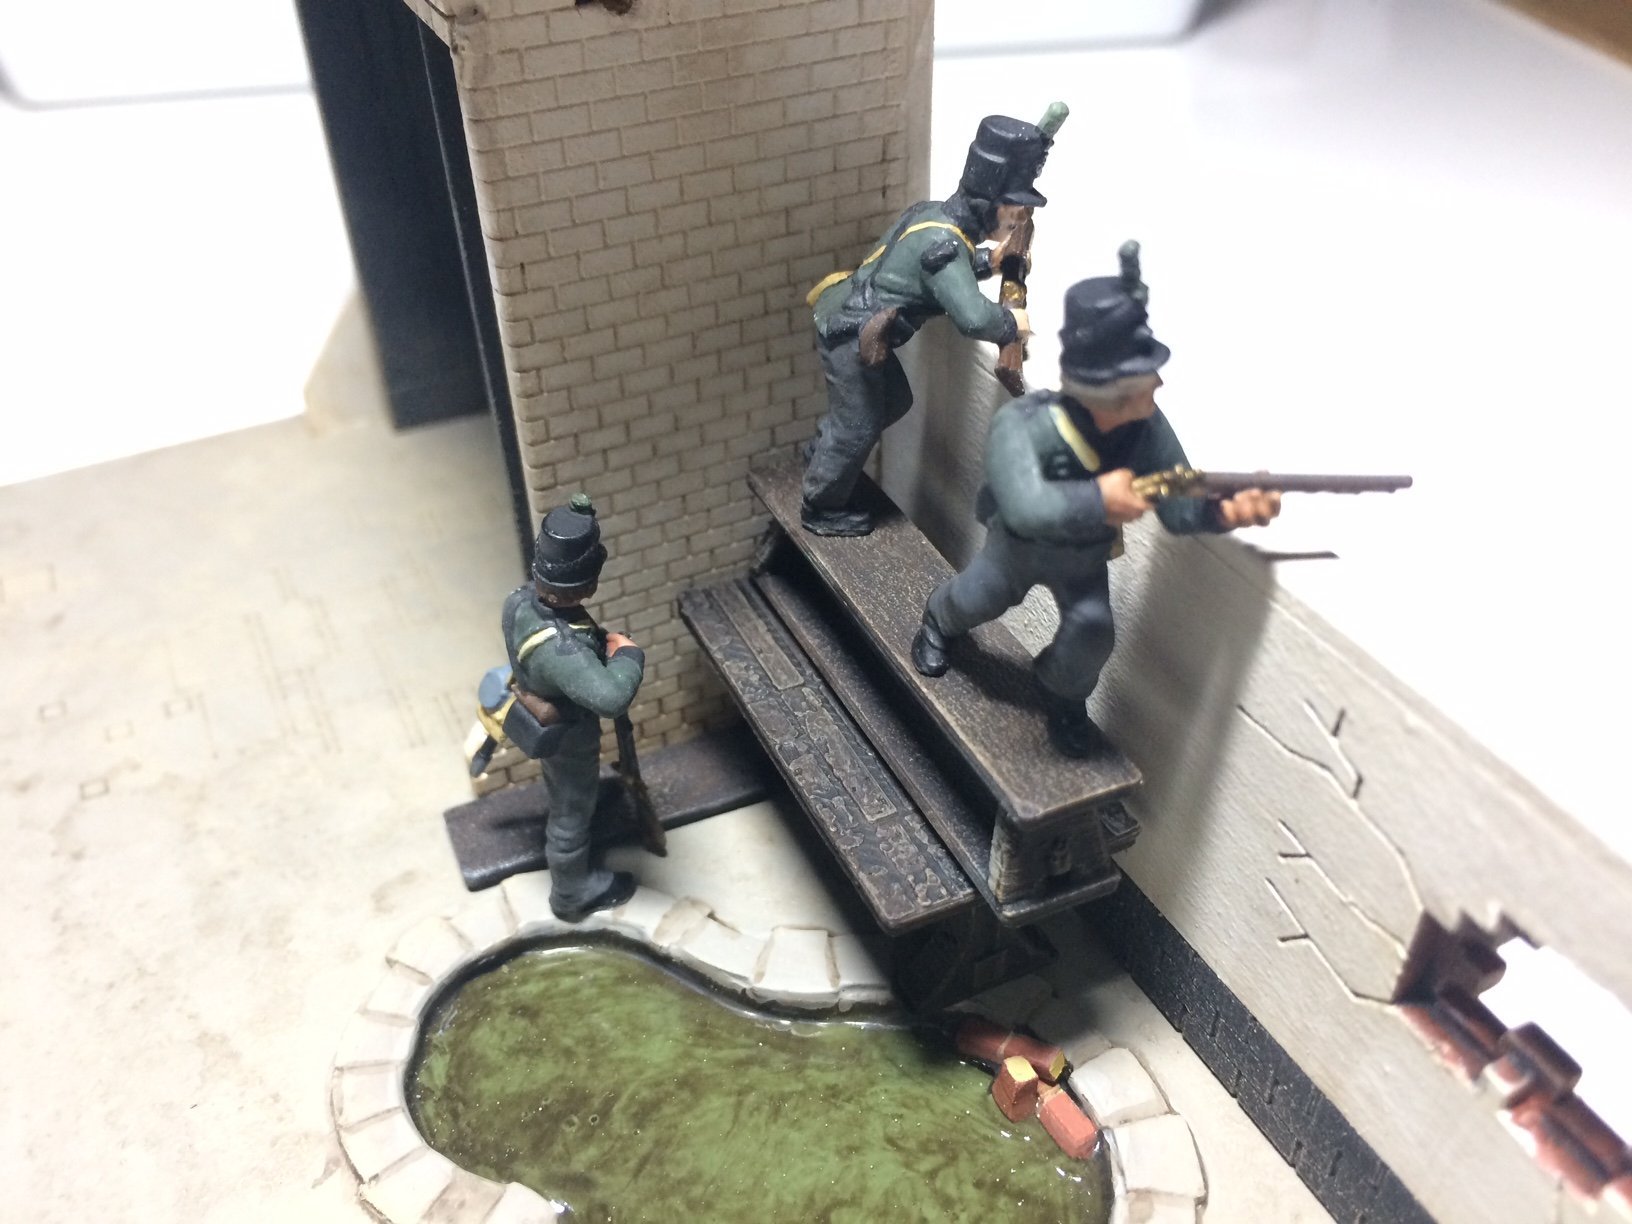
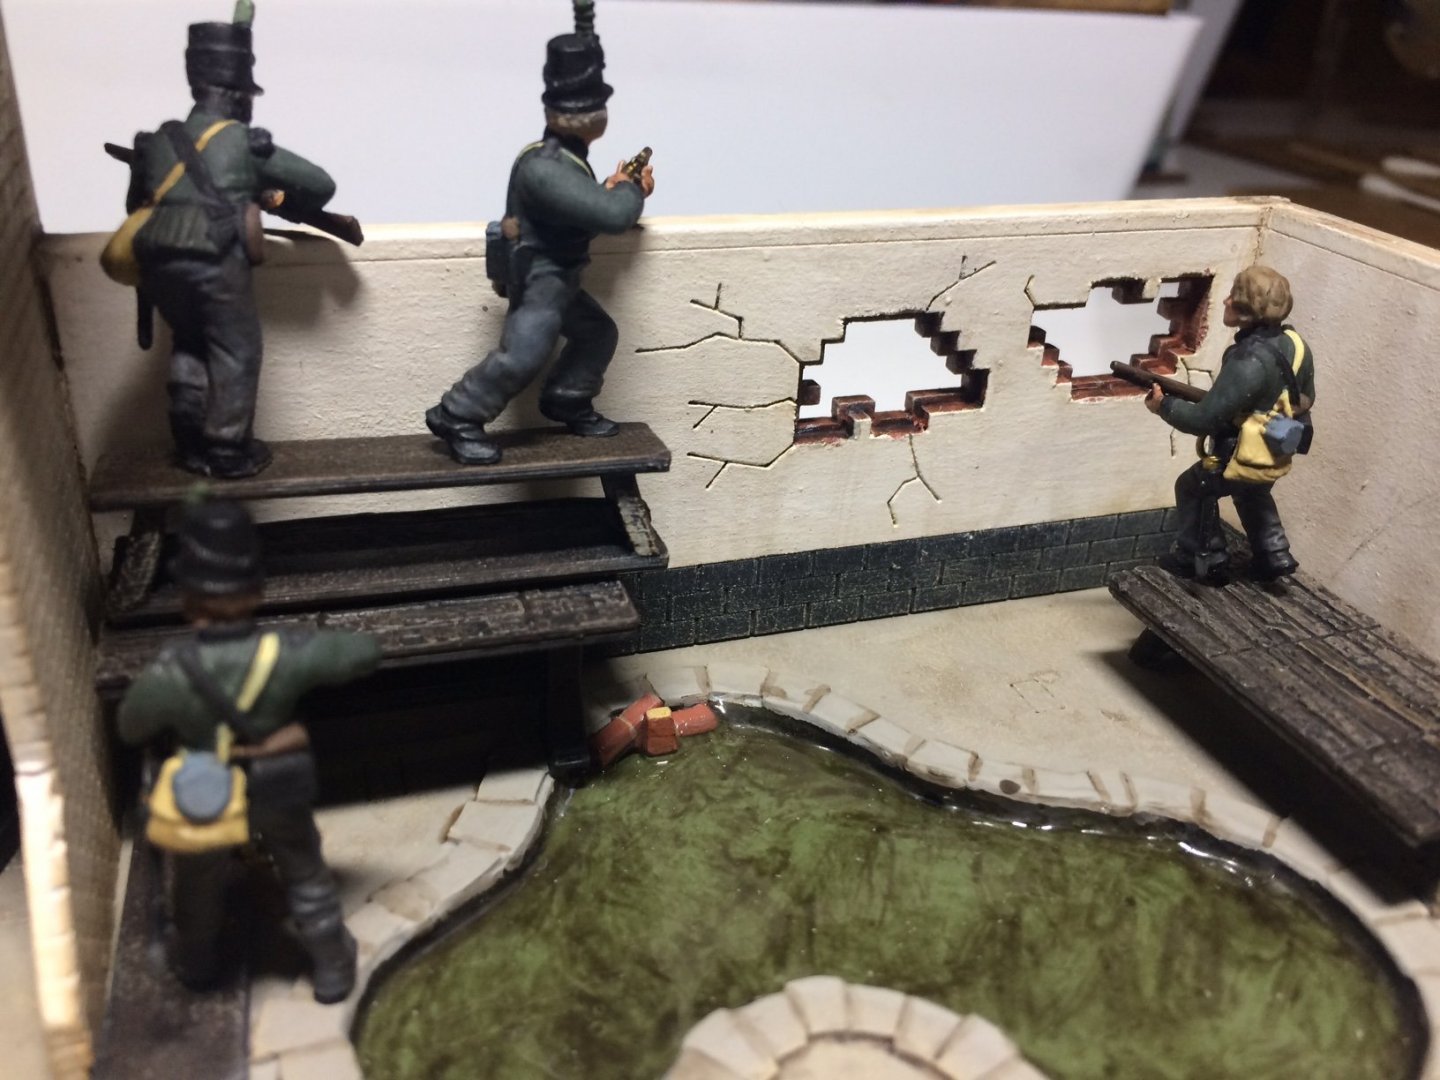
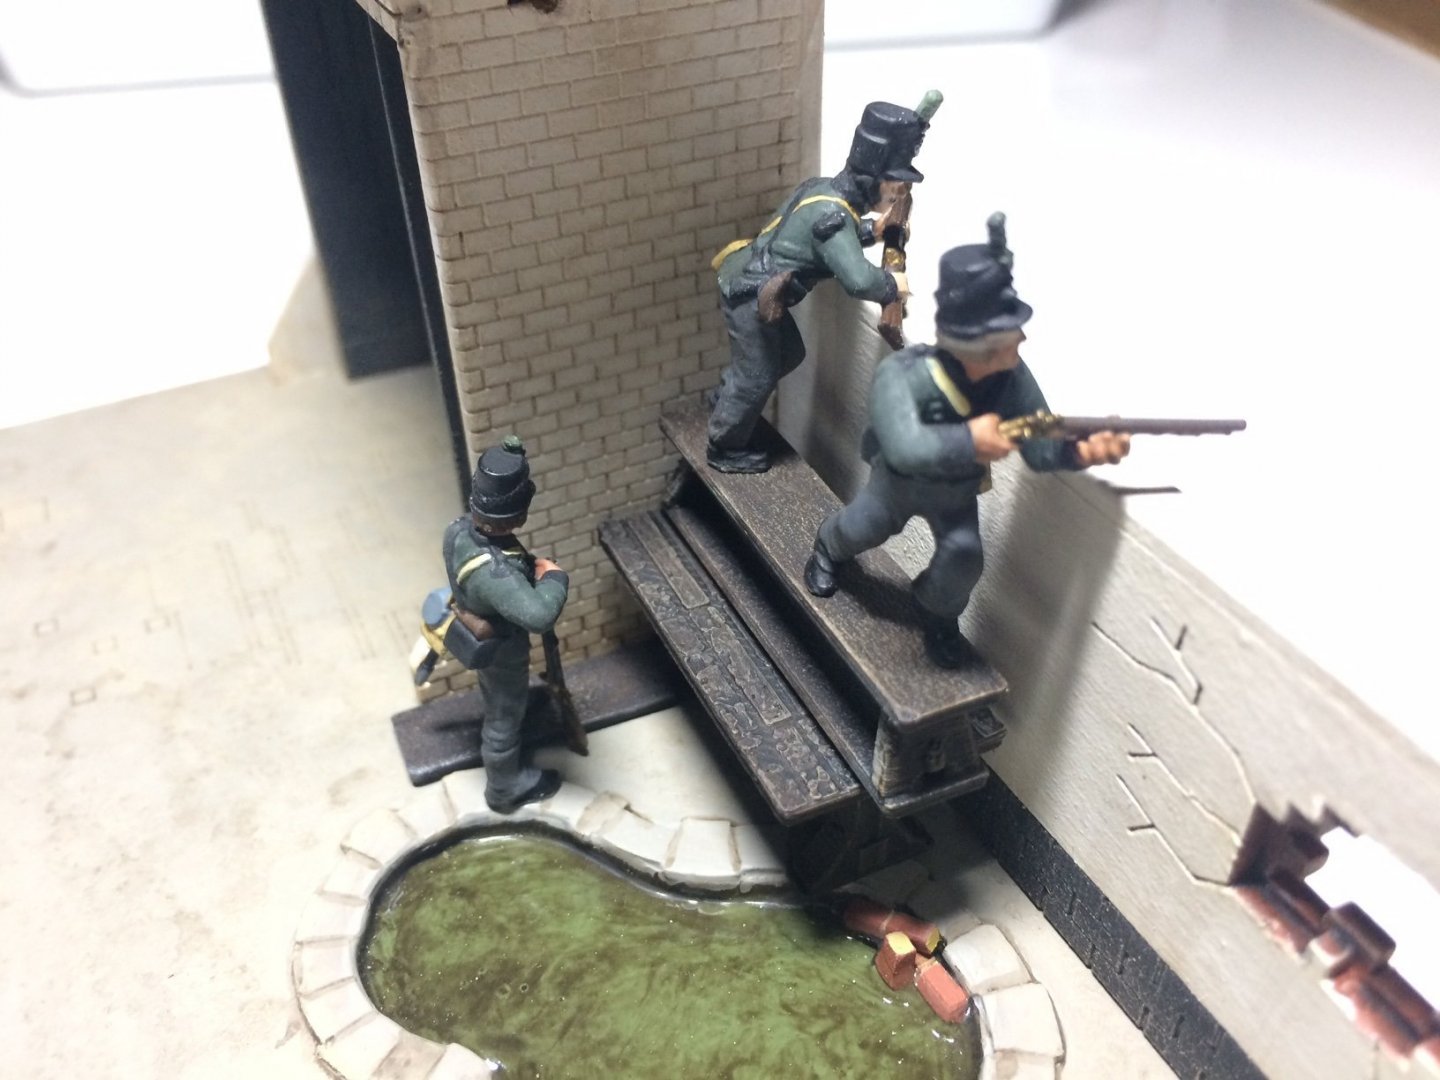
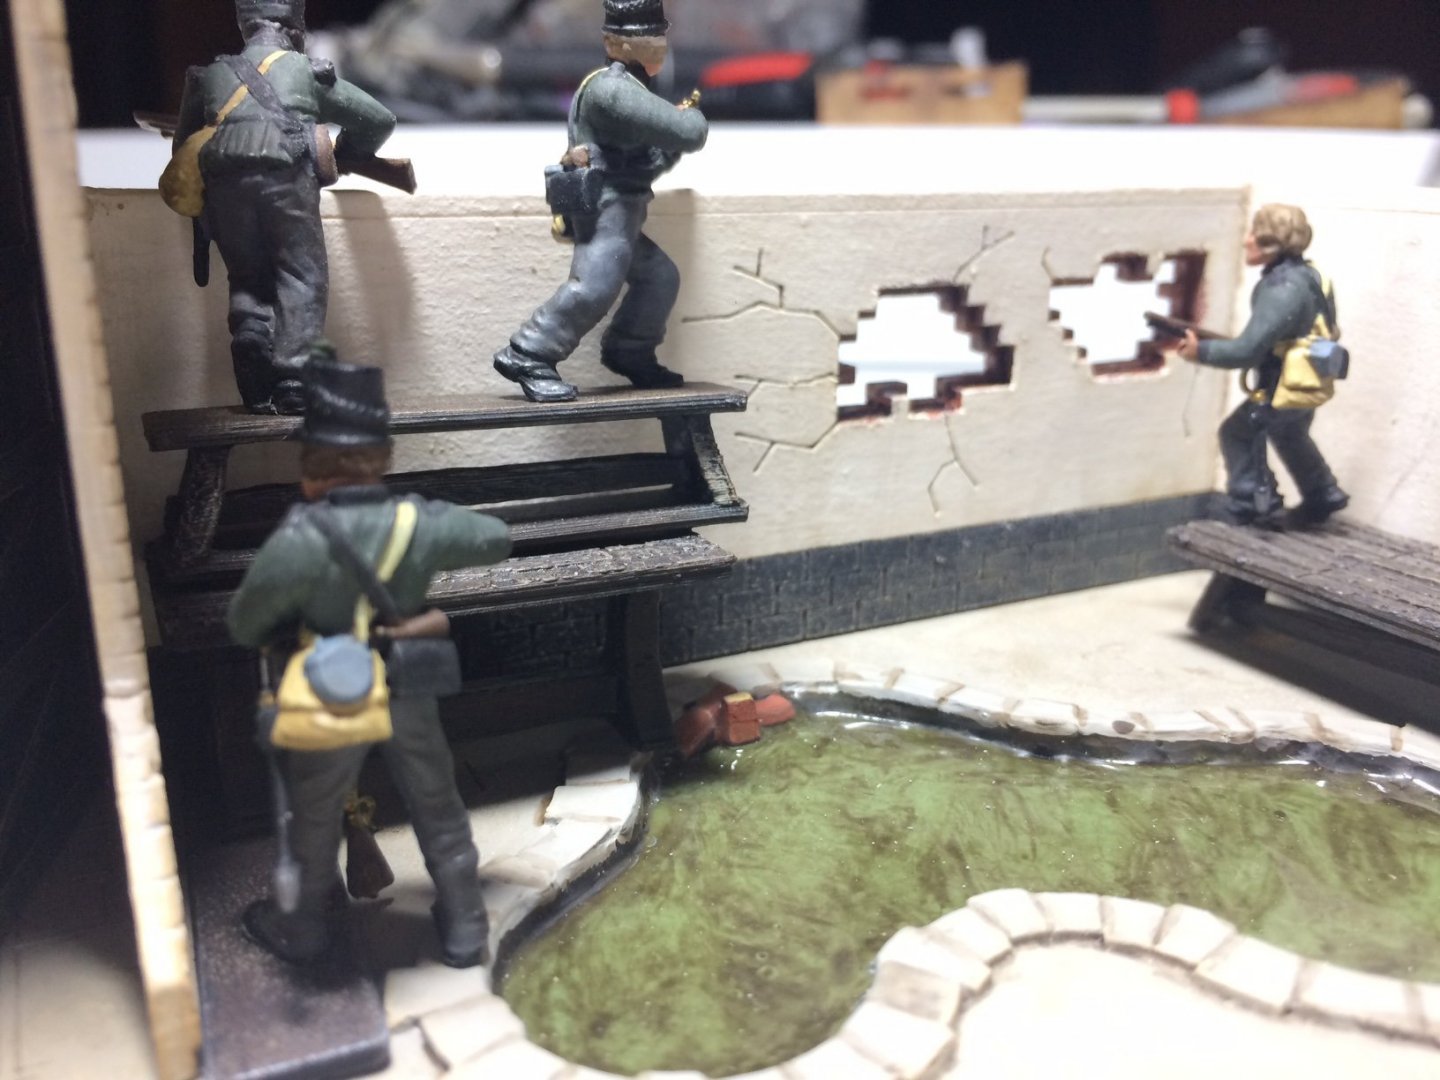
Evening all, so where were we? ah yes adding some details around the pond - the KGL lads were desperate for firing platforms, so they raided the kitchen and found a couple of tables and benches "perfect job" these were positioned inside the wall between the brick holes. First though mr giant had to assemble and paint/weather them then glue them in place. Ok good start but needs some figures - so I got my completed box out and chose a few 2nd KGL to start with, first job was to carefuly remove the plastic bases they are moulded to - had to be careful not to cut into thier feet, then a little CA underneath and they were glued down. So its a start and much easier with room to move them around. OC.

-
Wouldn't supprise me if the put it underneath one of the Two front seats in a box like construction, can't find any reference to its actual location on the net. OC.
-
Good day all, bit of an early post - next stage with this I think I will be playing with some tables and placing some KGL around the pond firing from the walls, I think it will be easier to do it that way than trying to see what I am doing when its all constructed. OC.
-
I have to say - I also love your audio equipment I used to also have some nice gear when I was into it - Celestion/Q-Deck/Rotel/Denon. Nice work by the way. OC.
- 321 replies
-
- 4
-

-
- Finished
- Flower-class
- (and 1 more)
-
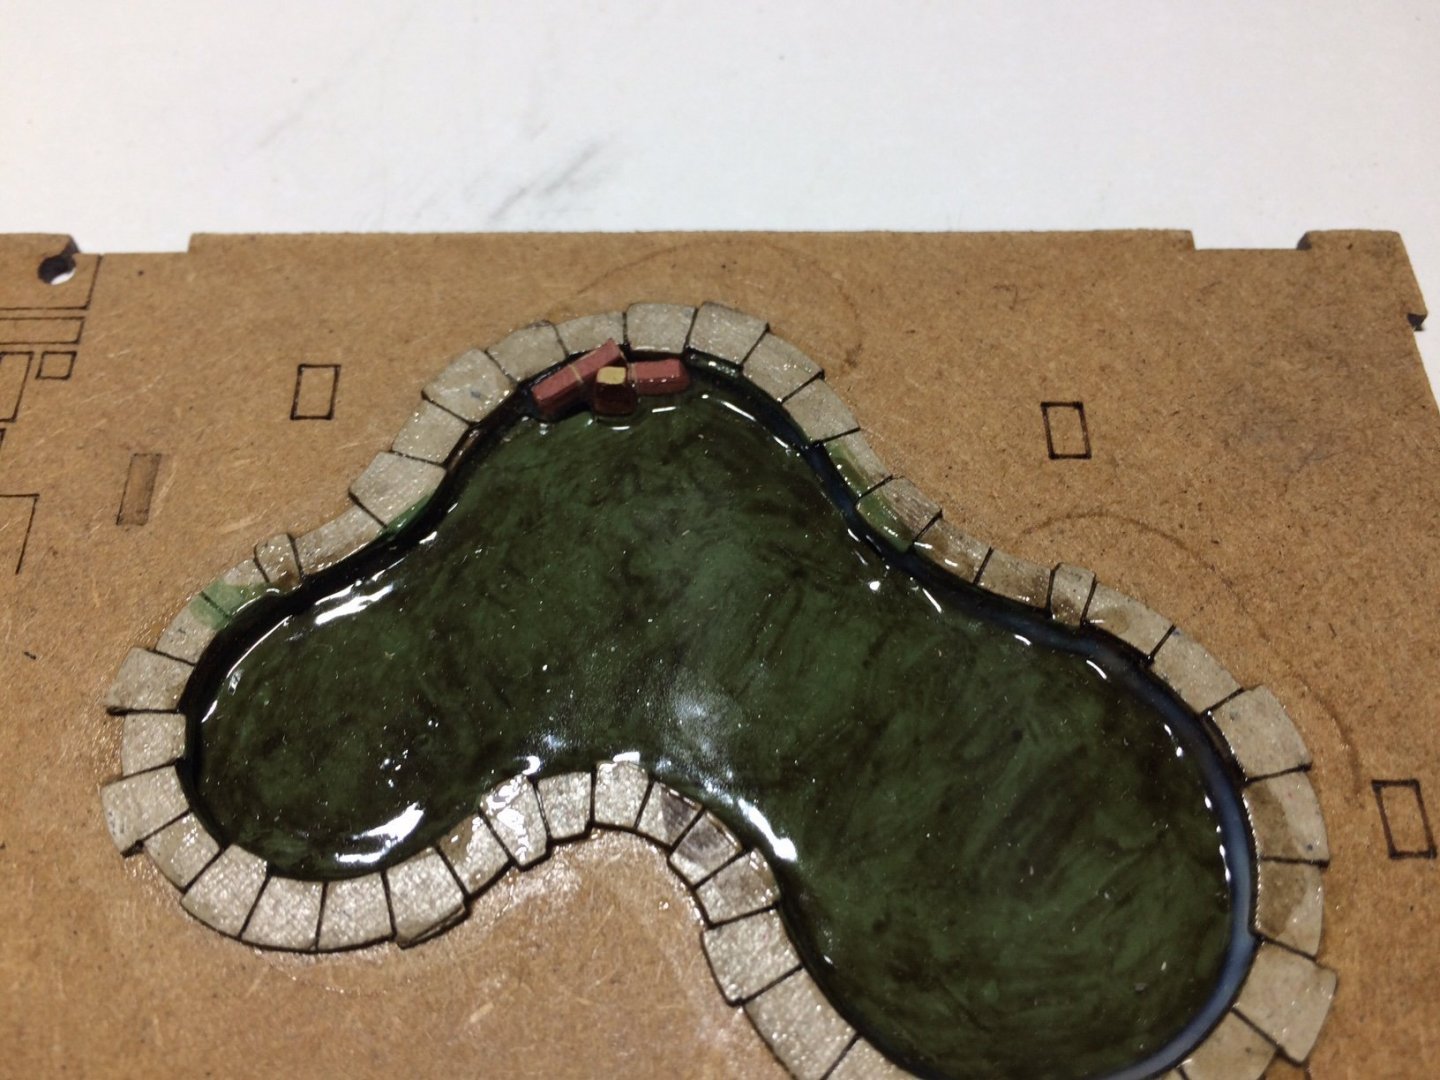
Evening all, more work around the pond - I cleaned up the slabs around the pond then put down a few layers of stone, then I did the same to the base around the pond, and after some washes and dust, and finished with a couple of coats of flat. OC.
-
Thanks Ken. OC.
-
Wow mate that is so much detail - aside form giving your eyes a break - pat yourself on the back - praise well deserved Alan. OC.
-
Goo - gul is like a pesky neighbour want to know all you have done - then keep tabs of it.😁 OC.
-
Great work with the hull - those brass tiles will so thank you when they age - she will so look the part. OC.
-
Indeed I think most of us have seen the movie - also lots of other great Nelson reference to films either by @mtaylor or myself with a friends up and coming movie about Nelson and Trafalgar. OC.
-
Very nice work mate - and I love the attention to detail with the plans and drawings. OC.
-
Found you buddy - got all my equipment and food stuffs ready and a seriously comfy chair - ready for the ride. OC.
- 505 replies
-
- 6
-
-
- vanguard models
- Sphinx
- (and 1 more)
-
Thank you kinldy Mark, Indeed - both sides of the wall, I might even mess around making some random rain puddles using my gel - seeing as it was so wet the night before with pooring rain the whole ground was sturated. OC.
-
Thank you kindly Alan, we have those fabric things with weat inside taht oyu heat up in the microwave - she uses those to help the pain, she can't stand anything cold/freezing on the area though. OC.
-
Also as Alan said - you can also work the plastic parts to thin them down (if they need it) as the plastic will be less prone to brake. OC.
-
Thank you Alan, It taught me a lesson to not play with it after pooring in the gel - the second layer was poored than put away in the cabinet to harden on its own - not with a hairdryer. OC.
-
Thank you kindly Craig, no fish in there - I think the KGL had then (if there were any) the night before. OC.
-
That engine and transmission looks Superb Craig really looking realistic. OC.
-
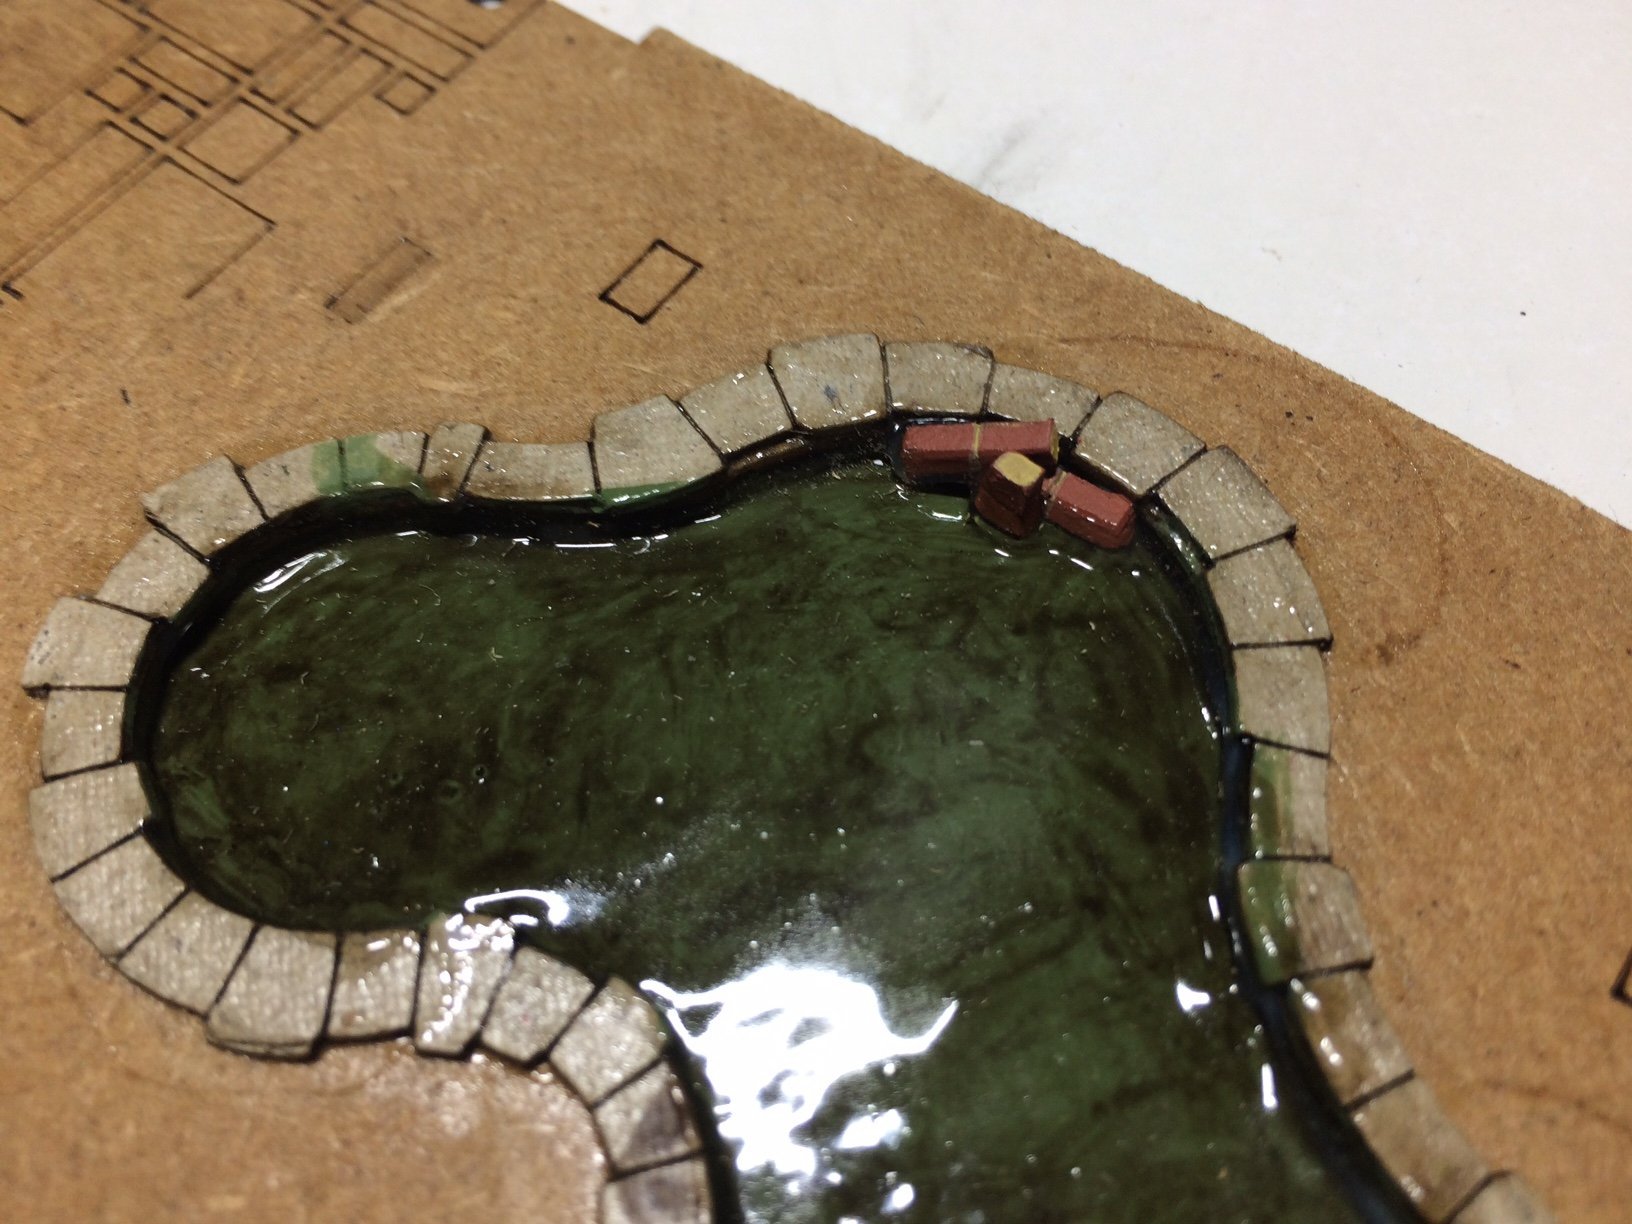
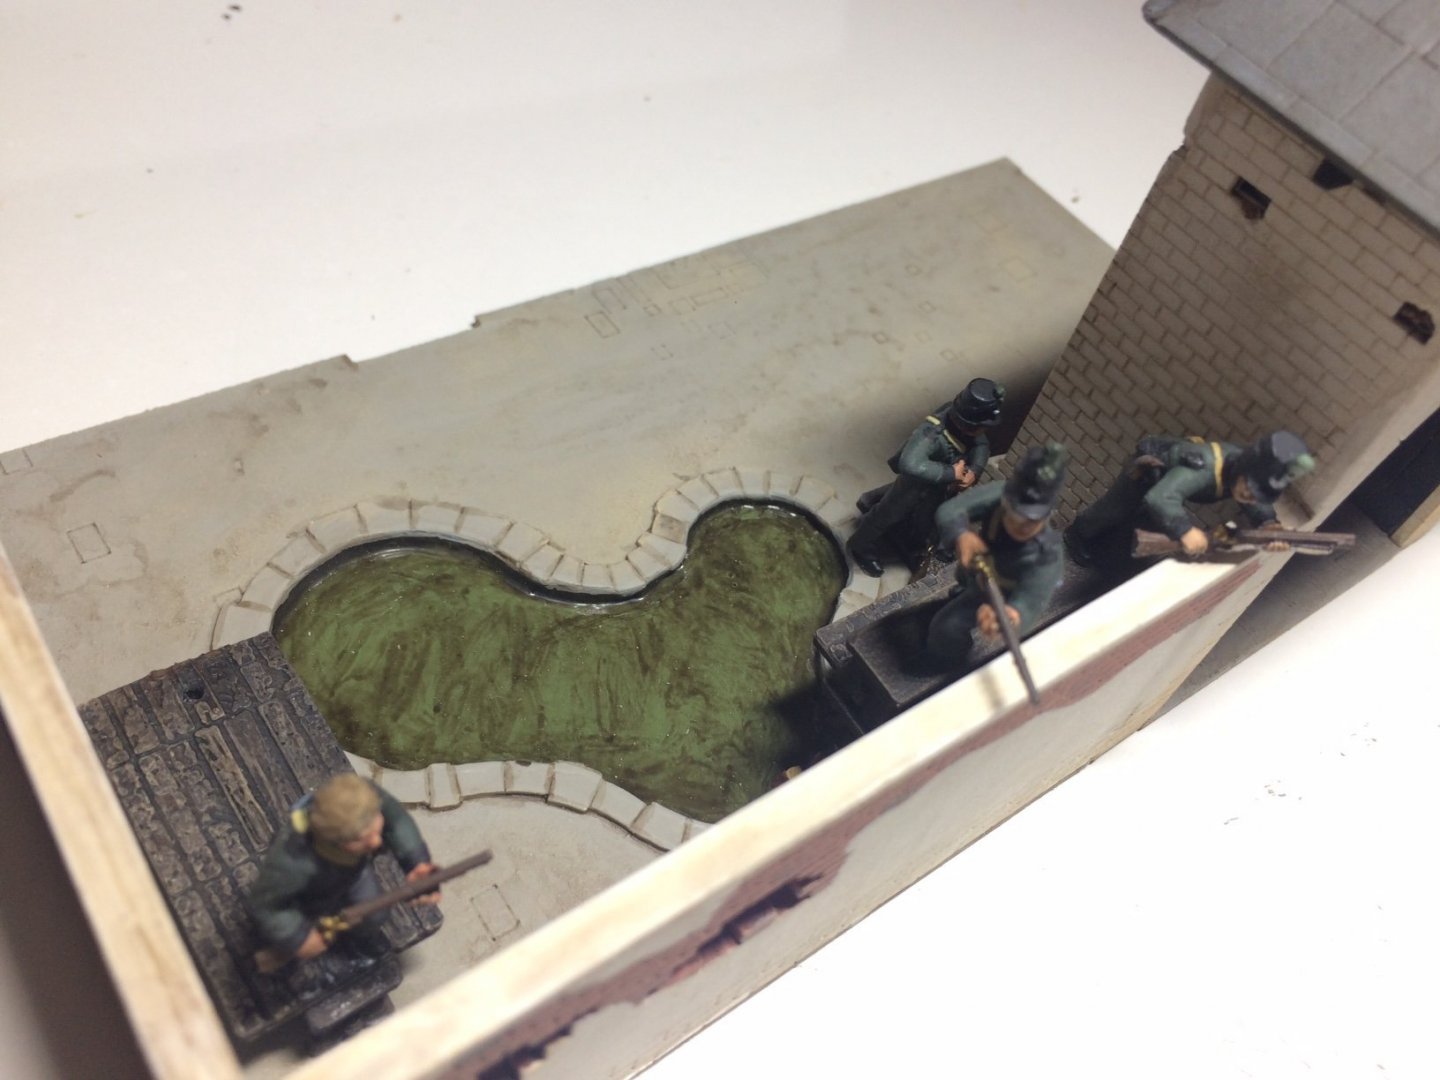
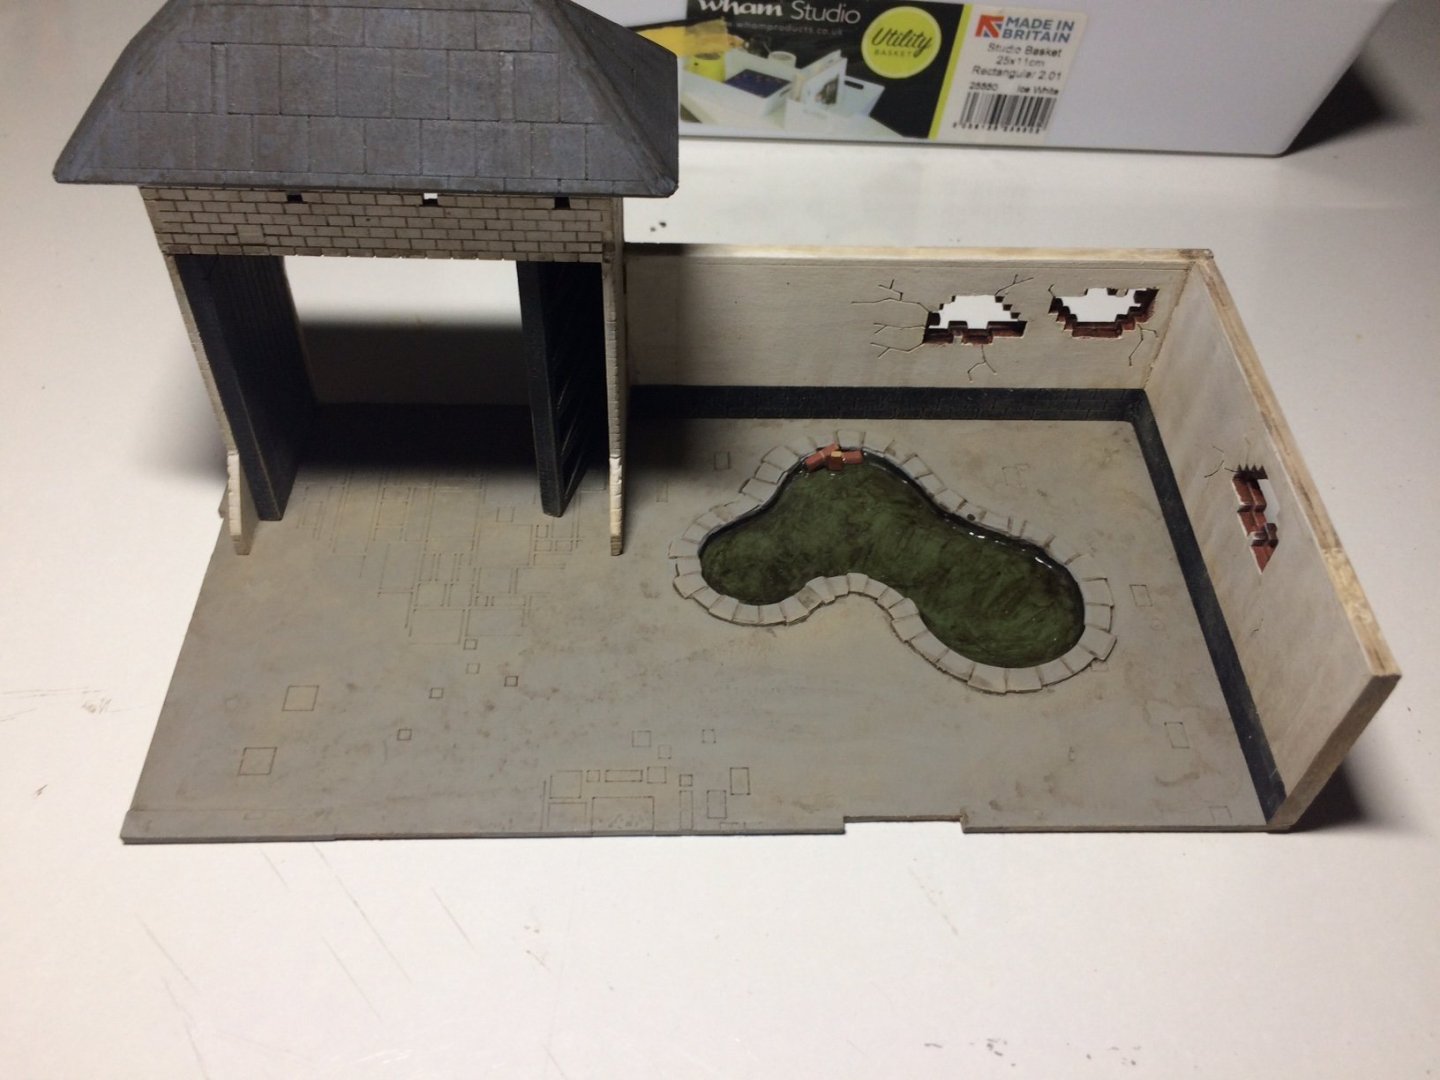
Evening all, more work on the base courtyard area - this needed a lot of fiddling to get the pieces to fit to gether - some choping here adding pieces there and adjusting the pond area base. Oh I have also re worked the pond by adding some bricks that had fell in after the KGL hacked then out to make firing holes, I then added another layer of gel and let it set over night (I did not touch it and still needs more time to fully set) OC.

-
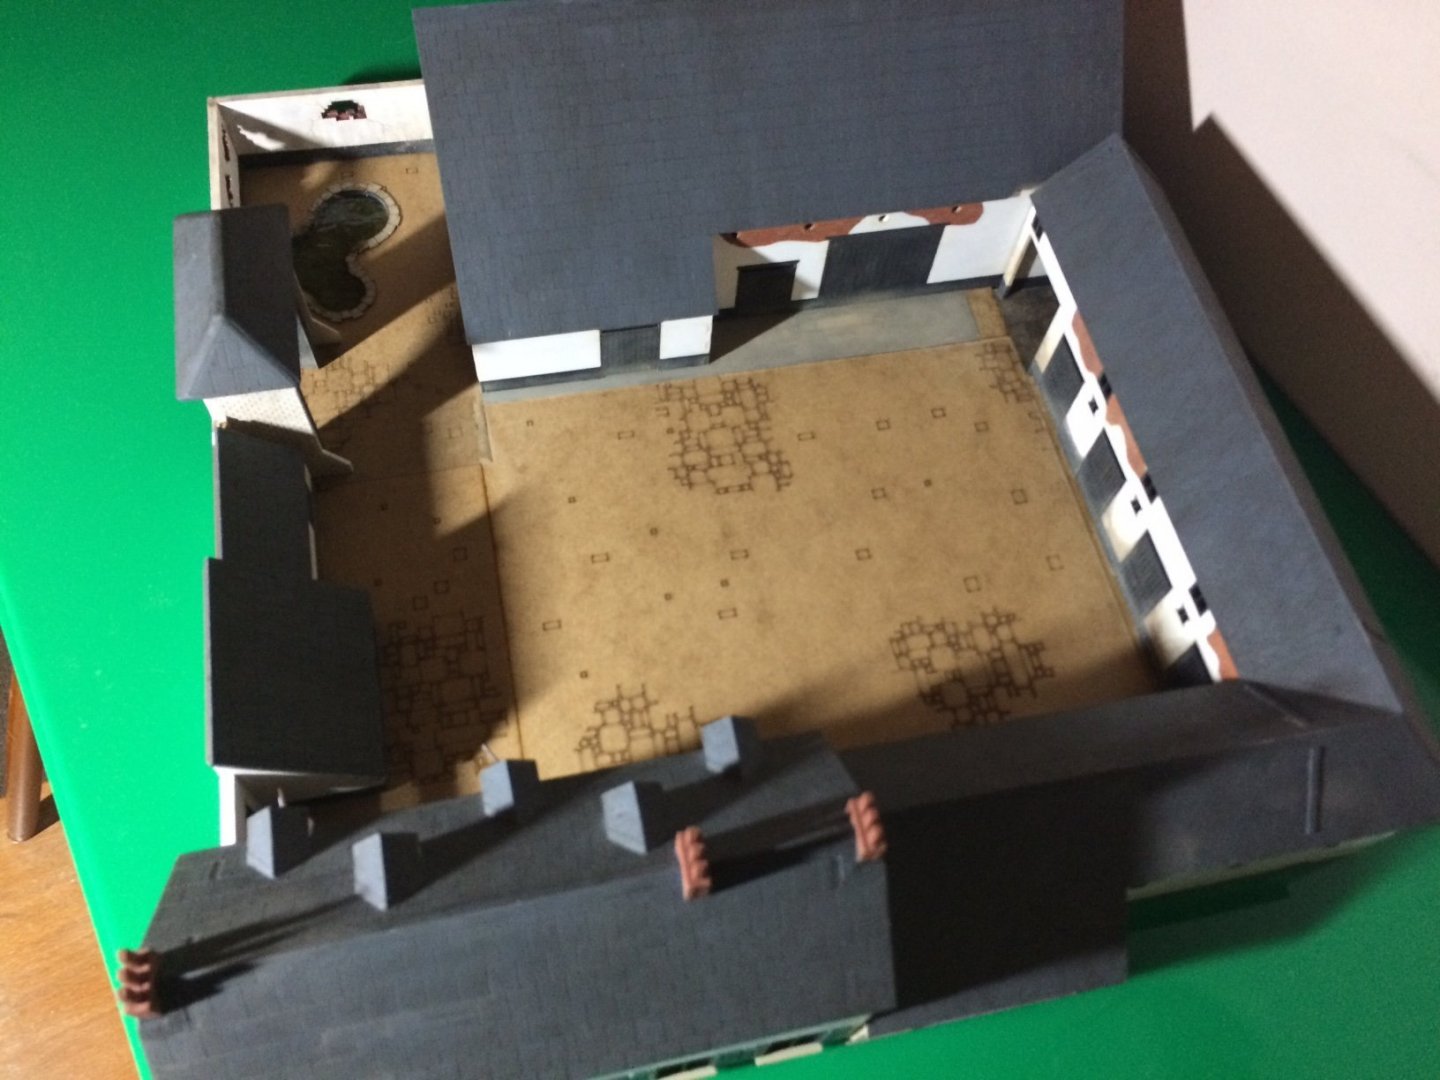
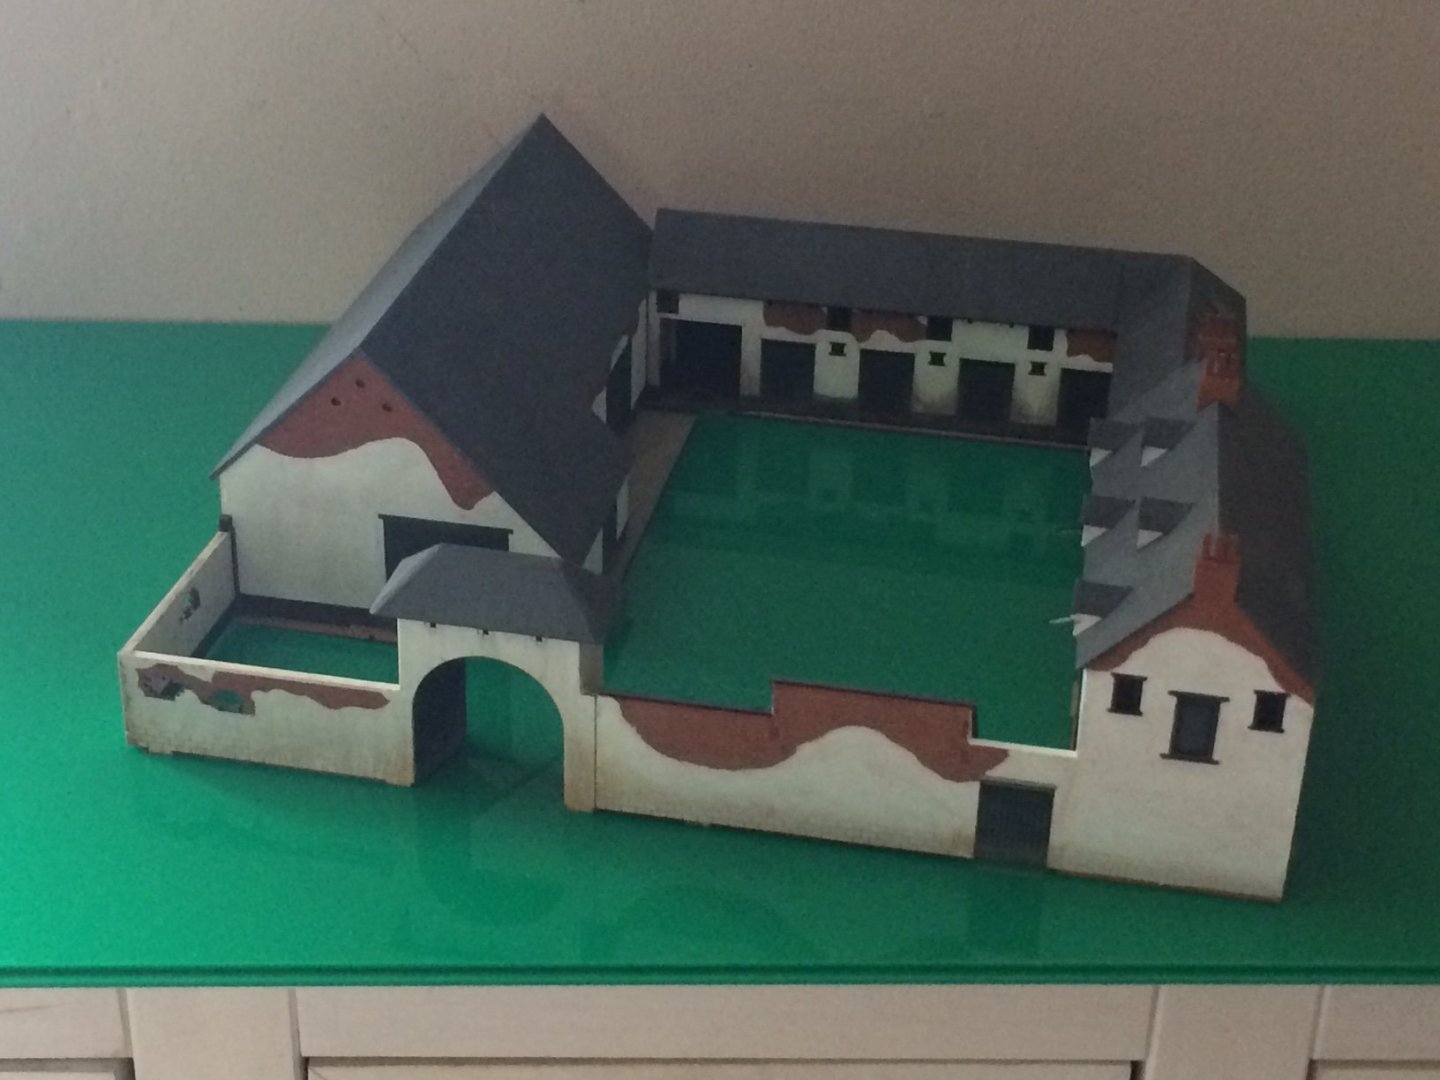
Good day all, I have decided to put the display case cover away so I can work on the base - I have placed the building plan on the base to check its positioning and room - still lots more to do. OC.
-
Thats a good start John - dont be affraid to ask anything from the members here - we dont bite unless its food.😁 OC.
-
Aint gonna like what you put Mark but sure agree with you. OC.
-
Take care - hoping the best for you. OC.
-
Sadly no ducks - the KGL engineers killed them all and and had fire roasted Peeking Duck (but no pankcakes) meal the night before the battle. I think I made the paper situation worst by speed drying it with the hairdryer - my impatience got the better of me as I wanted to see it working, I will wait and see if it shrinks back into shape - its is touch dry at the moment just got a few wrinkles in it where it has stretched. OC.