Old Collingwood
-
Posts
12,106 -
Joined
-
Last visited
Content Type
Profiles
Forums
Gallery
Events
Everything posted by Old Collingwood
-
 Thank you for sorting that out Craig, I didn't get as far as to fully understand what it was all about. OC.
 -
Here is the other link that gives the other link (if you get me) its a forum by the look of it talking about them - I agree its not very clear yet who the kit maker is etc. OC. https://forum.largescaleplanes.com/index.php?/topic/90466-new-132-f-4-phantom-family-coming-in-2022/
-
I did a Google search mate put in "F4 Phantom 11 new models" and a site popped up with that link. OC.
-
Anyone seen this - OC. https://www.sbmpics.com/sbmimages6/F-4Announcement.mov
-
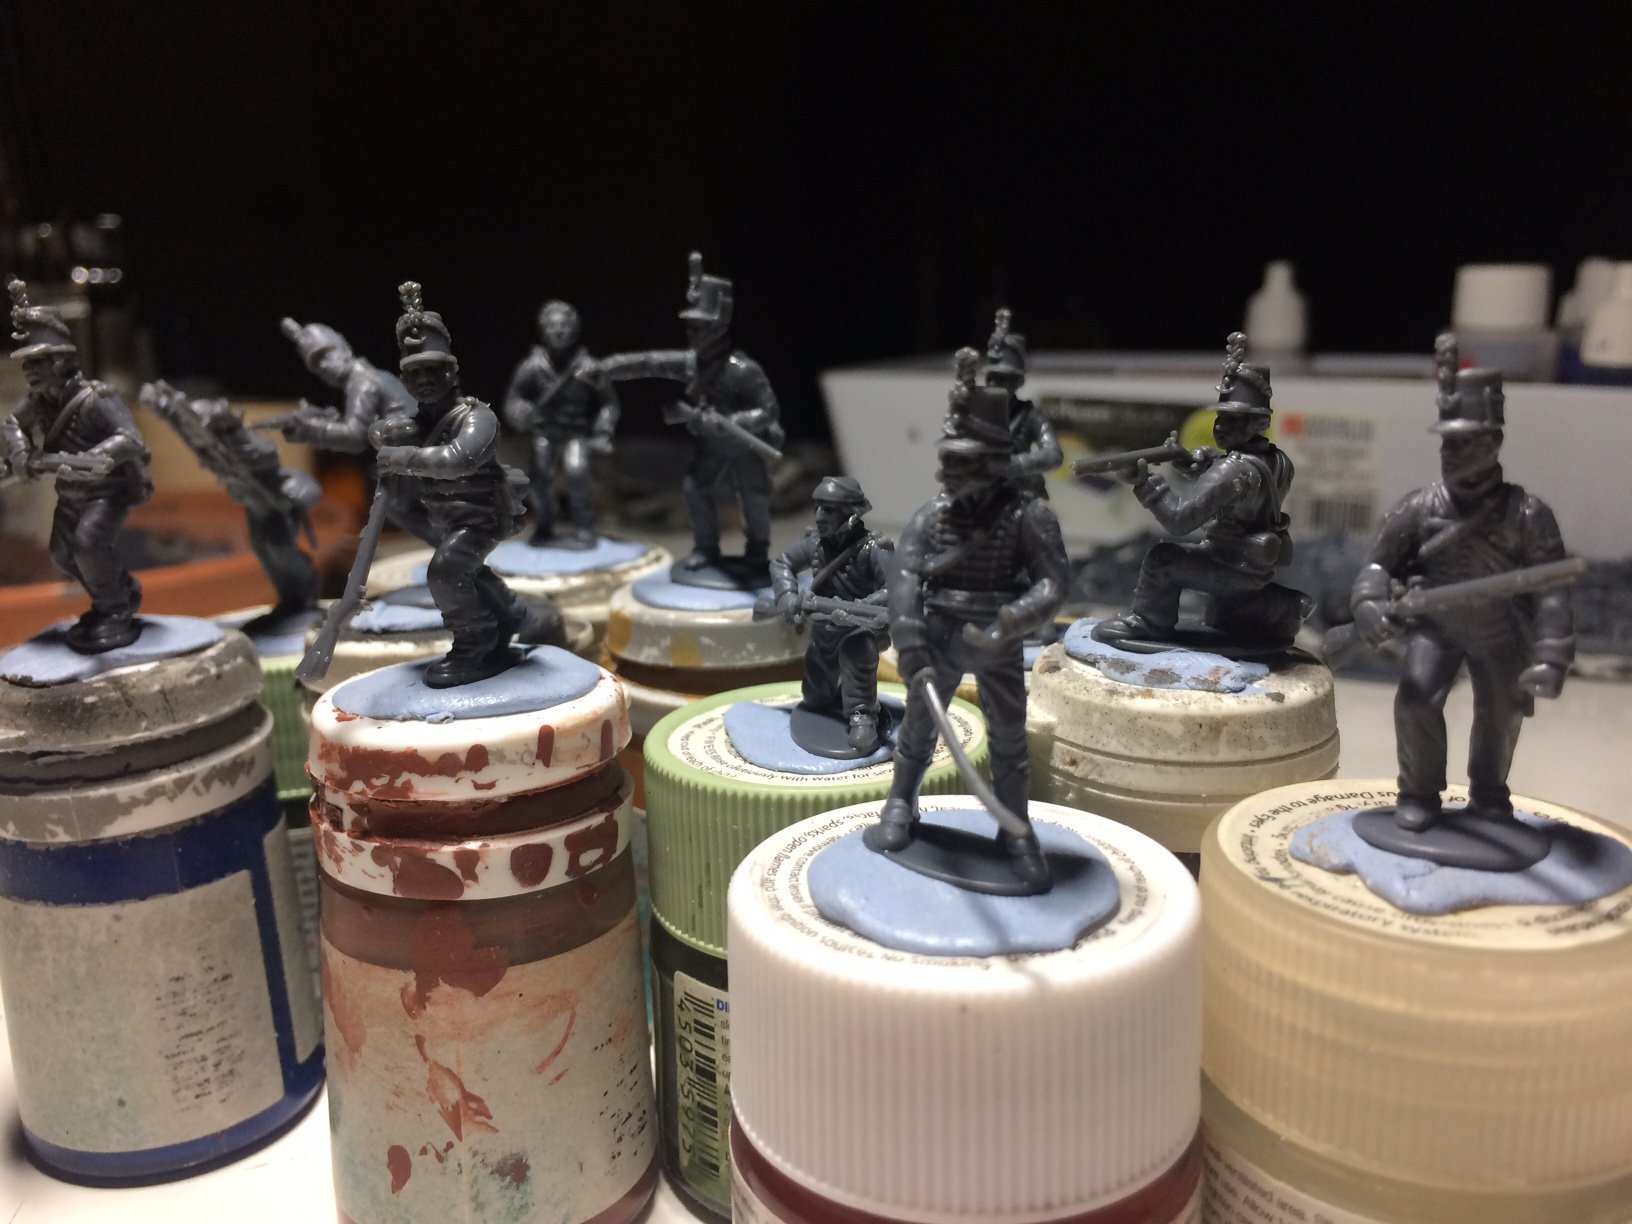
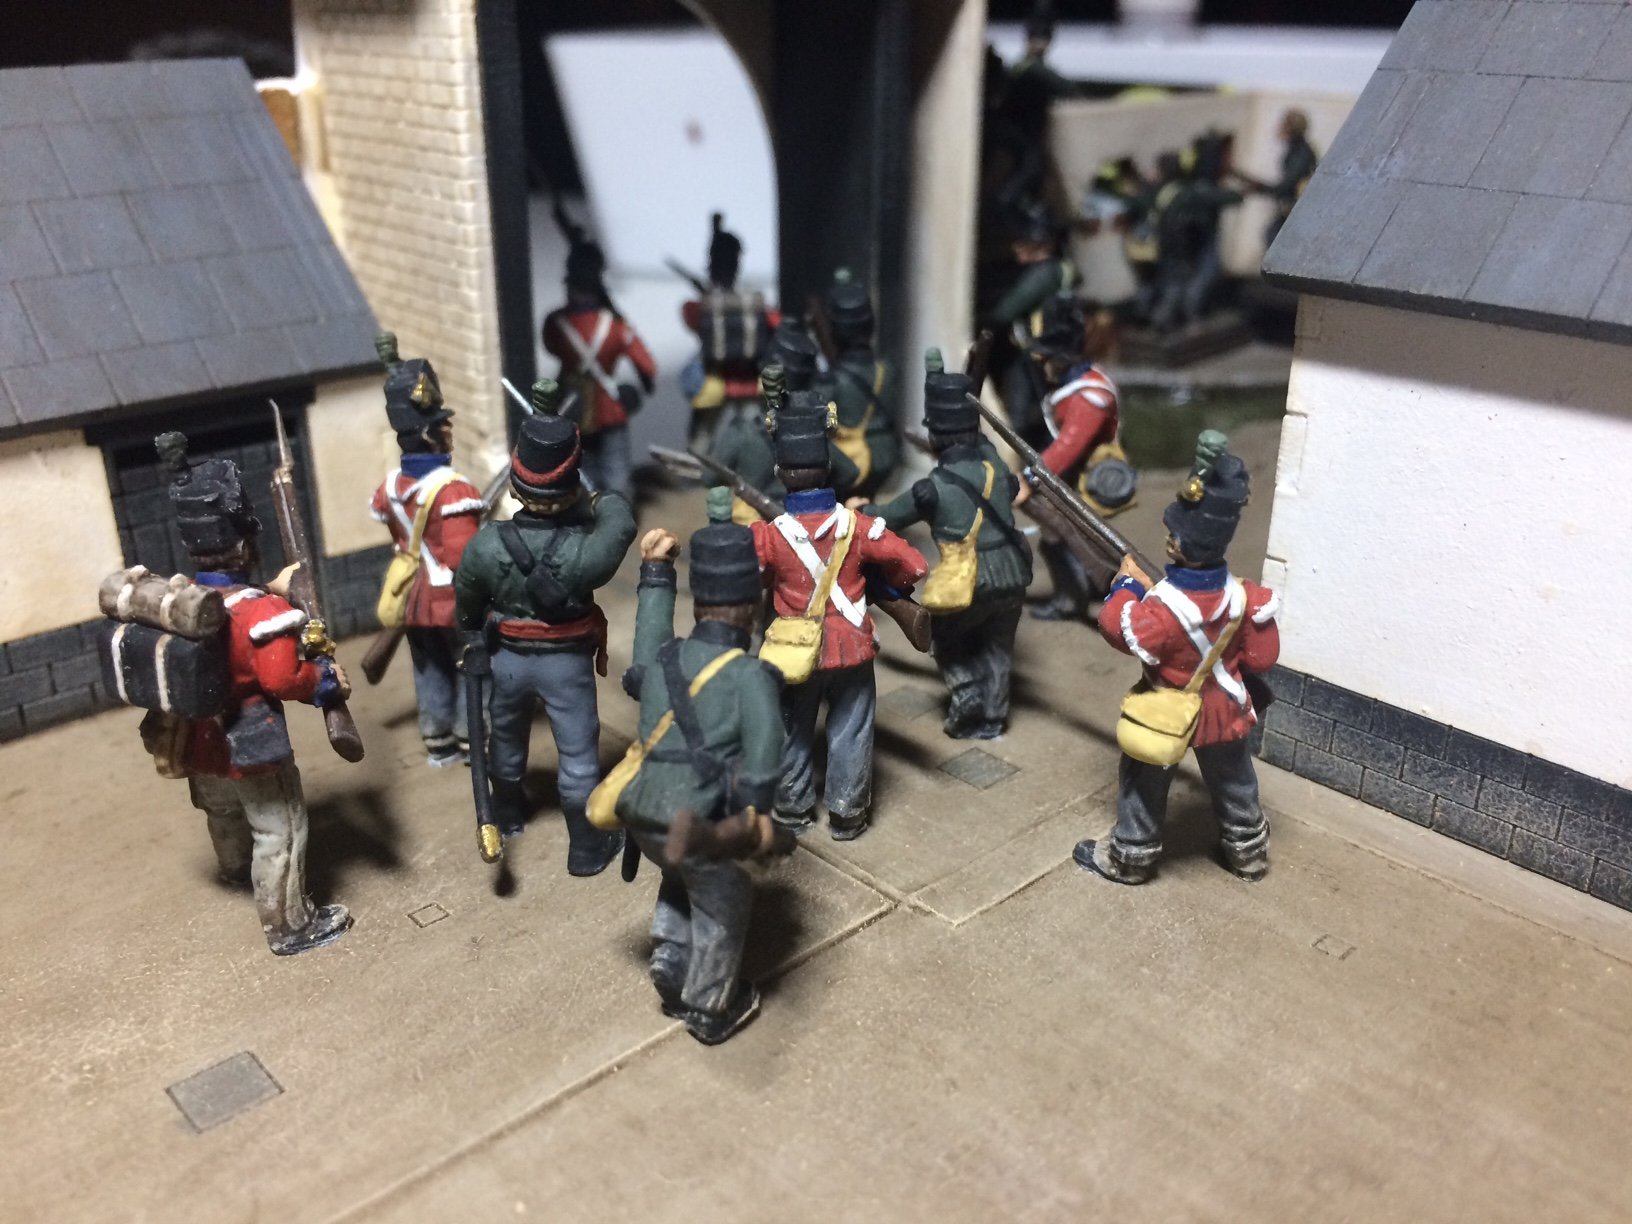
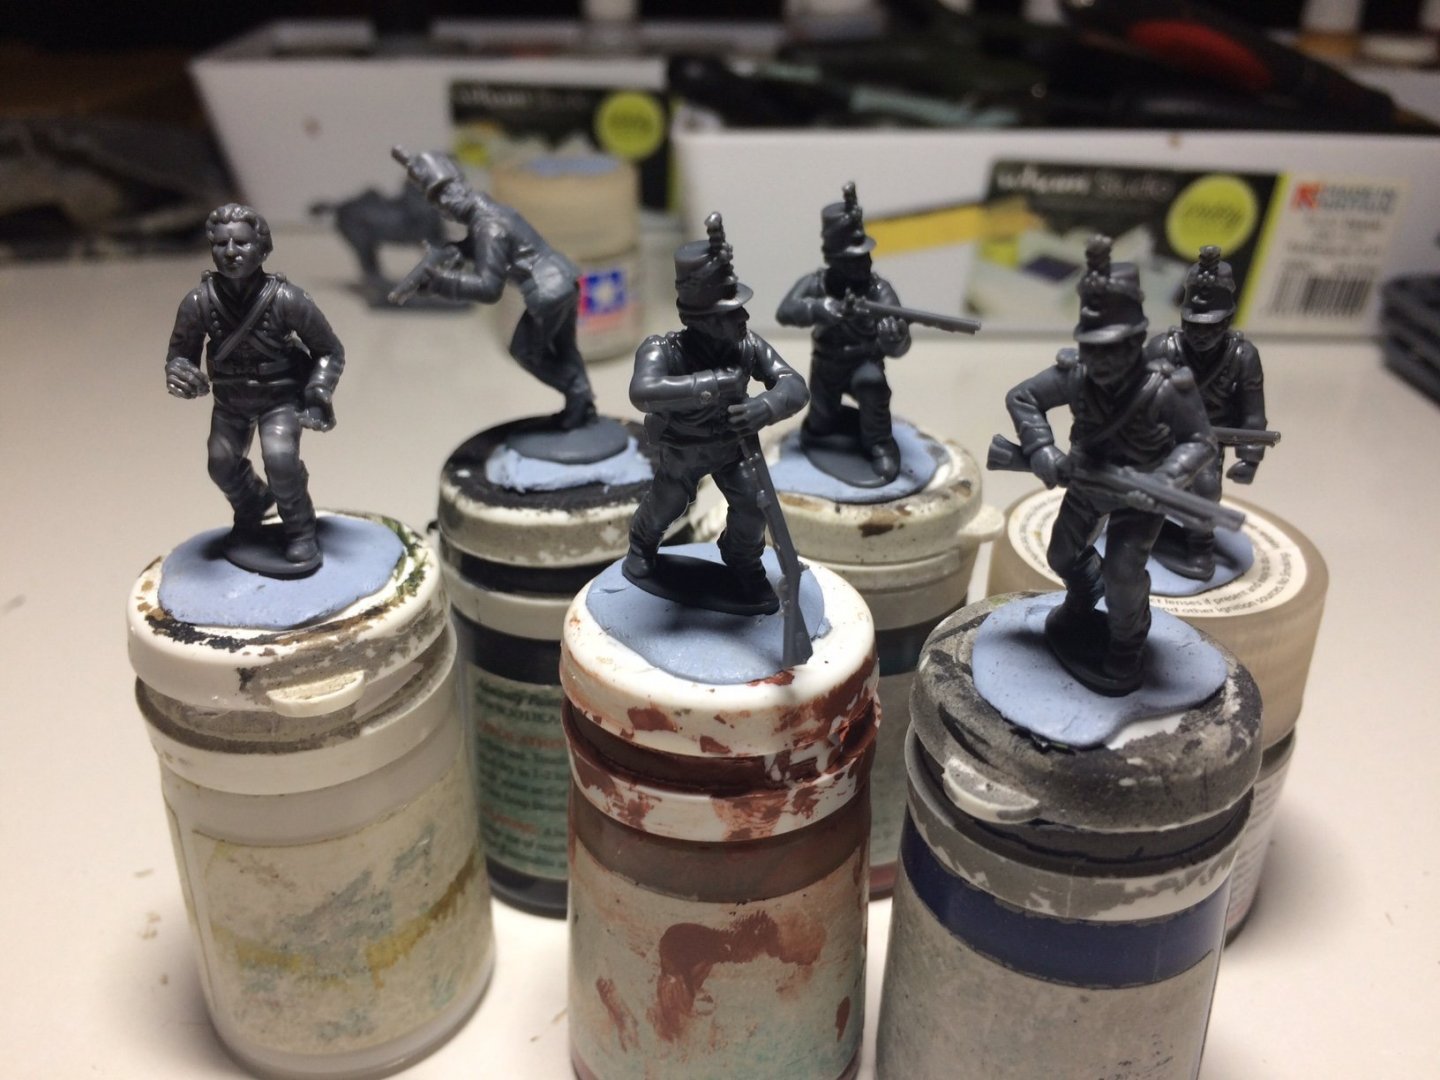
Evening all, bit more work done - I completed putting together my group of 2nd KGL - including one chap who was shot and is falling back and another dead fellow who will be lying on his front with his rifle undeneath him. OC.

-
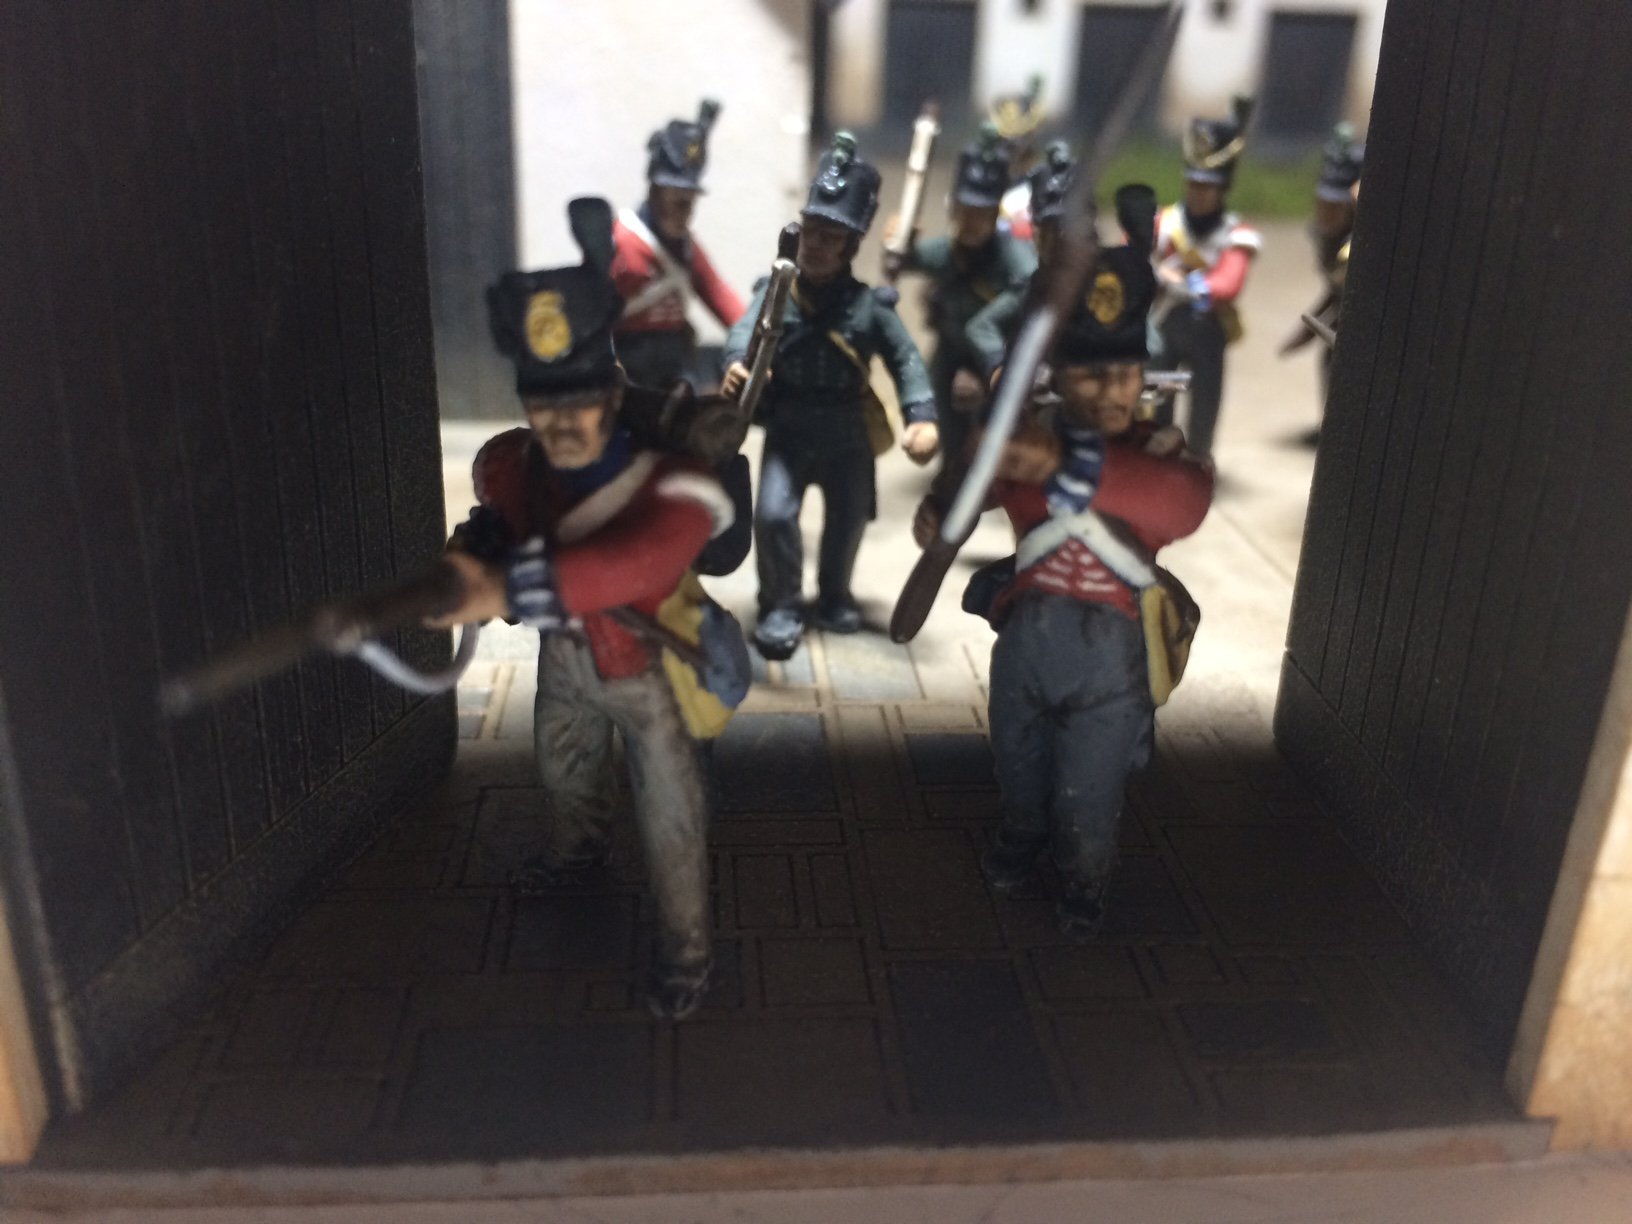
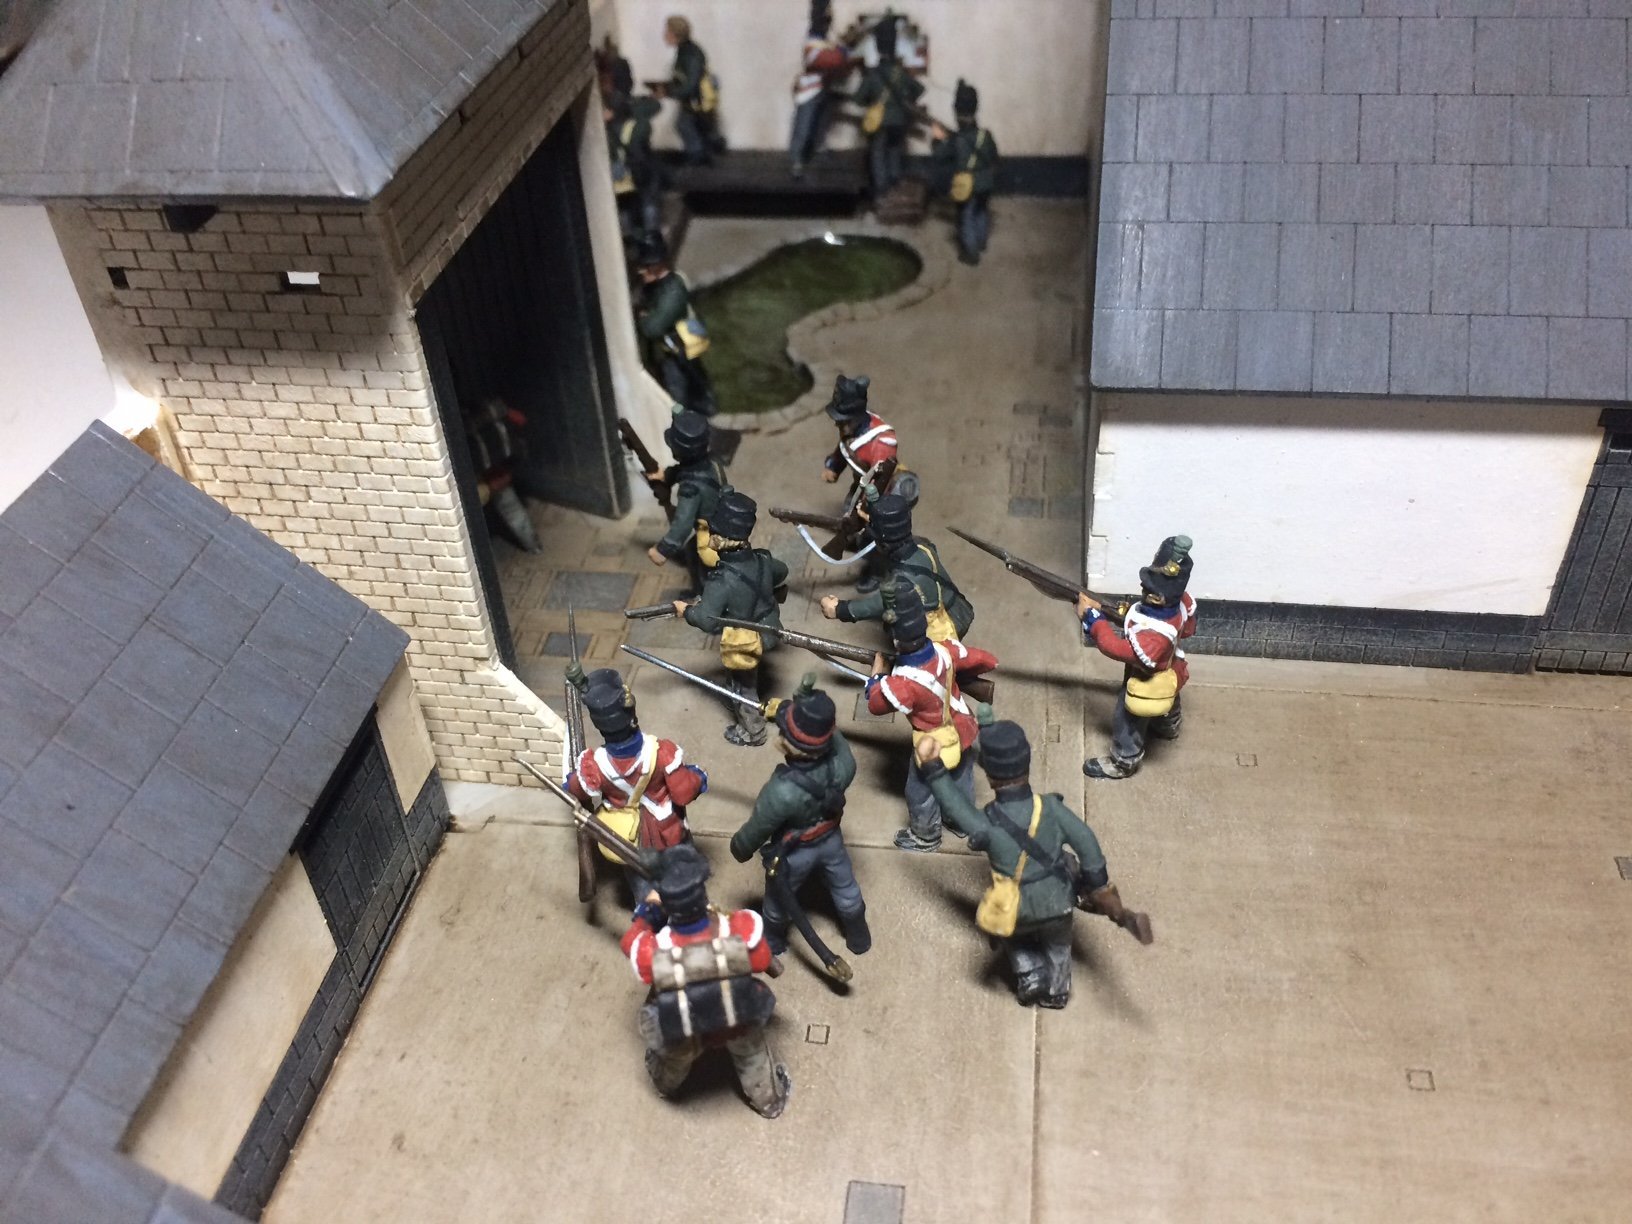
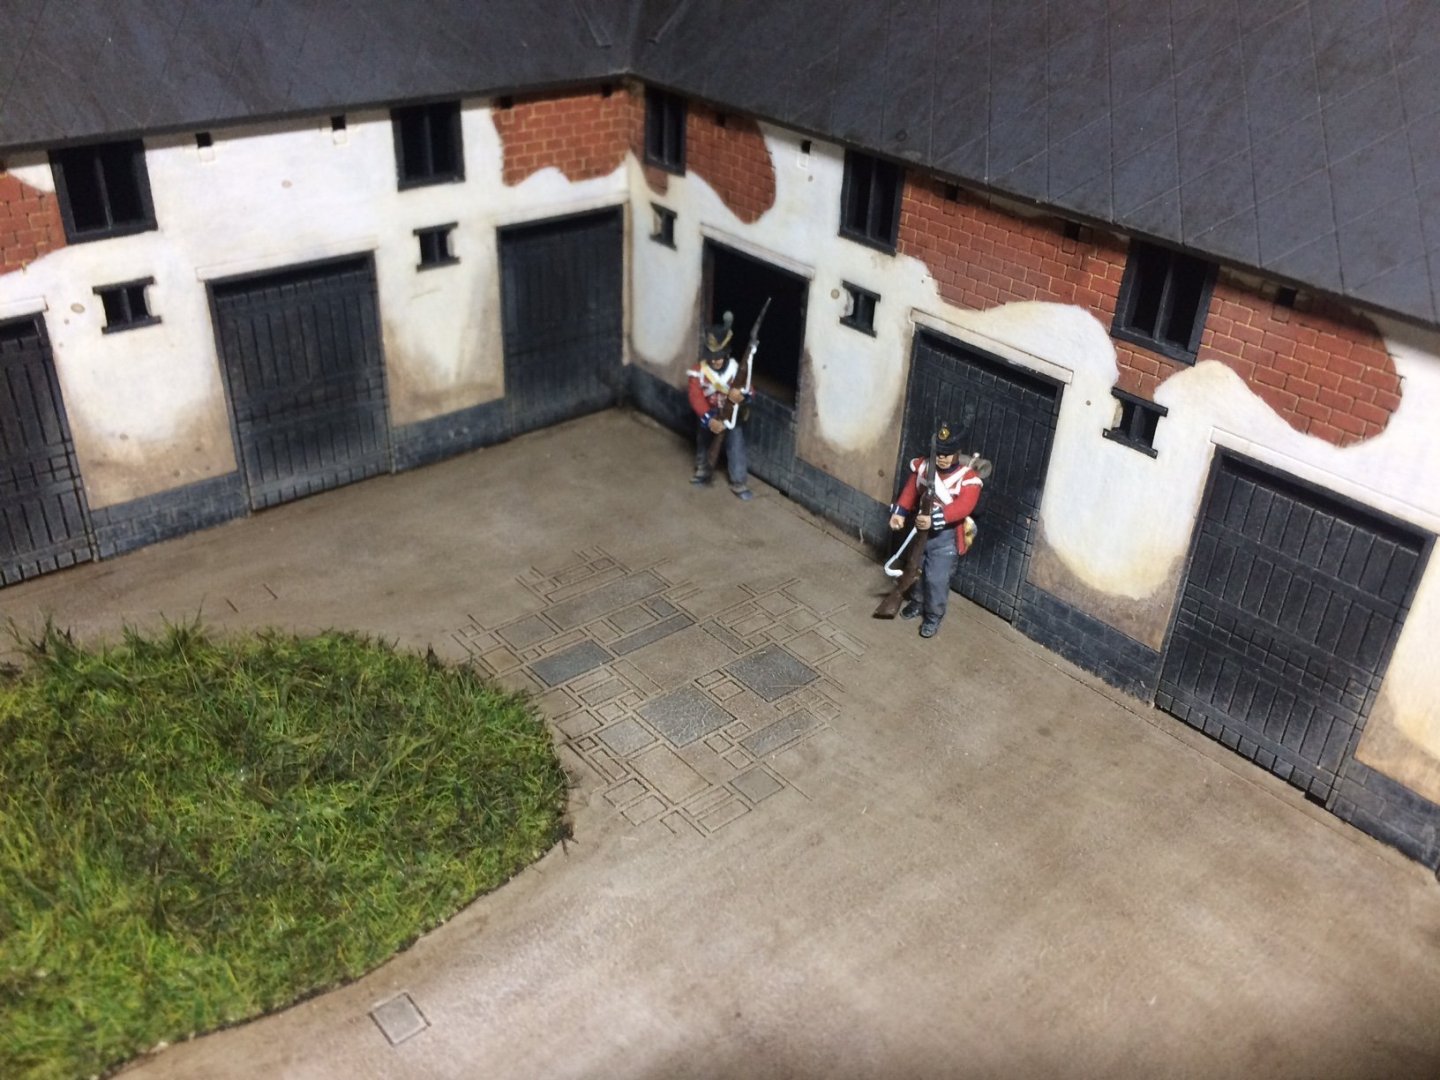
Hi Mark, yep - they will be on the outside of the farm attacking and retreating on the Left side of my Dio. OC.
-
So plan for tomorrow - carry on making as many 2nd KGL as I have (think there will be about 50-60 in total) then start on the rest of my 5th KGL (think there will be about 40-50 of these in total) then I will prime then with my airbrush then start painting them in batches of about Six at a time. Then it will be time to fix the Building down to the base and start work creating the scenery around it - that in itself is a project. OC.
-
That is looking so nice Mark - the detail and build of it is really inspiring - you can see its going to be a Great build. OC.
- 505 replies
-
- 3
-

-
- vanguard models
- Sphinx
- (and 1 more)
-
Evening all - some more work done this evening - some more 2nd KGL made including one who was shot and will be falling back. OC.
-
Liking the look of your next project mate, but also Amerigo. OC.
- 273 replies
-
- 2
-
-
- panart
- amerigo vespucci
- (and 1 more)
-
Thank you kindly mate, and no way Im putiing Gary Linaker in my build. OC.
-
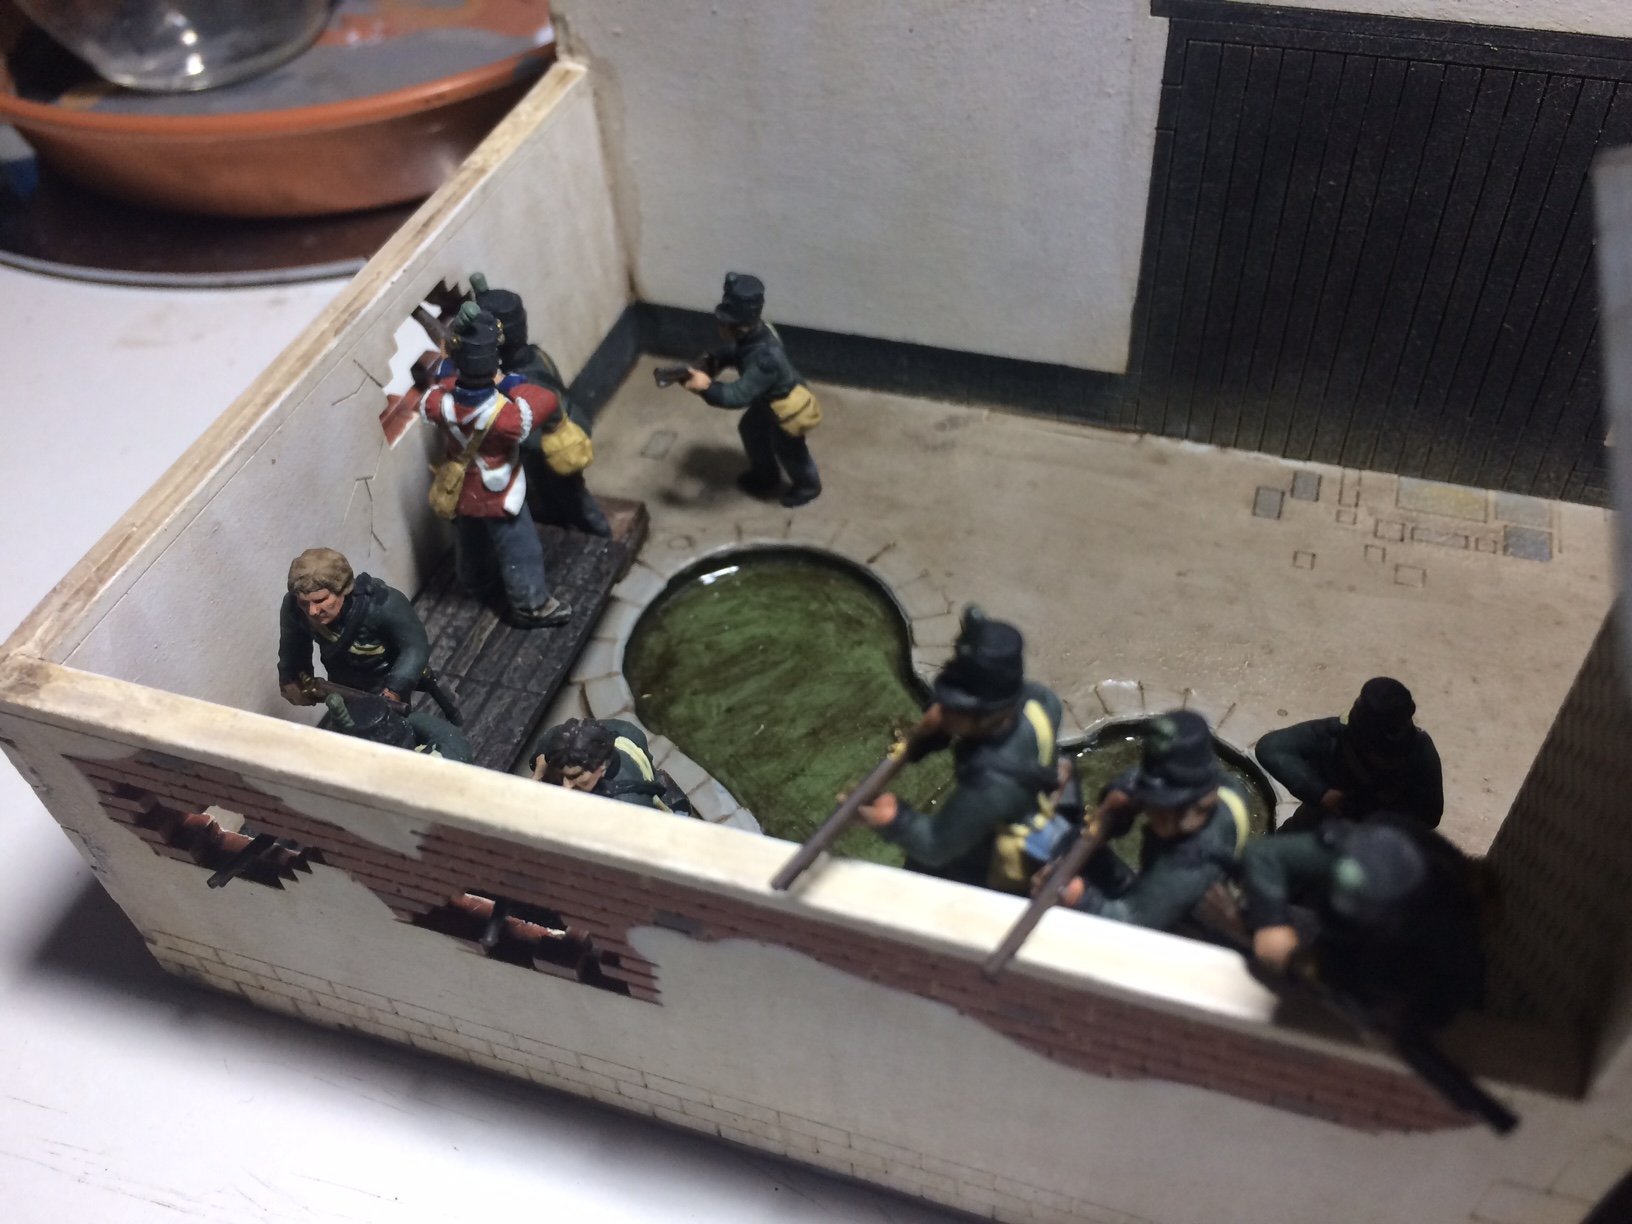
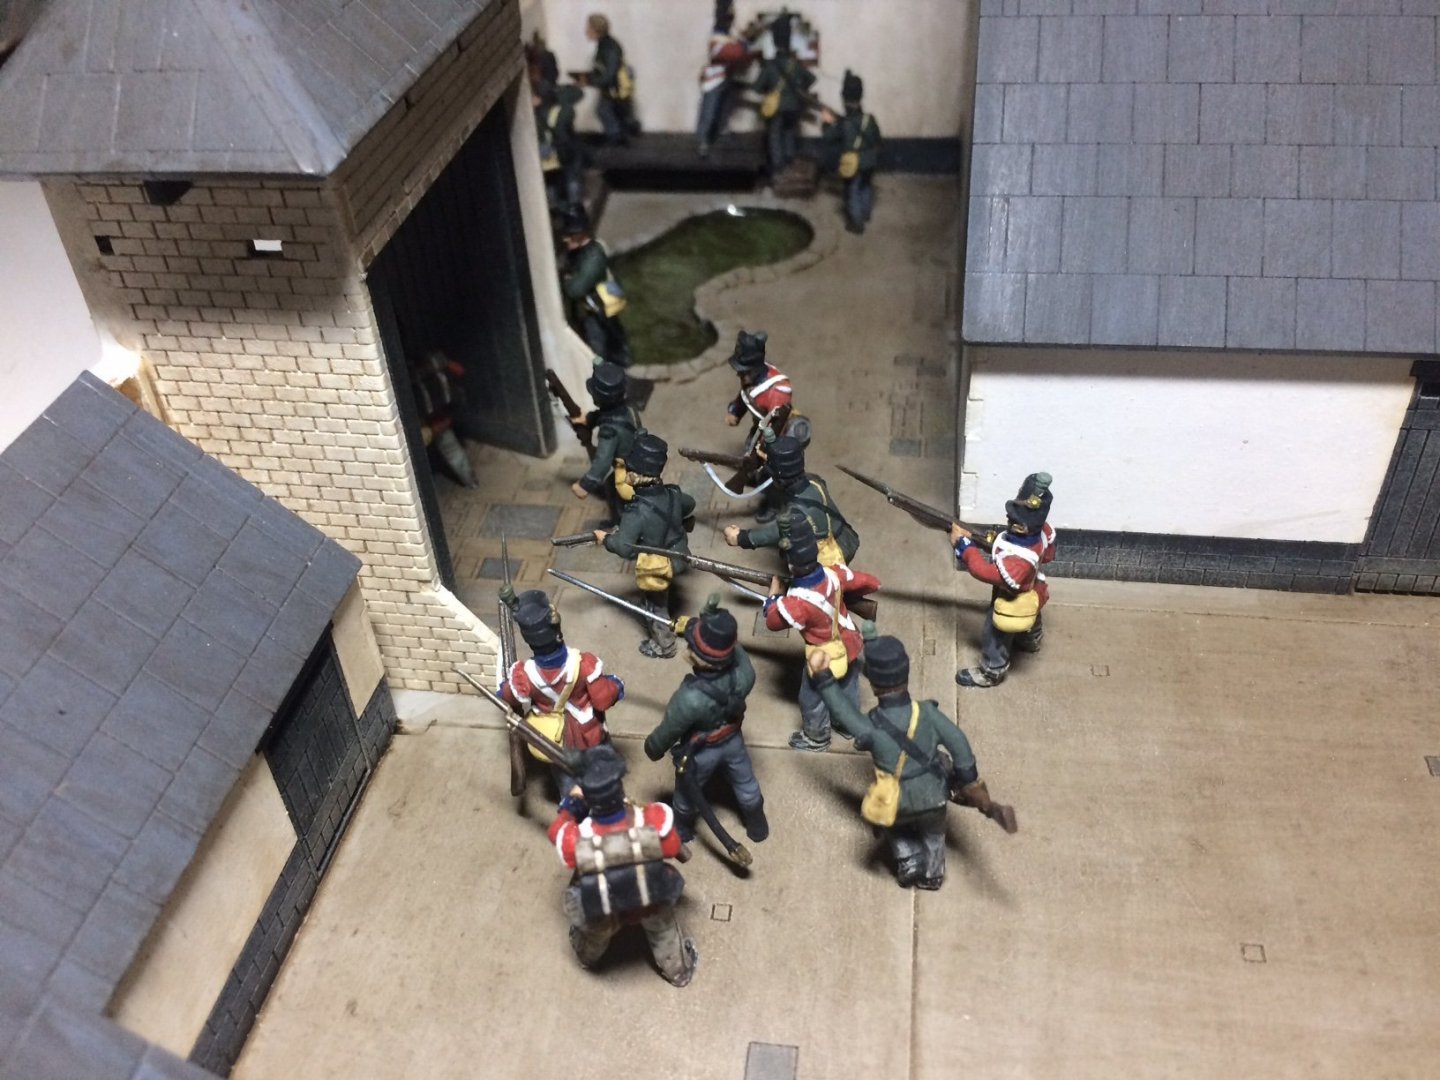
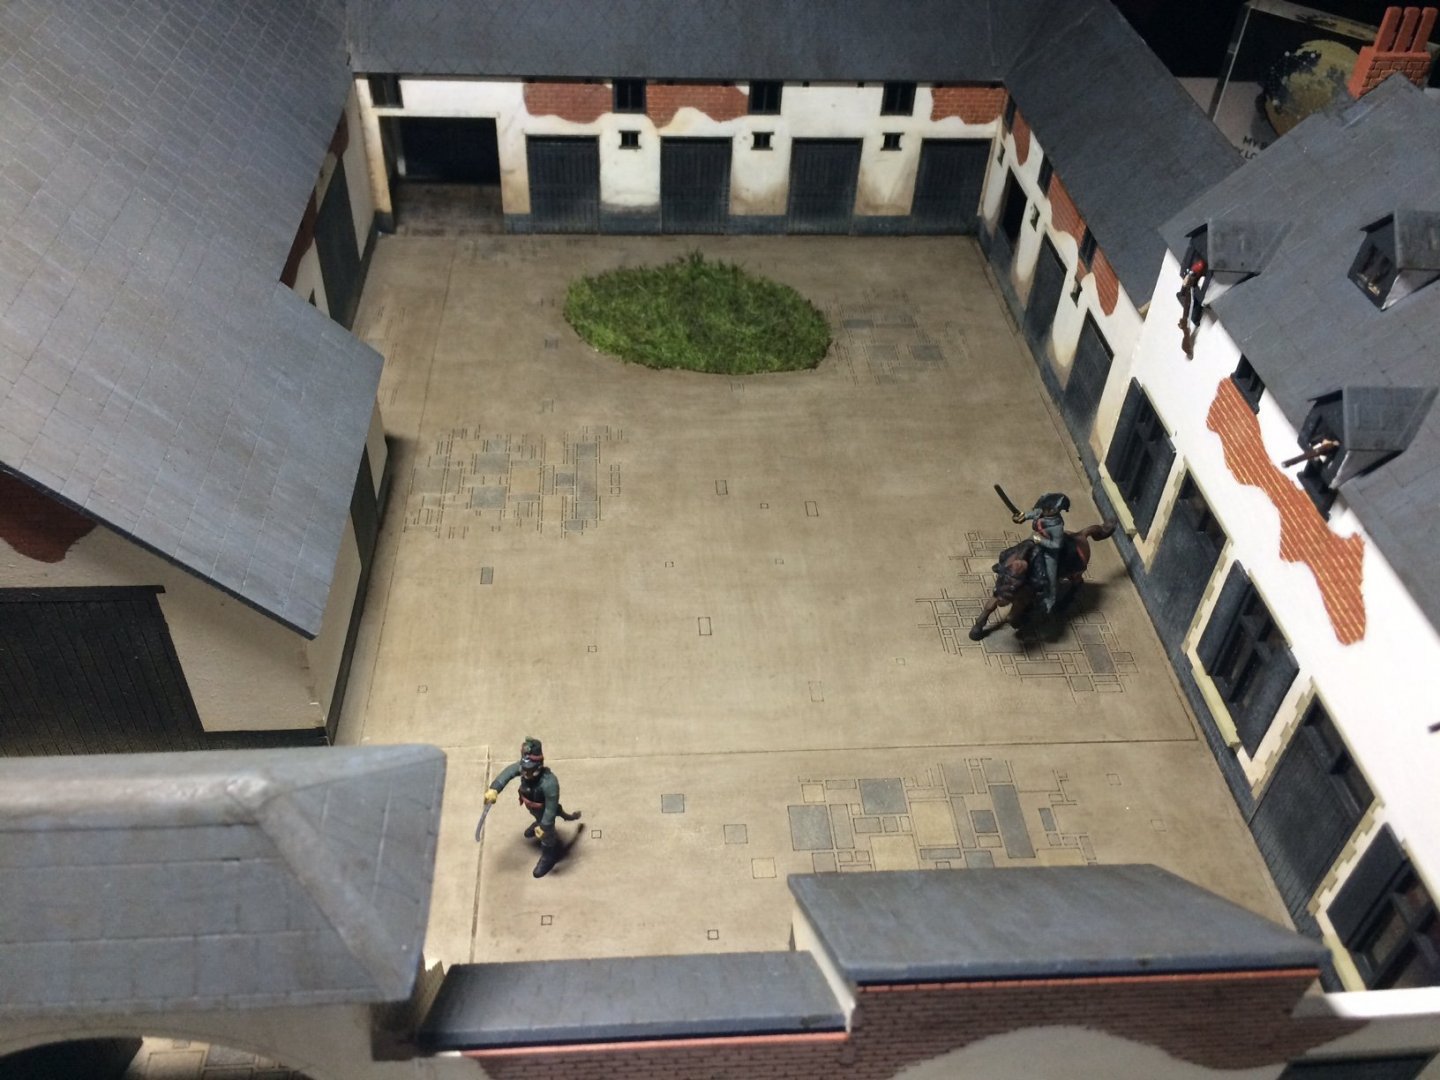
Thank you mate, wait till the courtyard is more full of figures. OC.
-
Thank you kindly Ken, yep - got to get more figures made and placed in the middle of the courtyard and more added to the "door rush" working on the system of - from the inside out before I have to glue the Farm down to the base and start work on the scenery. OC.
-
Thanks Craig - much appreciated mate. OC.
-
Thank You Alan, getting the faces right first is the key I think. OC.
-
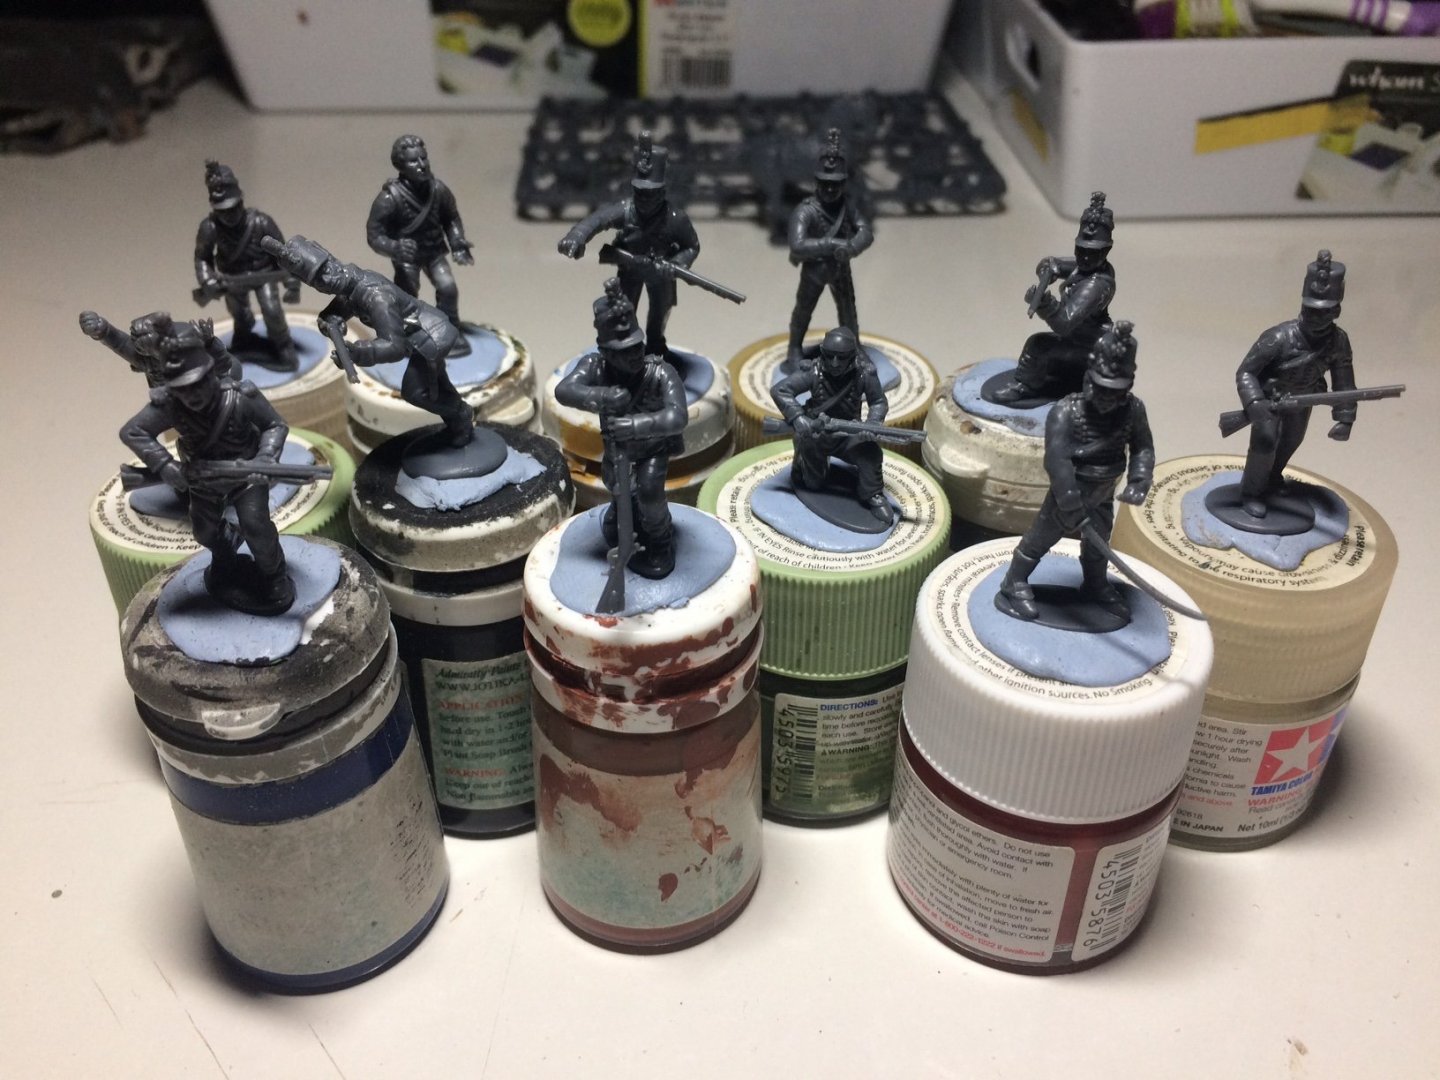
Thank you Ken - I have a nother batch of about 40 more 2nd KGL to finish making/painting - then more 5th KGL. OC.
-
Some pics folks - just figures. OC.


-
Would have said there was another update folks - I had intended, but I have had the day from hell - seriously want to do a bit more though to keep me sane. Hopefully more pics later when I do a bit. OC.
-
Sorry to see that Alan - I am sure you will fix it - couldn't you strenthen the joins on the inside with some plastic strips over lapping both sections on the joins? OC.
- 460 replies
-
- 5
-
-
- Finished
- Flower-class
- (and 1 more)
-
Think this is pushing it about as far as possible - almost like it requires robots to assemble these things - or humans with incredible skill and rock solid surgeons hands. OC.
- 174 replies
-
- 5
-
-
- prinz eugen
- trumpeter
- (and 2 more)
-
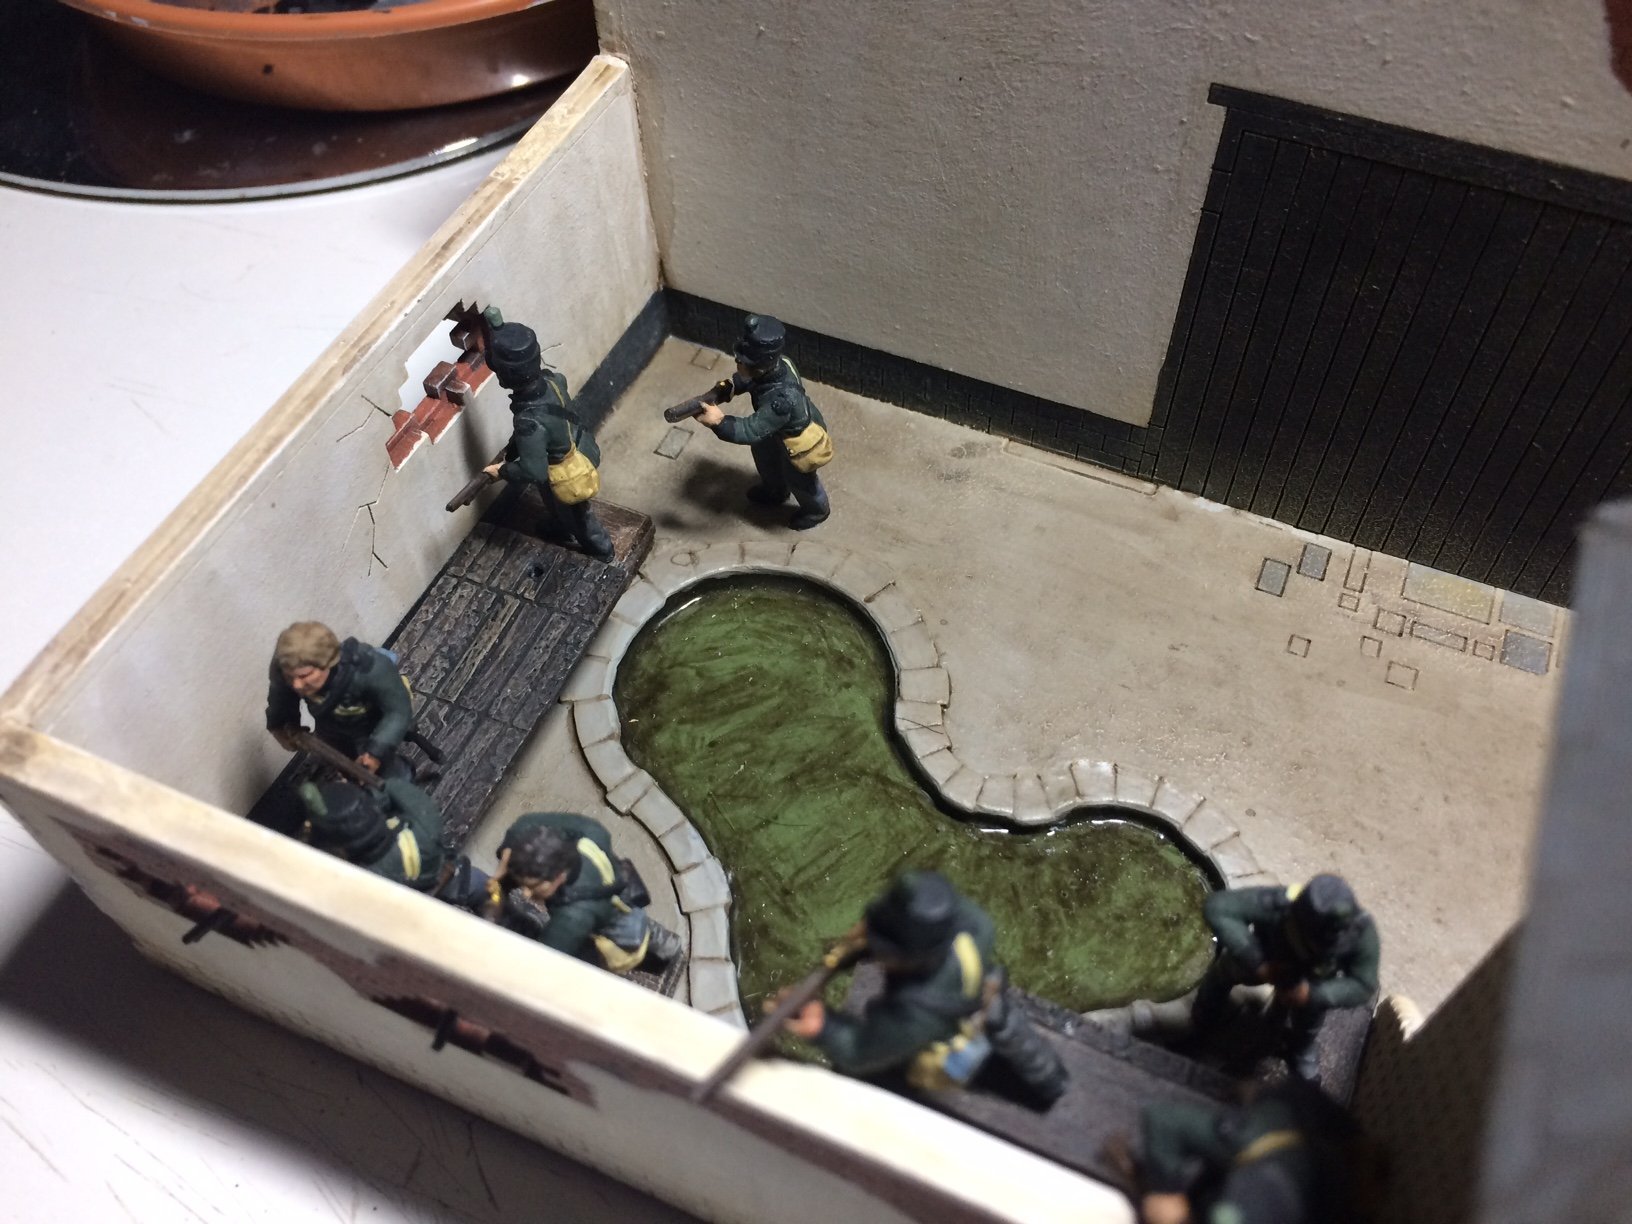
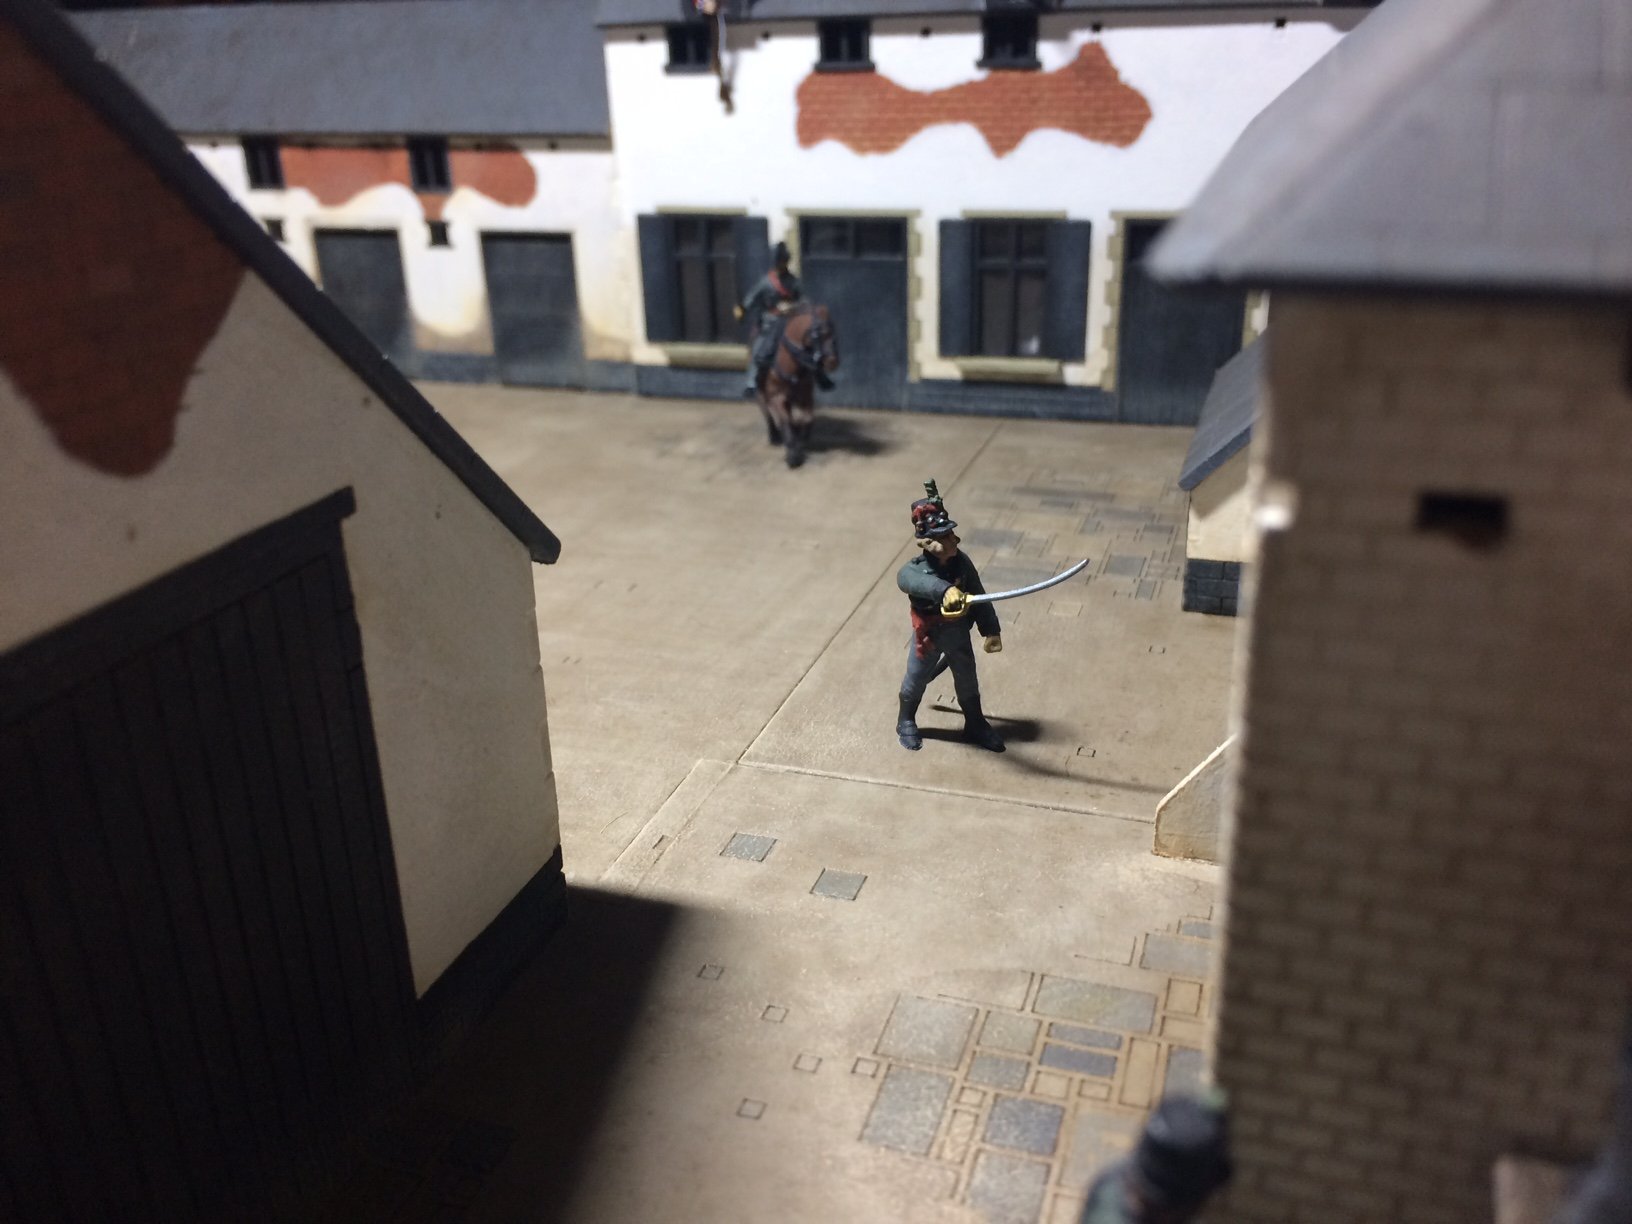
Thank you kindly Alan, yep I have searched the net for about a year for reliable (inside the courtyard) pics from the time but a lot has to be guess work - there is a lot of modifications to the buildings - the roofs where re tiled in different tiles after the battle - and the tree I would guess was grown after also - same with the farmhouse - this had new doors and windows - same to the stables as I assume - they stopped being used for horses in recent times. The plan is that a lot of the floor area will be filled with my figures of both the 2nd KGL and 5th Line KGL - so it will look busy. OC.
-
I agree with Mark - take your own time - it will take as long as it takes - rushing makes mistakes. OC.
-
Amazing work from our own 1/350 scale master - allway a pleasure watching your builds come to life mate. OC.
-
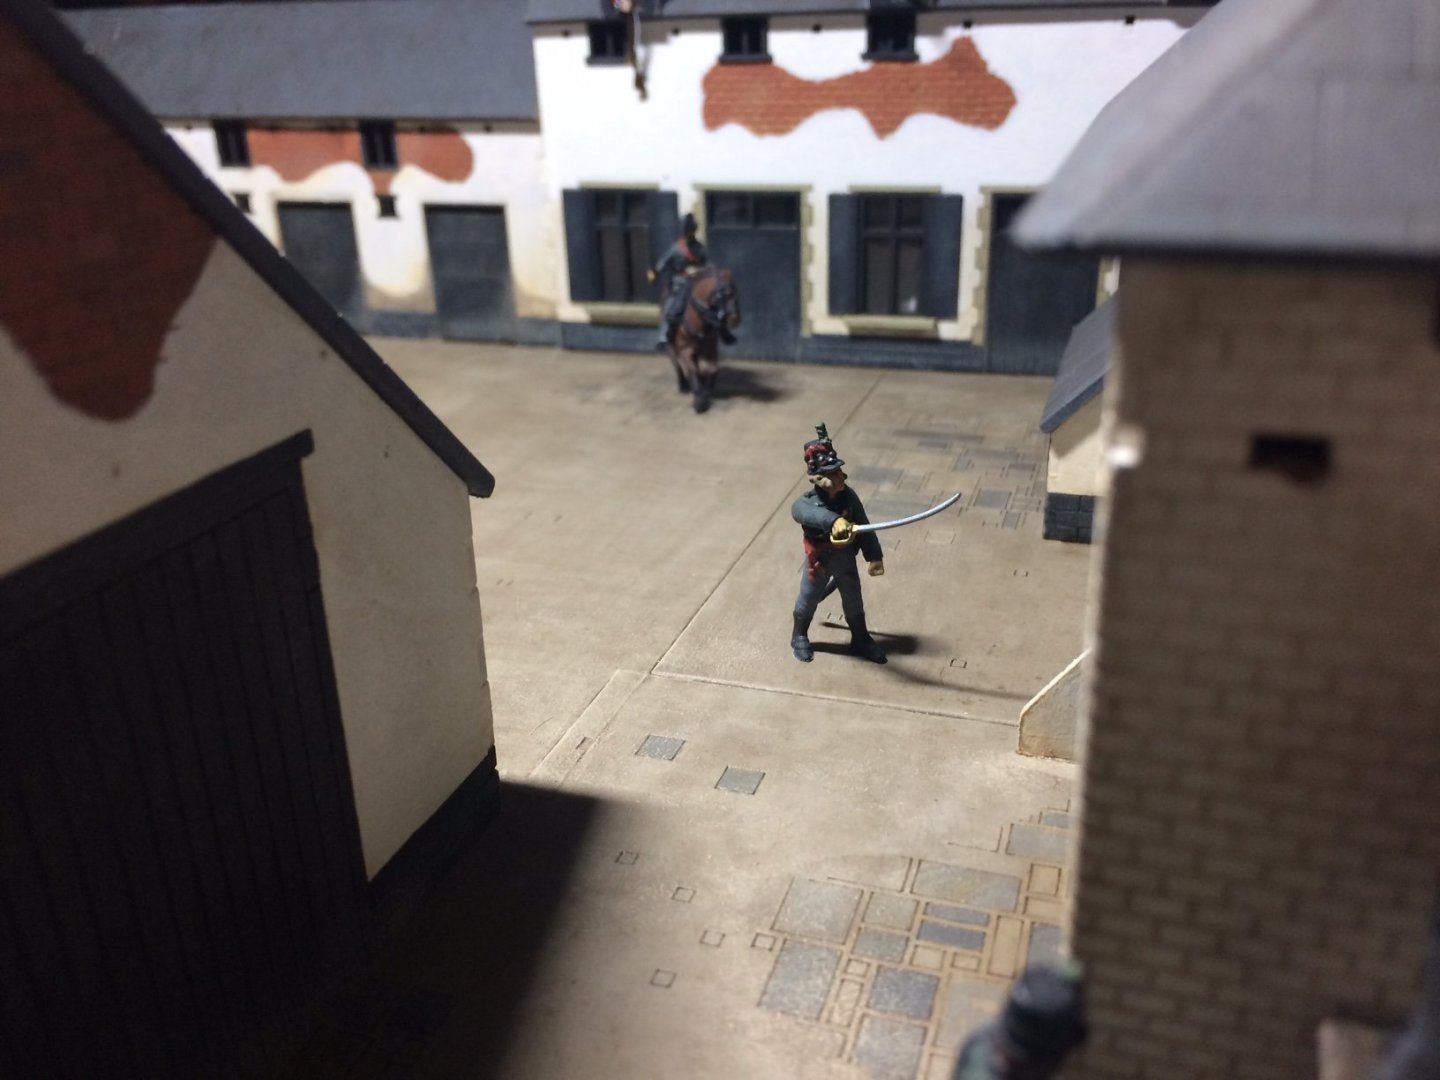
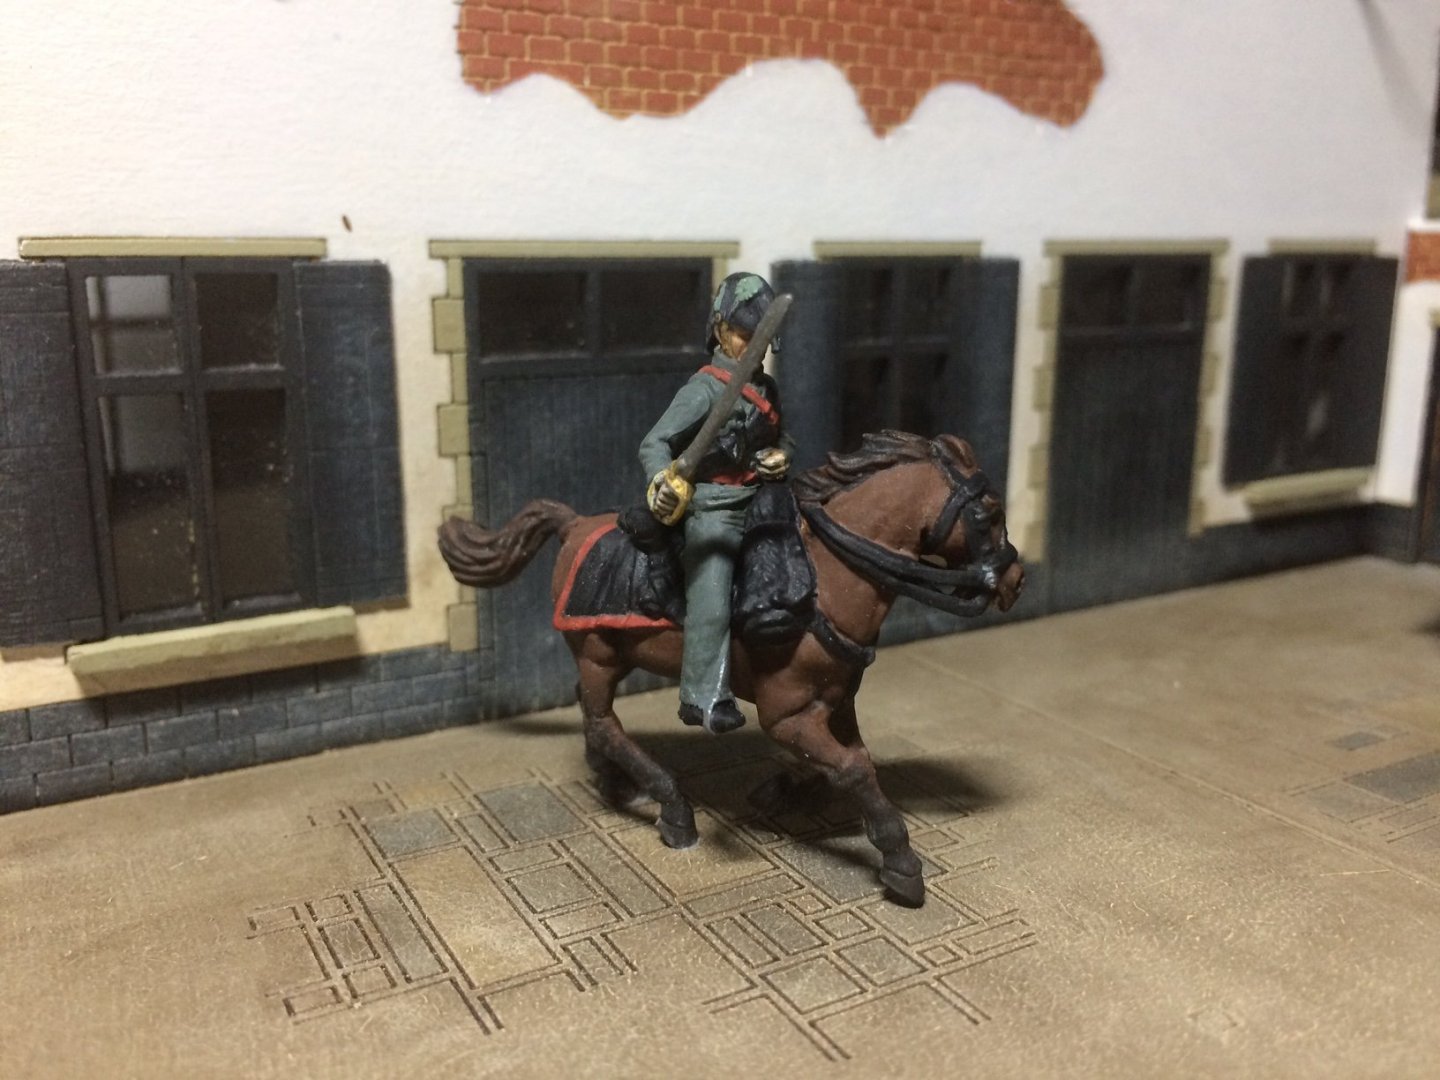
Evening all, Right a positive step forward "Agood one I hope" I have applied several dirty washes over the whole floor area, then when dry I used my dry brushing dust jobby in several runs over to blend in the washes - left it looking tatty and worn as it would have been. I then decided to add a few more figures - a couple more 2nd KGL around the pond - Major Baring instructing his troops to charge through the doors to chase the French, and Captain Graeme ordering the 2nd and 5th line troops through the doors by the road. OC.

-
Don't think I am that brave lol. OC.