Old Collingwood
-
Posts
12,104 -
Joined
-
Last visited
Content Type
Profiles
Forums
Gallery
Events
Everything posted by Old Collingwood
-
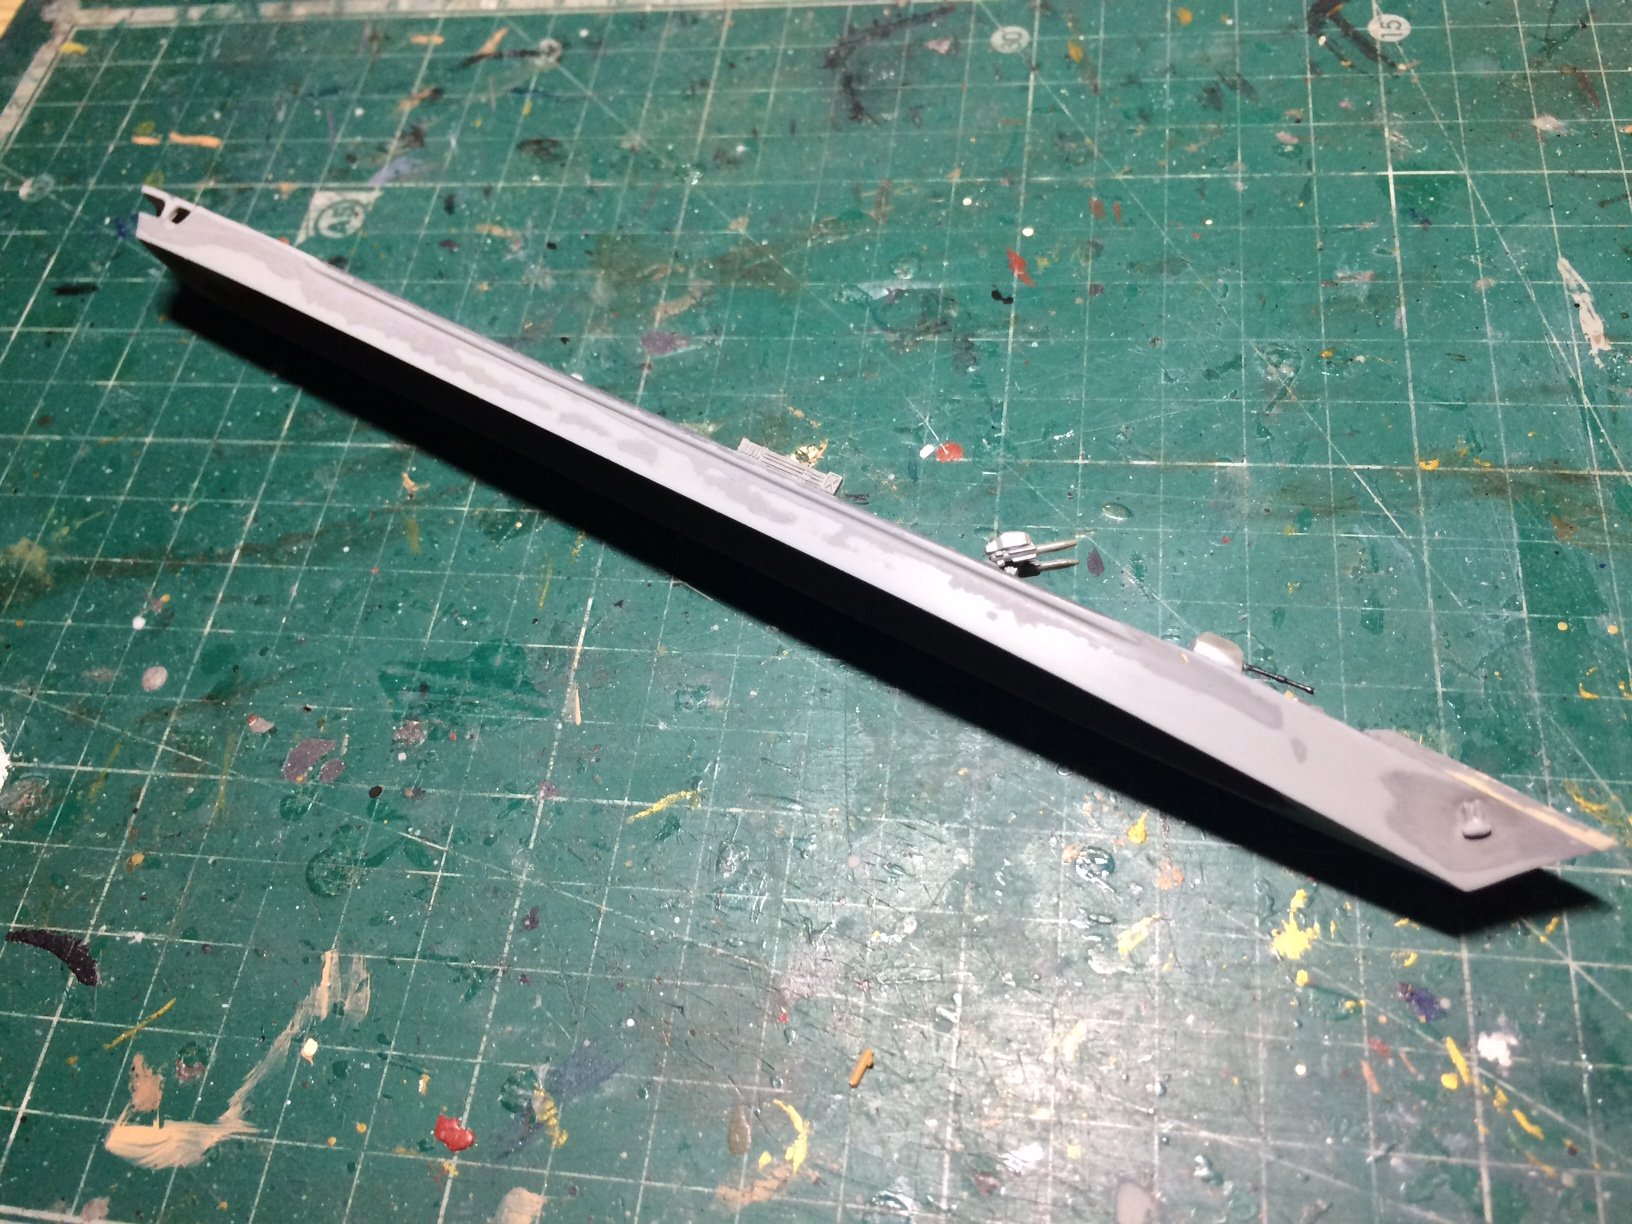
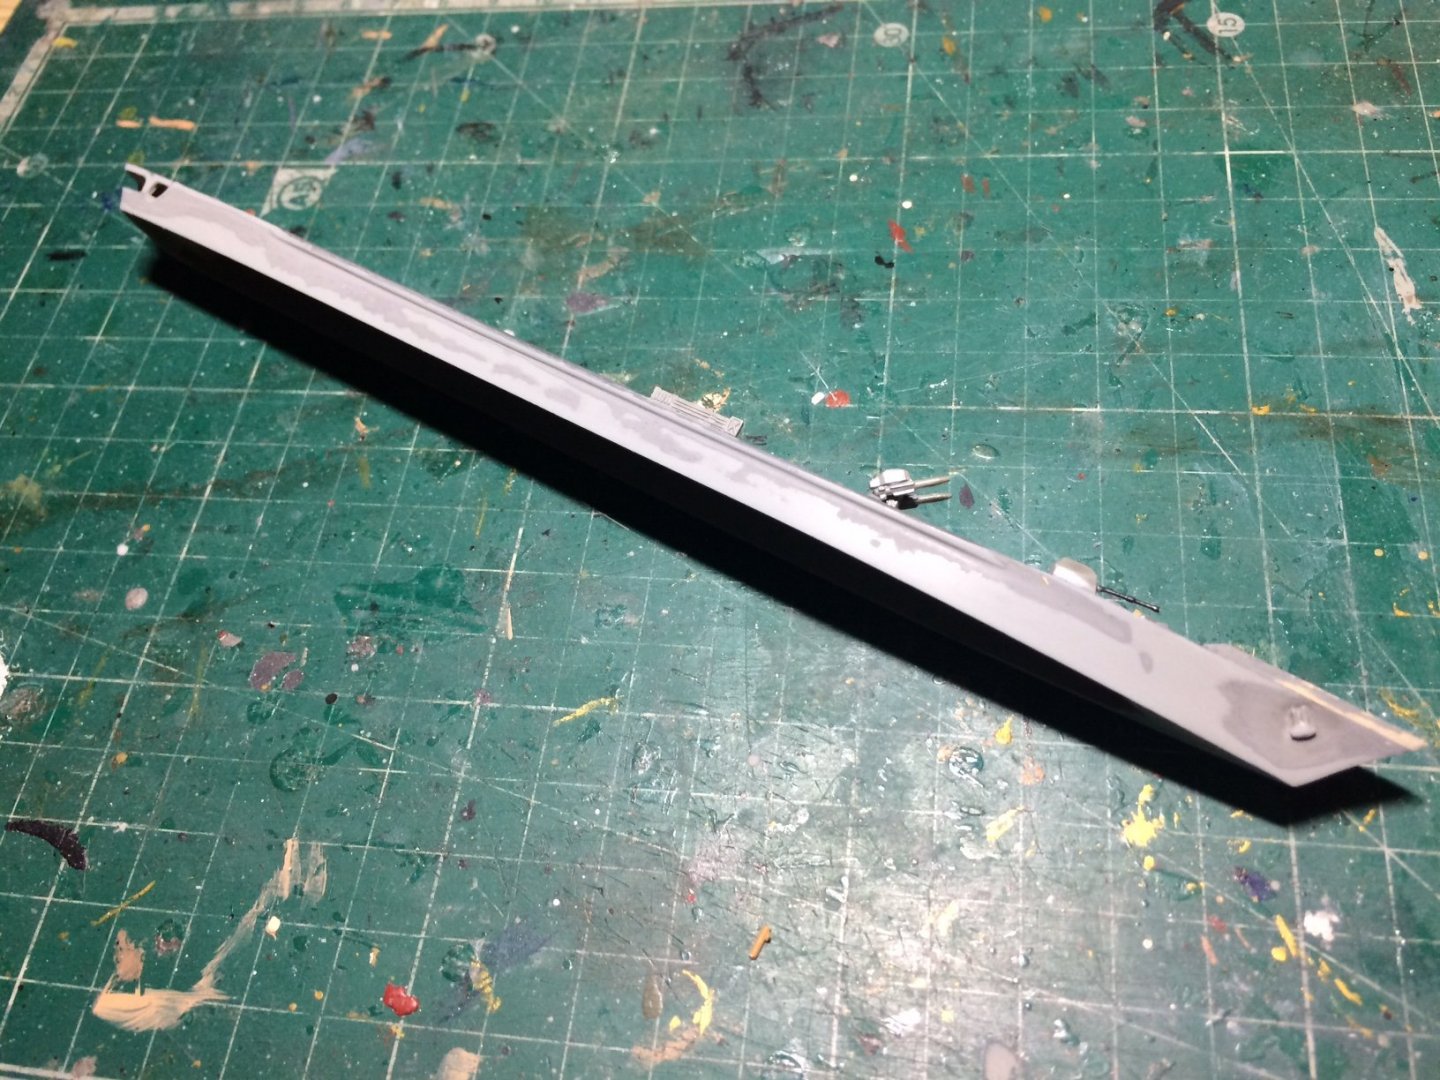
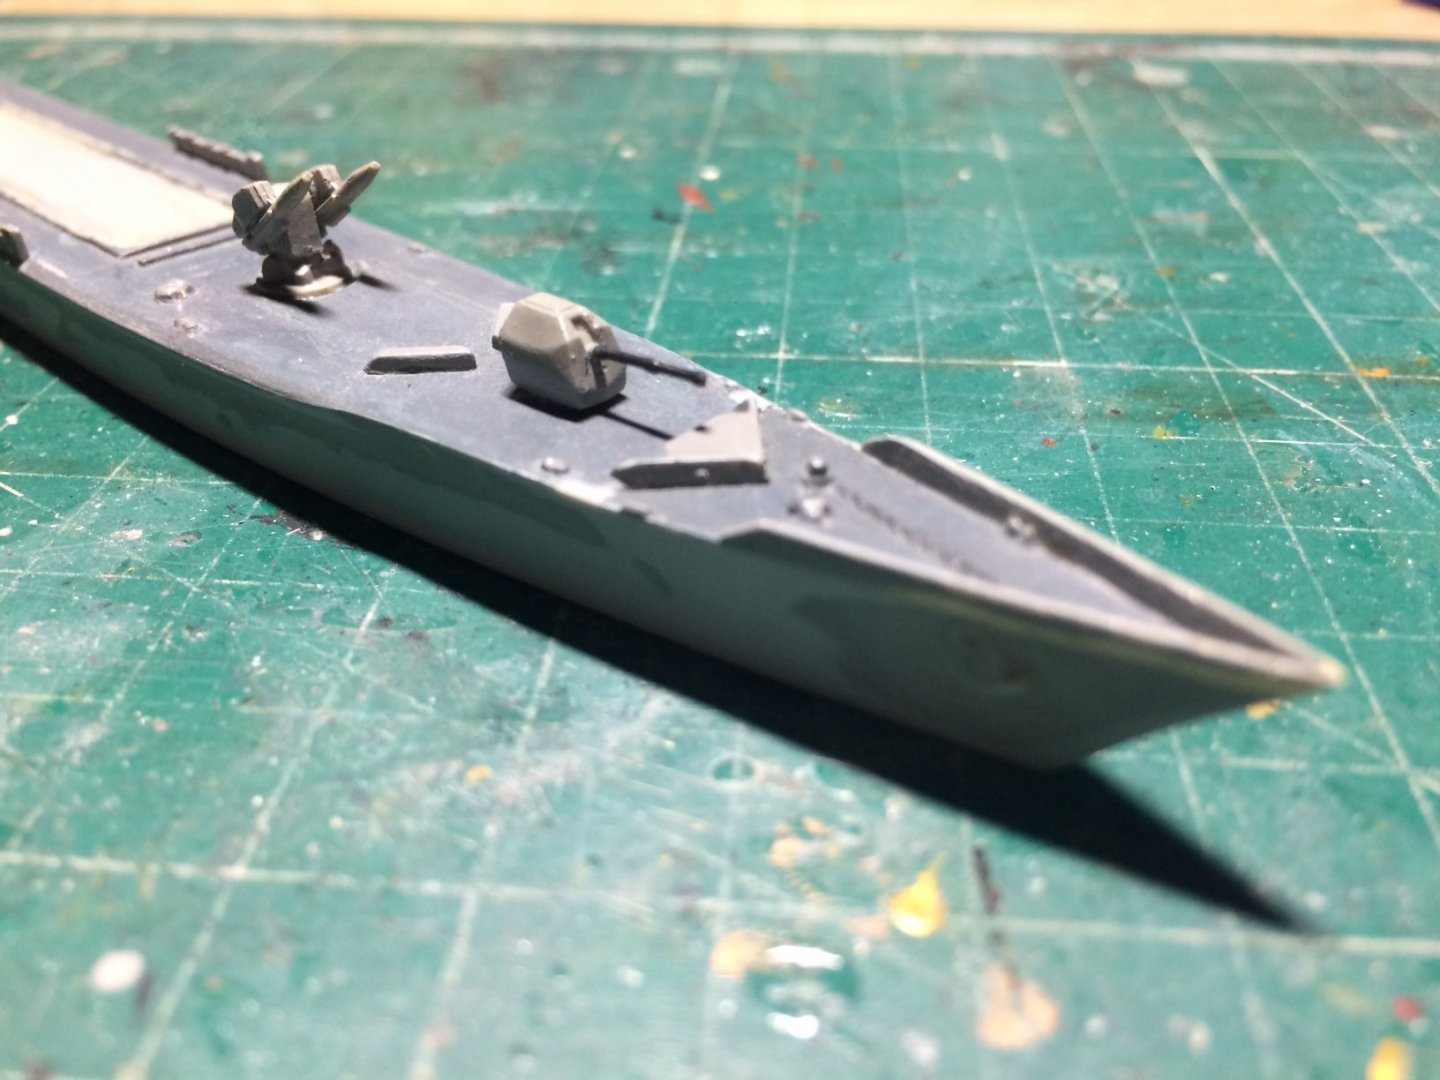
 Evening all - here are some progress photos, most of the de-paint process has been done - its a nice flat area now ready for my surface primer, then the top coat, I will mask the rear flight deck so I will be able to rescue the heli landing circle and work on improving some of the lines by masking and painting, the deck/tops of the blocks will also be done by hand. Not the greatest pic I have taken as the lens favoured the details in the background. OC.
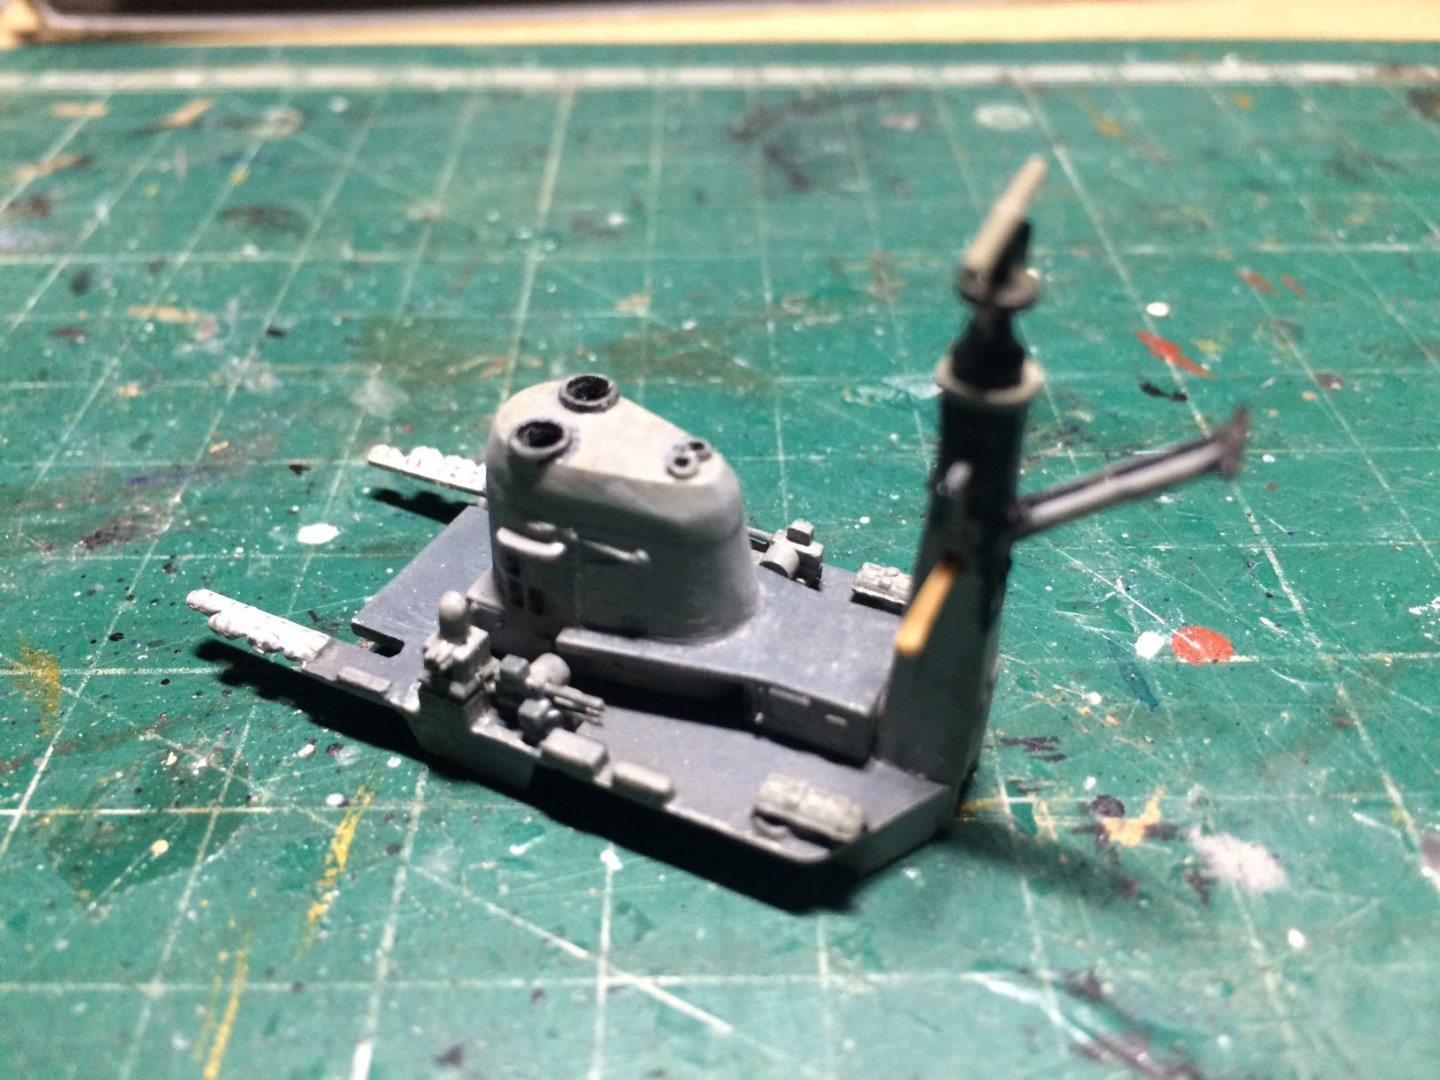
-
Thank you so much Gary for those very kind remarks and for following my build. OC.
-
More progress with this tonight but before I knew it - was time to pack up and I forgot to take pics, so basically I have most of the parts scraped and cleaned showing some good detail, I have sanded down the hull sides and cleaned up the bow, the plan is - I will give all the parts a spray with Tamiya surface primer (rattle can) then a top coat again rattle can, then I will paint the decks by hand as they would not have been dead smooth due to the anti slip paint on them. This will leave a ship with no decals though (unsure where I can get a set - I have been looking) OC.
-
Thanks Ken, so far I have been using a sharp blade to good effect, I have a tiny amount of isopropal in a spray bottle but it wont be enough I dont think. OC.
-
Its ok Alan we love our food around here and often get talking about it - you have joined a real "Click" of people the banter is often as good as the topic. OC.
-
I took it where we used to live close to a naval port, I was thrilled when we saw her during her farewel tour. OC.
-
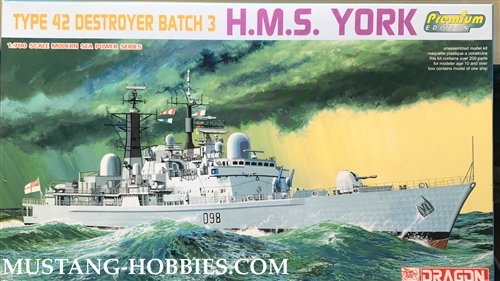
This was the kits box artwork its a mk 3 version of the lengthend type 42 - HMS Edinburgh had the extended frontage (that I had to scratch) OC.
-
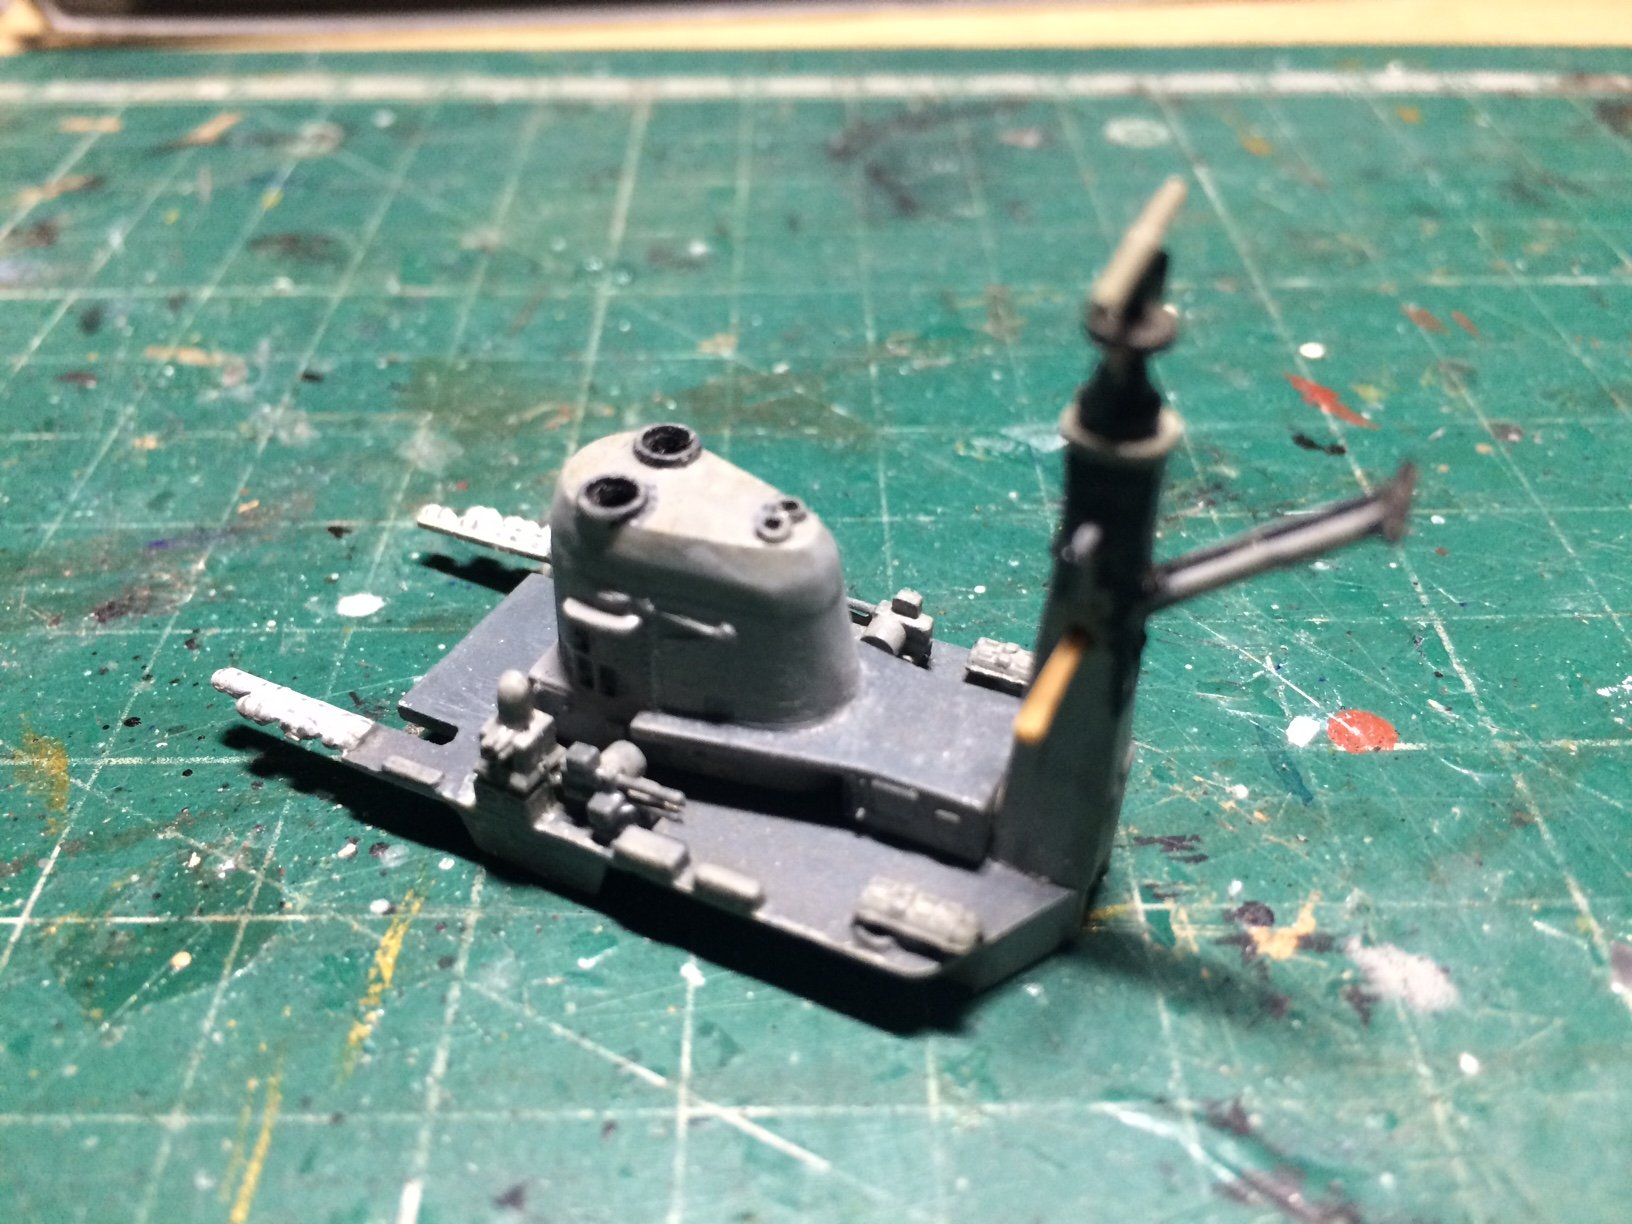
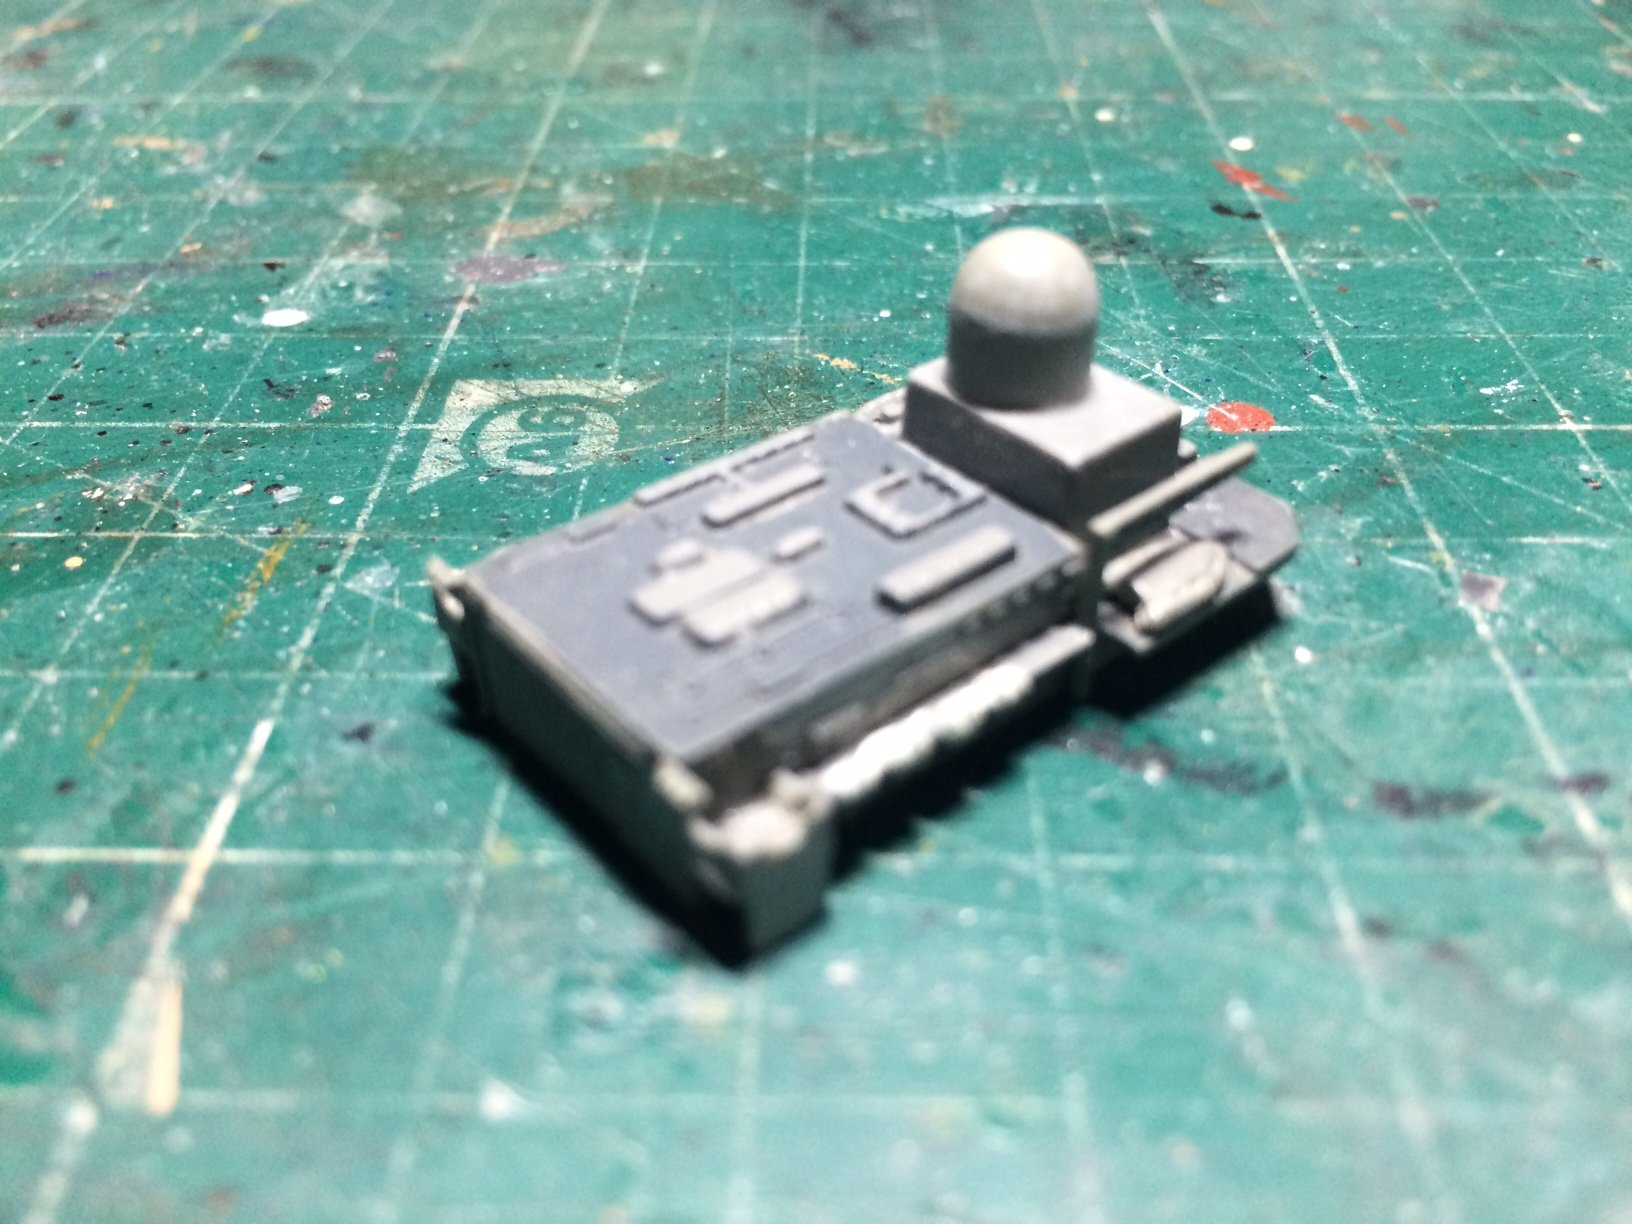
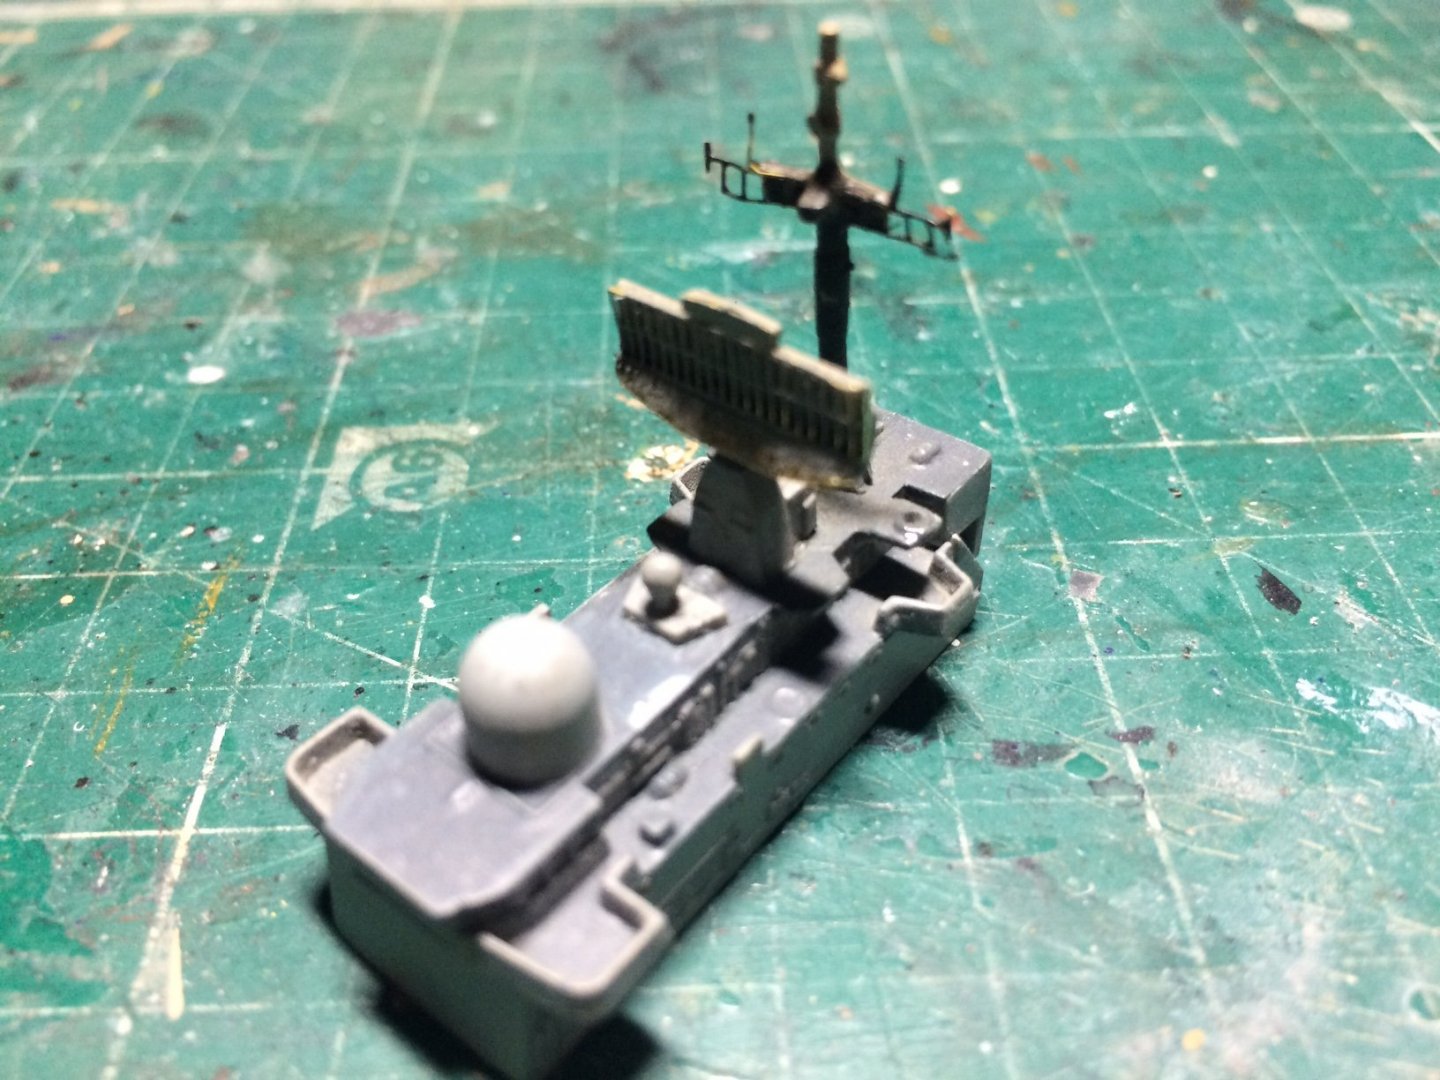
Evening all, I decided to make a start on this today - I started removing the superstructure from the deck so I could get a better look at the details - "Boy was it in a state" but no surprise really as when it was built I was using just the basic tools no optovisor and just a over head light on our old haunted cottage where we used to live. I have been gently scarping away to remove the rough paintwork that looks like it was applied with a trowel - not to mention the trapped dust under the paintwork. Its going well even exposing some of the sharp details that was lost under the paintwork, the idea is to clean it up as much as possible then re paint again using brushes but this time it should be a better job as I have magnification and a good light. I will put some pics on tomorrow. OC.
-
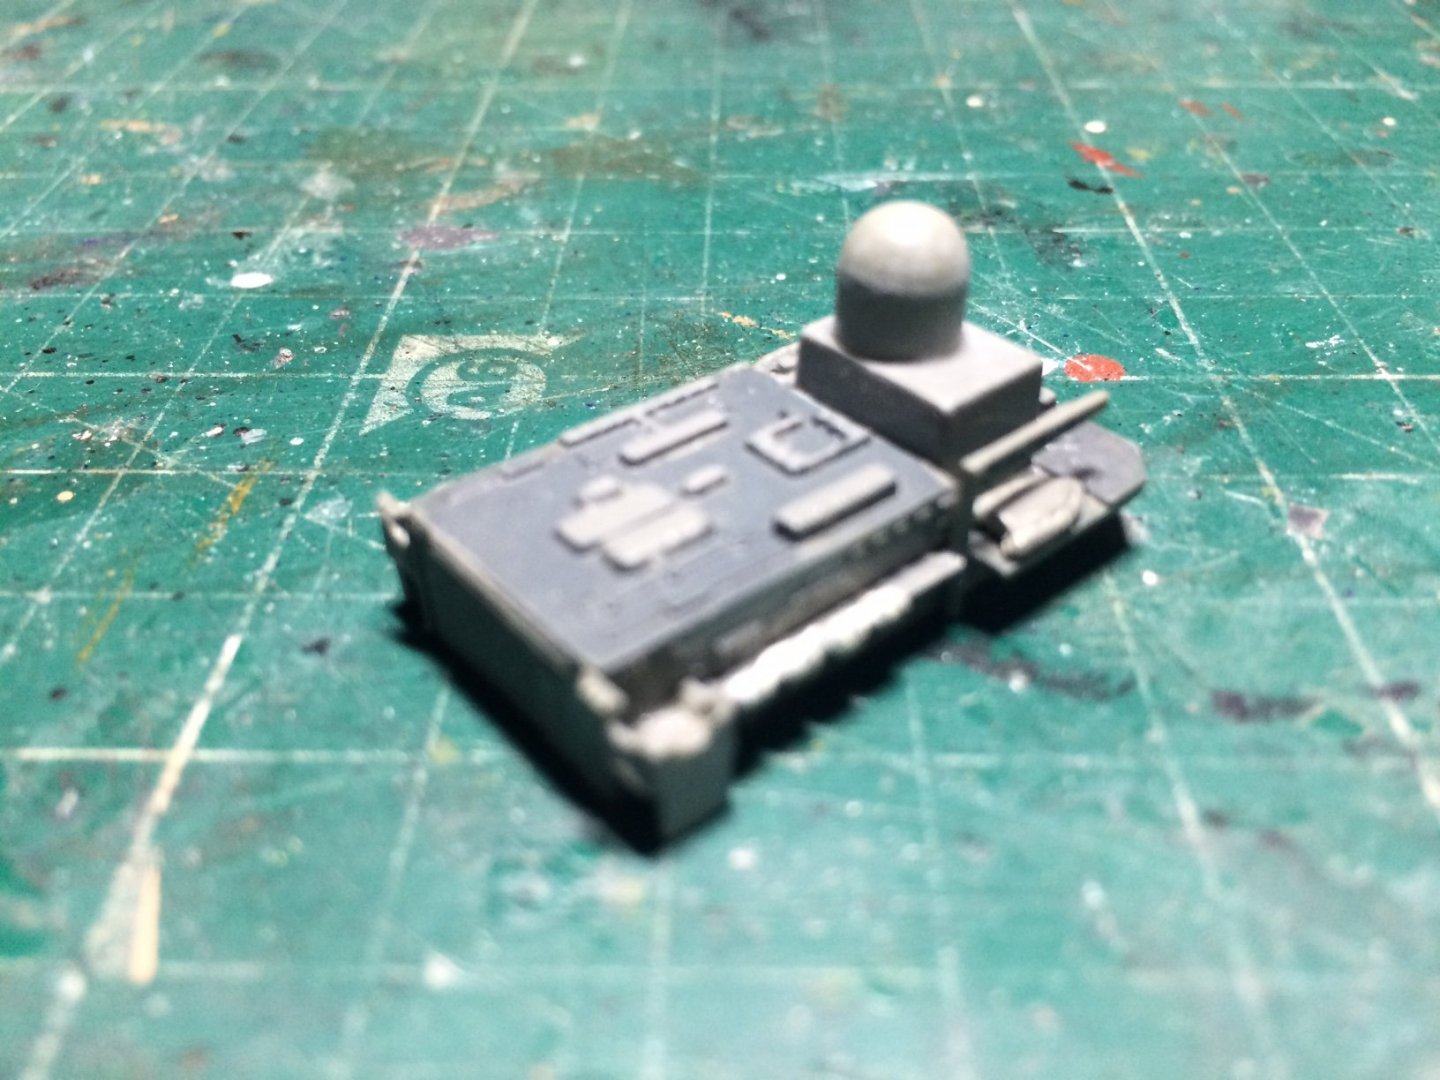
Thank you Mark, I understand its because it is the Main unit standard hence why it is so large. OC.
-
Really nice start Alan. OC.
-
Thank you Craig, that was so nice of you. OC.
-
Thank you Kindly Alan. OC.
-
Thank you so much brother. OC.
-
Thank you kindly my friend. OC.
-
It arrived but the "hungry bunch" eat it all - waiting on fresh supplies apperently Mark is booking a lorry as we speak😁 OC.
-
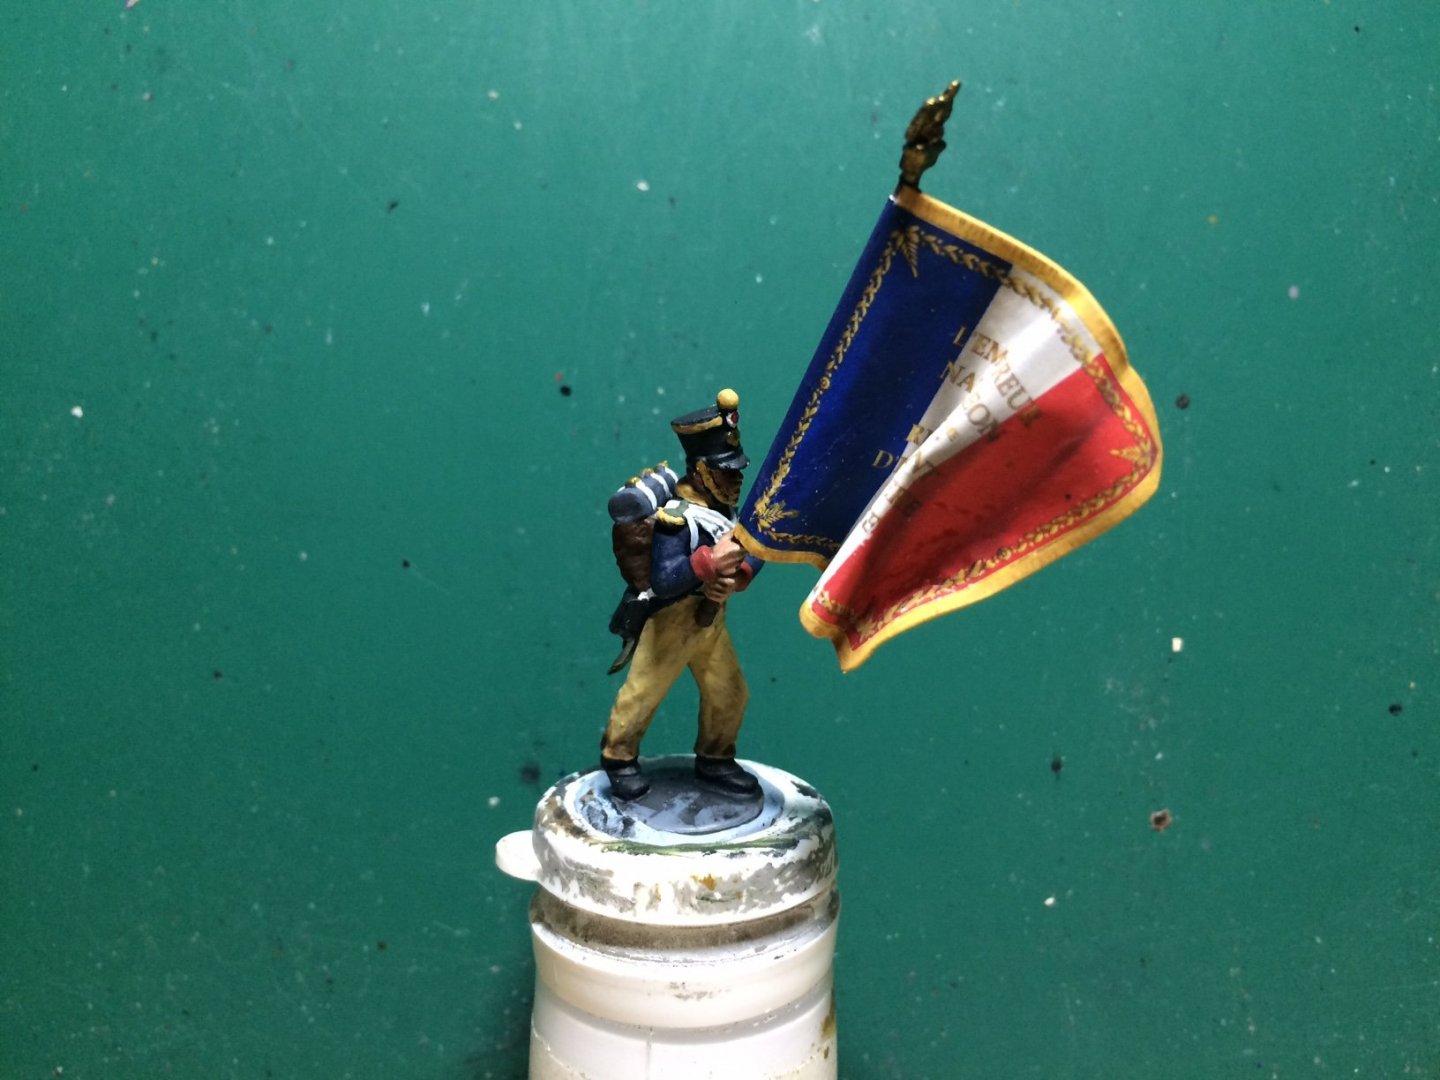
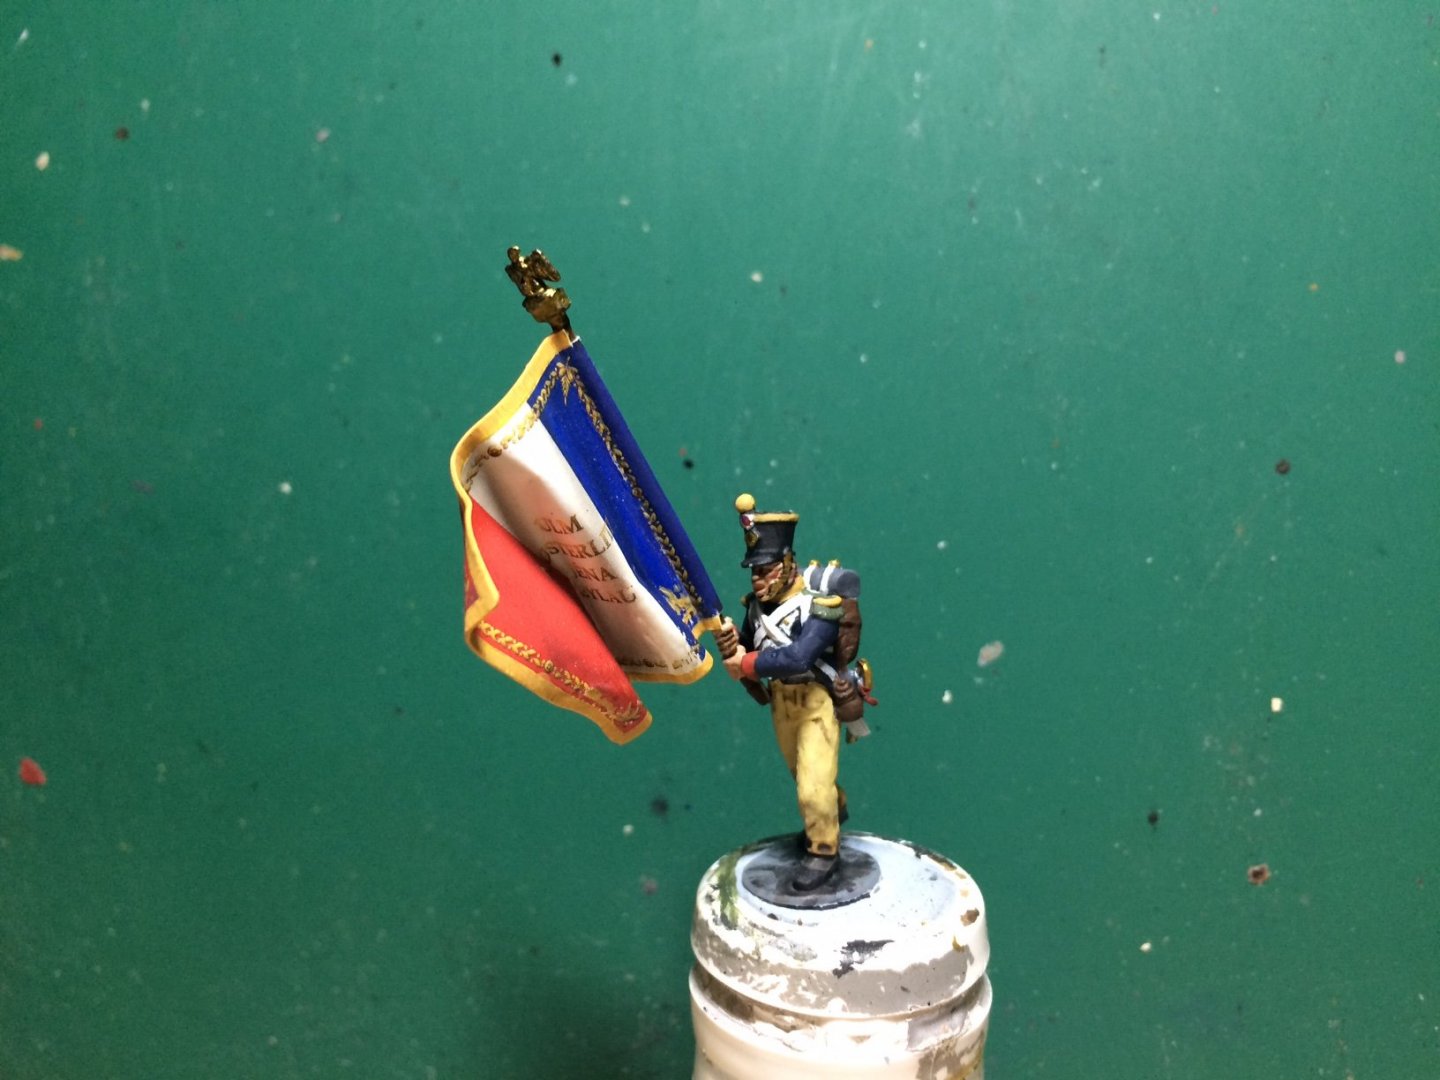
And here is the finished article. OC.
-
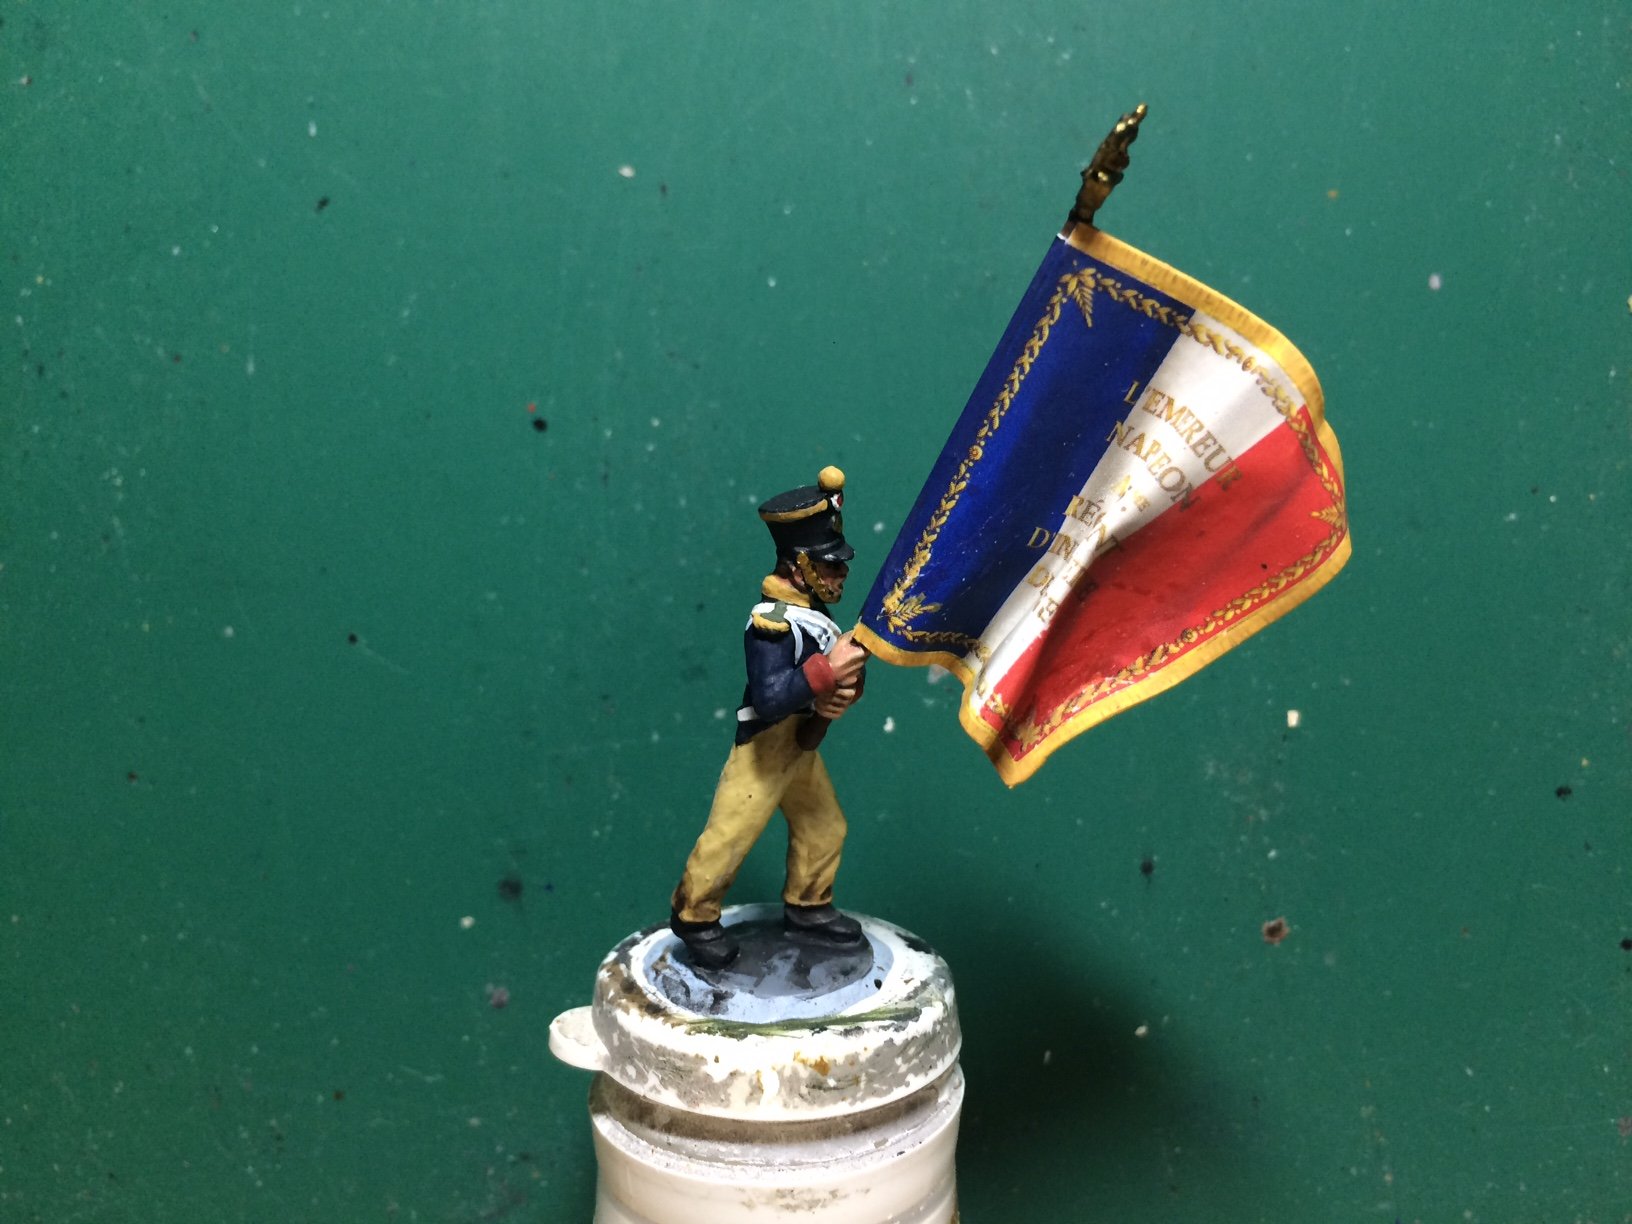
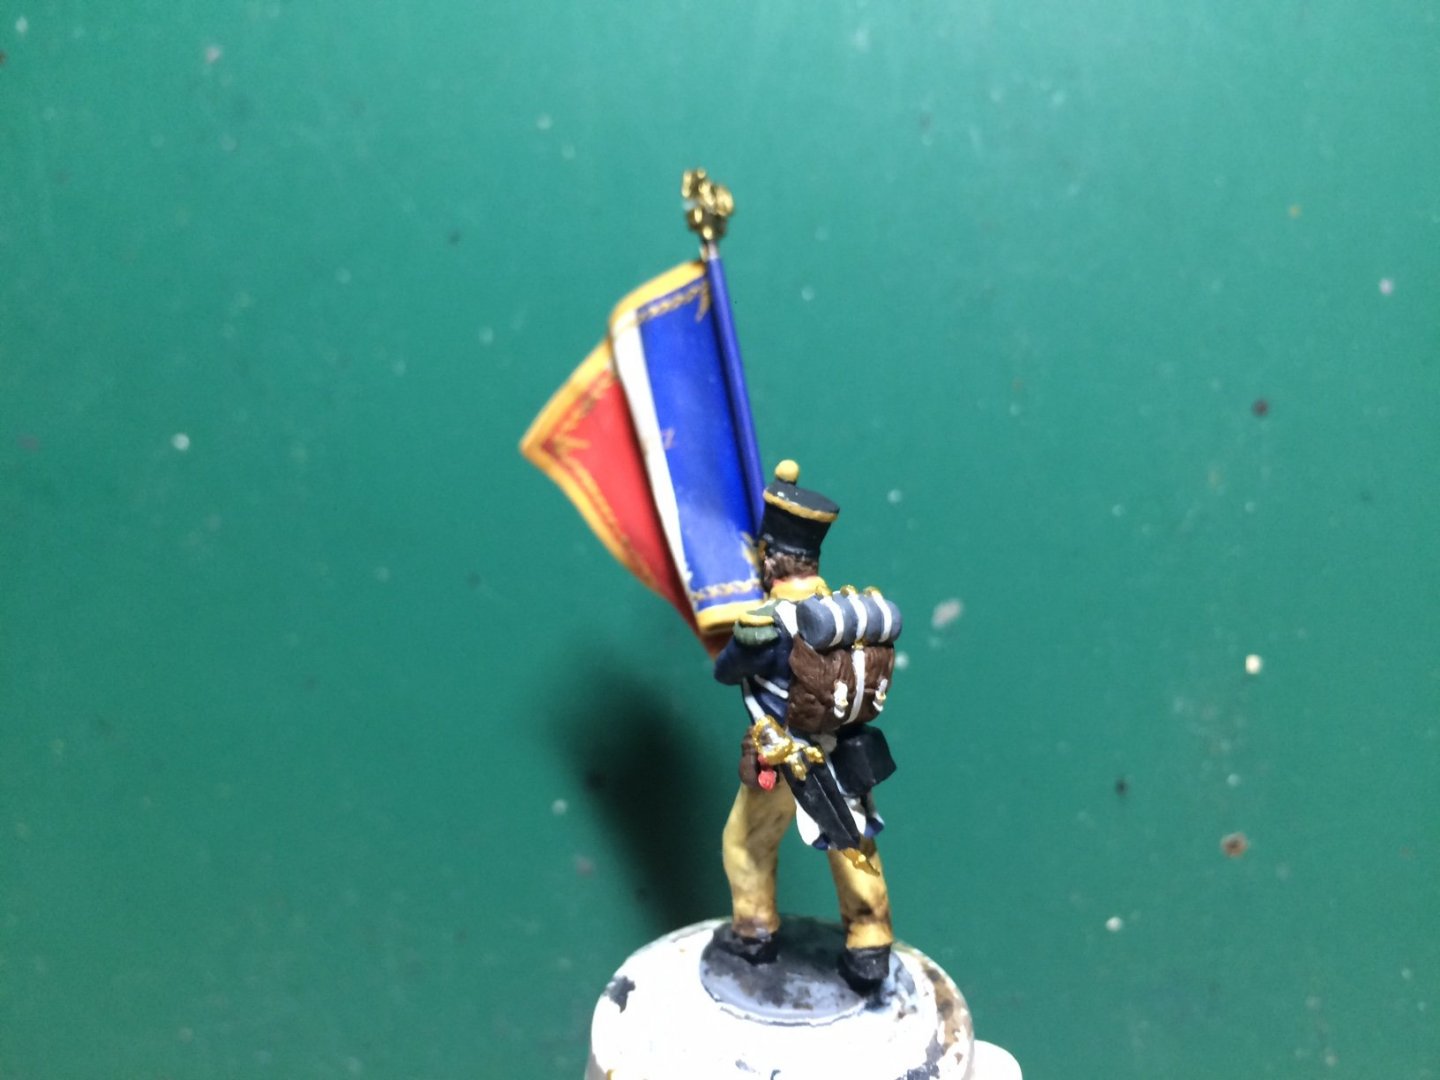
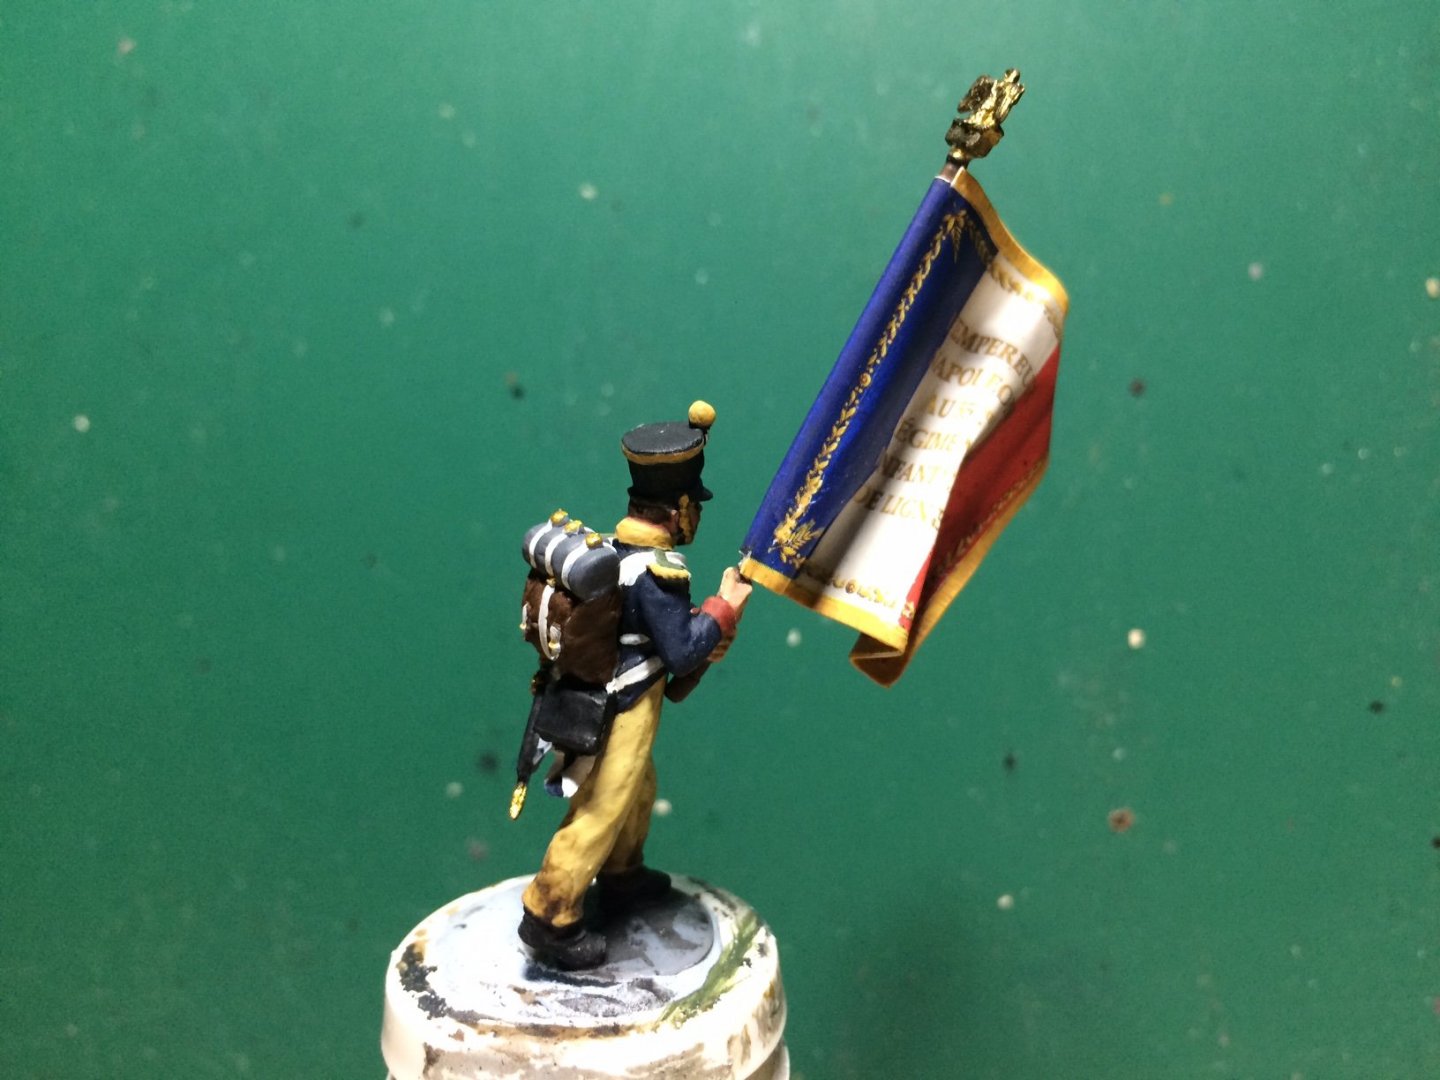
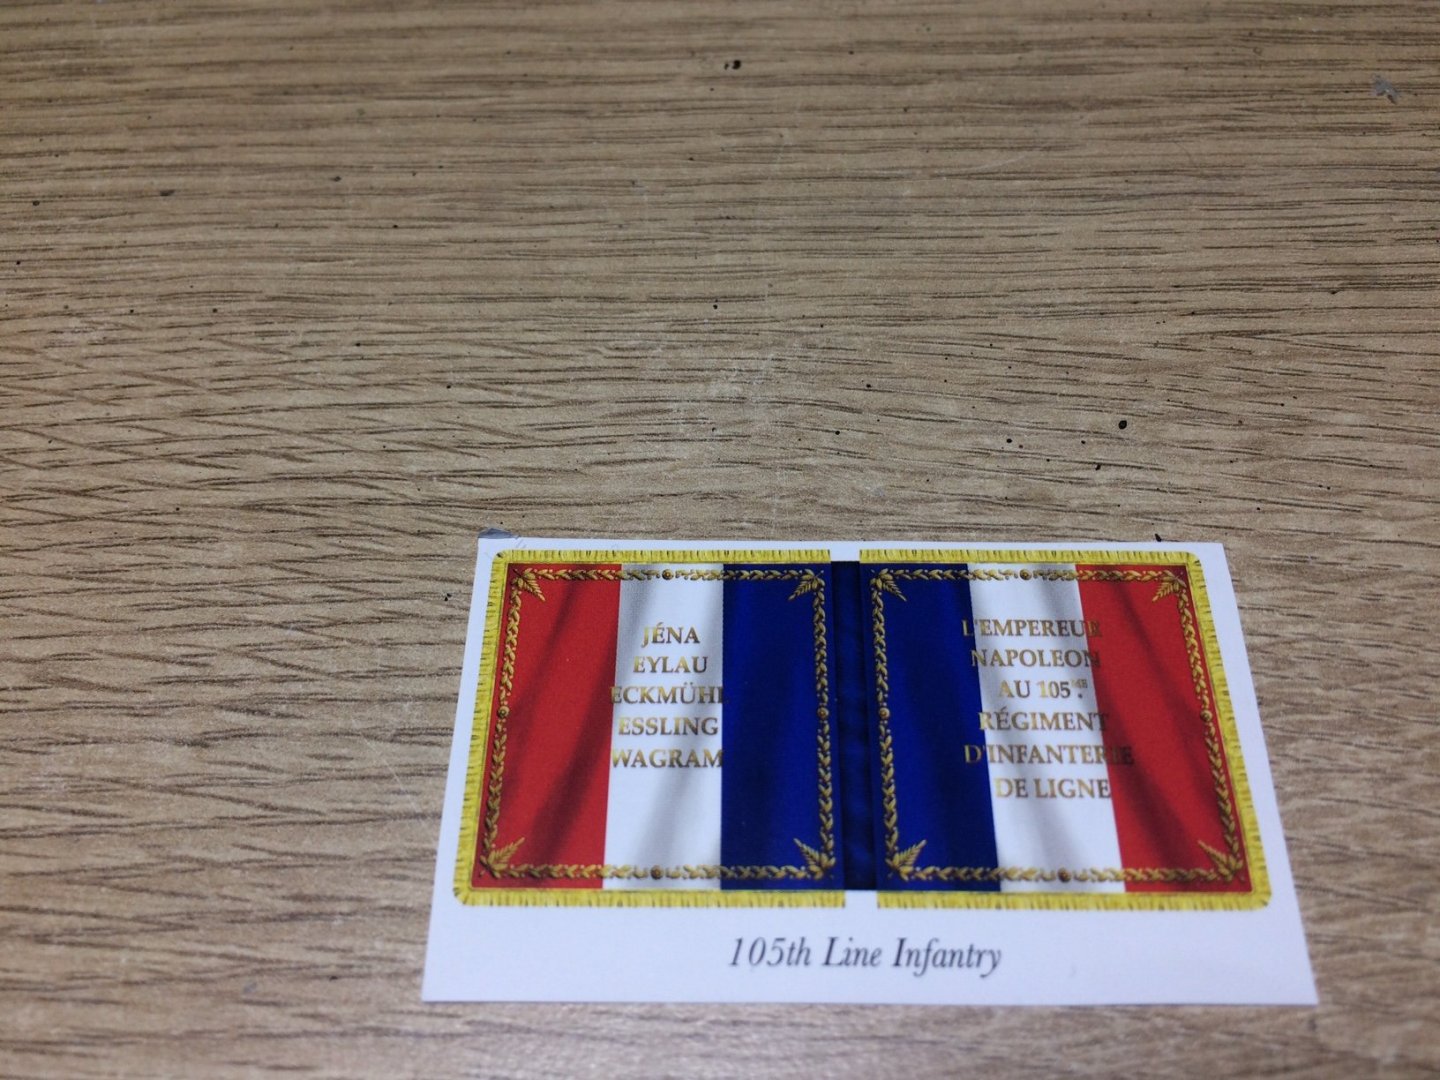
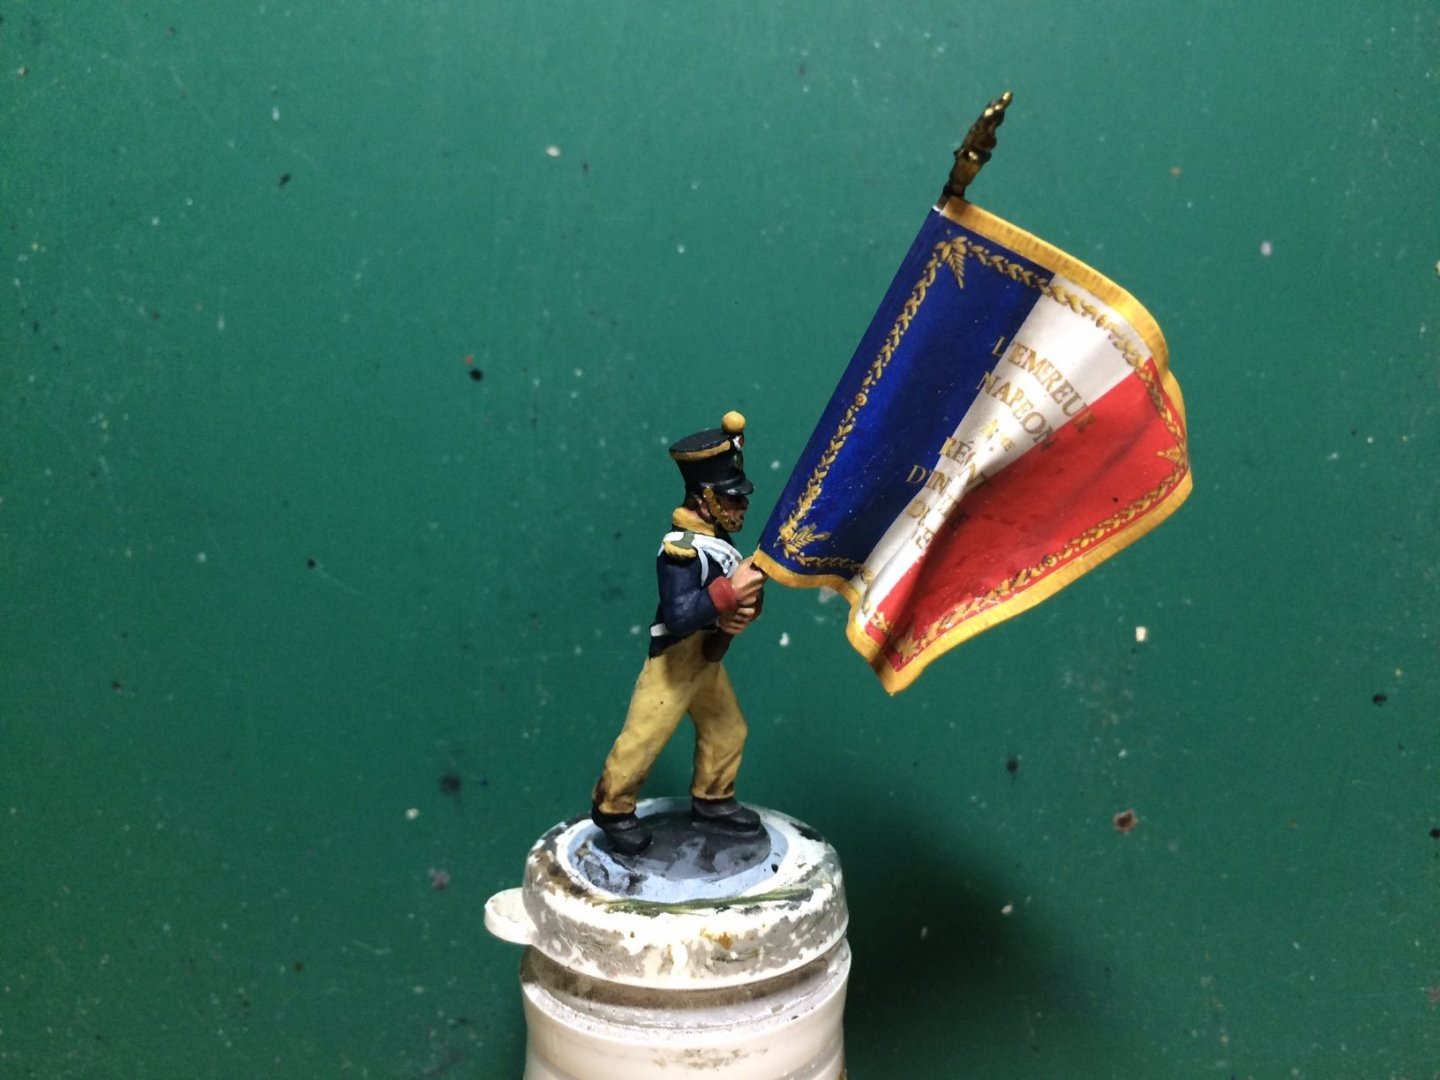
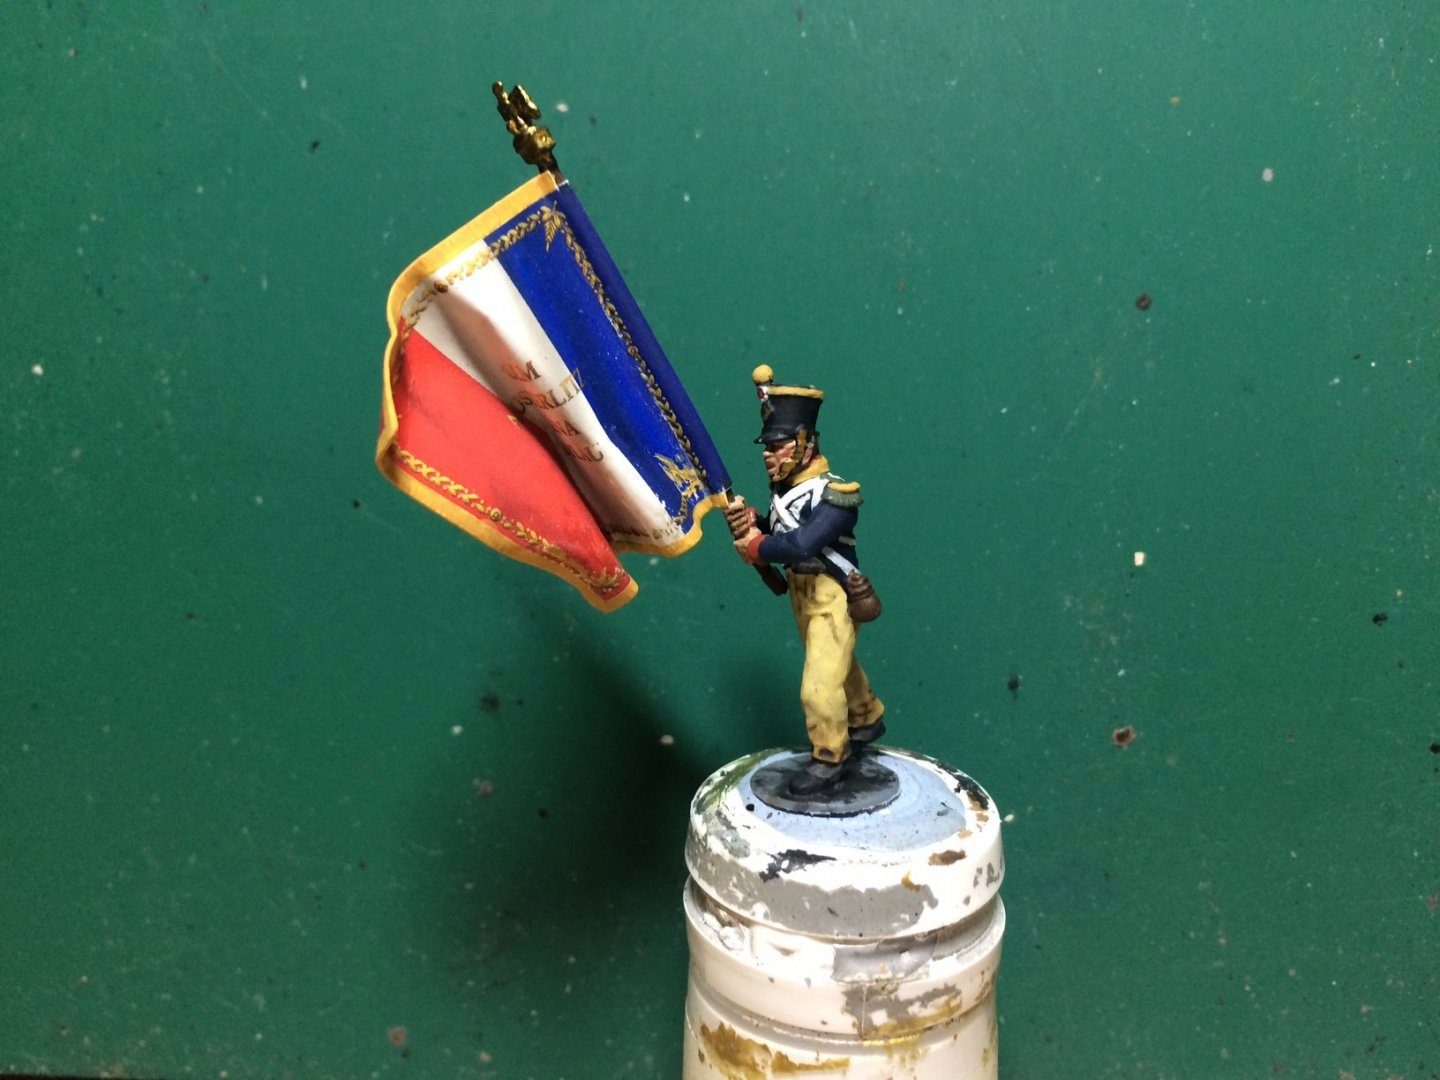
Evening all, my 55th Ligne flag barer is now complete, the flag was a stright forward process but apperently the printed colouring can and does get some damage (mine was the same) - as I explained my process in my other post above - thats what I did. But after gluing it and shaping it I touched up some of the marks and gave the whole flags edge a re paint in Yellow Ocre. So this is the finished flag - but first how the flag starts (not the same regimant as is on my figure) Next post will show the completed figure with his backpack and details etc. OC.
-
Famous date tomorrow - Waterloo Day. OC.
-
Good day all, I might have a go at the flag latter - I have been reading up on how to attach/fold/shape flags by touching up the inside edges/outer lip with the same piant as the outside, then gluing a piece of foil leaving an edge around it with PVA then more PVA over both sides - then close it up around the flag staff, then applying PVA on the outer sides and fold it down to get the right folds/shape. Time will tell OC.
-
I think ontop of the small scale my problem might come from rattle can painting as I do not have a precision sprayer and dont think brush painting will cut it - will need to study my work flow when I start my Hood. OC.
- 127 replies
-
- 6
-

-
- Akitsushima
- Pit Road
- (and 2 more)
-
Me too in my past - Dawes and Specalized Mountain bikes. OC.
-
Count me in brother. OC.