Old Collingwood
-
Posts
12,104 -
Joined
-
Last visited
Content Type
Profiles
Forums
Gallery
Events
Everything posted by Old Collingwood
-
 She is looking splendid mate, ingenuity is the key to science and imagination key to artistry. OC.
- 273 replies
-
- 3
-

-
- panart
- amerigo vespucci
- (and 1 more)
-
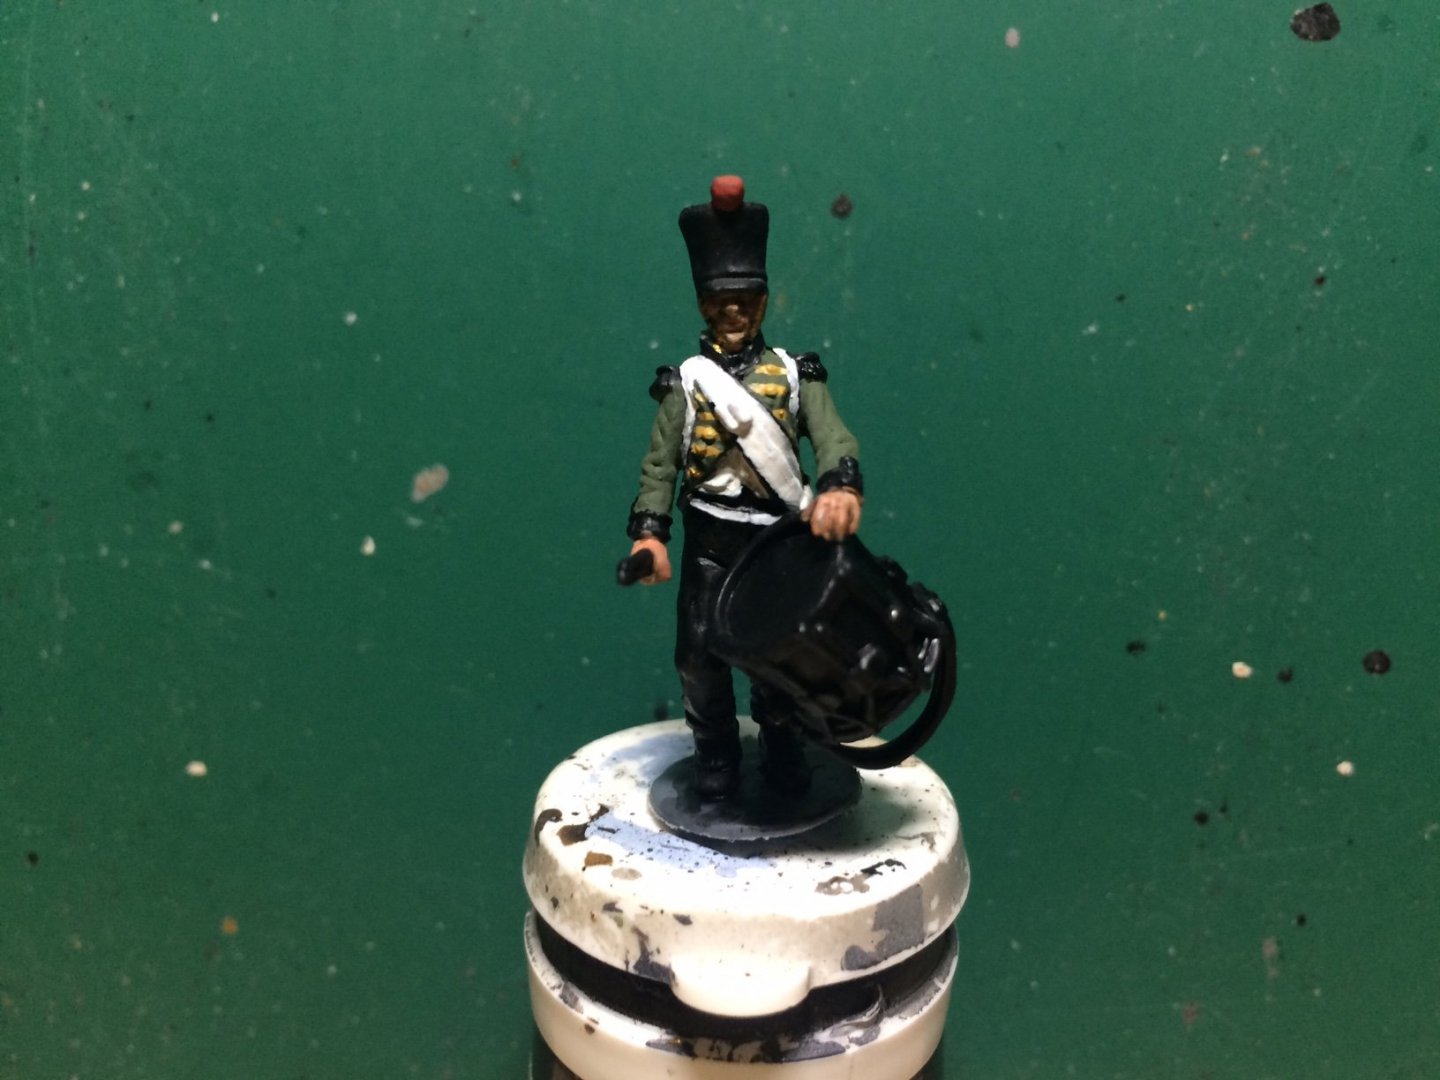
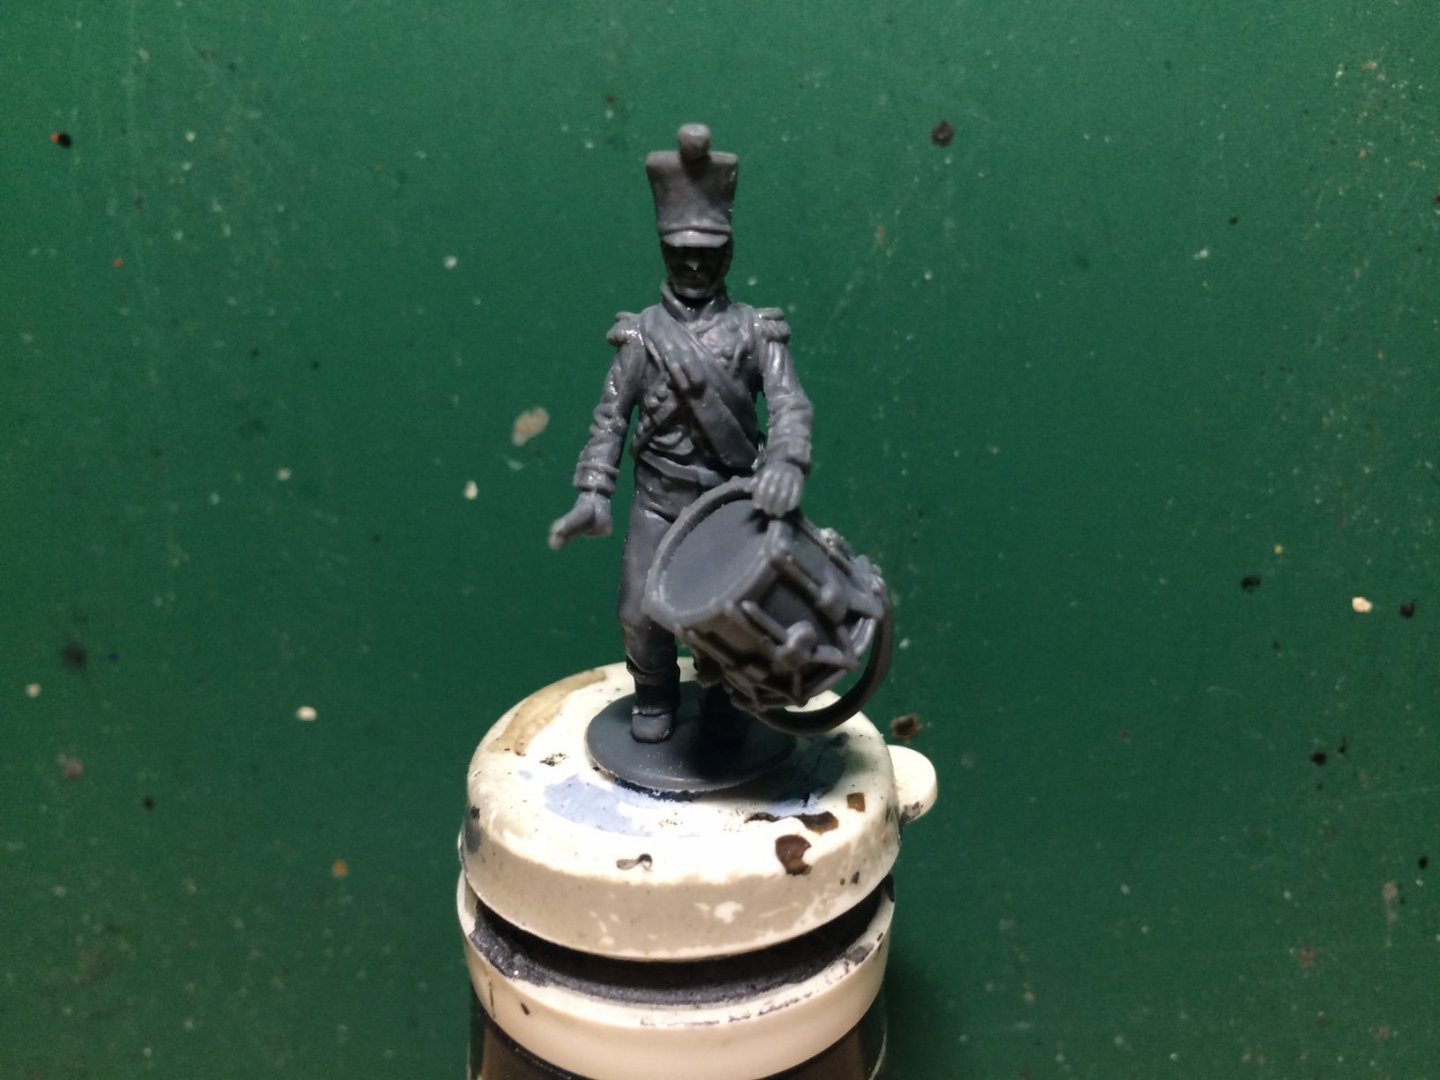
Evening all, a bit of progress this evening - I painted his jacket in mid Green then I started to put some Yellow bars across his chest and stomach, next will be some chevrons on his arms again in Yellow, this is the dress worn by the 55th Ligne for the musician section. OC.
-
You must surely be hand painting as well Greg - no way you could mask off areas for spraying at this scale with all those small bits. OC.
-
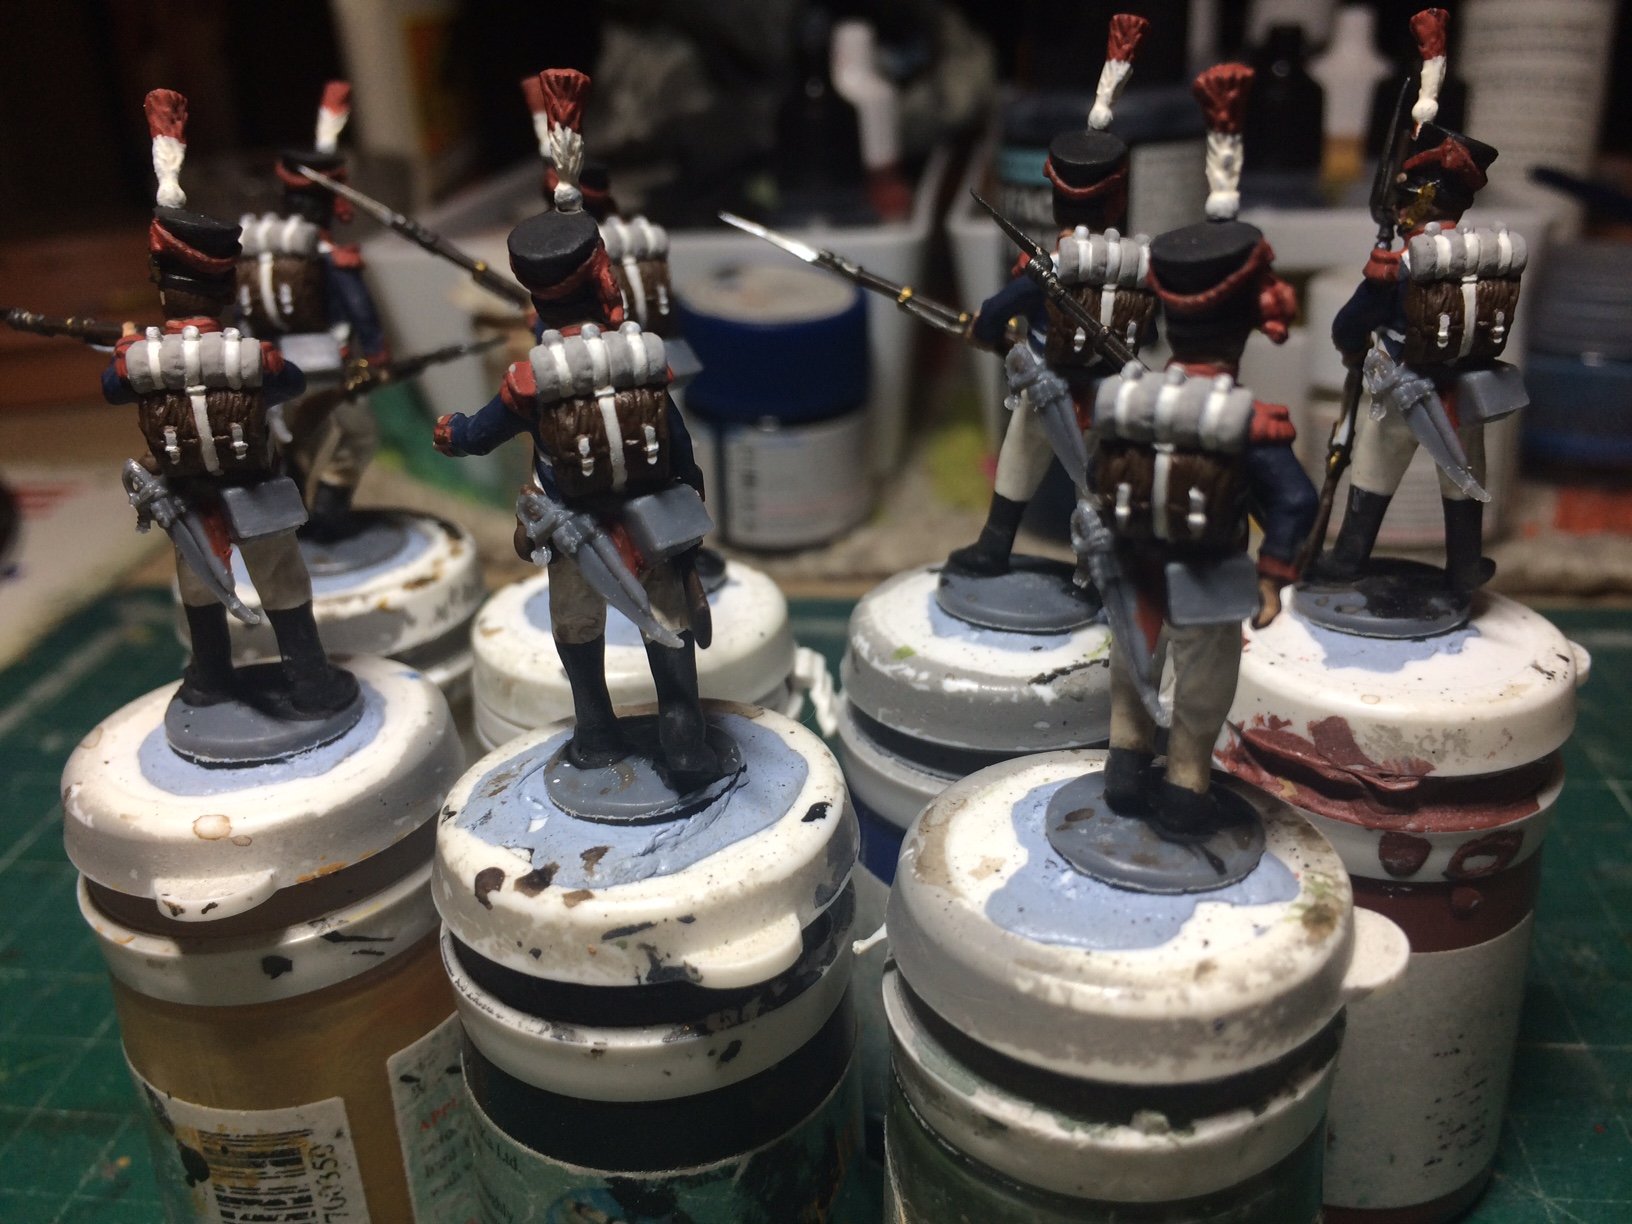
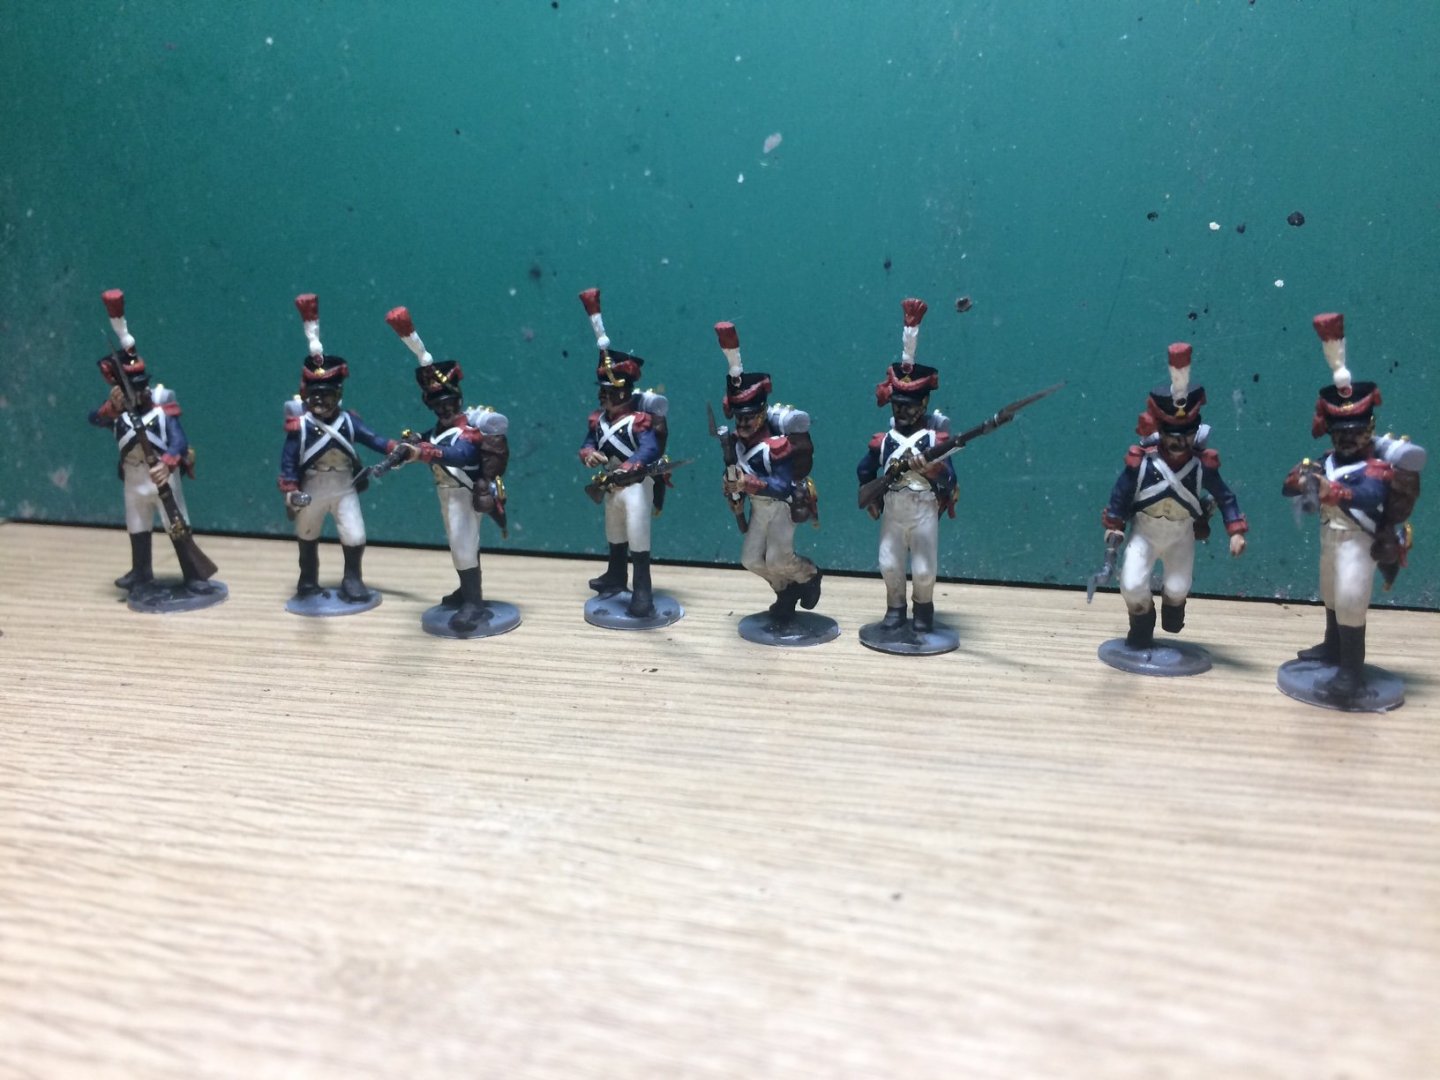
Oh - nearly foregot I now have 43 figures finished out of around 125-150. OC.
-
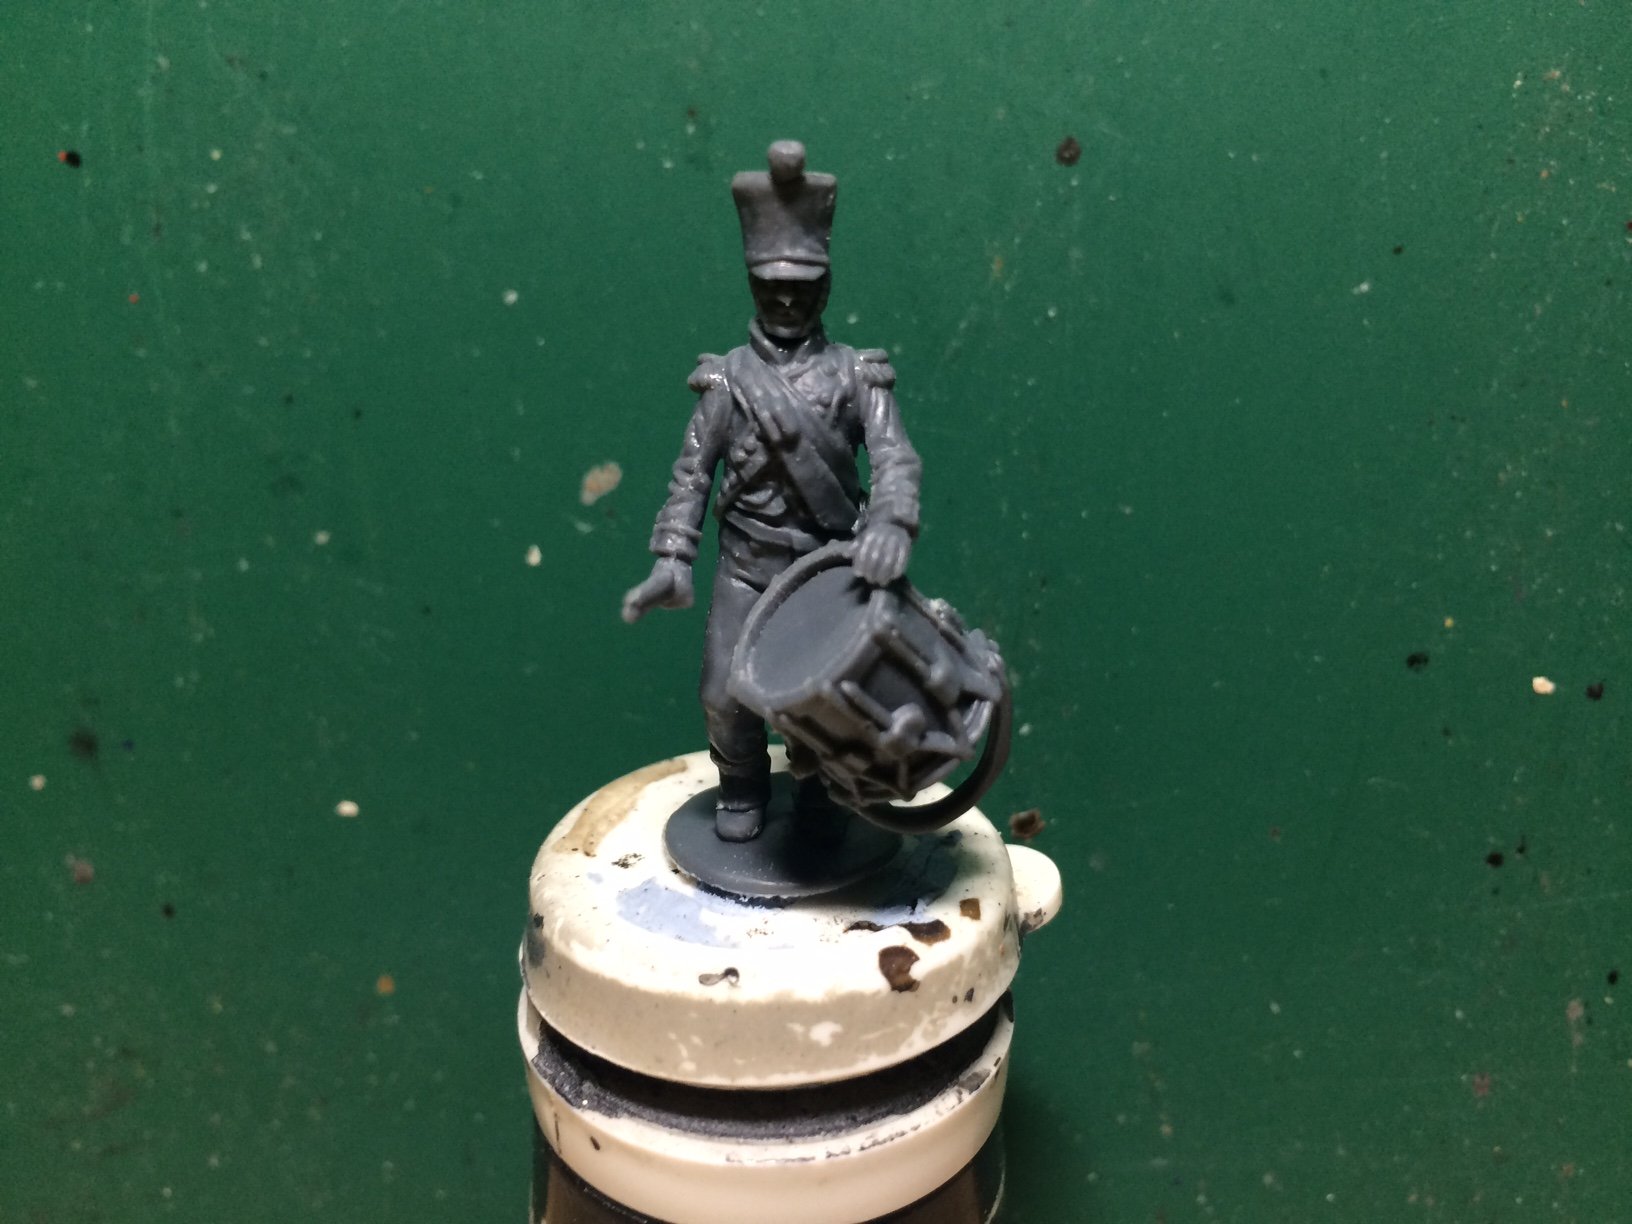
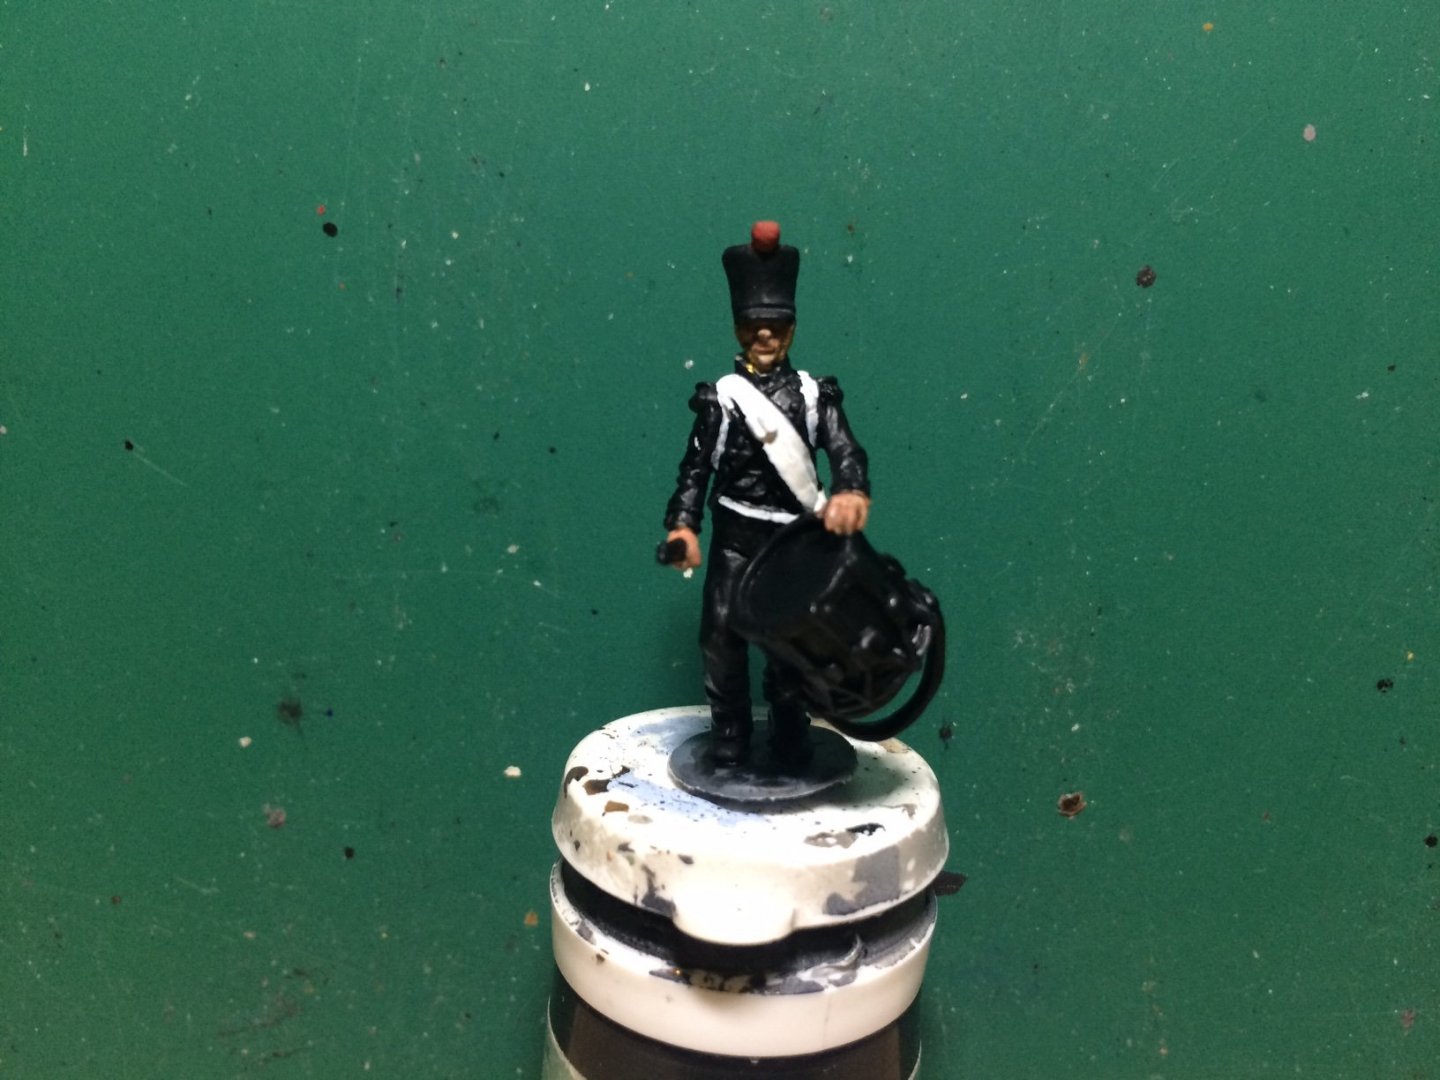
Evening all - so between painting wood bits around the house (did down one side of the stairwell today) I have managed to put some paint on my little drummer, normal precedure - I started with the Black primer this was heated to speed up drying time, then I started with the face basic light skin coat first (couple of coats) then the hands - this was followed by a wash then more light skin followed by more of a rosey pink for the cheeks and slightly darker for the mouth, then the Shako cover got a couple of coats of Matt Black pom pom Red, and hair painted Brown then the side Brass straps, then it was time to do the White body straps. OC.
-
Sounds like a lot of work my friend. OC.
-
Takes a good meal and the total release of the TC remote aided by lots of visits to the kitchen to keep our admirals lubricated. OC.
-
That supprises me Craig with the attention to detail on your models - quite shocked to be honest. OC.
-
Secret cheat - I also use water based paints so any small spills can be wiped up using a soapy sponge or wrag 😉 OC.
-
Yep its a 2.5 Inch brush - its my fave decorating brush - I used to decorate for a living when I was younger hotels mainly, I had more equipment back then but to be honest I just want to make this job a low fuss attempt, its going OK taking it a stage at a time and so far no mess at all even with no sheets down or newspaper cutting in where the skirting meets our carpets is ok all down to a good brush I learned over the years. OC.
-
Indeed Mark, trouble is I am waking up parts of me I have not used for ages - kind of got out of condition and lazy lol, I have Six doors to paint both sides Seven Door Frames the whole lengths of skirting including down the staircase - but trying to do it clean without splashes so I am using my trusty small brush - Hard wearing emulsion on the doors and satinwood on the frames and skirting. Down stairs is done. OC.
-
I'm still about folks - just been side tracked by painting the house wood bits - taking forever and talk about back ache. OC.
-
Thanks Ken. OC.
-
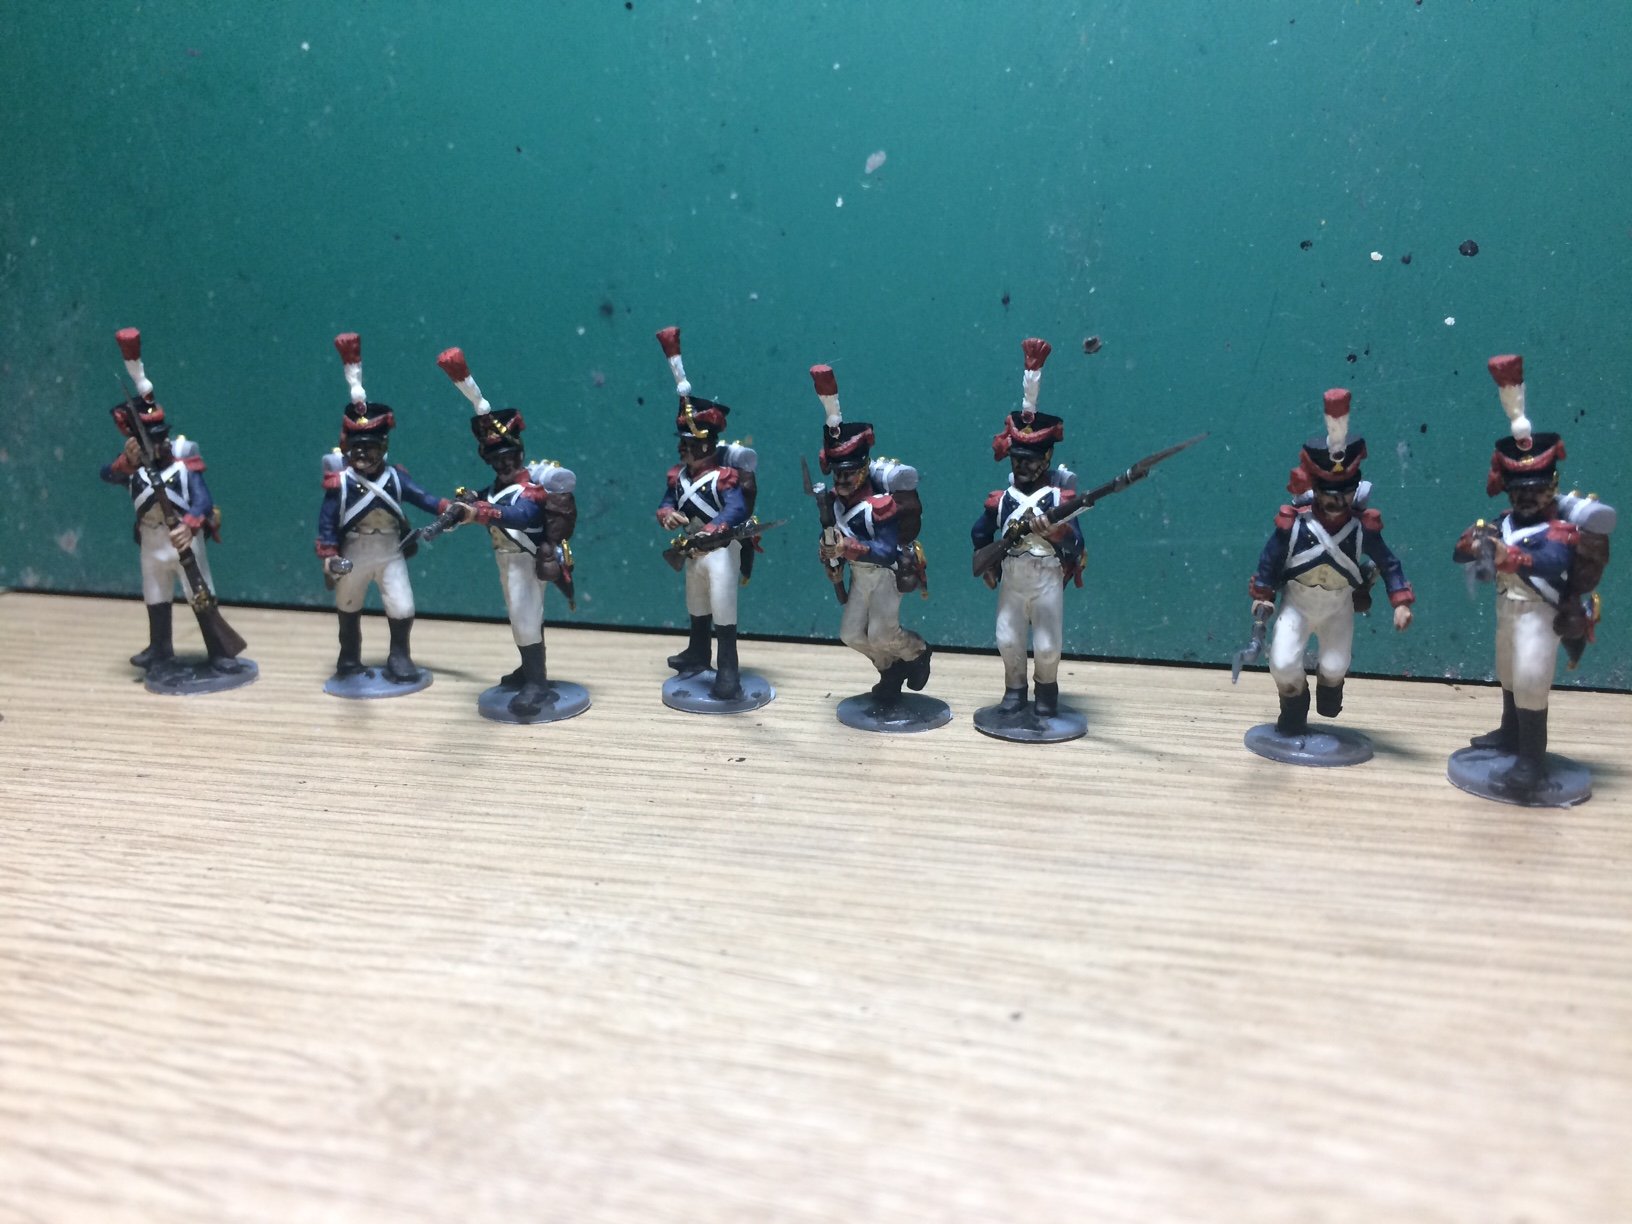
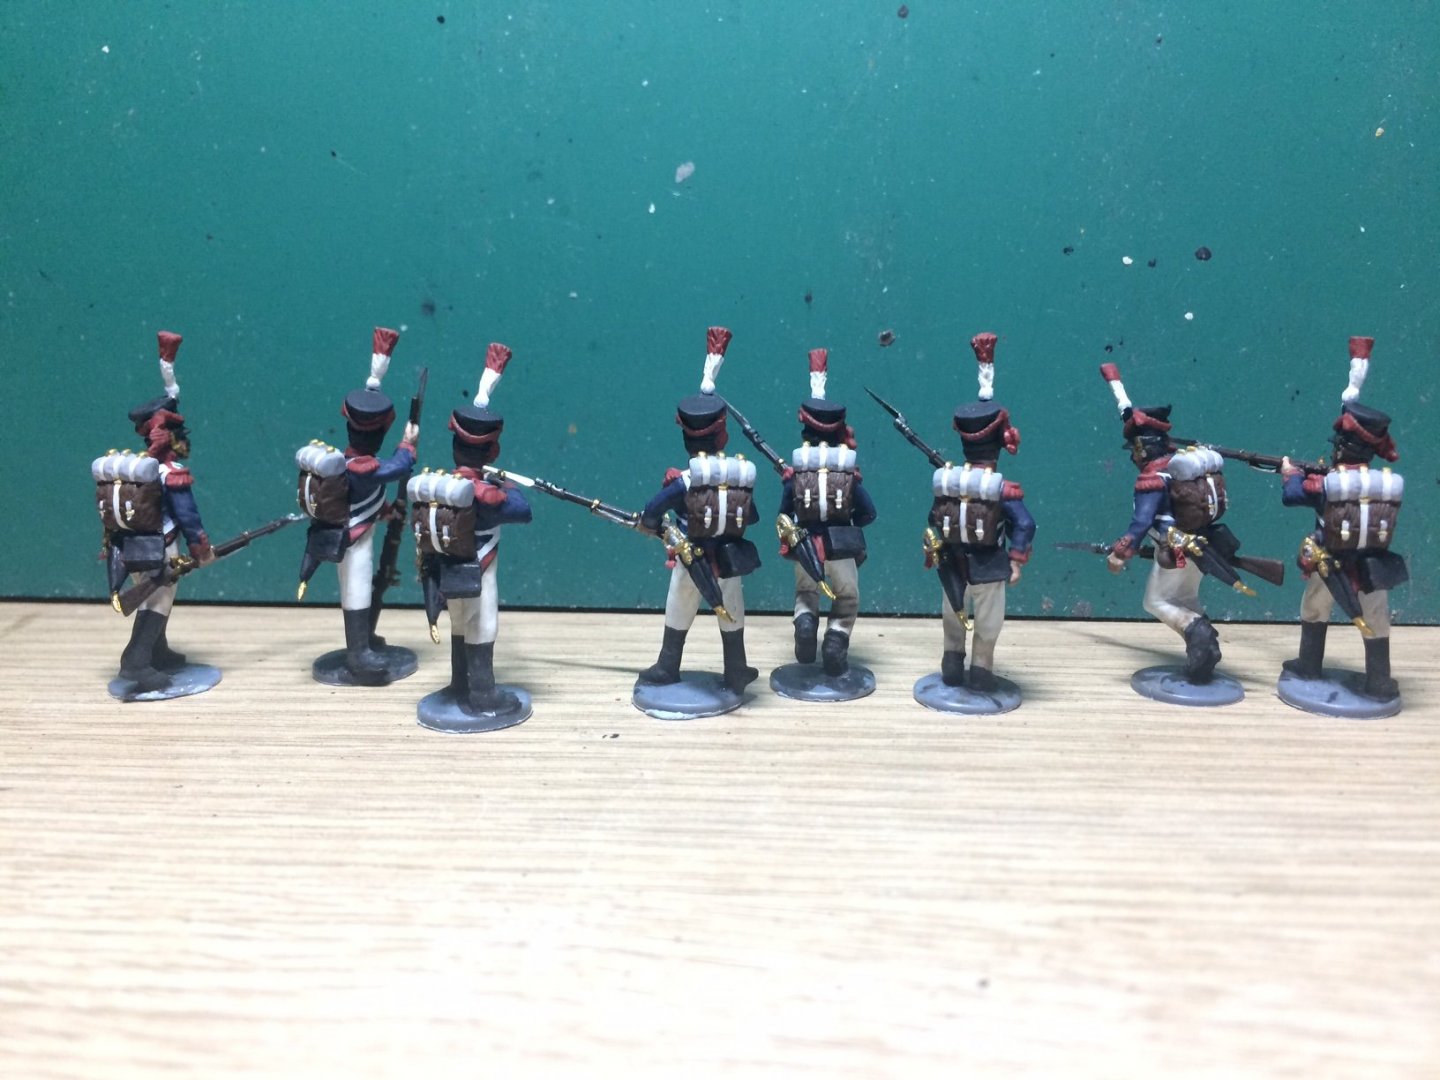
Evening all, the Tirailleurs are done and I have built the Drummer. OC.

-
Thank you kindly Craig. OC.
-
I love your explanation about building the ladder as I also have a couple to scratch build using (wait for it) lolly sticks for the sides and an unknown source for the rungs. OC.
-
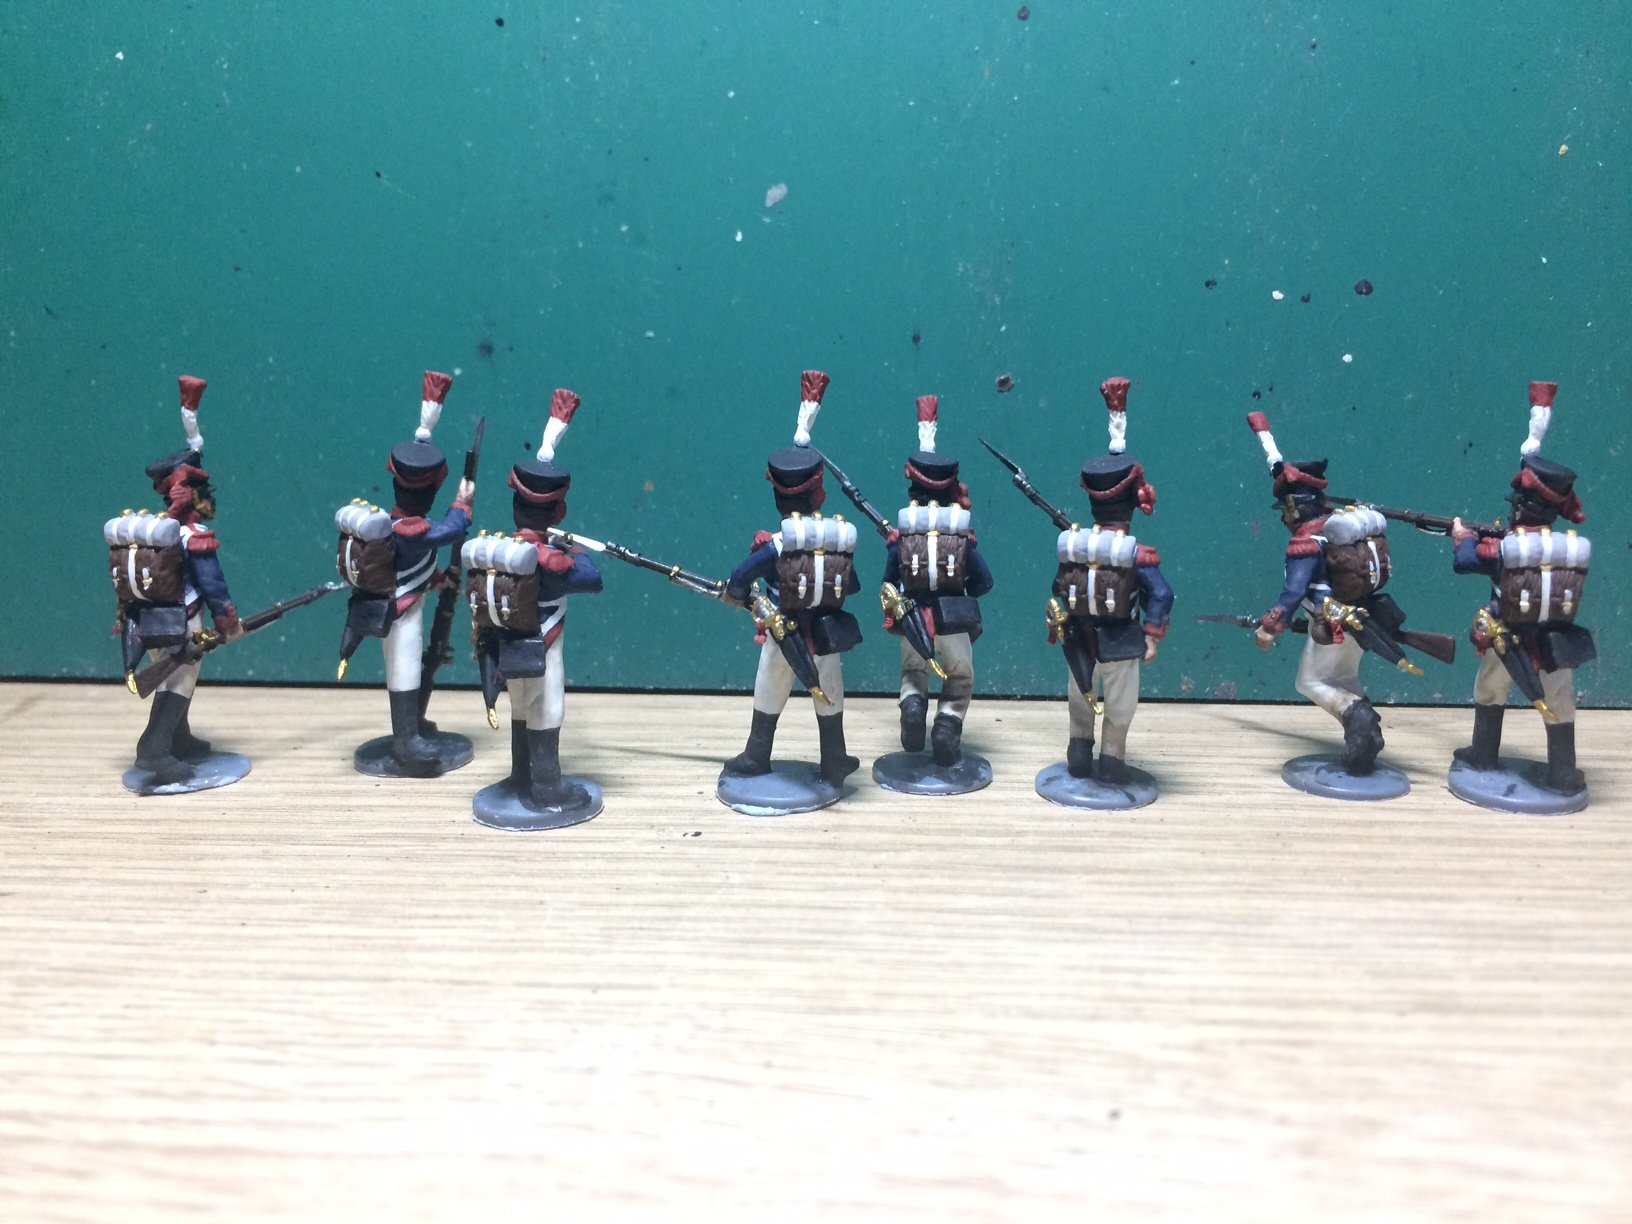
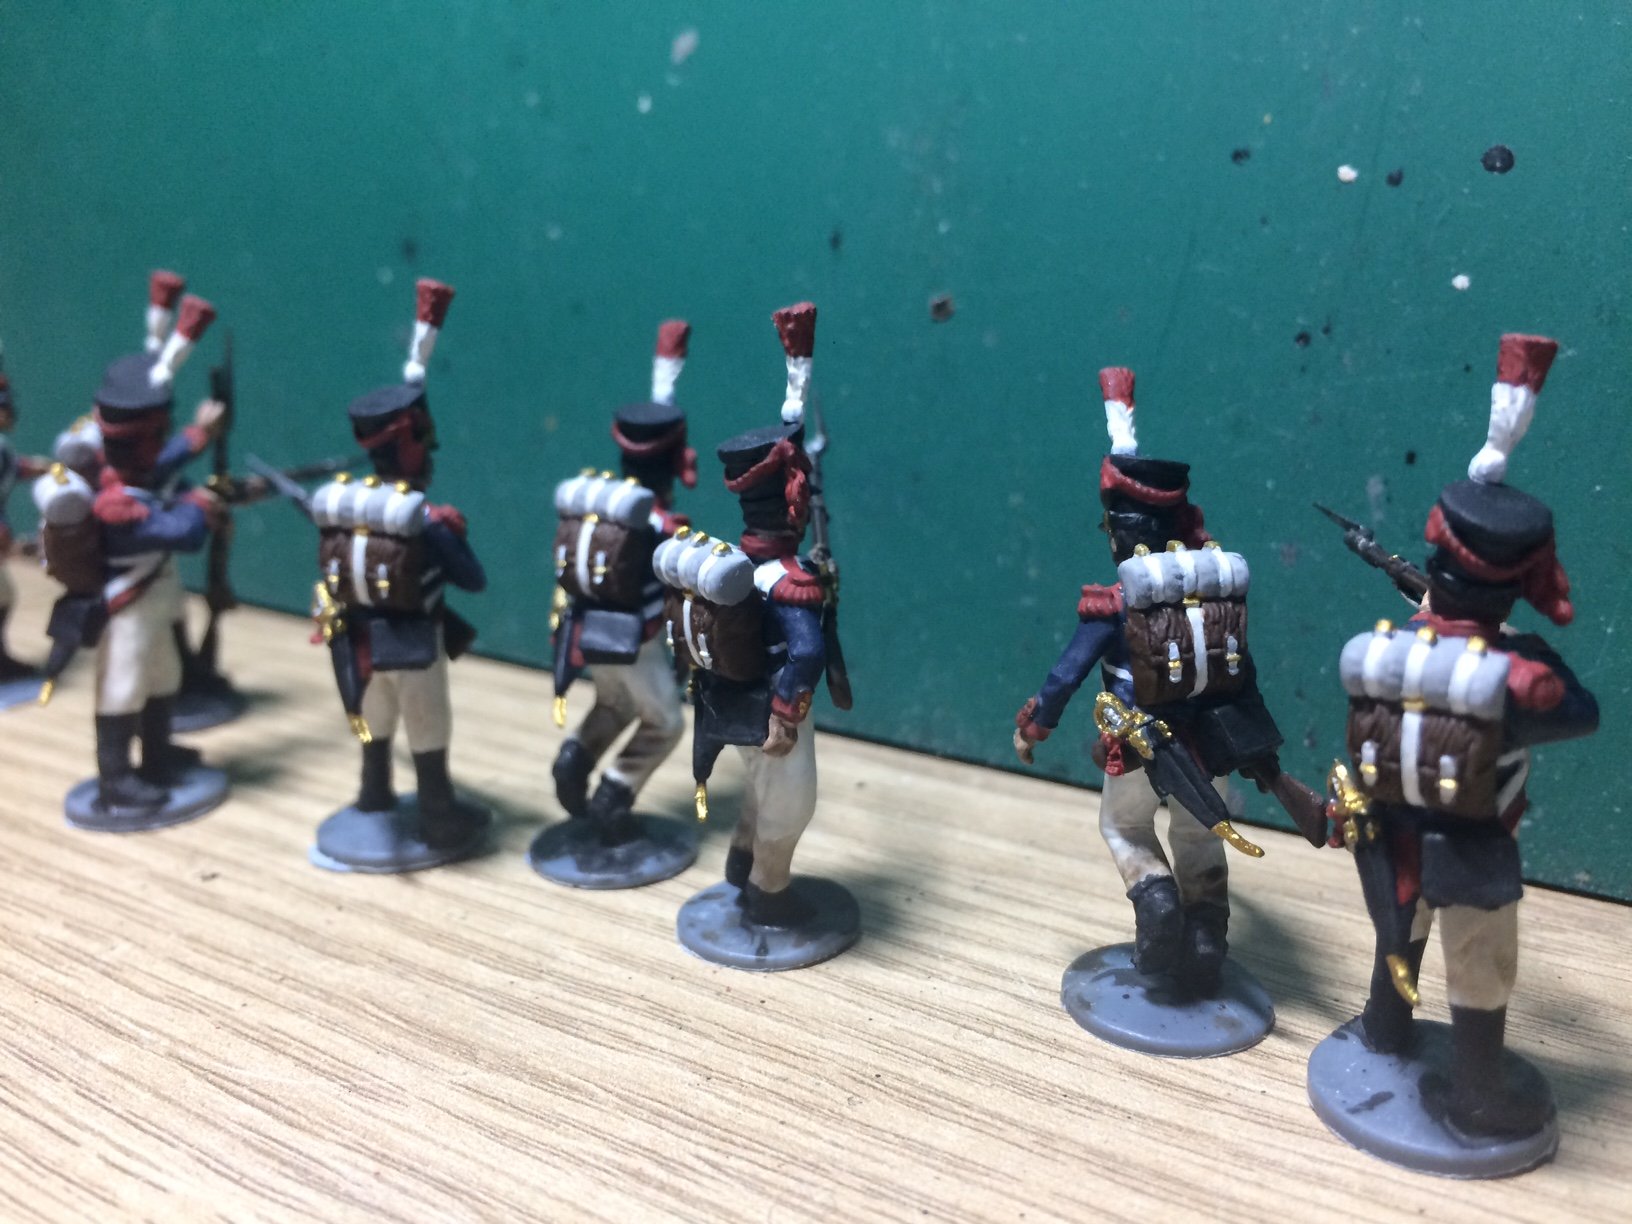
Evening all, I managed a couple of hours on the build this evening, I couldn't do more as I am in the middle of a house paint and its taking up all my time and energy "boy do my limbs ache after so long of none use" so straight on with painting the back packs, I had already painted the Great Coats next was the Brown of the actual packs - after drying these I worked on the straps then a bit of touch up, still a fair bit more to do. OC.

-
Really nice work Chris and the name is excellent "Spice the main brace " mate. OC.
-
This work is looking amazing Greg - really first class work, I think this is one of your best. OC.
-
More room in the back (less legs) for passengers should have said MSW members 😇 OC.
-
For anyone curious about my painting of the tiny buttons - I have to hold the figure till the light catches the shadow of the button then using my finest brush 00000 (5/0) then with the finest bit of paint on the tip just touch the button more like a glancing blow, that using my optovisors - biggest problem is keeping my hand still enough. OC.
-
HMS Vanguard looks excellent - that is one kit thats been seriously missing in a decent scale kit. OC.
- 168 replies
-
- 5
-
-
- Scharnhorst
- Flyhawk
- (and 1 more)