Old Collingwood
-
Posts
12,106 -
Joined
-
Last visited
Content Type
Profiles
Forums
Gallery
Events
Everything posted by Old Collingwood
-
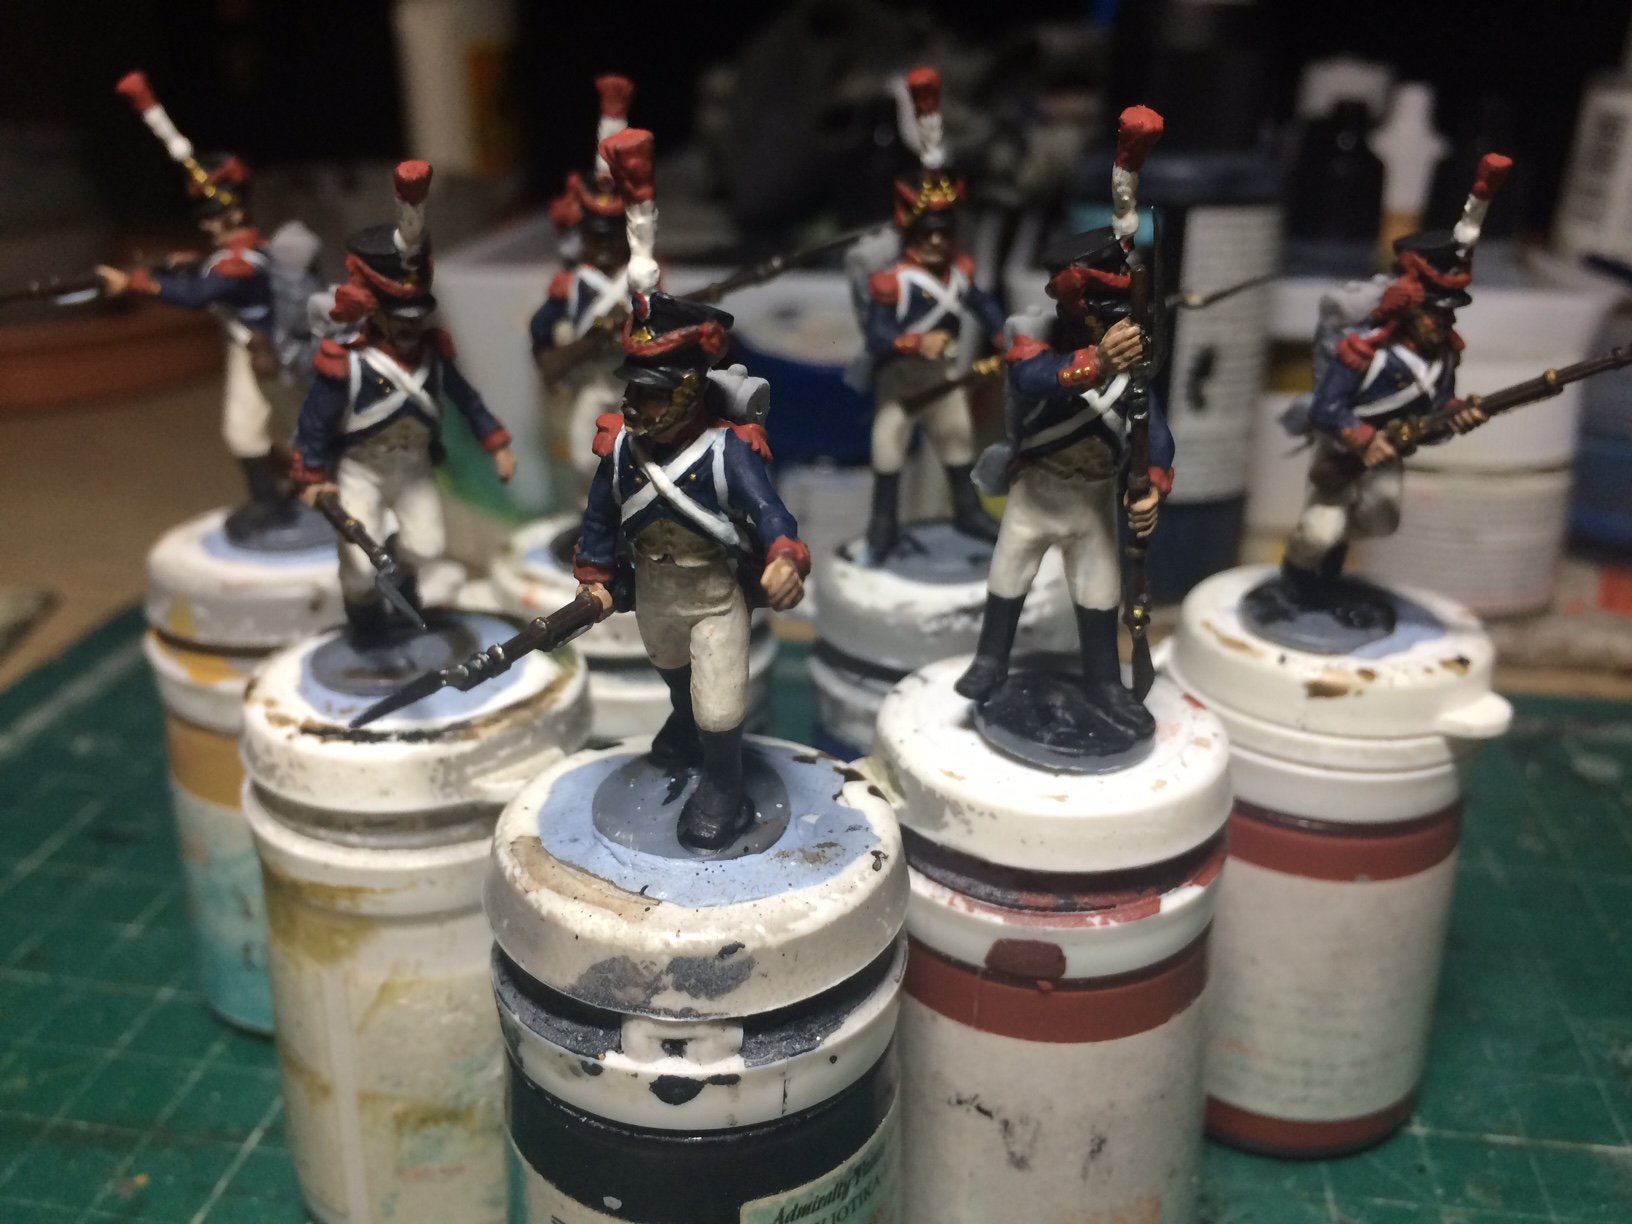
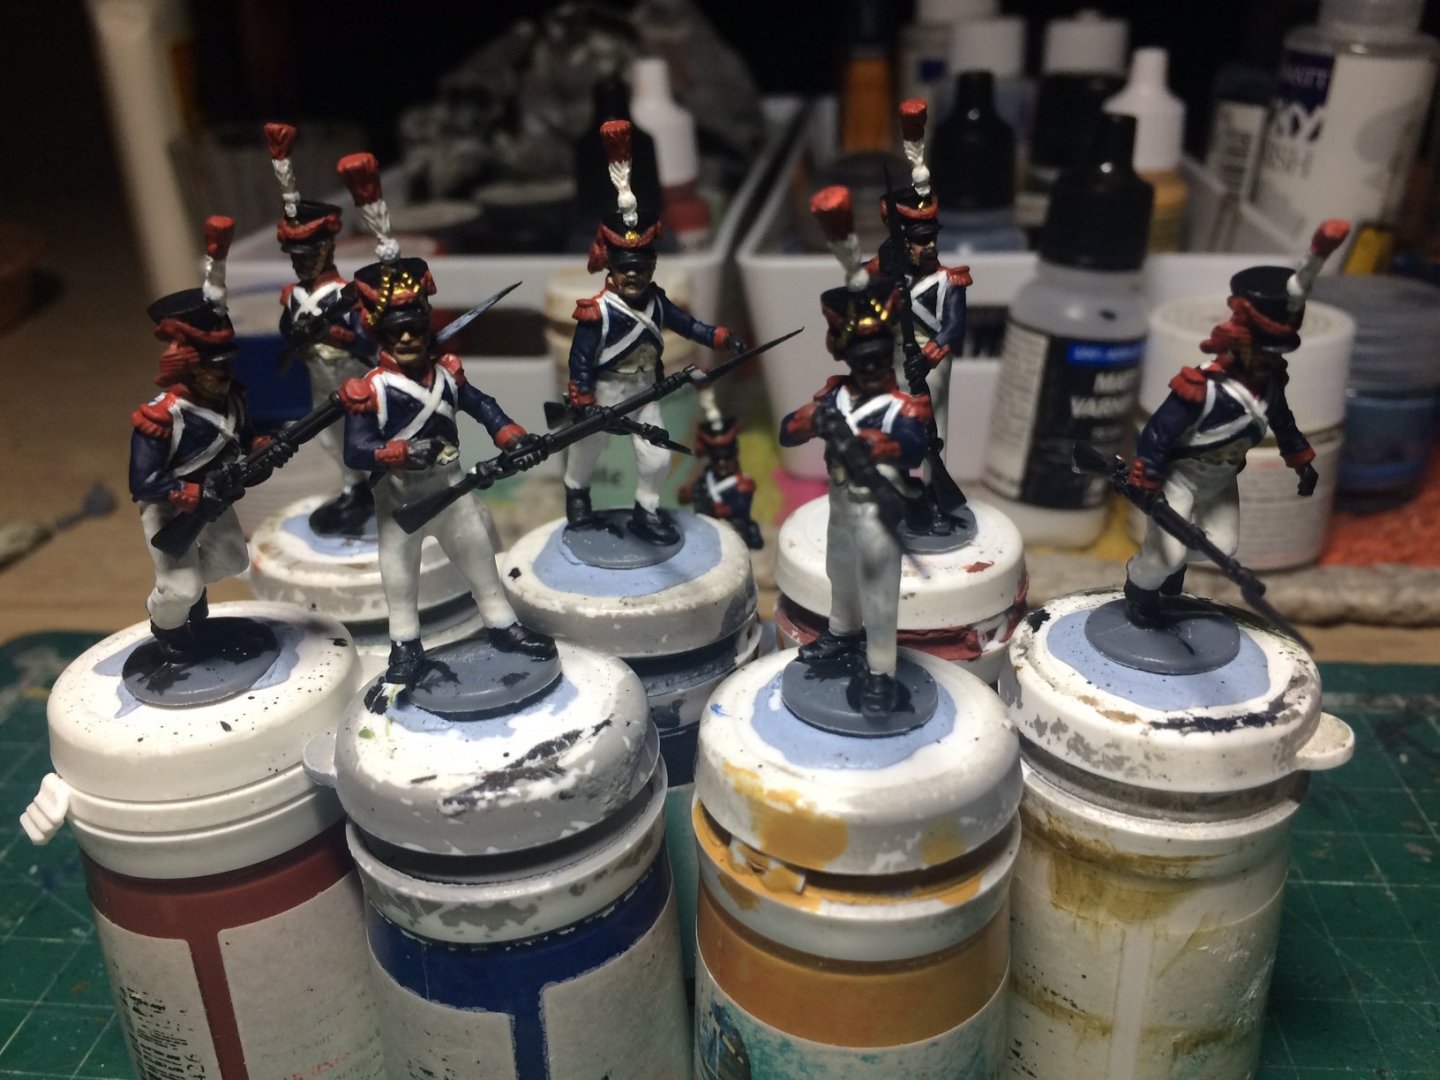
 Hi all, a bit more progress tonight - I had painted the last of the details on the bodies inlcluding the Shako Cocade Tri colour version, then the brass buttons on the jacket and cuffs, then I started on the back packs - first thing I had to do was trim a small amount of the tails from the jacket bottoms as they had the shorter versions, then after a clean up they were glued in place. The first stage of the painting is the Grey coat on the top of the back pack, then a small bit of Red detail tooked away between the ammo box and the sabre, more to follow. OC.
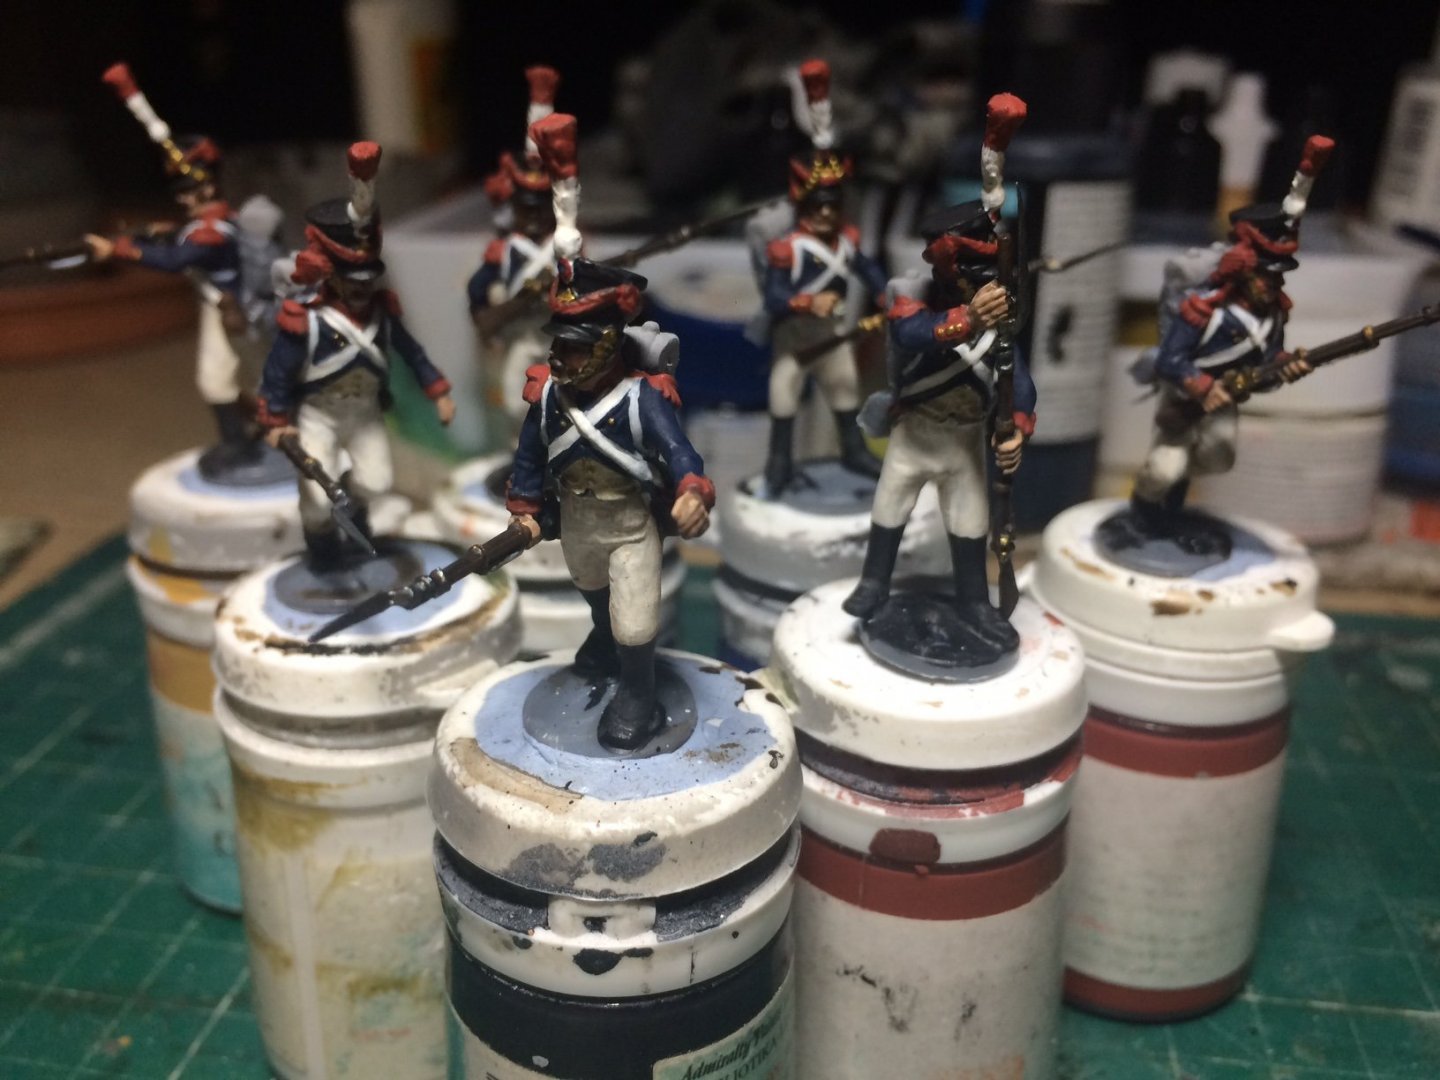
-
Hope you got a bottle of something for the christening? OC.
-
Evening all, I gave in - couldn't help it so I have relented and taken some more pics of my progress (I'm sure you don't mind) - I finished detailing the muskets then I gave them including the hands a wash to bring out the shadows, after I attacked the gaiters (these were not going to be great as the moulding was actually just trousers so a while back I tried to scrape and file the lower area of the leg - below the knee to show where the gaiter would hold the trouser bottom In) I painted a few layers of Black to just below the knee but left Two of them with there trousers intact (they had lost there gaiters in the battle). I then used my lighter skin colour back on the hands to highlight them mainly on some of the fingers palm of the hands and knuckles, just the buttons and the cocade on the shako then It will be time to work on the backs containing the haversacks and coat tail details / ammo box sabre etc. OC.
-
I thought of that after googling the name and this came up - I quote - OC. Amerigo Vespucci Amerigo Vespucci was an Italian-born merchant, explorer, and navigator from the Republic of Florence, from whose name the term "America" is derived. He became a Castillian citizen in 1505. Between 1497 and 1504, Vespucci participated in at least two voyages of the Age of Discovery, first on behalf of Spain and then for Portugal.Wikipedia
- 273 replies
-
- 2
-

-
- panart
- amerigo vespucci
- (and 1 more)
-
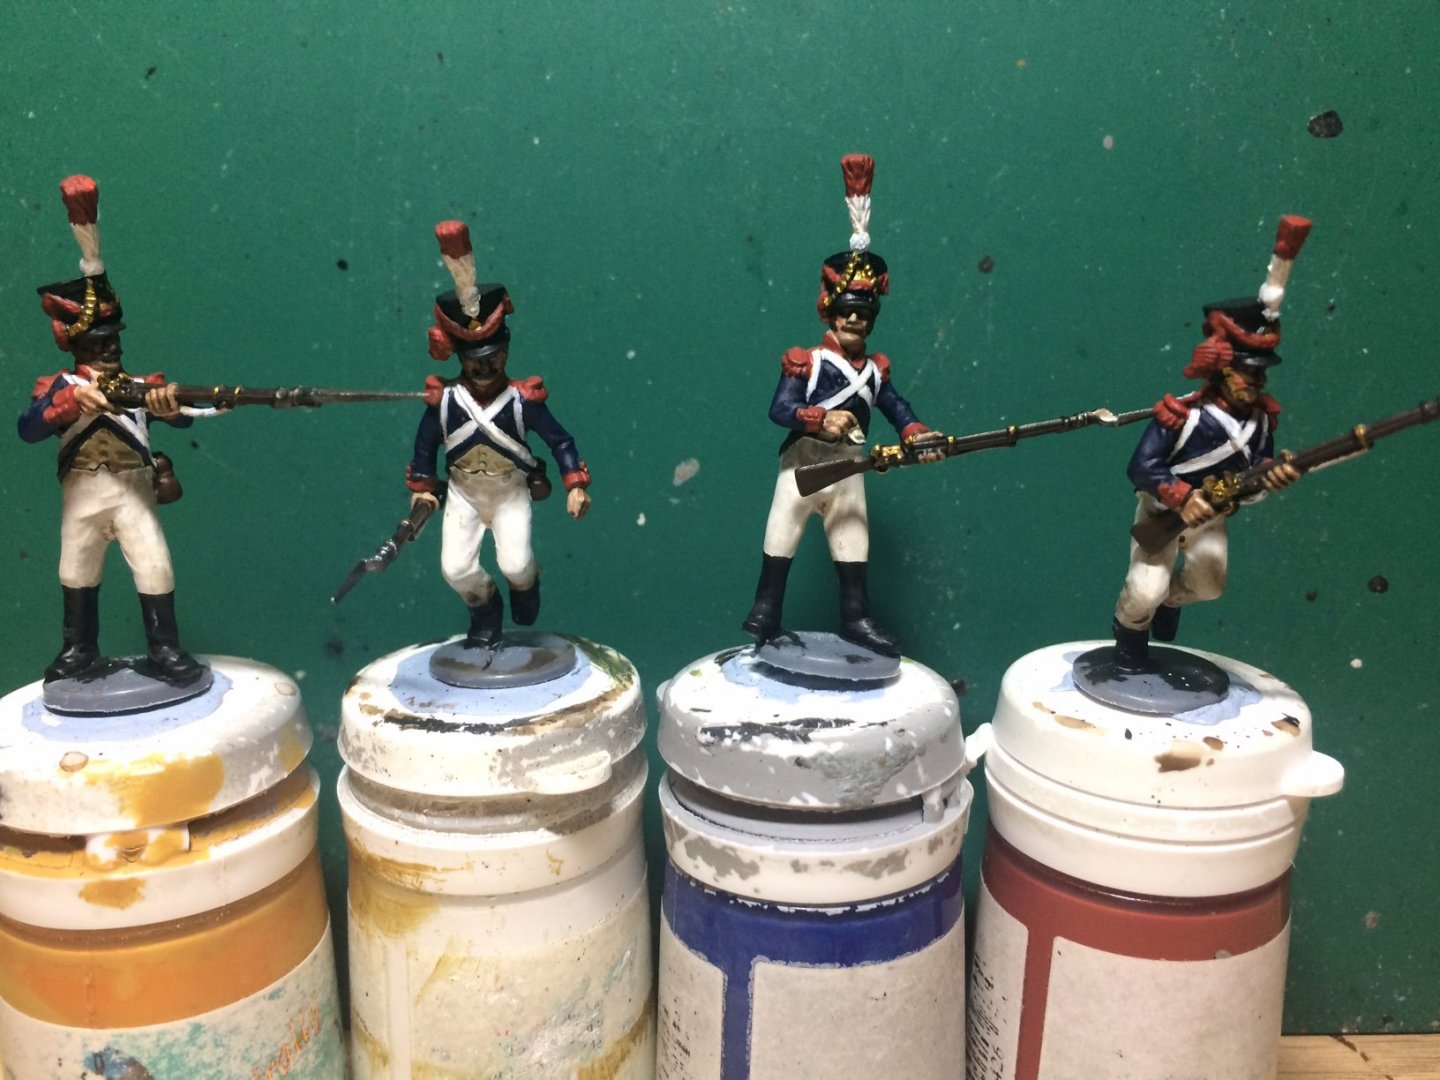
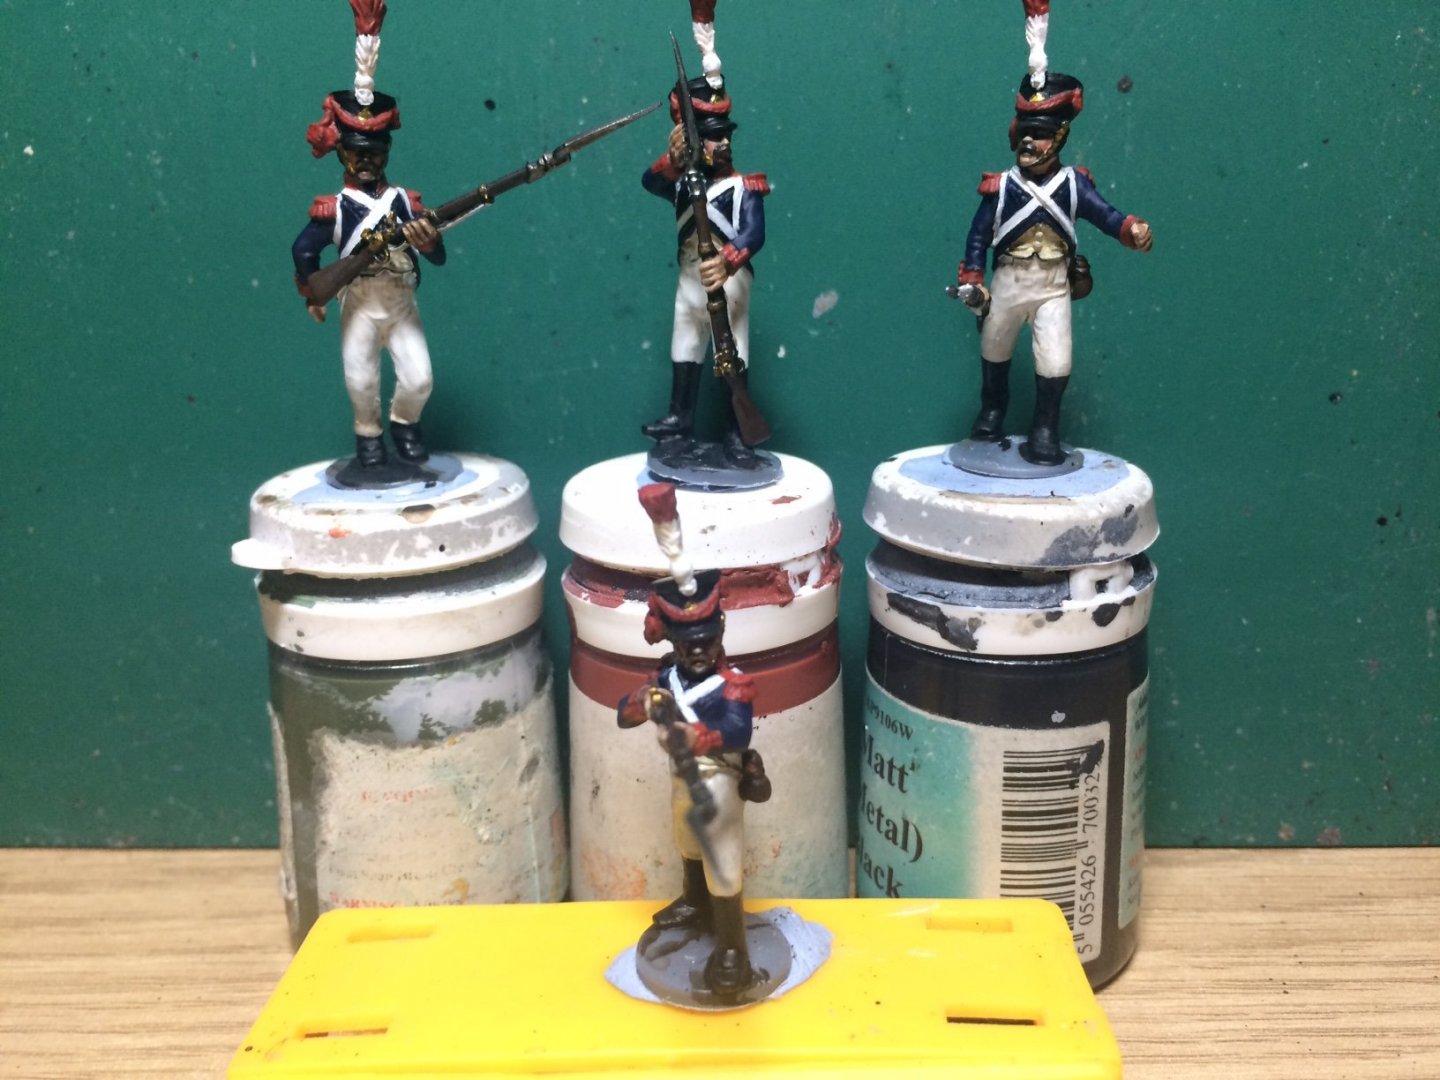
So my next stage is to do the staps White on the muskets then the Black gaitors and shoes - then a bit of dirt/dust on the bottom sections of the legs (remember the ground was muddy from the previous nights down poor) OC.
-
Thank you so much Gary for saying that and for looking through my build - it means a lot. OC.
-
Amazingly Good mate - did I see a set of steps with hand rails at this scale 😲 just don't know how you do it - must have eyes like a hawk and fingers like a surgeon. OC.
- 168 replies
-
- 6
-
-
- Scharnhorst
- Flyhawk
- (and 1 more)
-
You should do a christening party when you name her - perhaps invite some of the gang round from here. OC.
-
Evening all, still more progress this evening - I worked on the hands and Muskets, only took me another 3 Hours to do the group, I wont put any pics on as they must be quite repetitive - will wait till all of the Tirailleurs are finished. OC.
-
Good to see you back - keep up the splendid work. OC.
-
Thank you kindly Edward. OC.
-
Thank you so much for those kind comments and for looking in craig. OC.
-
Infact I was gonna say "Boaty" OC.
-
Oh bugger - I was gonna say that😁 OC.
-
Thanks Ken, its amazing how long they take to make/paint - roughly 6-8 a week. OC.
-
She is looking Superb Chris. OC.
-
Evening folks, getting closer to finishing this group - with Red being applied - collar/cuffs/shoulder epaulettes, nearly done. OC.

-
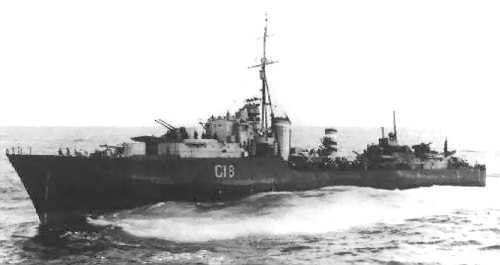
I have found these on the net black/white pics but they show light bands possibly white. OC.

-
Thanks Ken, I am quite looking forward to working with MDF its all laser cut but I will super detail it as Its a bit 2 dimensional, I will be adding a floor in the farm house - so I can put some of the figures firing from the bedroom windows, also with some of the brick detail (its flat so I will try to show the mortar lines better) I will probably work on each section while they are flat before I glue the sections together. Then there will be the painting/weathering to do. OC.
-
Hiya Kevin, no mate still a fair way to go yet - I am about a Third of the way there - I am hoping to make about 100-150 figures, it will be quite busy in the space I have - but that was how it was back then. OC.
-
Some news (exciting I hope) when I have finished these bunch and now possibly the drummer boy - I will be (wait for it)..........be starting on the farm complex - base - scenery, I will have to rearrange the table to create more room as the base is quite large at 3 feet by nearly 2 feet, and I still need room for my lamp. OC.
-
Thanks Mark, I have been able to track down the painting details for them for each unit in the 54/55th ligne regiment, so I should be able to include even just the one. OC.
-
Thanks Edward, I might include one then. OC.