Old Collingwood
-
Posts
12,104 -
Joined
-
Last visited
Content Type
Profiles
Forums
Gallery
Events
Everything posted by Old Collingwood
-
 Insane but beautiful work, I have seen there HMS Hood and I am so tempted by but from China delivery is quoted as something like 2 - 3 Months. OC.
 -
She is looking Superb Kevin - you know some people build a model but this is more like scale engineering, and trust me you are doing a wondeful job. OC.
- 273 replies
-
- 1
-

-
- panart
- amerigo vespucci
- (and 1 more)
-
Thank you Patrick, welcome to my little world. OC.
-
Thank you Roger and Allan, some good info there that shows on a busy noisy battlefeild - flags were an important visual to left people whow what and were they are. OC.
-
Indeed Ken, at LHS I know there was Two whole divisions sent against the KGL something like 2000 French and about 700 Cuirassier's and of course they kept re grouping and trying again till they over powered the KGL who had run short of ammo. OC.
-
Thank you kindly Craig, indeed also to think a lot of them were just young boys as well. OC.
-
I have found and brought some - again paper flags that fold and glue around the pole but at least they are 54th and 55th ligne reg. OC.
.thumb.jpg.0c40f85863287e7cf41b3508c499a203.jpg)
-
Thank you Ken, hopefully the mass of them but with some very different poses will look quite good, OC.
-
Thank you so much Kevin. OC.
-
Hi Edward, thank you kindly, there is group of Paper flags in the box with my Perry French Infantry the only thing is there is no 54th or 55th infantry flag - or I could go and search to see if anyone does the exact one on the net. OC.
-
Indeed - I am hoping for over 100 possibly close to 150 made 44 so far. OC.
-
Thanks mate, next off I think will be a Flag carrier as I have both (who said I am putting off building the farm - well perhaps a bit as it will be the focus point and I don't wan't to make a pigs ear of it) OC.
-
Count me in - I will stare just like your cat is at the amazement that happens with people who have xray vision with these tiny Builds. OC.
-
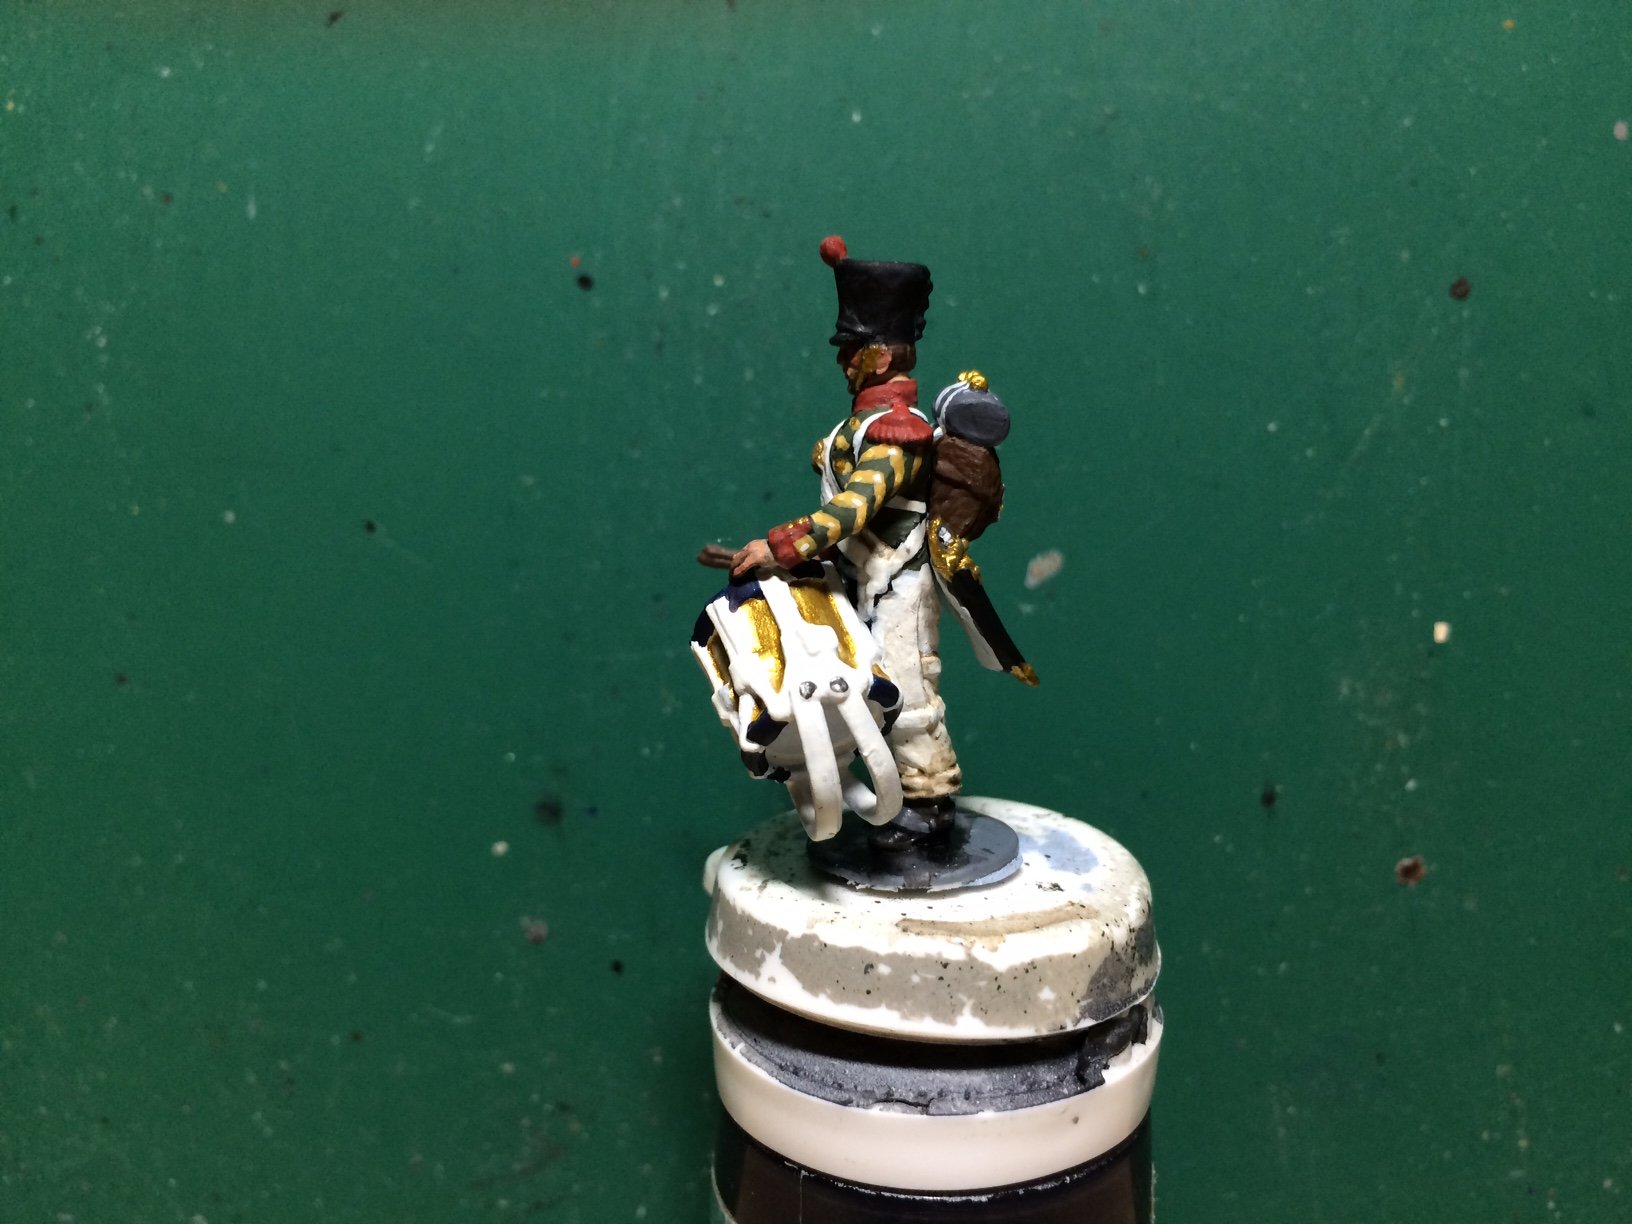
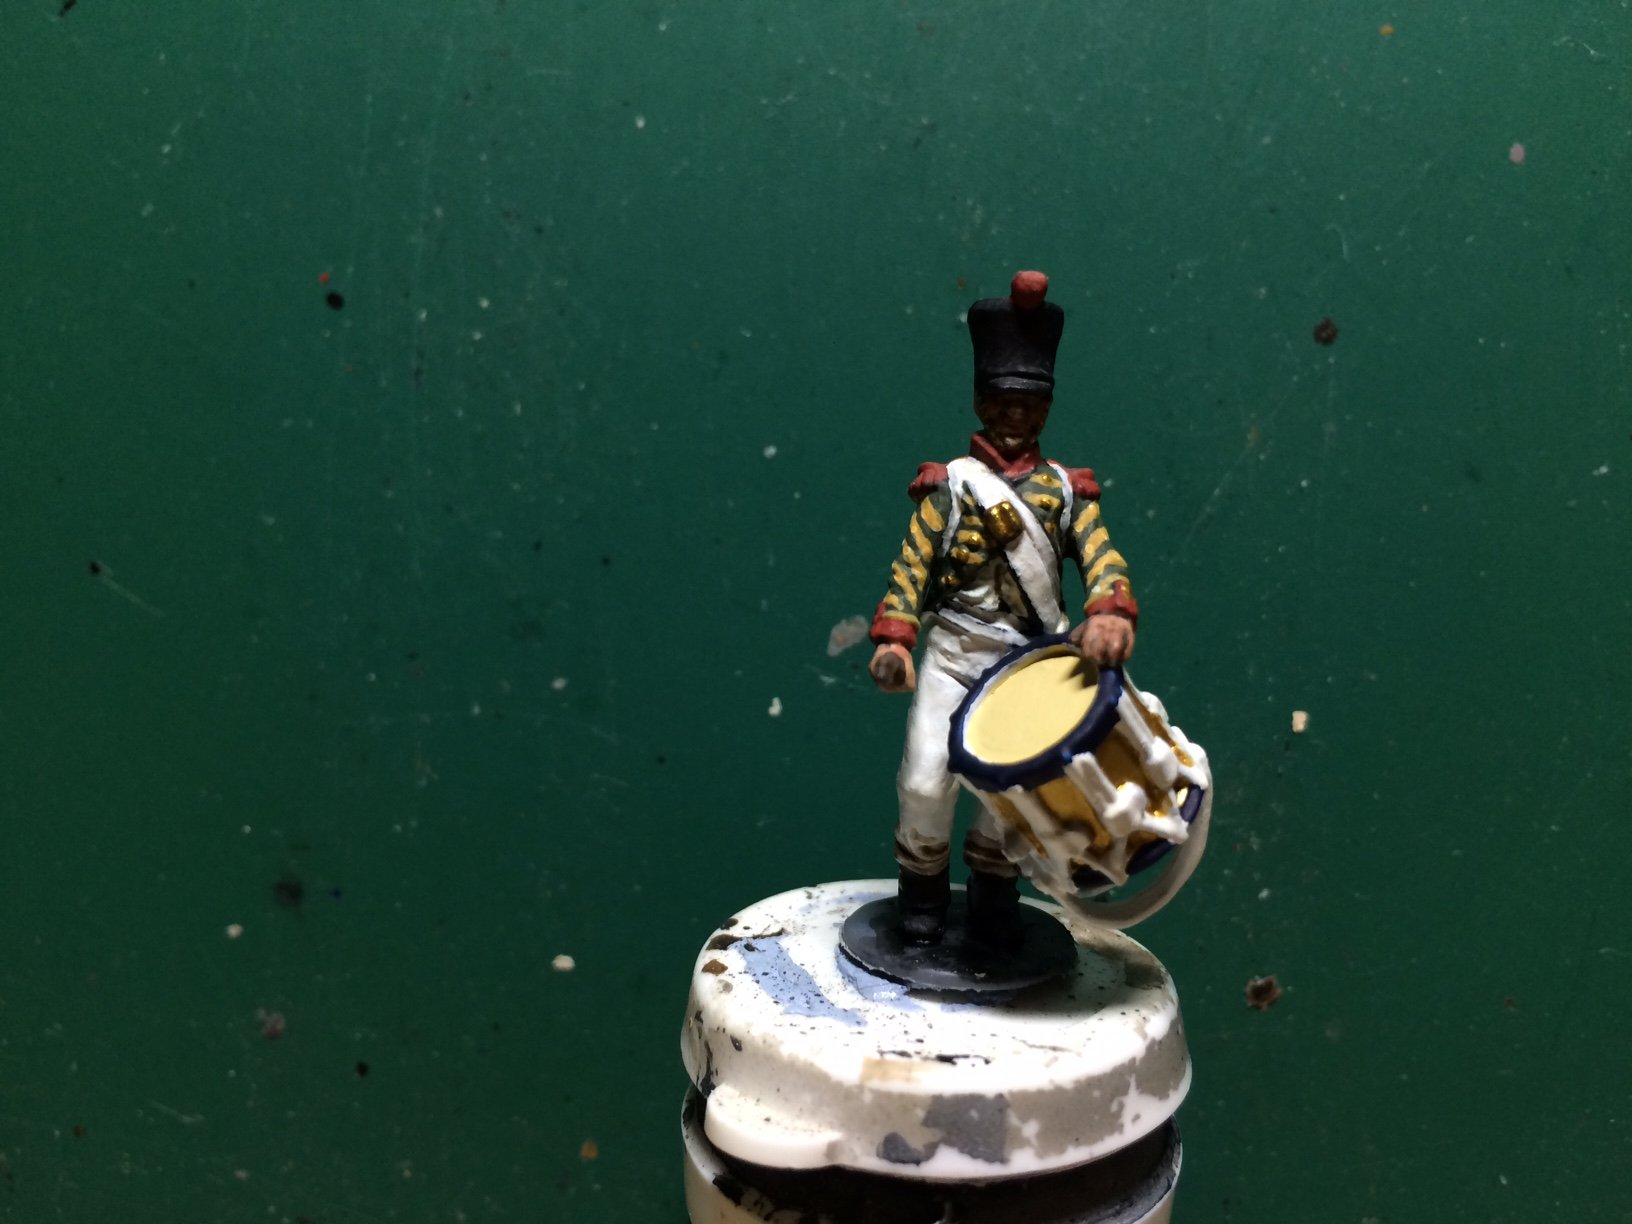
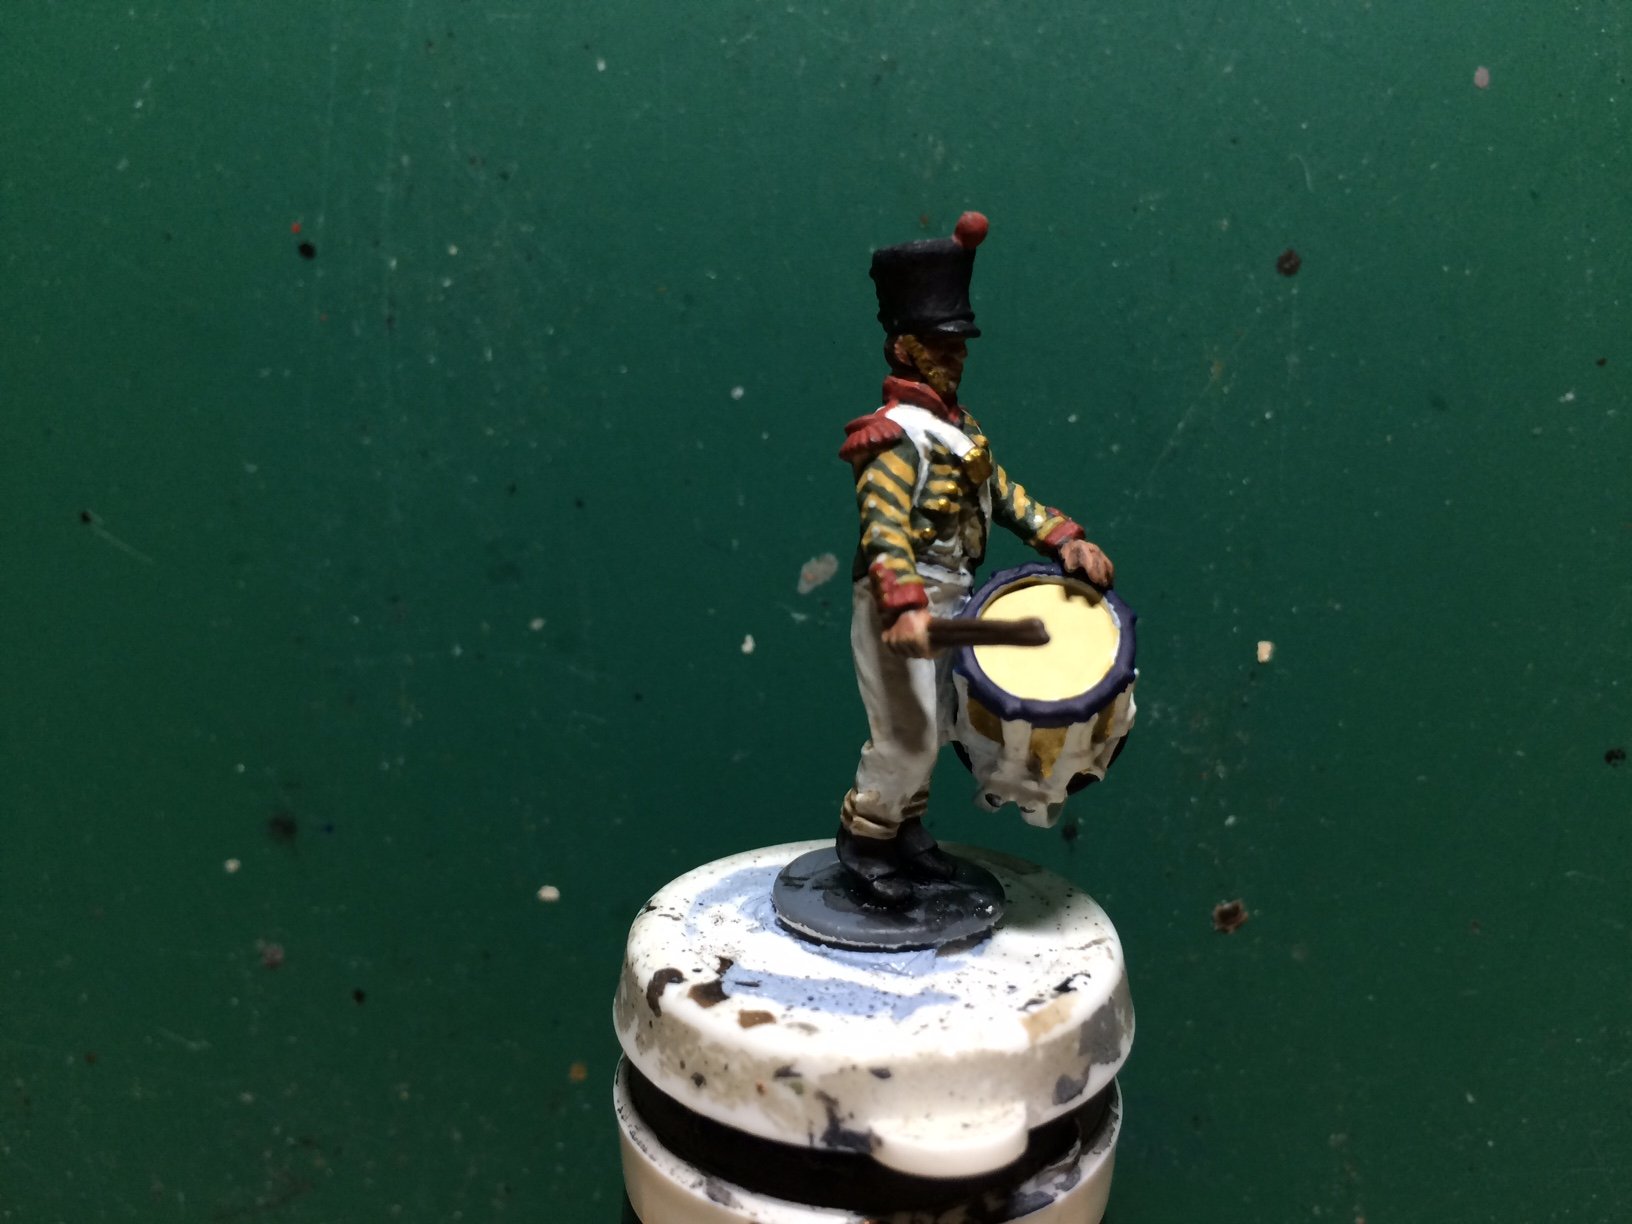
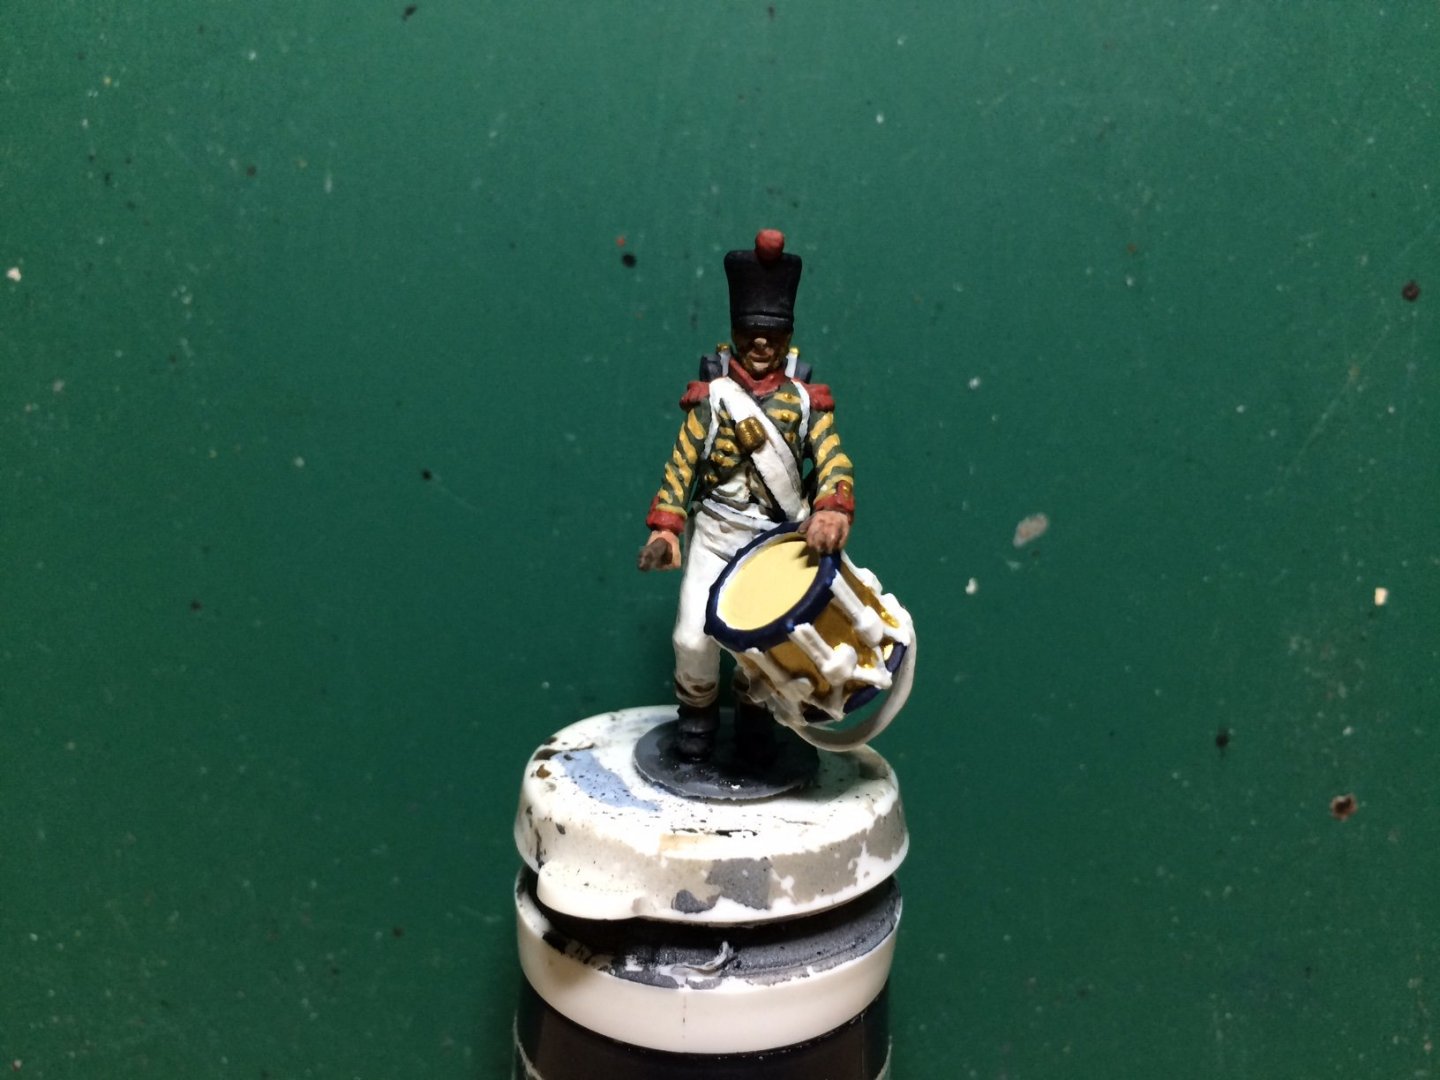
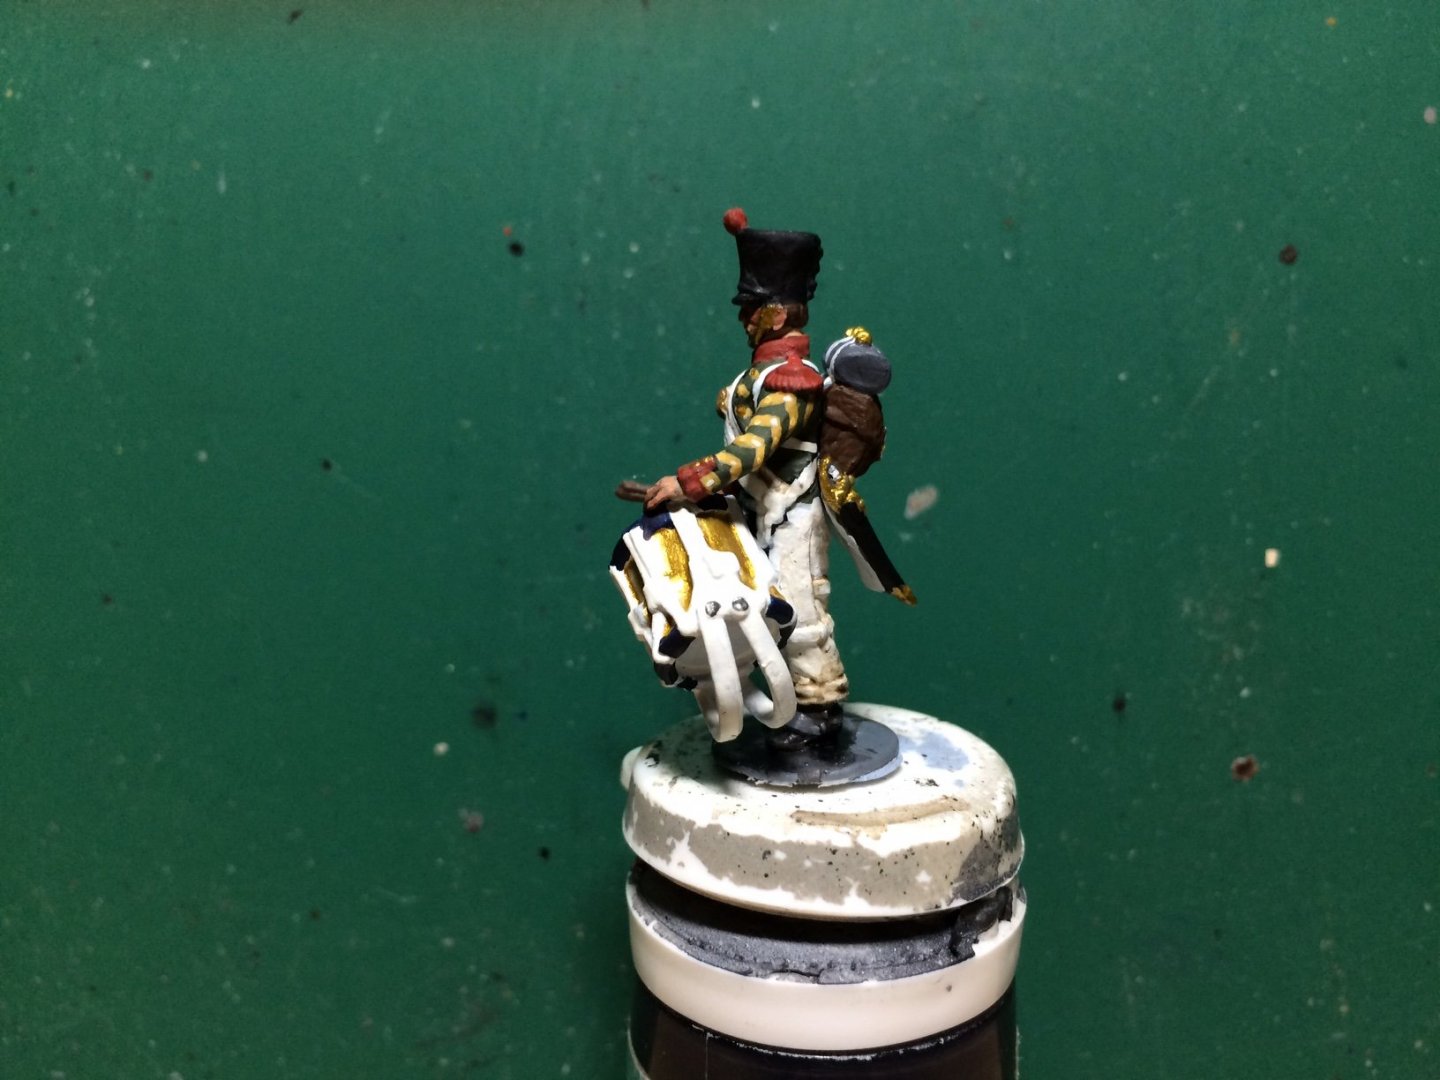
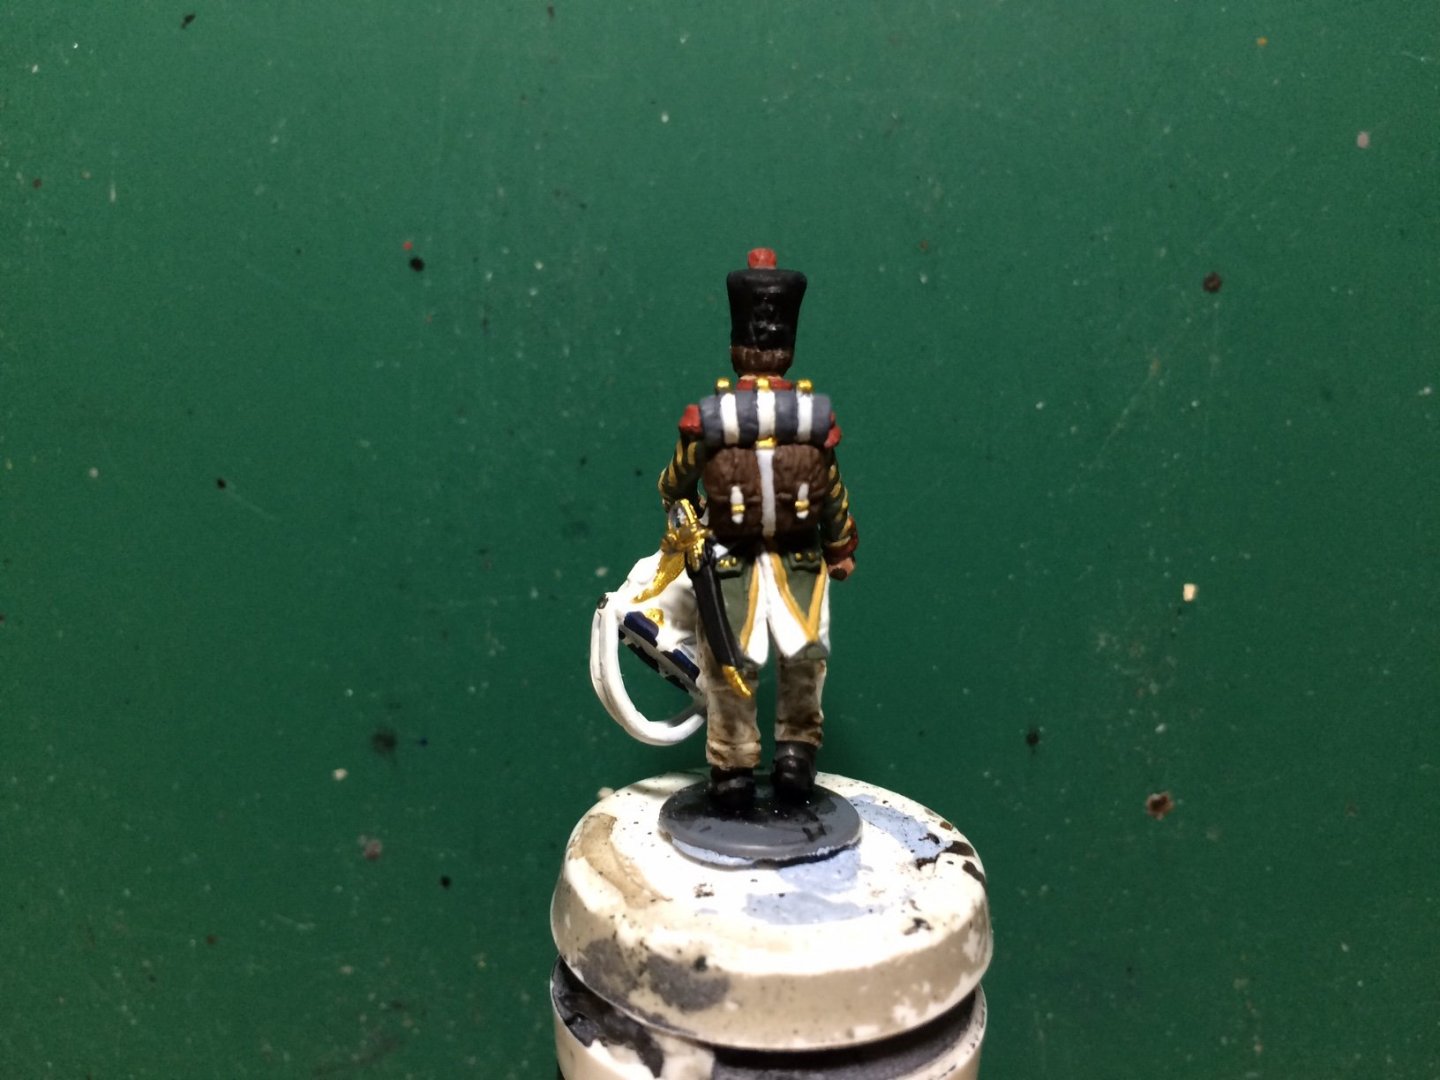
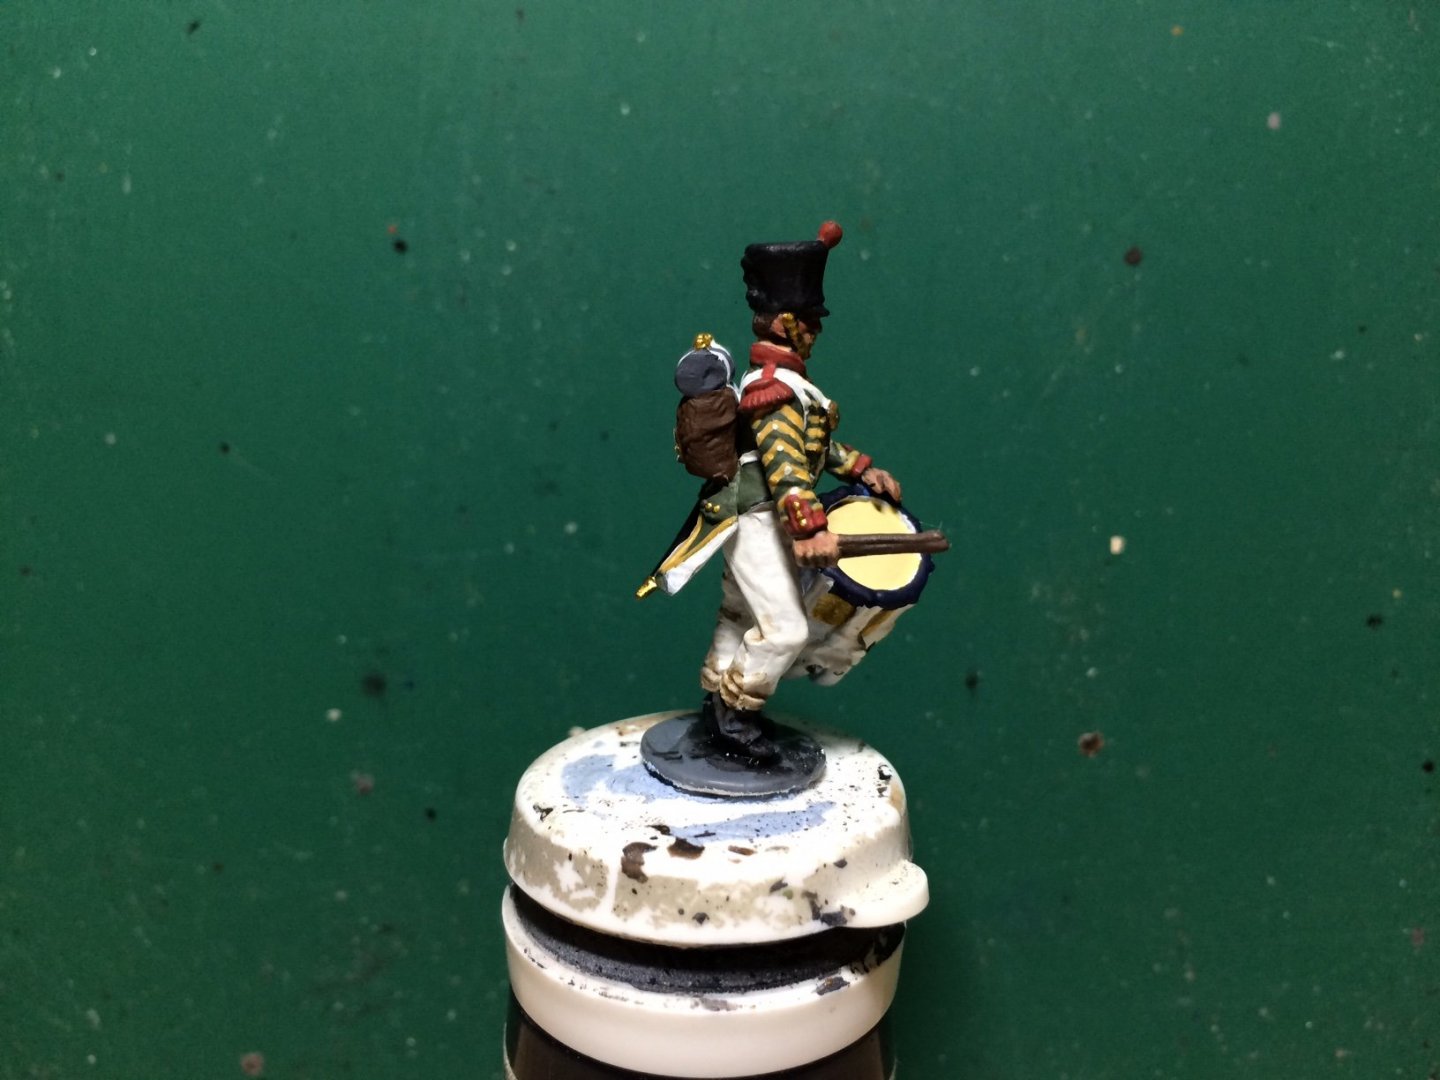
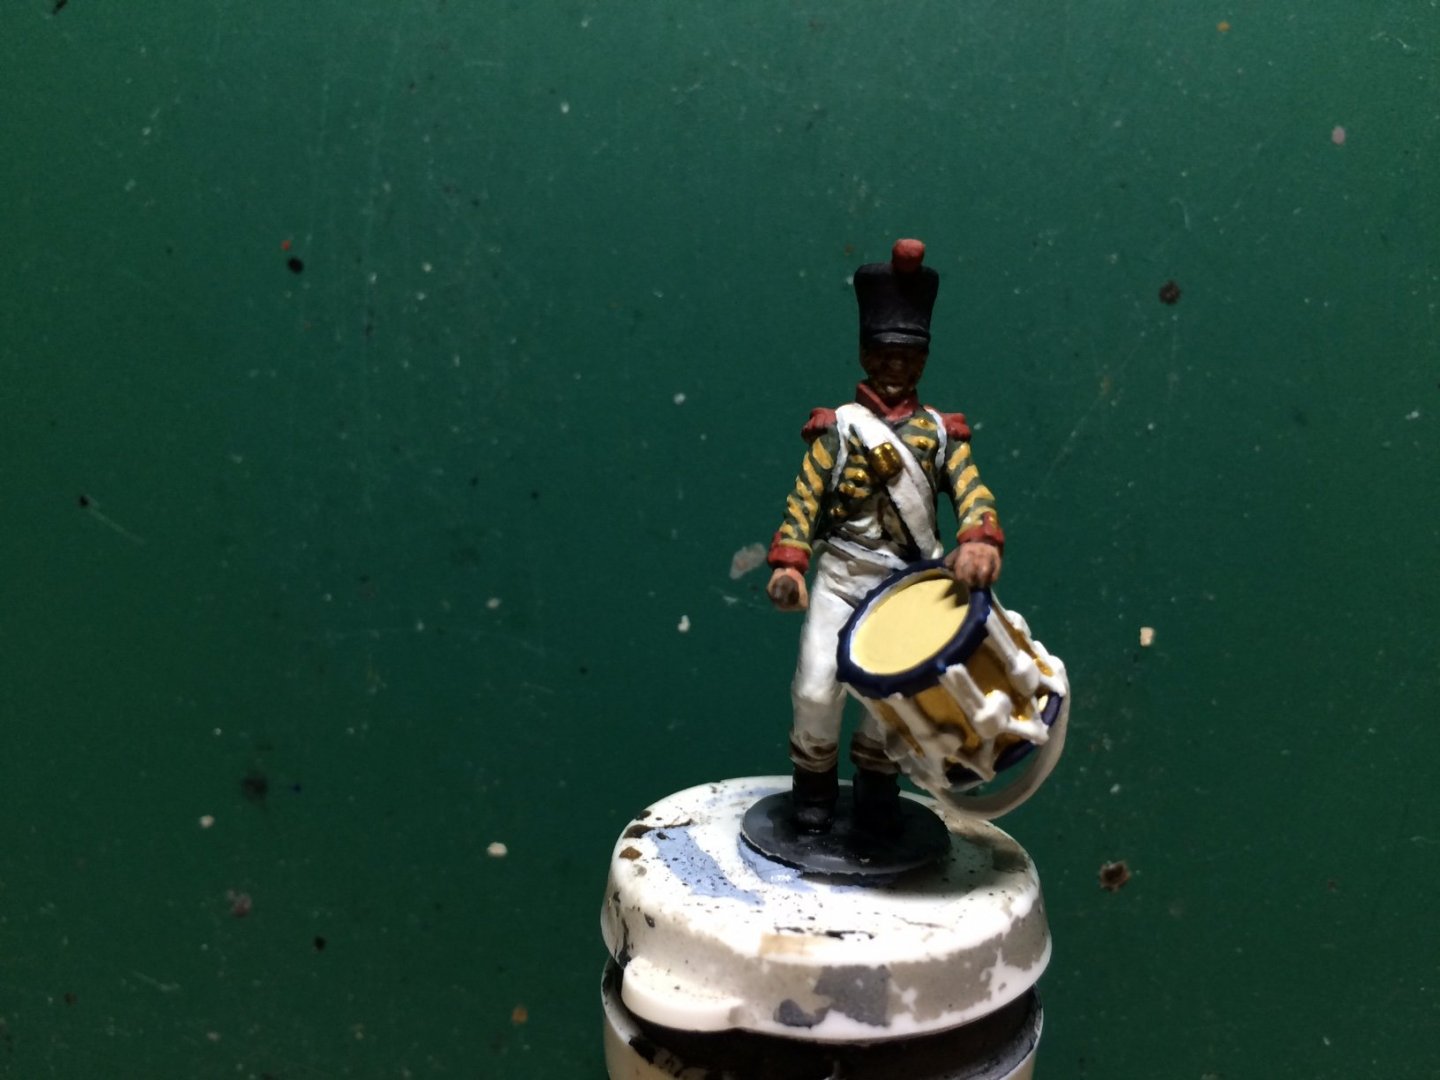
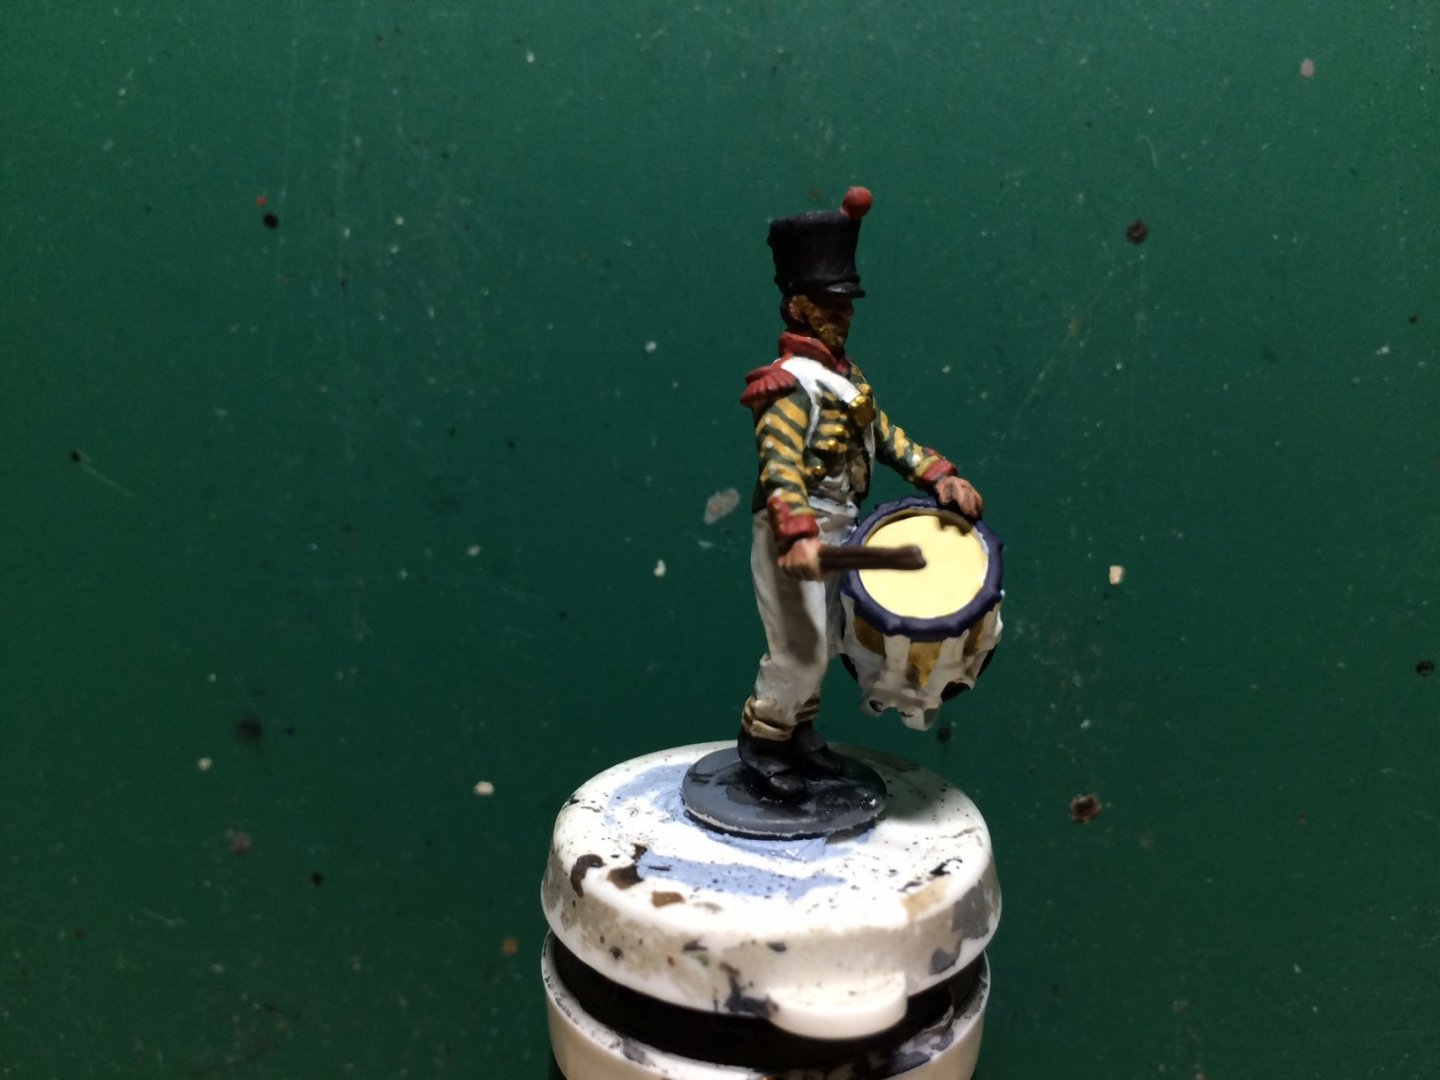
Evening all - my 55th Ligne 1st division drummer is finished, it was a pleasure to work on and stands out a bit with some different colour from the rest. OC.
-
Indeed - would so turn it into a living space and there are some Amazing sculpts around the 28mm scale coming out. OC.
- 355 replies
-
- 3
-
-
- vanguard models
- Sphinx
- (and 1 more)
-
I think if I was building one I would have to include a full crew of made and painted figures as I feel it would look Superb taht way. OC.
- 355 replies
-
- 5
-
-
- vanguard models
- Sphinx
- (and 1 more)
-
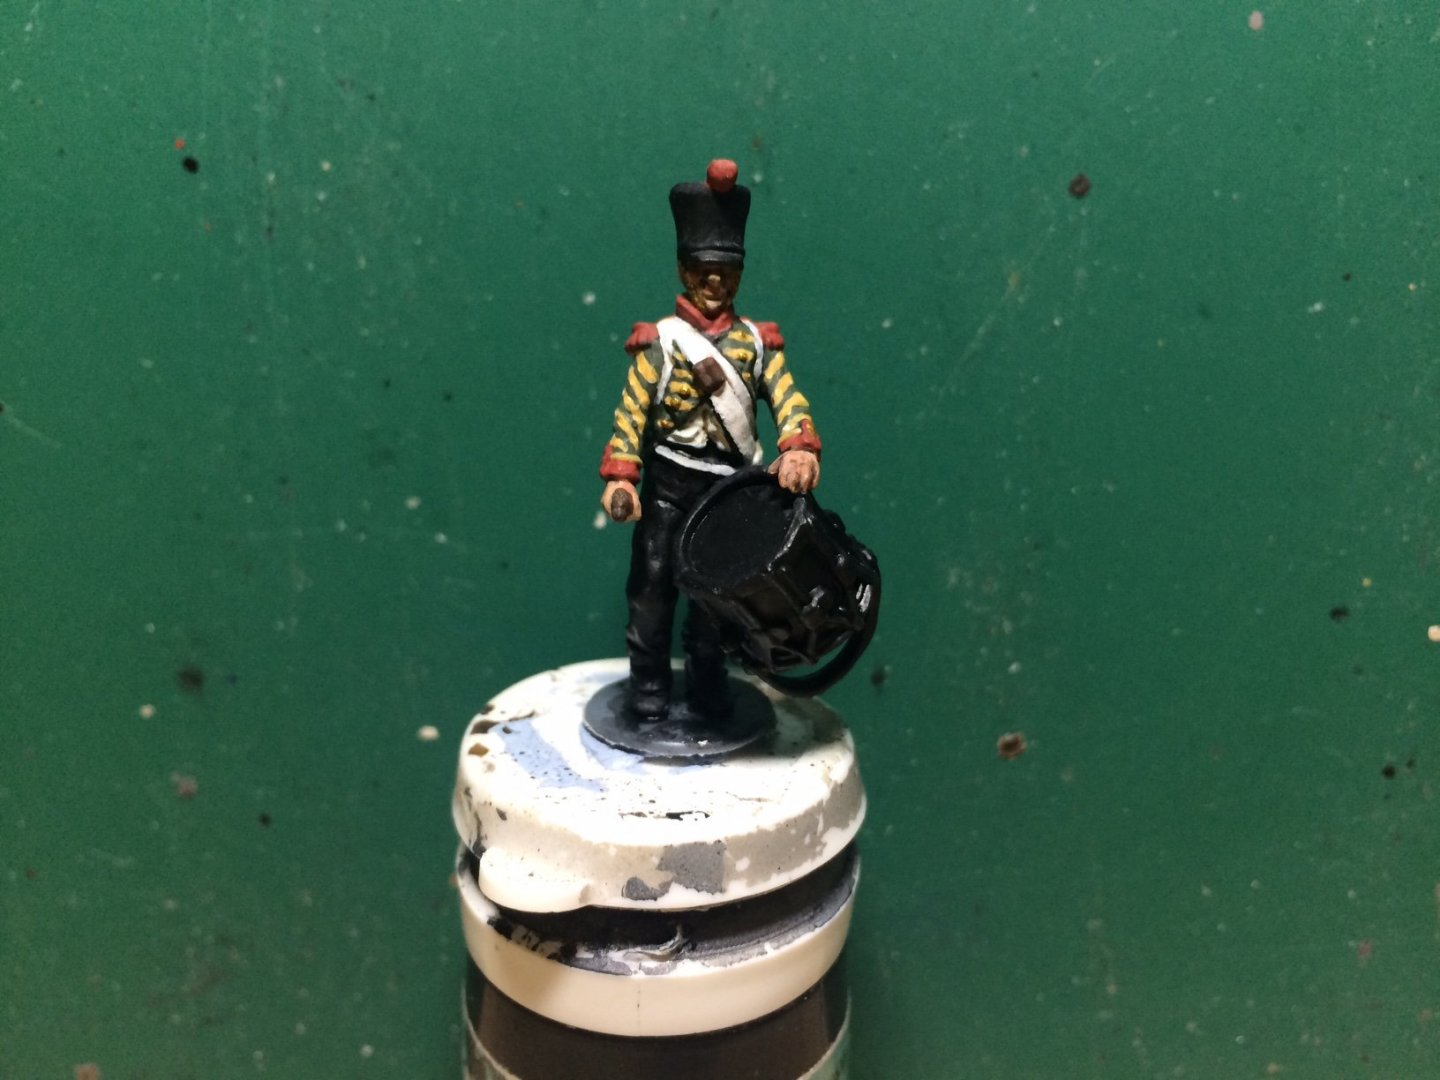
Evening all, drummer is finished including his drum - just needs his backpack fixing and painting. OC.
-
You must be pleased how this one is coming on - its seriously looking Superb Greg. OC.
-
But look at that plane - seriously Fantastic work Craig. OC.
- 168 replies
-
- 7
-
-
- Scharnhorst
- Flyhawk
- (and 1 more)
-
Hi Ken, thank you kindly mate, yep house painting is not going too bad all downsatiars woodwork done also the stair ways skirting landing window and banister rail painted - upstairs frames Three doors skirting in the bedroom and toilet skirting then its done. OC.
-
Evening all, I have done a bit more this evening - Painted on the Yellow chevrons on the arms - bit fiddly getting the spacing and just putting on thin lines - but I think it will do, also the Red was applied to the cuffs/collar and epaulettes, then the buttons were added in Brass. OC.
.jpg.138482c2b6560bfa27bb58dd2a0a0c7c.jpg)