


Old Collingwood
-
Posts
11,998 -
Joined
-
Last visited
Content Type
Profiles
Forums
Gallery
Events
Posts posted by Old Collingwood
-
-
6 minutes ago, popeye the sailor said:
I'll have to look this one up....how much modification will you need to do? your progress is looking super
")
When I do the Seafire conversion out of the other kit?
OC.
- mtaylor, Canute and popeye the sailor
-
 3
3
-
6 minutes ago, mtaylor said:
Jack,
When you're done with the bird, unless it's in a case, hang a sigh with something like "Do not touch. The rotors do not turn. " And maybe some threatening words like they will suffer extreme harm from you fearless watch dogs.
Or "Mind the Rotors they dont turn - but the body does"😁
OC.
- Canute, popeye the sailor, mtaylor and 3 others
-
6
-
4 minutes ago, Edwardkenway said:
It's taking shape! OC.👍😊
Thank you Edward, I'm very happy how its coming a long - it even feels solid (in a plastic kind of solid way)
OC.
-
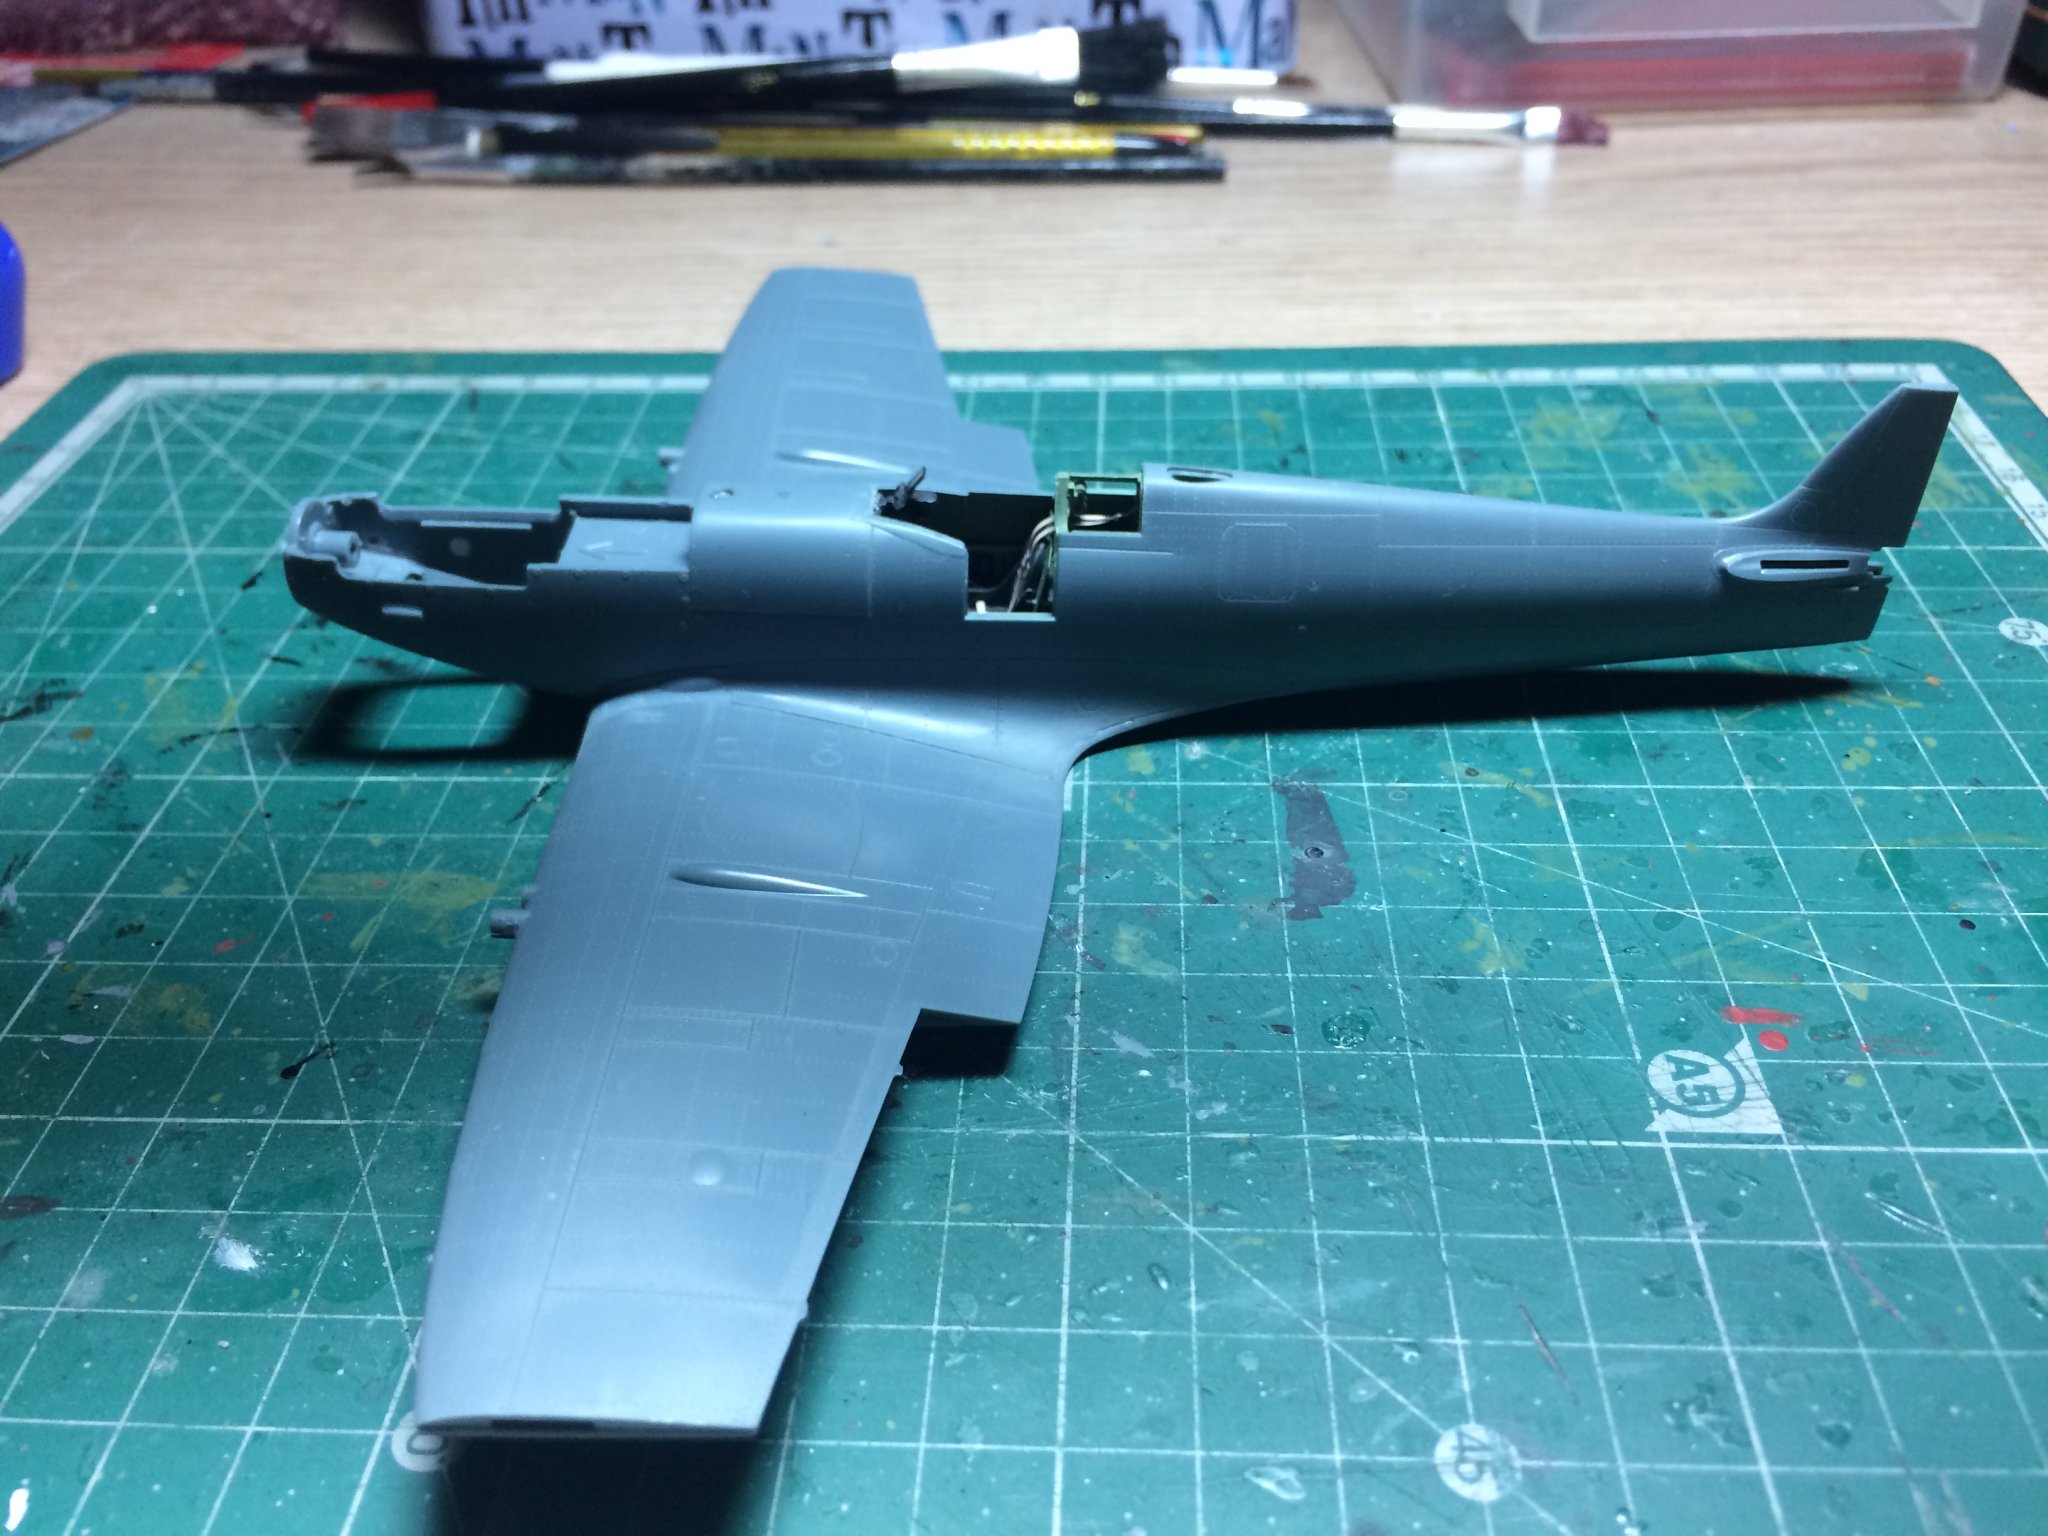
More progress this evening - I glued the two wing sections to the main lower wing, then I glued the whole wing assembly to the fuselage, when set it needed just the smallest amount of filling with plastic putty and a bit of clean up.
OC.

-
4 hours ago, mfrazier said:
When I set up and tried to start the 4 butt shift pattern, I spent three hours trying to figure it out. I laid a few planks and it would be wrong and I had to remove them and start over. Finally, once I got it started, it went okay. I am sure most of my problem was the fact that I have major problems with numbers since my stroke a couple years ago. I'm an engineer and I used to be able to do trigonometry problems in my head and now I can't add 2 and two without a calculator and still get the answer wrong. It gets frustrating. This planking method requires some counting, a lot of counting.
Keep at it mate you will do it.
OC.
-
She is looking so nice EJ full credit to you for pushing on with making and fitting the sails.
OC.
- Elijah, popeye the sailor and EJ_L
-
3
-
First rate work on that decking very very nice and good thinking painting the knee's white.
OC.
-
This looks like an interesting build.
OC.
-
Your doing a fine job Edward glad we are in the same club for broken canopies we should win a medal.
OC.
- Edwardkenway, mtaylor, Canute and 1 other
-
4
-
15 minutes ago, CapnMac82 said:
This continues to be an impressive build.
And the kit appears to be top notch, as well, too.
Watched a vid on building the 1/18 (!) Merit SBD 3/4, and was somewhat amazed. That kit goes for north of US$150, and has as many movable parts as the old Monogram 1/48 kit (other than folding wings--go figure). The parts looked as if they had been pantographed "up" to the larger scale, rather than down.
So, all the more applause on the build here.
Sorry for butting in (again) Captain you should do a build log in the site.
OC.
-
44 minutes ago, Jack12477 said:
Not sure Lou. As I assembled it I made sure no glue got on the shaft pin that runs down thru the assembly, but I cannot see how the thing will rotate if I glue that pin into the hole in that black rimmed insert. Also cannot see how I can insert it in hole either since I am inserting it blind, no way to see the hole. Have to play around with it to figure it out. I will try to post some close ups later
I remember some kits - old school Airfix I think, thier heli's used to have a plastic T piece bolt like thing it was supposed to be held inplace then the rotor head was supposed to glue to it allowing the rotor head to rotate.
OC.
-
-
4 minutes ago, harlequin said:
hey there old friend.....I have just brushed the dust from Greyhound....hope all is ok....
Yep good thanks, trying to stay sain during this madness we are all encased in, my last ship build was The Balck Pearl (Pirates of the Carribean) it was a plastic build but fun.
OC.
-
I am loving what you are doing here Kevin - its looks really lifelike.
OC.
- lmagna, mtaylor and FriedClams
-
3
-
-
4 hours ago, hamilton said:
I think it's already catching on! I don't doubt that we're all going to get to that place at one time or another during this insane time!
hamilton
Hi there (sorry to but in) long time no speak since our Greyhound days hope you keeping well.
OC
-
13 minutes ago, cog said:
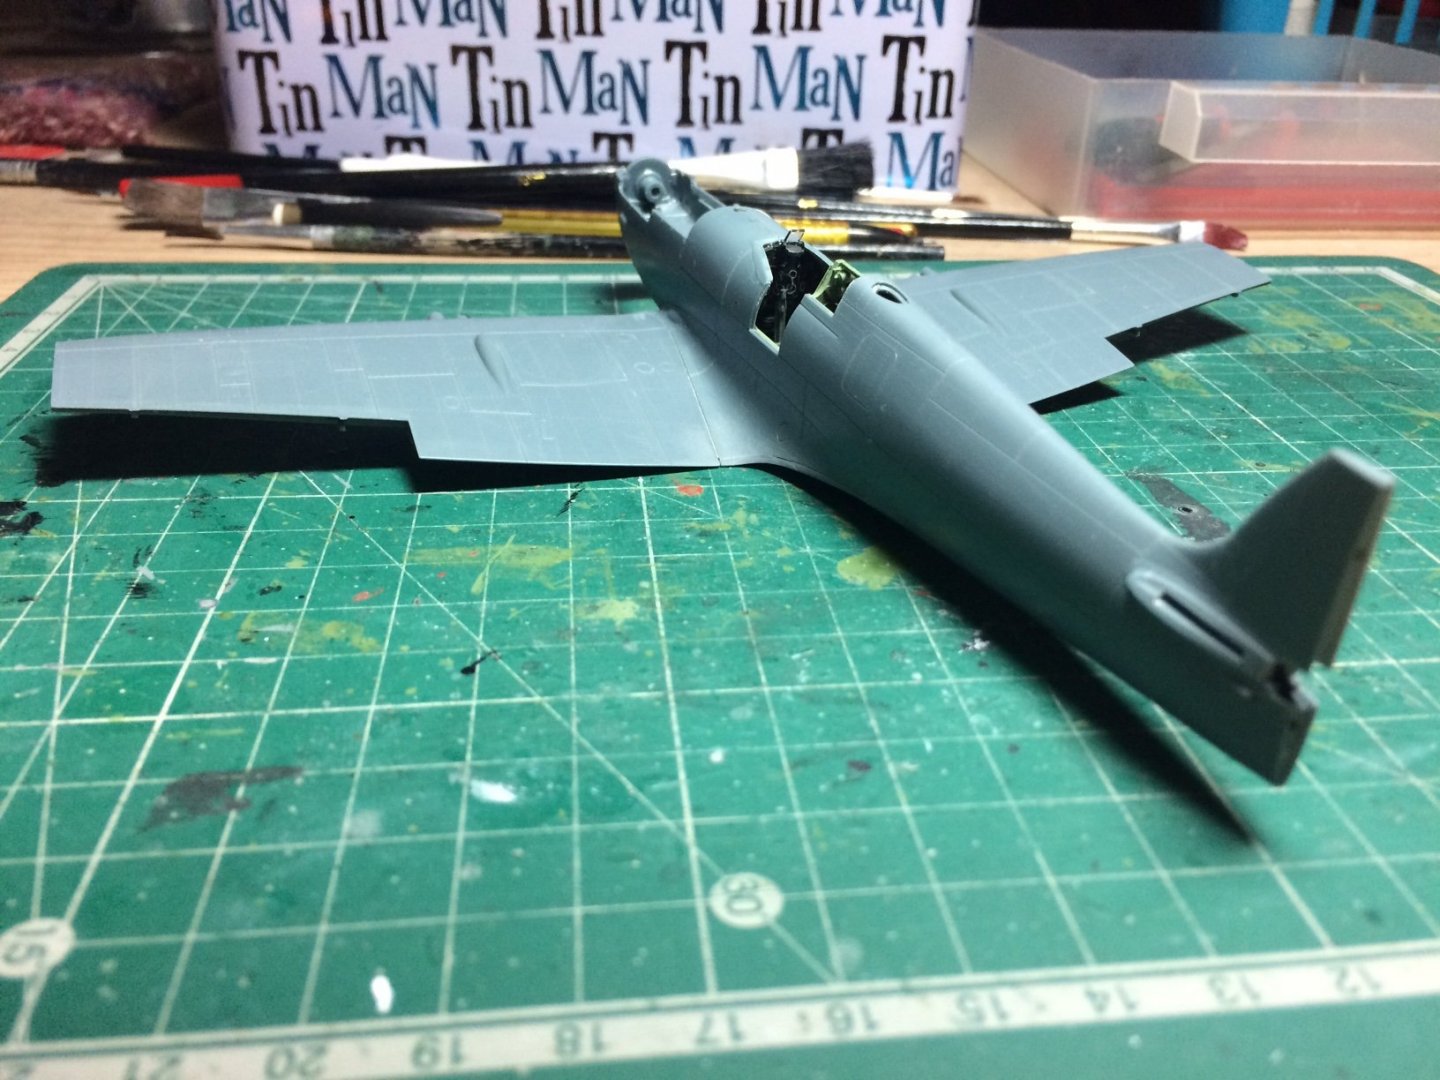
Looks rather good, OC. No detail up whatsoever?
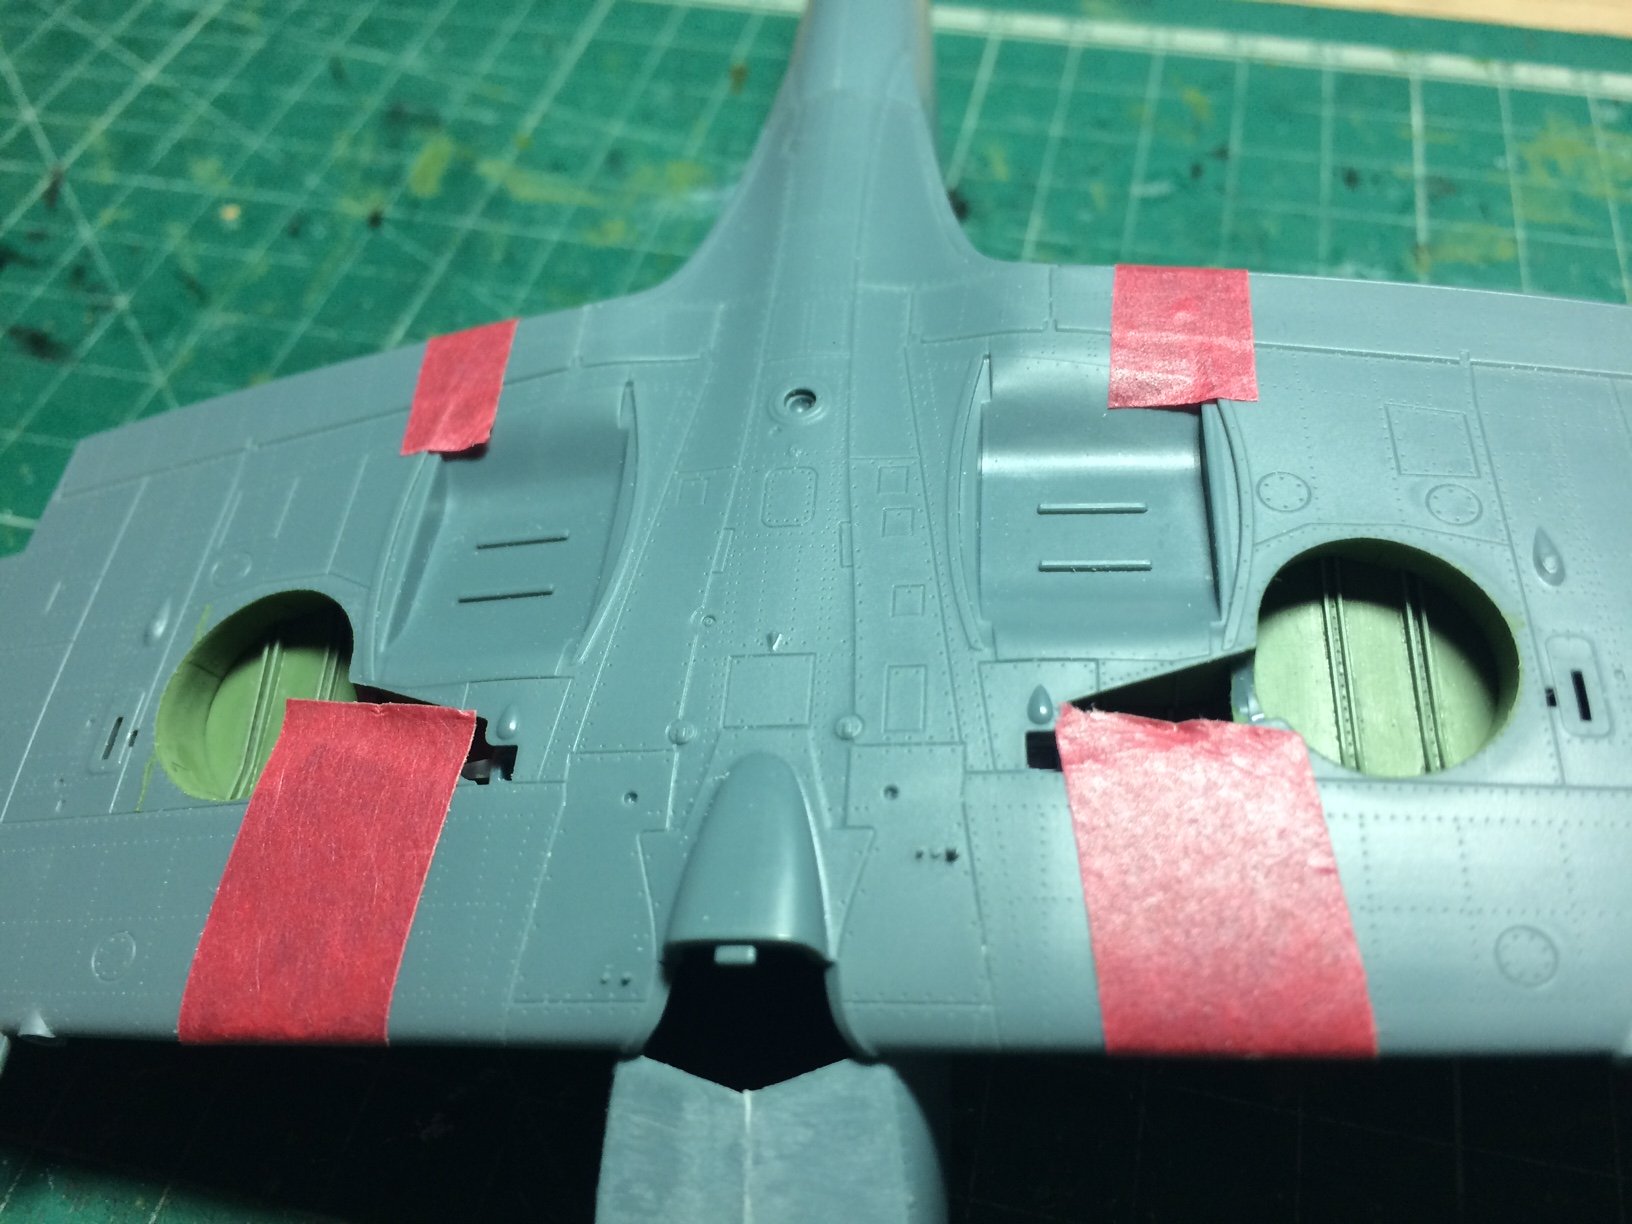
Yep the join lines are really tight with regards to the tollerances, I thought the join where the wings meet the fuselage might needs some work - but straight on even with a dry fit - they fit fine no filling I dont think.
OC.
- lmagna, popeye the sailor, mtaylor and 2 others
-
5
-
Evening all,
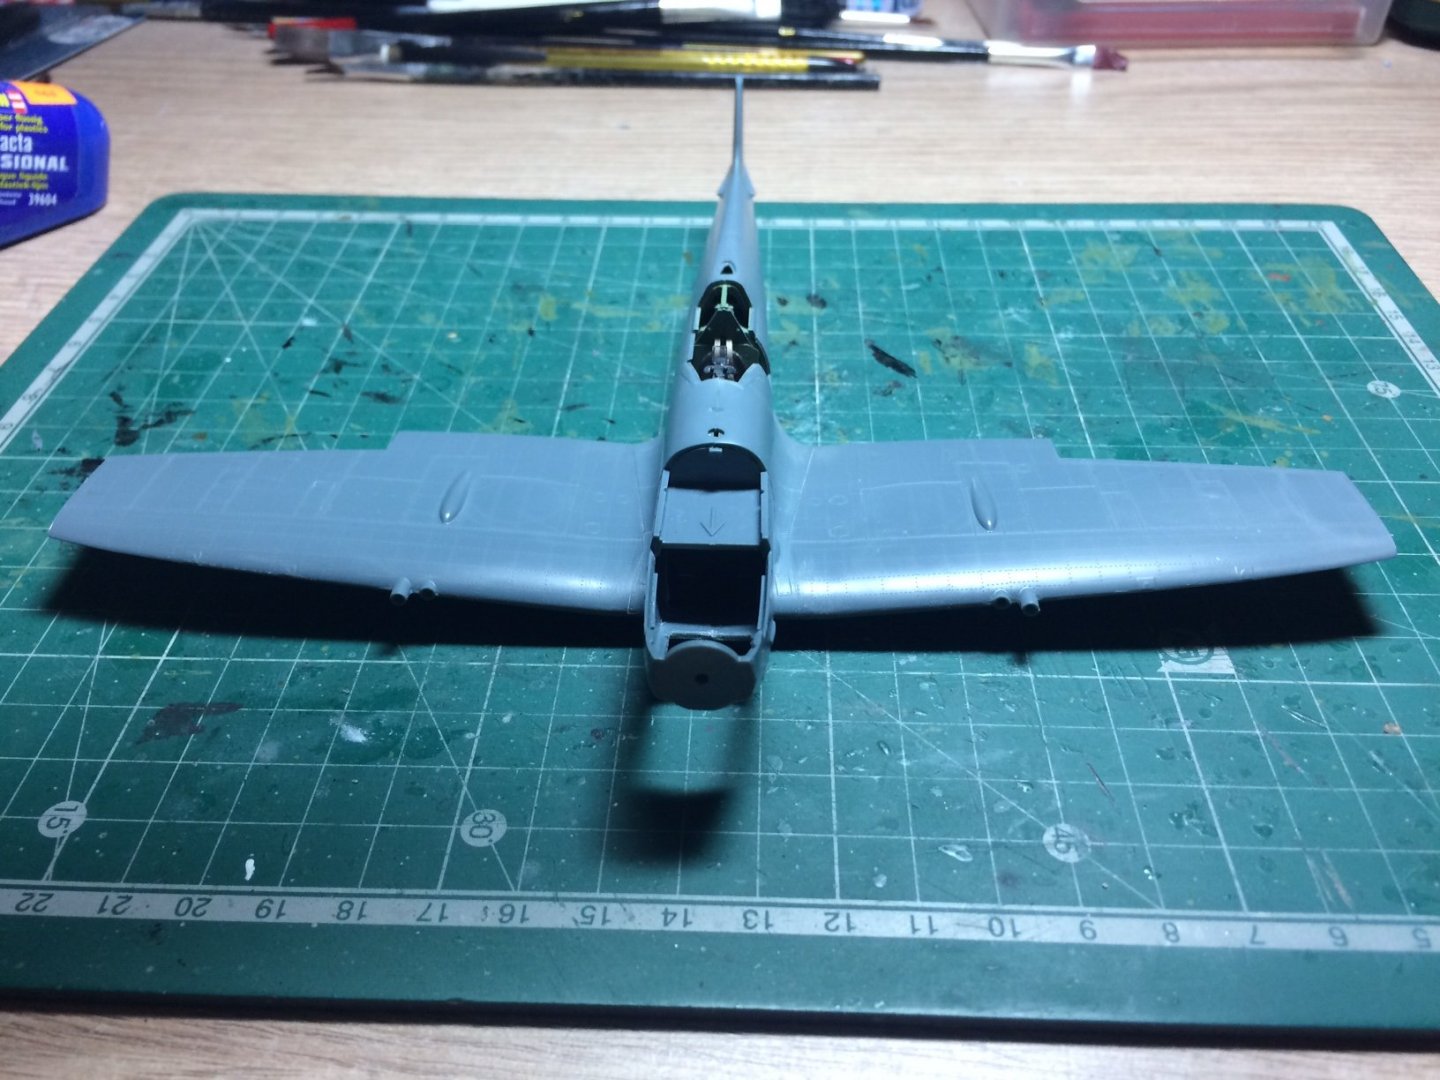
A bit more work on the Spit this eve, I painted the insides of the wheel wells then weathered them, then I dry fitted the wings to the fuselage to check the fit - Impressive.
The wings are not joined together yet (top and bottoms)
OC.

.thumb.JPG.82613a57861b9d0cd6971e5df2d5b67f.JPG)
-
Looking really nice.
OC.
-
9 hours ago, cog said:
You should add one of these ...
That looks sweat mate.
OC.
- popeye the sailor, mtaylor, Canute and 1 other
-
4
-
11 minutes ago, Jack12477 said:
Before I can finish the rest of the model I have to add 3-4 grams of weight/ballast to the nose so it will sit level. Right now it is tail heavy. This incarceration is making it difficult to run and and pick up a packages of BBs since I have nothing in stock that will fit down into the well. More later !
Have you got any small nuts and bolts? you could try attaching them with blue tak.
OC.
- popeye the sailor, mtaylor, lmagna and 2 others
-
5
-
1 hour ago, cog said:
Yes it is. Very fiddly bits
Dont tell Greg about it - he would have you doing all sorts to it.🙃
OC.
- mtaylor, Canute and popeye the sailor
-
3
-
Evening all,
Right as I said earlier - I dragged the other Spit kit out (That I had stashed in the cupboard as I messed it up) I had a look over it and think with the confidence from building this, I should be able to salvage it into a Seafire Mk3.
OC.
- Egilman, popeye the sailor, Canute and 2 others
-
5
-
29 minutes ago, cog said:
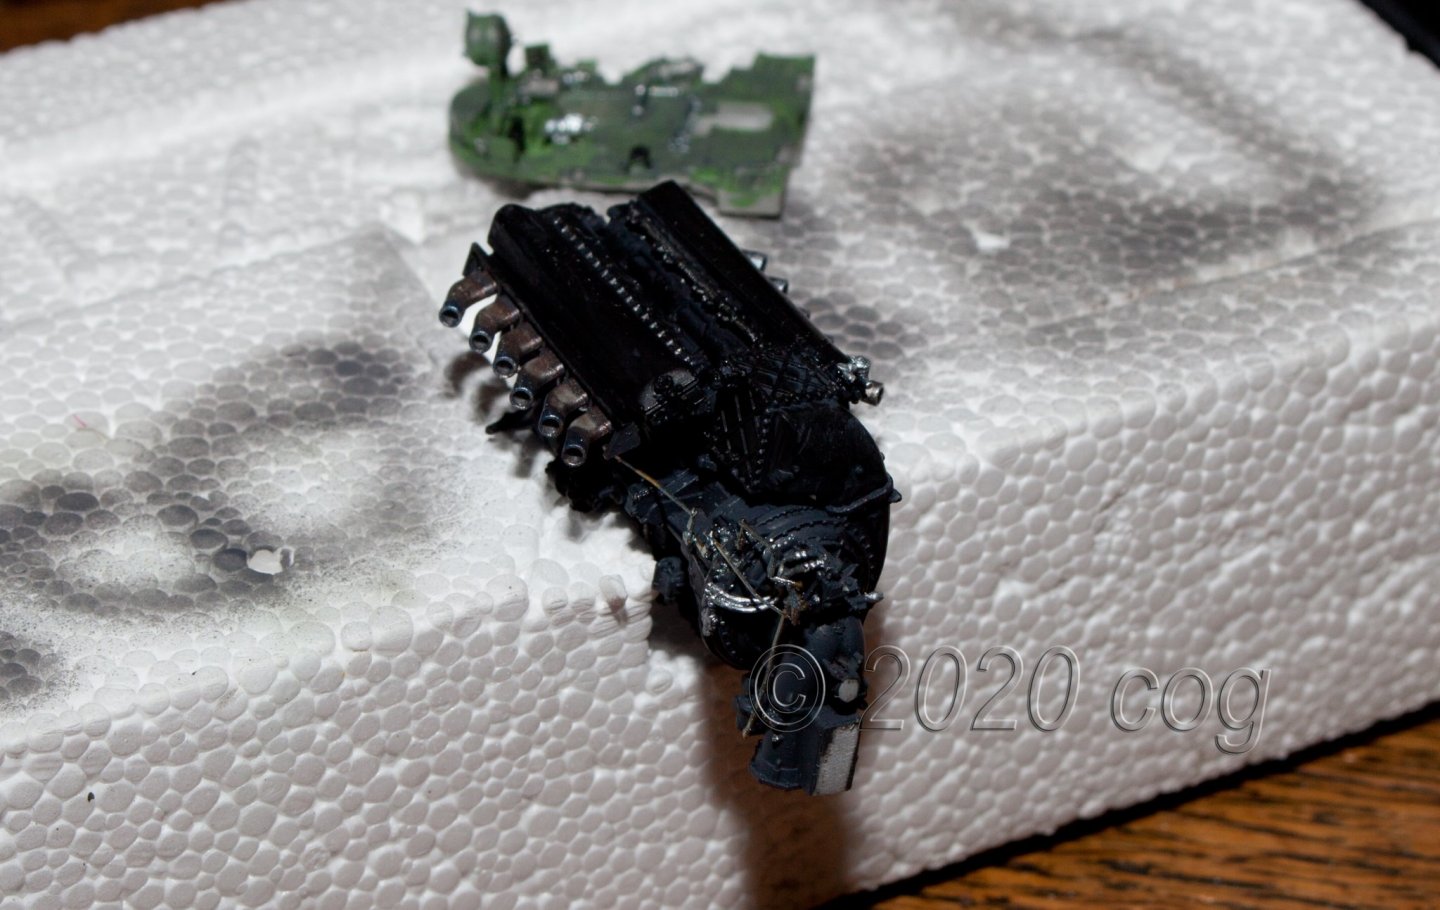
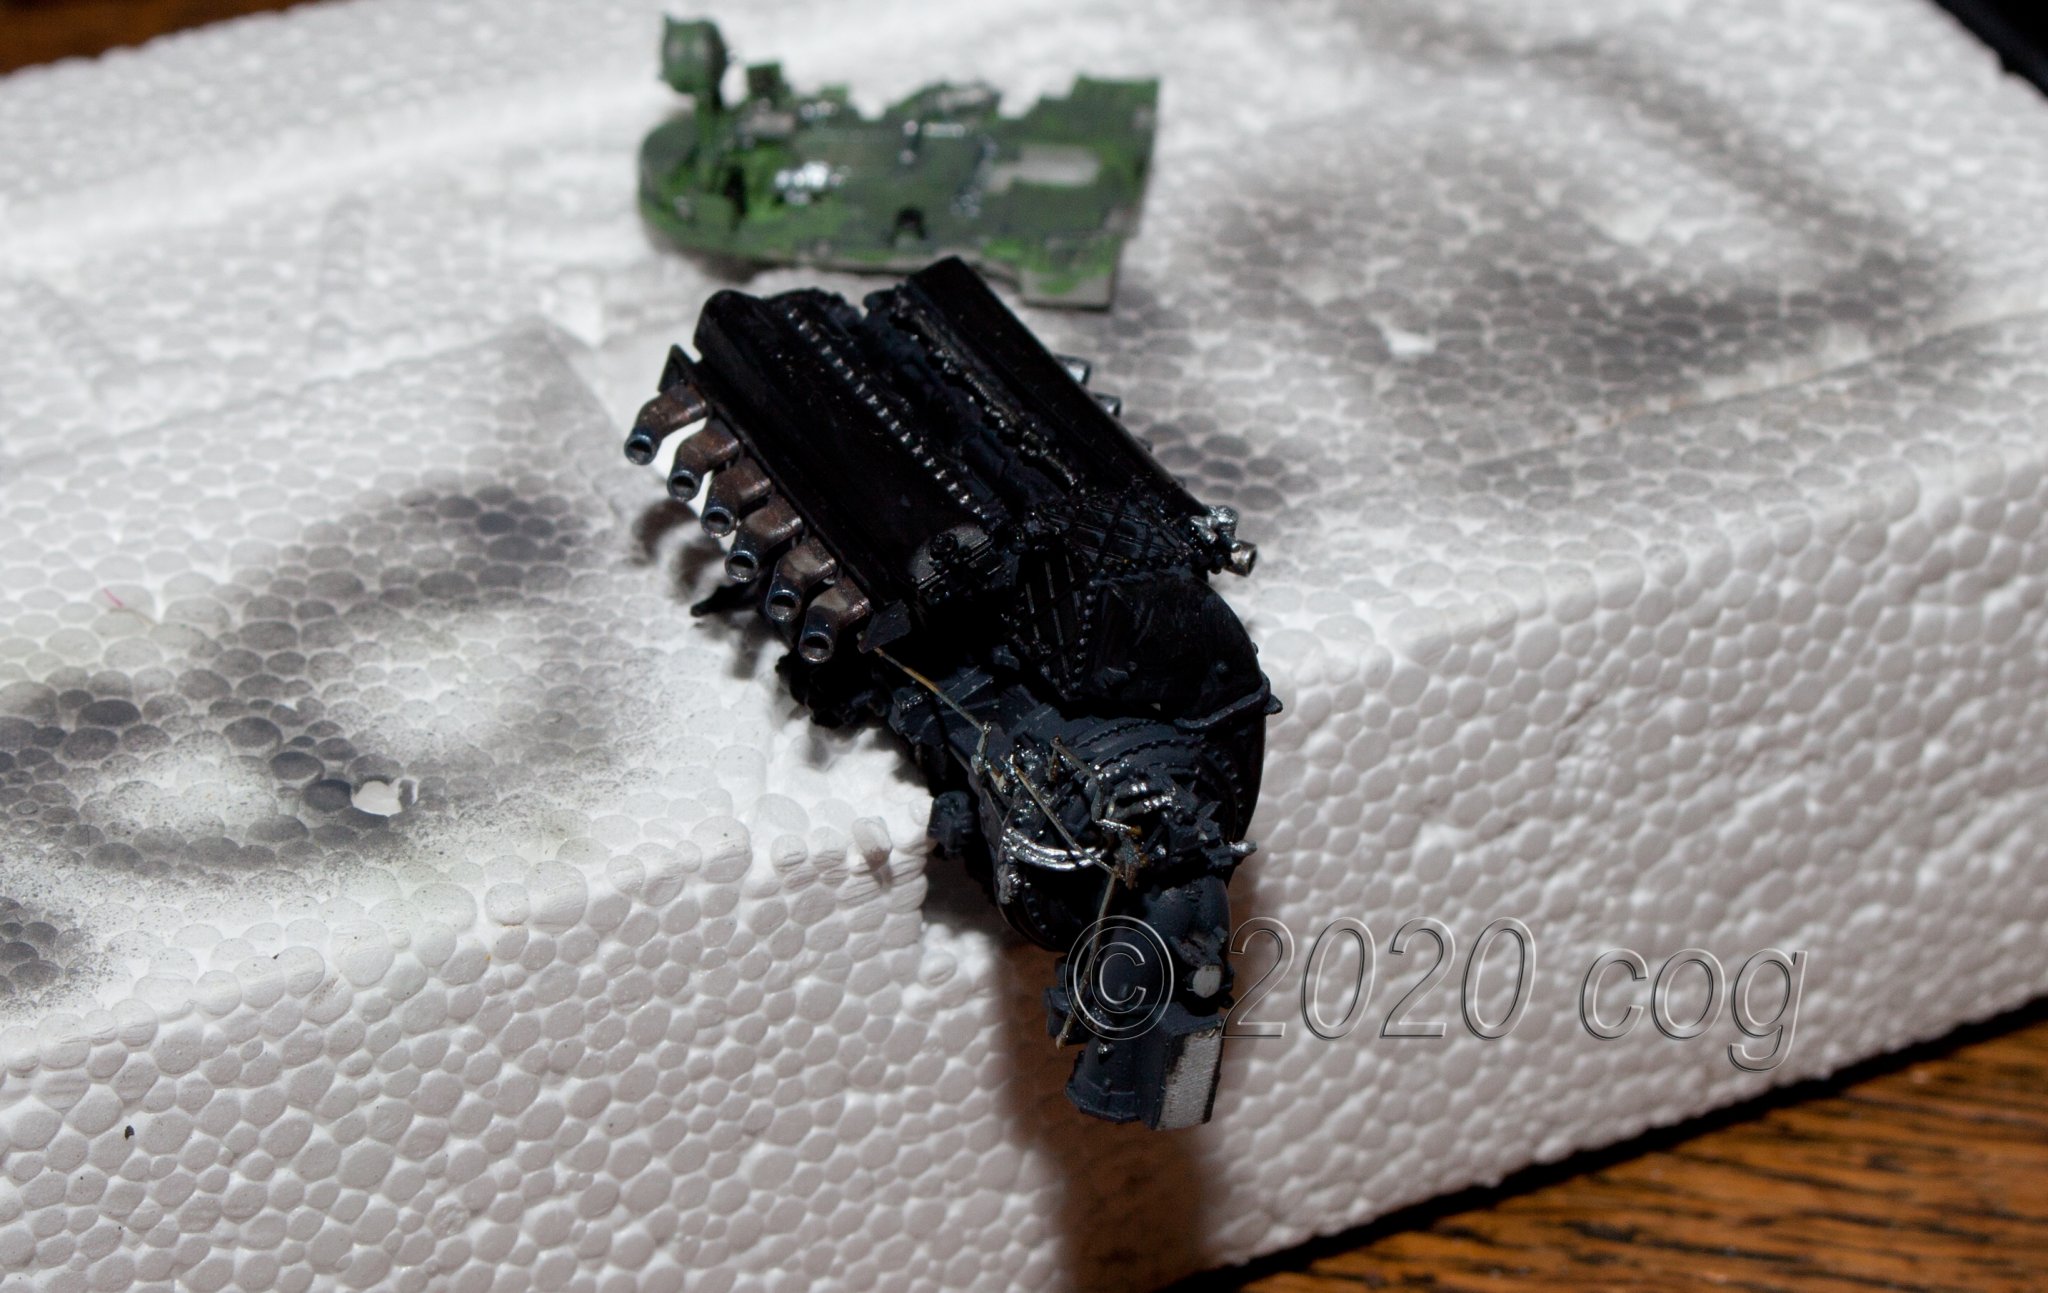
it will be Denis ... it just hasn't arrived yet. I want to build one with a detailup cockpit, engine, radio room (more like a box), and wheels. That should keep me busy a few days ... four seperate builds in one ... add a cloak of invisbility ... and the camo is complete too
By the way, presently working on a Spitfire IXc 1/48 engine ... should fit snuggly in OC's build
")
Sounds interesting, is it the Brassin one? I have heard good things about that.
OC.
- mtaylor, popeye the sailor, Canute and 1 other
-
4


.JPG.f6433b326dff6557a534751f170f4f14.JPG)
Spitfire IX (Late Mark) by Old Collingwood - FINISHED - Eduard - 1/48
in Non-ship/categorised builds
Posted
Its got to have its normal wing tips on it yet Ken, it comes like that giving you the option as they are in the box - three types of wing tips I think.
OC.