


Old Collingwood
-
Posts
12,000 -
Joined
-
Last visited
Content Type
Profiles
Forums
Gallery
Events
Posts posted by Old Collingwood
-
-
Excellent work just like we are being transported back in time.
OC.
- thibaultron, Canute, oneslim and 4 others
-
 7
7
-
Superb EJ cant find any other words just a really perfect job.
OC.
- EJ_L, popeye the sailor, Elijah and 1 other
-
4
-
She is coming on a treat denis - really nice build.
OC.
-
16 hours ago, harlequin said:
I am using corels supplied rope and caldercrafts black rope....I will as usual get the colours wrong, I will end up mixing the fixed with the running as usual......the blackrope is not too bad just got to work it slightly to get rid of all the fuzz, and it doesn't take to pva as well as the corel but I think all will be well
Folks have recommended bees wax to de fray ropes.
OC.
-
That is a great colour reminds me of the 70s scalextric cars colours.
OC.
- CDW, Edwardkenway, mtaylor and 3 others
-
6
-
42 minutes ago, mtaylor said:
Looking good, OC. I take it the hatch over the engine isn't removable?
Hi Mark, no it had to be glued down to seal it where it meets the fuselage, it was built as a two piece unit - it fitted quite well but gluing it down was better.
OC.
- Edwardkenway, lmagna, Canute and 2 others
-
5
-
I think you are racing against greg Jack. great work by the way.
OC.
-
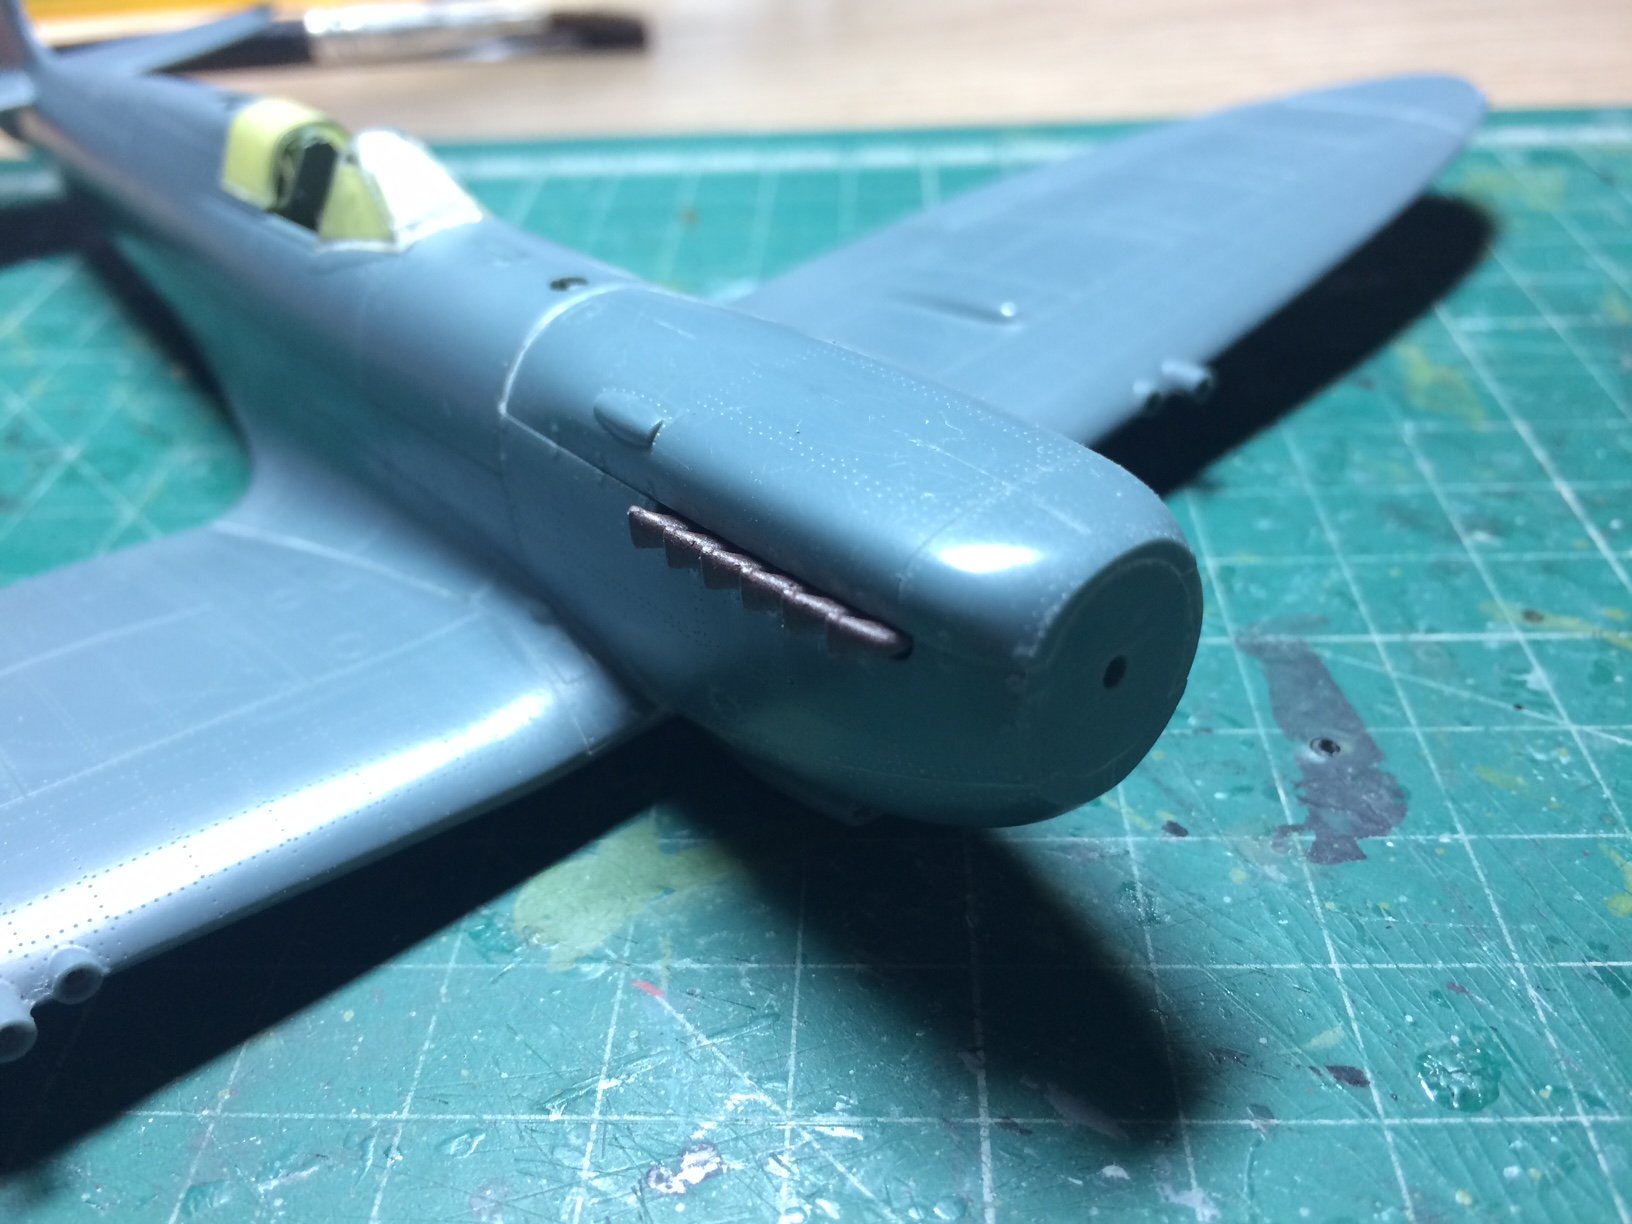
Good evening all, I managed to get a bit done this afternoon - I cleaned up the front cowl seams and added just the smallest amount of putty.
OC.


- Edwardkenway, lmagna, Canute and 9 others
-
12
-
I will take a seat cant have enough choppers and Apache is rather excellent.
OC.
-
-
Some good work with the details Mark, I remember the same experience with planks bending and fitting - I nearly gave up more than once - but keeping at it is the key. Read through my Greayhound build you will se what I meant.
OC.
- mfrazier and Edwardkenway
-
2
-
You got any other plane builds in the pipeline Joe?
OC.
- Canute, mtaylor, Edwardkenway and 1 other
-
4
-
Looking good Joe, very nice fitting kit.
OC.
- Canute, popeye the sailor, jwvolz and 2 others
-
5
-
36 minutes ago, Egilman said:
Good for you! The wife has been suffering from cabin fever the last few days but she is getting ready for some sun also..... (except the pollen is driving her nuts)
We normaly see rain here so its nice for the sun to dry us off, I too suffer from Hay fever and am on meds for it all year round.
OC.
- Egilman, Canute, Edwardkenway and 2 others
-
5
-
-
36 minutes ago, Jack12477 said:
Nah ! It's easy, OC. Did all of those in little over an hour, including painting. The way Tamiya makes these, they go together easily. And no flash to remove.
It is looking super Jack, do you super detail with washes highlighting etc when assembled? I was never that good at that part when I was younger inpatient I think I was.
OC.
- lmagna, Canute, Edwardkenway and 1 other
-
4
-
Glad I'm not building it with all those additions / add - ons I would be building for ages picking out the details with my scraper and knife.
OC.
-
1 minute ago, Kevin said:
very hard to make a Saturn IV rocket nowadays with the silly shaped bottles
Indeed - I did though make the Action Man bed add whitling emoji.
OC.
-
-
First rate work (no pun intended) phil, you should be so pleased with how she is coming on.
OC.
-
She is looking Superb mate, sorry to hear of your little set back but glad you have it in hand - it is really turning into a head turner.
OC.
- popeye the sailor, Kevin and mtaylor
-
3
-
1 hour ago, Kevin said:
lol have you ever seen one of my non ship builds
You have surgeons hand when it comes to model building Kevin , bet back in the days of Blue Peter bet you used to make loads of stuff same as I did.
OC.
-
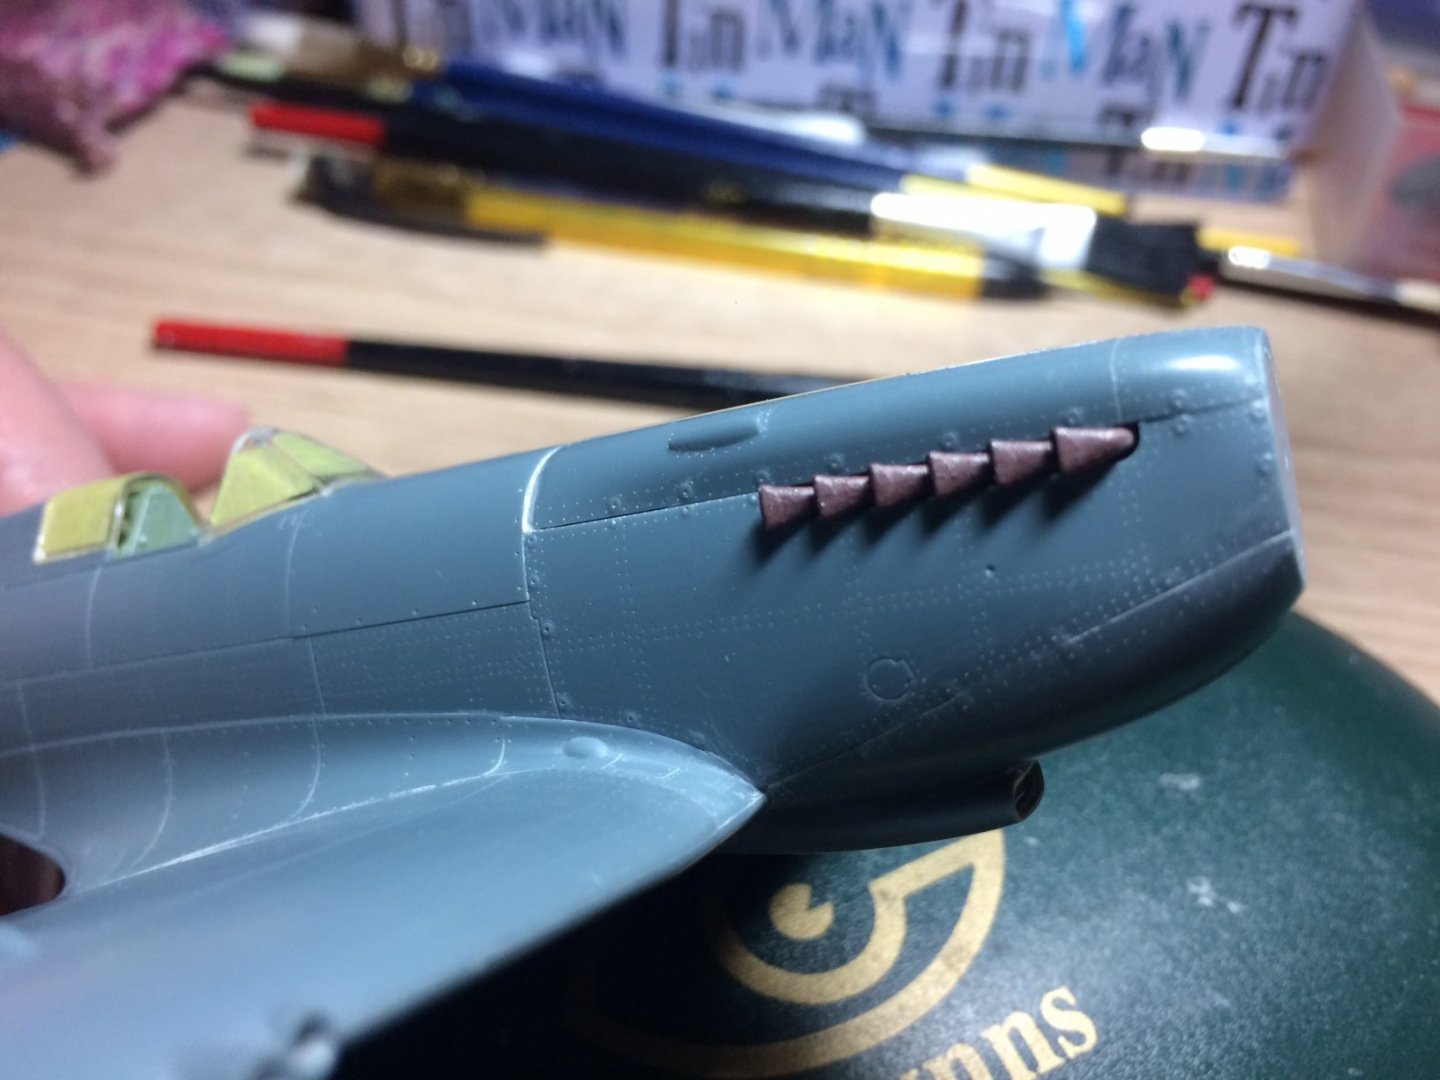
Evening all home inmates, I did a bit more on the spit this eve as I was in the back yard enjoying some nice but cold sunshine from that strange thing in the sky, so first thing I ran some putty into that gap where the top engine cowl meets the forward fuselage, then it was time to construct the bottom cowl at the front, this also has a pe vent filter fitted inside (fiddly with limited acsess) after cleaning the join seams (slightly) I then glued it in place.
No pics as I will wait till I have cleaned up the join seams where it meets the fuselage.
OC.
-
1 hour ago, CDW said:
Coming along beautifully OC. I just found your build thread, by the way.
I wonder if the exhausts are from Moskit. The company used to make hollowed metal exhausts just like those, for a number of different aircraft.
Hiya mate, thank you for the compliment, I'm not sure about the exhausts - guess it is quite unusaul for them to be this detailed with in a kit, in the box there is a choice of two different sets of exhausts I guess for early or late - if not a different model of Spit.
OC.
- popeye the sailor, mtaylor, lmagna and 2 others
-
5


Spitfire IX (Late Mark) by Old Collingwood - FINISHED - Eduard - 1/48
in Non-ship/categorised builds
Posted
Interesting story my farther used to talk to me about now I have found a link to it - basically its a Spit IX that was pushed to over 600mph in a dive.
https://sofrep.com/fightersweep/spitfire-nearly-broke-sound-barrier/
OC.