


Old Collingwood
-
Posts
11,522 -
Joined
-
Last visited
Content Type
Profiles
Forums
Gallery
Events
Posts posted by Old Collingwood
-
-
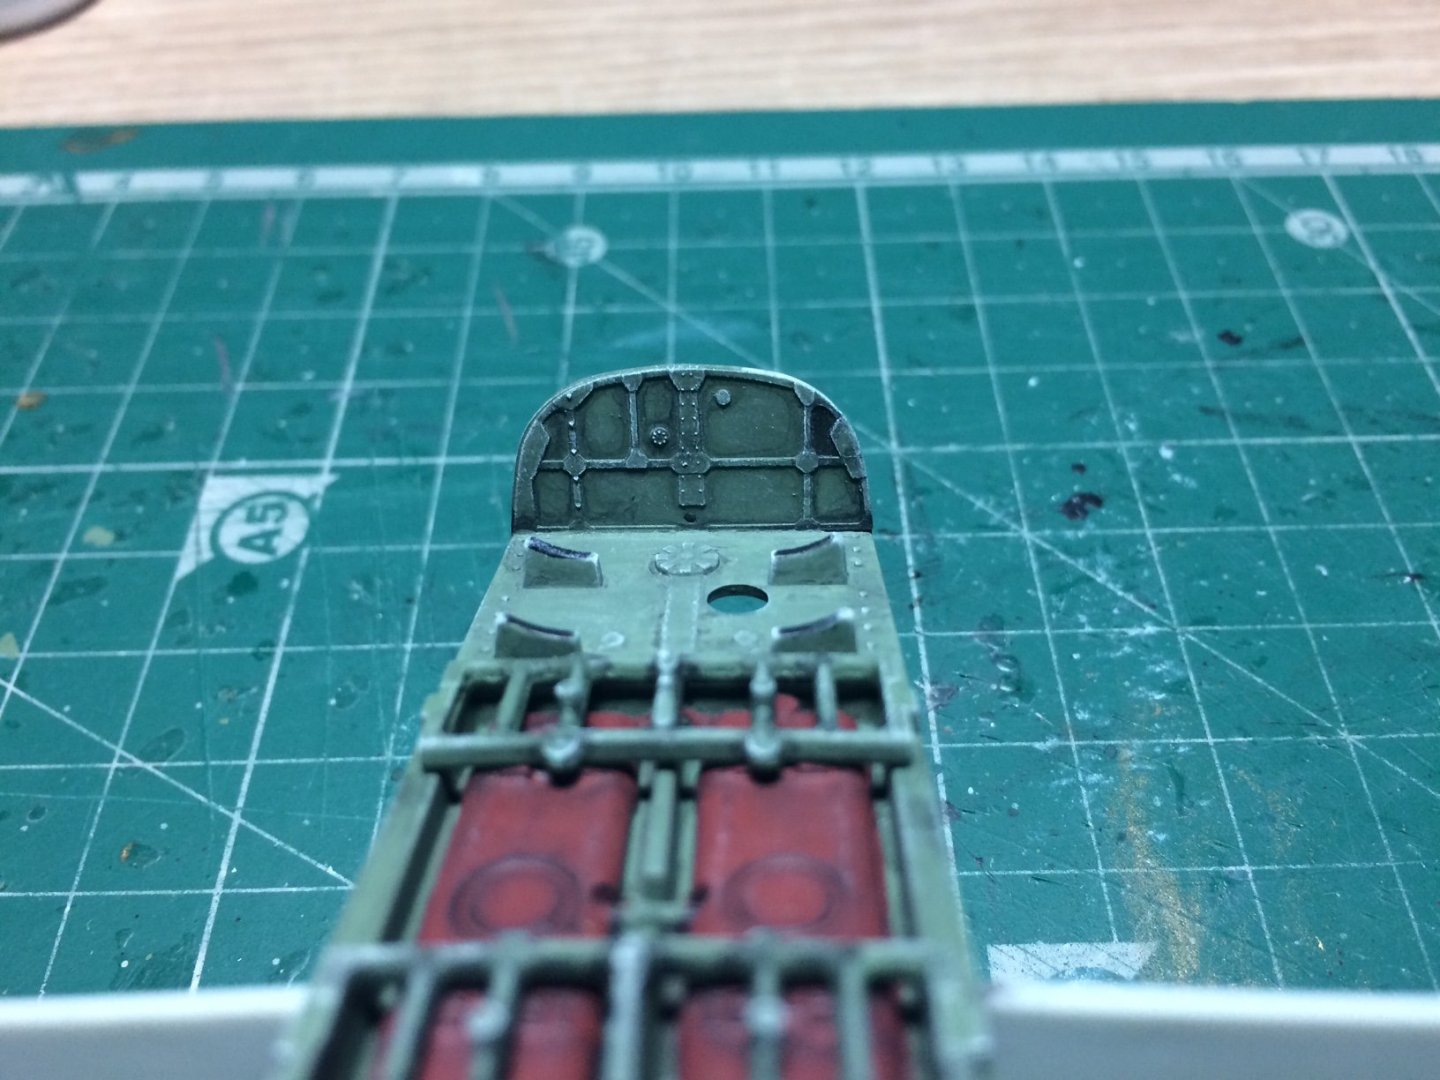
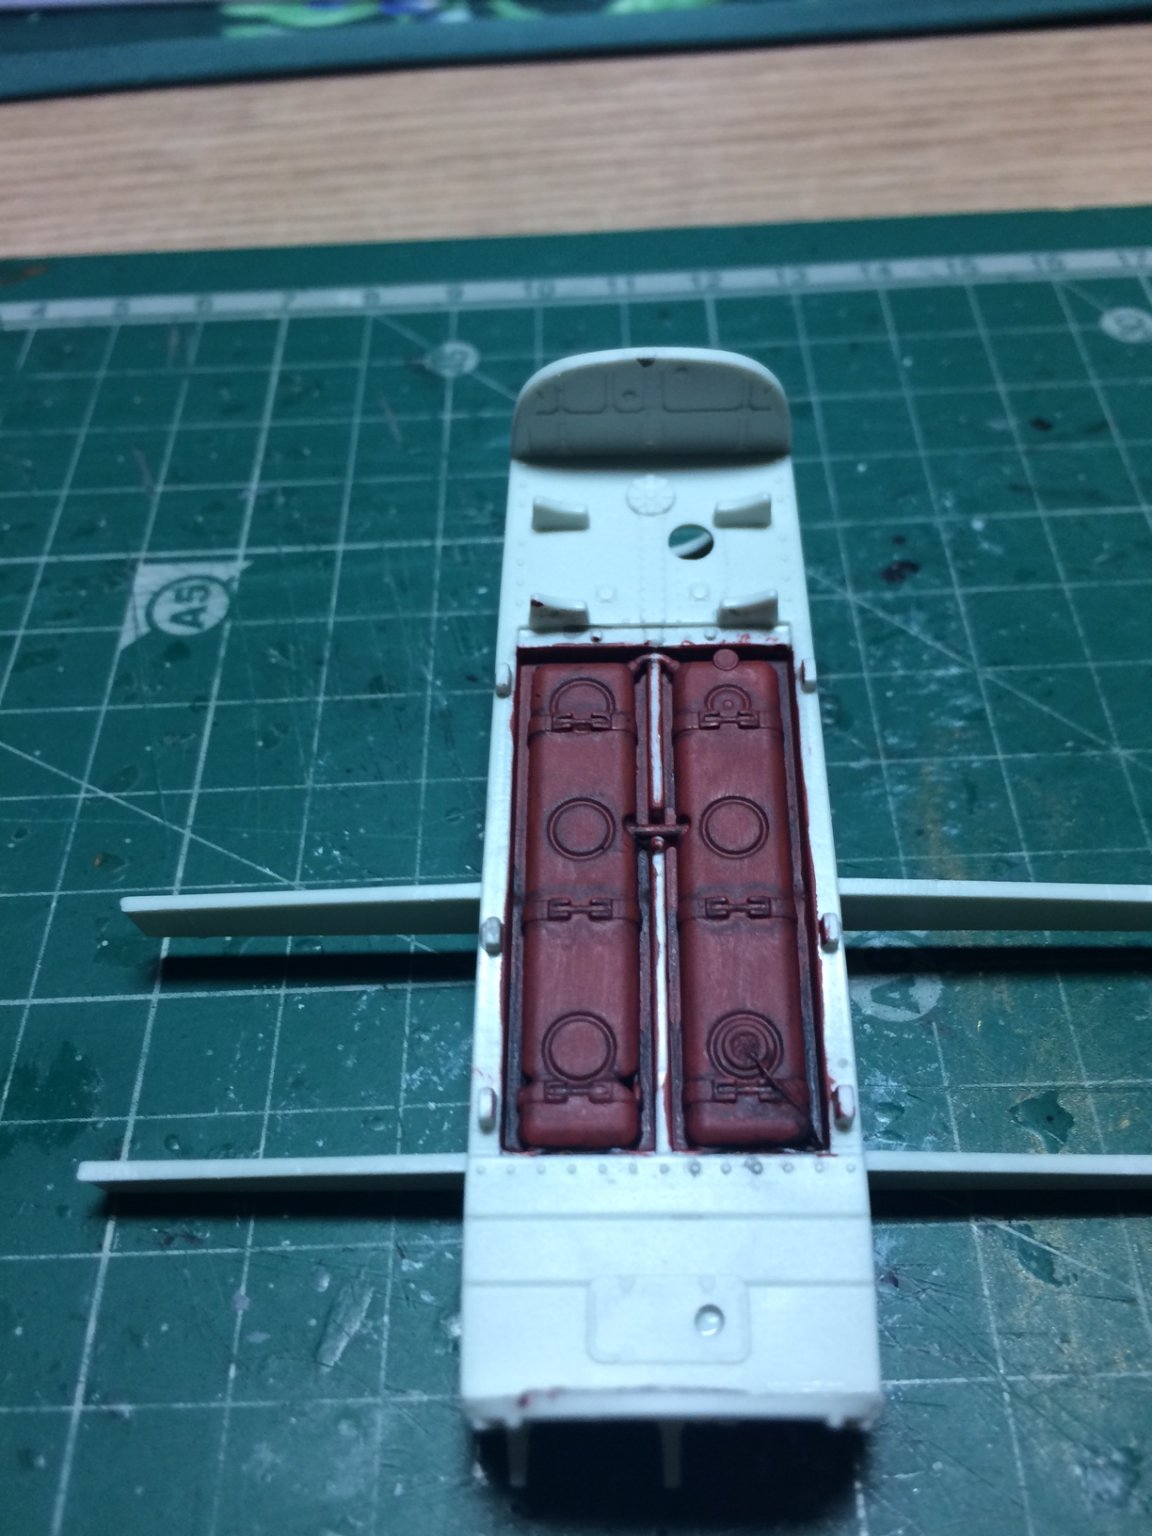
Hi all, some good work today - I put some interior green down then ran some washes over it, after I worked on the three sub frames - painted and washed, then when dry (quickly with a hairdryer) I then did some highlighting - lots more to do yet as it still needs the bomb rails and brackets.
OC.

- gieb8688, GrandpaPhil, hexnut and 13 others
-
 16
16
-
38 minutes ago, mtaylor said:
I guess I'm bashing this kit then with the guns and mods to accept them. Cool. I'm still cleaning up the fuselage exterior. Seems that are some things that would only apply the German version. So.. got to make them gone.
I have to admit.. I'm as happy as a pig in a waller. My parts that I ordered yesterday were shipped out this morning. Excellent service is wonderful after that last batch of problems and all the excuses.
Bring it on fellow basher - bring the bling.
OC.
-
We have a preserved one over here RN version -
https://www.fleetairarm.com/exhibit/grumman-avenger-ecm6b-xb446/2-4-13.aspx
OC.
-
15 minutes ago, mtaylor said:
Off to a great start, OC. Looking good.
Thanks mark, its interior green paint time next followed up with some more washes and a bit of hightlighting then some more additions to add, going to build things in stages like that - painting and weathering them as I go instead of assembling the whole sub sections and trying to paint/weather.
OC.
-
2 hours ago, SigEp Ziggy said:
Thanks, Denis, I was struggling with the term, if my brain would come out of the fog, I probably have said capstan. Anyhow, I do not like the capstan around the main mast, and this model pre-dates 'Pirates of the Caribbean'. So, I am not sure if any ships were actually built like this.
I think it was put there for space reason (but agreed a very unusual arangement)
OC.
- mtaylor, BLACK VIKING, Canute and 2 others
-
5
-
3 minutes ago, lmagna said:
That was the word/title I was looking for. I feel most comfortable wearing the title Basher! Fits most of my skill level to a T.
A kit "Basher " defines anyone who is prepaired to do their best with a kit and try anything they come up with.
I think its a great title.
OC.
- CDW, lmagna, popeye the sailor and 1 other
-
4
-
- popeye the sailor, lmagna, Canute and 1 other
-
4
-
This will be good, I built a similar thing by Airfix in 1/72.
OC.
- popeye the sailor, Canute, Egilman and 2 others
-
5
-
3 minutes ago, Canute said:
Nice start, OC. The wash makes those tanks "pop".
Thanks mate, trying to keep them natural still need to chase the interior green around then add more washes.
OC.
- Canute, mtaylor, popeye the sailor and 1 other
-
4
-
3 minutes ago, Javlin said:
I like the way that came out OC looks like a natural state.
") Kevin
Kevin
Thank you kevin,
OC.
- Canute, mtaylor and popeye the sailor
-
3
-
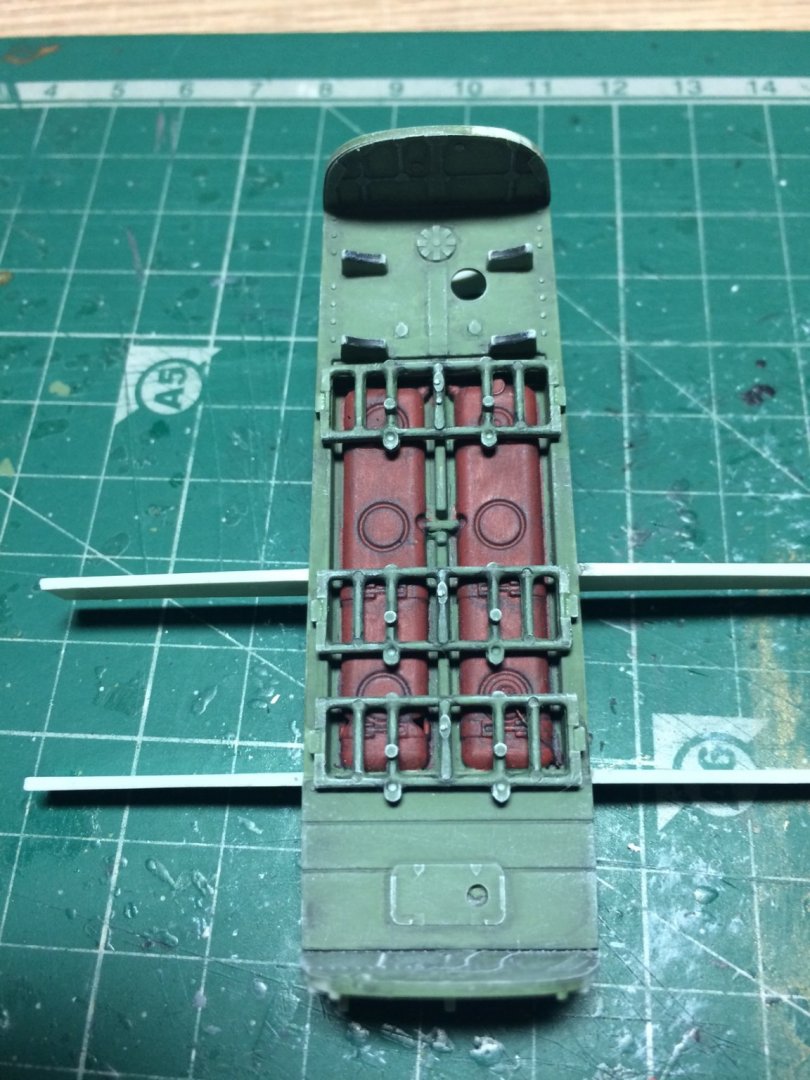
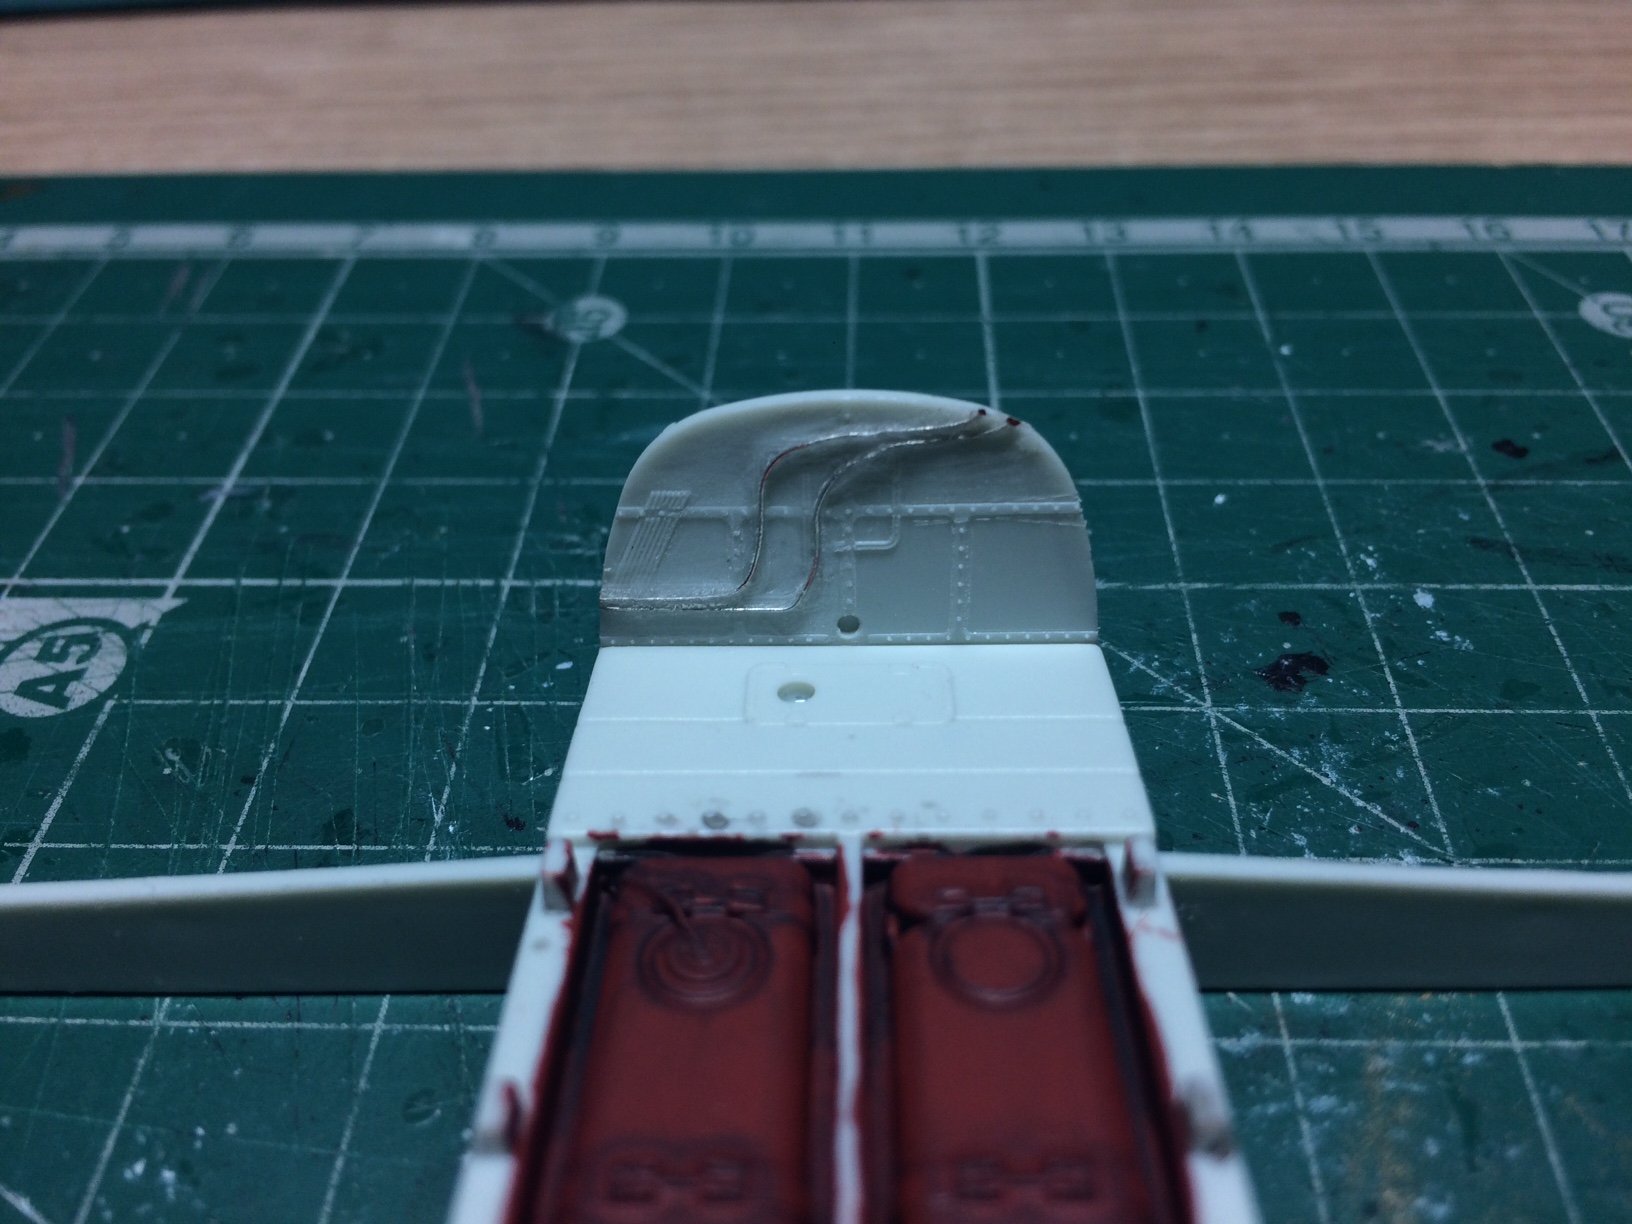
Done a bit more - I decided to fit some pipework - for this I used electrical fuse wire, I put a small smear of ca down then layed some wire, with a hairdryer to set It set in place - I then did the same to a run underneath.
I then painted both fuel tanks the brick Red colour - for this I used Red Ocre, after drying this I added a few coats of dark wash - very watery then dried in between each layer, the main green shade still needs to be applied.
OC.
-
7 hours ago, BLACK VIKING said:
Stunning job OC , love the pirates especially the one who has been on a bit of a diet lol
Martyn
Thank you Martyn, yep those pirates had their ways.
OC.
- popeye the sailor, Canute and mtaylor
-
3
-
9 hours ago, Retired guy said:
Very nice build OC 👍
Regards
Richard
Thank you Richard.
OC.
- Canute, popeye the sailor and mtaylor
-
3
-
10 hours ago, Kevin said:
lovely build, well gone on completing her
Thank you Kevin.
OC.
- mtaylor, Canute and popeye the sailor
-
3
-
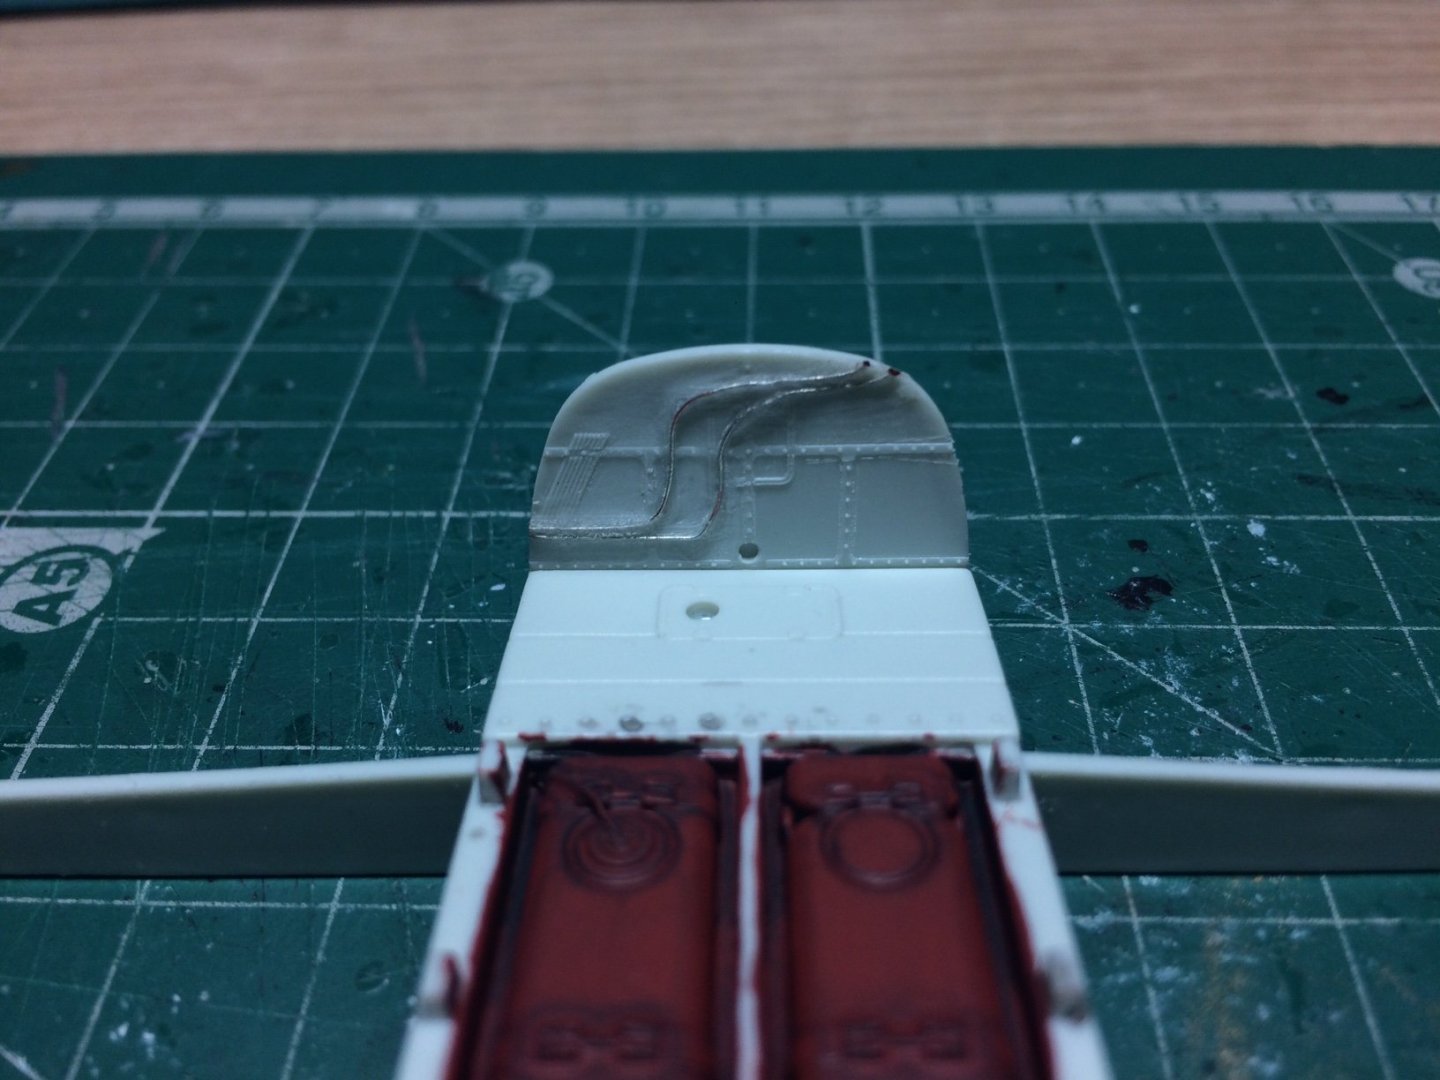
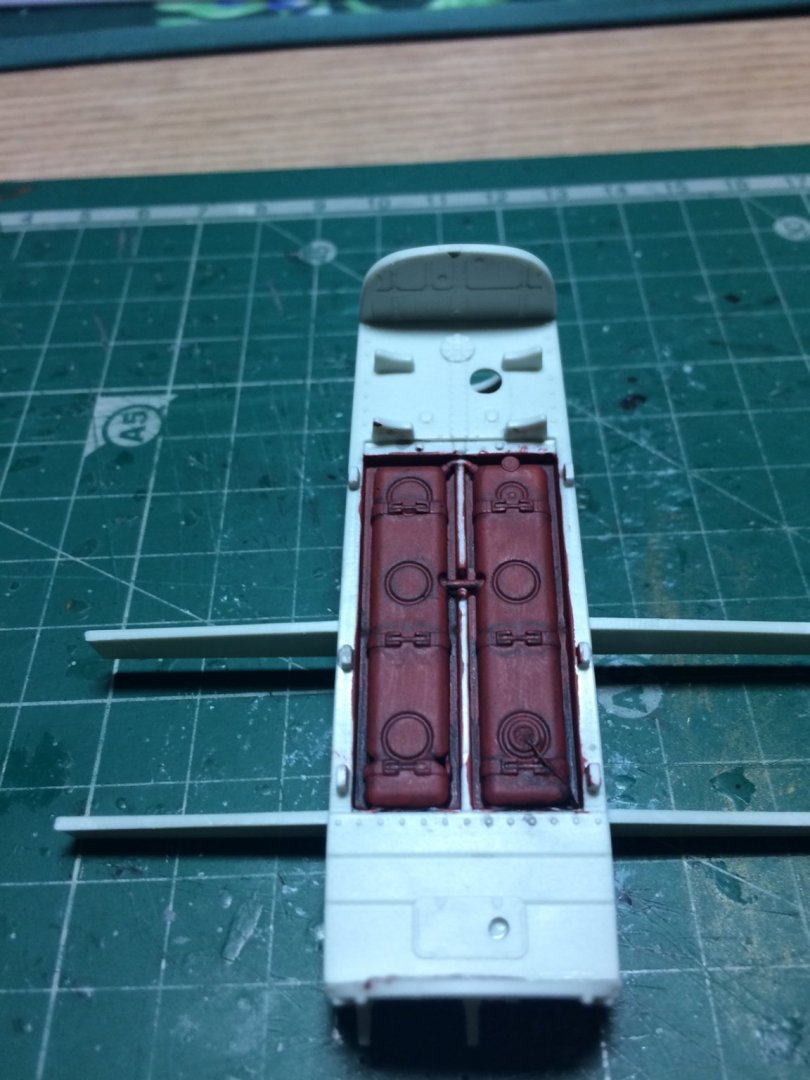
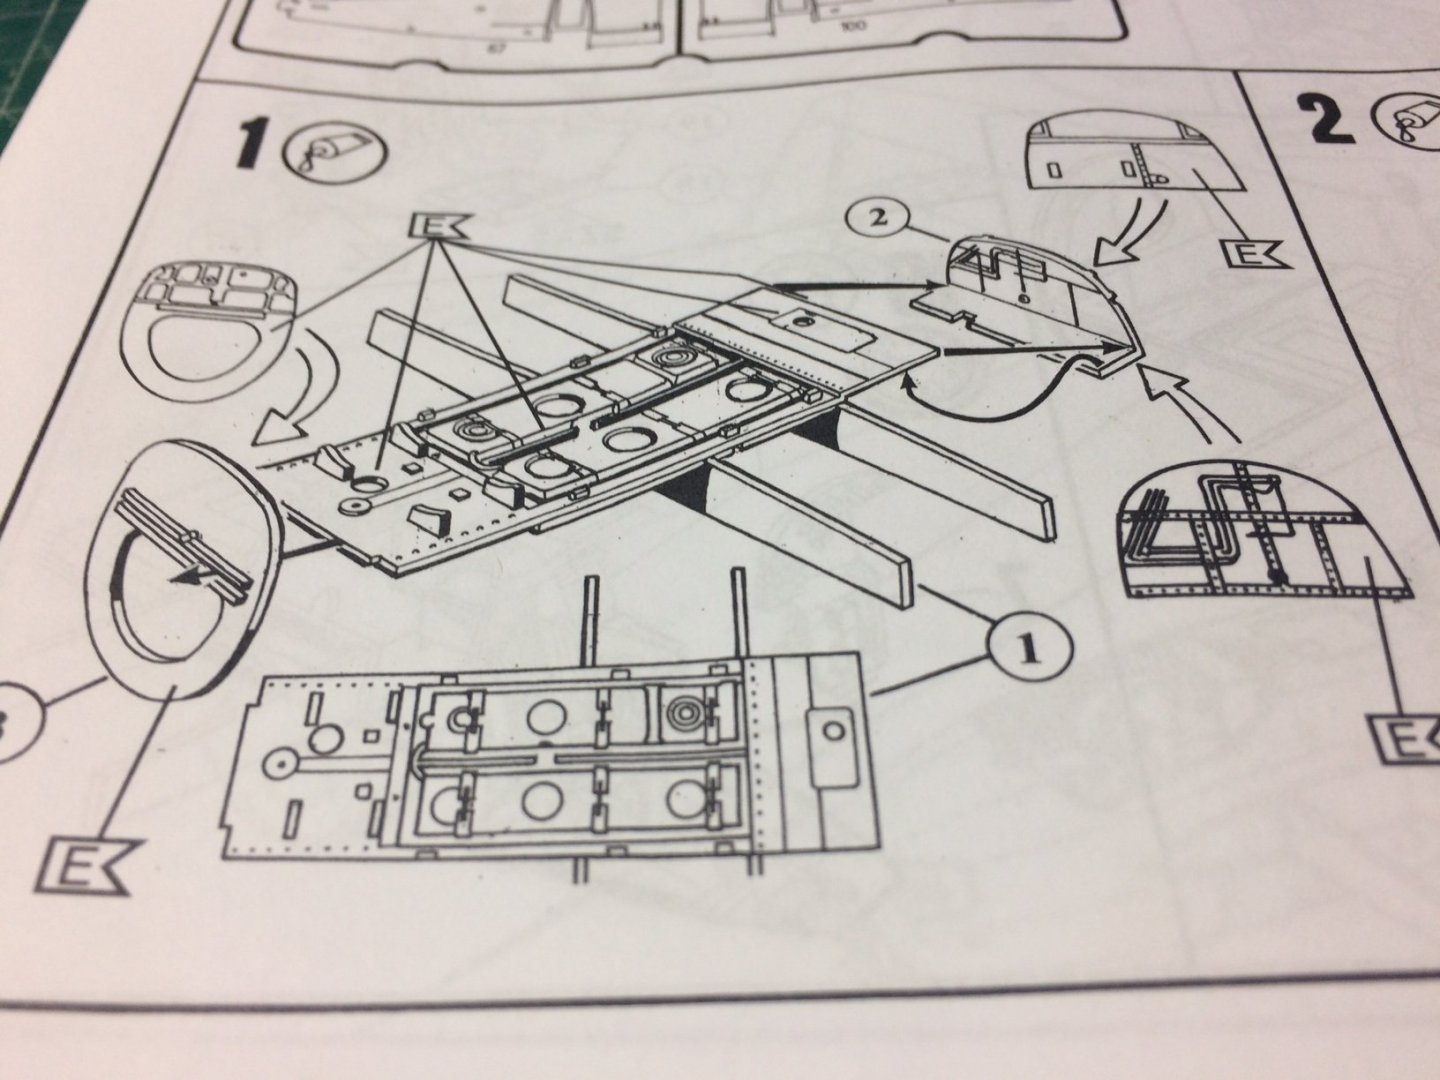
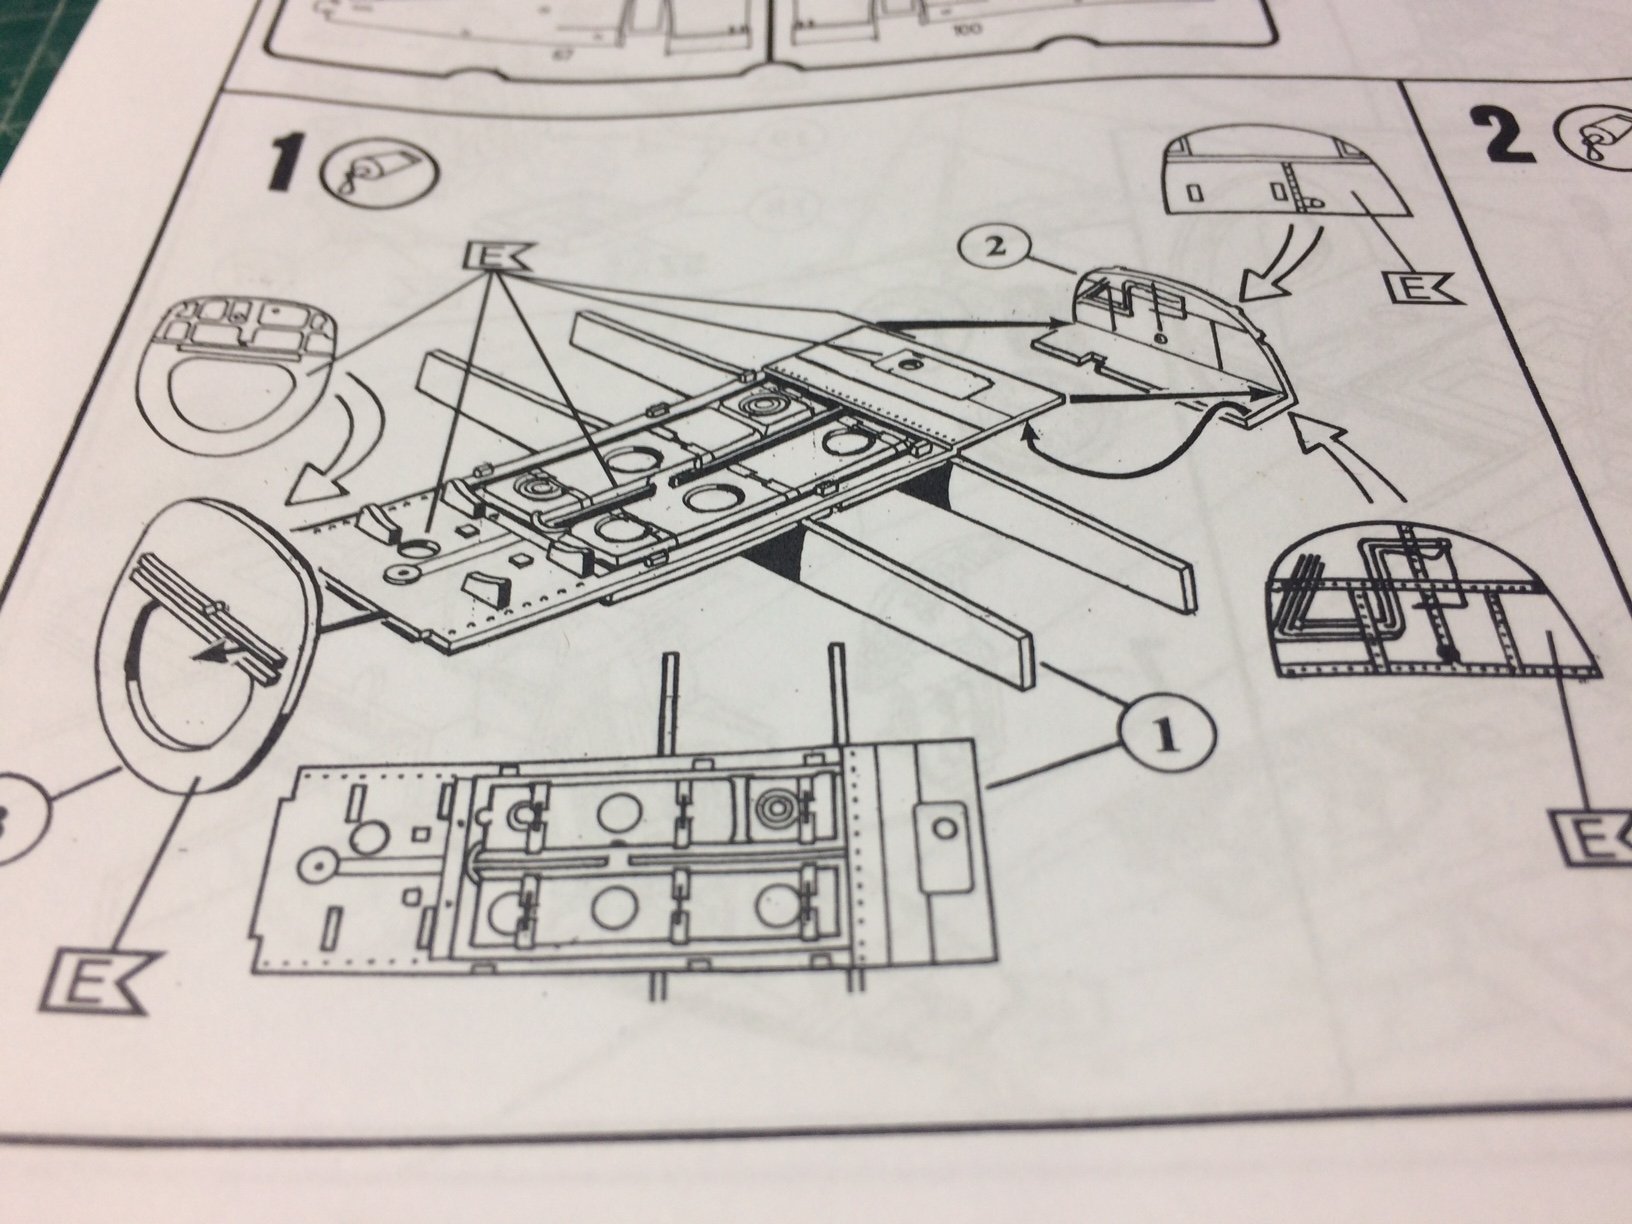
So! - It begins, I couldn't help it "I had to",
I got the box out - checked the instructions and found the first build section (Bomb bay), so I cut away the first sections needed then put them in a tub and with the aid of washing up liquid/hot water and a tooth brush, I gave the parts a clean to remove the release agent.
Then when dry I assembled the main bomb bay floor containing the fuel tanks, and the two bulkheads, this was set aside to dry.
Here are the first two pics showing the stage so far and the instructions stage.
OC.

- Javlin, Jack12477, Edwardkenway and 10 others
-
13
-
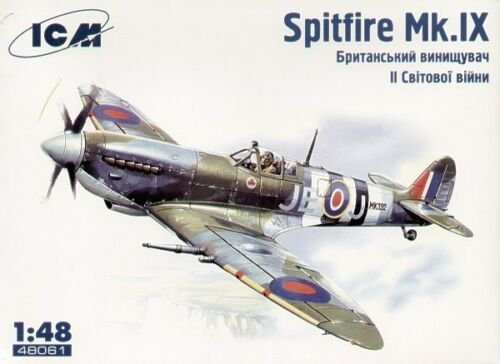
1 minute ago, CDW said:
I thing the Spitfire Mk IX was their best looking Spitfire of all. Should be a real nice kit.
I was told by my farther they struggled to fit the beafed up engine in the same frame - they could have done with extending the frontal area.
oc.
- lmagna, Canute, popeye the sailor and 1 other
-
4
-
I can see you and mark doing that Huey ride and posting the vid on here - that would be so cool.
OC.
- popeye the sailor, Canute and mtaylor
-
3
-
Very nice work, bowsprit deck do you mean Forecastle deck - it meets the front of the ship near the bowsprit and can be flat from the mid ships or raised up.
OC.
-
-
2 minutes ago, rafine said:
Congrats OC. Really well done.
Bob
Thank you for having a read through Bob and your kind comments.
OC.
- mtaylor, lmagna and popeye the sailor
-
3
-
As well as the Mosi I won this on ebay for next to nothing - it was an opened box but all the parts are still in their bags I have been told - waiting for it to arrive, it is fitting as its another plane my father worked on.
OC.
- mtaylor, popeye the sailor, Nirvana and 4 others
-
7
-
23 minutes ago, mtaylor said:
Looking forward to it, OC.
Thanks mark.
OC.
- mtaylor, popeye the sailor and Canute
-
3
-
You could do a door gunner mark.
OC.
- popeye the sailor, CDW, mtaylor and 1 other
-
4
-
2 minutes ago, marktiedens said:
Super nice OC.
 Really looks the part!
Mark
Thank you Mark, really pleased you like it.
OC.
- marktiedens, Canute, mtaylor and 1 other
-
4


Black Pearl by Old Collingwood - FINISHED - 1/72 Scale
in - Kit build logs for subjects built from 1501 - 1750
Posted
Thank you sincerely.
OC.