HOLIDAY DONATION DRIVE - SUPPORT MSW - DO YOUR PART TO KEEP THIS GREAT FORUM GOING! (Only 13 donations so far - C'mon guys!)
×


Old Collingwood
-
Posts
12,098 -
Joined
-
Last visited
Content Type
Profiles
Forums
Gallery
Events
Everything posted by Old Collingwood
-
 Superb looking canons. OC.
 -
She has not had diabetes for long so the hypo was unknown ground for both of us, very scary and worrying, and having no medication for her to fall back on was not good. Its a combination of factors at the moment taht dont help - the cold she suffers from/she needs the warmth, but she also needs the right foods, both not very easy to obtain - especially not both. Like I said - roll on the spring and warmer weather. OC.
-
Gonna miss this build - so hopefully the time will swiftly dash forward to the new year. OC.
- 467 replies
-
- 4
-

-
- mikasa
- wave models
- (and 1 more)
-
Thank you sincerely, its always a slightly rough time for us - between now till next spring, the cost of keeping the house warm (and the wife) with her health issues, it puts such a strain on us impacting her health. Summer isnt too bad as we can have the heating off - then theres the cost of diabetic foods we are now starting to need, we cant do both. Roll on the spring. OC.
-
Not really feeling much like building at the moment this time of the year is always rough on us, but early this morning the wife had a hypo with her diabetes brought on and made worse by us choosing between food or heating - no guesses what we had to choose. So my motivation is abit strained at the moment and attention on my wife due to her new addional health issue to contend with. Right - moan over with. OC.
-
Wowser! so in the state you have nearly a five week holiday? OC.
- 467 replies
-
- 4
-
-
- mikasa
- wave models
- (and 1 more)
-
Trouble is - we are still in November, decorations are not supposed to go up till the first day of the "Twelve days of xmas" that on the 20th December. OC.
- 467 replies
-
- 5
-
-
- mikasa
- wave models
- (and 1 more)
-
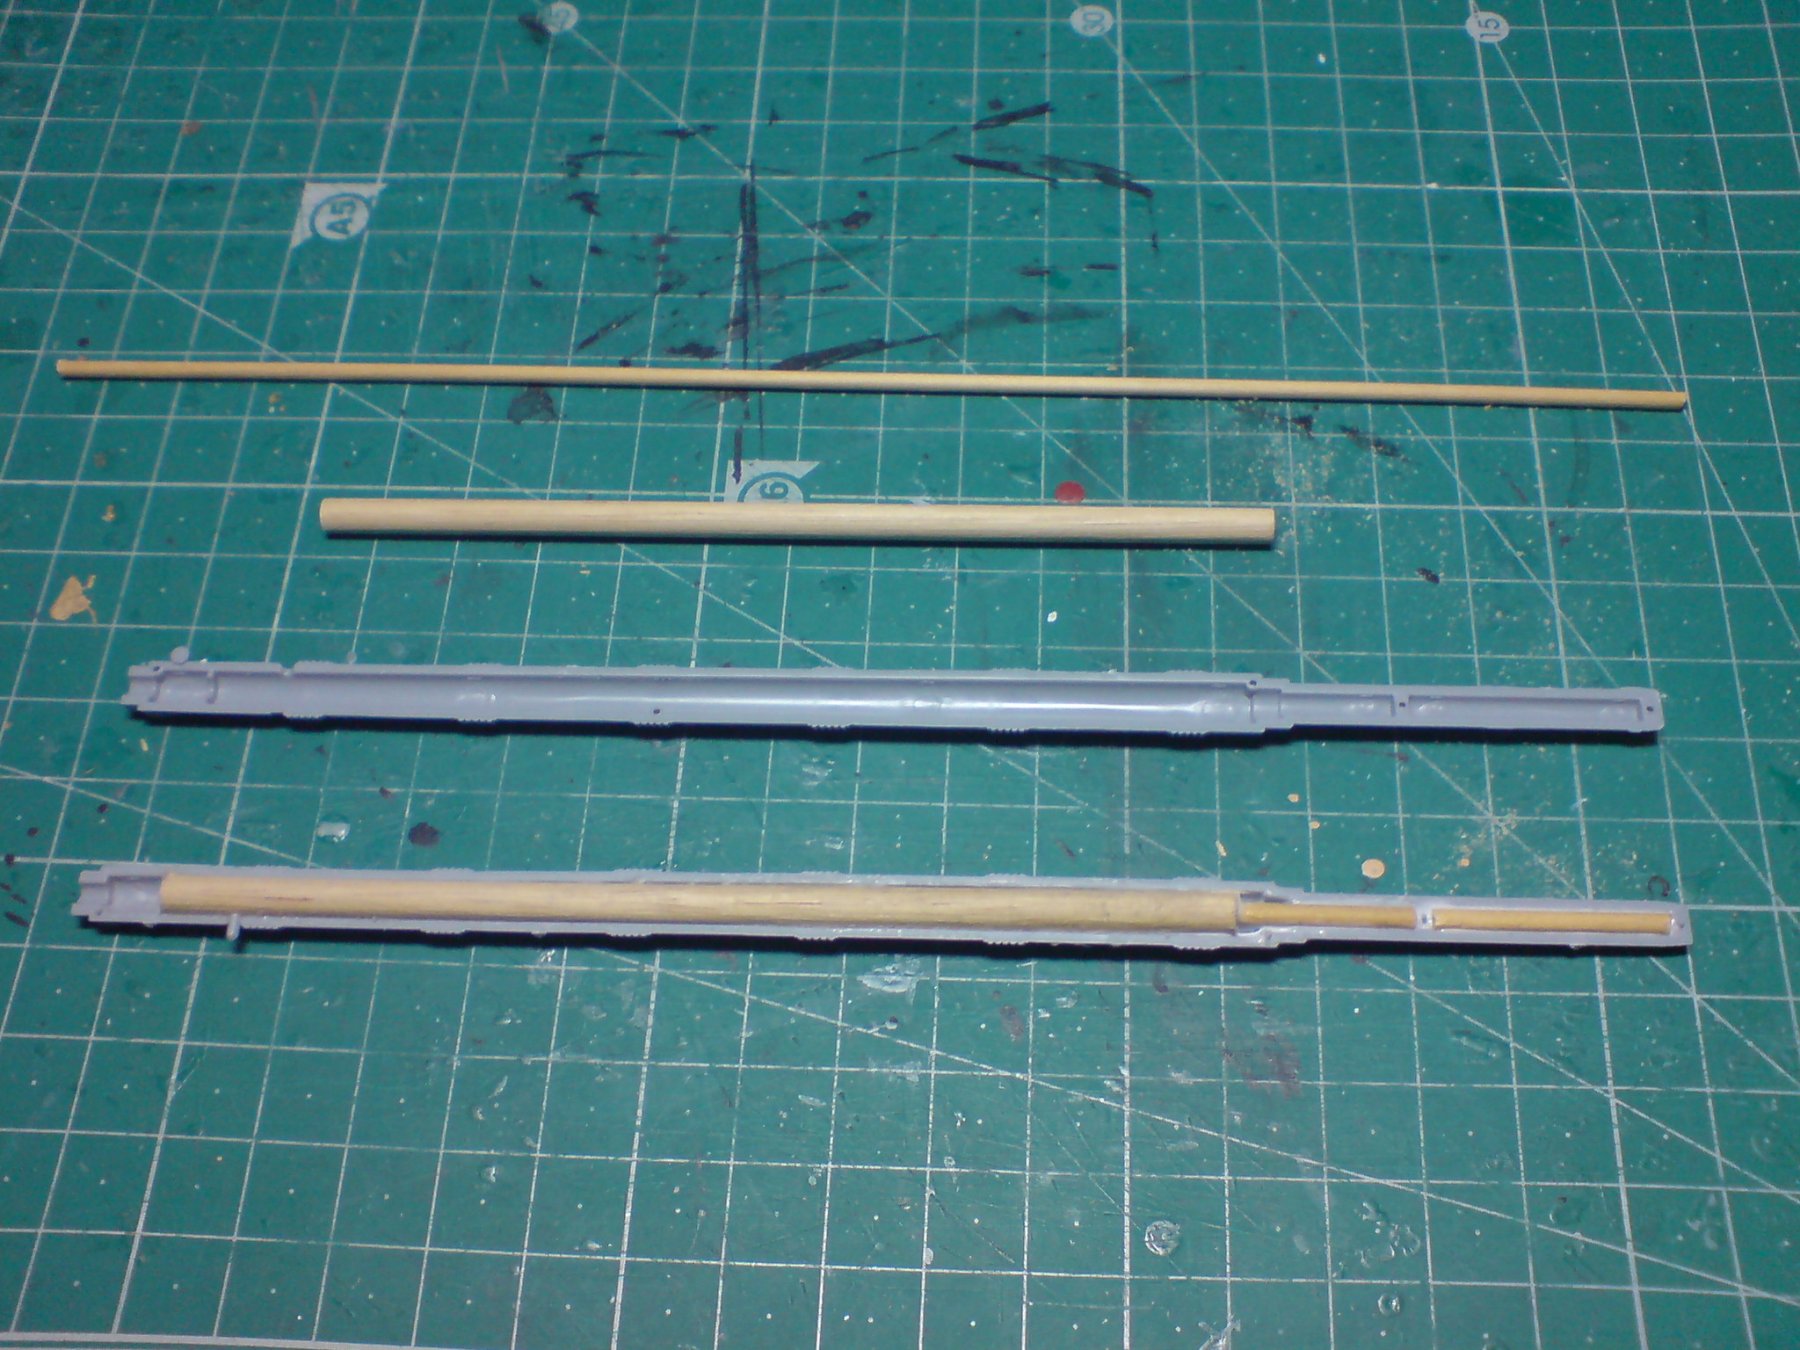
Evening all, first day back on the pearl after a short break, I decided to have a go at the masts - I am using the kit plastic ones but I am strengthening them on the inside with wood dowels cut to size and glued inside, this makes a very rigid mast. Just the one pic showing one of the masts with the dowels glued inside. OC.

-
Looking great - very 3 diensional. OC.
-
Am I right in thinking - the dark grey band around every obstruction from the deck upwards about a foot or two high, is it a form of water proof paint to seal where the deck meets the superstructure/obstructions? OC.
-
Thanks mate, indeed sorry EJ for the diversion. OC.
-
Im in a similar mind set regarding black sails for my pearl. OC.
-
I agree with carl, just sublime work to do standing rigging like this - lovely job. OC.
- 412 replies
-
- 1
-
-
- snake
- caldercraft
- (and 1 more)
-
Thank you sincerely lou, tell you what - its such a relief to be working on this scale also, makes my 1/100 greyhound feel like a toy. OC.
-
Photo of the pearl - mk2 but she isnt the pearl per say, from the later films. Courtosy of the inter webby thingy. OC.

-
They were from a different film from what I have molded her on lou, Im building her according to how she was in the second film released. In the first film she looked quite different as she did in the third and forth film, she had slightly different feactures including a skeleton metal figurehead and I think the red band around her waist. What I might do is go over her with a cake burner like they use for burning the top of lemon meringue pies.............Only Joking. OC.
-
You wait till I build a garden to go with it and build a miniture petrol lawn mower - I know the admiral will want actual working devices like a vacume cleaner etc. OC.
-
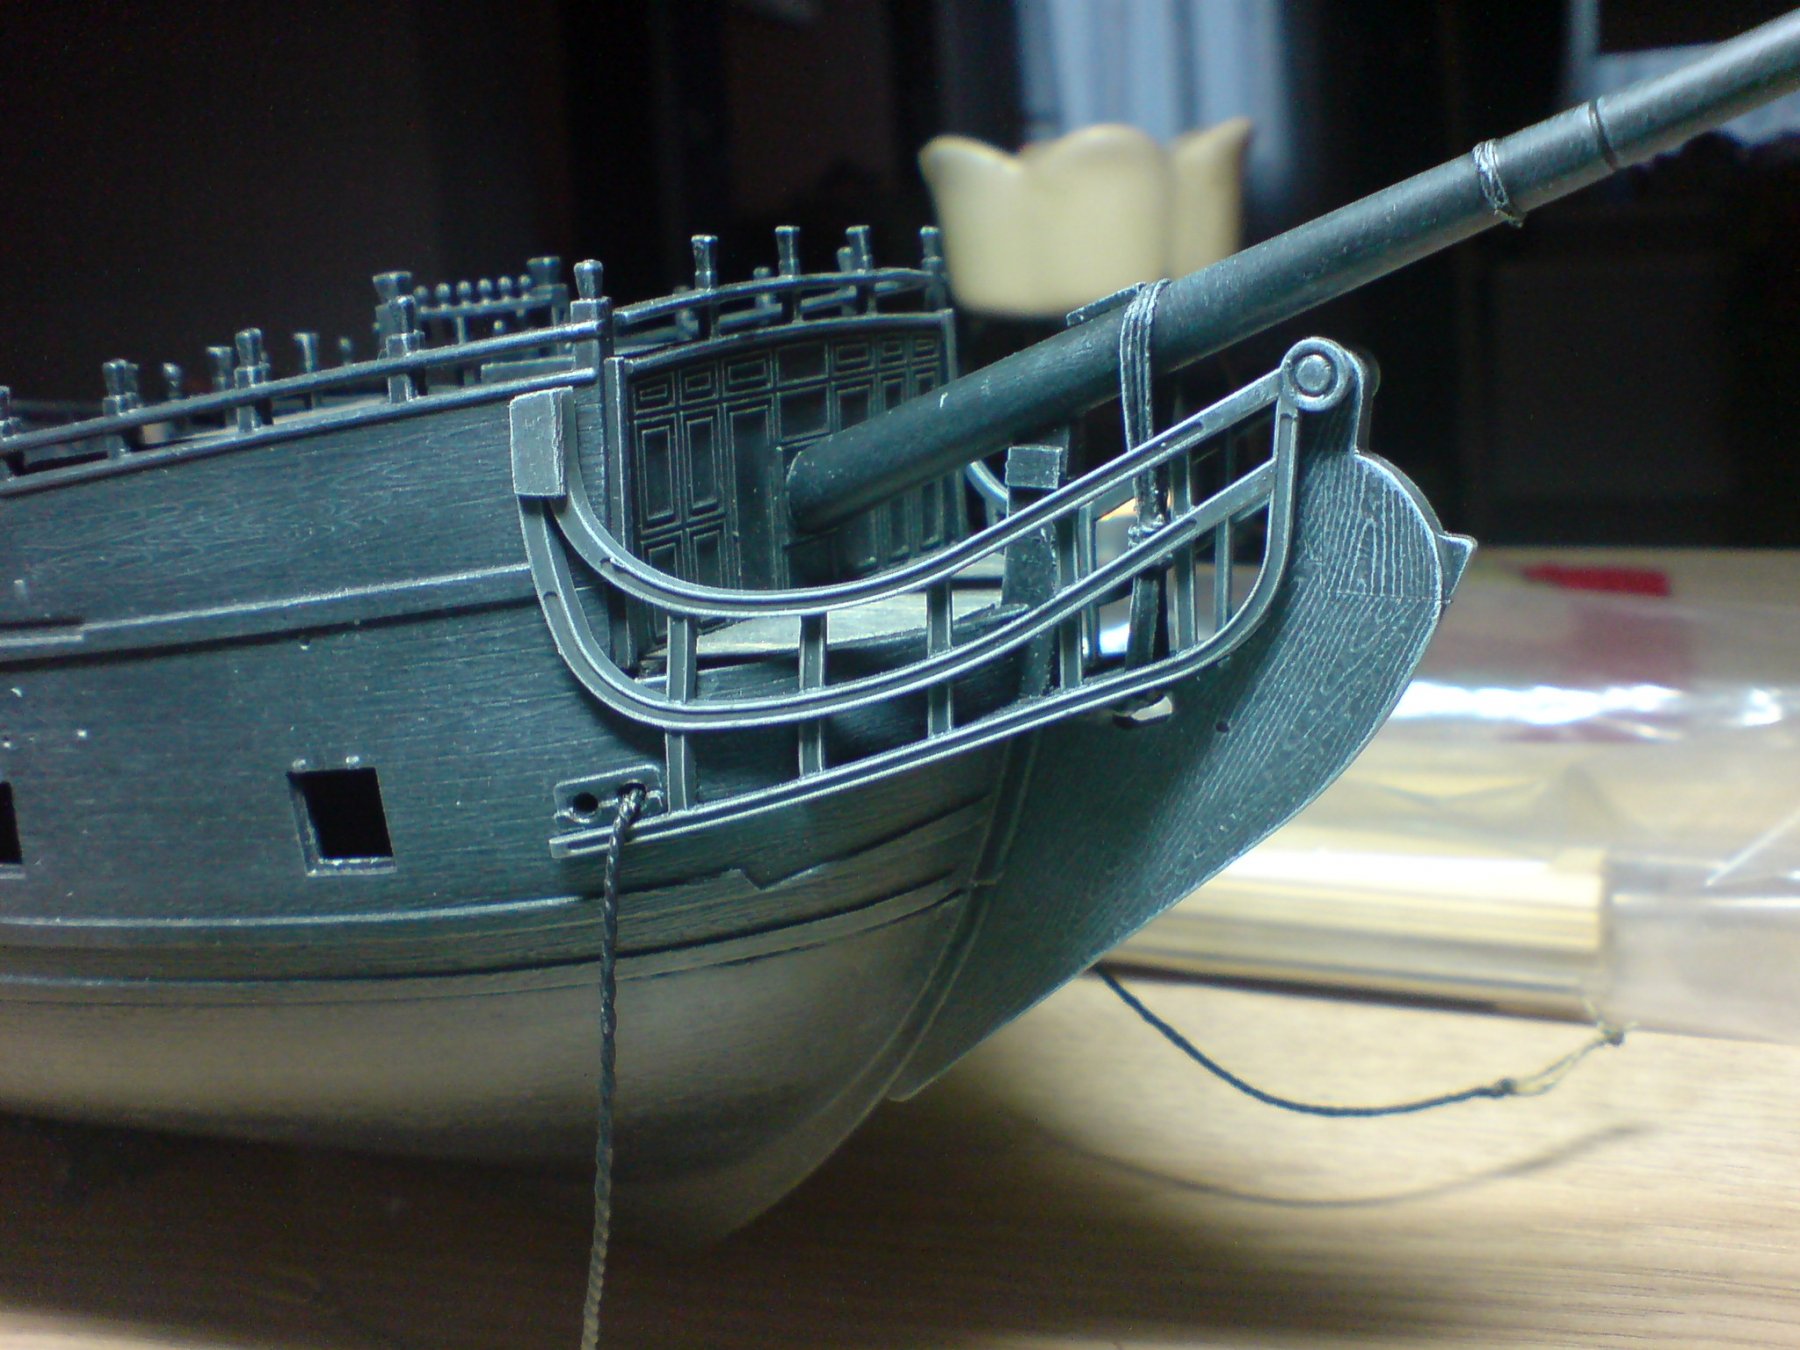
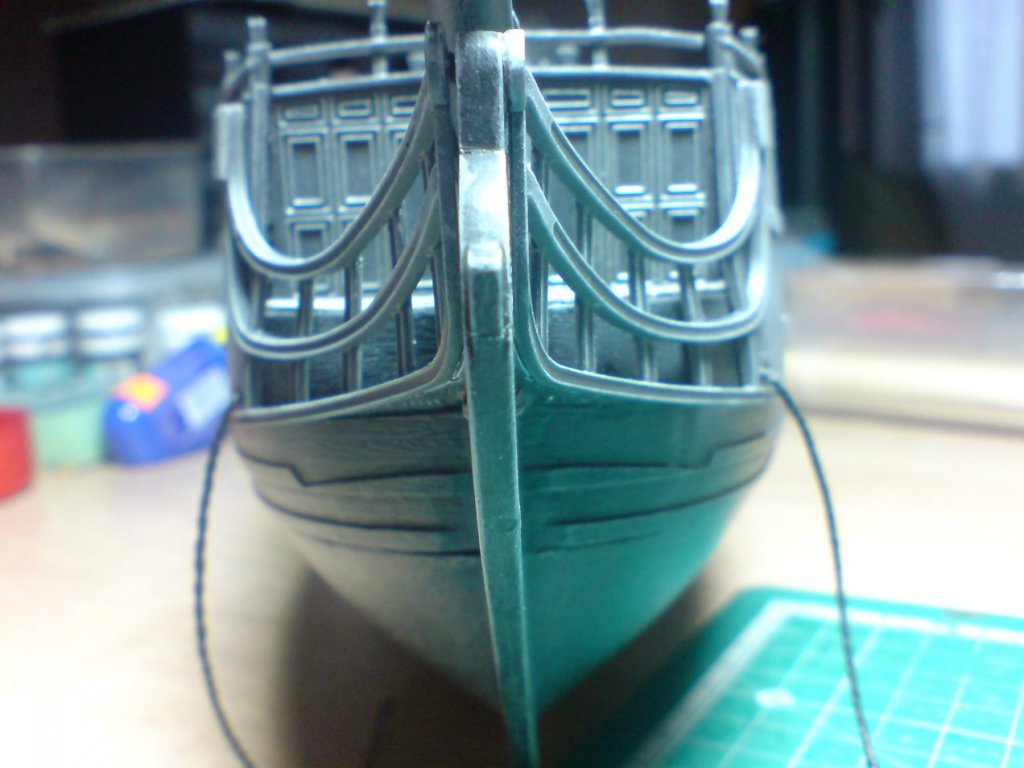
Good day all, another good day on the pearl, I finished painting and weathering the other staircase, and duly fitted it, I then turned my attention to the bow where I fitted the two beakhead rails, these were firstly painted and weathered - then glued in place. They have good shape so I am quite pleased with them. A few pics - OC.


-
Yep - next build for the foreseeable and into the next zillion years will be a dolls house for the wife, probably finish when Im grey (Hang on - I have no hair)😮 OC.
-
Thanks mate, the idea is that a bolt head would have been flat in that area and gone through the wall. OC.