


Old Collingwood
-
Posts
11,998 -
Joined
-
Last visited
Content Type
Profiles
Forums
Gallery
Events
Posts posted by Old Collingwood
-
-
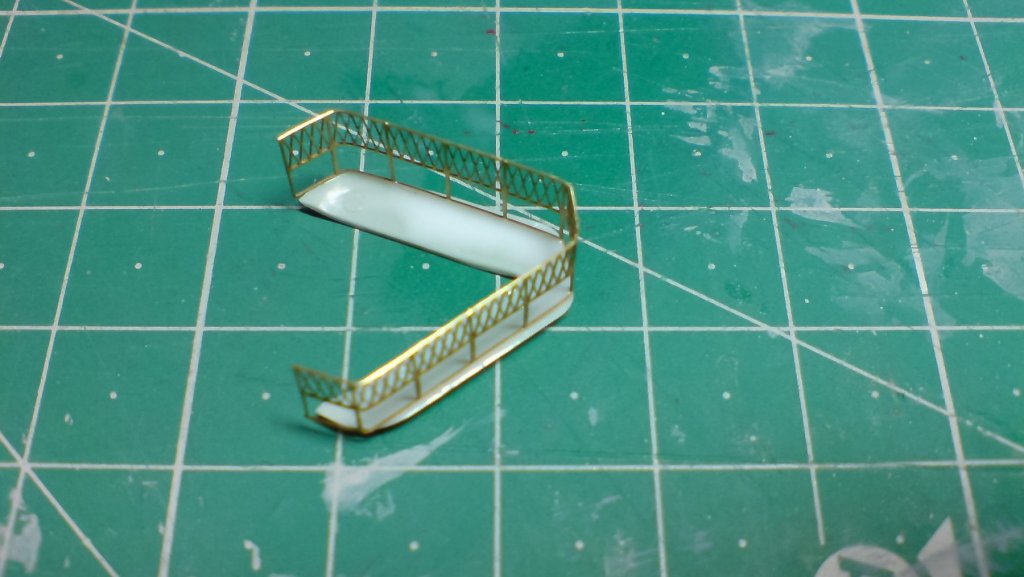
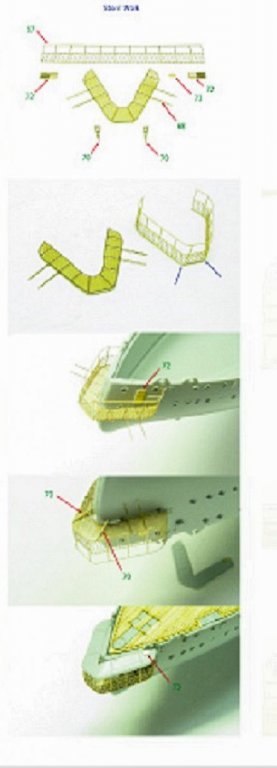
I started on the rear walkway today folks, first I had to cut two pieces from the PE fret namely the floor and railings, then after a slight sanding of the edges next step was to bend the railing to meet the shape of the plastic roof section, I did this by bending it against a narrow sanding stick, as it was gentle enough not to damage the PE part, but also strait enough to get the fold, after doing this and comparing the shape to the roof - I layed a troth of PVA and layed the railing to it positioning it carefully then left it to dry.
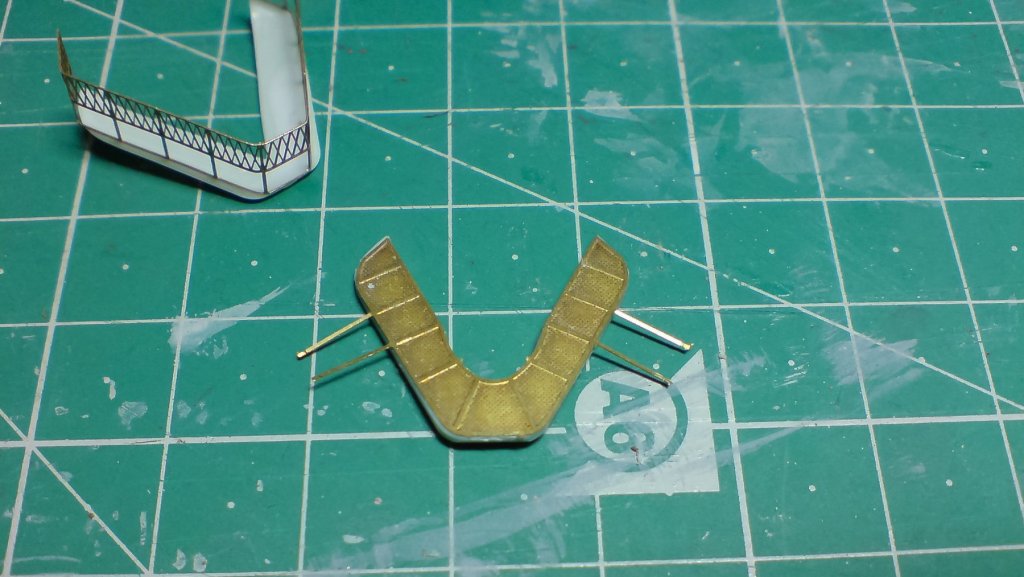
Next I turned me attention to the walkway footplate, this again was a PE part but I decided to attach it to the plastic footplate part after thinning it slightly - this will give it a liitle bit more strength.
When they have set before adding the floor I will bend them into shape slightly more accuratley, ready for a bit of CA glue to secure them prior to painting the insides.
Another reason for using the plastic footplate along with the PE is to make a better surface to glue it to the hull.
Here are a few photos of the parts folks.
OC.
-
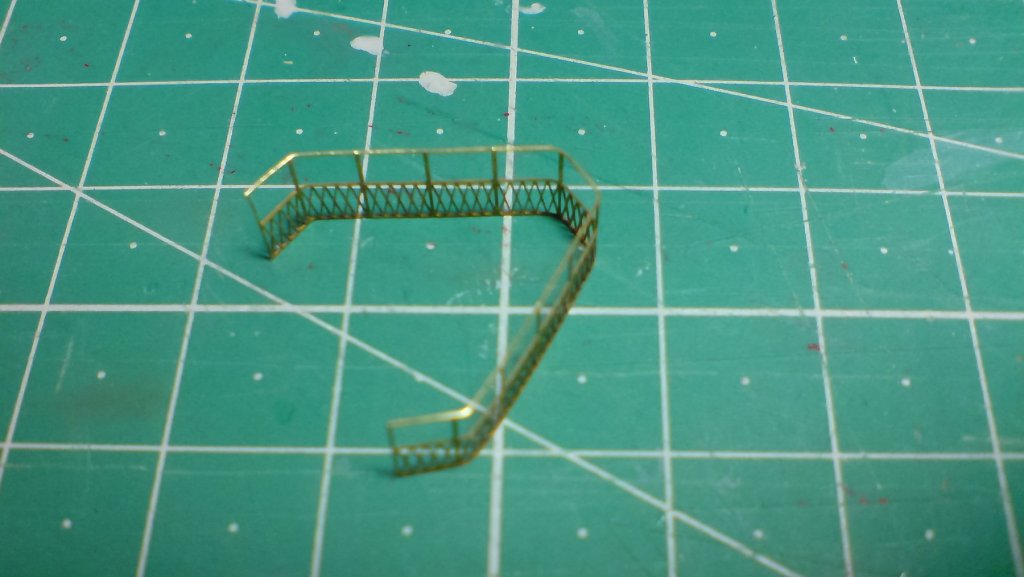
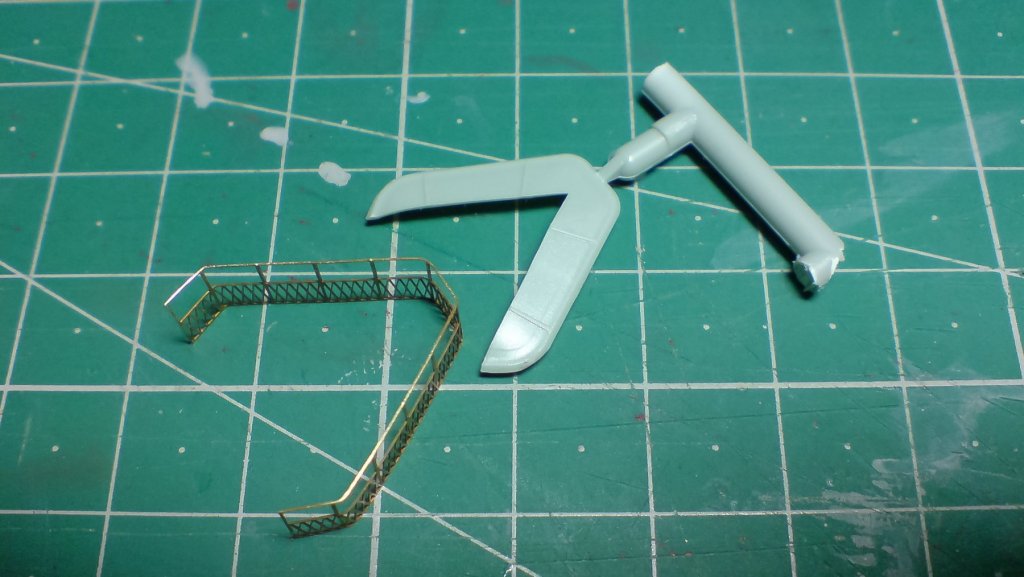
Slight change of plan I thnk, as I have been working from the stern - forwards, I think tomorrow I should work on the stern walkway, as this is a mini kit in itself and requires some PE parts.
Here is a photo of how the parts look and when fitted to the ship.
OC.
-
-
1 minute ago, RGL said:
Work inboard to outboard. Wait till you see the convoluted mast. I was starting to get a bit stale with this build, and considering I still have the ship’s boats and aircraft to go I think I’ll be well and truely over my IJN phase after this one.
I still salute your experise greg I know not just me but a good few of us think you are a master craftsman, and have established a benchmark on here pushing the boudaries of plastic modeling.
Good on you greg.

OC.
-
There is always a certain amount of hands on - reaching across - holding a model to do work on them, and sometimes parts get broken or knocked off, but your work with extra fine details always looks as if you have mini robots doing the work for you, or you must have a surgeons hands.
Amazing.
OC.
- RGL, cog, popeye the sailor and 2 others
-
 5
5
-
She is looking superb greg easily your best to date pure genius.
OC.
- cog, popeye the sailor, RGL and 2 others
-
5
-
Looking really good, amazing how it all fits together.
OC.
- popeye the sailor, CDW, mtaylor and 3 others
-
6
-
Superb work you made her look amazing.
OC.
-
Looking really nice robin - the oars really make her stand out.
OC.
- EJ_L, Robin Lous and cog
-
3
-
1 hour ago, Robin Lous said:
Busy week, so not much shipyard time until friday, but I couldn't resist to dry fit the oars on one side...

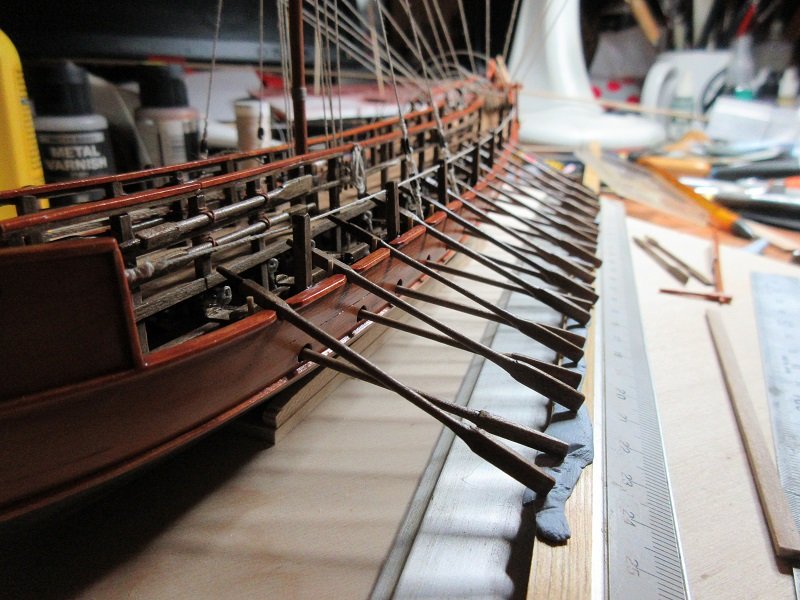
More end of the week...still must do the "rope ends thing". I'll be happy when I can do that this weekend.
Robin
")

OC
- Nikiforos, Robin Lous, cog and 2 others
-
5
-
I used to build most ot the 1/600 Airfix ships when I was a lad, they were quite crude by todays standards, but none the less an enjoyable experience, I remember on one occasion I went with my late parents down to Portsmouth (UK) Navy Days and was brought a Airfix model ship from their HMS Devonshire I think it was, that made building the model that much more significant.
OC.
- popeye the sailor, Canute, Piet and 1 other
-
4
-
6 minutes ago, popeye the sailor said:
looks really good OC
well done on making the stand !
Thank you sincerely.
OC.
- mtaylor, Canute and popeye the sailor
-
3
-
37 minutes ago, BANYAN said:
Nice to see you back at it OC; she is standing proud now.
cheers
Pat
Thanks pat.
OC.
- mtaylor, Canute and popeye the sailor
-
3
-
4 hours ago, cog said:
Lovely work OC. Slow but steady, that's the best way !
Thanks carl.
OC.
- mtaylor, Canute and popeye the sailor
-
3
-
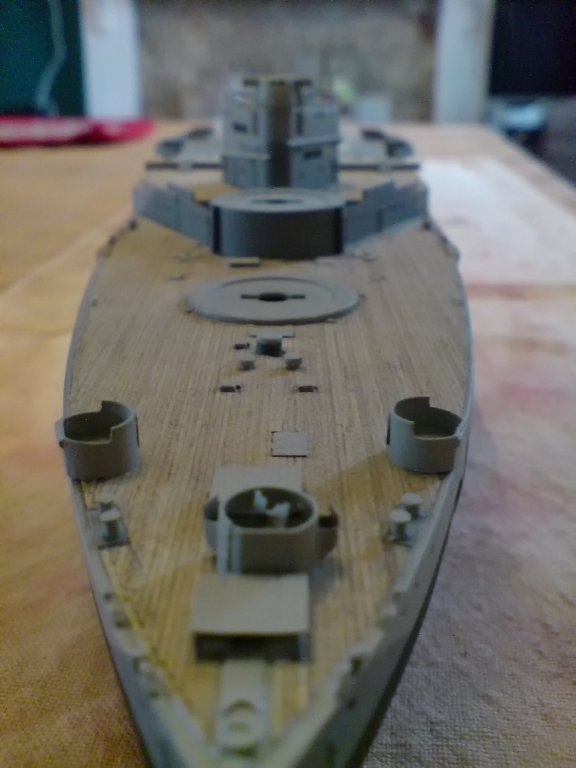
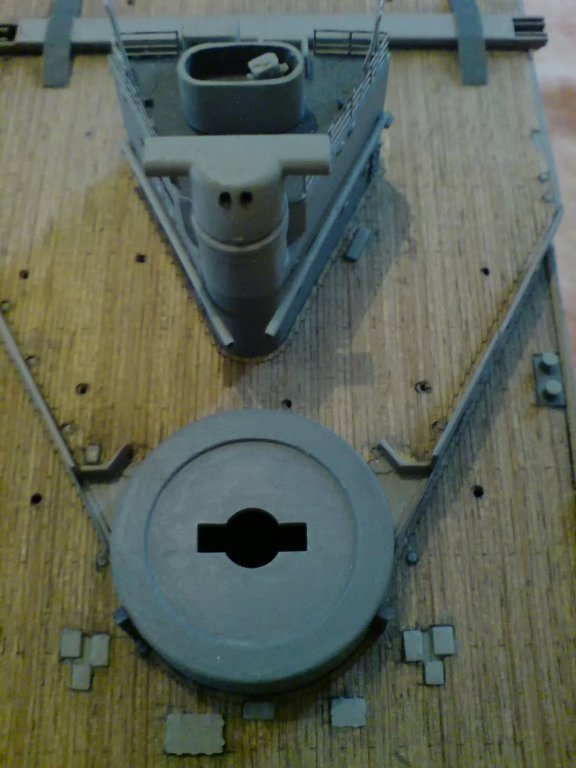
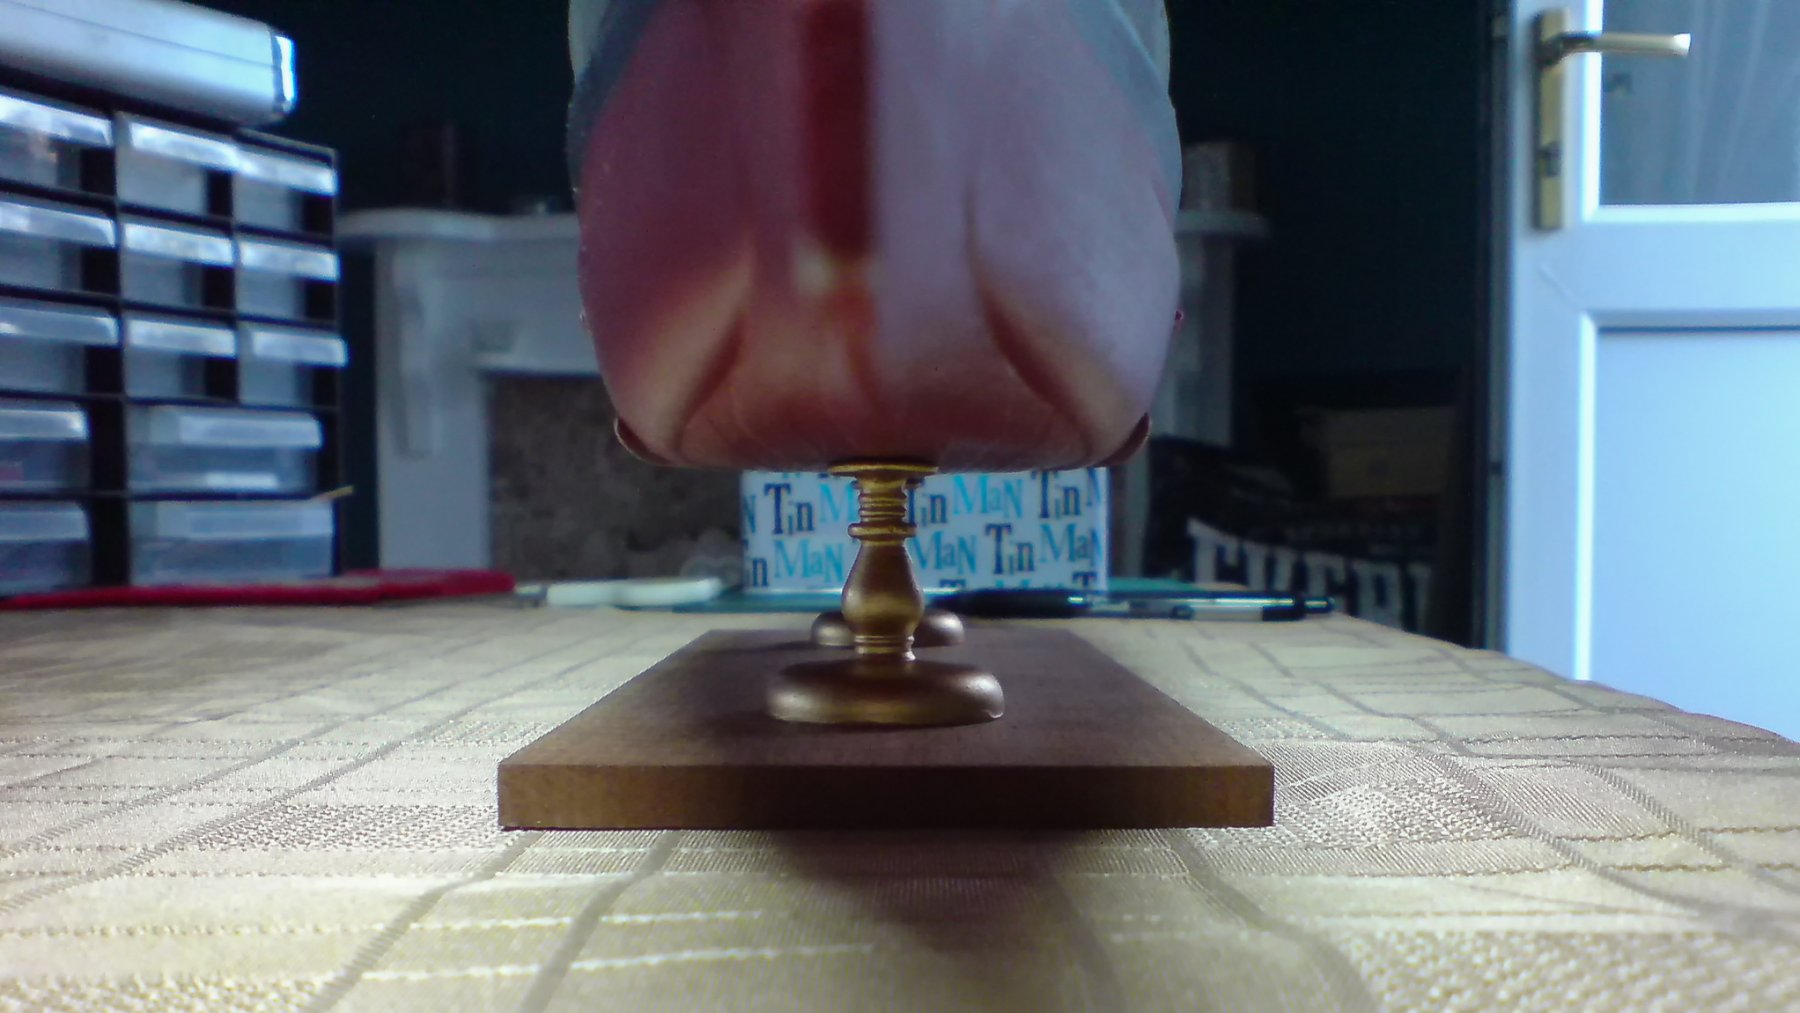
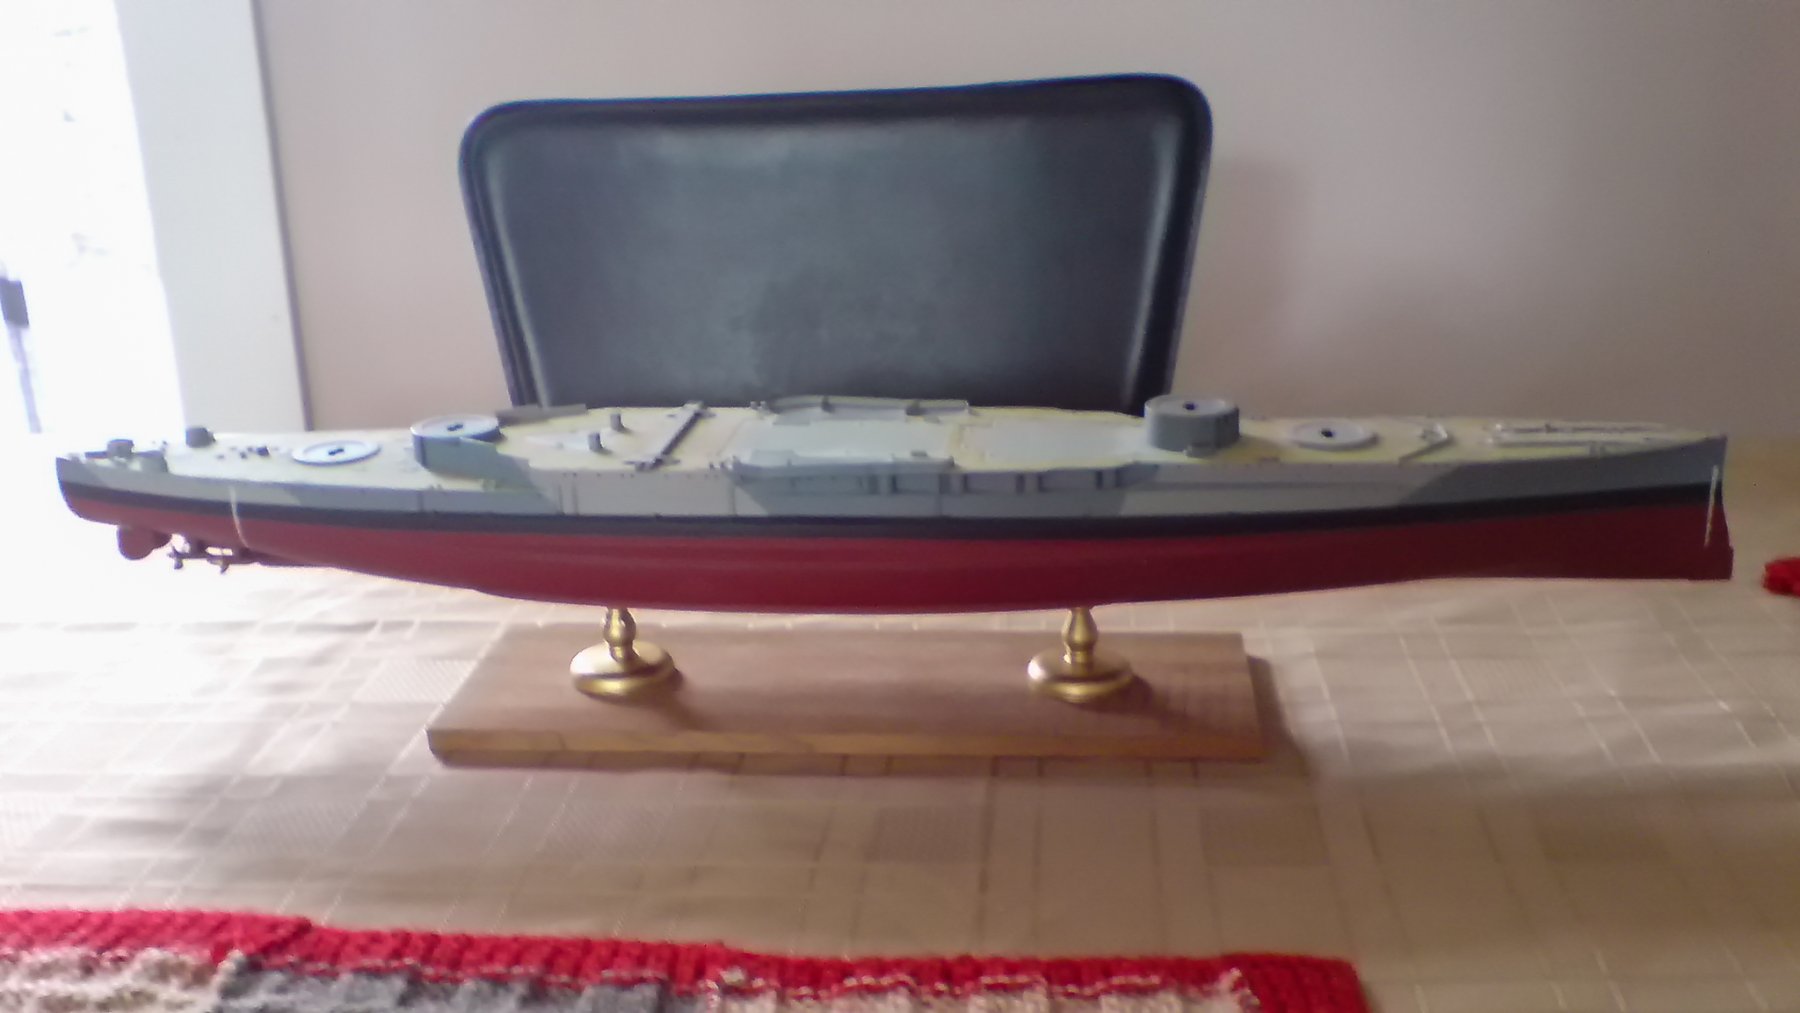
Good day folks more work on the ole girl today I started off by over painting the pedestals in brass color as I thought they would look better than black, while they were drying I started boring out two holes under the hull ready to take the lugs on the pedestals.
When they were both ready I offered them up and stuck using CA glue.
Here are the photos -
OC.
-Edit.thumb.jpg.45f208746f31bacd9236ea2993adaf5a.jpg)
-Edit.thumb.jpg.8e37ba8ef9d2fe7c44a312eb47837216.jpg)
-Edit.thumb.jpg.91ab74a7f77fe75f0f9936faadd36260.jpg)


- clearway, popeye the sailor, cog and 7 others
-
10
-
Looking really good and not to un similar to the Airfix HMS Fearless kit probably from around the same time.
OC.
- Canute, popeye the sailor, mtaylor and 1 other
-
4
-
4 minutes ago, Robin Lous said:
OC is back!

Thank you robin
OC.
- Robin Lous, CDW, Canute and 2 others
-
5
-
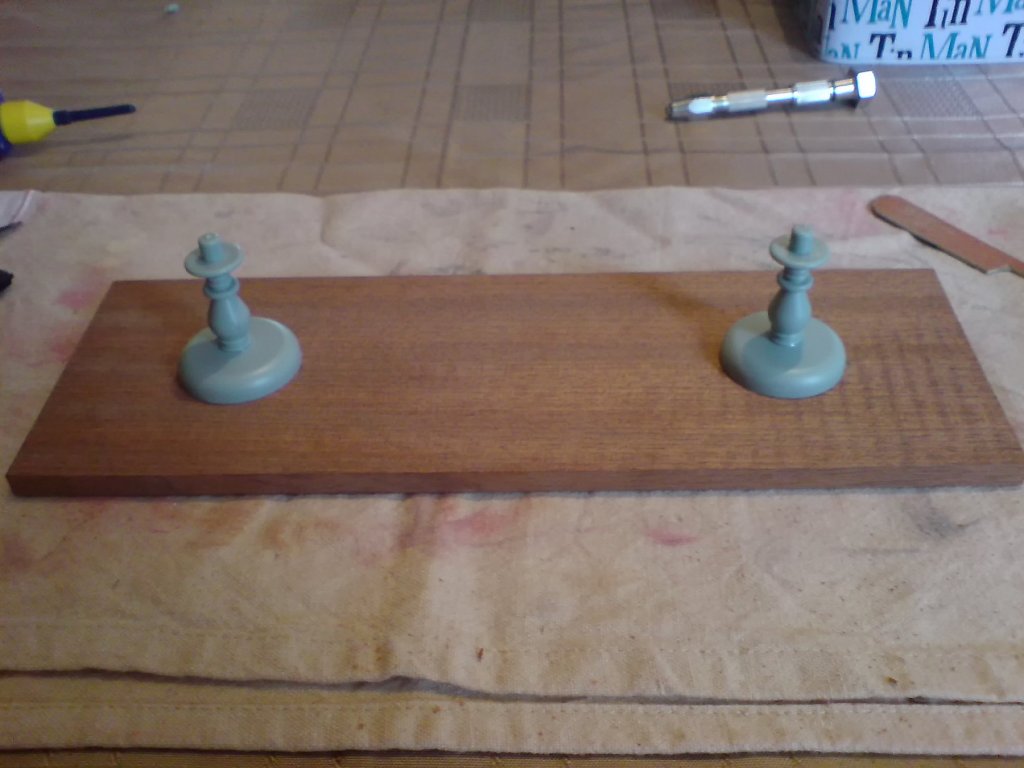
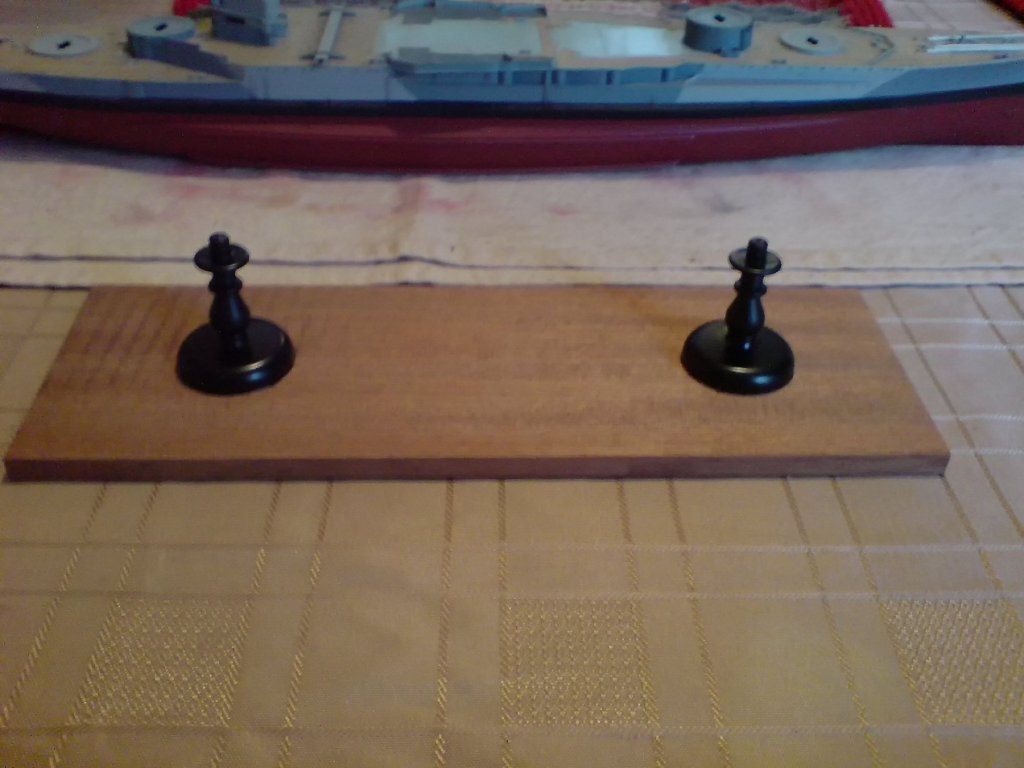
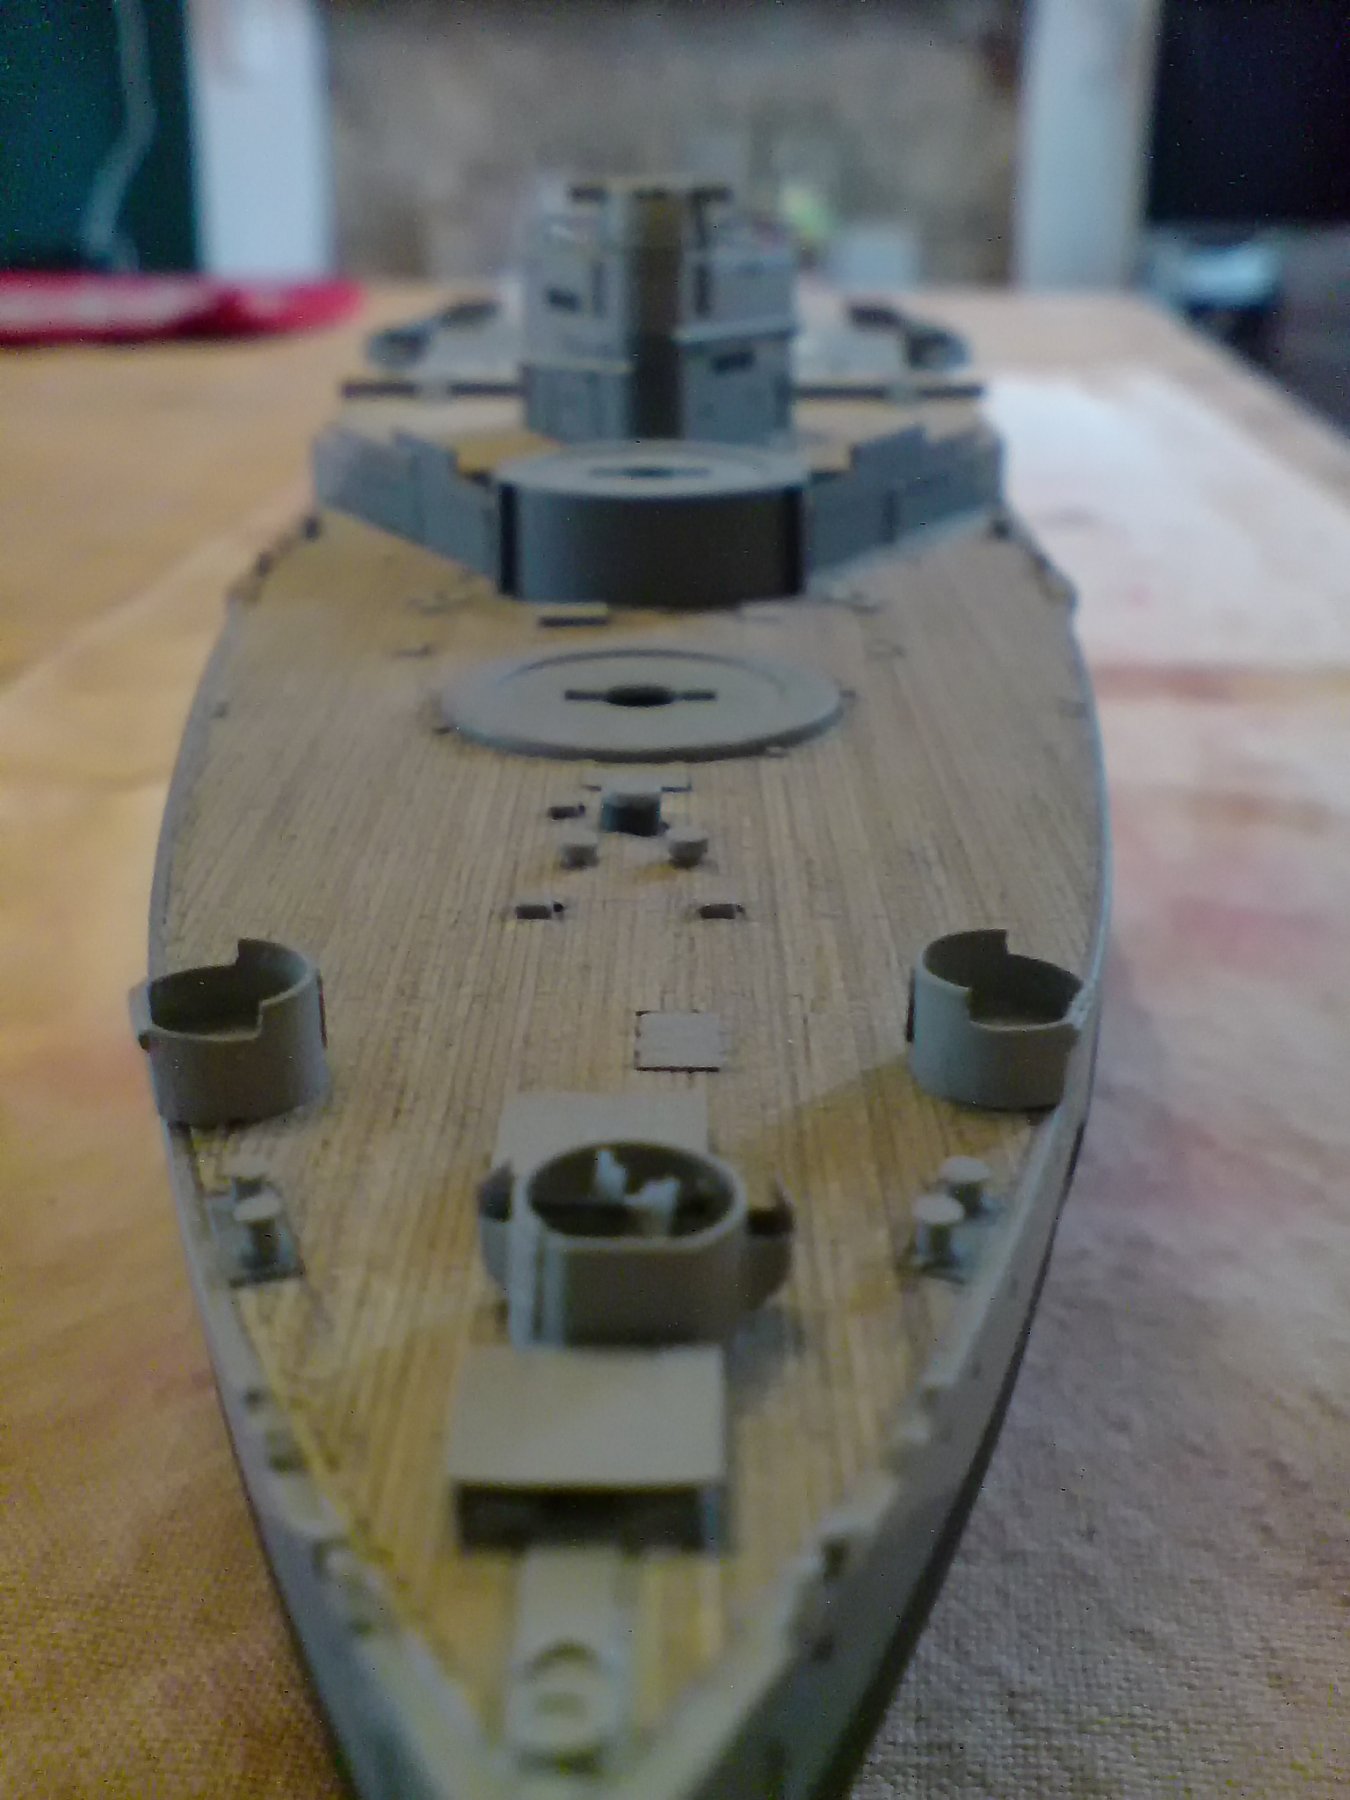
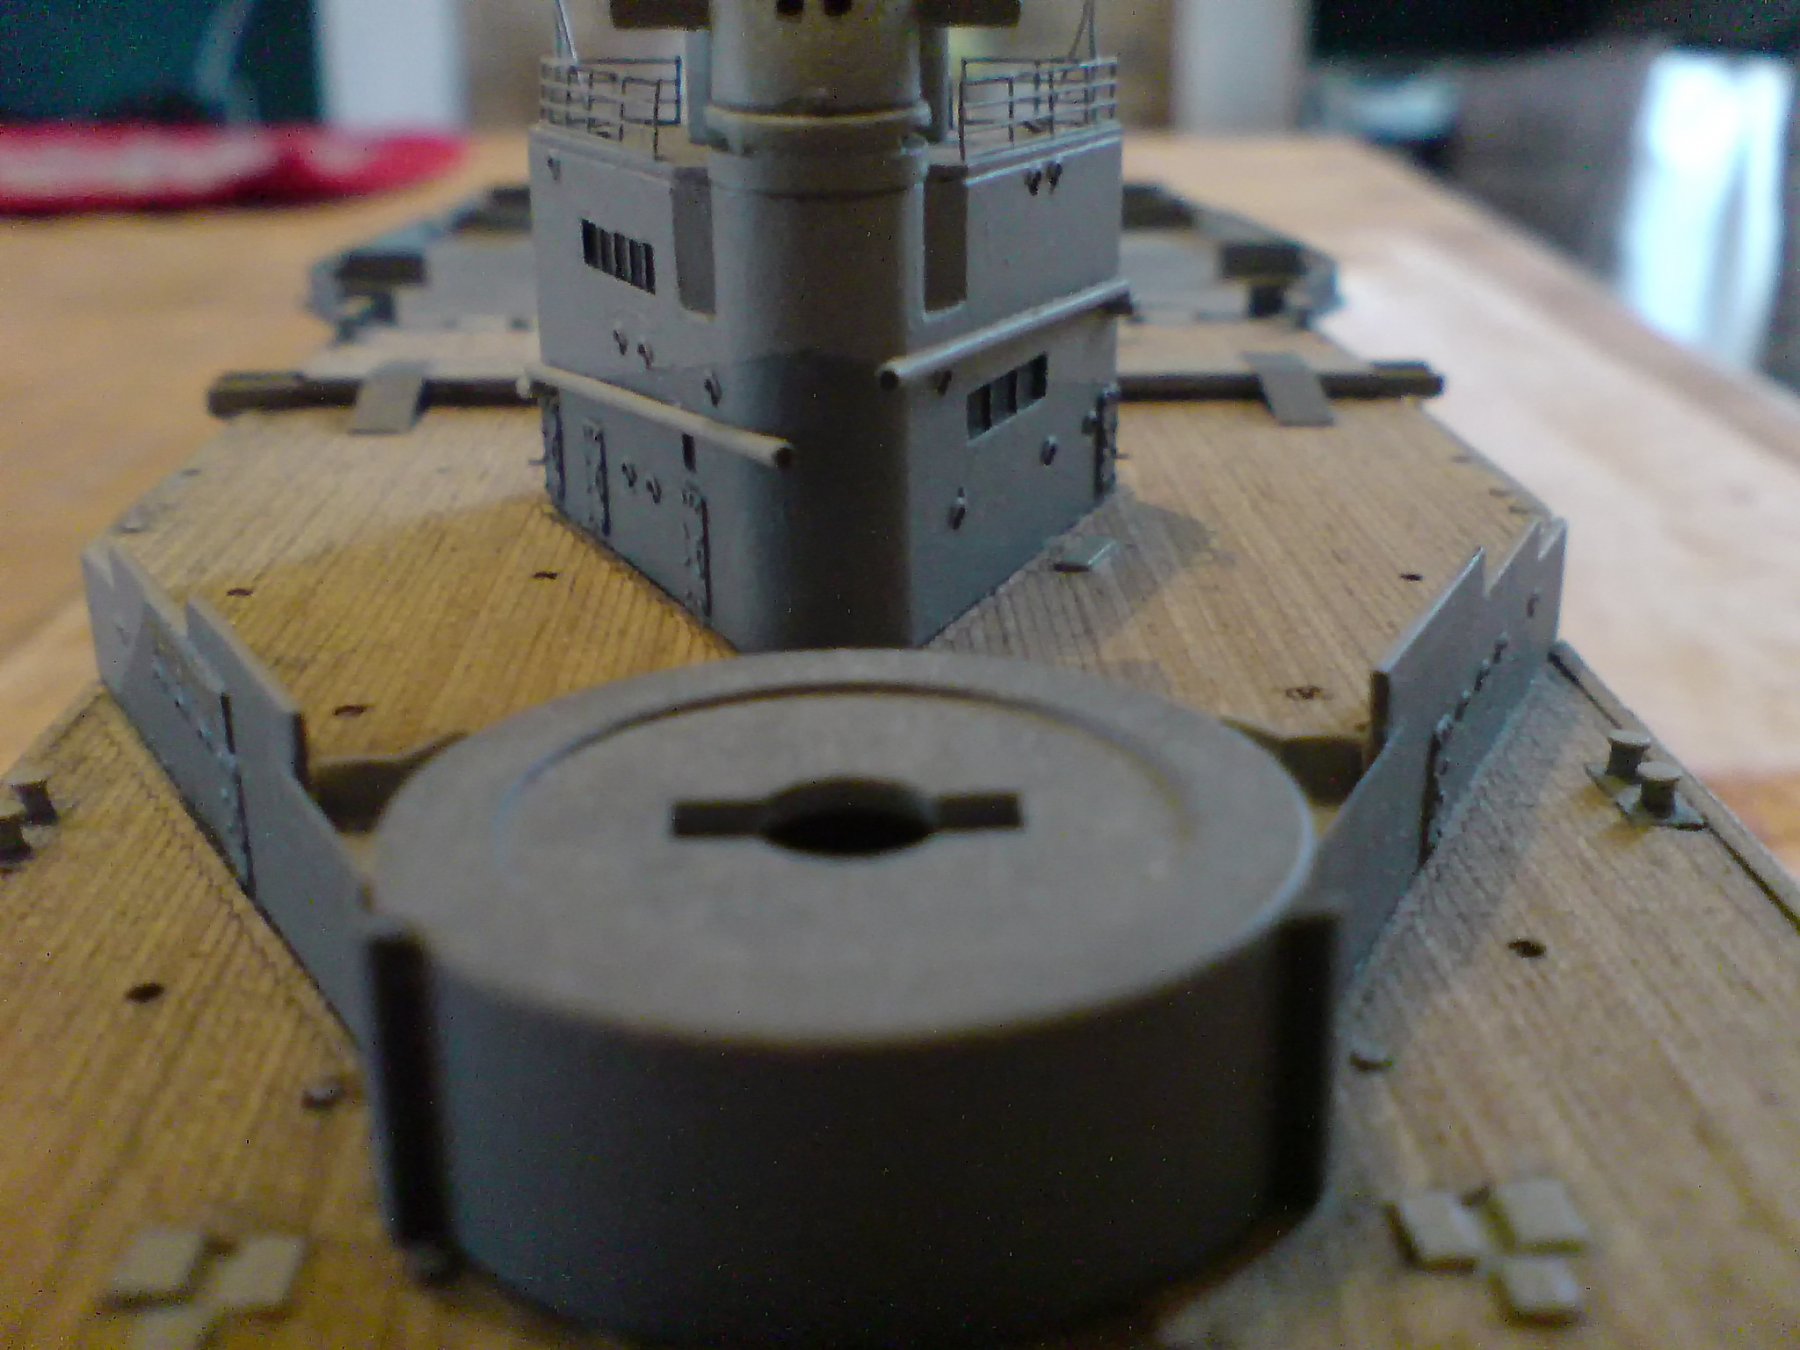
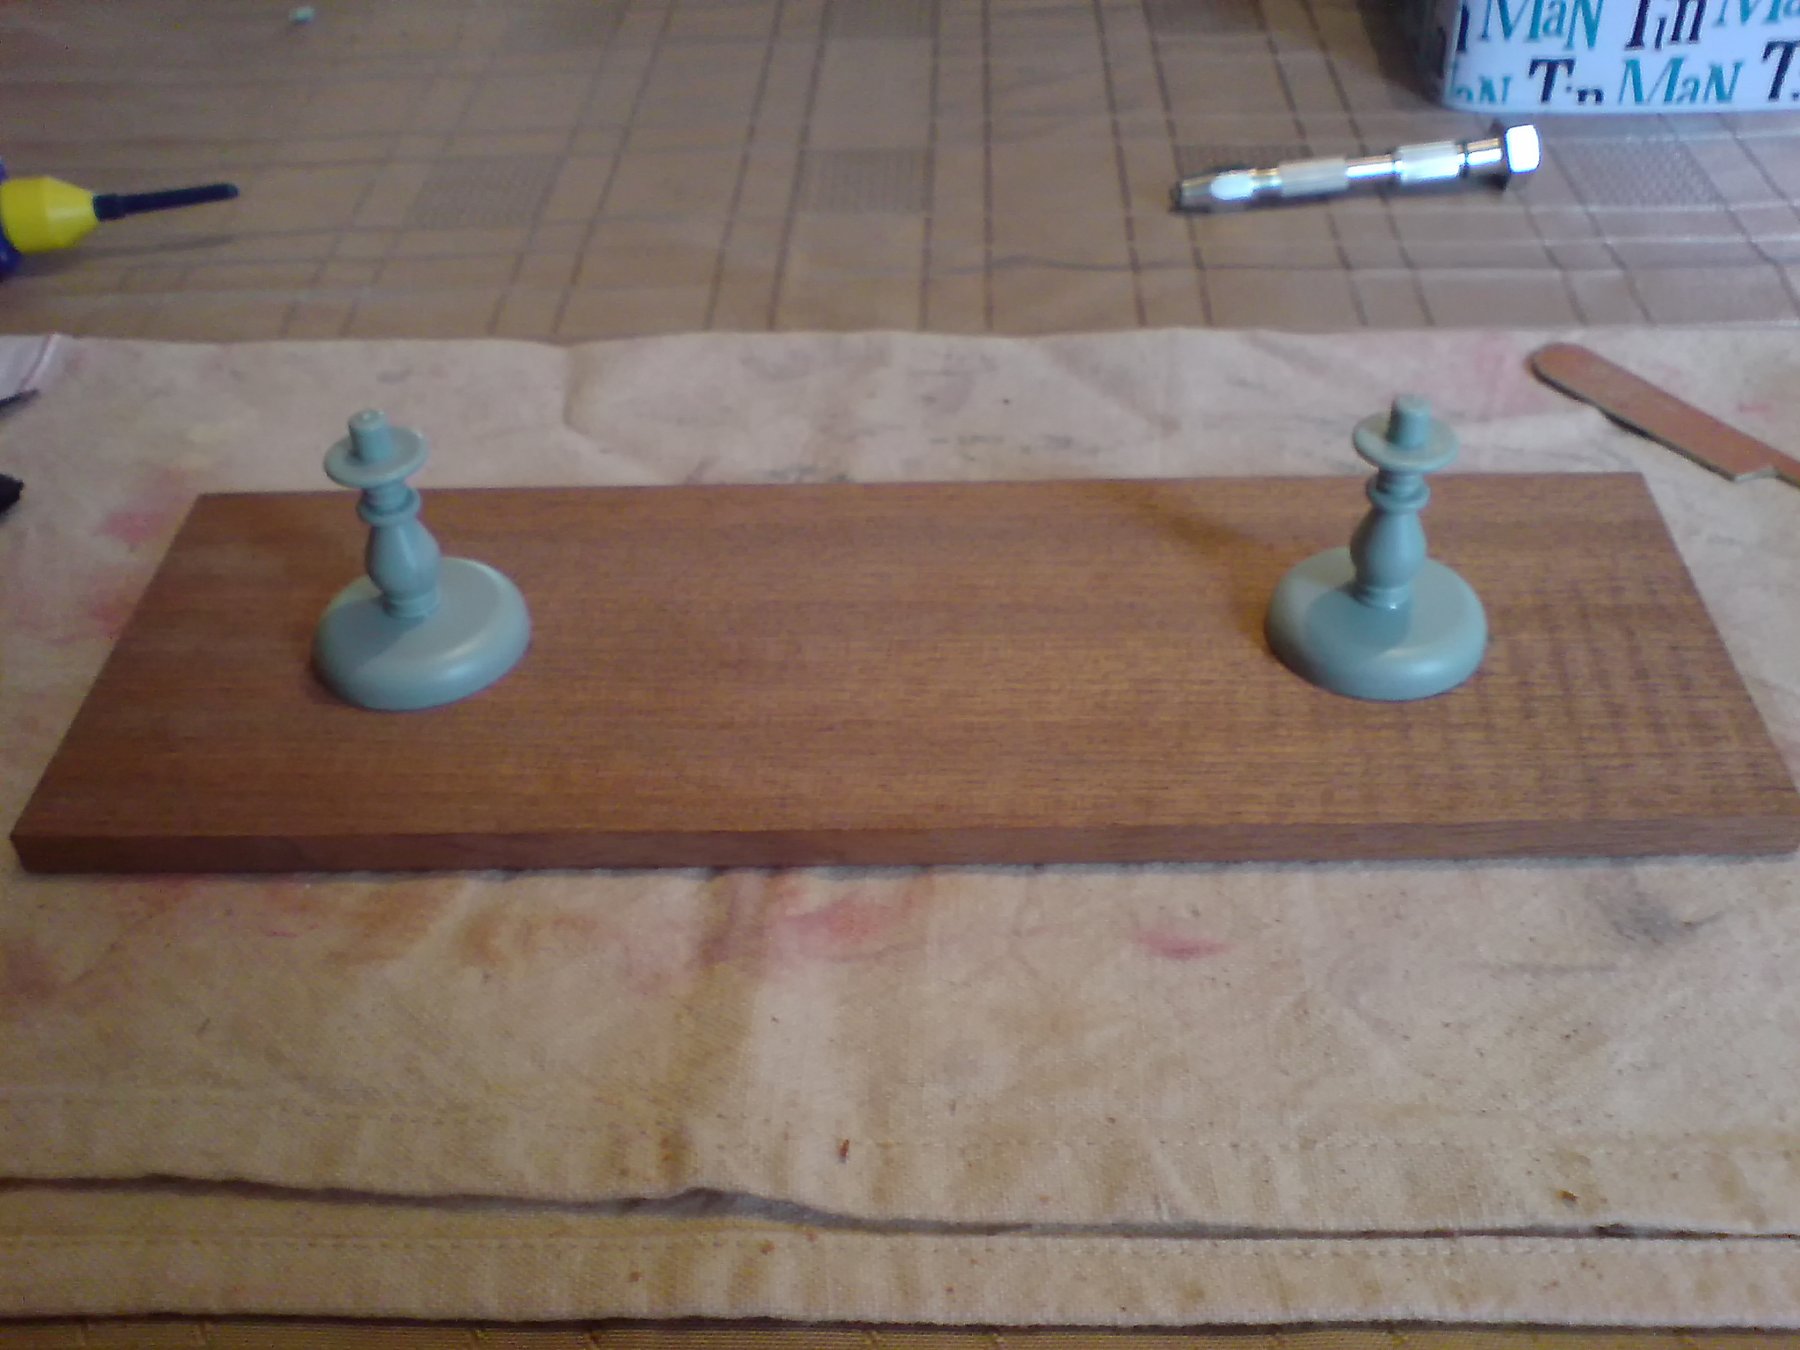
Right then folks I got my mojo back and had a bash on the ole girl, I got may bag with all my bits and pieces and set up on the table, I decided the job of the day was to start on the base and pedestals, first I had to take them off the plastic frets and join them together, then I ligned them up on the base and drilled through the base to take the pedestal lugs, after doing this and getting a good fit - I put a bag around the base and pushed the pedestals into the holes with a plastic bag covering the base.
Then it was outside with my black rattle can and a few coats were applied, after drying I moved the bag and dry pedestals and dry fitted to the base.
Here are a few photos shot today showing the rear section and block, and the base/pedestals before and after paining.
It was just an hours work but so so enjoyable, tomorrow I will glue the pedestals to the base then align them with the centerlign of the hull, and bore a couple of holes in the hull to take the top pedestal lugs, then secure both together.
OC.

- hexnut, egkb, Robin Lous and 8 others
-
11
-
Right then my fellow followers and onlookers - I have cleaned the dinning room table (well mrs OC has) and I moved the ole girl from the shelf (with all her dust) then at the table I gave her a few careful blastw with a hairdryer to move the dust, "job done" I examined her and all is well just as I left her (what about 10 years ago)

So - I have made a possitive step, she is on a cleared table now ready for my attention
Tomorrow folks - tomorrow.
OC.
- mtaylor, Robin Lous, amateur and 5 others
-
8
-
1 hour ago, semorebutts said:
I'm going to order these little guys for the Bismarck. I have no idea how im going to paint them. At 1/200 scale 1 foot = 1/16 inch So a 6 foot tall man is only 3/8 inch tall!
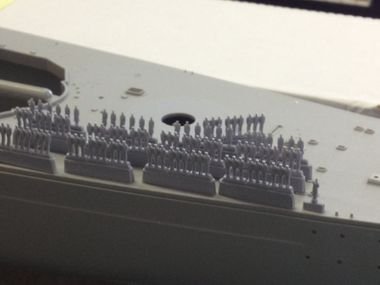
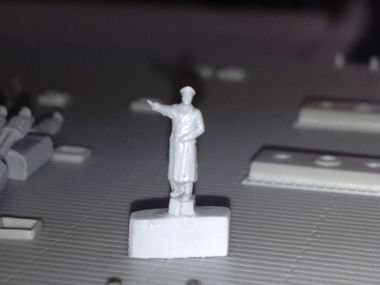

Now thats added an extra dimension to the build, if you can paint them fairly well they will bring the build alive like dafi HMS Victory build with all his little sailors.
OC.
-
Amazing workmanship - esp as its card (beyond me I can tell you)
OC.
- cog, popeye the sailor, Canute and 2 others
-
5
-
She is looking really nice - loving your build.
OC.
- cog, Robin Lous and EJ_L
-
3
-
2 hours ago, BANYAN said:
Great to see you contemplating a return to the building desk OC; hopefully you will be able to complete her soon. Looking forward to your updates.
cheers
Pat
Thank you pat.
OC.
- Canute, cog, popeye the sailor and 1 other
-
4
-
13 hours ago, popeye the sailor said:
glad to have you back my friend
")
Thank you kindly.
OC.
- popeye the sailor, Canute, mtaylor and 1 other
-
4


-Edit.jpg.94ad7779f631ffa25b218f3aa03f1da9.jpg)
-Edit.jpg.54ab201b558e63ad02a92c467fa7aaf0.jpg)
-Edit.jpg.b166f186cae6b91f54fb99f45f99fcf4.jpg)


Jeanne D'Arc by popeye the sailor - FINISHED - Heller - 1:400 - PLASTIC
in - Kit build logs for subjects built from 1901 - Present Day
Posted
Some good work going into it my friend, your doing great work there.
OC.