


Old Collingwood
-
Posts
12,000 -
Joined
-
Last visited
Content Type
Profiles
Forums
Gallery
Events
Posts posted by Old Collingwood
-
-
-
Sounds like a plan greg - one day I mite get an airbrush type thingy, till then I am resigned to using a hairy stick with a bit of watered down paint and blowing on it, guess that is my airbrush

OC.
- mtaylor, Shipyard sid and Canute
-
 3
3
-
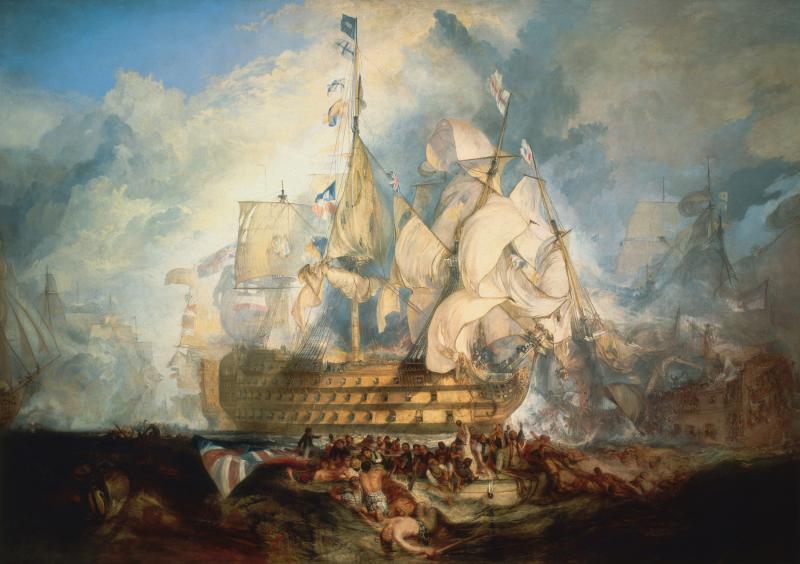
Wonder if this painting by turner might help in relation to her Trafalger condition.
OC.
- dafi, popeye the sailor, mtaylor and 2 others
-
5
-
-
I will be doing more work soon folks (promis) its just that I have had a few distractions from my joke and gag writting, getting a new camera set up and needing to test it out, then later getting an asignment to do some keyboard recording for a record to be produced later this year.
Its like having so many irons in one fire - enjoyable but busy.
OC.
-
-
-
-
Looking good my friend

OC.
- Omega1234, popeye the sailor, cog and 4 others
-
7
-
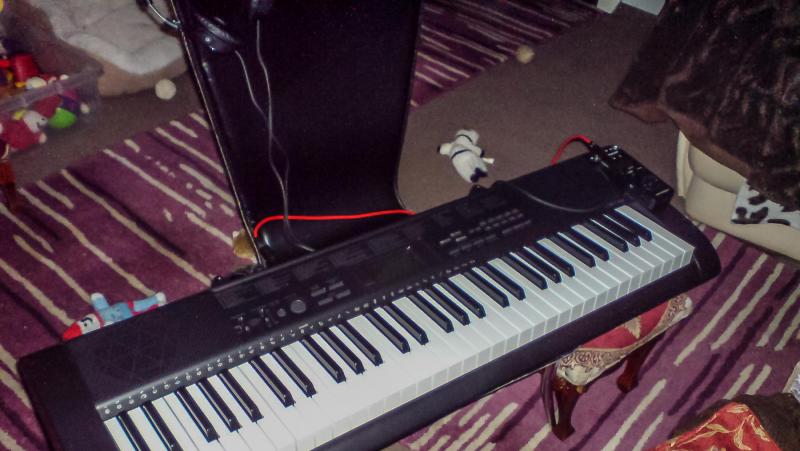
Hi folks just saying hi Im still around just showing another reason for my distractions of late - I write music and here is another of my new toys to play with
OC.
- Canute, popeye the sailor, hexnut and 4 others
-
7
-
-
I'm back on the shipyard!
Things slowed down early december and I've done nothing at all the last 2 weeks, but now it's January and I have the time, peace of mind and energy needed to work on my build again.
Where was I? Ah! yep....the mast!
Here I go again!....more soon!
Robin
Keep going you can do it - we will all join you for a slipway lauching party
:) OC.
-
-
We have a nice little family building here, Im still here just been a bit disstracted by my little camera and intermitent spells of blue sky and aerolplanes flying over at 30.000 feet and setting the challenge to myself of catching a photo of the pilot waving at me
OC.
-
-
-
-
Hello OC
This is all your fault Collingwood !! posting a photo of your dam flashy ( get it ) camera !!!!! You have now got your camera club!!!!!!. LOL. How is the Warspite coming along?? DAVID
Hello David sincere warm greetings to you hope you have a loverly christmas,
Its all your fault - after seeing the Fabulous Warspite from up north, you got me hooked and obsessed with the ole girl

All my inspiration is from that Amazing pice of artistry going on with her, just hope I can in any small way pay tribute to her
Kind regards
OC
- Shipyard sid, Canute, mtaylor and 3 others
-
6
-
OC,
If Denis can start the transfer, and it stops, it might be the software (it often is)
Dennis,
I have an EOS 400D, which I attach by means of the cable. However, I do not use the canon software to get the pictures from the camera to the PC. You can open explorer (press the windows key + e ) and you will see your camera attached as another disk. Browse to the map with the pictures and you can drag them to whatever place you want on your PC (Probably "Pictures" in the exporer window.
Cheers
(Sorry to high jack your log OC, back to you)
Its OK mate all to help If we can
OC.
-
Hi OC
Nice camera.
I have just purchased a new one myself, Canon 7D Mark ii with a EF 100mm f2.8 L Macro IS USM lens.
The only thing is cannot download the photos to my computer, it will start but then it stops about half way through, and that is using the Canon software that came with it..
The comp has 8gb ram and still got 680gb space left on the hard drive.
Denis.
Could be your card or reader - is your card connected directly in a slot in the comp or via an external card reader, take either/both out and check condition of the contacts(brass shiiny sections where you plug in) make sure they are clean - if not give them a clean with a cloth, then either try re loading or re try with new shots in the camera after cleaning the memory card.
Might work give it a go.
OC.
-
-
-
-


HMS Warspite by Old Collingwood - FINISHED - Academy - 1/350 scale - PLASTIC
in - Kit build logs for subjects built from 1901 - Present Day
Posted
Hi folks - remember me? I just want to squash any rumours that I have been eaten alive by my keyboard or become too famous from producing music, to carry on building my Warspite, nope Im still about just waiting for my mojo to come back from its holiday and inspire me to carry on with the ole lady.
OC.