Old Collingwood
-
Posts
11,619 -
Joined
-
Last visited
Content Type
Profiles
Forums
Gallery
Events
Everything posted by Old Collingwood
-
 Just bean doing a bit more lateral thinking about this and what I am tempted to do is - mask off the boot line but hand paint the different colour shades freehand over a pencil guide, that way I should be able to get a soft subtle difference between colours and even dry brush them to make them merge. OC
 -
Hi folks, I have just brought the Airfix 1 350 scale HMS Trafalger Sub that I will start building along side my Warspite, the question is - should I show my progress with the sub in my Warspite build or start a fresh one for the sub? OC.
-
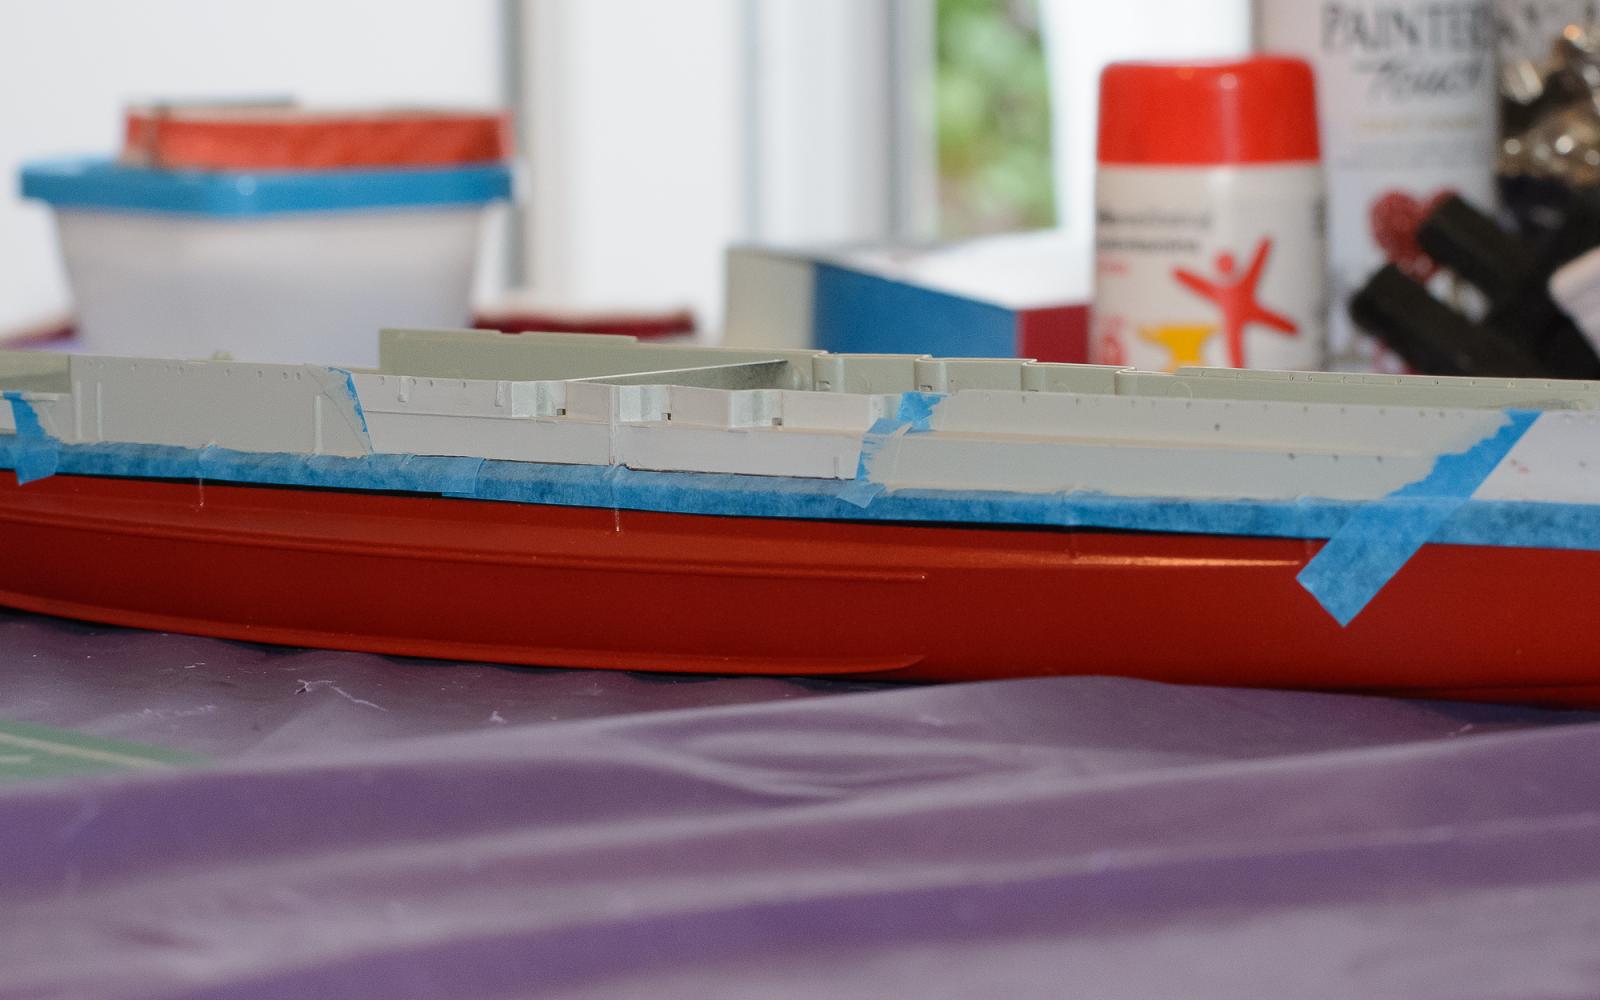
Its like decorators low tack tape - the type you can tear easy, I am sure its not the tape - more a combination of my technique and brush painting, in several thin layers that have just settled against the tape edge causing a slight ridge. OC
-
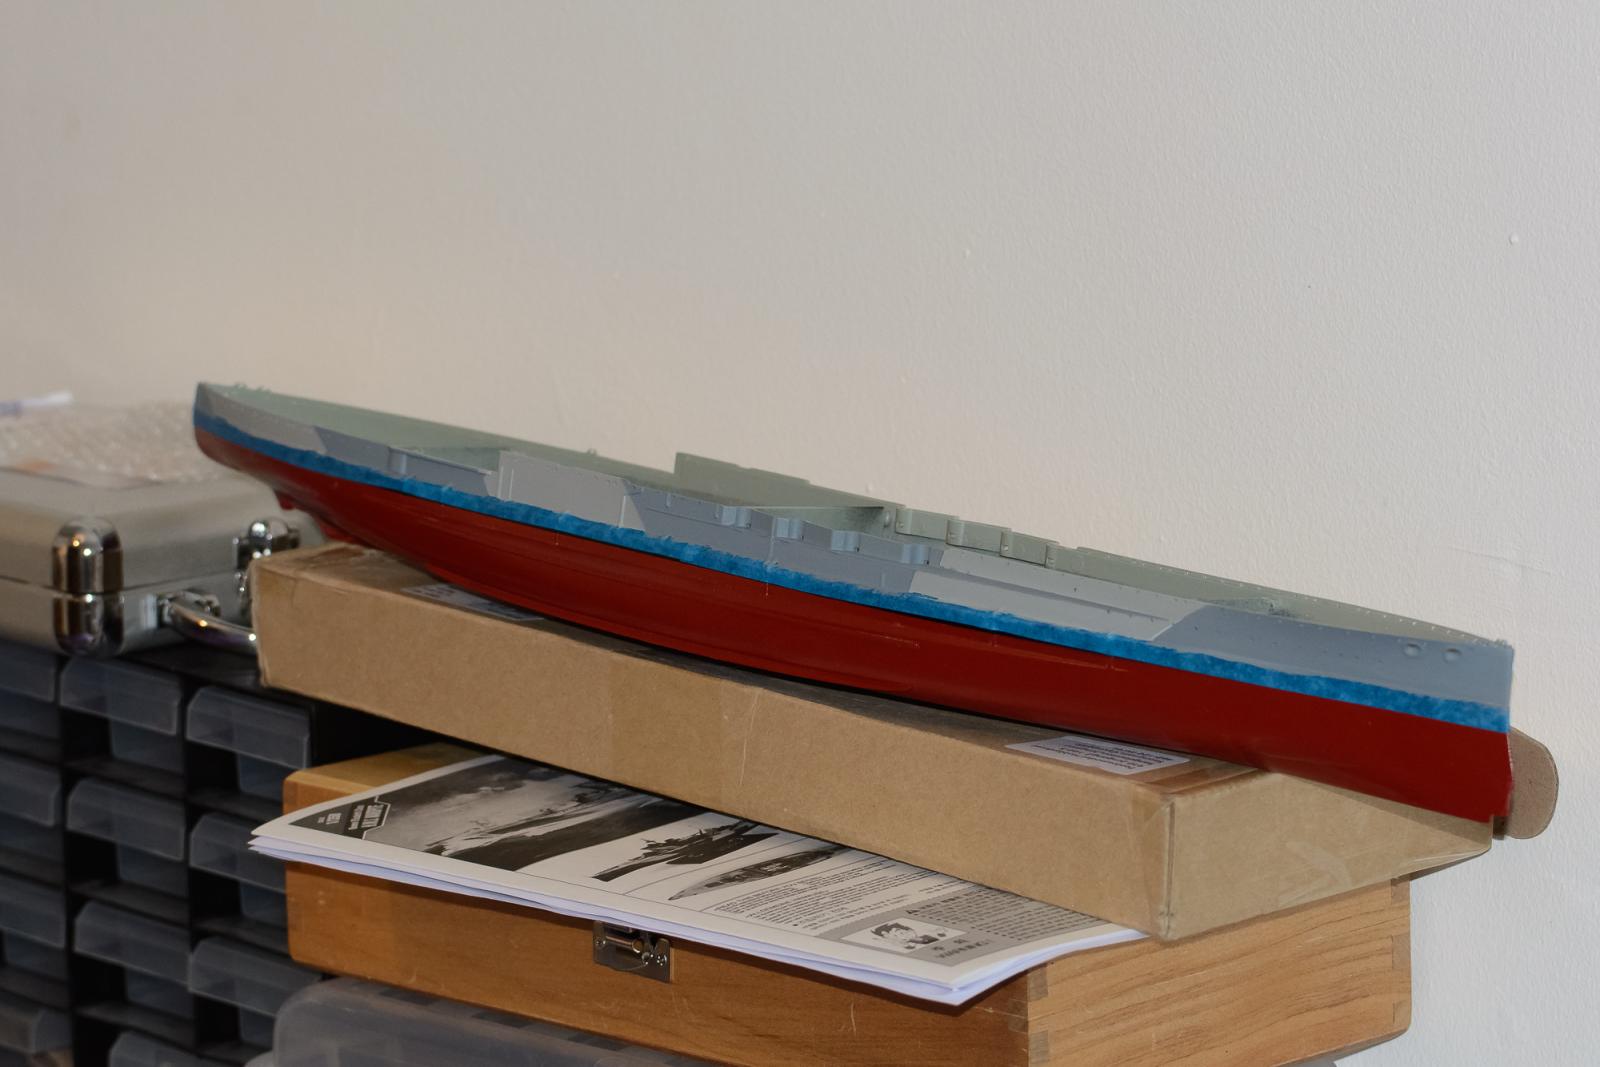
Hi greg, its that general low tack blue tape you can get from most stores, it masks very well and leaves no residue and very little creeping, what I think happened was - as I am hand painting in stages along the upper hull, and building the colour layers up in thin layers the paint has gathered against the tap making a slight ridge. I do not have a sprayer you see yet the Admiralty Paints I have I have to apply thinned down as they suggest and apply by brush, the coverage is good with no brush marks and a nice even application, just these ridges where the paint meets the tape to spoil it a bit. OC
-
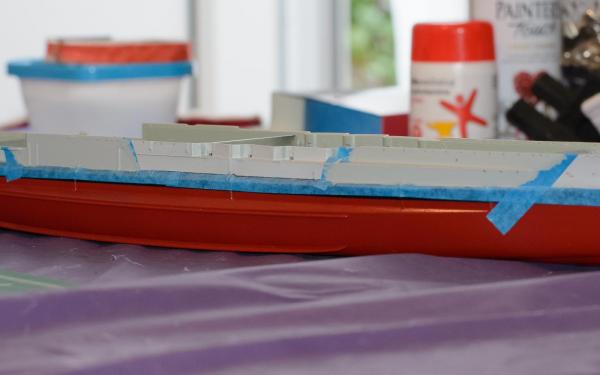
I Will be getting back to her in the next few days as I have bags of goodies like turned brass gun barrels and all the small AA sets, not to mention a few Pontos bits including the wood deck, one thing that I will have to get my head around - is how I can smooth out the masking line on the hull between the two grey colours as the masking and painting by hand has left a ridge that you can feel with your hand, I want o do this but I am fearful of rubbing away some of the paint if I try to smooth the line between the colures to hard. Any tips folks?? OC
-
Hi folks - just popping in to say I am still about just had to put the warspite to bed for a bit as I am getting over a hernia and a broken ankle, when I get some energy and my mojo back I will try to get at the table and have another go..... C.
-
Mrs OC said i need a "Shed in the Shape of a Ship" to build my boats :D Try saying that when you are Brahms and List OC
-
After letting the first atage of the two color camo set over night, i removed the tape and the edges where not bad just a little bit of an edge to the tape seam but i guess i will be able to smooth this down after both colors are applied, anyway i continued with the masking for the second color by sitting this ontop of the first color, and with the aid of a small soft brush i lay the second coat down. I did this coat without to much fuss and the paint was settling well with the drying aid of a hairdryer from Mrs OC So here is a pic to show where i am at tonight. OC

-
Looking really good there sir, i dont know if its just me but the plastic versions do seem to be more in scale particularly the beam, if you look across the width of the top decks the scale just looks right, the wood kits are of course excellent in their own rights. OC.
-
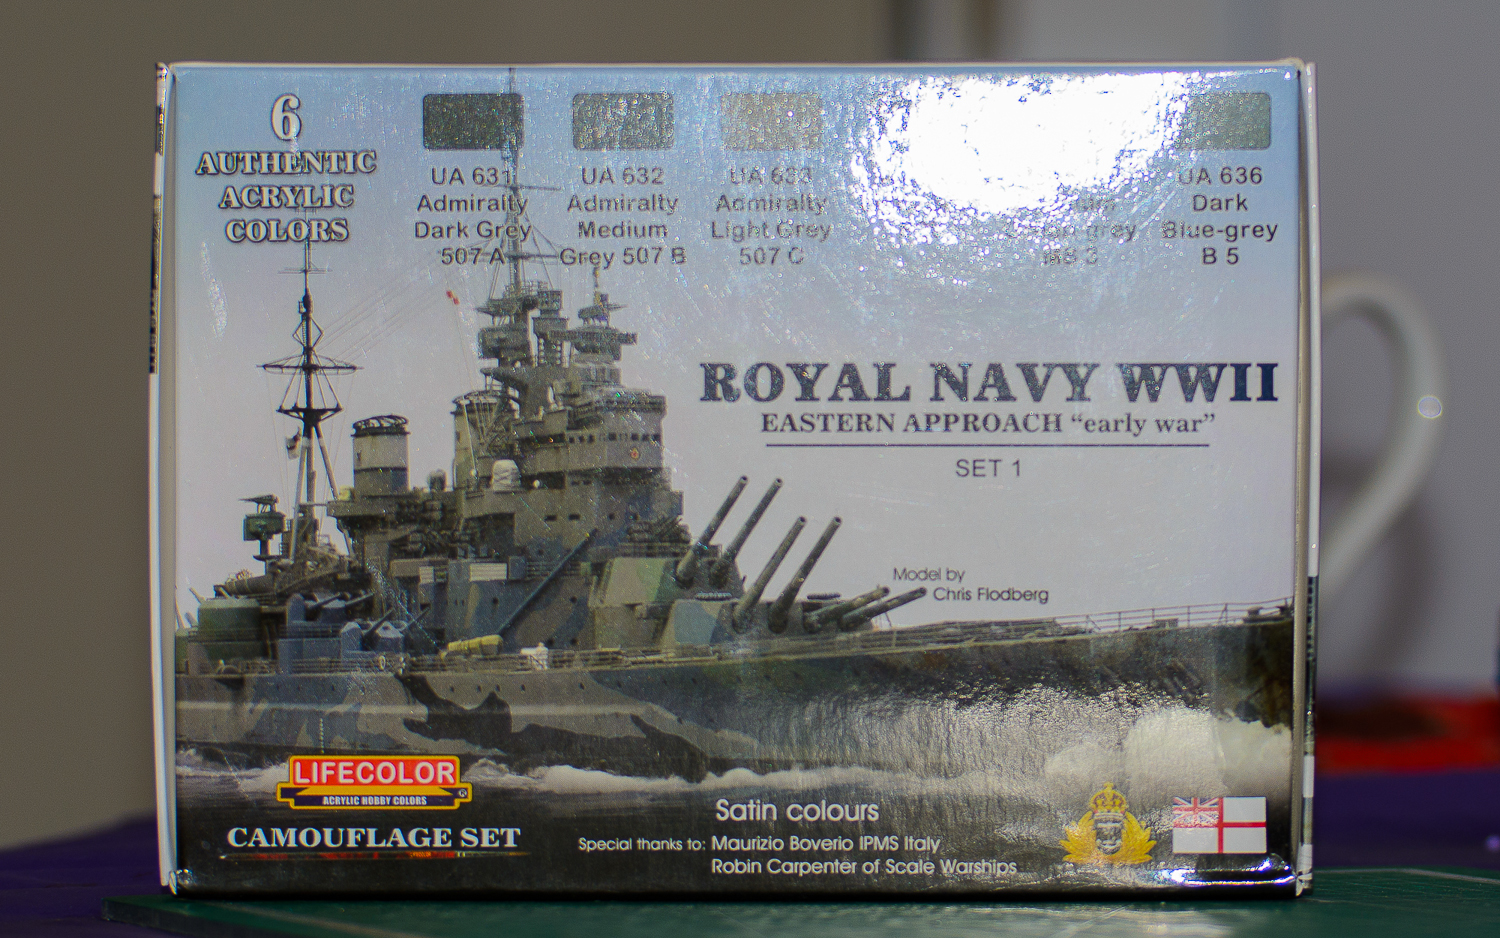
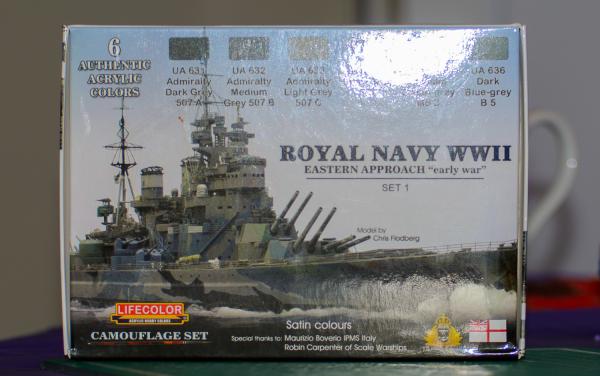
More progress folks - i sorted out a few leaks from the masking then i masked out the first stage of hull camo, i have started on the lighter og the grey colors and masked off the hull as needed. Here is a few pics including one of the paints i am using for the corect colors... OC.
-
Thank you so much my friend, and congatulations on your anniversary OC
-
Next plan of action folks with my little saga will be to do some camo on the hull sides this will be done by hand as i have the acurate colors ready to be applied by my brushes, i will give the black boot line a few days to harden then this will be masked again, before i mask off the different camo lines ready for my first coat, because the area for each coat is smaller - i should be able to get a better level of smooth paint on, than my horrific attempt at hand painting the hull bottom . The difference in my attitude now ia a lot more posetive and i feel a hop in my step with the build agin OC.
-
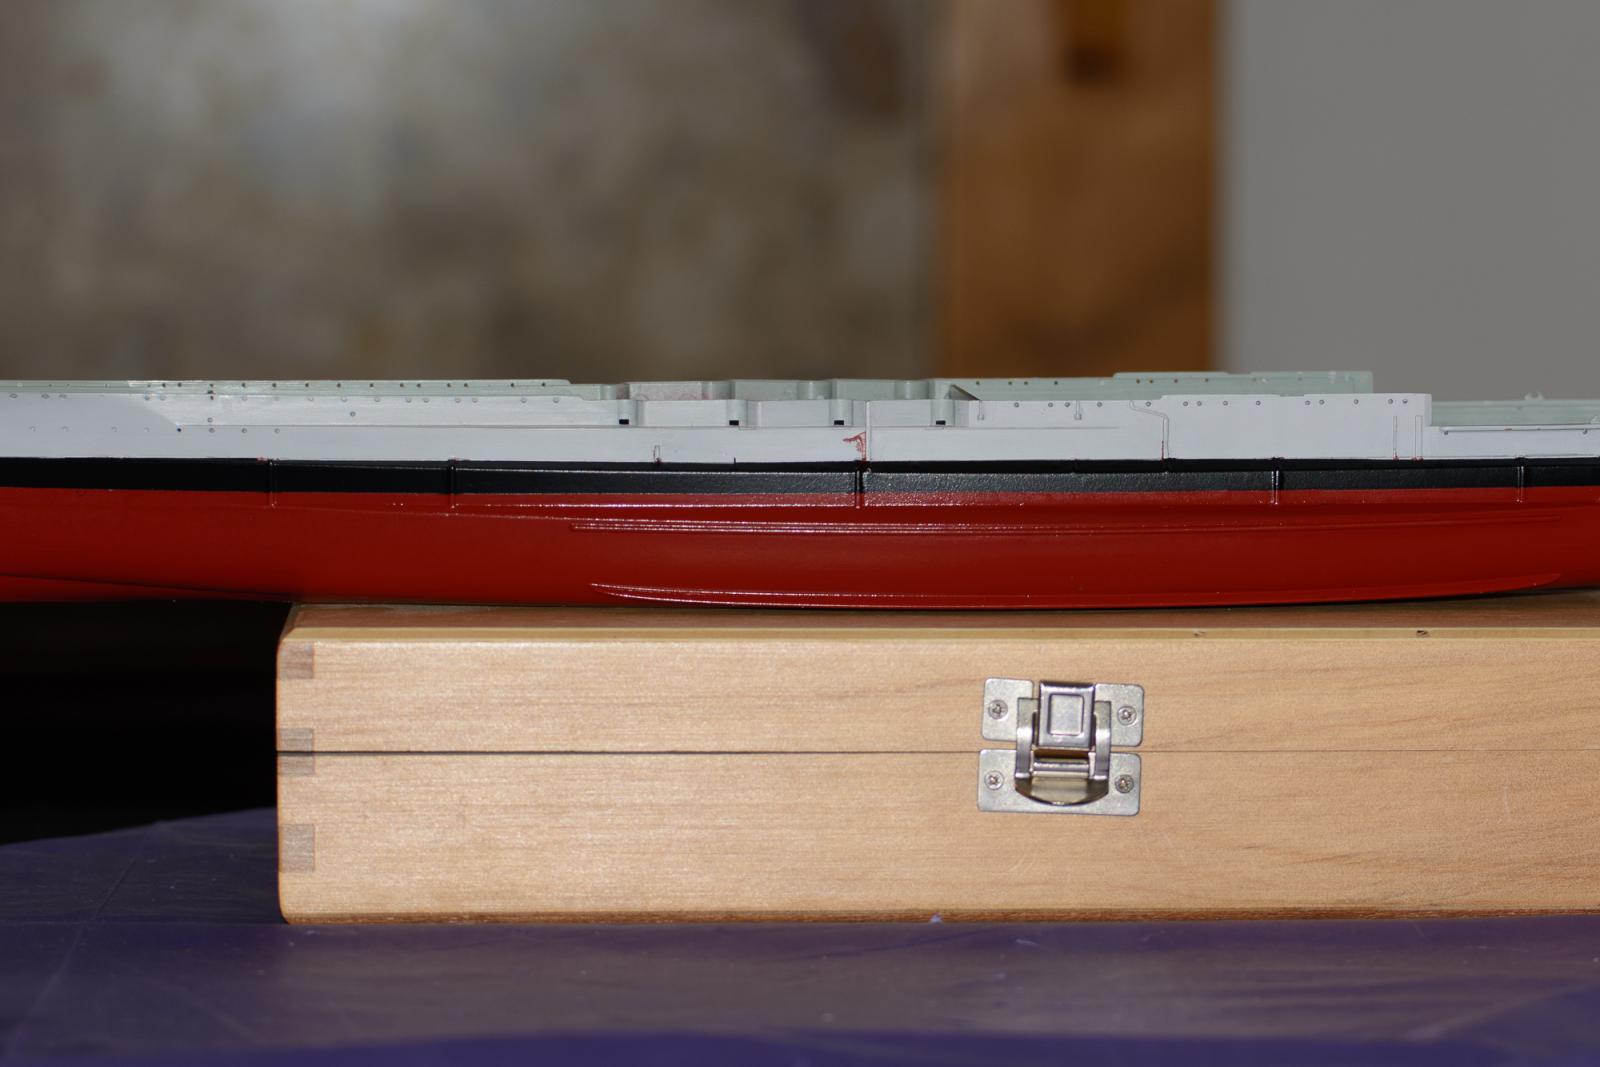
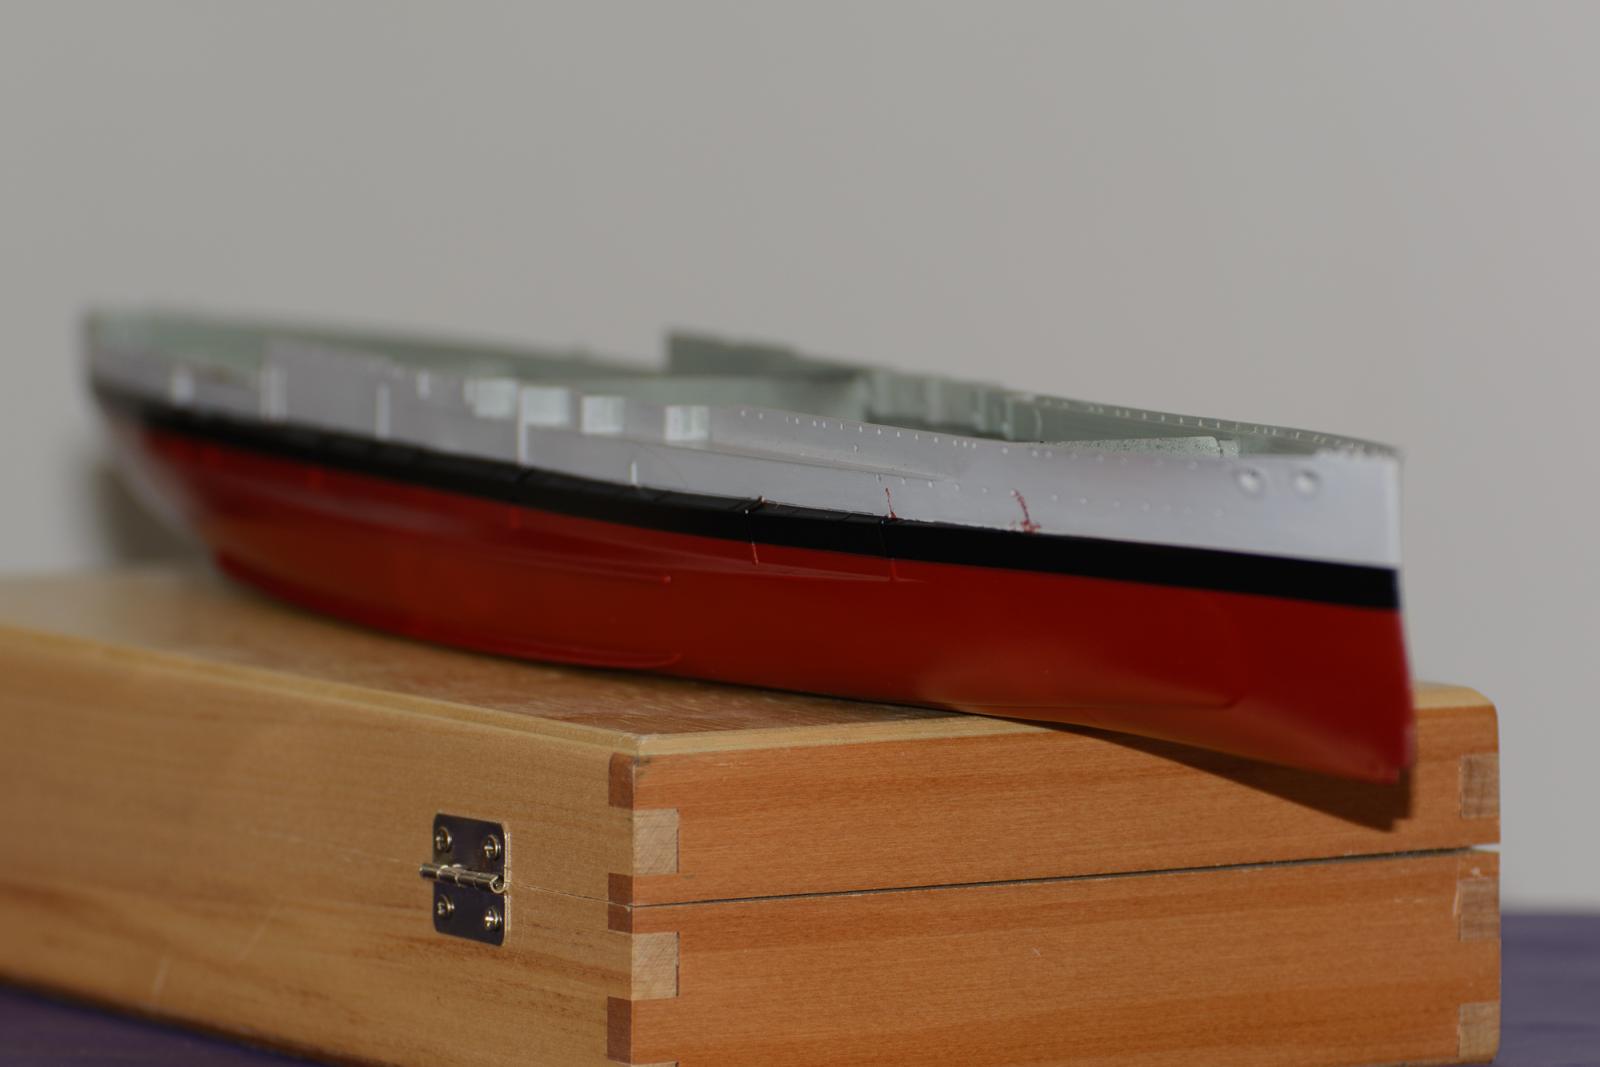
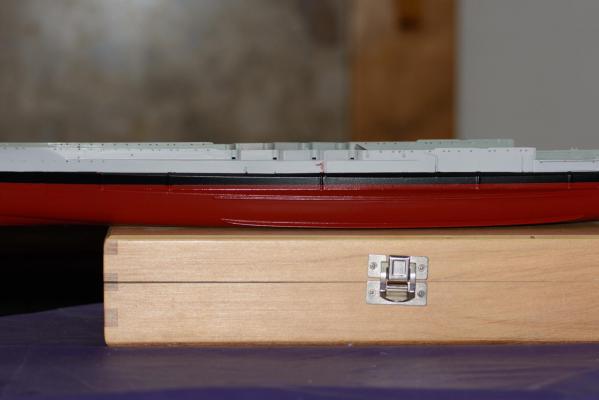
Right then - i took the tape off the boot line :o slowly slowly and apart from a bit of leakage this is the result........ OC


-
Hi izzy. Great start my friend, i remember that Airfix Vic kit ...very well i built one when i was a wee lad and after i let it get into a battle with all my Airfix 1/72 scale Waterloo soldiers, i set fire to her :o not foregetting i was a young lad with a weird imagination and a not very pleased mother OC
- 79 replies
-
- 2
-

-
- cutty sark
- airfix
- (and 1 more)
-
Another update folks, not quite a popcorn and coke or J D moment but still a step forward I purchased the black boot line spray, and this afternoon i masked the lower section with firstly a few thin strips, then a few slightly wider till i had covered the whole bottom area, then i took the funny looking thing outside and sprayed the black paint along the gap. It went quite well and i am waiting and waiting till i can take the tape off to have a nose OC.
-
Graet work, and that deck amazing detail... OC
-
Just another quick update, if they get any smaller i will need to post them on postage stamps I have marked the boot line by the old method of - working out the scale width - i have gone with RN British ships of the time, they where 6 feet wide, i then converted this to 1/350 scale and marked a dot on the hull, then i made a jiggy jig type device that i would mount a pencil on, a suitable block of wood came to hand and my pencil was led kicking and shaouting, and then taped down onto the block I then ran the pencil along the hull while the hull was sat on a flat table, this gave me a good water line boot line, that will be taped ready for some black paint that will be sparayed on(now i am becoming the spray champ of the world - after one go) Well thats a few more words than i have put of late, oh yeah just remebered - dont worry i freed the pencil from the block, gave it a stiff J D and set it to sleep OC
-
Thanks mate, it certainly has sprayed on as a gloss red, but no worries as it will be easy enough to apply a matt sealer when i am finished with the hull. OC.
-
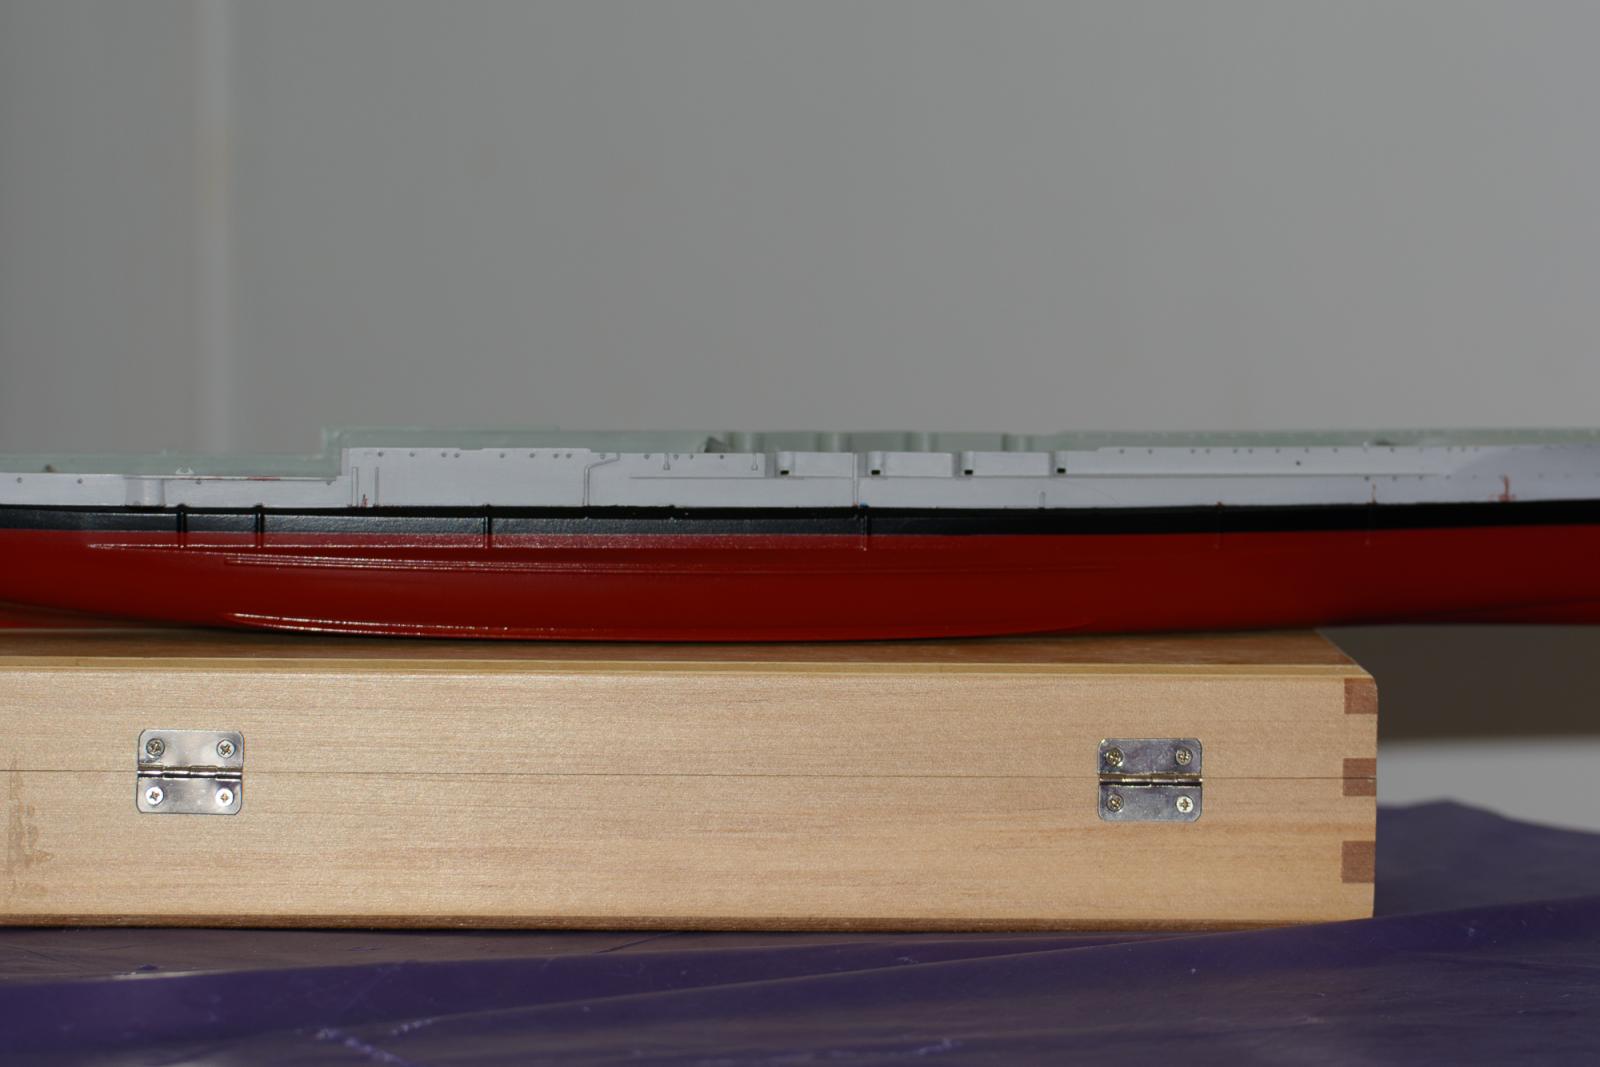
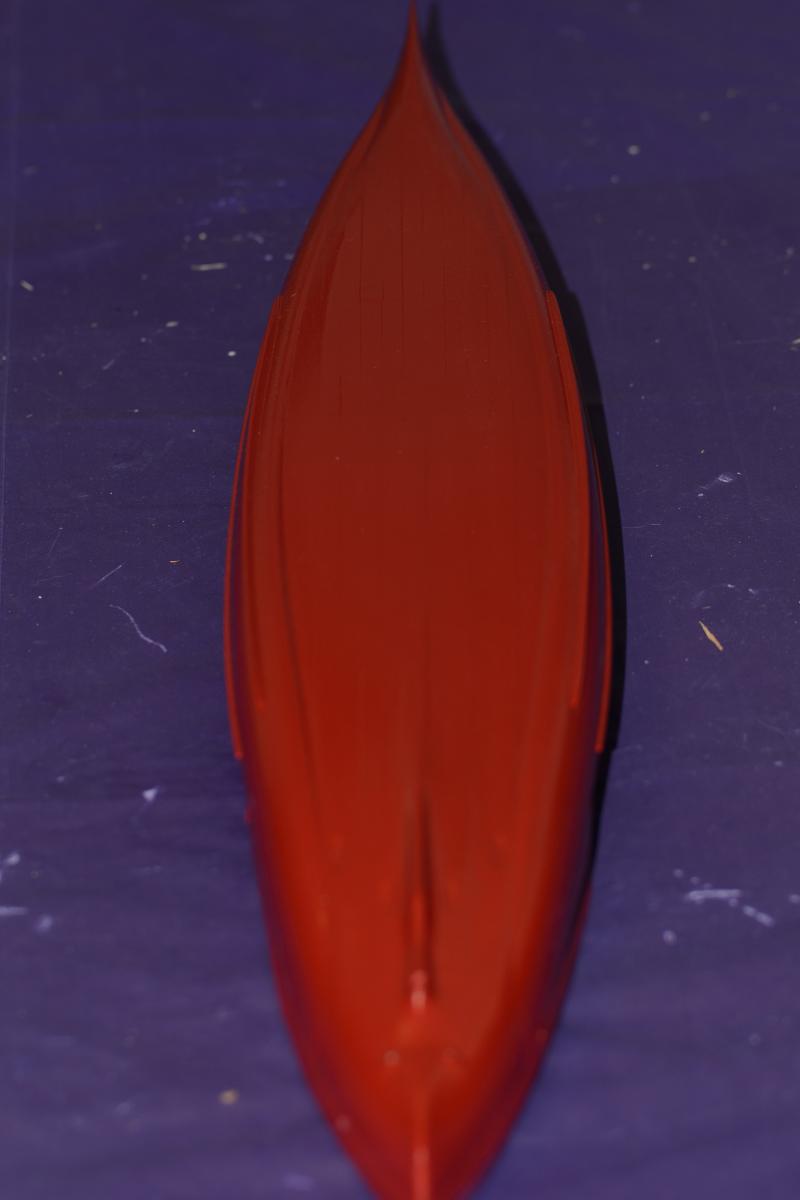
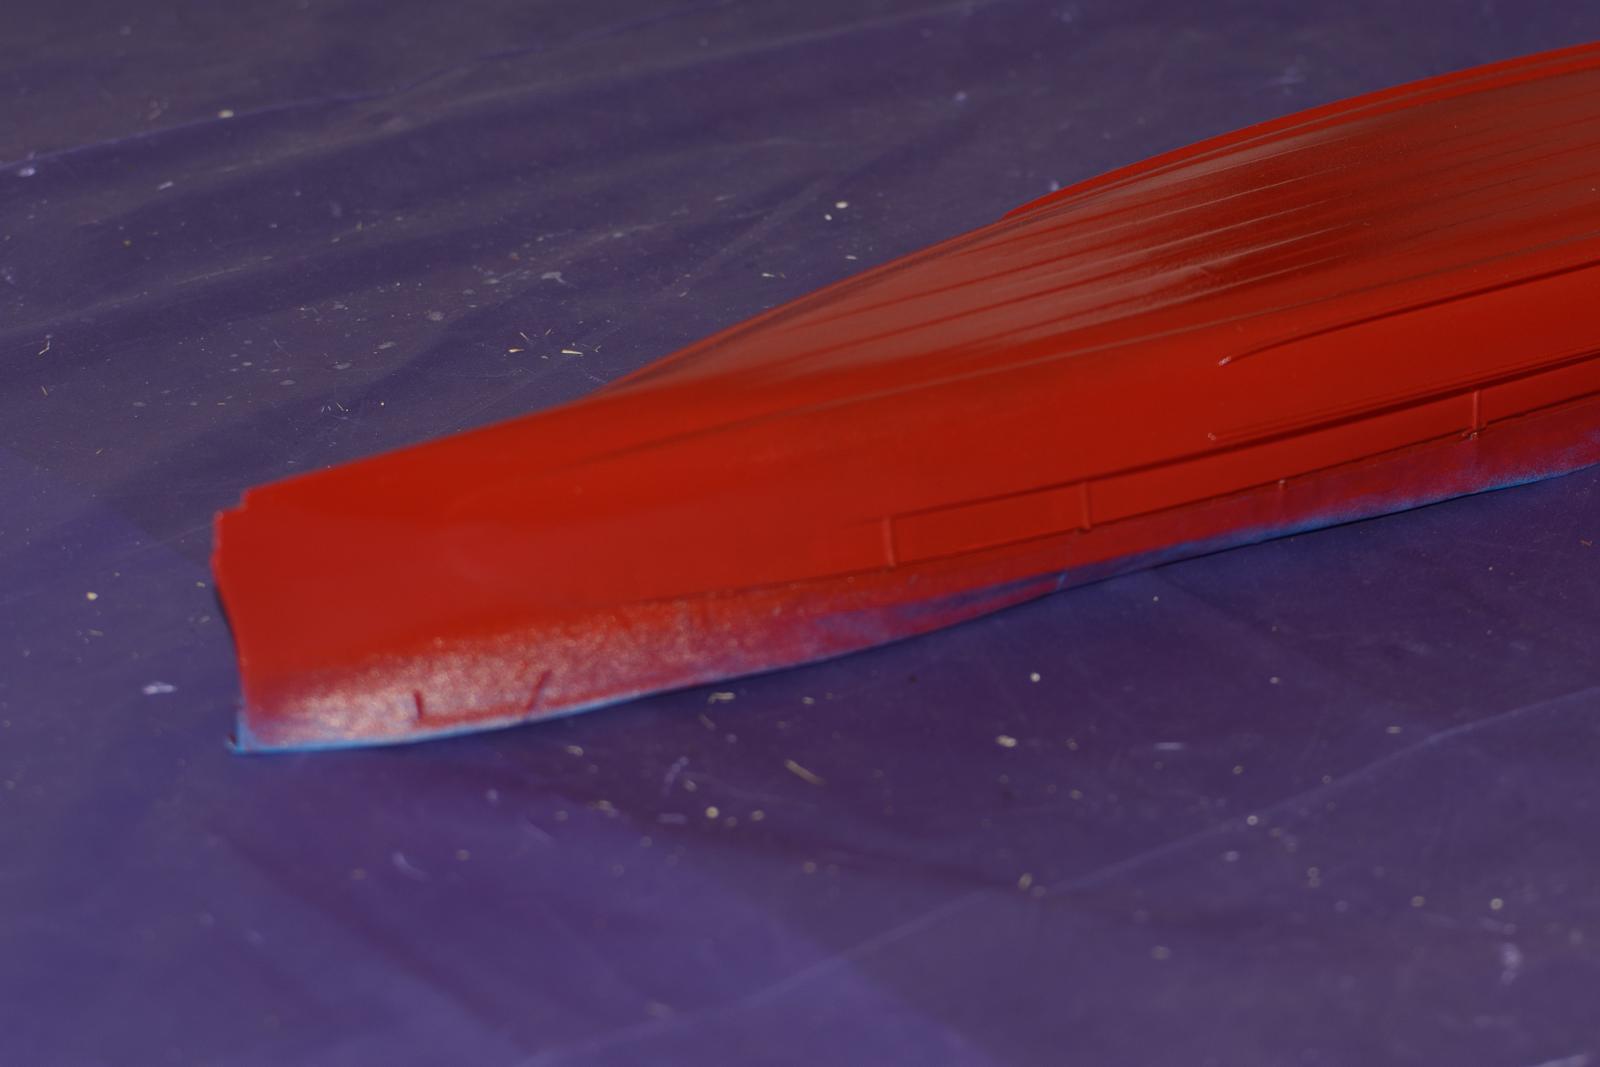
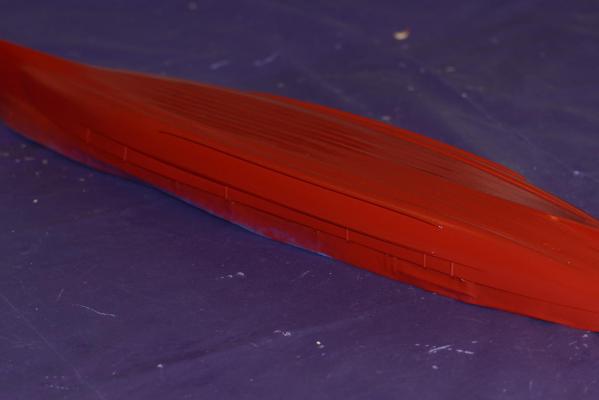
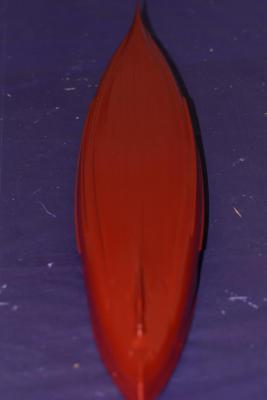
Here are a few pics of the painted bottom hull, please excuse the color the flash has bleached the red somewhat and given it an orange look, the finnish is smooth and i am very pleased with it, i will have to flat it down abit as the finnish at the moment is gloss. OC.

-
Hi folks, a quick update, i purchased a rattle can of a hull red color today and after a bit of prep work by some wire wool, and brushing it down, i set about spraying the bottom hull, i found this quite easy although i was holding my breath a bit through nerves incase i made a mess off it, but it has turned out ok and much better than i could have hand painted it. OC.
-
P E with me is a learning curve requiring a patient attitude and a lot small steps with breaks in between, i have also realized that this can not be done without working underneath a magnifiyer or opto visors, and i am learning as i go along and cleaning up my work again under magnification, as i finnish each stage. OC
-
Hi folks - just a quick note to say that i have not deserted my cause, just another passion of mine called me away from the build bench for a few days, i will have my mojo back and continue where i left off - with the pe work on the mid deck section around the 4inch guns, i left this stage with the armour plate pe placed in situ, awaiting a coat of paint prior to me fitting the paper metal deck area around/underneath the 4inch gun mountings. OC