HOLIDAY DONATION DRIVE - SUPPORT MSW - DO YOUR PART TO KEEP THIS GREAT FORUM GOING! (89 donations so far out of 49,000 members - C'mon guys!)
×


Old Collingwood
-
Posts
12,104 -
Joined
-
Last visited
Content Type
Profiles
Forums
Gallery
Events
Everything posted by Old Collingwood
-
 They are excellent Alan. OC.
 -
Thank you so much for your kind words. OC.
-
Its good to see you back Alan, loving your new stash and the work on your castle is still looking super nice. OC.
-
Thank you kindly Alan. OC.
-
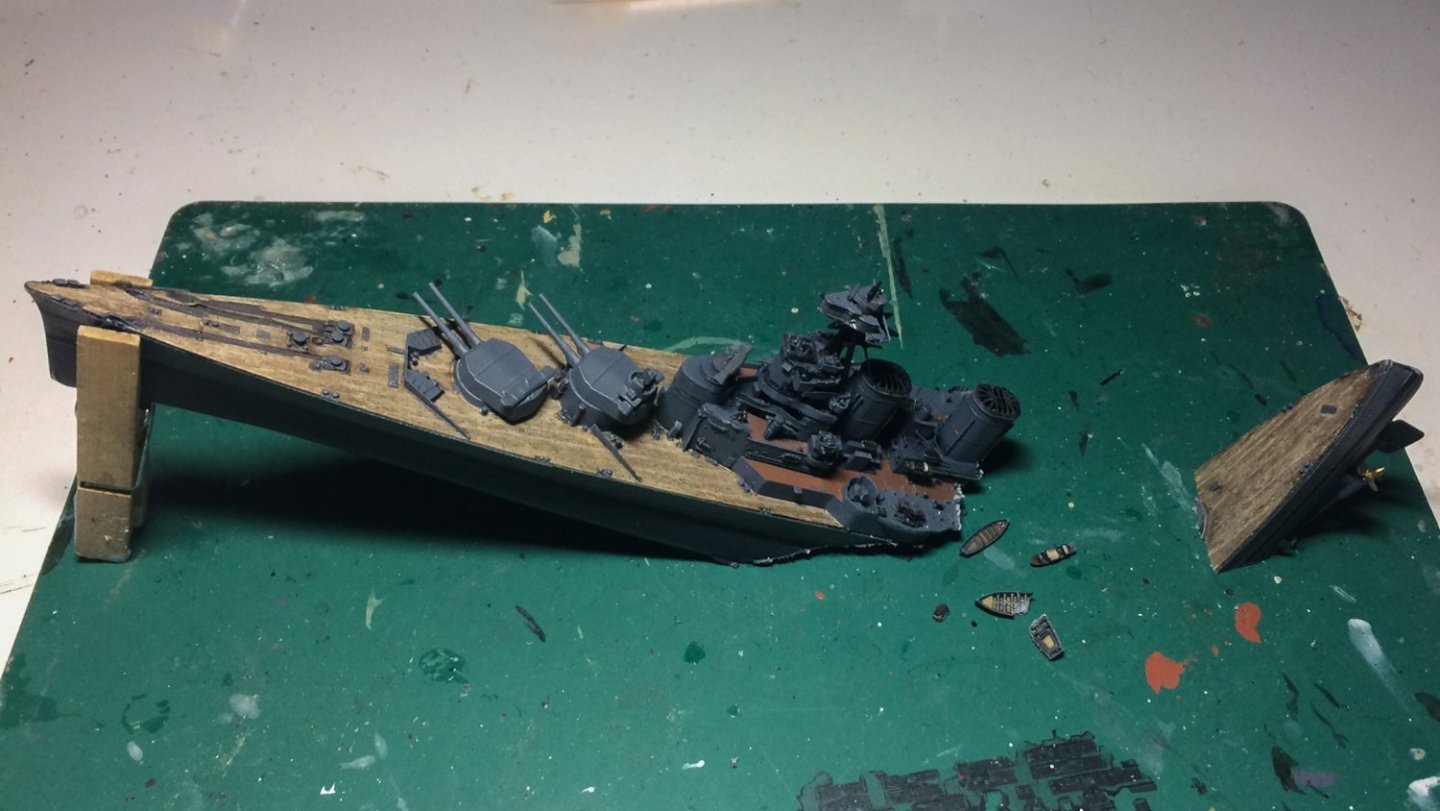
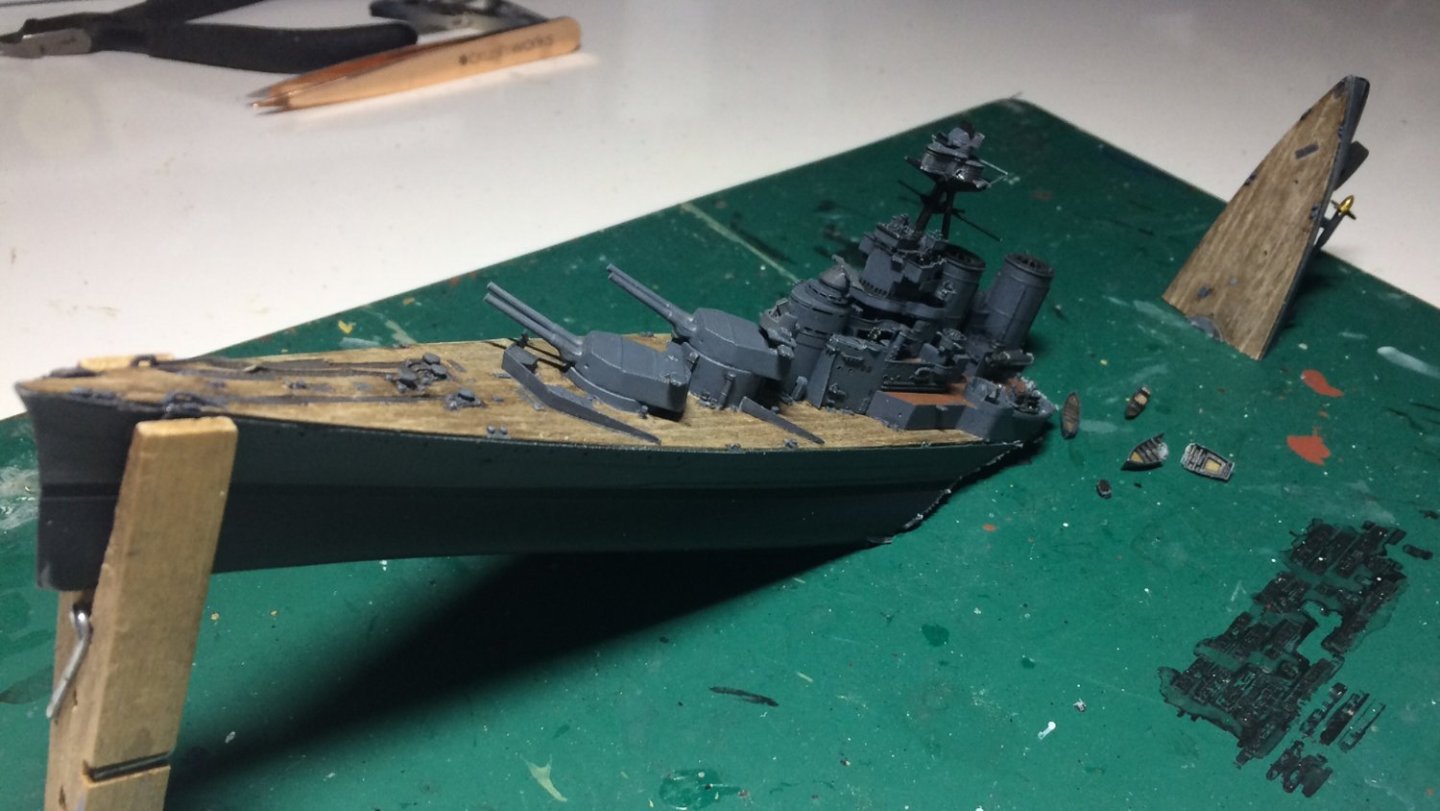
Thanks Mike, yep when I get round to it I intend to display her as in her sinking, on a gel sea display. OC.
-
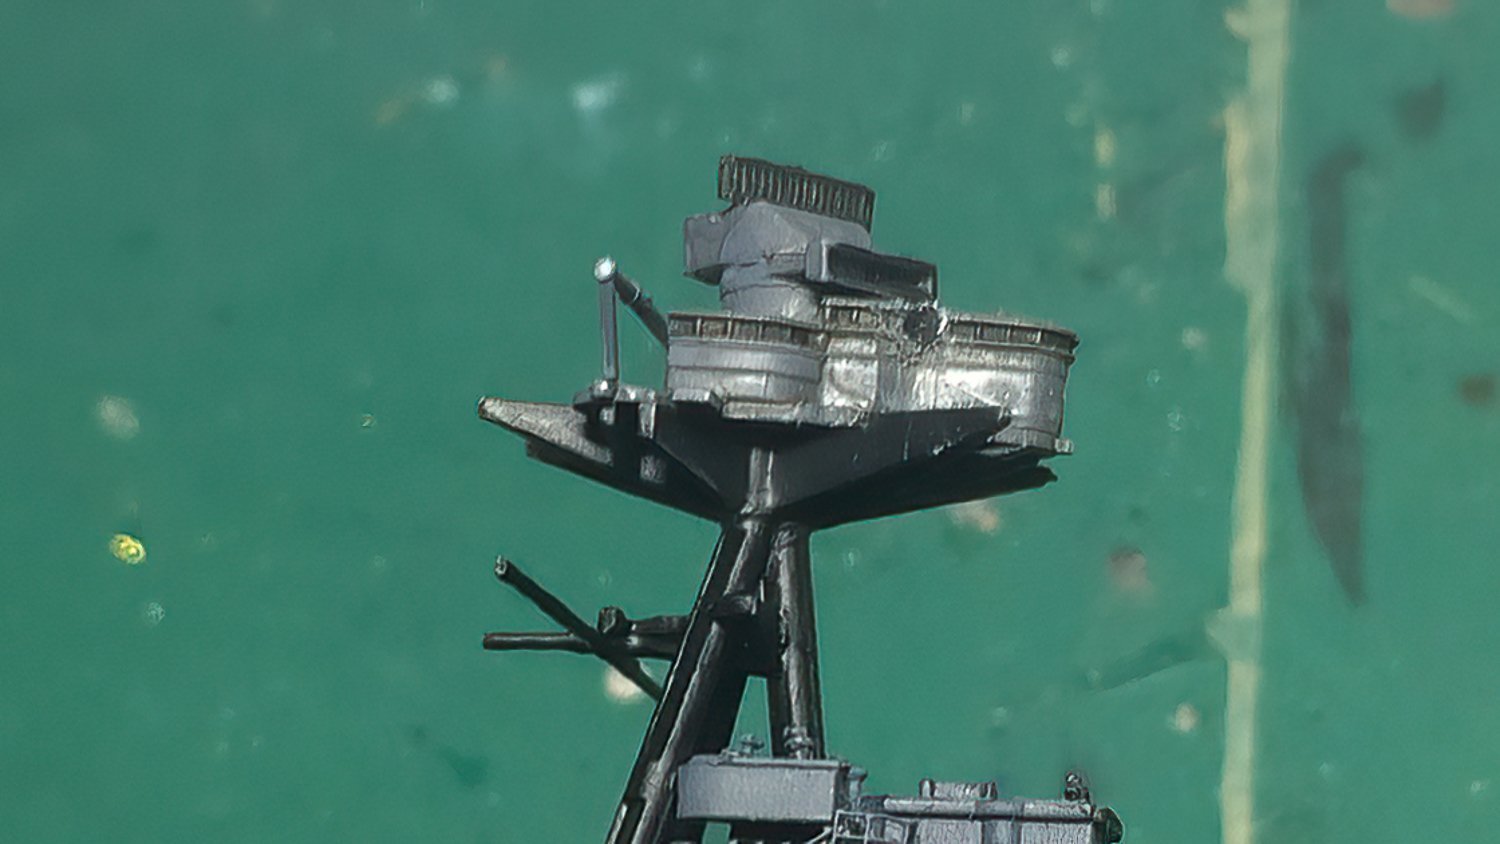
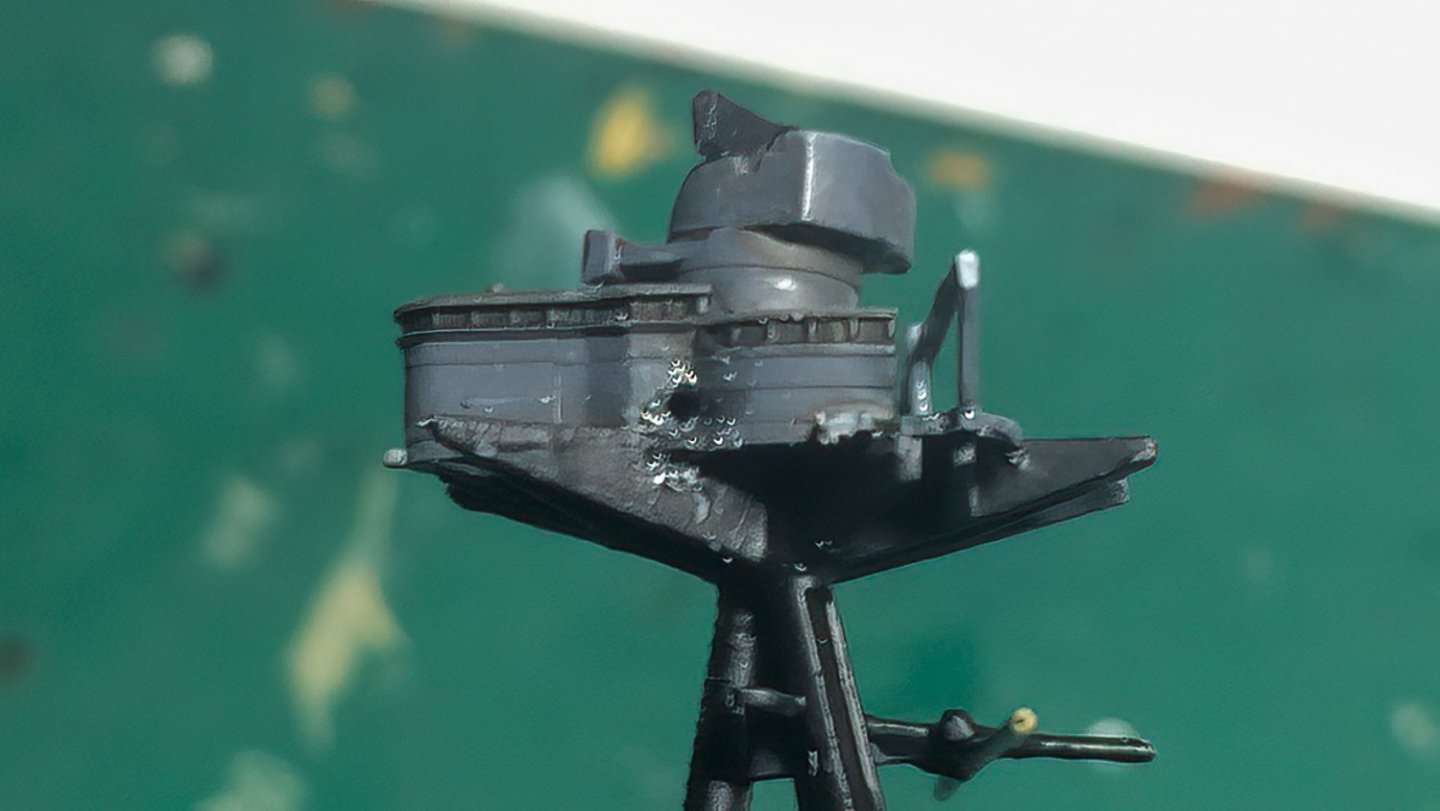
I have been doing a bit of photo editing in my Lightroom and decided to re post these - they show the damage to the upper bridge after that German shell passed through it, and a general scene of both remaining hull parts before she sank. OC.

- 510 replies
-
- 16
-

-

-
Thank you Phil, they still need finishing. OC.
-
Not sure if I posted these, this is where I was at when my build stalled - OC.


-
Amazing work, you sholud do a build log with your next project. OC.
-
Superb job, hope you have a safe way to keep it. OC.
-
Excellent work. OC.
-
Another stunner Greg - starting to love your dio's mate. OC.
-
Hiya Kevin, I have caught up now, you are doing a lovely job - you saved that sanding issue really well, and your paintwork looks proper loverly, what really stands out to me is the genuine scale correct-ness the canons and ditance behind for running in/out and the over all beam of the ship - just looks so right. Oh and loving the tiles. OC.
- 443 replies
-
- 5
-
-
- Indefatigable
- Vanguard Models
- (and 1 more)
-
That looks perfect to me Grant, really nice work. OC.
-
That looks Excellent. OC.
-
Good to see you back on the bench Dennis. OC.
-
Very well done Greg. OC.
-
That what I used to make my pond in my Waterloo dio. OC.
-
Vincent Black Shadow by CDW - Revell - 1:12 Scale
Old Collingwood replied to CDW's topic in Non-ship/categorised builds
Nice to see you Lou mate. OC. -
Talking of large scale - check out this restoration of a super large HMS Warspite - OC.
-
Love these pics - just shows they where just like us model makers but on bigger scales. OC.
-
If you can position the dead eyes so they all line up perfectly - your a better man than me and most others - threading the dead eyes is a delicate operation - well it was for me. OC.
-
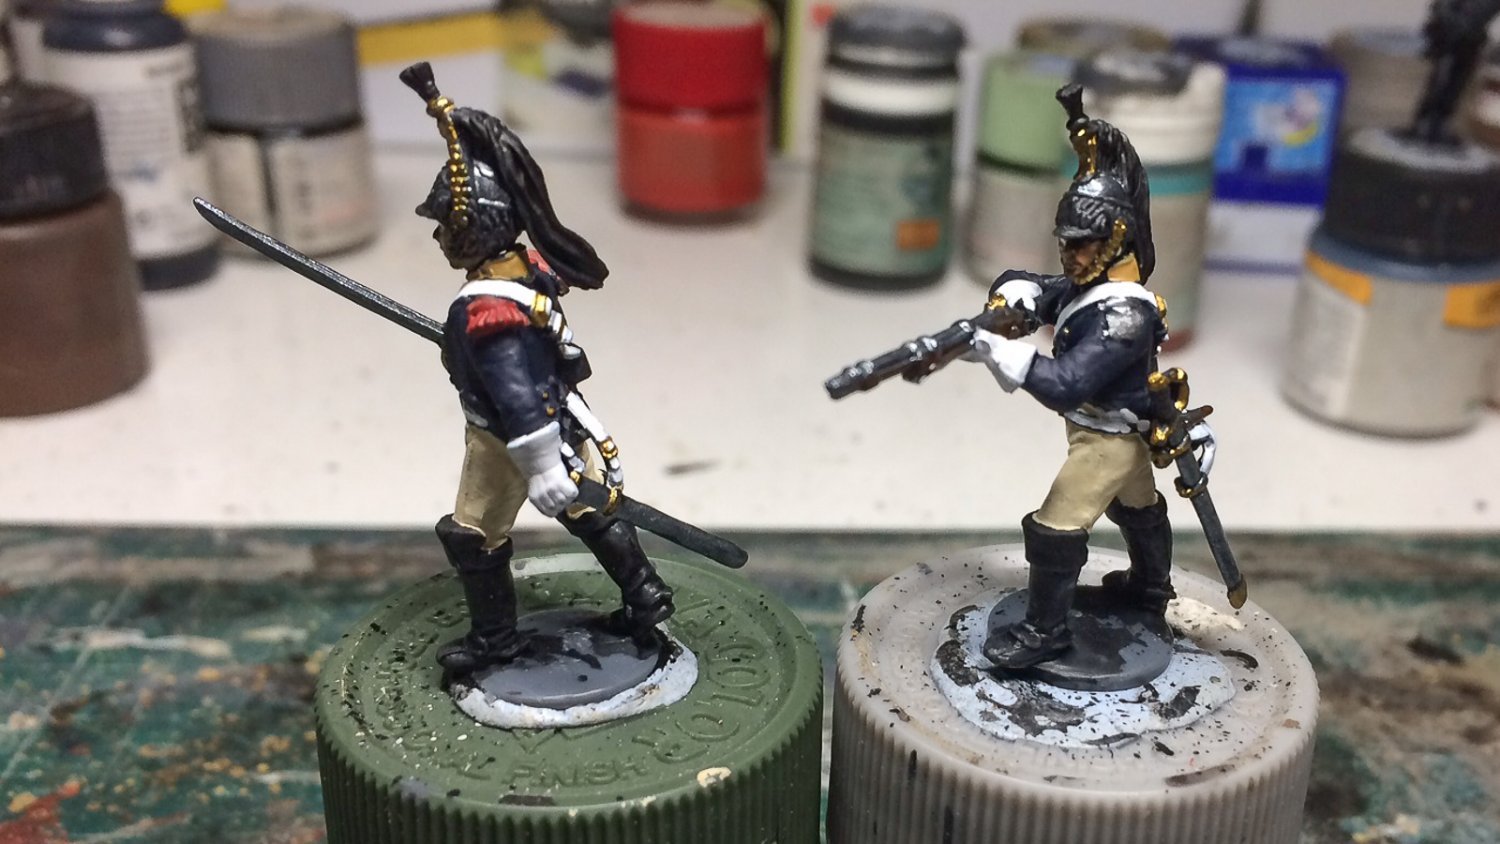
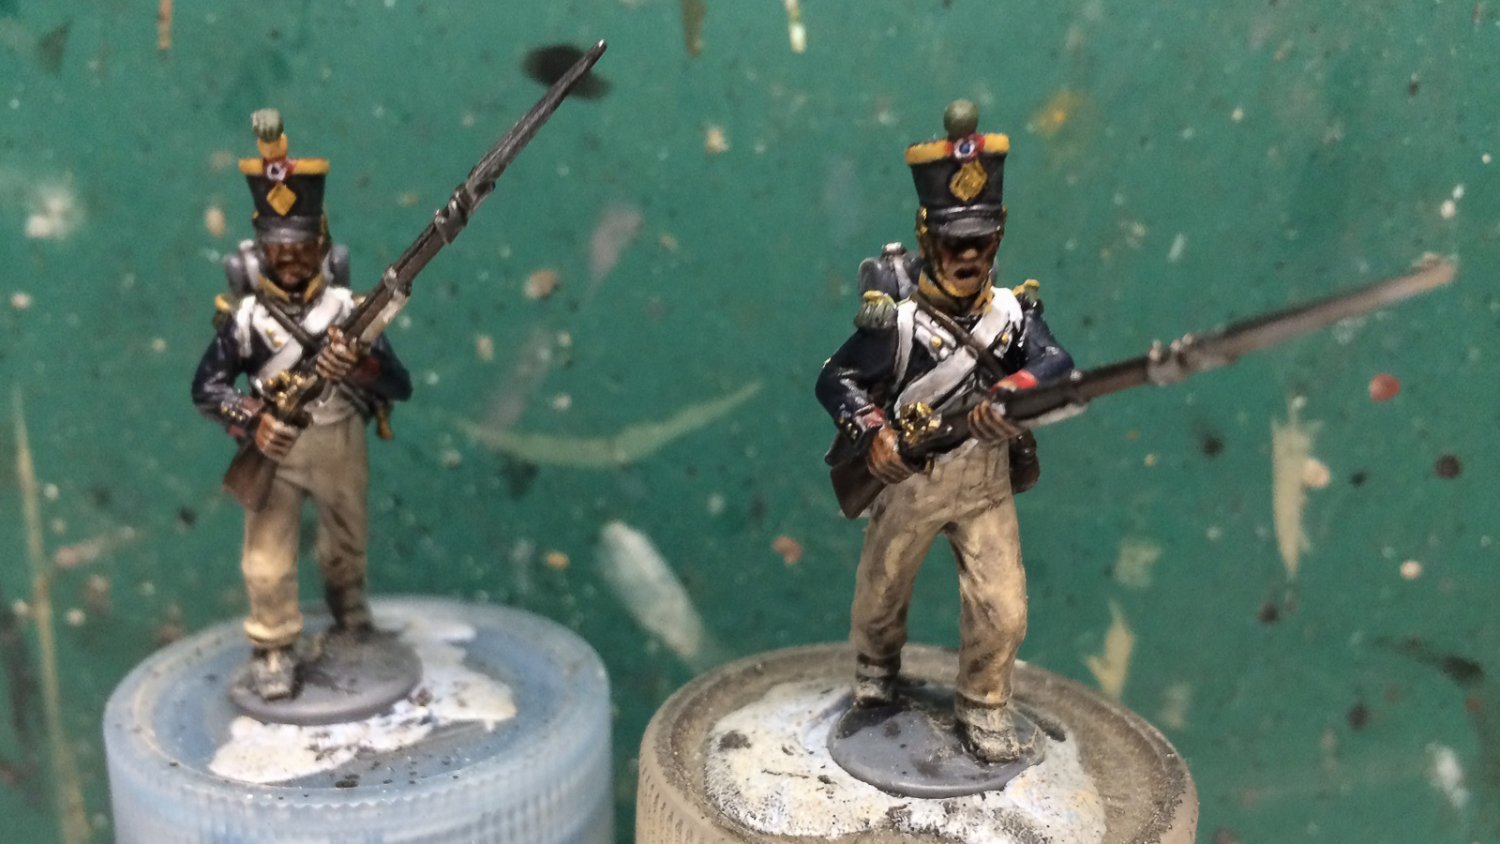
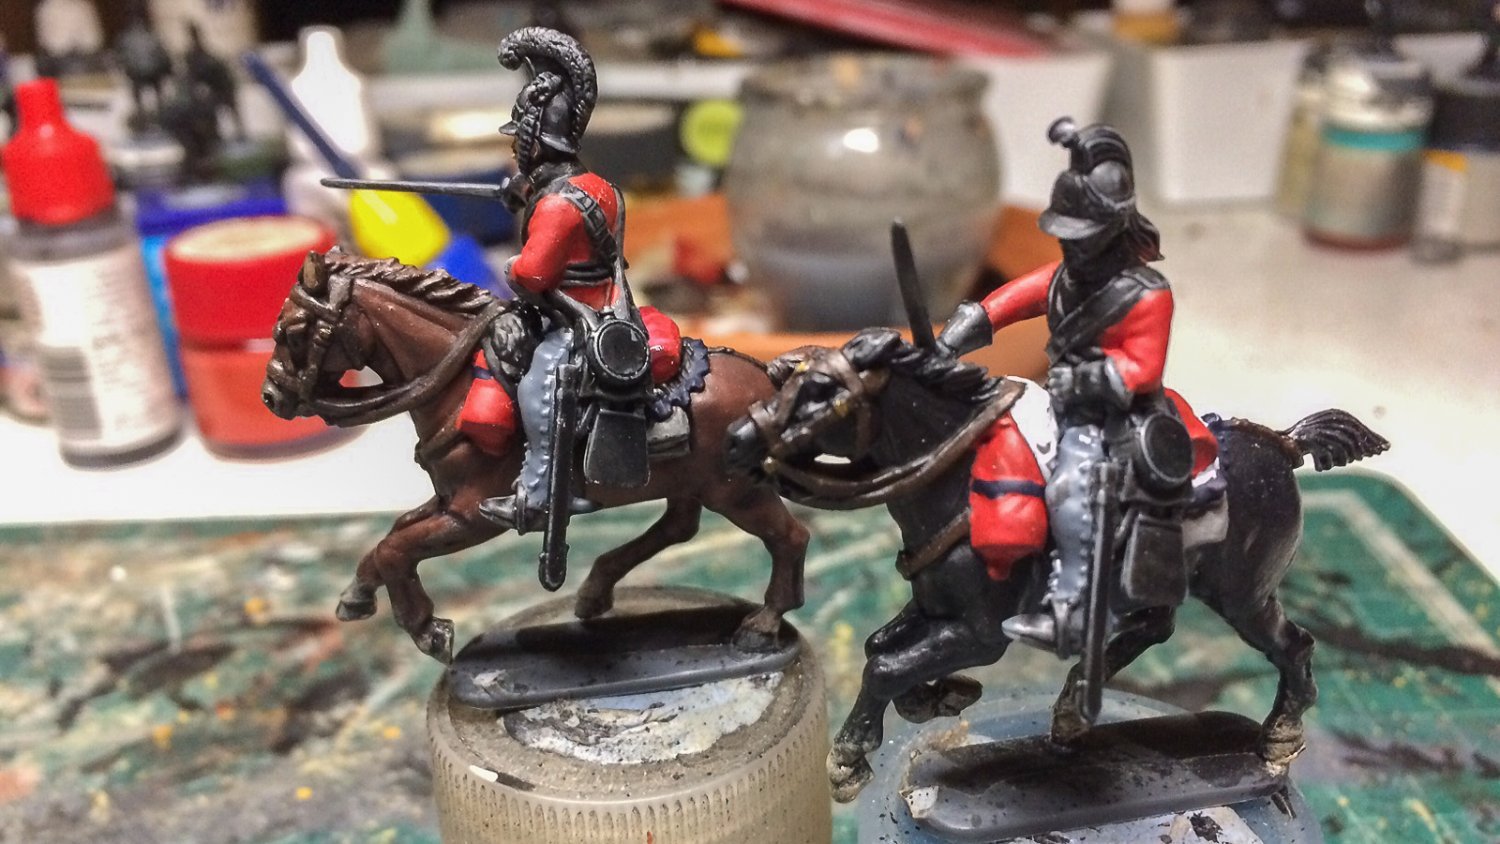
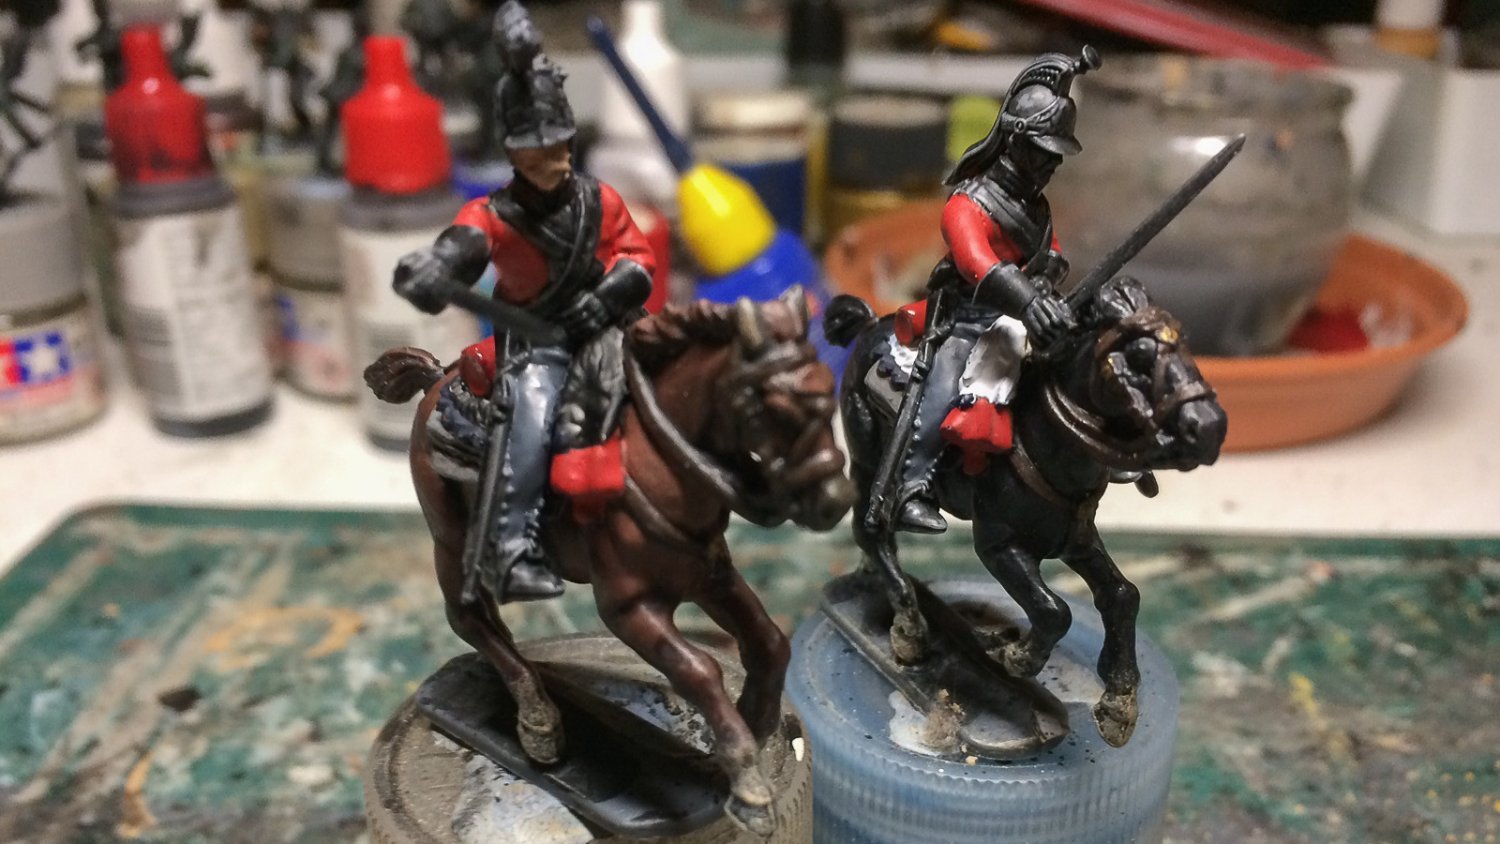
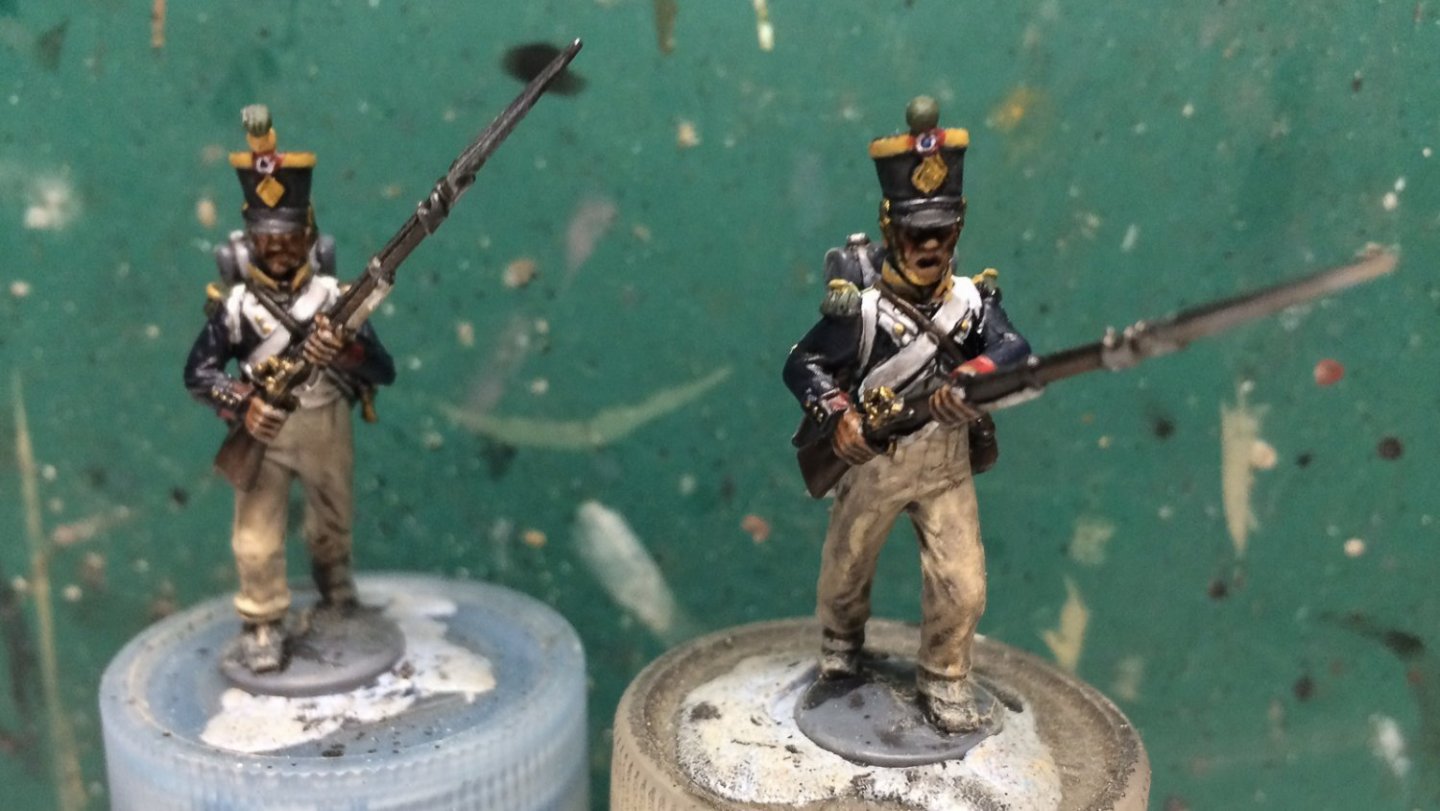
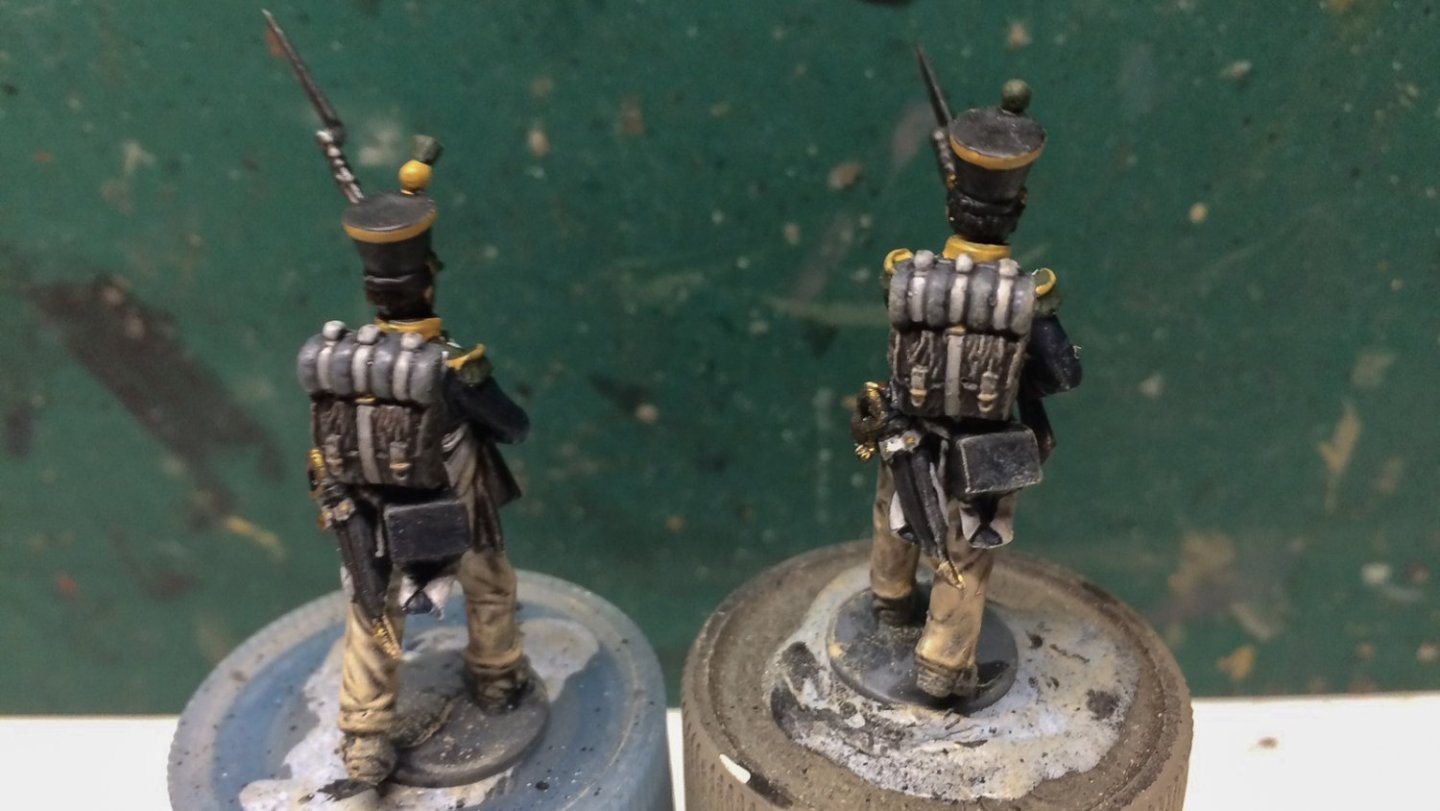
Thank you for the kind compliment, with figures the key is washes and some dry brushing to bring out the high lights. OC.