
.jpg.f4fa790b1fa2f0e00e3d149ed7bdd37c.jpg)
shipaholic
-
Posts
518 -
Joined
-
Last visited
Content Type
Profiles
Forums
Gallery
Events
Posts posted by shipaholic
-
-
Hi Max
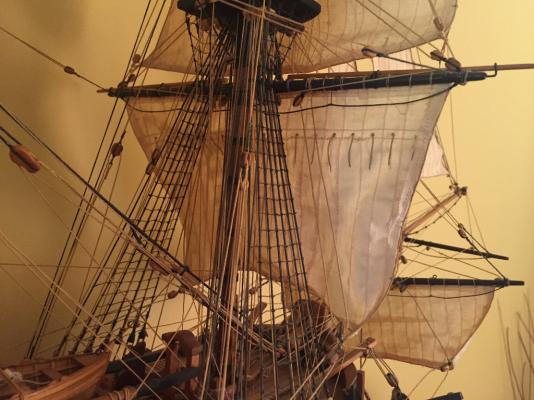
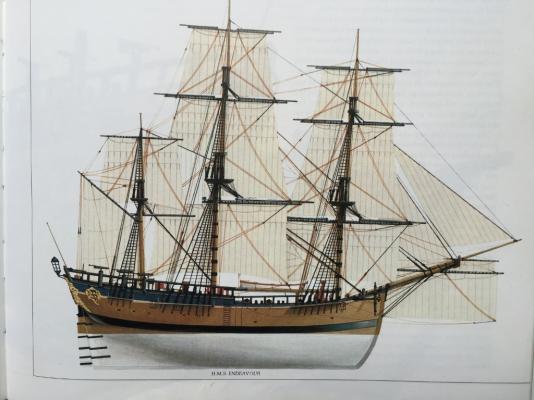
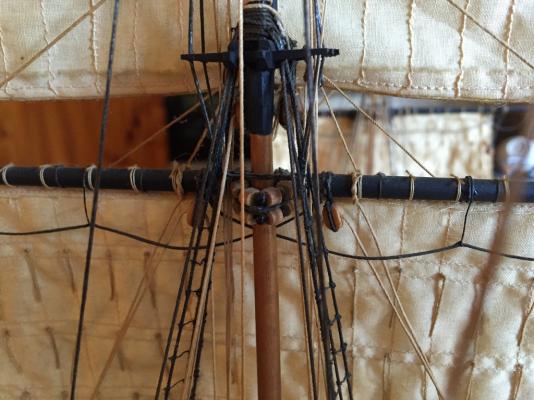
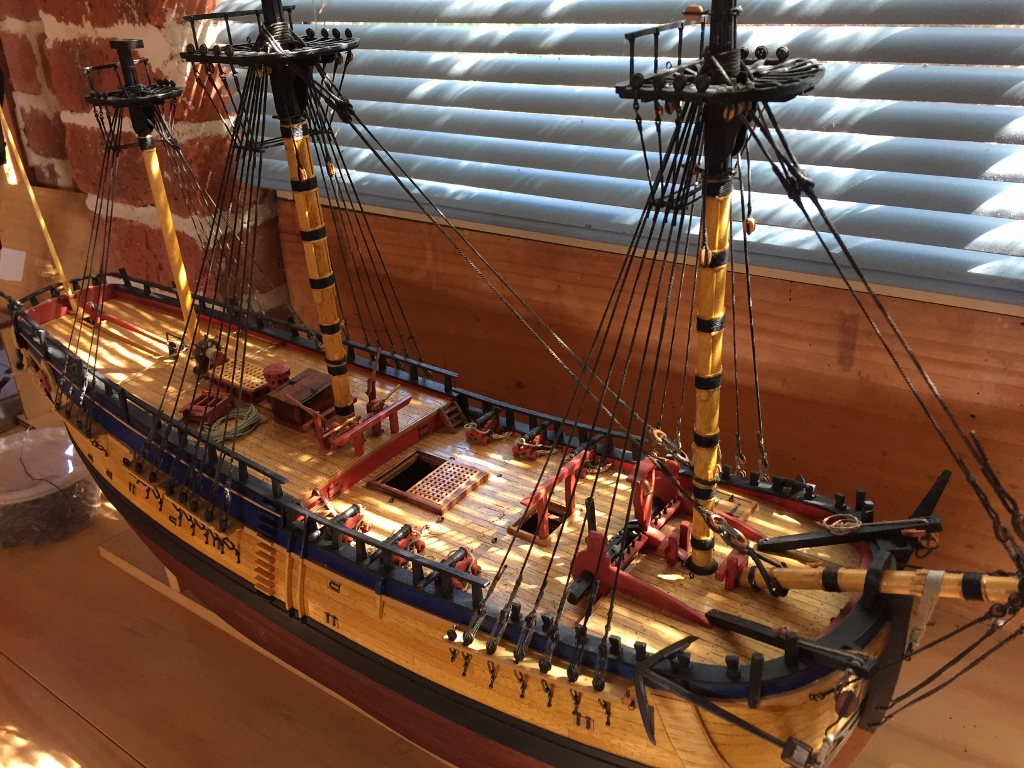
Here are a couple of pics of my AL Endeavour with sails that may clear things up for you.
You can see that the clew lines run aft of the sail, whereas the bunt lines run down the front of the sails
Cheers
Steve

- Mirabell61, maggsl_01, GrandpaPhil and 4 others
-
 7
7
-
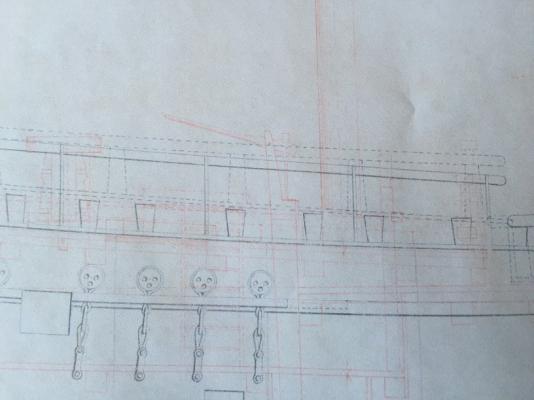
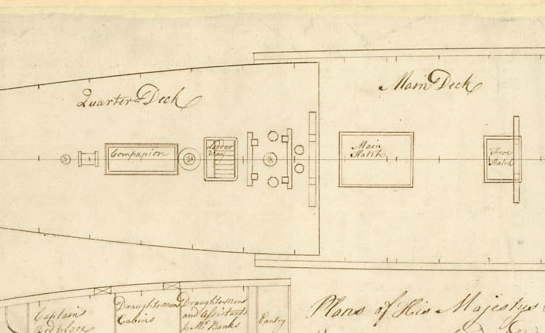
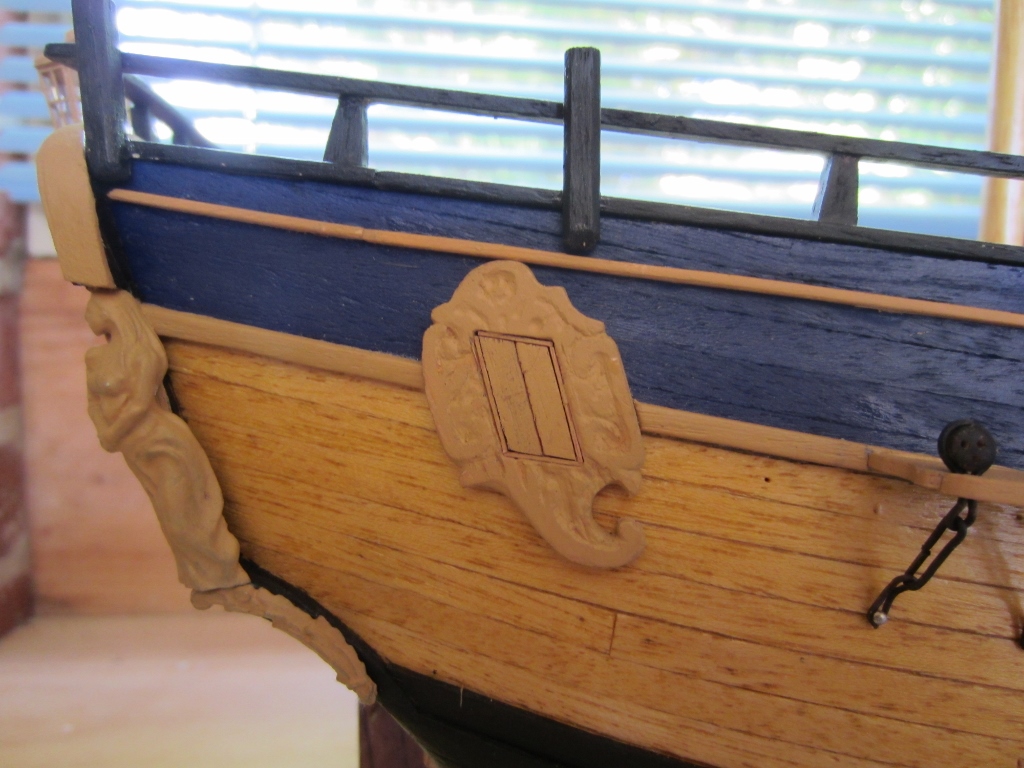
Hi Pat
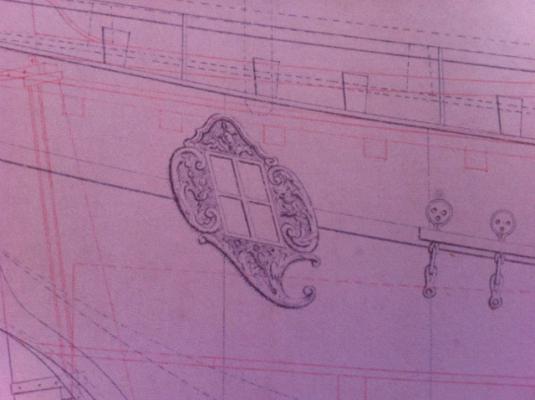
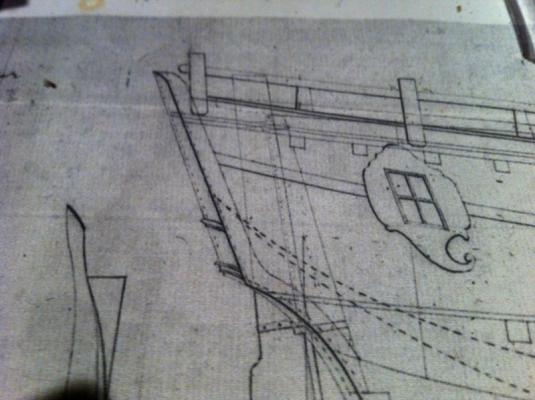
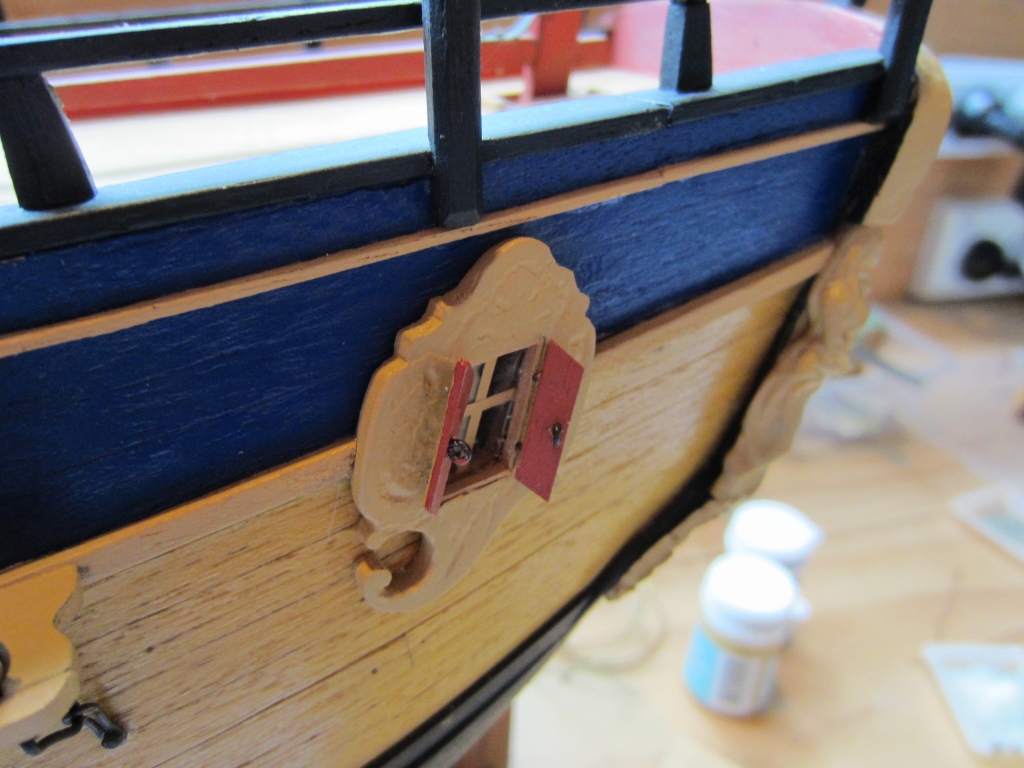
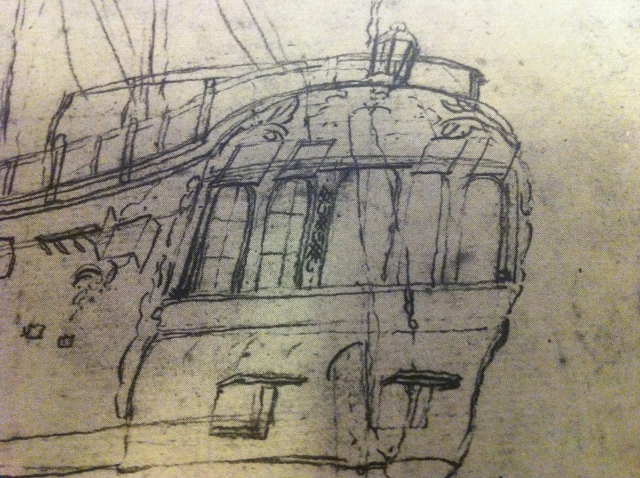
Here are pics of the badge window on the draughts of Earl of Pembroke before conversion to the Endeavour, and later draught showing same shape but less detail. They clearly show that the window was angled upwards, meaning that the shutters would swing open just like Parkinson sketched them. Those badges in the AL kit are wrong, sorry. I turfed mine when I built the AL and made wood ones the correct shape.
Cheers
Steve


-
Hi Dave
Nice work, especially at 1:60.
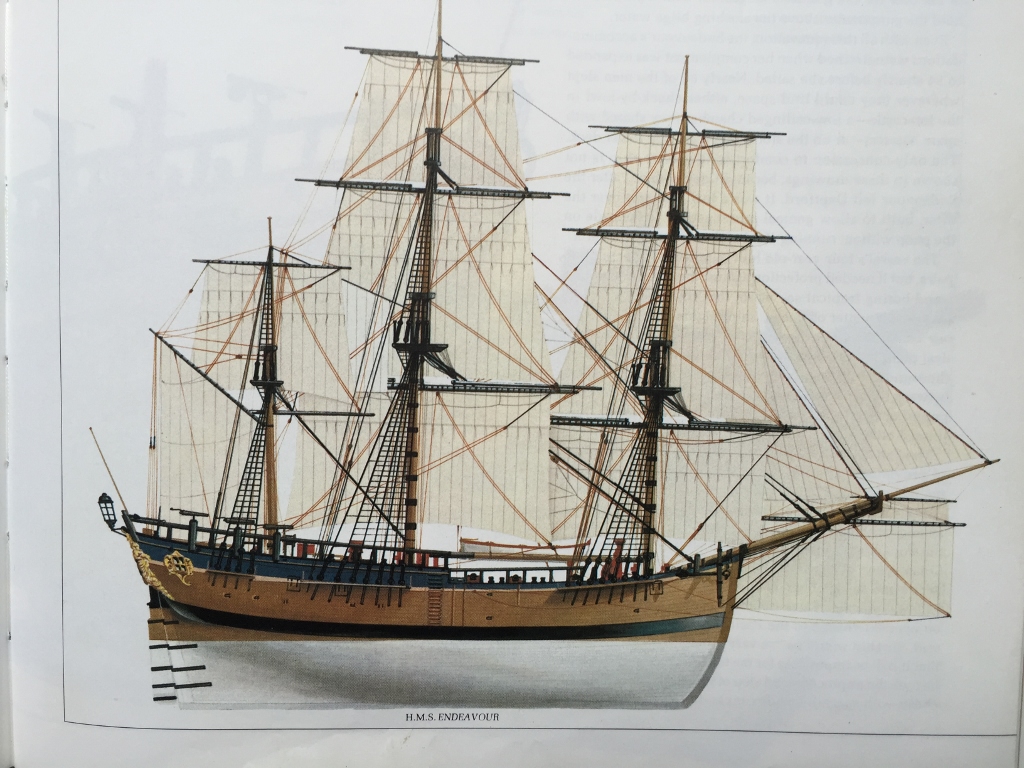
More on the bowsprit: I have a set of books on ships that were published in 1980, well before Marquardt's book and the building of the replica. The books are quite good and obviously written by maritime experts. The Endeavour is depicted in this picture with both the taller mizzen and the longer bowsprit, and it looks like a typical sailing ship.
Cheers
Steve
-
Yes Pat I agree with Greg, if they look pretty right leave them. Yours still look a lot better than the chunky pieces of wood I got with my AL Endeavour. Sorry for posting my pics on your build log, I will delete after you see it.
(But if you do want bigger beads try your local Spotlight store they sell lots of different beads for jewellery making)
- mtaylor, avsjerome2003, DaveRow and 3 others
-
6
-
Hi Pat, looking good
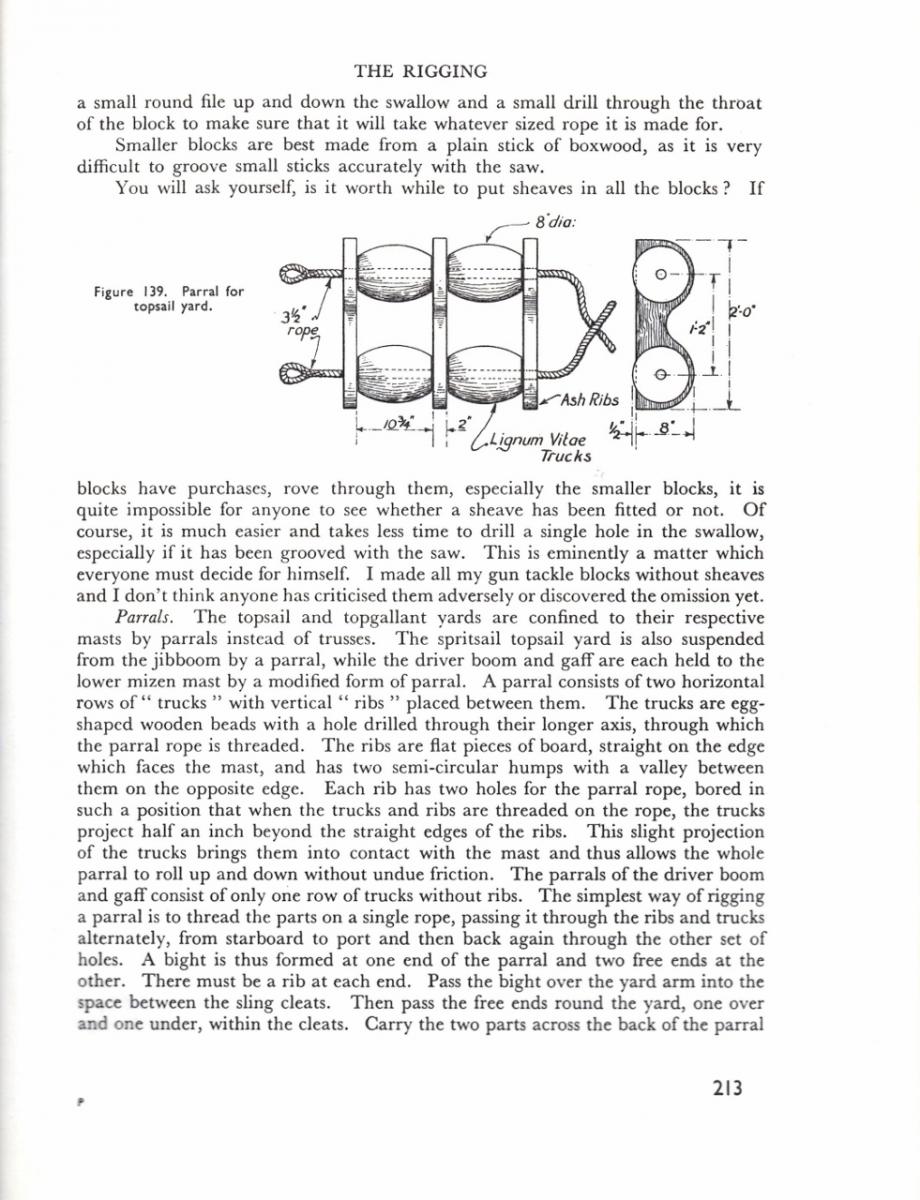
Re the parrals, here is a page from "The Anatomy of Nelson's Ships" describing them in better detail. The drawing in AOTS is very misleading.
Cheers
Steve

- GLakie, mtaylor, thomaslambo and 2 others
-
5
-
Greg
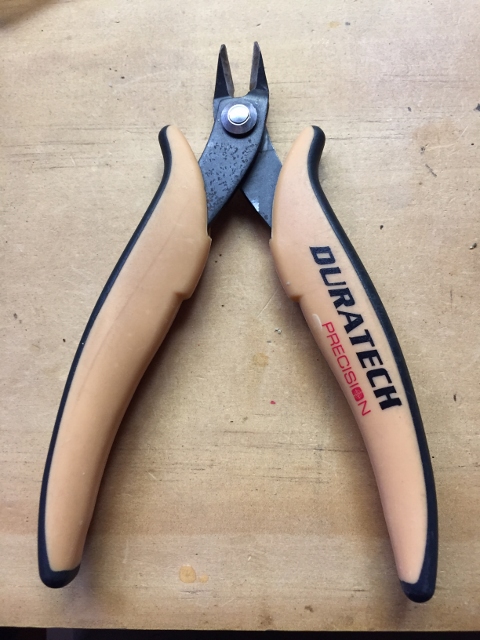
Yes the cutters are great, I got them from Jaycar Electronics, you can buy them onlne from Jaycar if you don't have one closeby
Steve
-
-
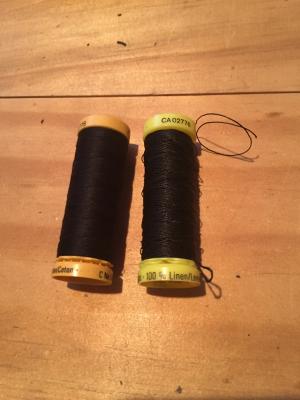
Pat, Mike
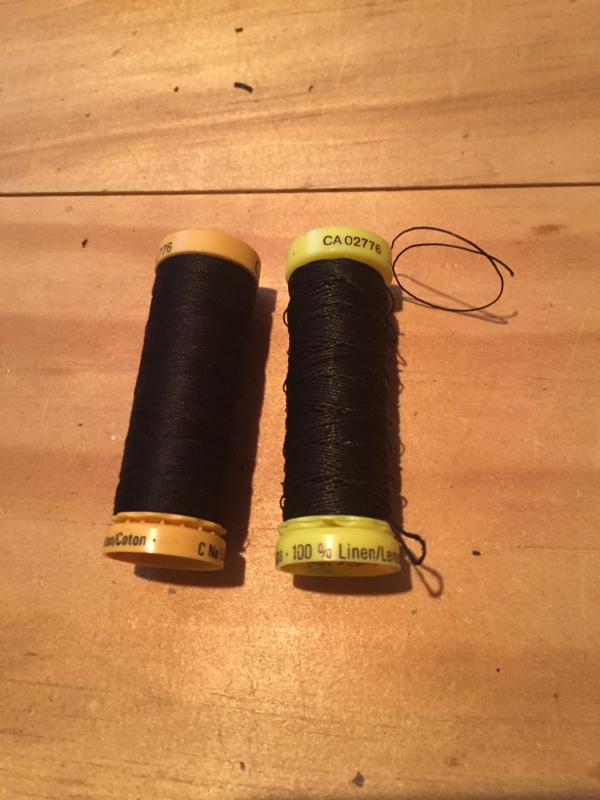
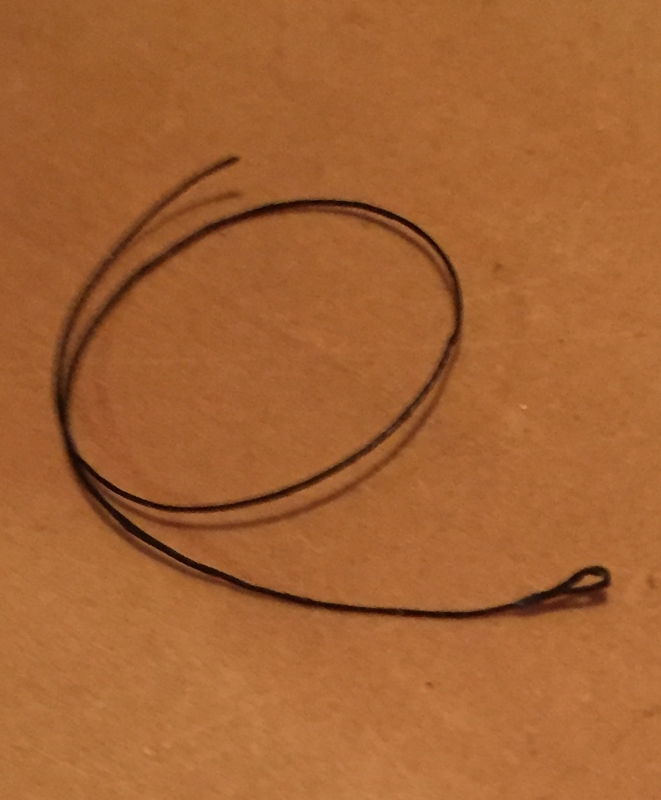
Yeah Nah, thats exactly what I thought too Mike. I have no problem tying the clove hitches, over the years I have become quite adept at tying knots with tweezers. For the ratlines I am using linen thread I got from a sewing shop, its different and thicker than cotton and just the right diameter, it isnt fuzzy and forms nice neat "spliced eyes" by folding it over with a tiny drop of pva glue to hold the end and form an eye. I use the thinner cotton to tie the eye to the shroud and if trimmed close its really neat. I use a precision electronics wire cutter for trimming, brilliant. For all my rigging work and other small stuff I put a small amount of PVA glue into a small tray or stubby lid and use a piece of copper wire to apply a small drop of glue to the article. After a while you form a small mountain of dried glue, when I built my last ship I had a glue mountain about 20 mm high!!
Cheers
Steve
-
Haha thanks Dave, I've been off for two weeks and only got to the ship today.
-
-
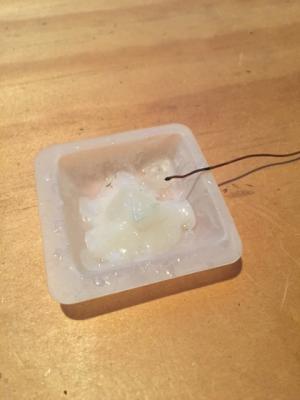
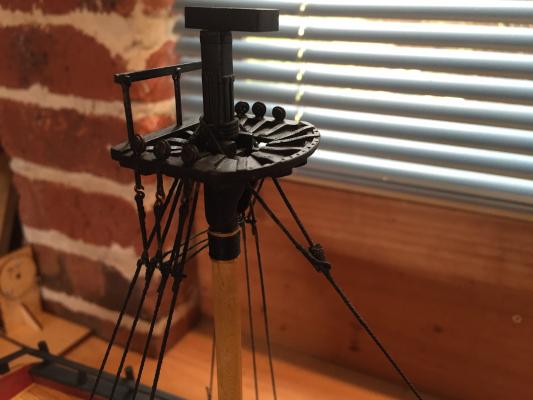
Hi Pat
Here is a pic of the spritsail net on the de-rigged replica, if it helps
Steve

- Altduck, avsjerome2003, joske and 2 others
-
5
-
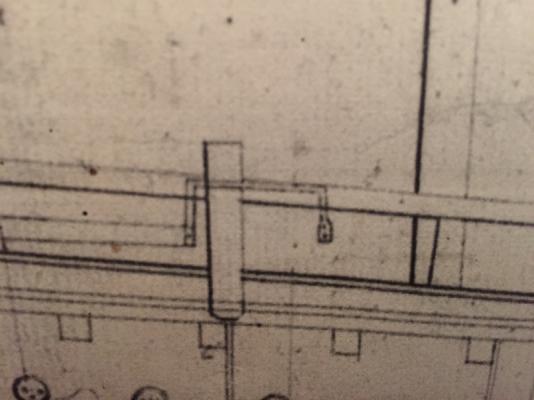
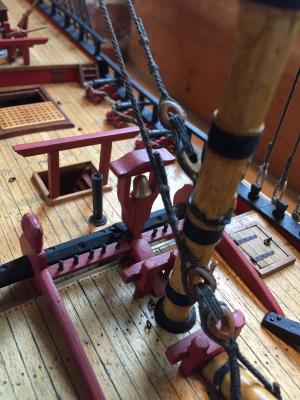
Hi Dave
Re the tiller
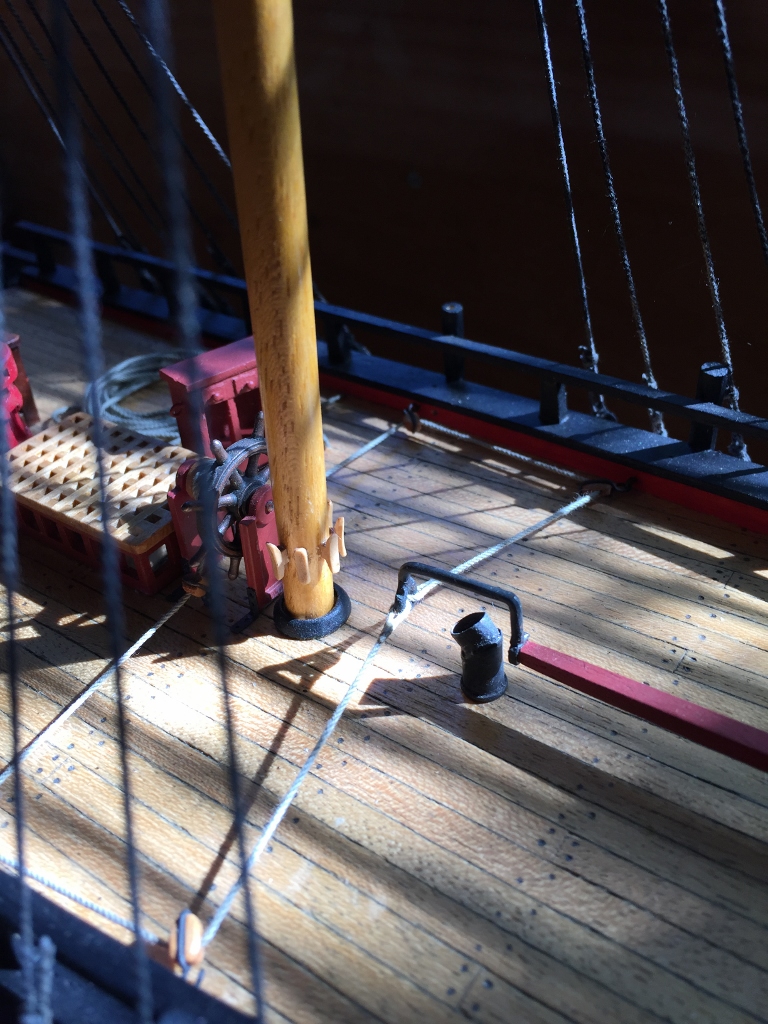
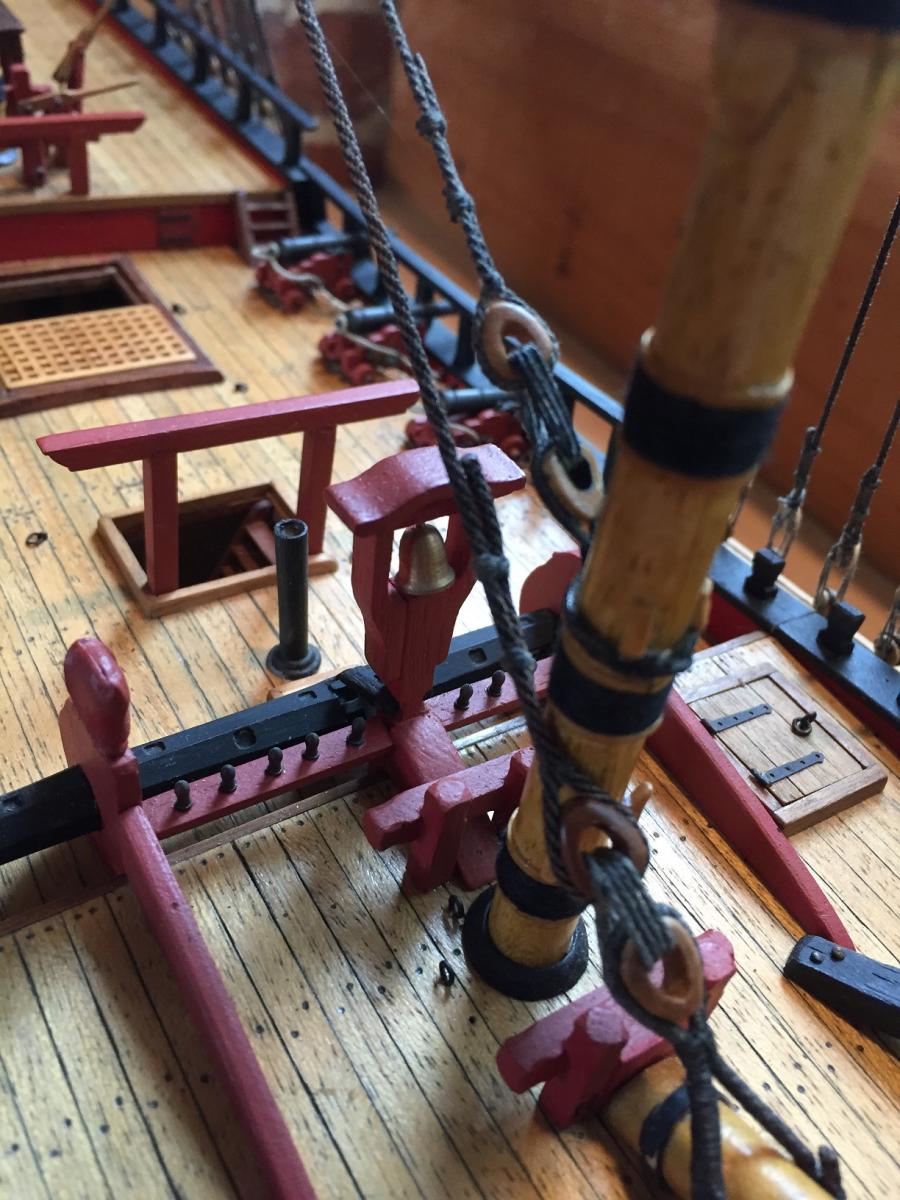
Here is a pic of how I set my tiller up, I didn't fit blocks to the tiller like shown in the AOTS, I set it up like the full size replica. I cannot get my rudder to go hard over but I don't think it would foul with the chimney.
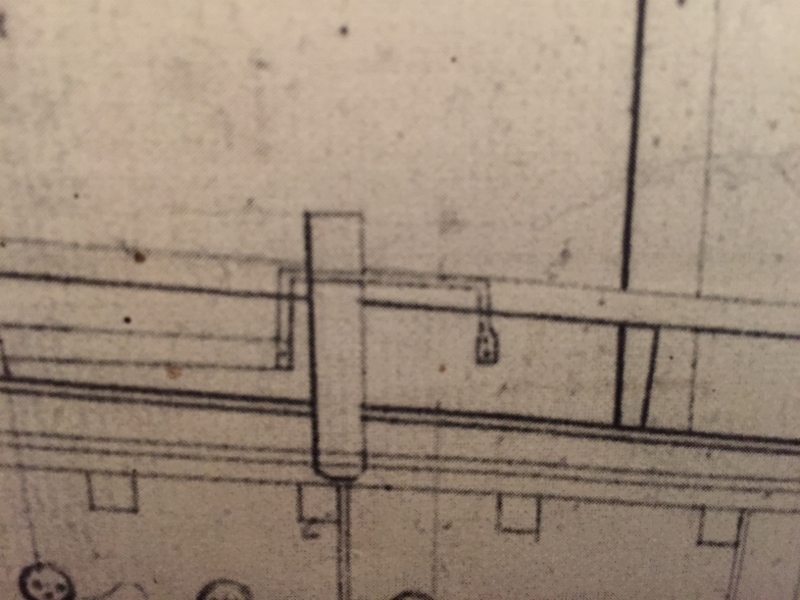
The other pic is from the April 1768 draughts showing the "arch", its also shown on two other draughts so the arch definately exists.
Cheers
Steve

-
I started on the ratlines today

-
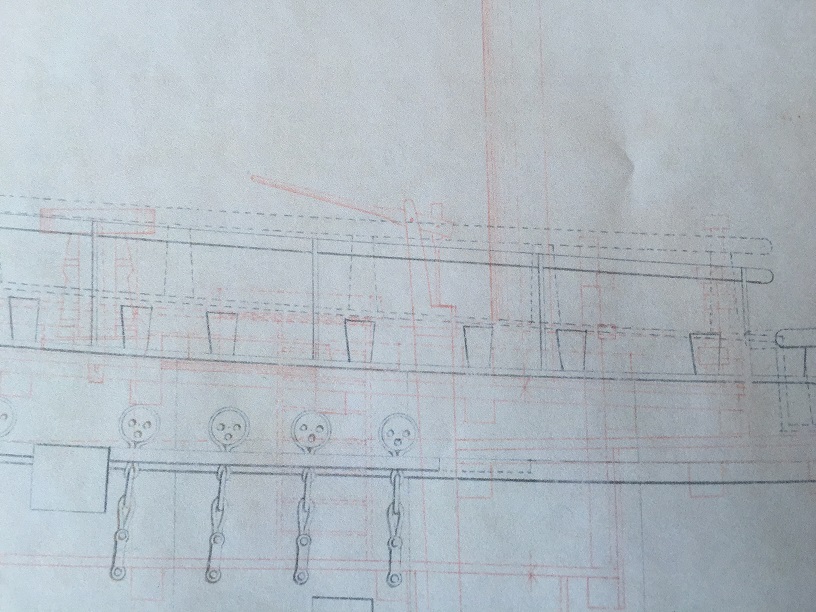
Nice work Dave, I did the same thing two different style pumps for the reason you stated. Actually the original pumps are shown on the draughts done before the refit, and their position is shown on the deck plans. In the photo you can see the pumps on a ship model from the same period as Endeavour, they look similar to the ones on the draughts.

-
Haha yes Paul I did exactly the same thing, when I was a teenager I spent a couple of weeks building a free flight glider. First flight I towed it up like a kite using a fishing line. It got into a thermal and just kept going up up and away, never saw it again despite chasing after it in a car with my dad.
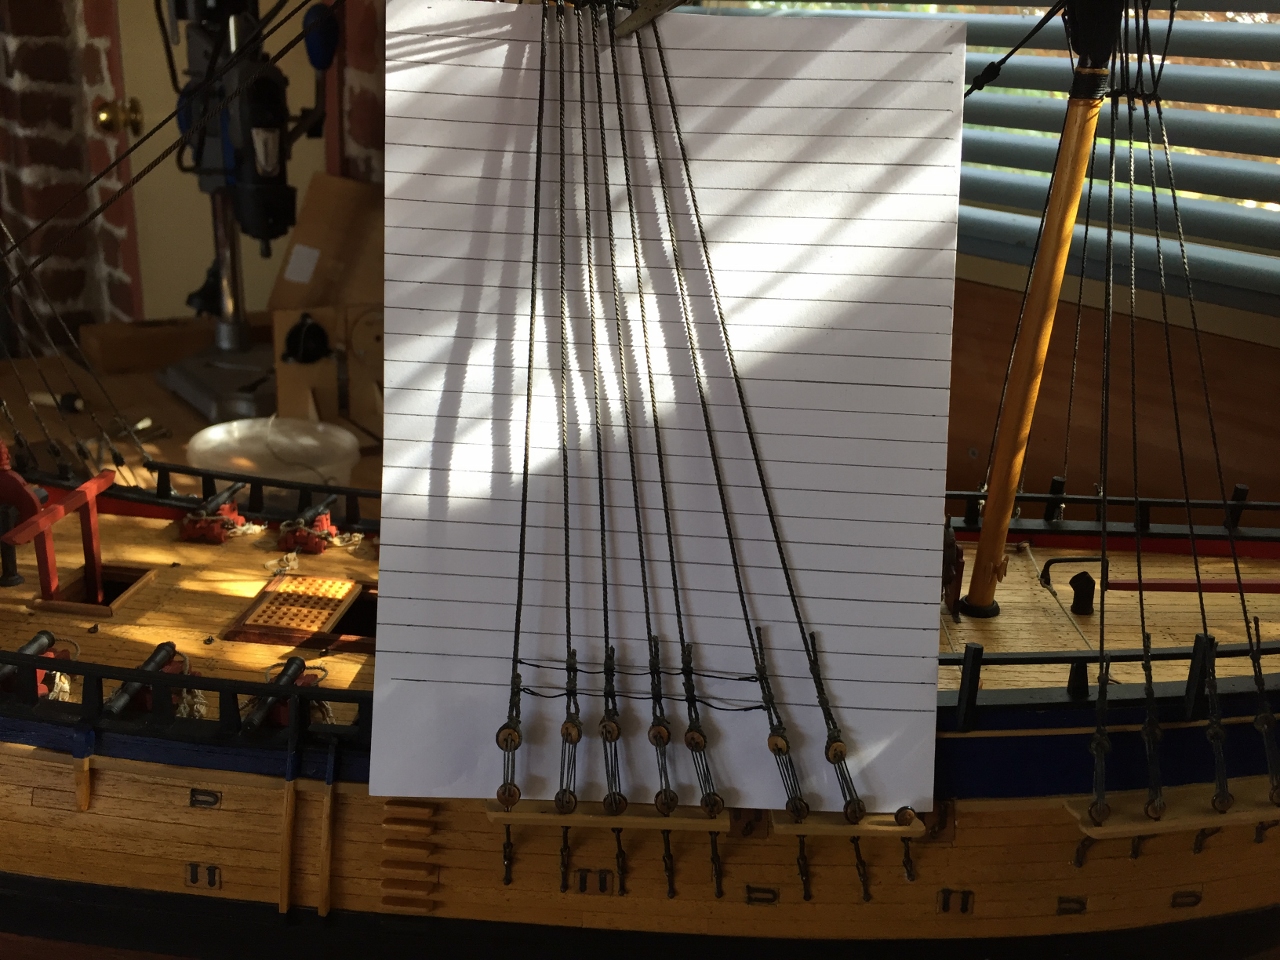
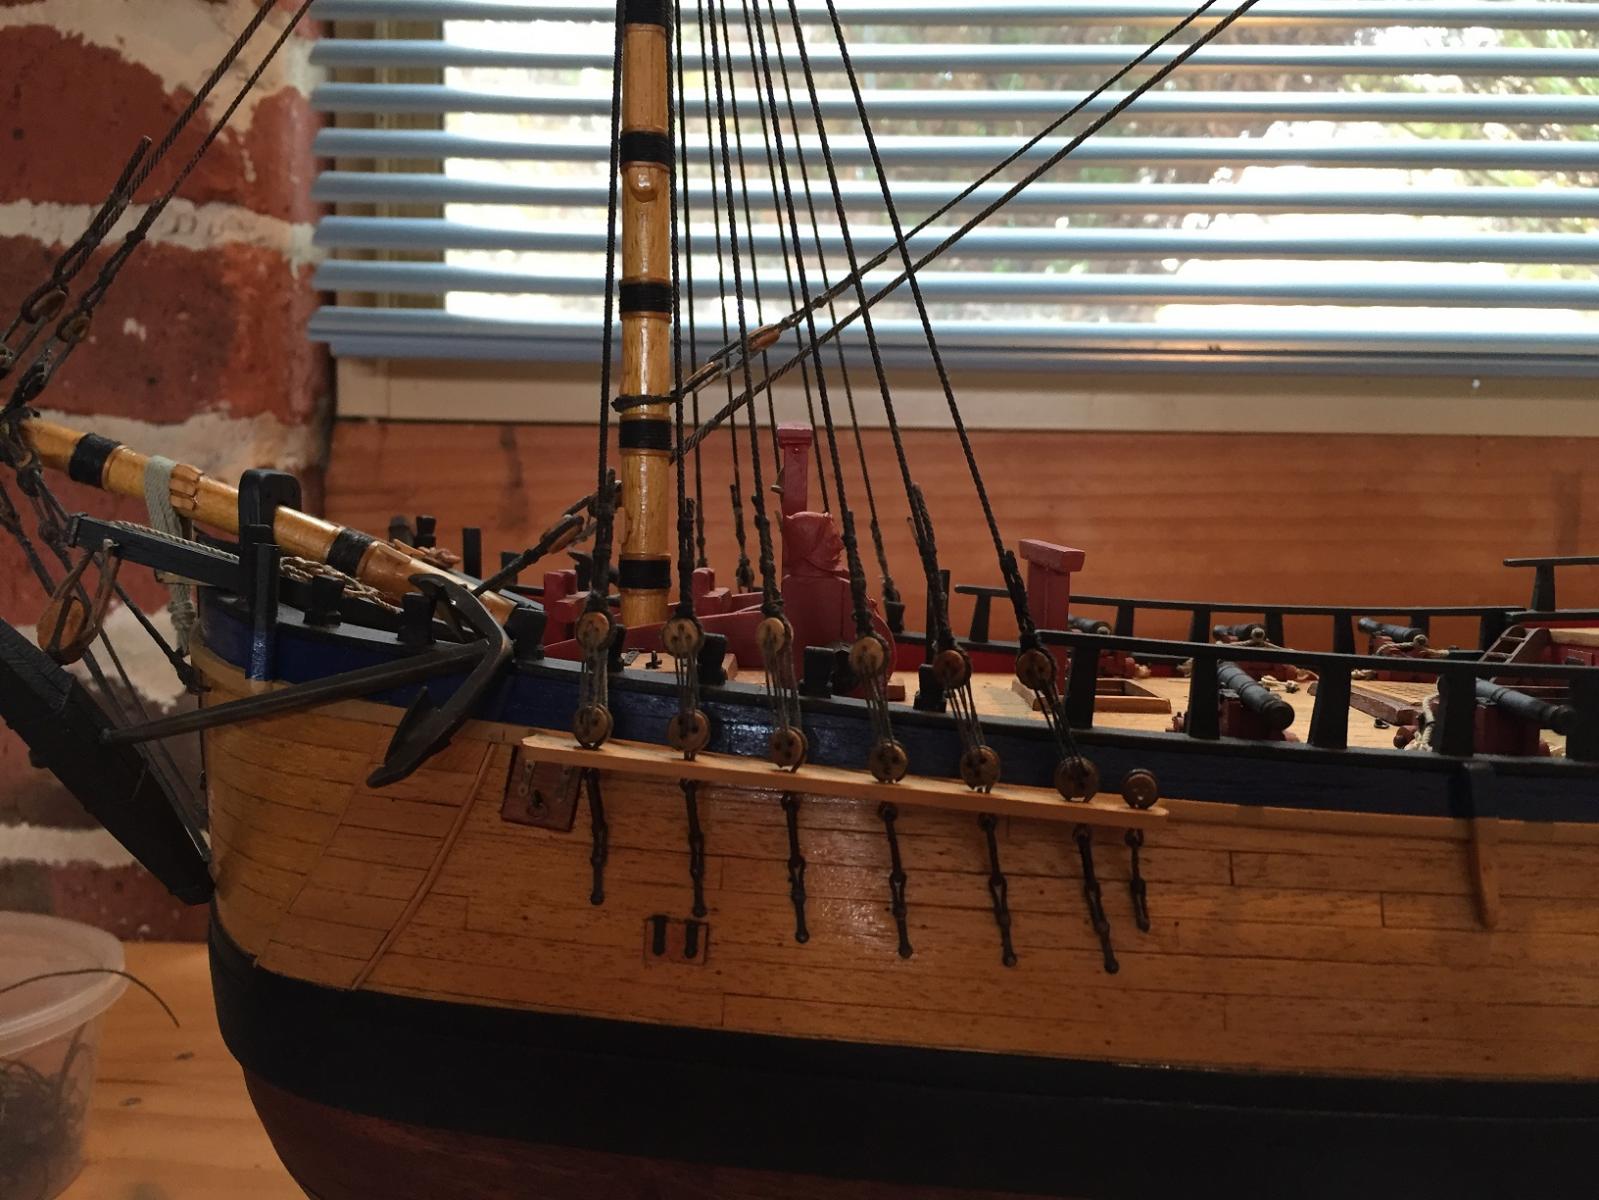
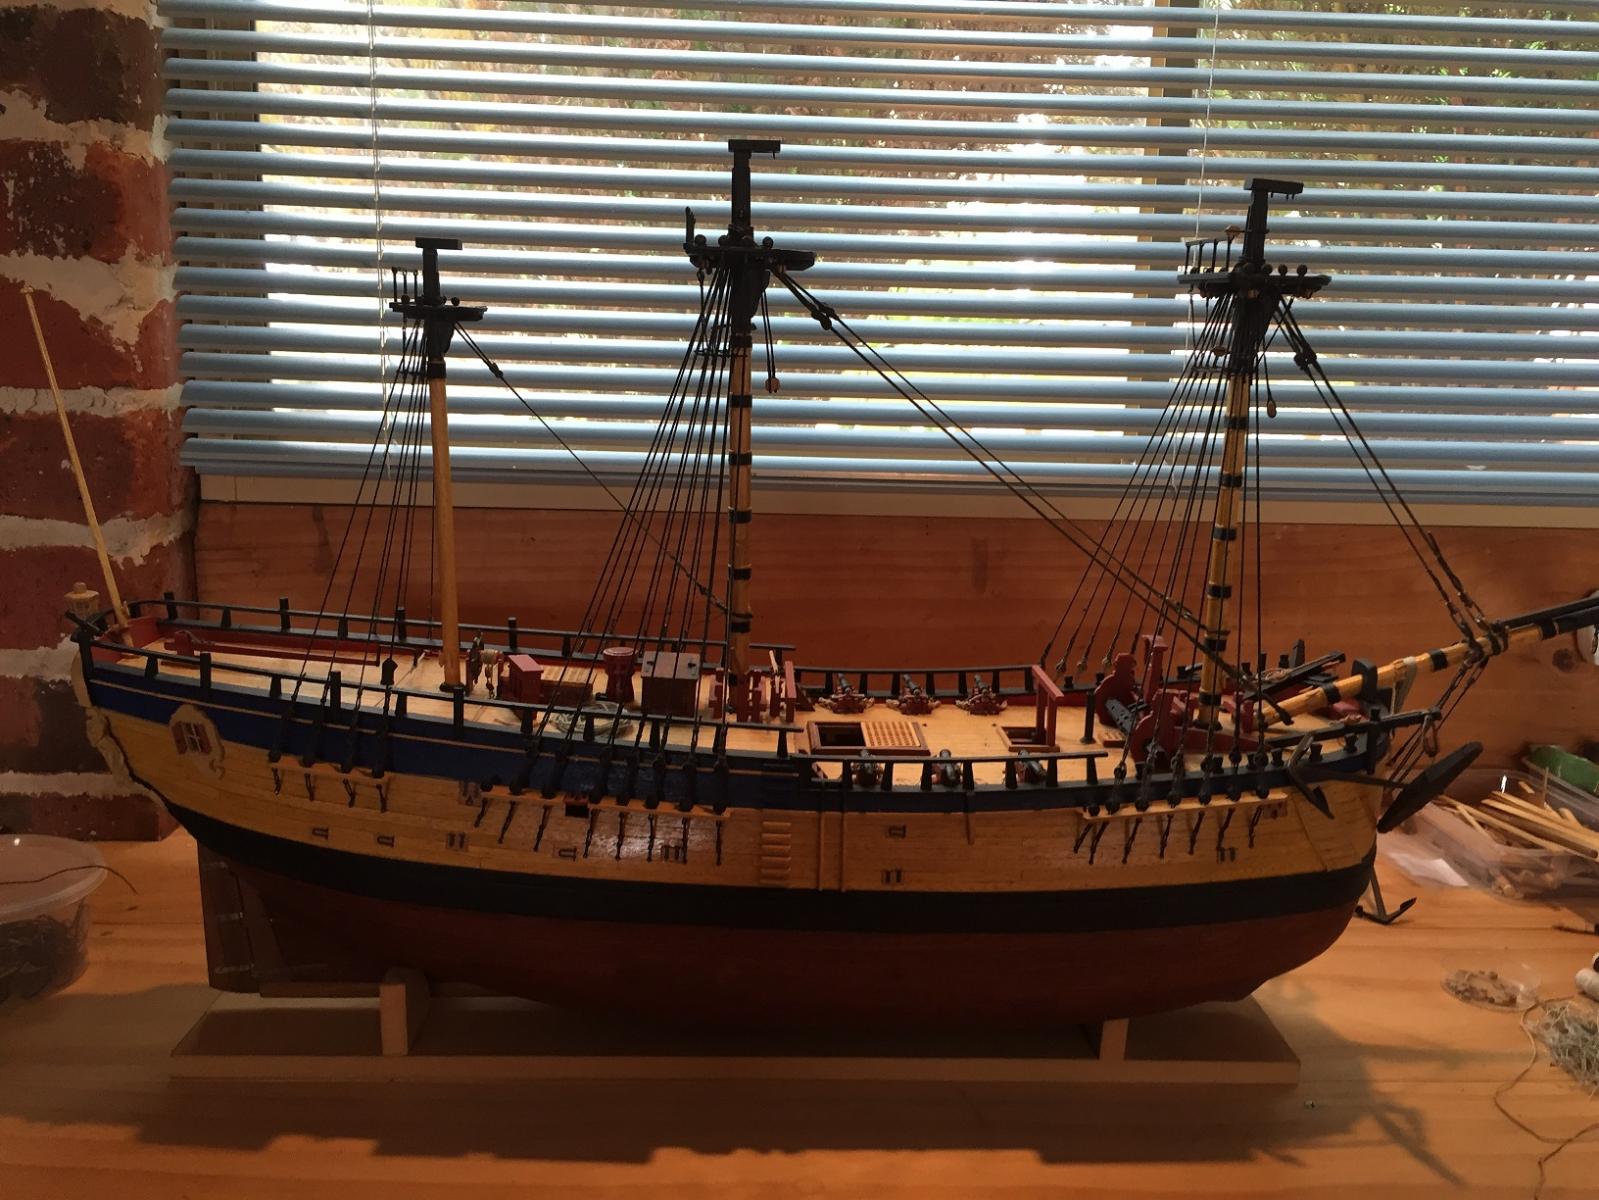
Anyway heres a pic of the ship, ready to fit the ratlines

- rschissler, DaveRow, Captain Slog and 1 other
-
4
-
Yes I did the same thing, spent a week building my first plane went out to fly it and crashed it in about 5 seconds. After a few crashes I got the hang of it, then a couple of years later I stepped up to radio control and same thing, a few crashed planes before I got good at it. It's a hobby that gives you lots of building practice.
-
Hi guys
Sorry my memory failed me, it was a couple of years ago, it wasn't Spakfilla, it was an acrylic filler in a tub that I bought from Bunnings. Similar thing, plaster based
-
Thanks clogger
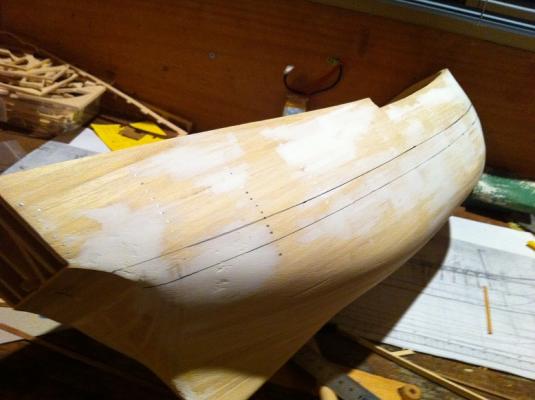
I chose the colour scheme for a couple of reasons. I wanted my Endeavour to look like like an 18th century Admiralty model, hence the fairly light shade of the side planks and no white bottom. I also studied lots of old paintings of ships of this period in the 18th century. Marquardt In the AOTS book states that the bottom was covered in "brown stuff" not painted with white lead, so in that respect painting the bottom of the hull would be wrong anyway.
A lot of Endeavour builders try to make them look like the full size replica vessel, but I am not. Its the builder's choice.
For filler on the first planks I used spakfilla, I sanded the first planks fairly agressively (thats what theyre for) so I only needed to use filler where there were depressions. See pics below.
Cheers
Steve

-
Thanks Mike
I wondered why you hadn't posted in a while. I used to make those plastic aeroplane models, and ships, even rockets and a lunar module when I was a kid, yeah the painting is the hardest part. That led me into the flying planes, building balsa wood planes and crashing them a lot. Then I built a couple of larger plastic ship models, the Revell USS Consitution, and the Revell Cutty Sark. I still have the Constitution. My mum still has the small scale plastic ships I built as a kid on her wall unit -theres a Mayflower, Bounty, Constitution and Victory.
Cheers
Steve
-
Its been a few weeks since I did anything, but I managed to get a few hours in this weekend. Finished doing the mizzen catharpins and futtock shrouds then I blackened the rest of the shrouds. I used flat black enamel diluted with turpentine to make it wick through the rope better and not be too black so it looks nore like real tarred rope


-
-
Hi Chris
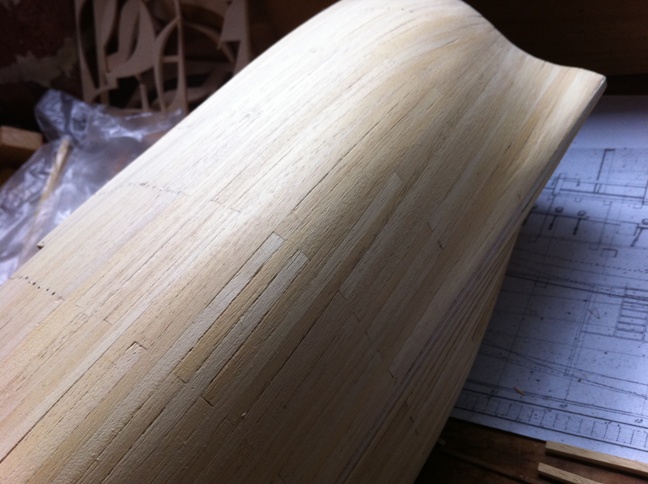
As Paul said the Endeavour is a hard hull to plank because of the boxy shape. If you look at my build log on page 1 and 3 you will see that I needed to use a lot of stealers and tapered planks. The top layer planks are thin so they don't like curving laterally, therefore I just let them lay how they best could on the darker lower planks.
For the sides above the main wale I wanted to simulate the upwards curve of planks on a real ship and it was a real task, when you try to curve them laterally they want to kink and buckle and it's hard to keep them flat against the hull until the glue sets. I had to use lots of clamps to keep the planks from buckling, fitting one plank at a time then waiting for the glue to set.
Cheers
Steve
-
-


HMB Endeavour by shipaholic - FINISHED - Eaglemoss - 1/51
in - Kit build logs for subjects built from 1751 - 1800
Posted
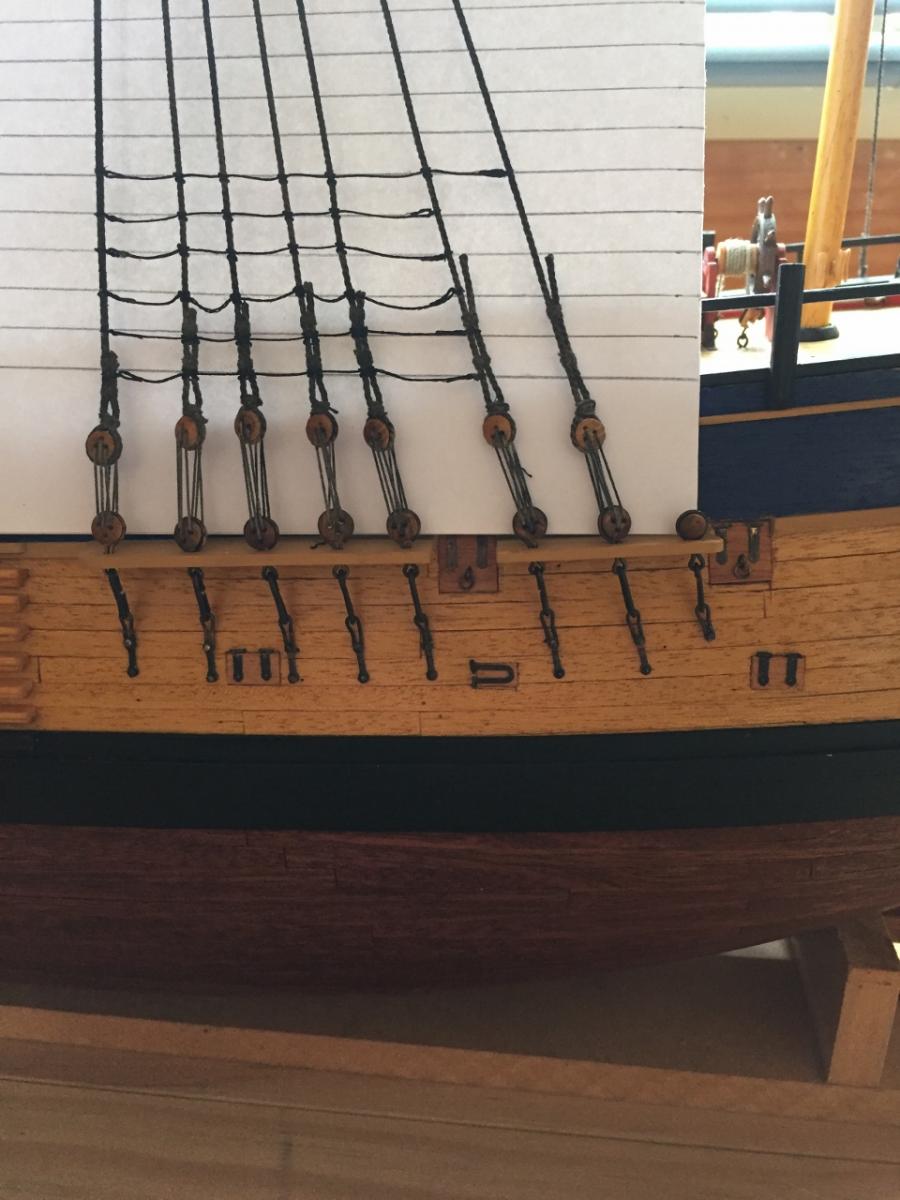
After my yeah/nah debate with myself a few weeks ago I have now decided nah.
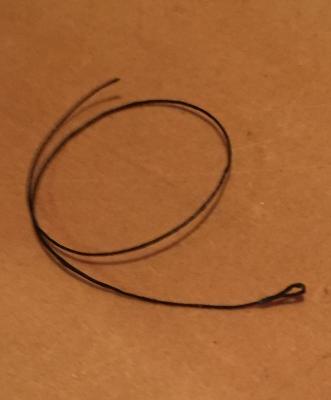
I did quite a few ratlines with simulated splices and tying them to the fore and aft shrouds. The main problem was the linen thread I was using refused to stay tightly clove hitched around the shrouds, hence the whole thing looked untidy.
I switched to slightly thinner cotton thread and decided to just clove hitch on the fore and aft shrouds.