Stuntflyer
-
Posts
1,198 -
Joined
-
Last visited
Content Type
Profiles
Forums
Gallery
Events
Everything posted by Stuntflyer
-
 Sorry, I’m trying to figure out who Chris is. Mike
 -
Mike, will you be doing a build log on the Winnie? Mike
-
Nice work, Dusan
-
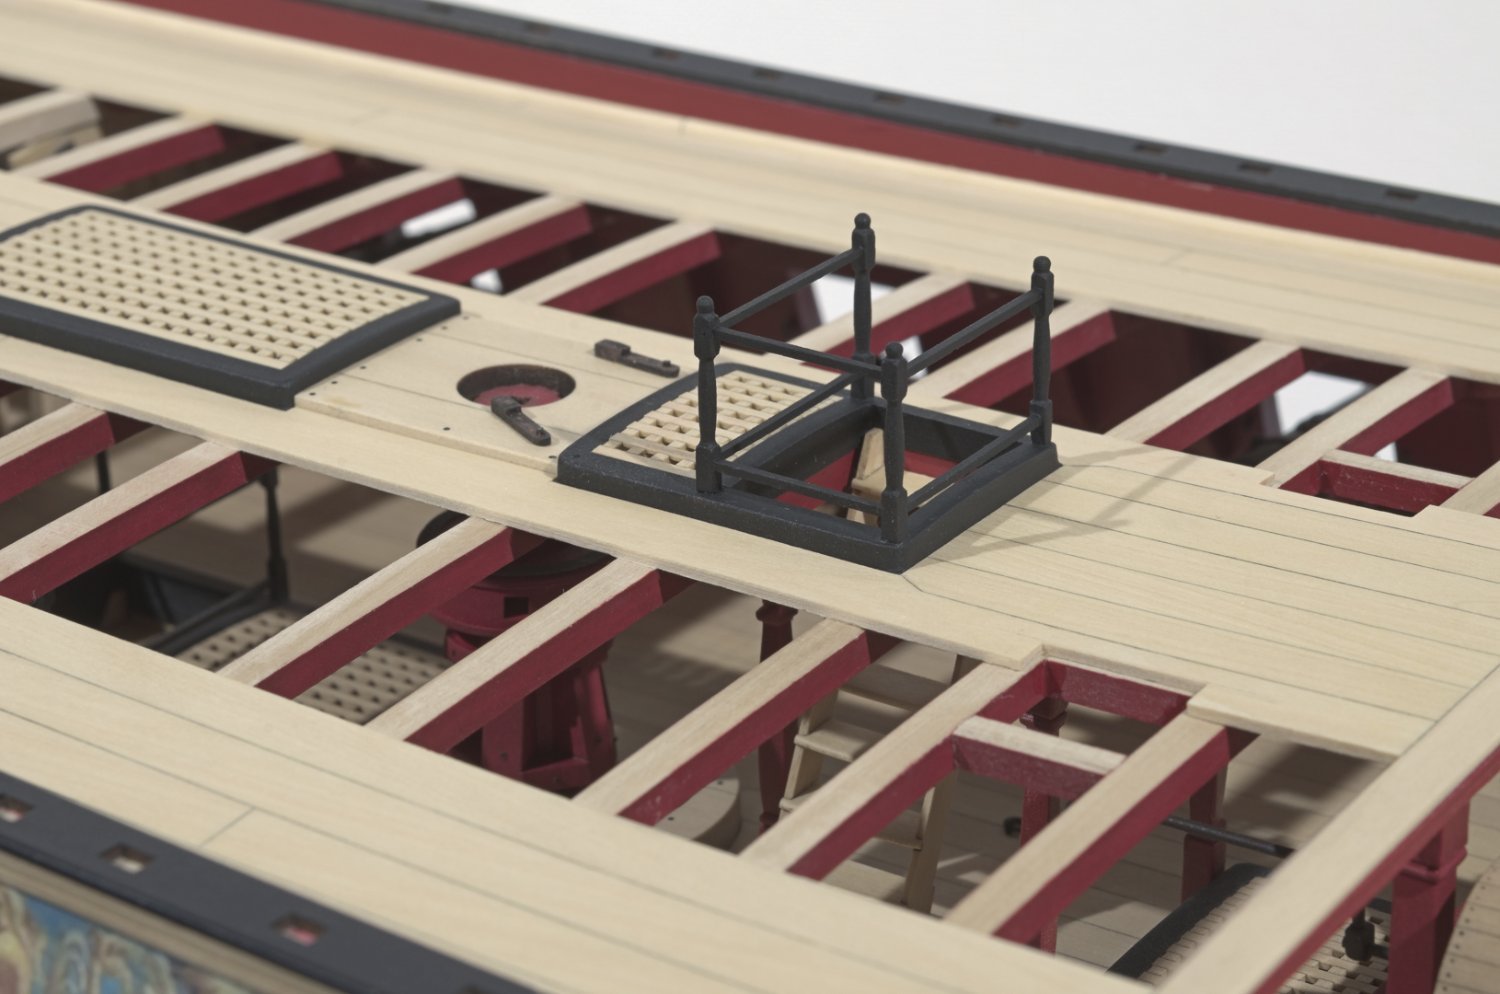
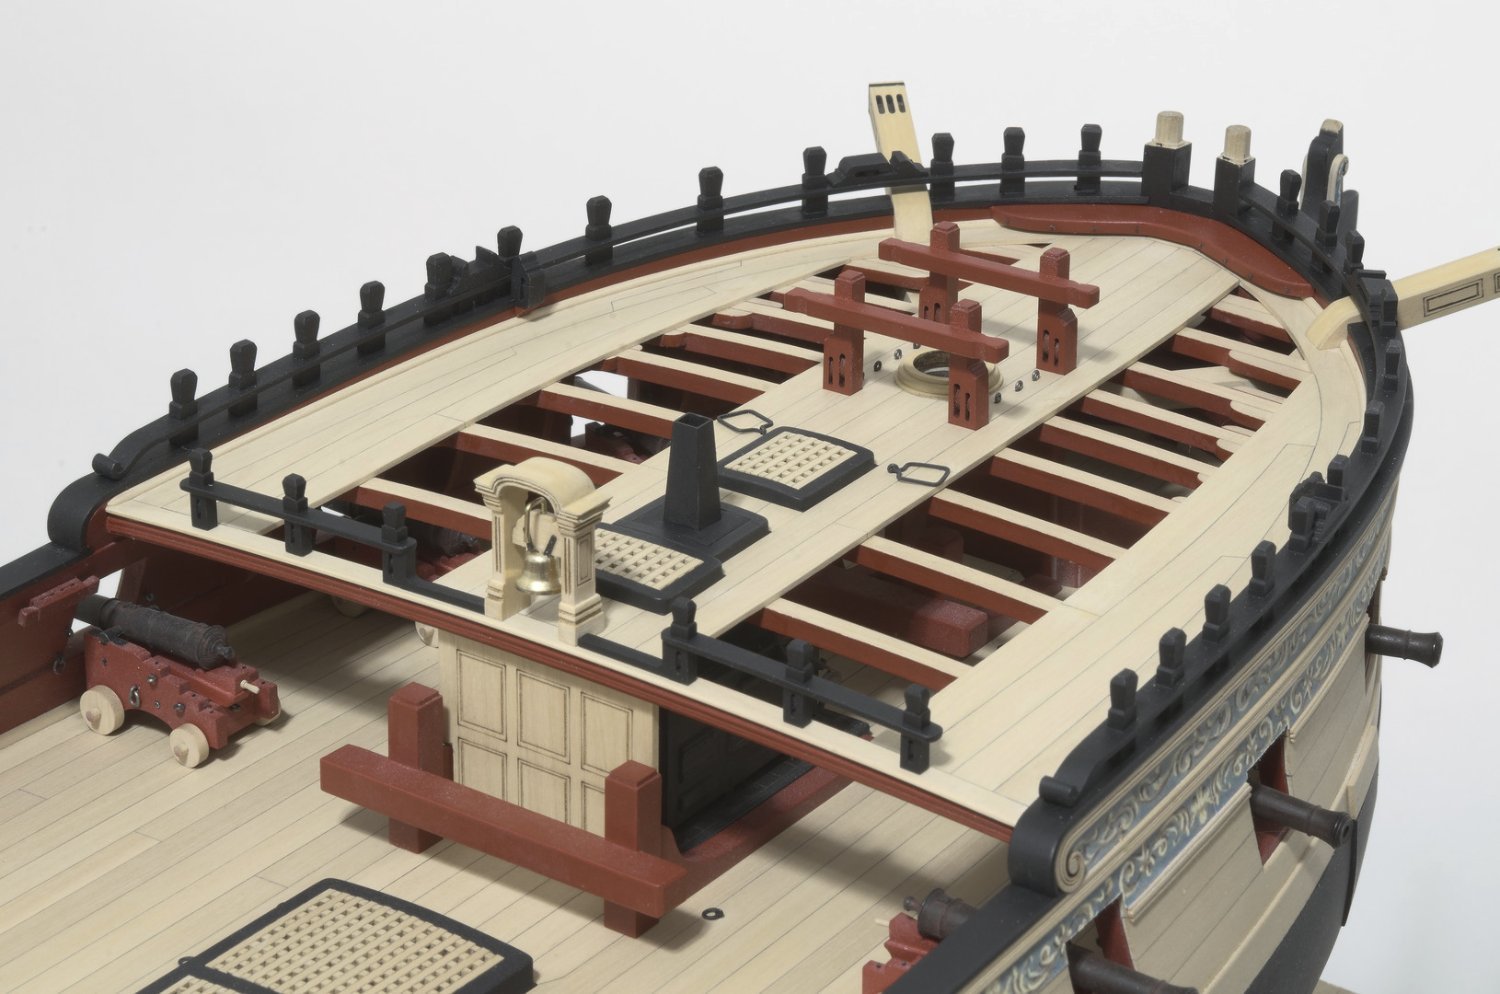
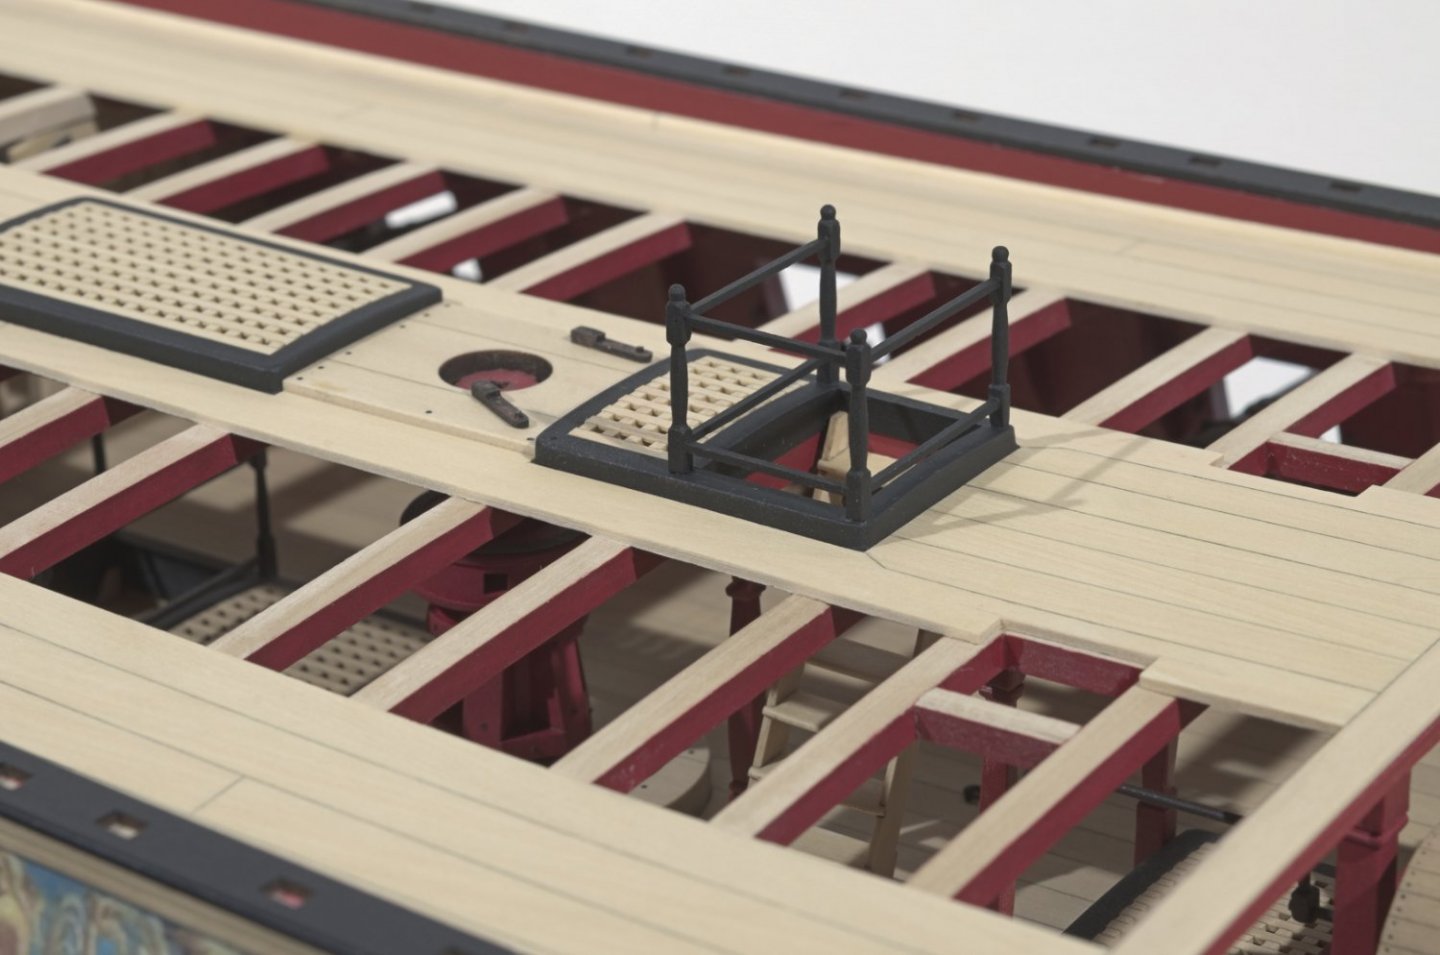
I finally managed to get the companionway on the ship. The uprights were pinned with 24 gauge wire to the coaming. The four long rails were pinned to the uprights by turning a tiny round end into the rails with the Dremel. Holes were drilled equidistant into the uprights to accept the rail pins. Mike
- 607 replies
-
- 21
-

-

-
- winchelsea
- Syren Ship Model Company
- (and 1 more)
-
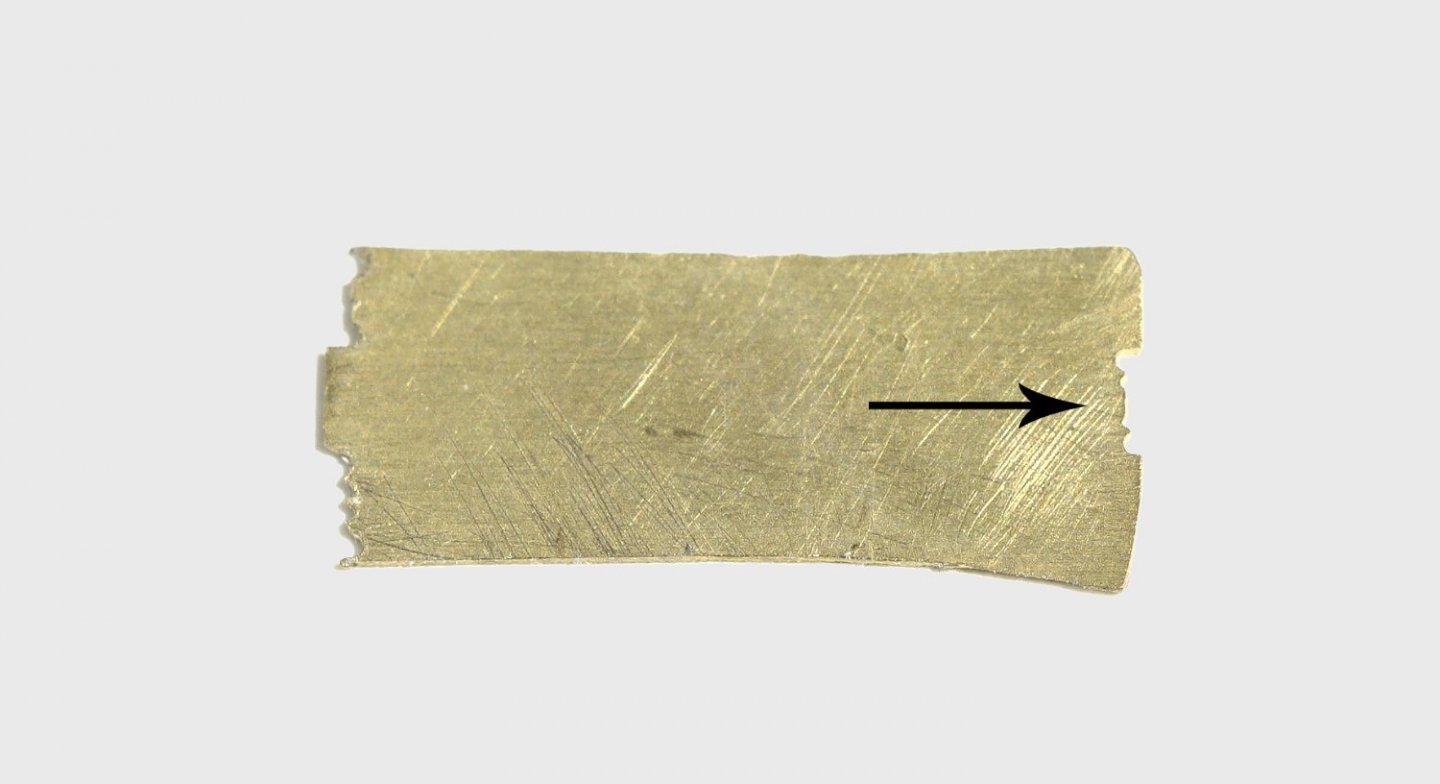
Thank you! As you push the sticks underneath the 1/64” brass sheet, the pressure created by lifting the sheet against the hold down screws is enough to keep the sticks in place. Use a stick that's anywhere from 3/16" to 3/8" thick. Mike
- 607 replies
-
- 2
-

-
-
- winchelsea
- Syren Ship Model Company
- (and 1 more)
-
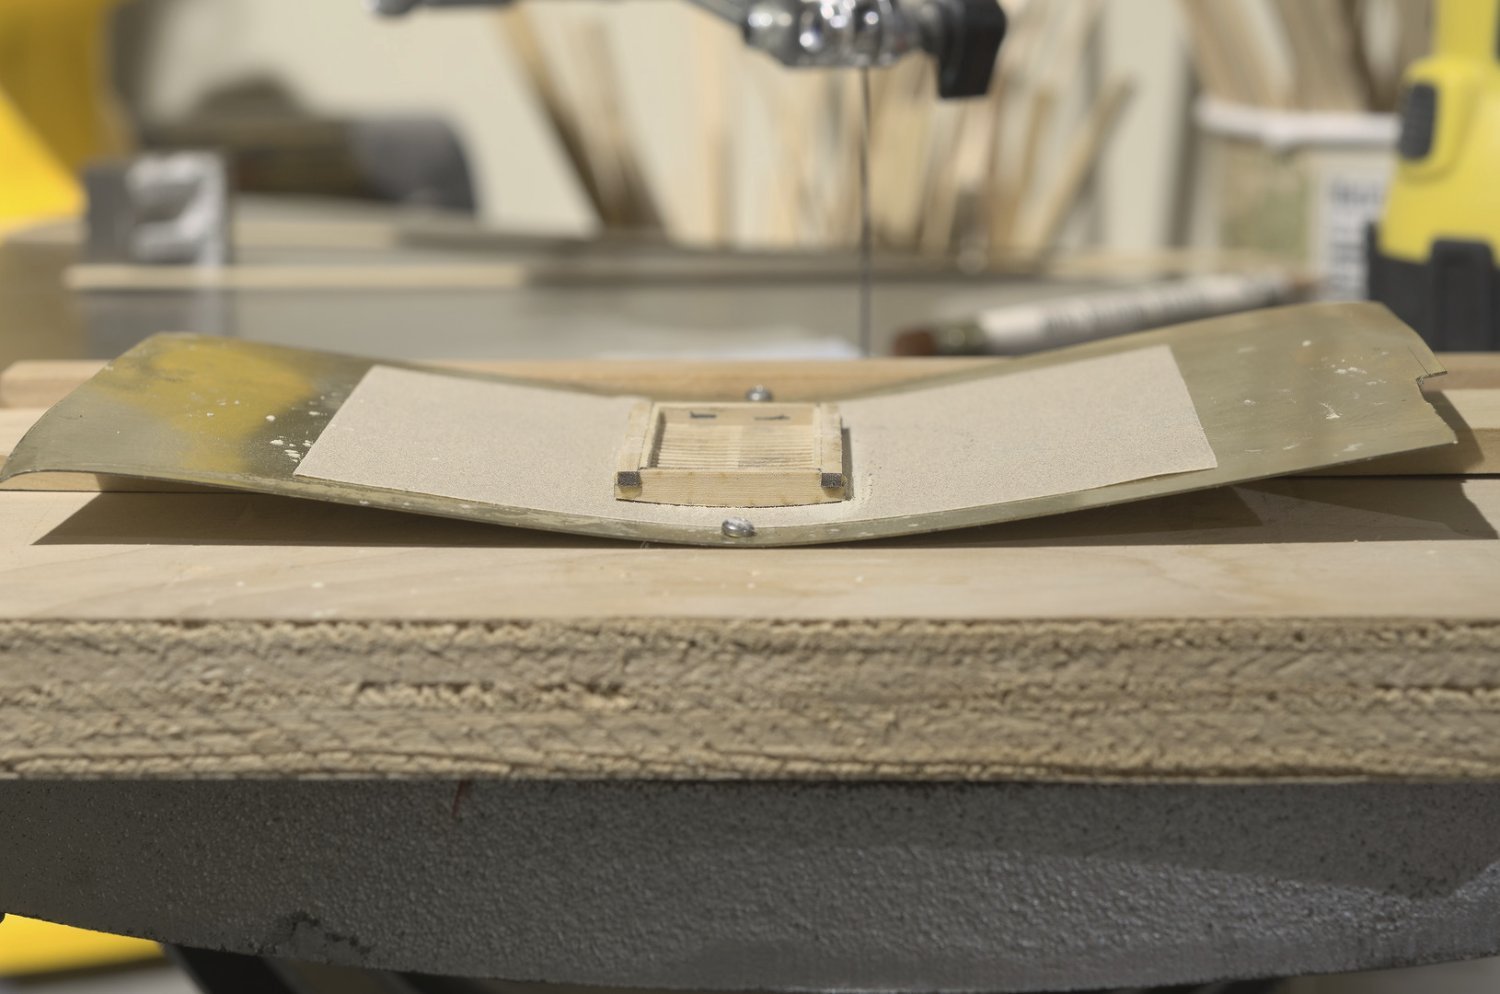
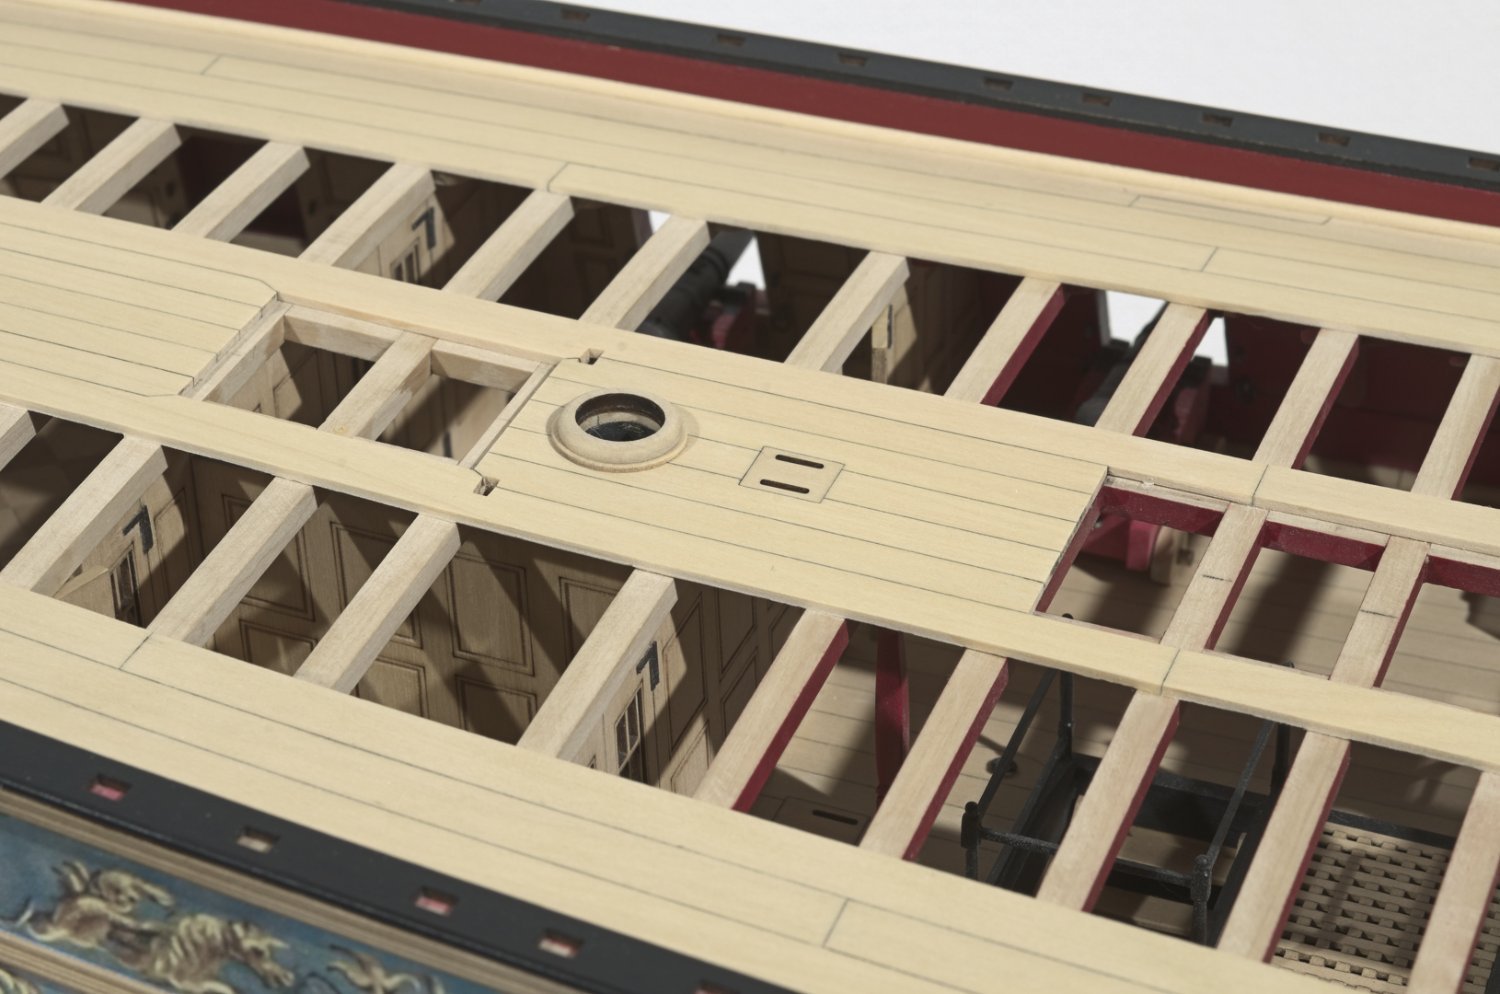
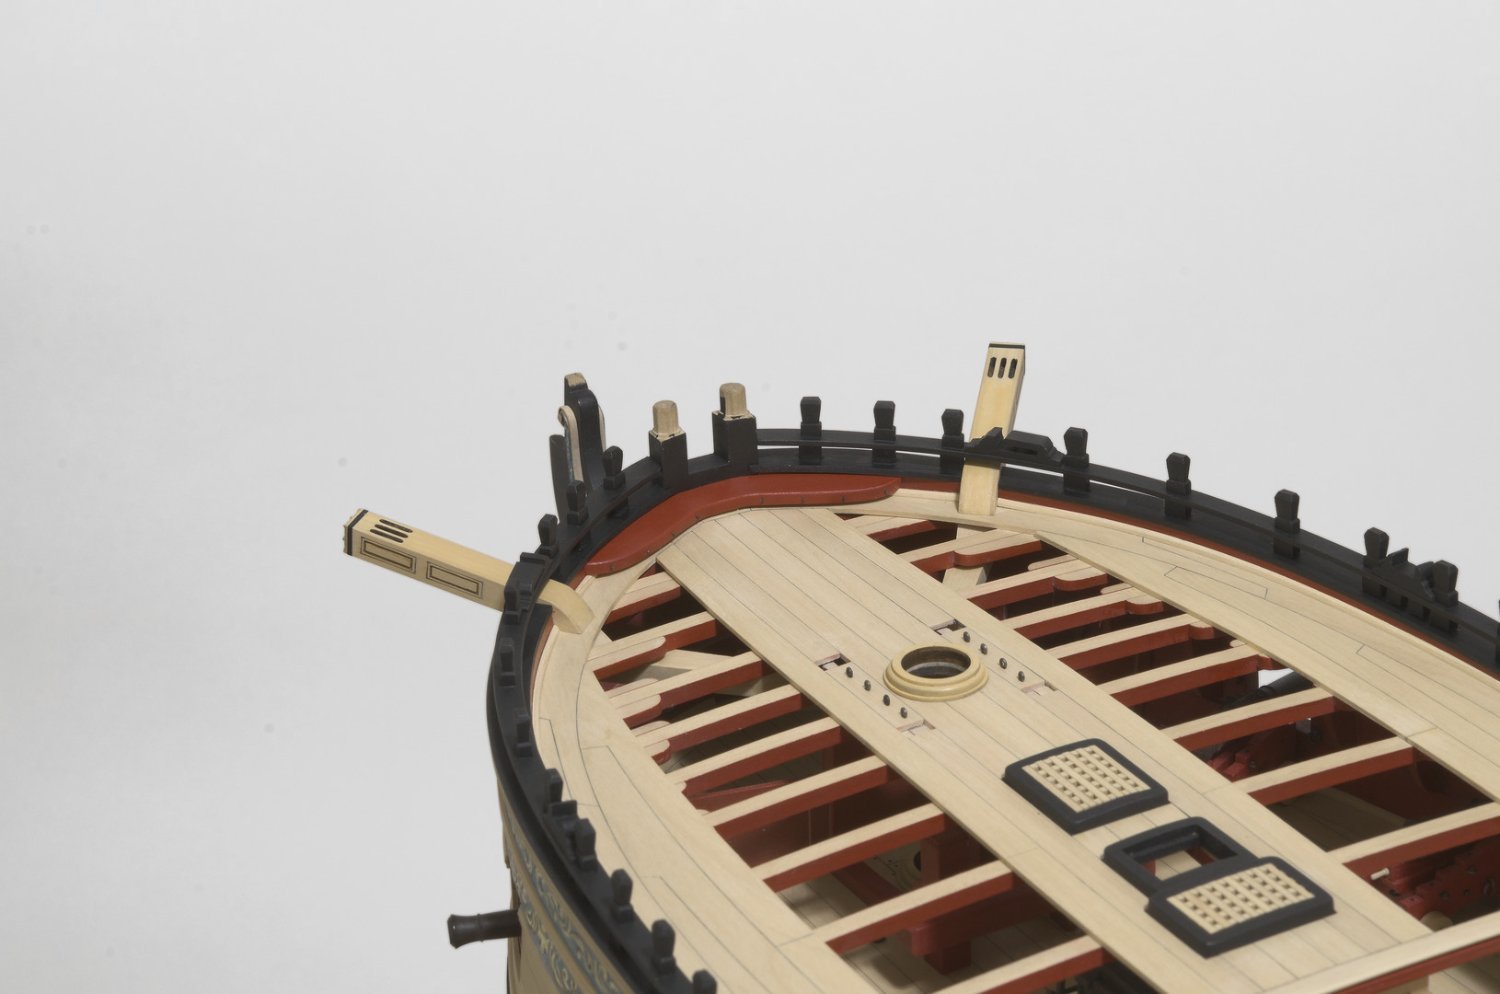
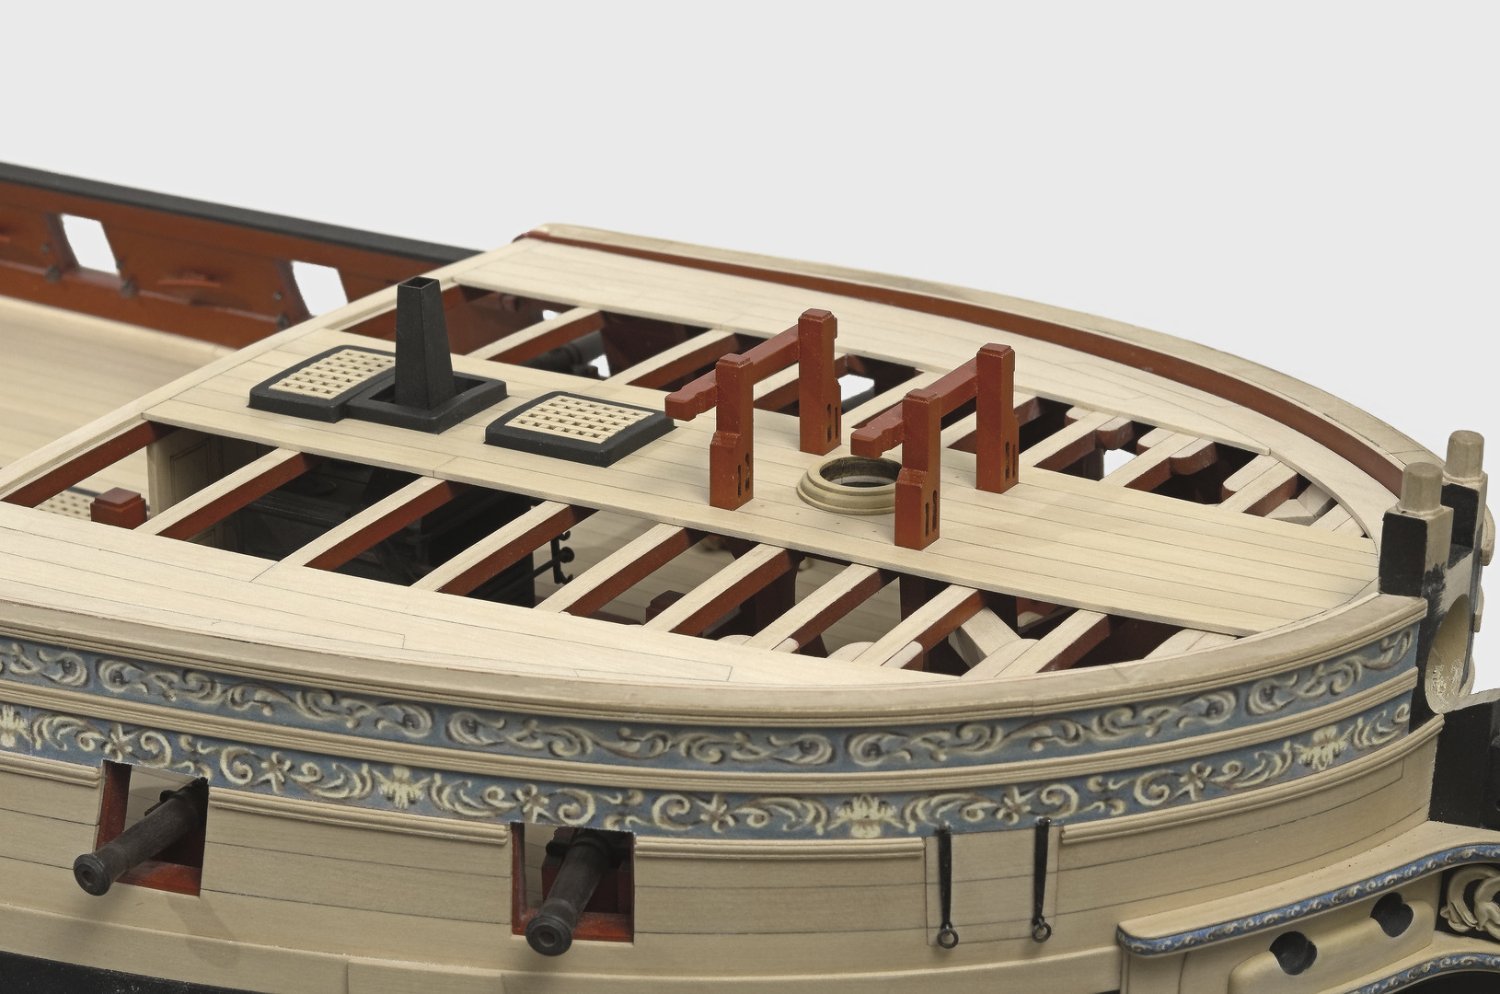
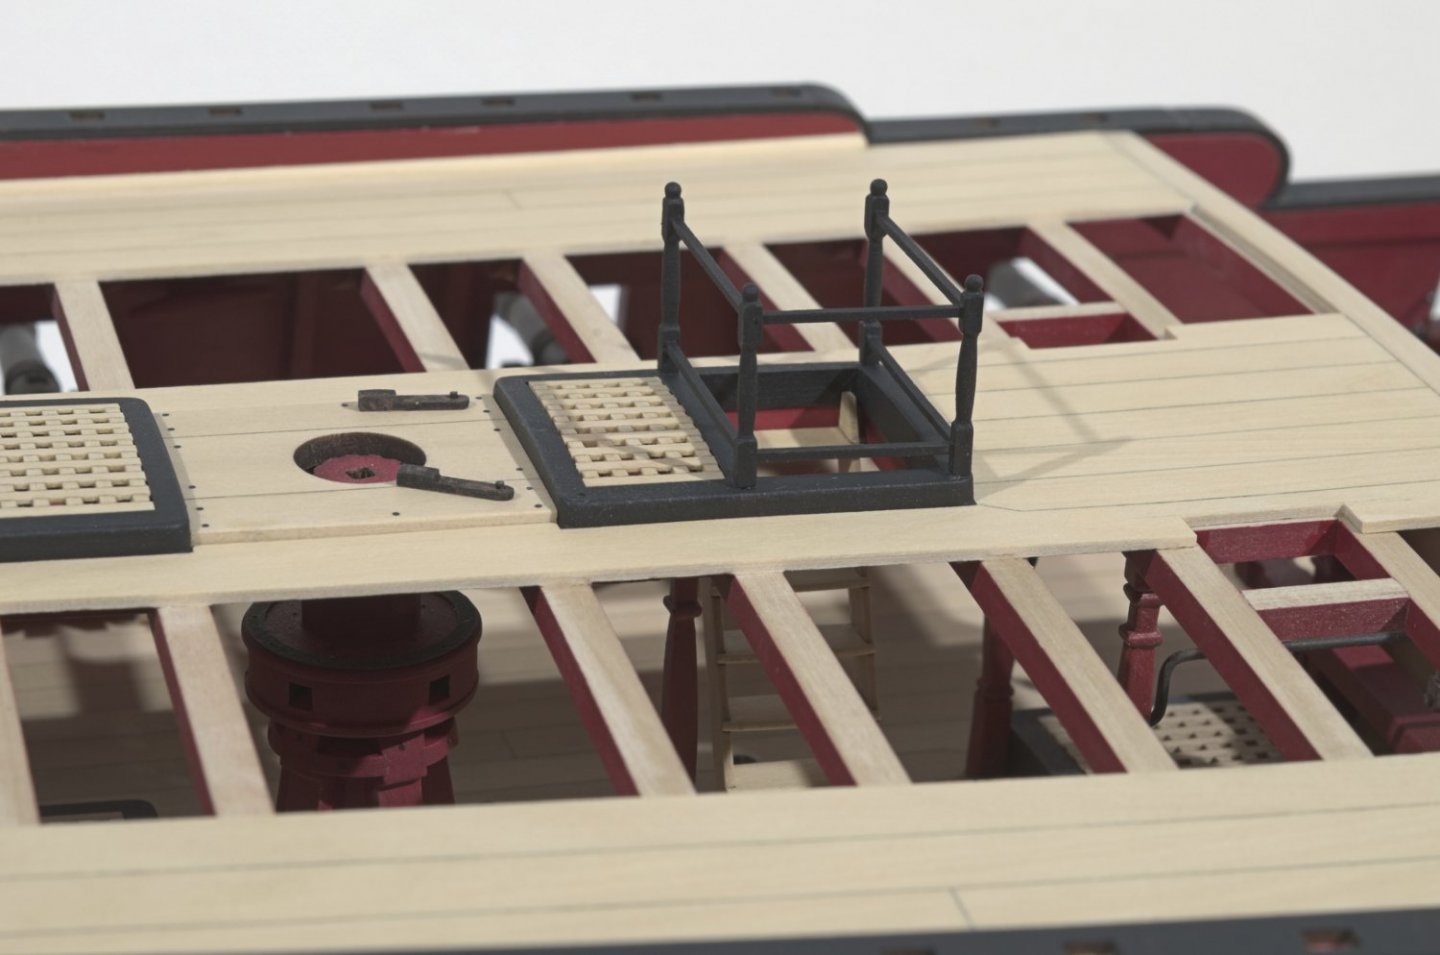
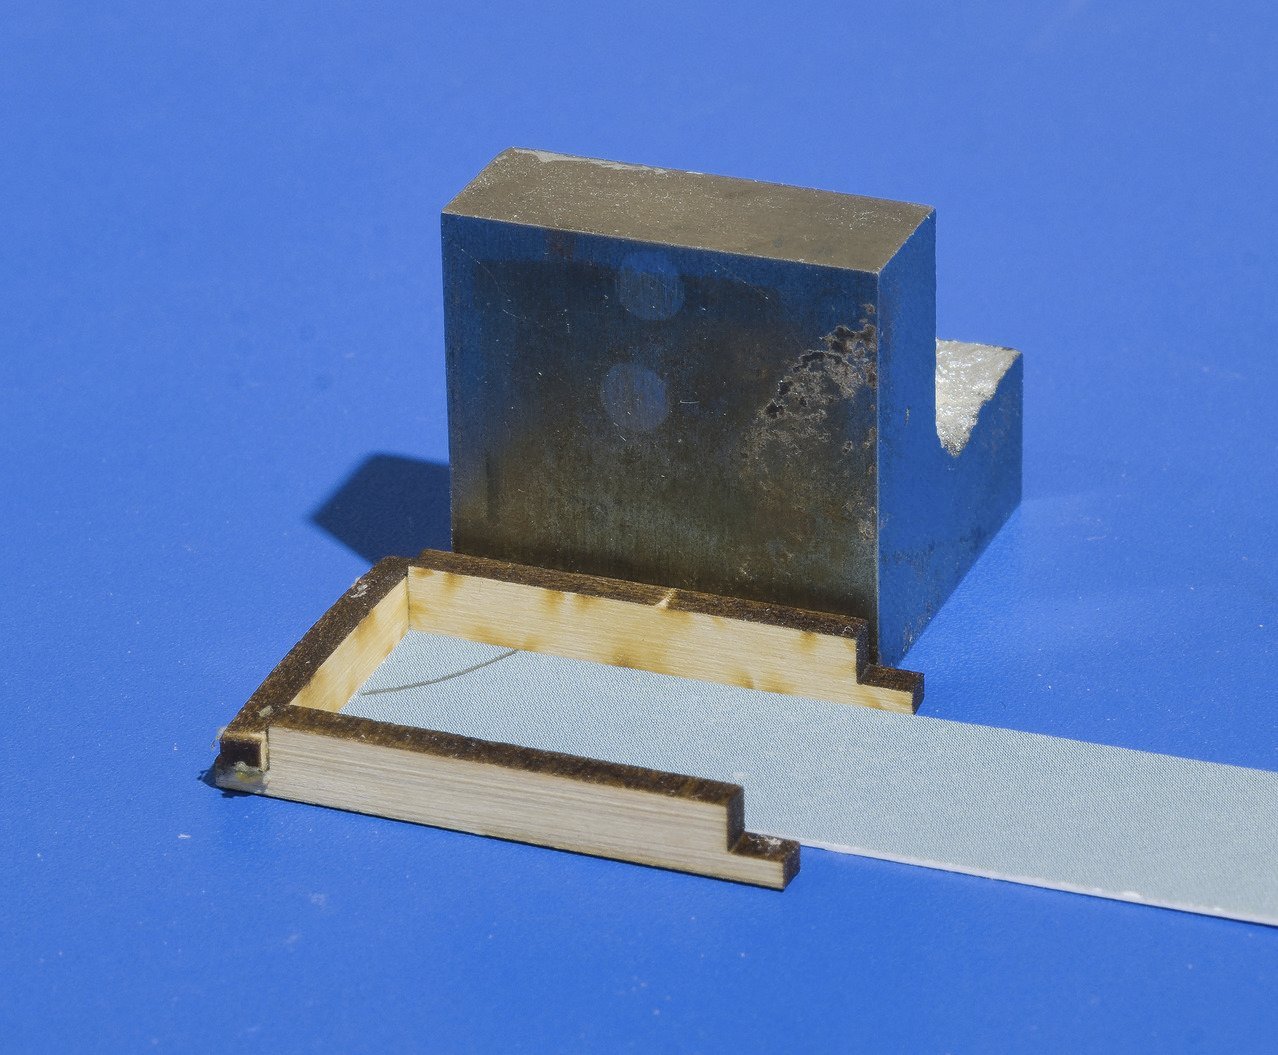
I've been working my way through chapter ten. . The first thing I did was to make the three coamings that sit on the center belt of QD planking. It's easy enough to just glue the coamings together. However, to get a good result, I always take the time to make sure that everything is squared up and the sides are at a 90° angle. I like to use this setup for sanding the grating and coaming as a unit. It is easy to adjust the camber by simply moving the metal sheet up or down with the sticks. I use Porter Cable sticky back 220 grit sandpaper. https://www.amazon.com/gp/product/B0000223SN/ref=ppx_yo_dt_b_asin_title_o06_s00?ie=UTF8&th=1 Once that was done, I moved onto the center belt planking. Here are a few shots of the completed work. Good time to clean up the dust! Mike


- 607 replies
-
- 18
-
-
-
- winchelsea
- Syren Ship Model Company
- (and 1 more)
-
Nice progress Ben! The paint work looks great. Mike
- 399 replies
-
- 2
-
-
- winchelsea
- Syren Ship Model Company
- (and 1 more)
-
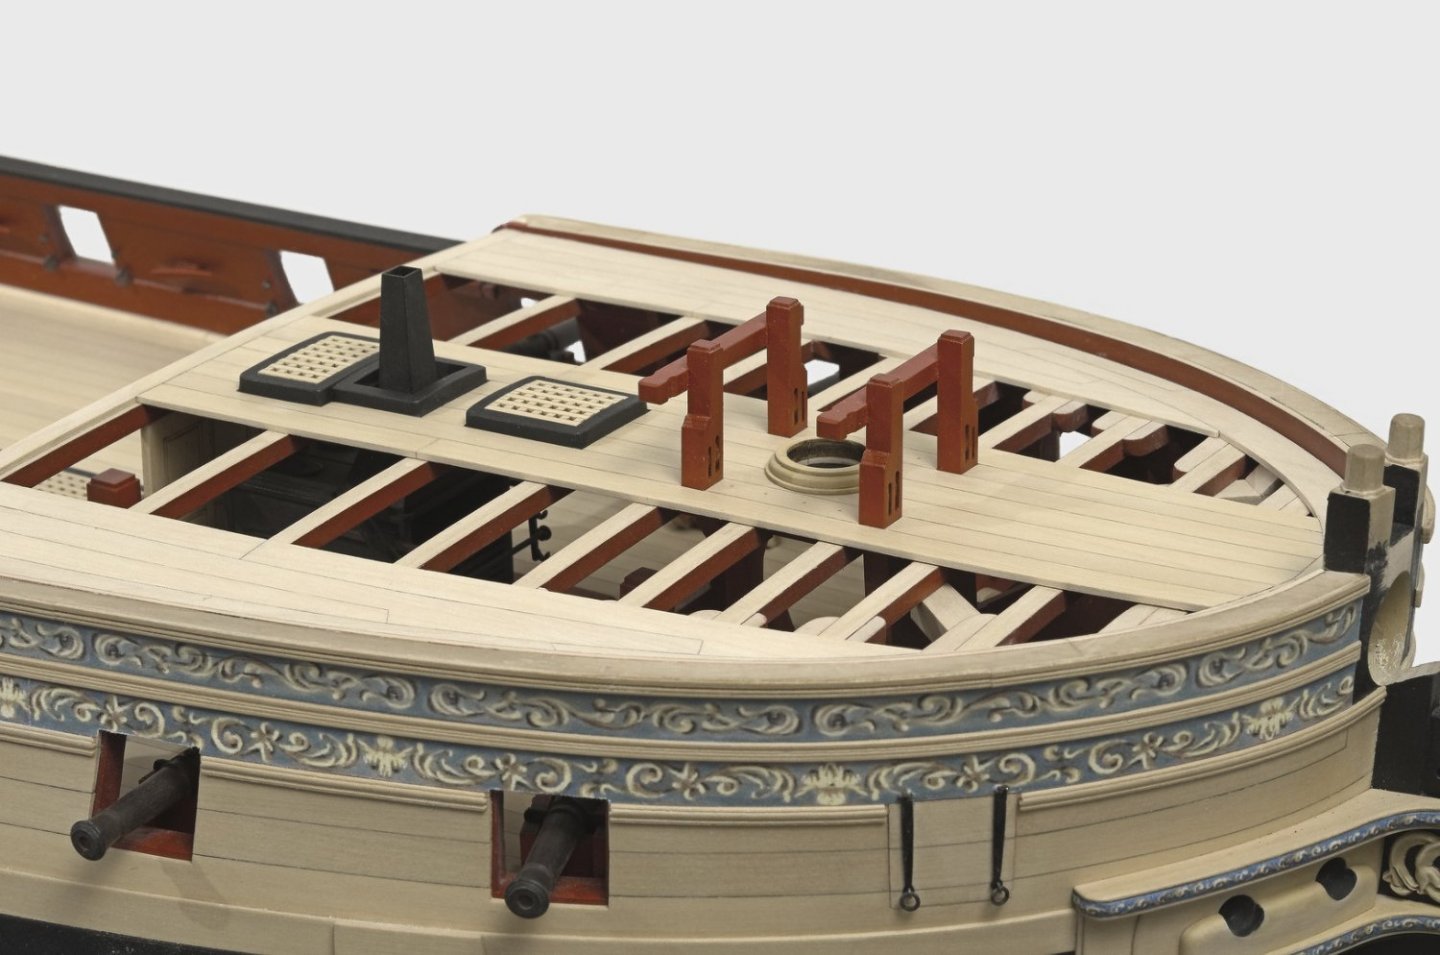
Thank guys for the kind words and for all the "Likes". Fred, when I made the bollards, I was presented with two choices regarding the shape. The plan is to add a swivel gun to the top of each one. Mike
- 607 replies
-
- 2
-
-
-
- winchelsea
- Syren Ship Model Company
- (and 1 more)
-
If possible, it might be a good time to fix this while you can. Mike
- 1,784 replies
-
- 1
-
-
- winchelsea
- Syren Ship Model Company
- (and 1 more)
-
Thanks, Chuck! Weather permitting I could bring it to the February meeting.
- 607 replies
-
- 1
-
-
- winchelsea
- Syren Ship Model Company
- (and 1 more)
-
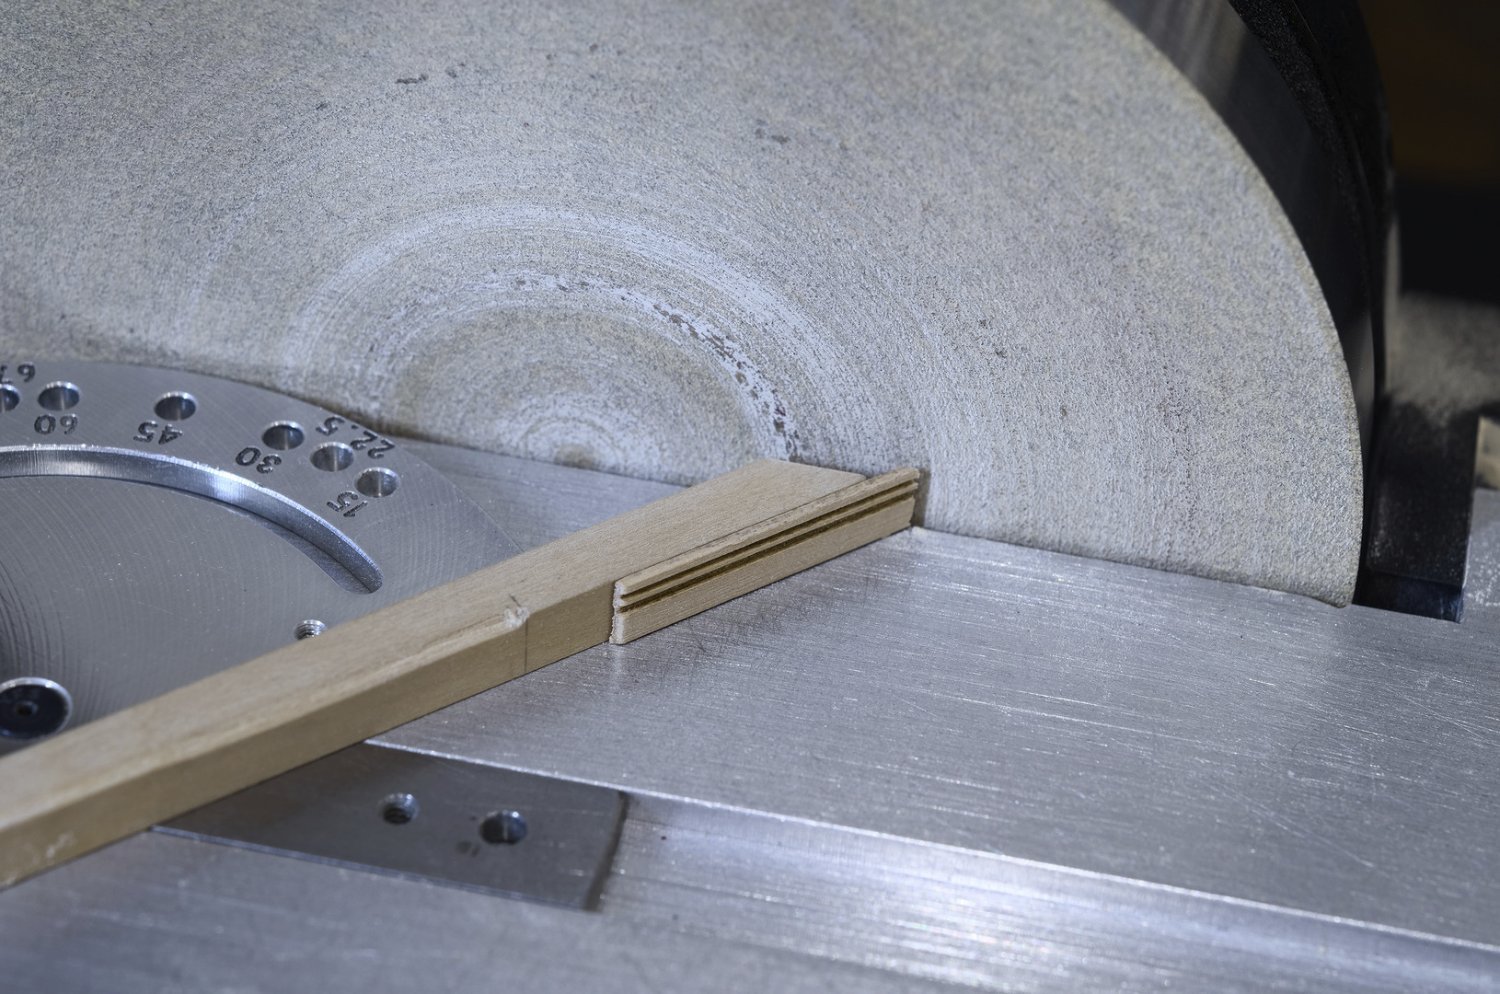
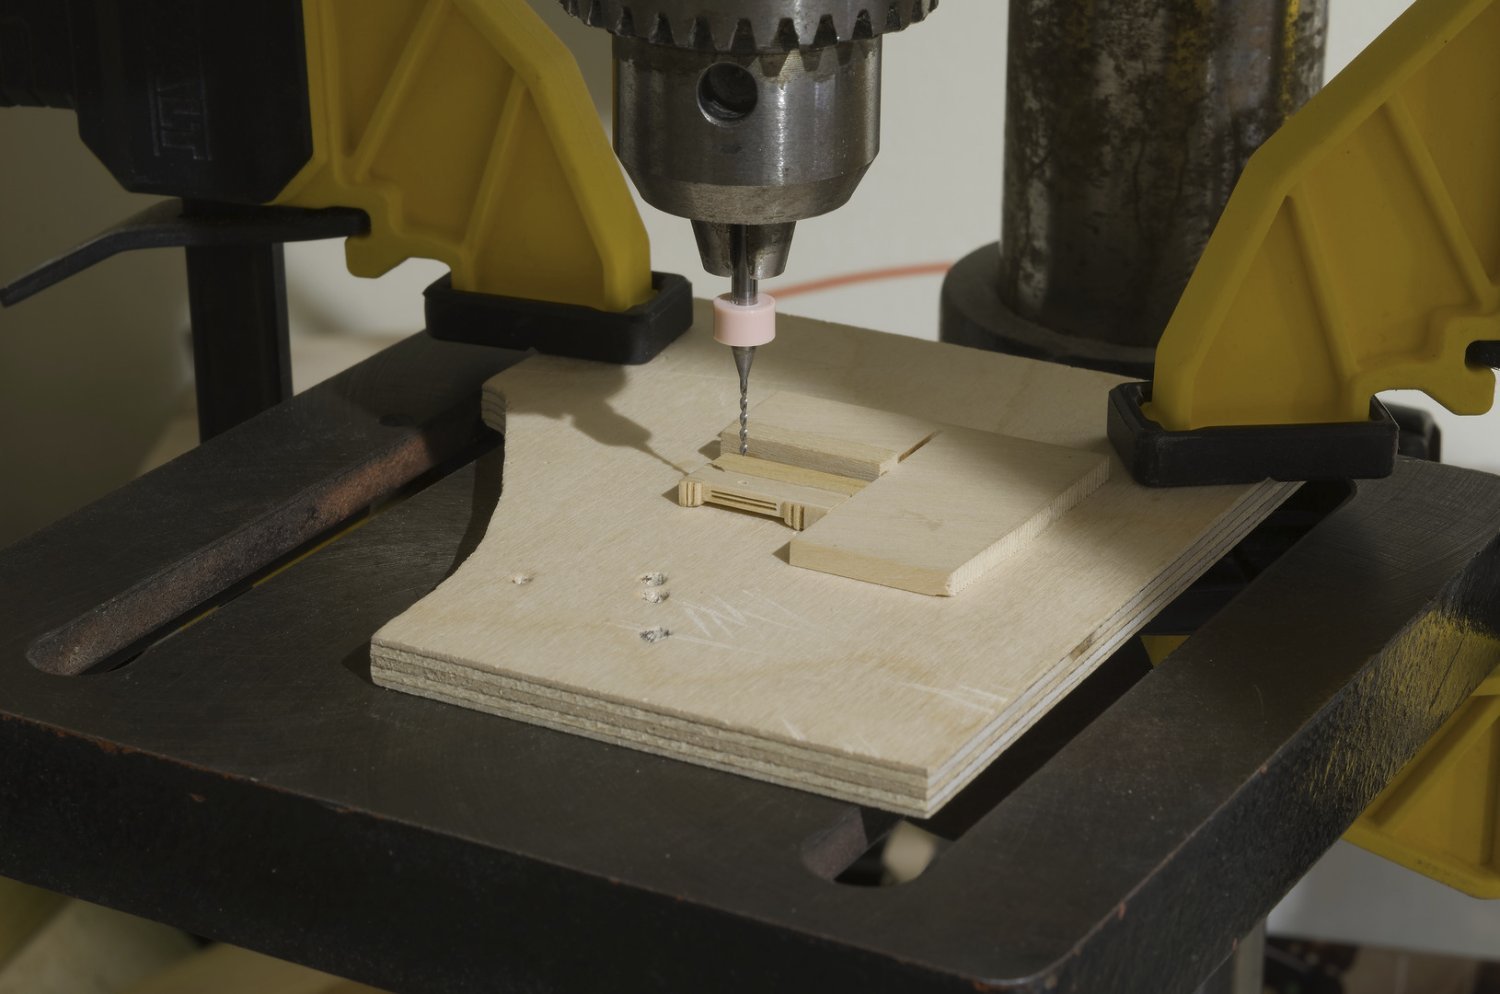
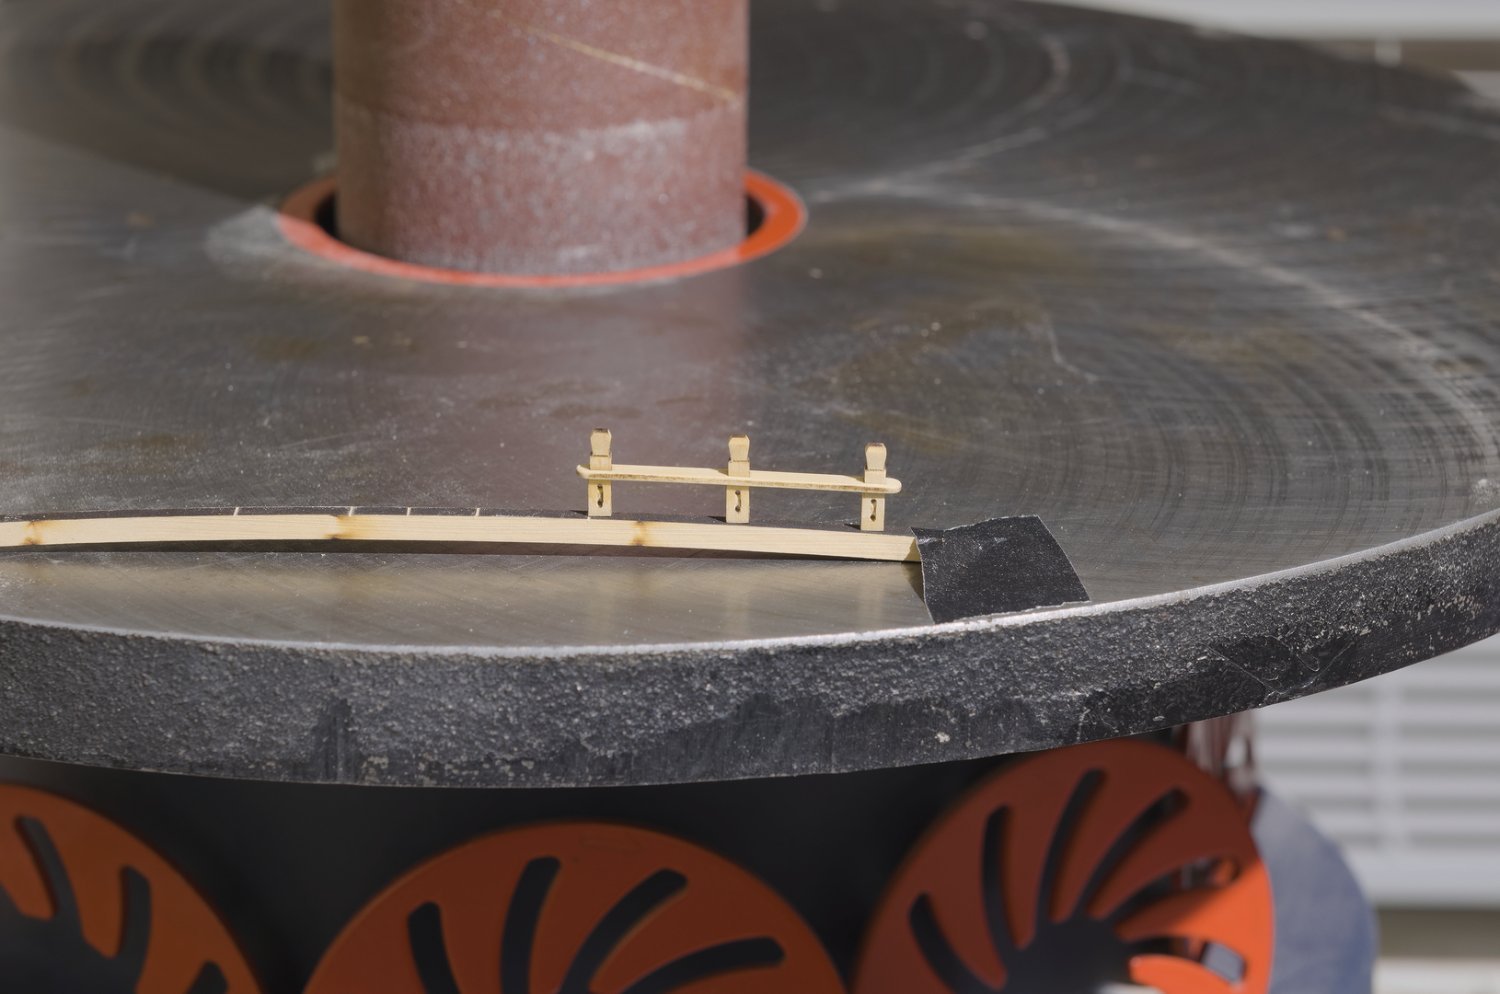
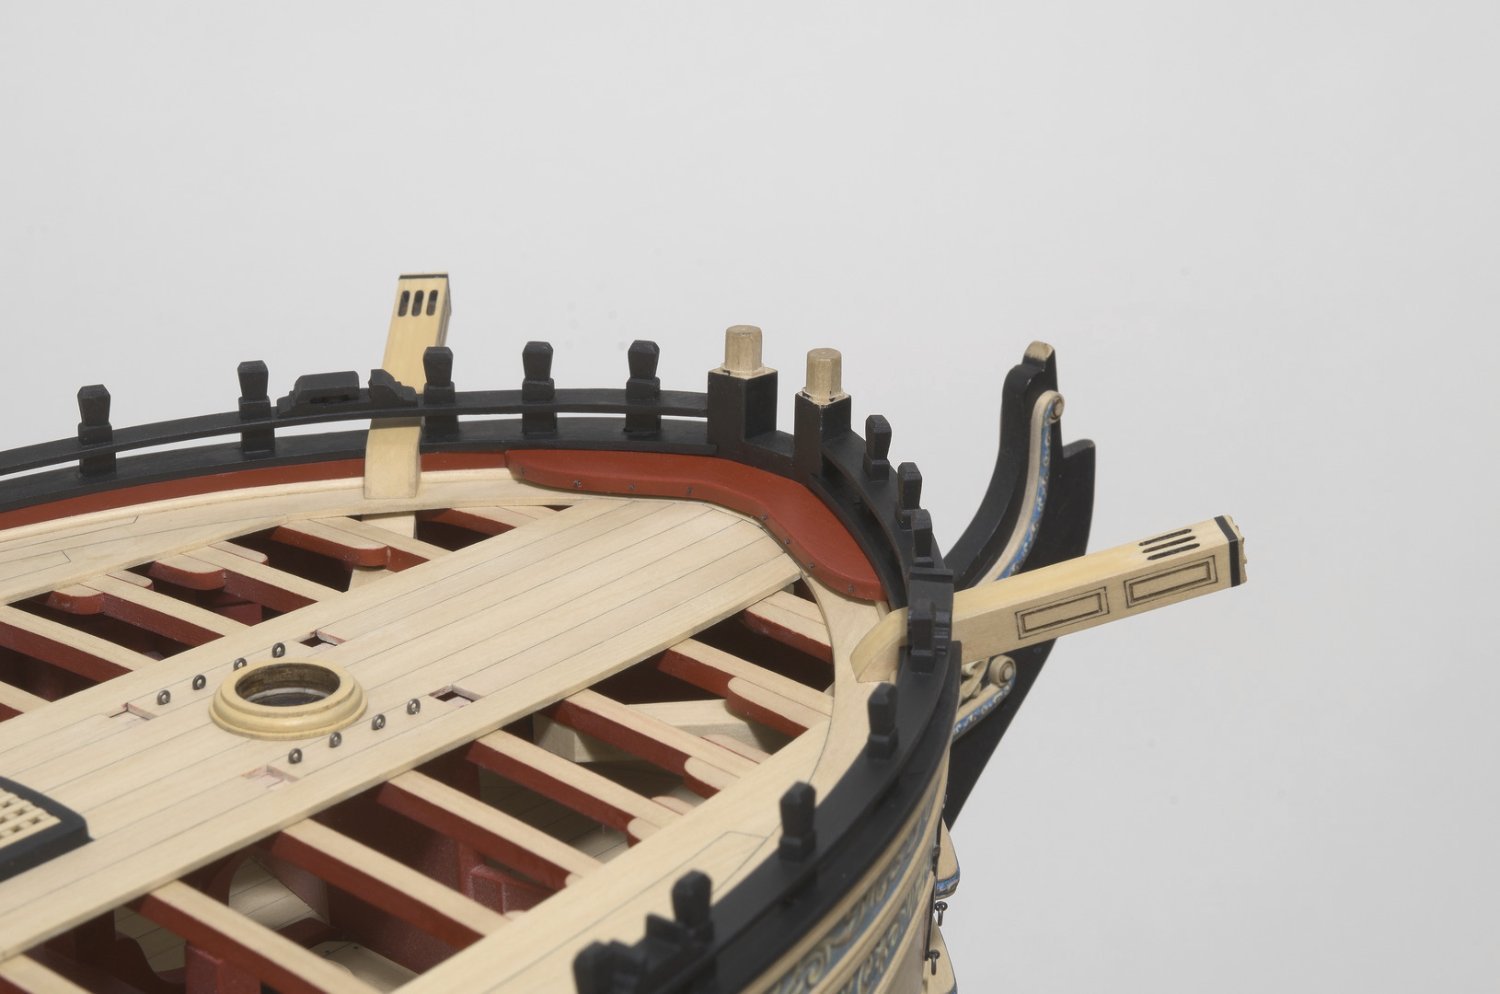
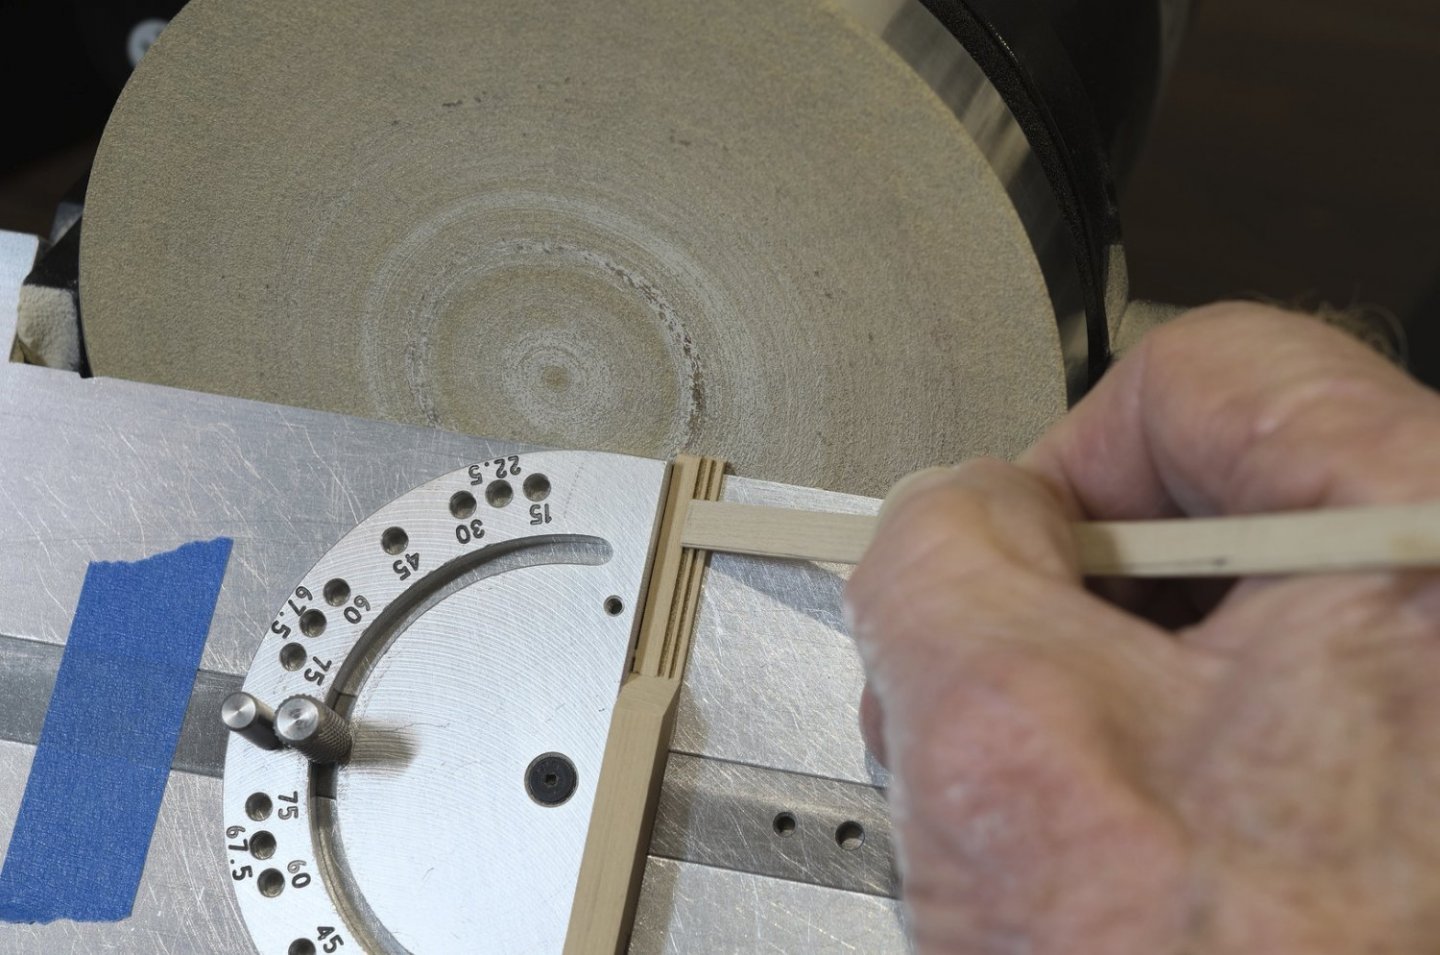
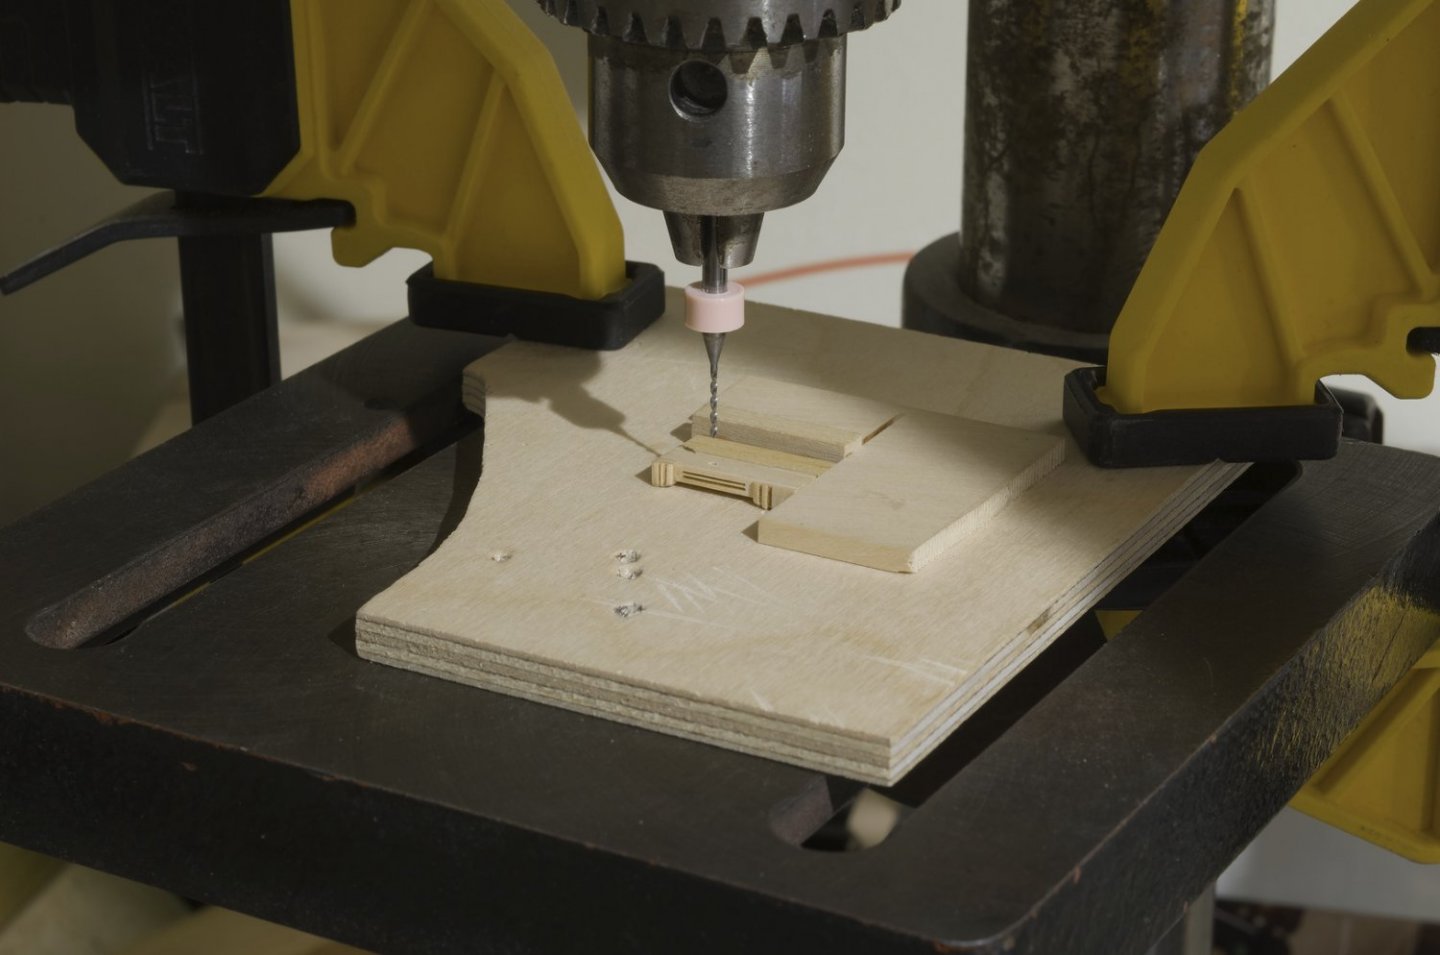
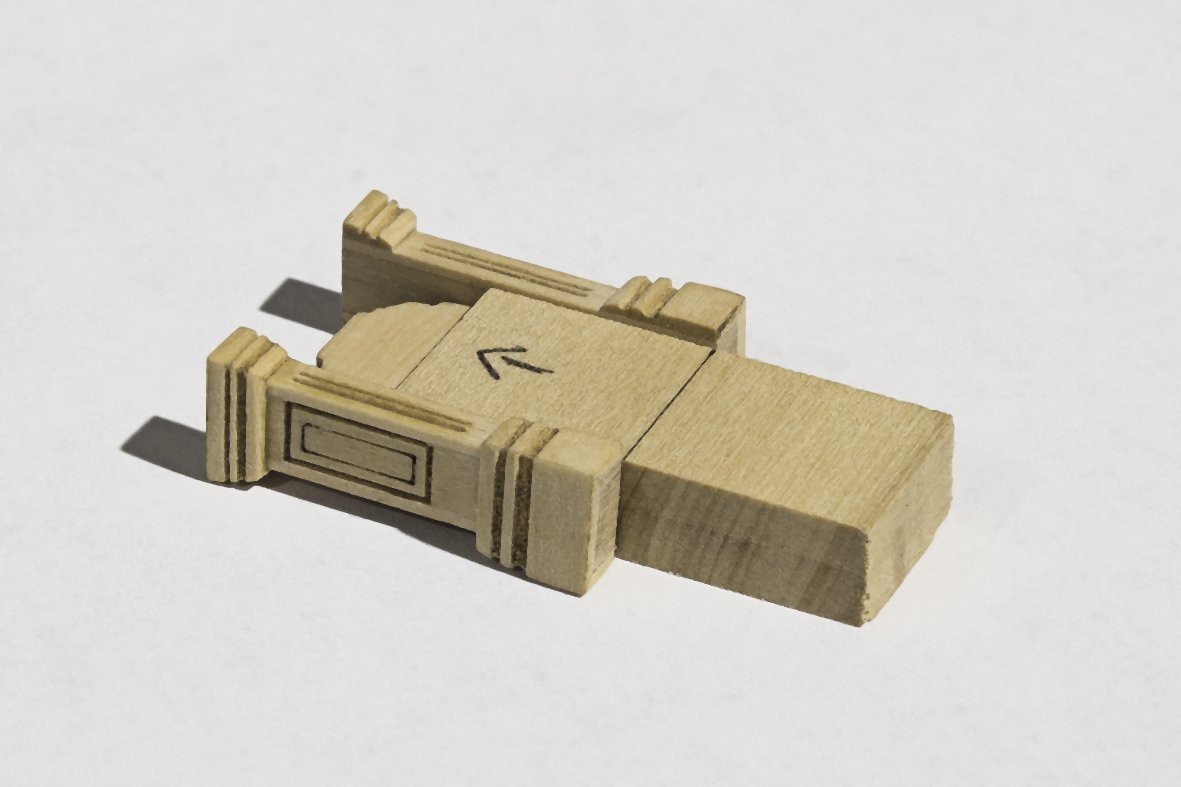
I mitered the molding that wraps around the uprights using the disc sander. I used this method on a longer piece. Though I used a long piece for the photo, I used this method when the length was short. Push the stick up to until the desired length is achieved. Once the uprights where completed, I used a jig to register the holes for the headstock which sits between the uprights. Jigs like this help to align and hold everything together during assembly. A left over beam was used simulate the actual positioning of the belfry rail as seen on the ship. This makes it easy to see if the timberheads are at the correct angle to the deck. Tweaks where needed. I backed the jig with another strip in order to add the "L" shaped piece. This keeps it inline with the timberheads. I added the cover boards for the stove stack along with other fittings to complete chapter nine. Mike


- 607 replies
-
- 23
-
-
-
- winchelsea
- Syren Ship Model Company
- (and 1 more)
-
That looks really nice. Sounds like you had fun making it too. It's amazing how Chuck was able to make all of the parts fit together so well. Mike
- 642 replies
-
- 2
-
-
- winchelsea
- Syren Ship Model Company
- (and 1 more)
-
I second all of the comments above! Take your time and you will be rewarded. Mike
-
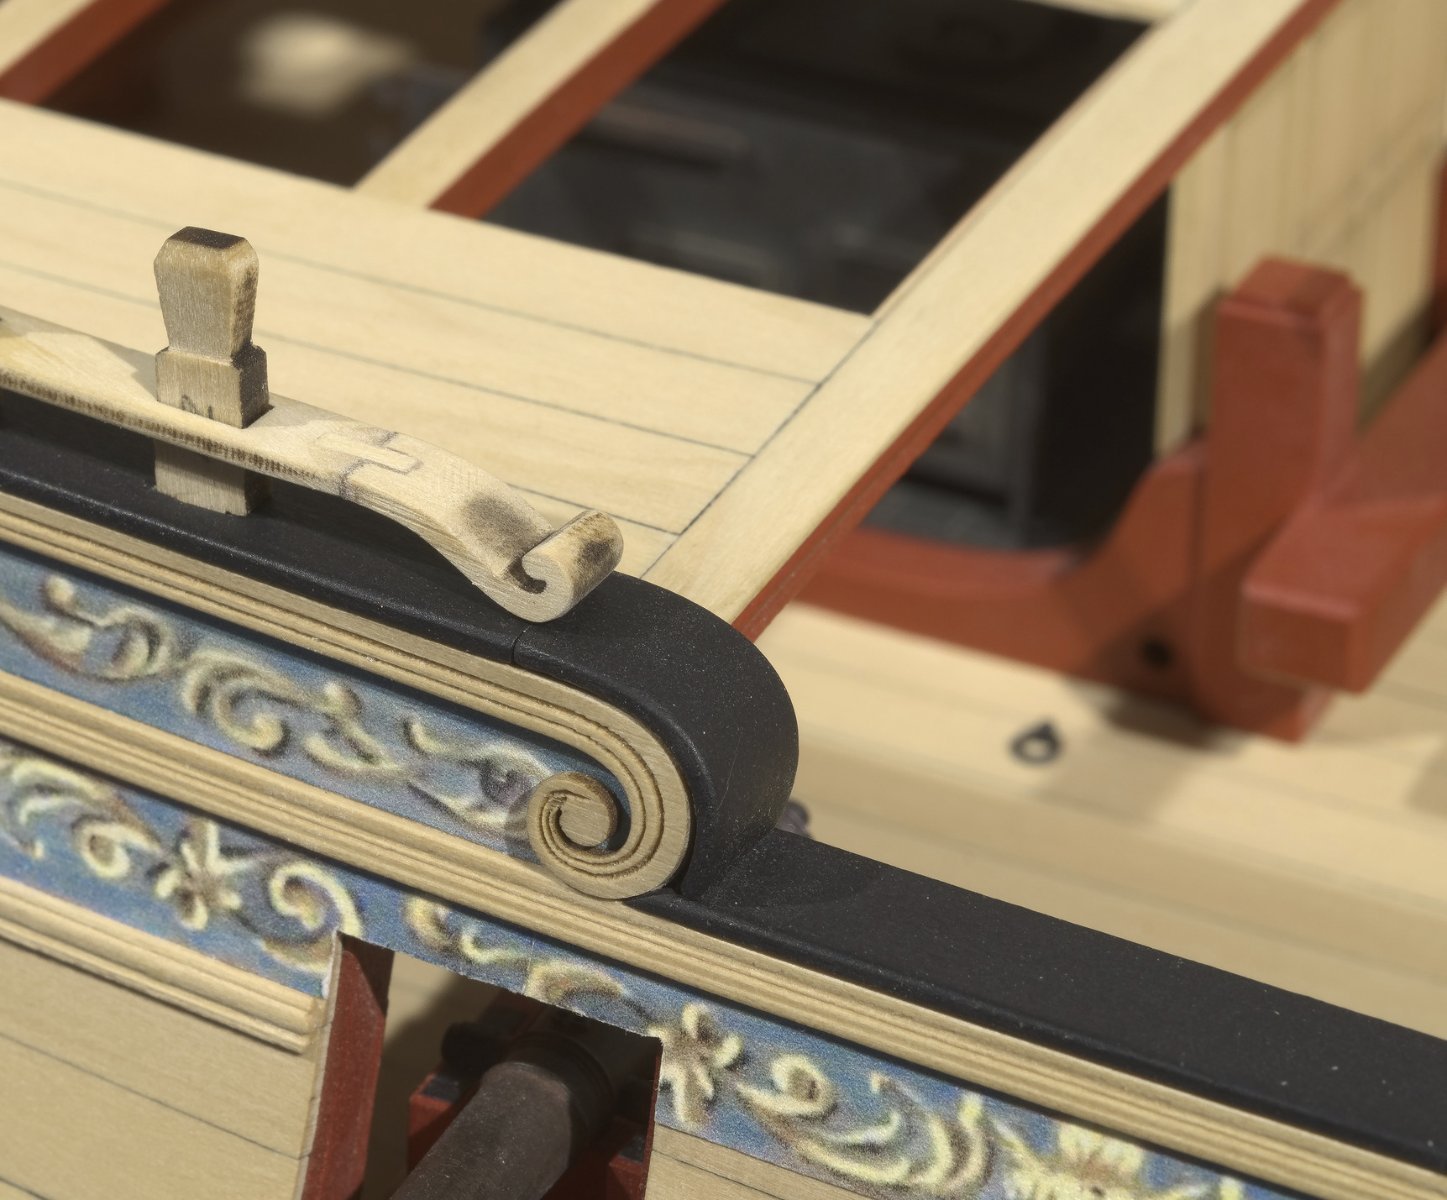
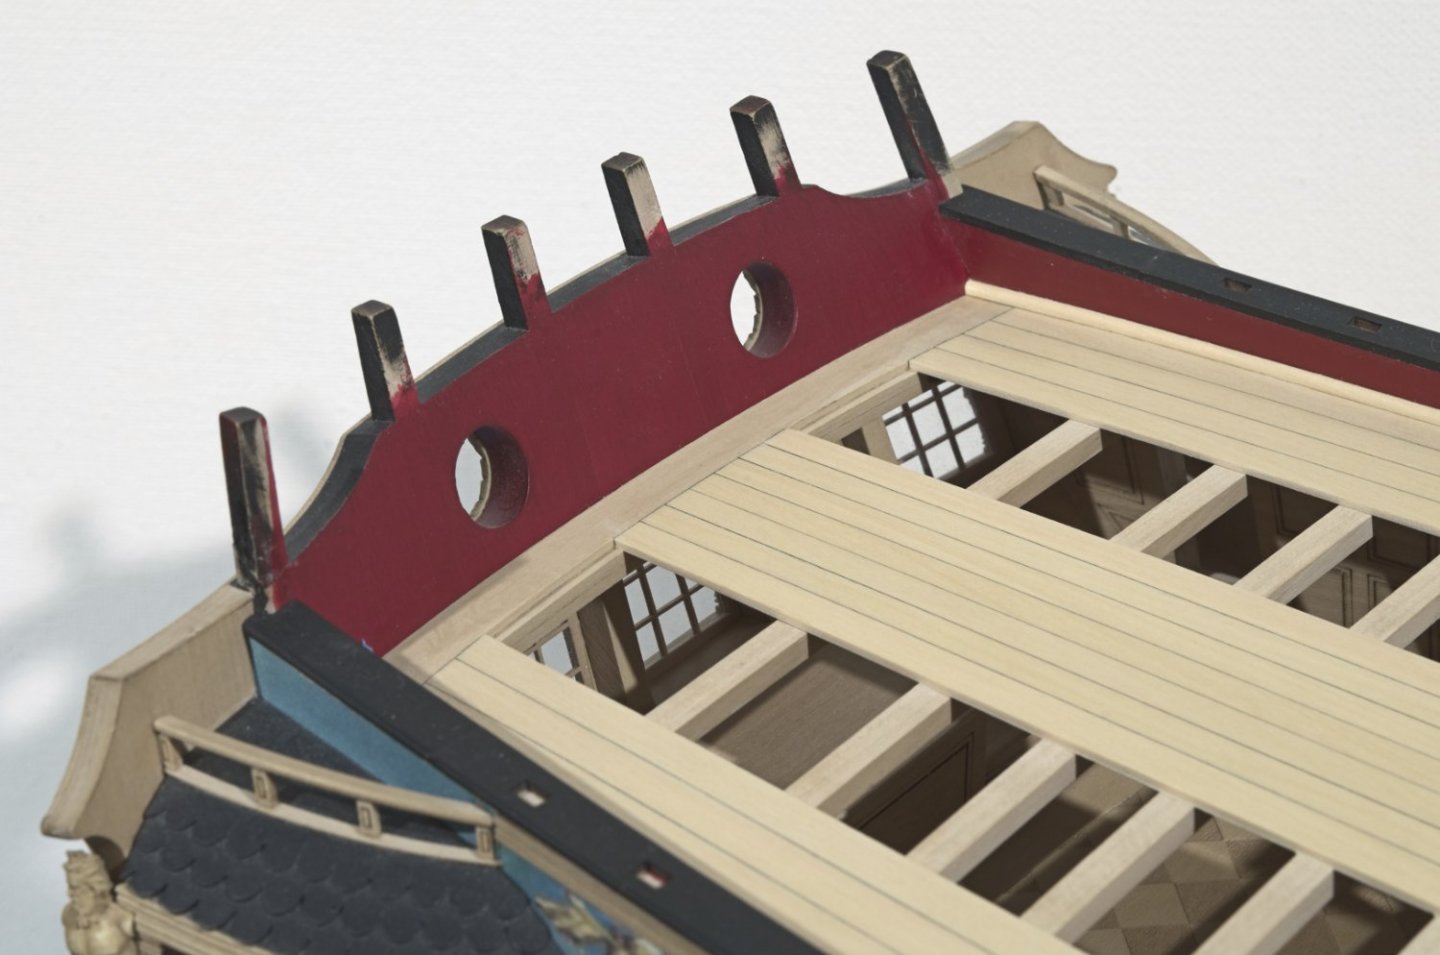
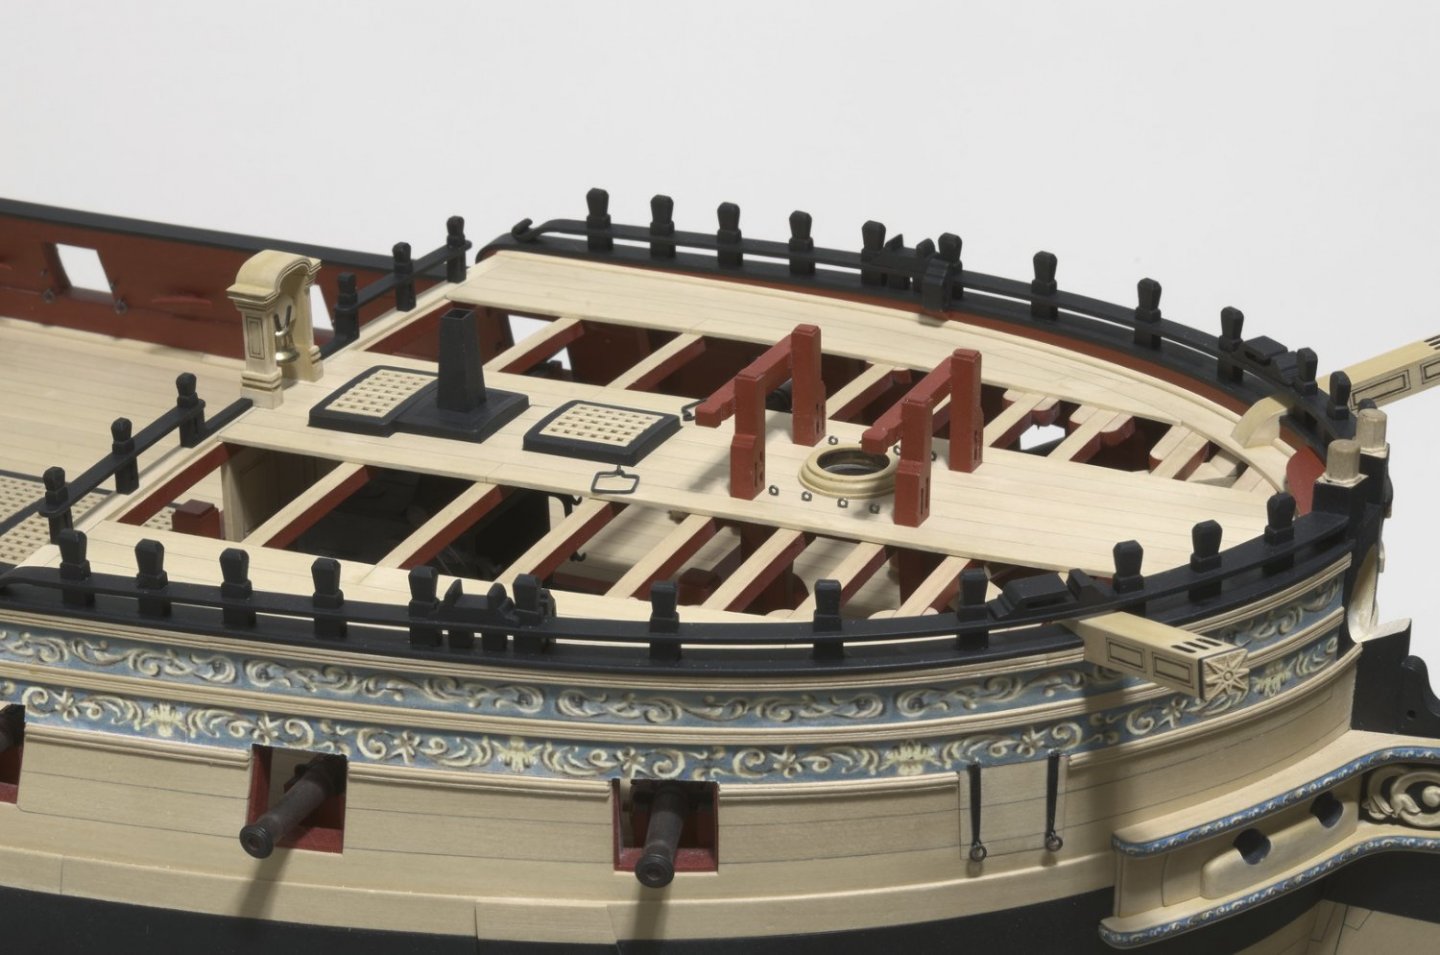
Thanks guys, much appreciated! I've finally managed to get some more of the forecastle work completed. Only a few fittings left to do. At the aft end of the Fcastle rail there is a short piece which is added on. I decided to strengthen the joint by adding a strip between the two pieces. Final sanding was completed after the glue dried overnight. The rail was assembled and painted before installation. Due to some of the timberheads fitting snug into the cap rail below, I left the bottom of each one unpainted. I raised the rail slightly in this photo to show that. Any bare wood showing after gluing was easily touched up. The catheads were easy enough to make. I picked the ones that seemed to have the most consistent laser cut sheaves. I did my best to align the catheads with the short extension below deck. The breast beam had to be scratch built. It was done in such a way as to insure that it ran below the level of the cap rail its entire length. Mike


- 607 replies
-
- 28
-
-
-
- winchelsea
- Syren Ship Model Company
- (and 1 more)
-
Nice work, Frank! Tip: As you move further down the hull you can bevel the front of each plank. This will allow you to get a tight fit against the stem rabbit, with no gaps showing. Hope that makes sense. Mike
-
It looks good to my eye. Just keep a close eye on those butt joints.

-
That's a tricky task to do. Beautifully done! Mike
-
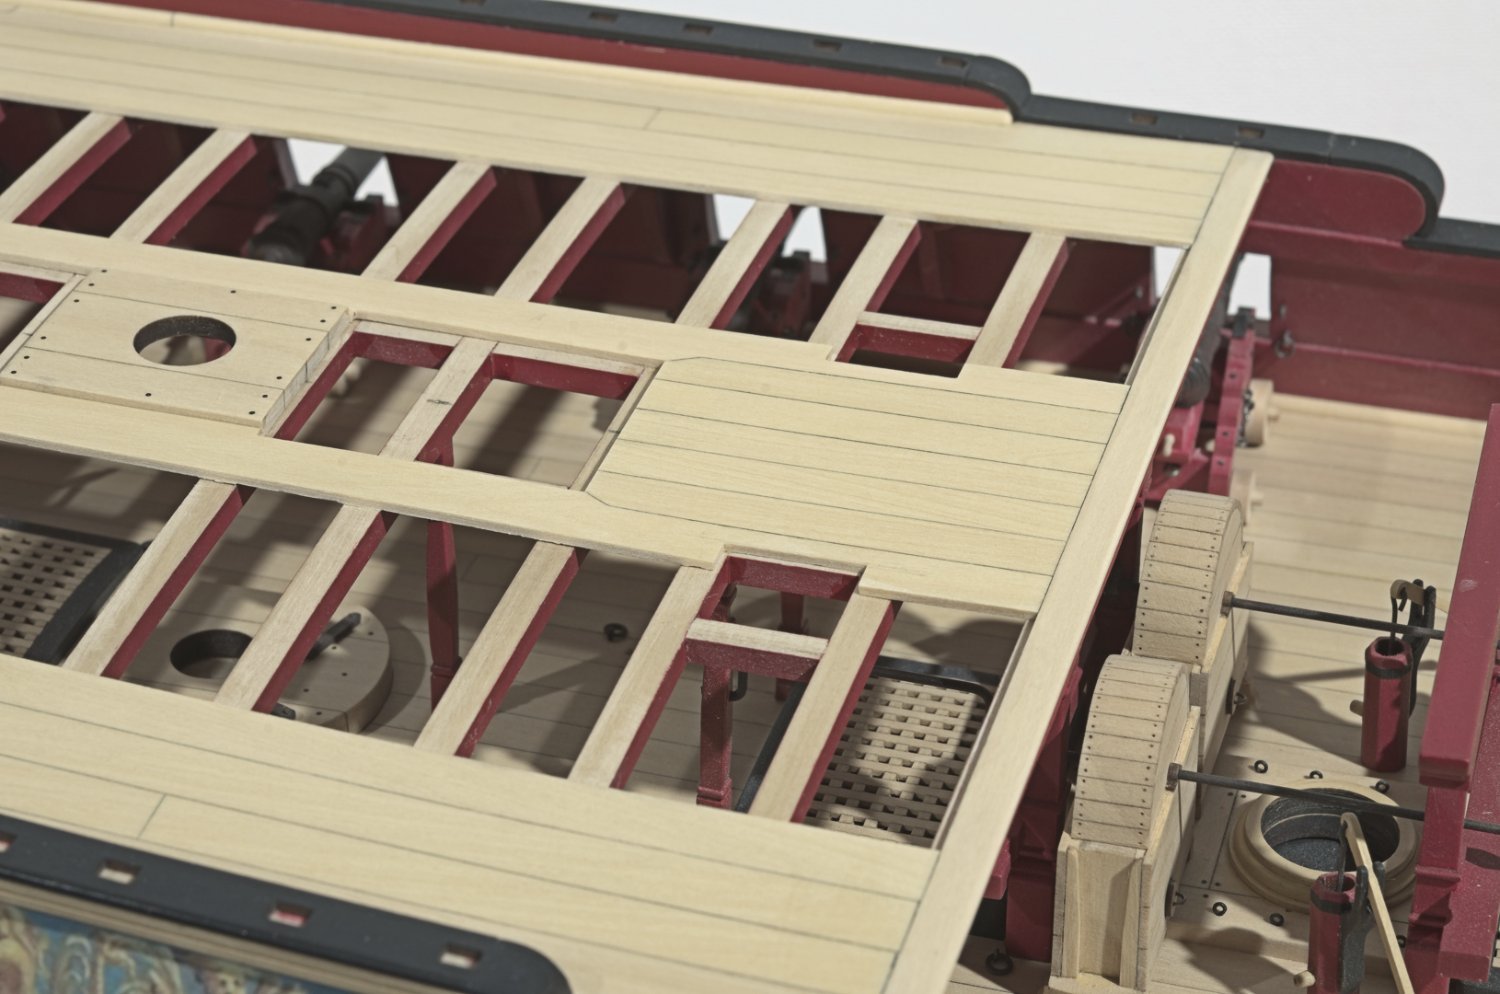
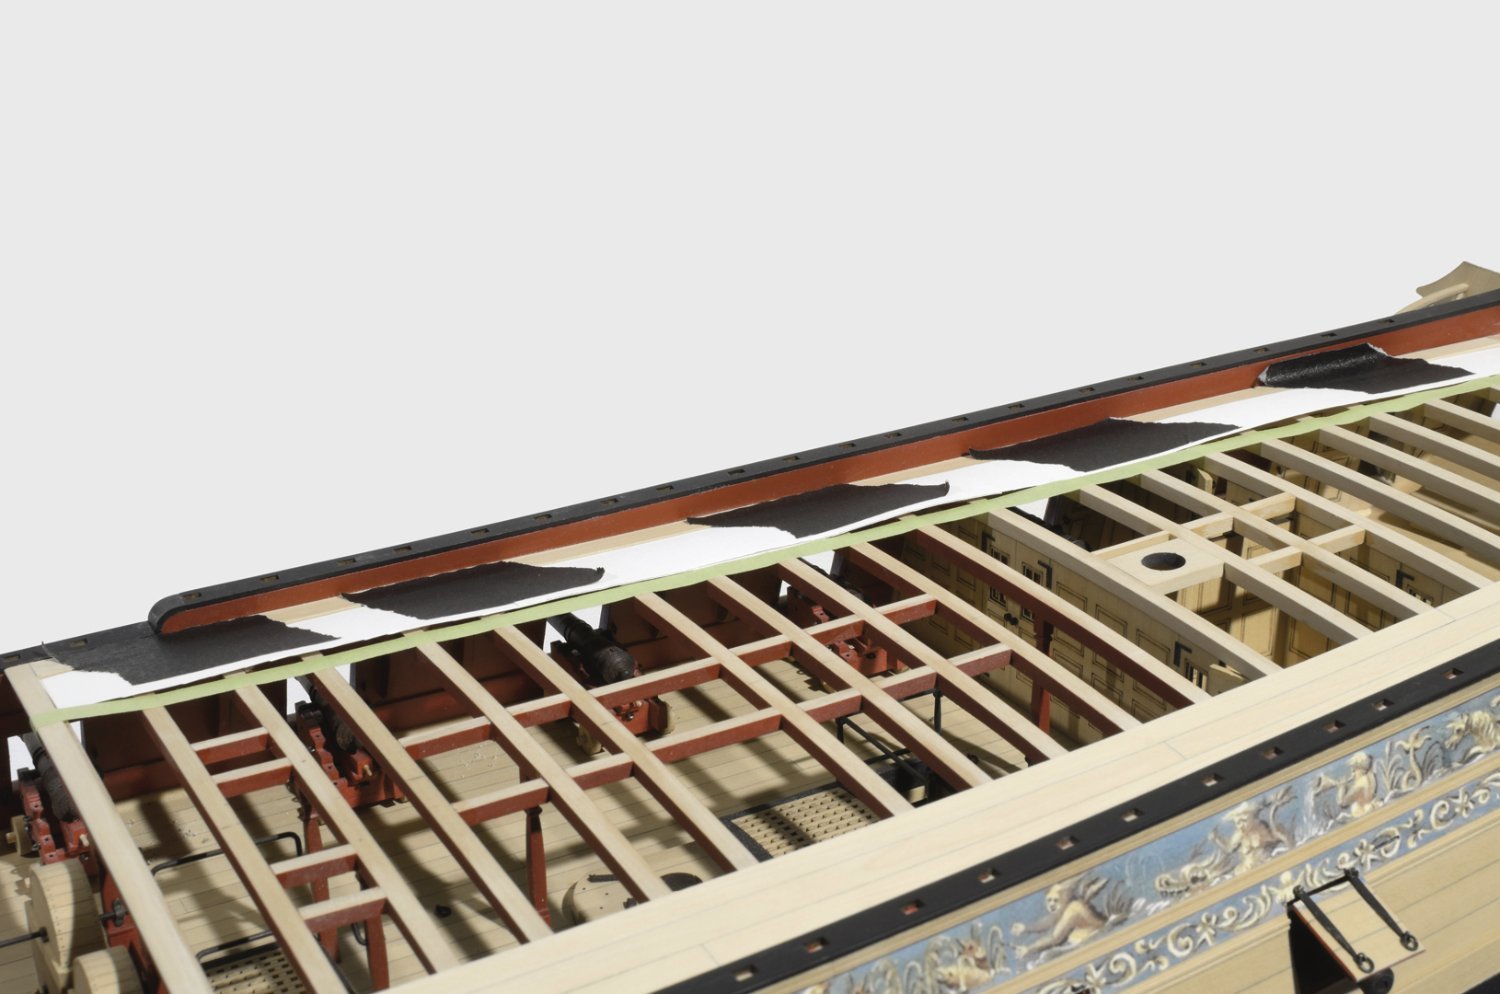
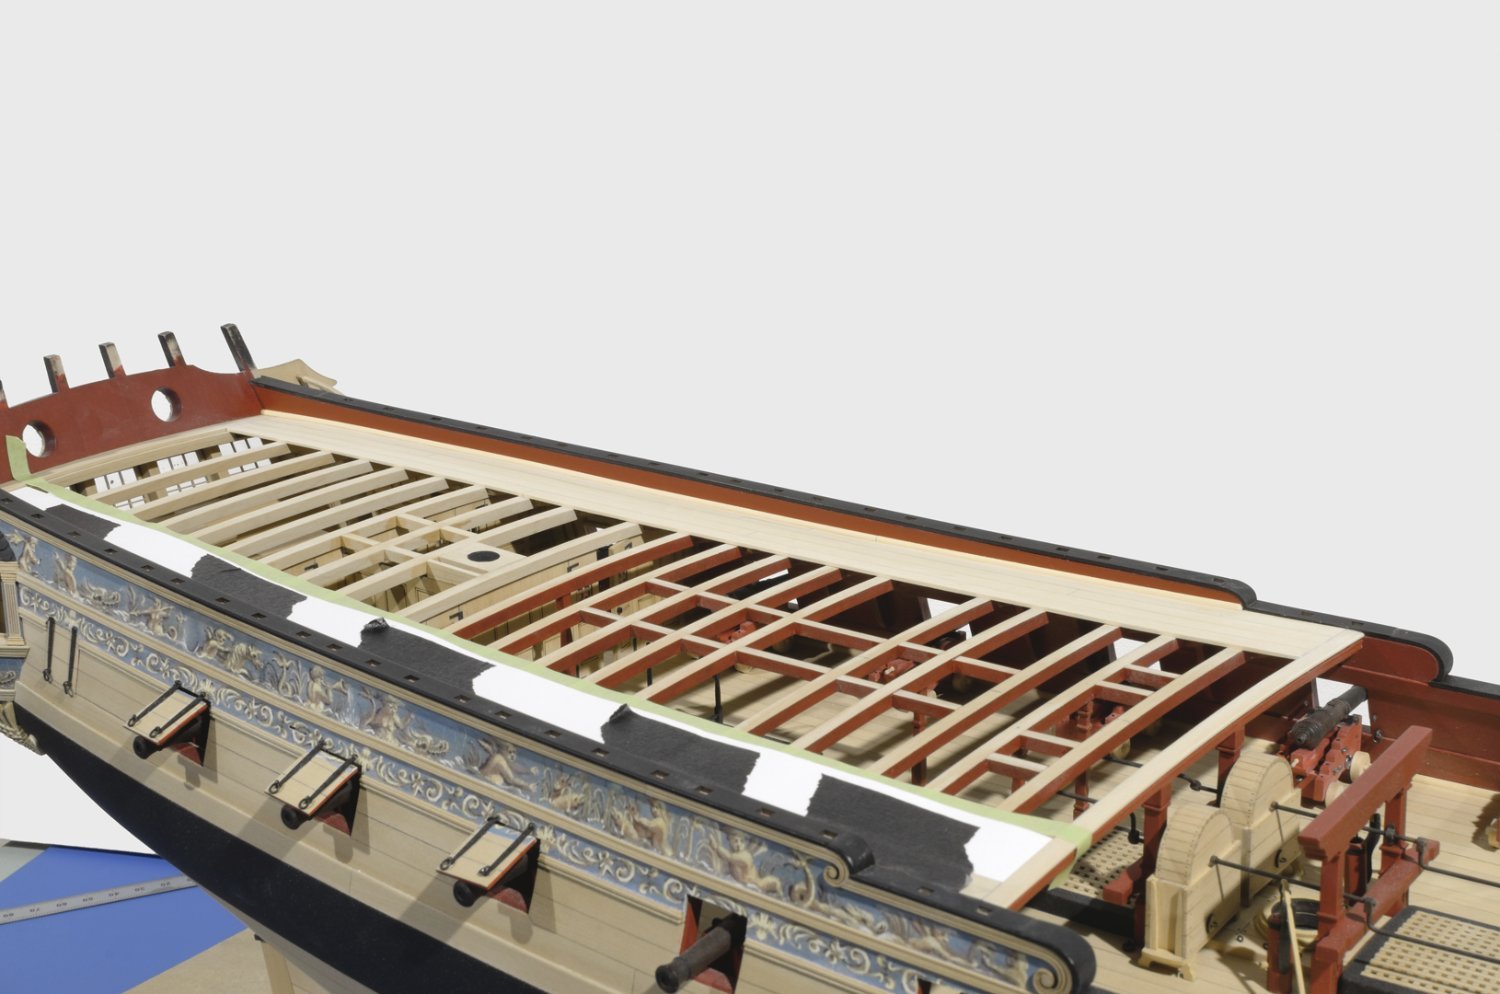
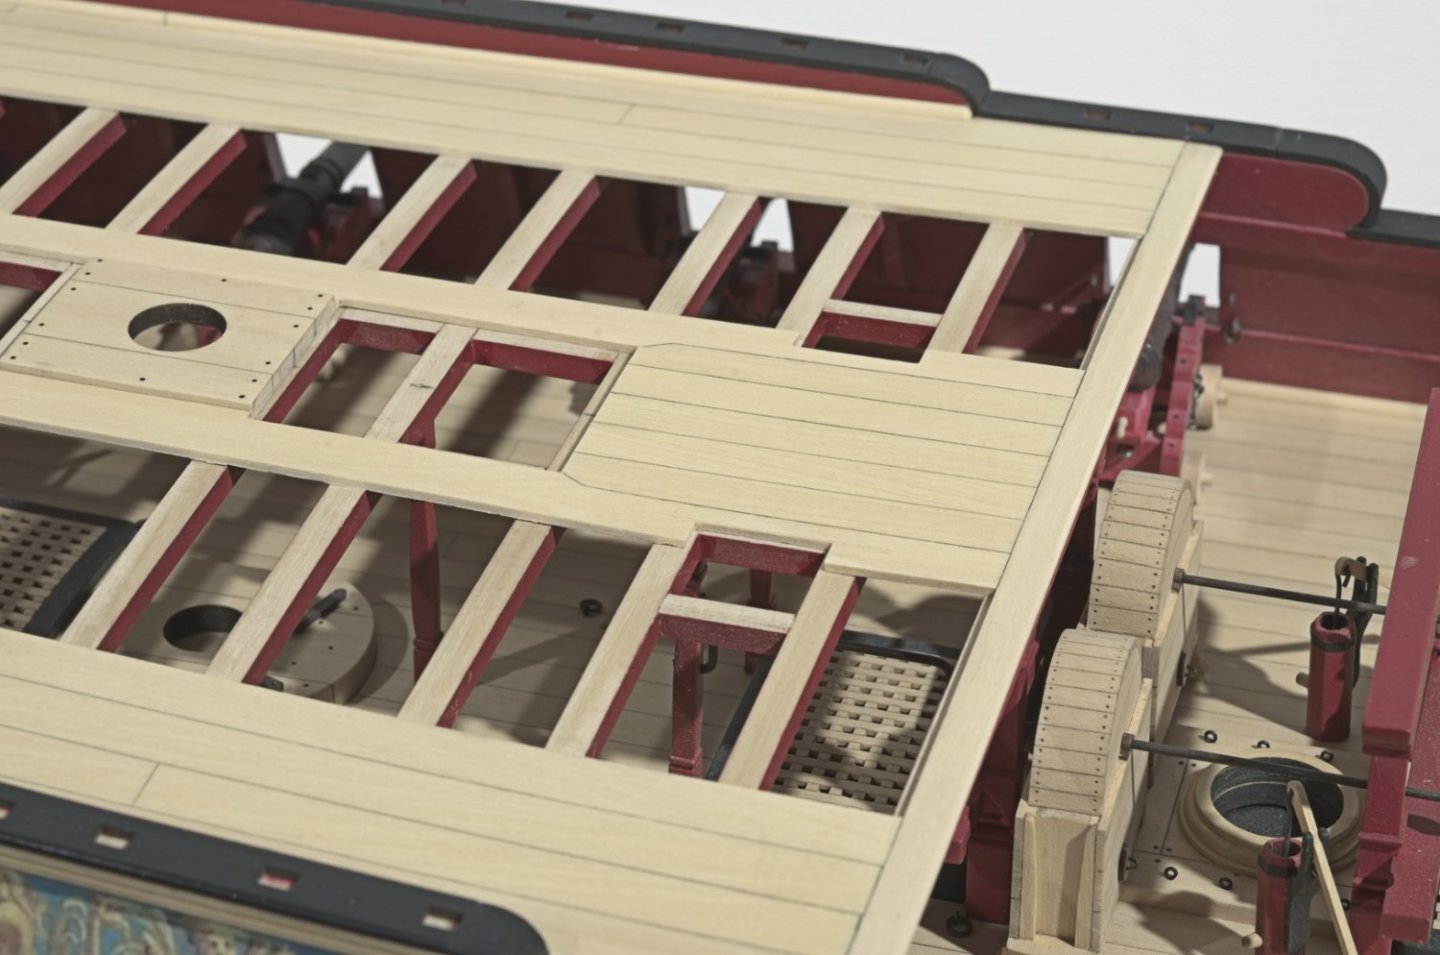
QD planking: I thought that it might be a good idea to mention an issue that I ran into recently. Using the provided template, I tried to shape each plank using a trace and sand method. After adding all three planks I noticed that the innermost plank ended up with a slight "S" curve. This meant that one or more of the planks where not shaped correctly. I suppose I could have left things as they were since the 4 guns that would be on the deck would mask most of it. Well, who was I kidding! Although stressful to think about, I pulled all the planks off the deck including the margin plank. The margin was never glued to the bulwarks, so no damage was done to the red paint. I had to pull it since it was coated with glue and pencil marks. Trying to clean it only ended up softening the crisp edge and that would never do. So, I replaced the margin plank. I cut away the margin plank from the planking template and placed the three plank template against the margin plank. To my surprise the template conformed nicely to the shape of the margin plank. I ran masking tape along the template edge. Lastly, I used tick marks between the tape and margin plank to get the run of the three planks. I was determined to keep things as neat as possible. There is no trace of the original planking work. I think that the extra work was worth the effort and thankfully everything looks good now, I think! 😁 Mike


- 607 replies
-
- 22
-
-
- winchelsea
- Syren Ship Model Company
- (and 1 more)
-
Boy, I wish that I had that cap rail template when I was fairing my hull. You are avoiding what could potentially be a huge headache. Mike
-
The black strake should clean up the top edge of the wales nicely. As Jim suggested, I painted the bottom edge of the wales off the ship. The entire wale should be gradually tapered. The bottom edge was tapered to about 1/32”. The top edge thinned as well, so that it doesn't stand too proud of the black strake. Anyway, that’s the way I did mine. Mike
-
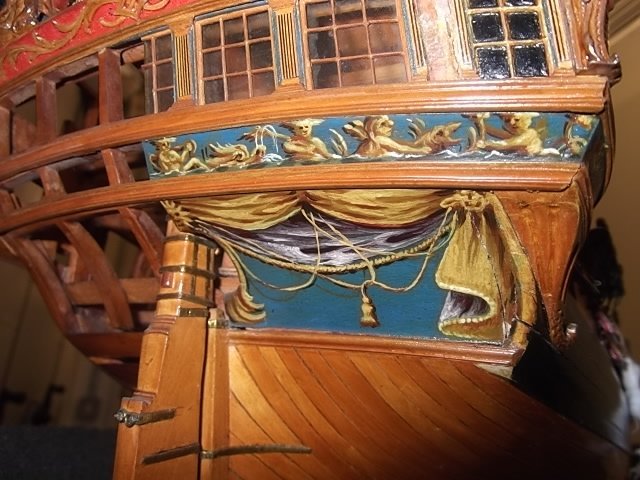
Okay, Glenn. Here is the scraper profile that I used on the transom and QG. I used the shape from the contemporary model as a guide. Mike
- 607 replies
-
- 15
-
-
-
- winchelsea
- Syren Ship Model Company
- (and 1 more)
-
Looking really Nice! Mike
-
Thank you all for the kind words and for all the “Likes”. Glenn, I used more than one scraper. Can you be more specific as to which molding you are referring to? Happy New Year! Mike
- 607 replies
-
- 4
-
-
- winchelsea
- Syren Ship Model Company
- (and 1 more)
-
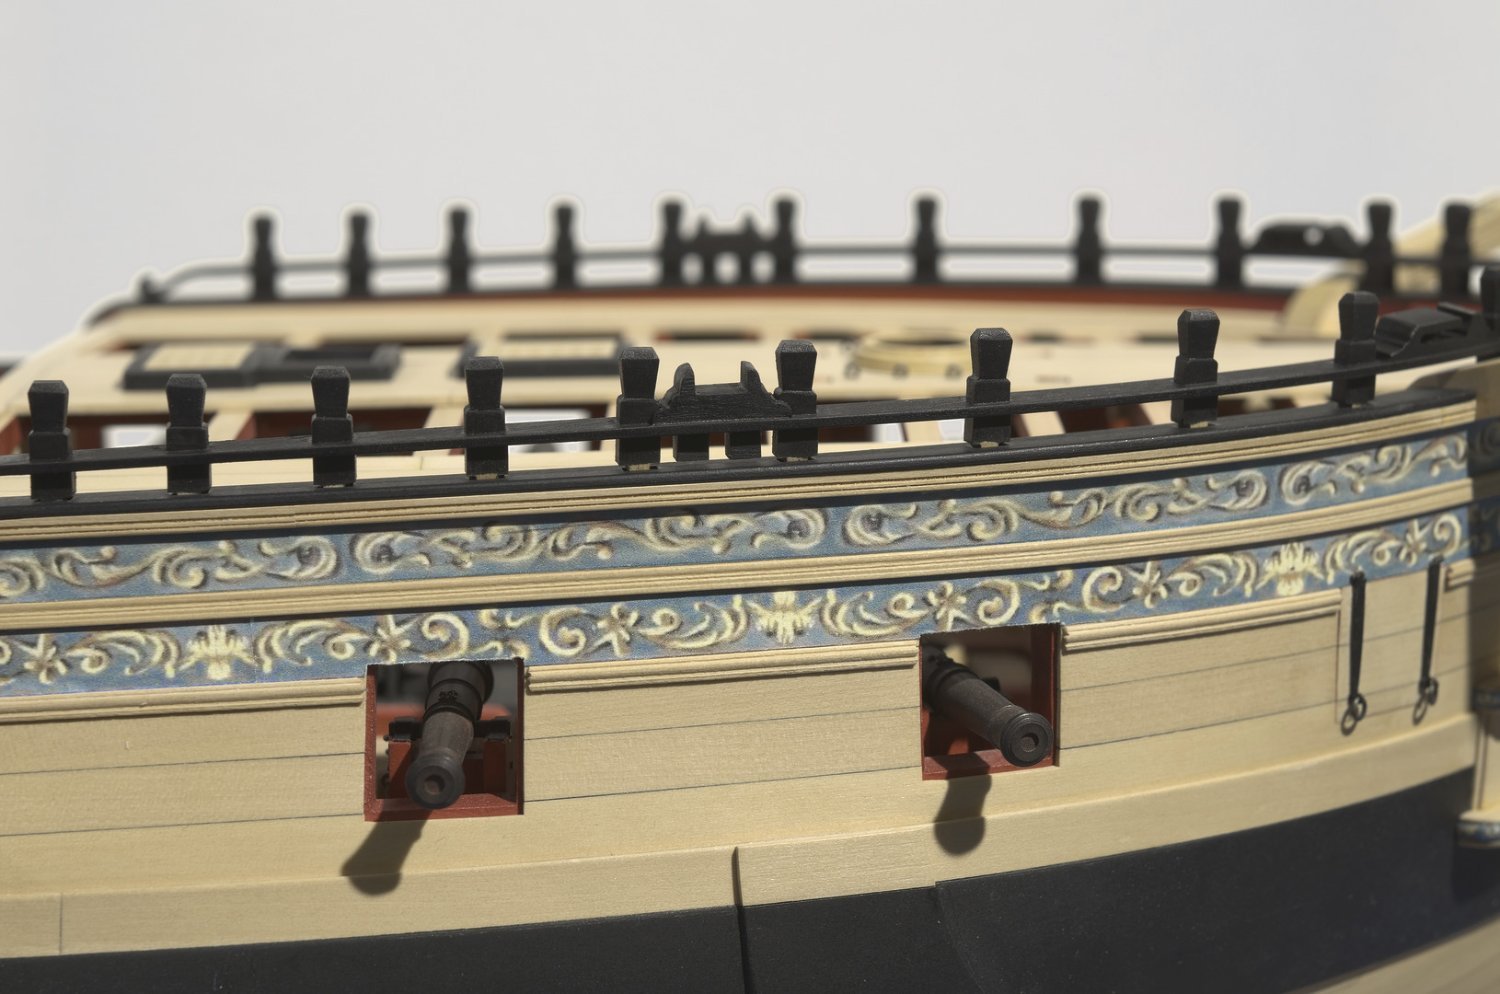
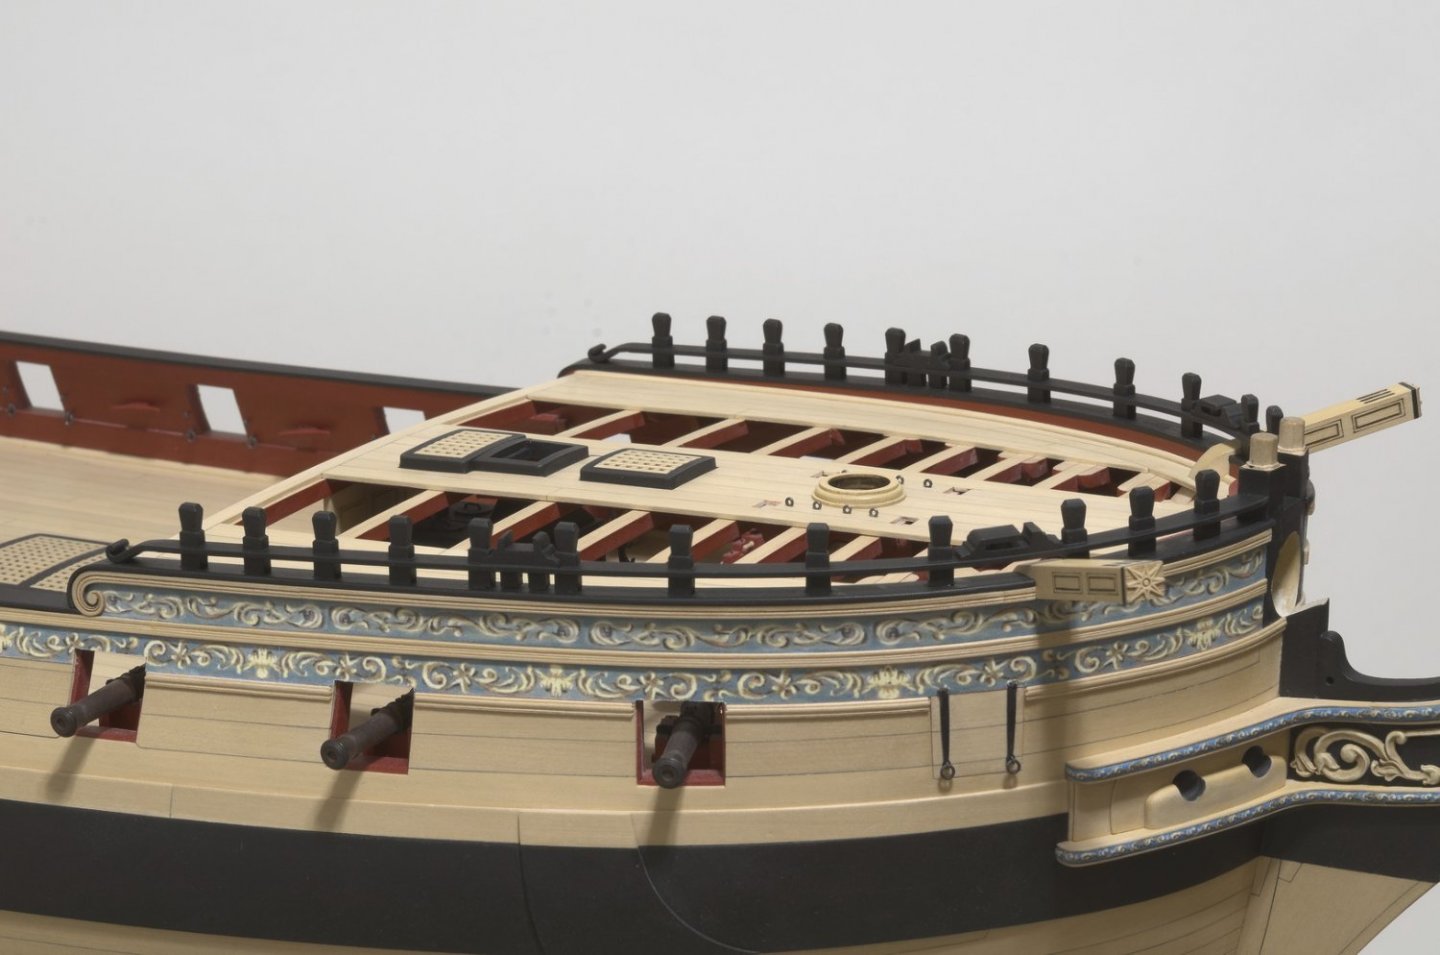
I'm feeling good about finally completing the forecastle planking. It probably doesn't seem like it, but work in the center area can be tricky. Getting those planks that sit snug around the deck fittings required some forethought and constant tweaking. The bitts and stove stack are not glued in. Next I will do the waterway, W-O-P the outer deck area and then the cap rail. Mike
- 607 replies
-
- 22
-
-
- winchelsea
- Syren Ship Model Company
- (and 1 more)
-
Beautifully done, Chuck. It’s all coming together so nicely. I can’t wait to get there. Mike
- 1,784 replies
-
- 3
-
-
- winchelsea
- Syren Ship Model Company
- (and 1 more)